
Last Autumn I visited the Knitting & Stitching Show at Alexandra Palace, and spent some time talking to the lovely Bev Caleno, a textile artist. I came away with a kit for a rock pool, which I’ve since made, but some of Bev’s other works with fabric fungi also intrigued me. When I made my Recycling box some years back I’d tried to add some beadwoven mushrooms to the top, but the scale was wrong and to some extent the box was too abstract for such literal forms. I put them away and promptly forgot about them. But Bev’s pieces reminded me of that attempt, and some time later I decided to have another go. This time I would go bigger, working pretty much life size, and the results after some trial and error were a series of unique sculptures. I was super pleased with them but every stitch, every row had been created individually – no two neighbouring stitches were the same, and there was no way that they were ever going to be suitable for tutorials. So that was that – I had some fantastic art pieces which I was really pleased with, and I was happy that they were unique.

Fast forward to our summer holiday this year, and whilst packing for our epic Interrailing trip (Brussels, Cologne, Hamburg, Copenhagen, Berlin & Amsterdam) I decided to take just size 11 seeds with me in a small range of colours. I’d loved the purity of only working with one size of beads on the sculptures, and wanted to repeat that with some new forms – but what to make? Well the answer surprised me – my creative brain decided that some smaller, simpler mushrooms were worth a try – could they in fact be simplified so that each row was normal repeated patterns of beads that I would actually be able to write up (and that a beader would be able to follow without loosing their marbles)? And thankfully the answer was at least partially ‘yes’ – the top parts absolutely could be simplified. The stalks however could not – as soon as I made them regular they looked completely unnatural – so they remain a pig to write up, but as they are smaller I’ve managed it.

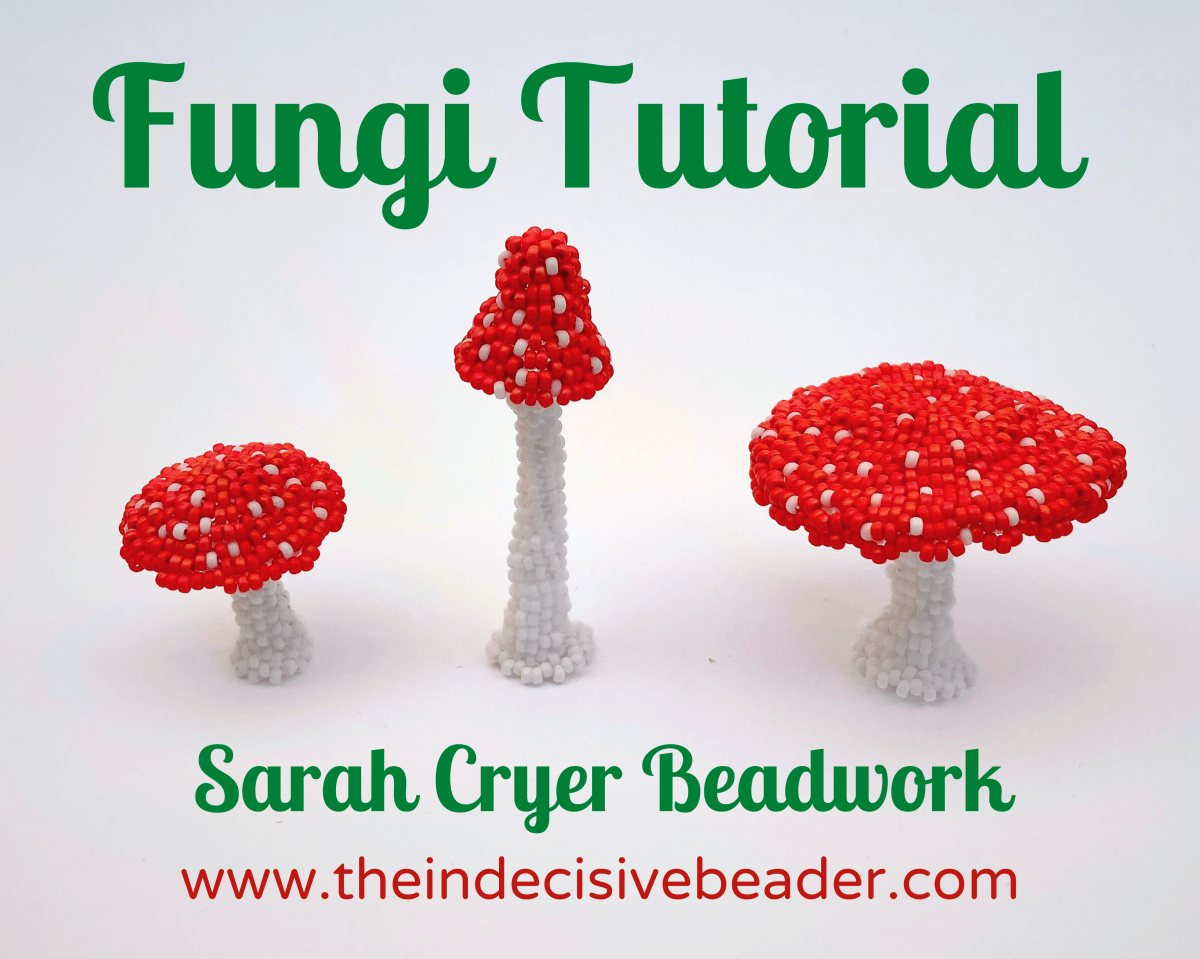
So, some many hours of train travel later I had a set of 3 – a classic flat top toadstool shape, a striking pointy ‘cap’ shape, and a smaller opened up baby, plus a few more using those as a starting point. When we got home I set to writing them up, and some months and an awful lot more samples and test runs later, here we are.

The tutorial has fully stepped out instructions for three specific mushrooms – the flat top A, the pointy B and then slightly briefer instructions for a smaller flat C.
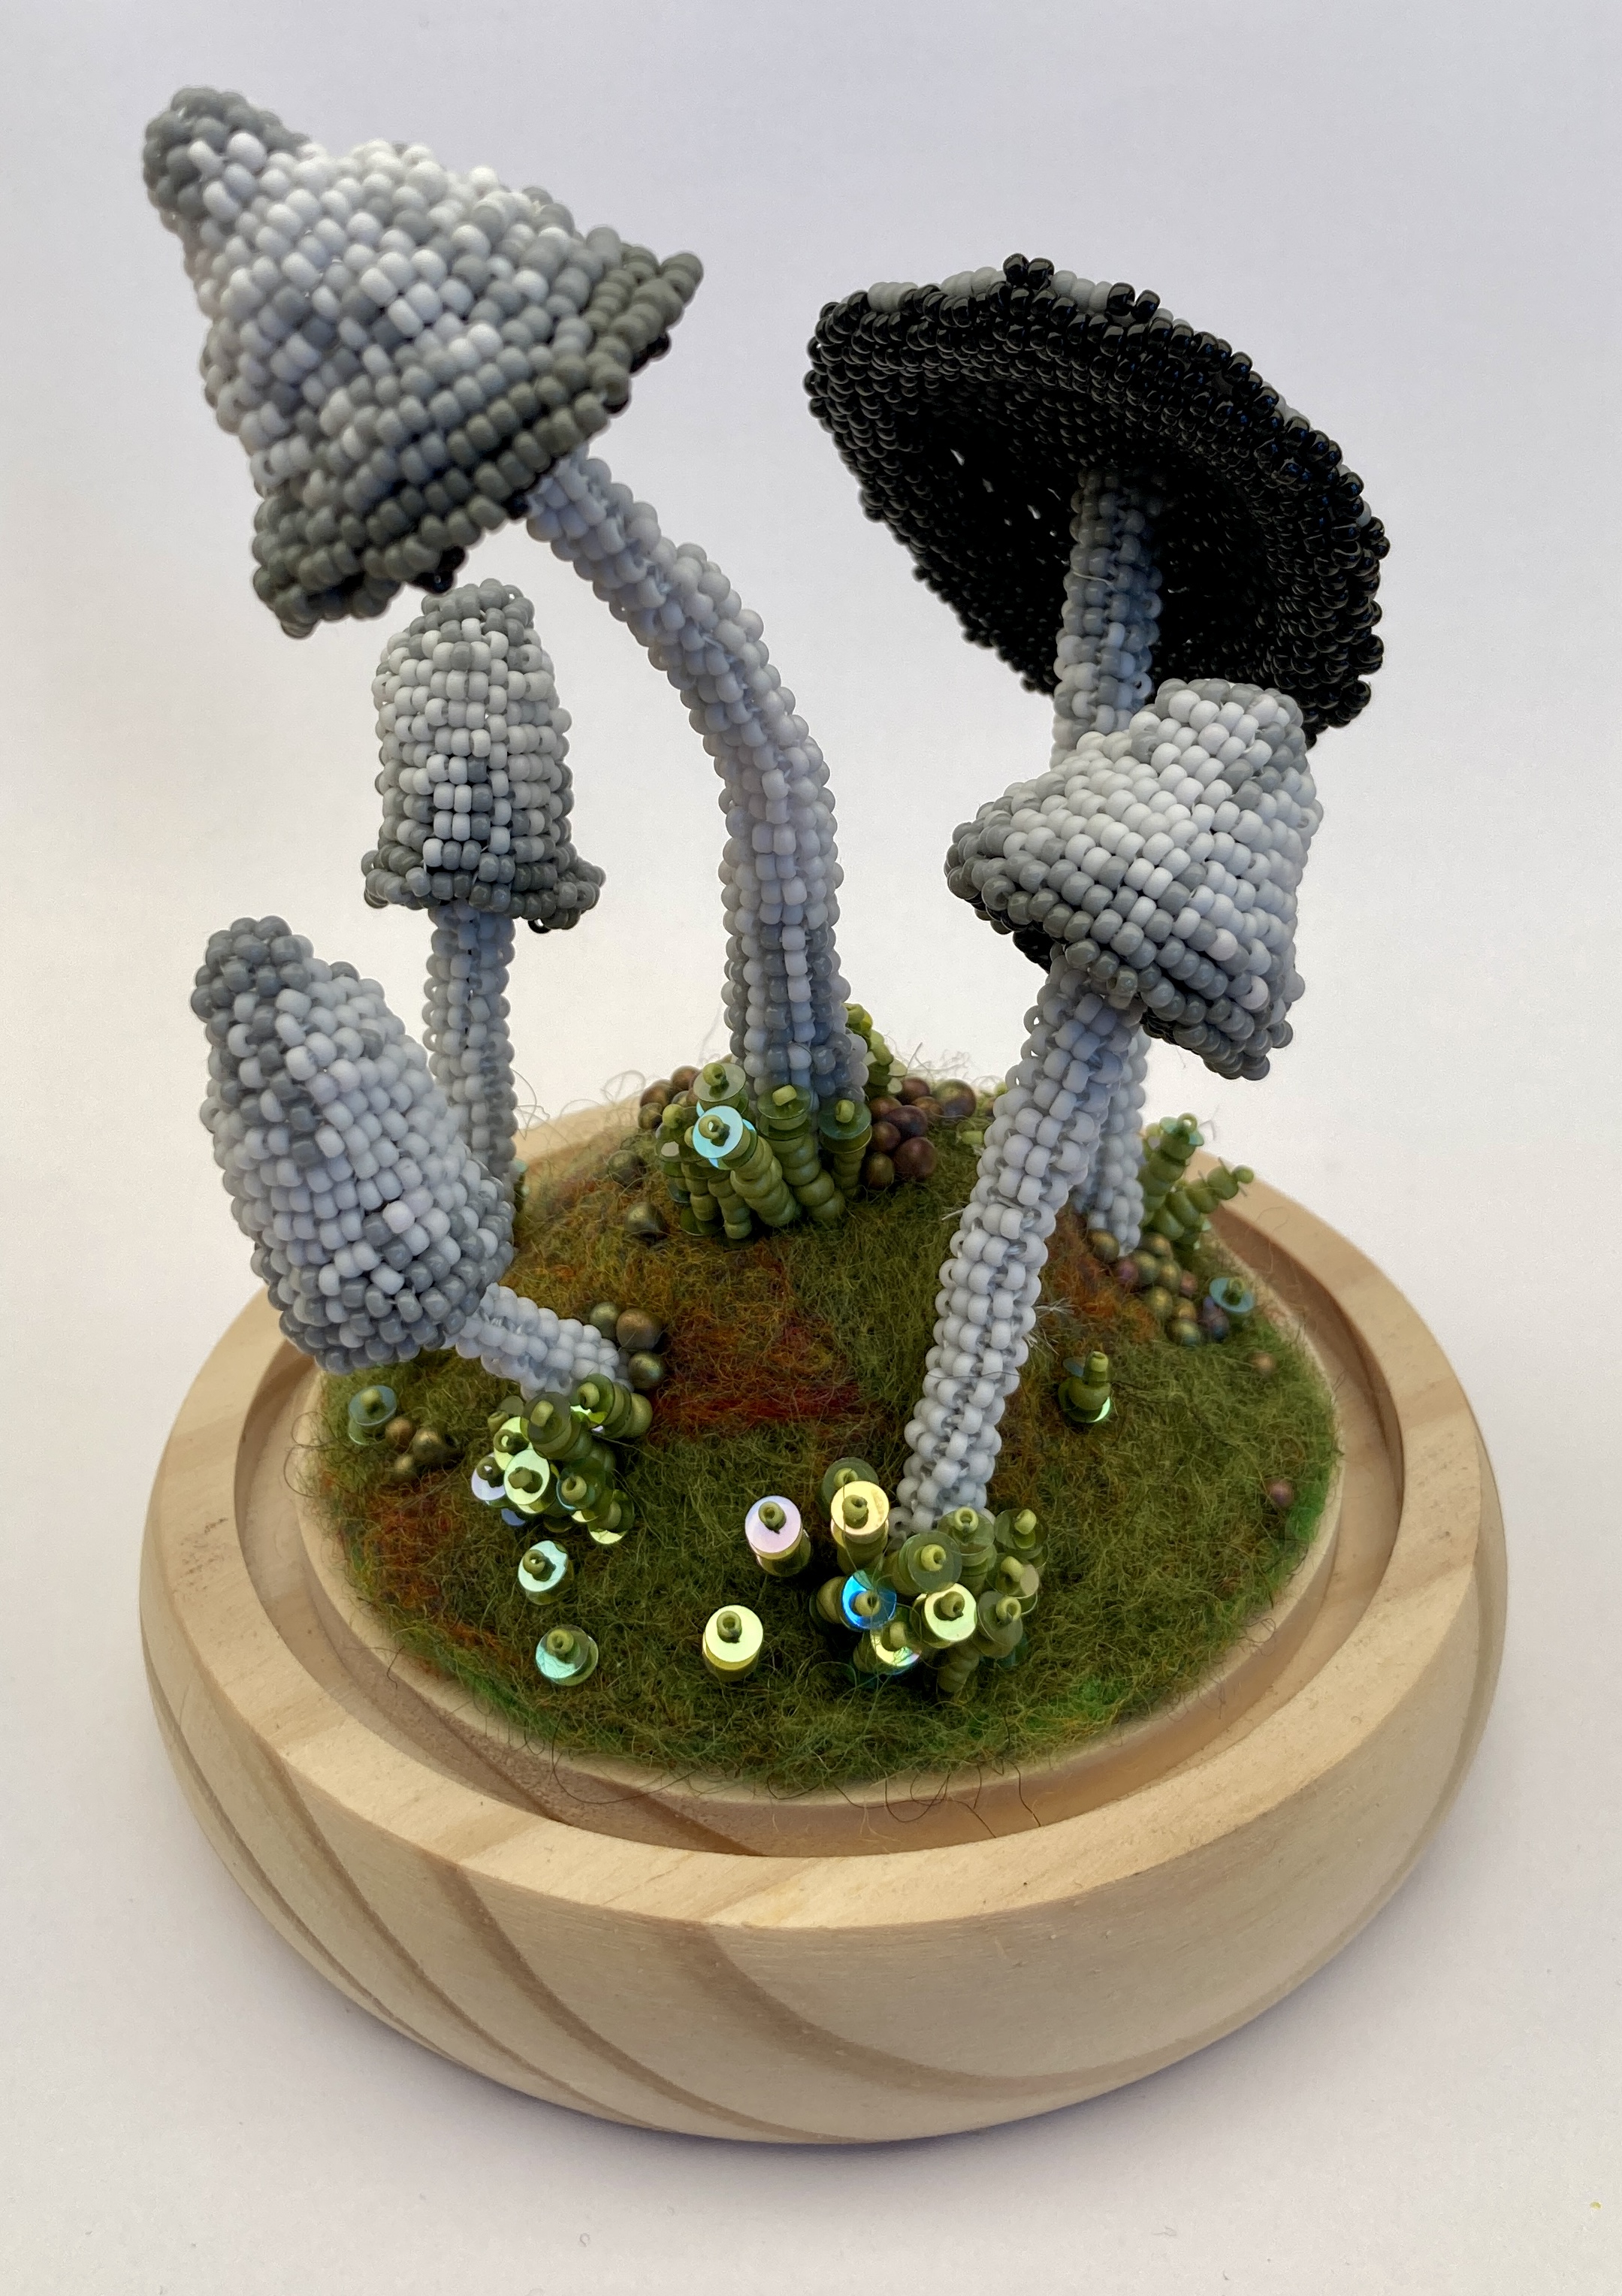
In the Variations section there are charts to convert A, B & C to fabulous shaggy Inkcaps with tips for expanding that set further, and colouring in pages with blank charts for your own patterns. There are also tips for altering key elements of the size or shape for the flat or pointy, and for changing the length or shape of the stems – these are not fully stepped out, instead they are guidelines so you can understand how to create your own unique, naturalistic forms, aided by the Gallery section which shows all of my versions plus some larger and more complex related pieces.
I’ve really loved making these and already have several new sets on the go. The Fungi world is huge and diverse, and it’s great to never be short of inspiration – no creative thinking required, just go to nature and copy!
