
I know, I’m on a roll, two new tutorials in a row! This one is another pure beadweaving tutorial – I’ve been doing a lot of bead embroidery and goldwork as part of other projects, so I’ve returned to beadweaving as a break from the stress of very creative work, spending some time refining some samples made a little while ago and writing them up.
This piece was started last year as an attempt to create a shell shape in beads.

The original idea was to work with CRAW, and whilst that came out as I’d planned, it wasn’t really shelly enough (you definitely had to be told what it was supposed to be!!). CRAW is also not a universally popular stitch – some beaders love it and some completely hate it, so I moved on…….
The idea of increasing strips seemed sensible, but there needed to be more of them to give a clearer shape, and they needed to not be CRAW – so I had a go with RAW, using twice as many strips and something altogether more shell like emerged.
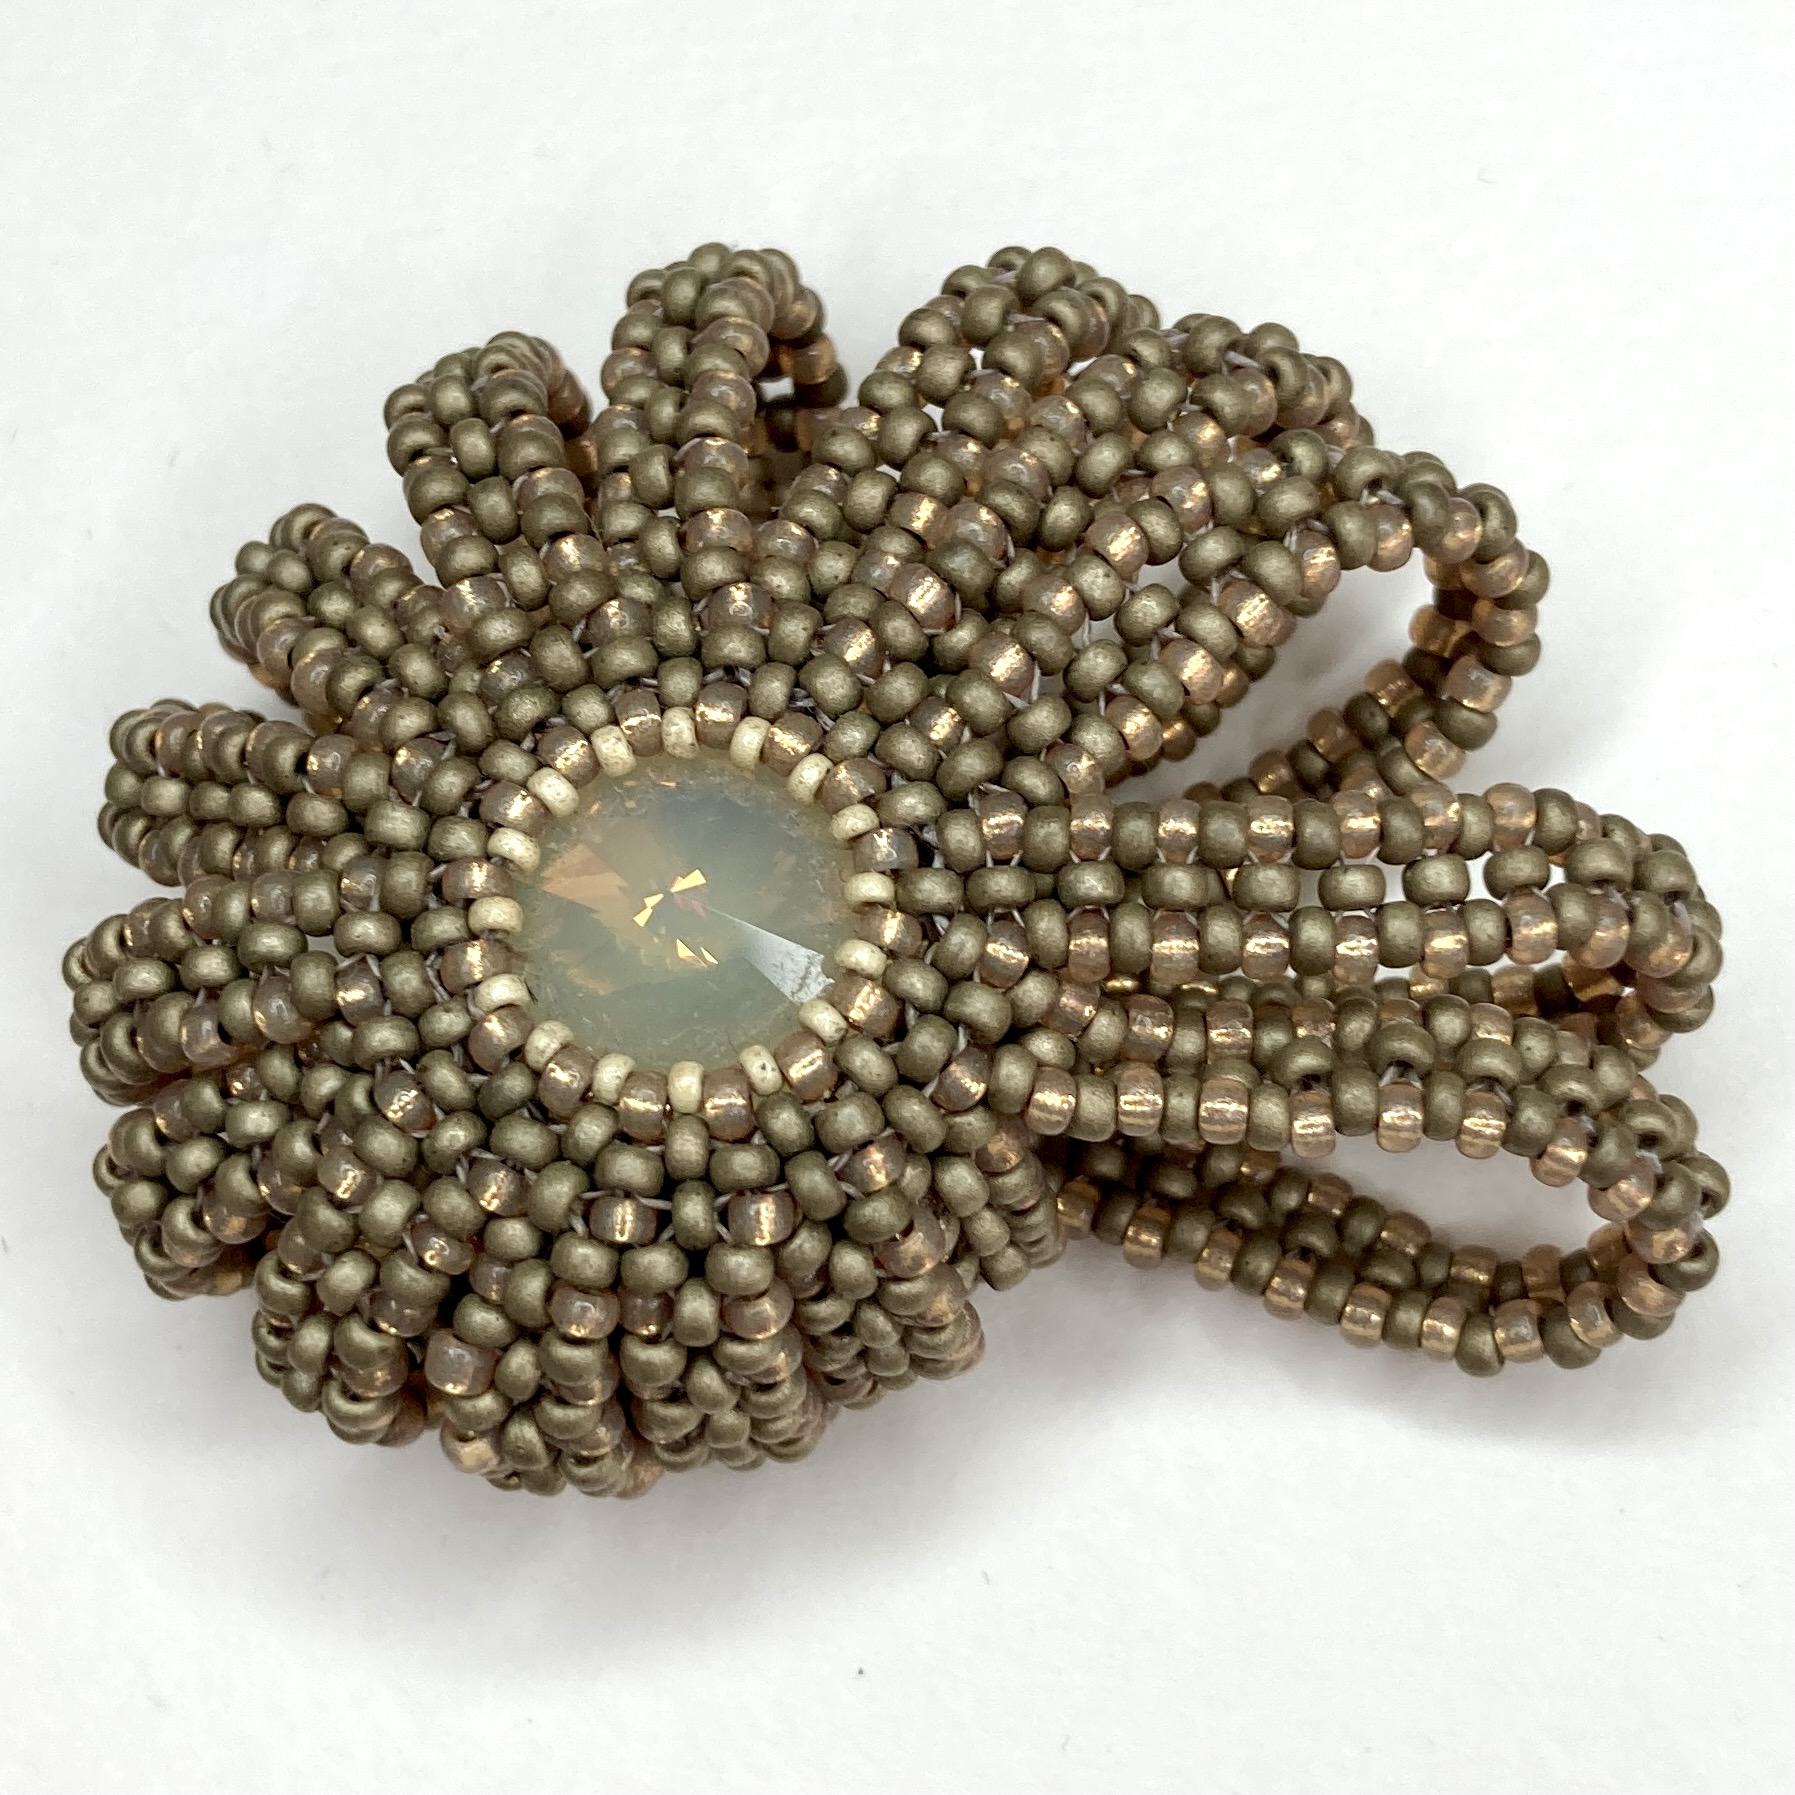
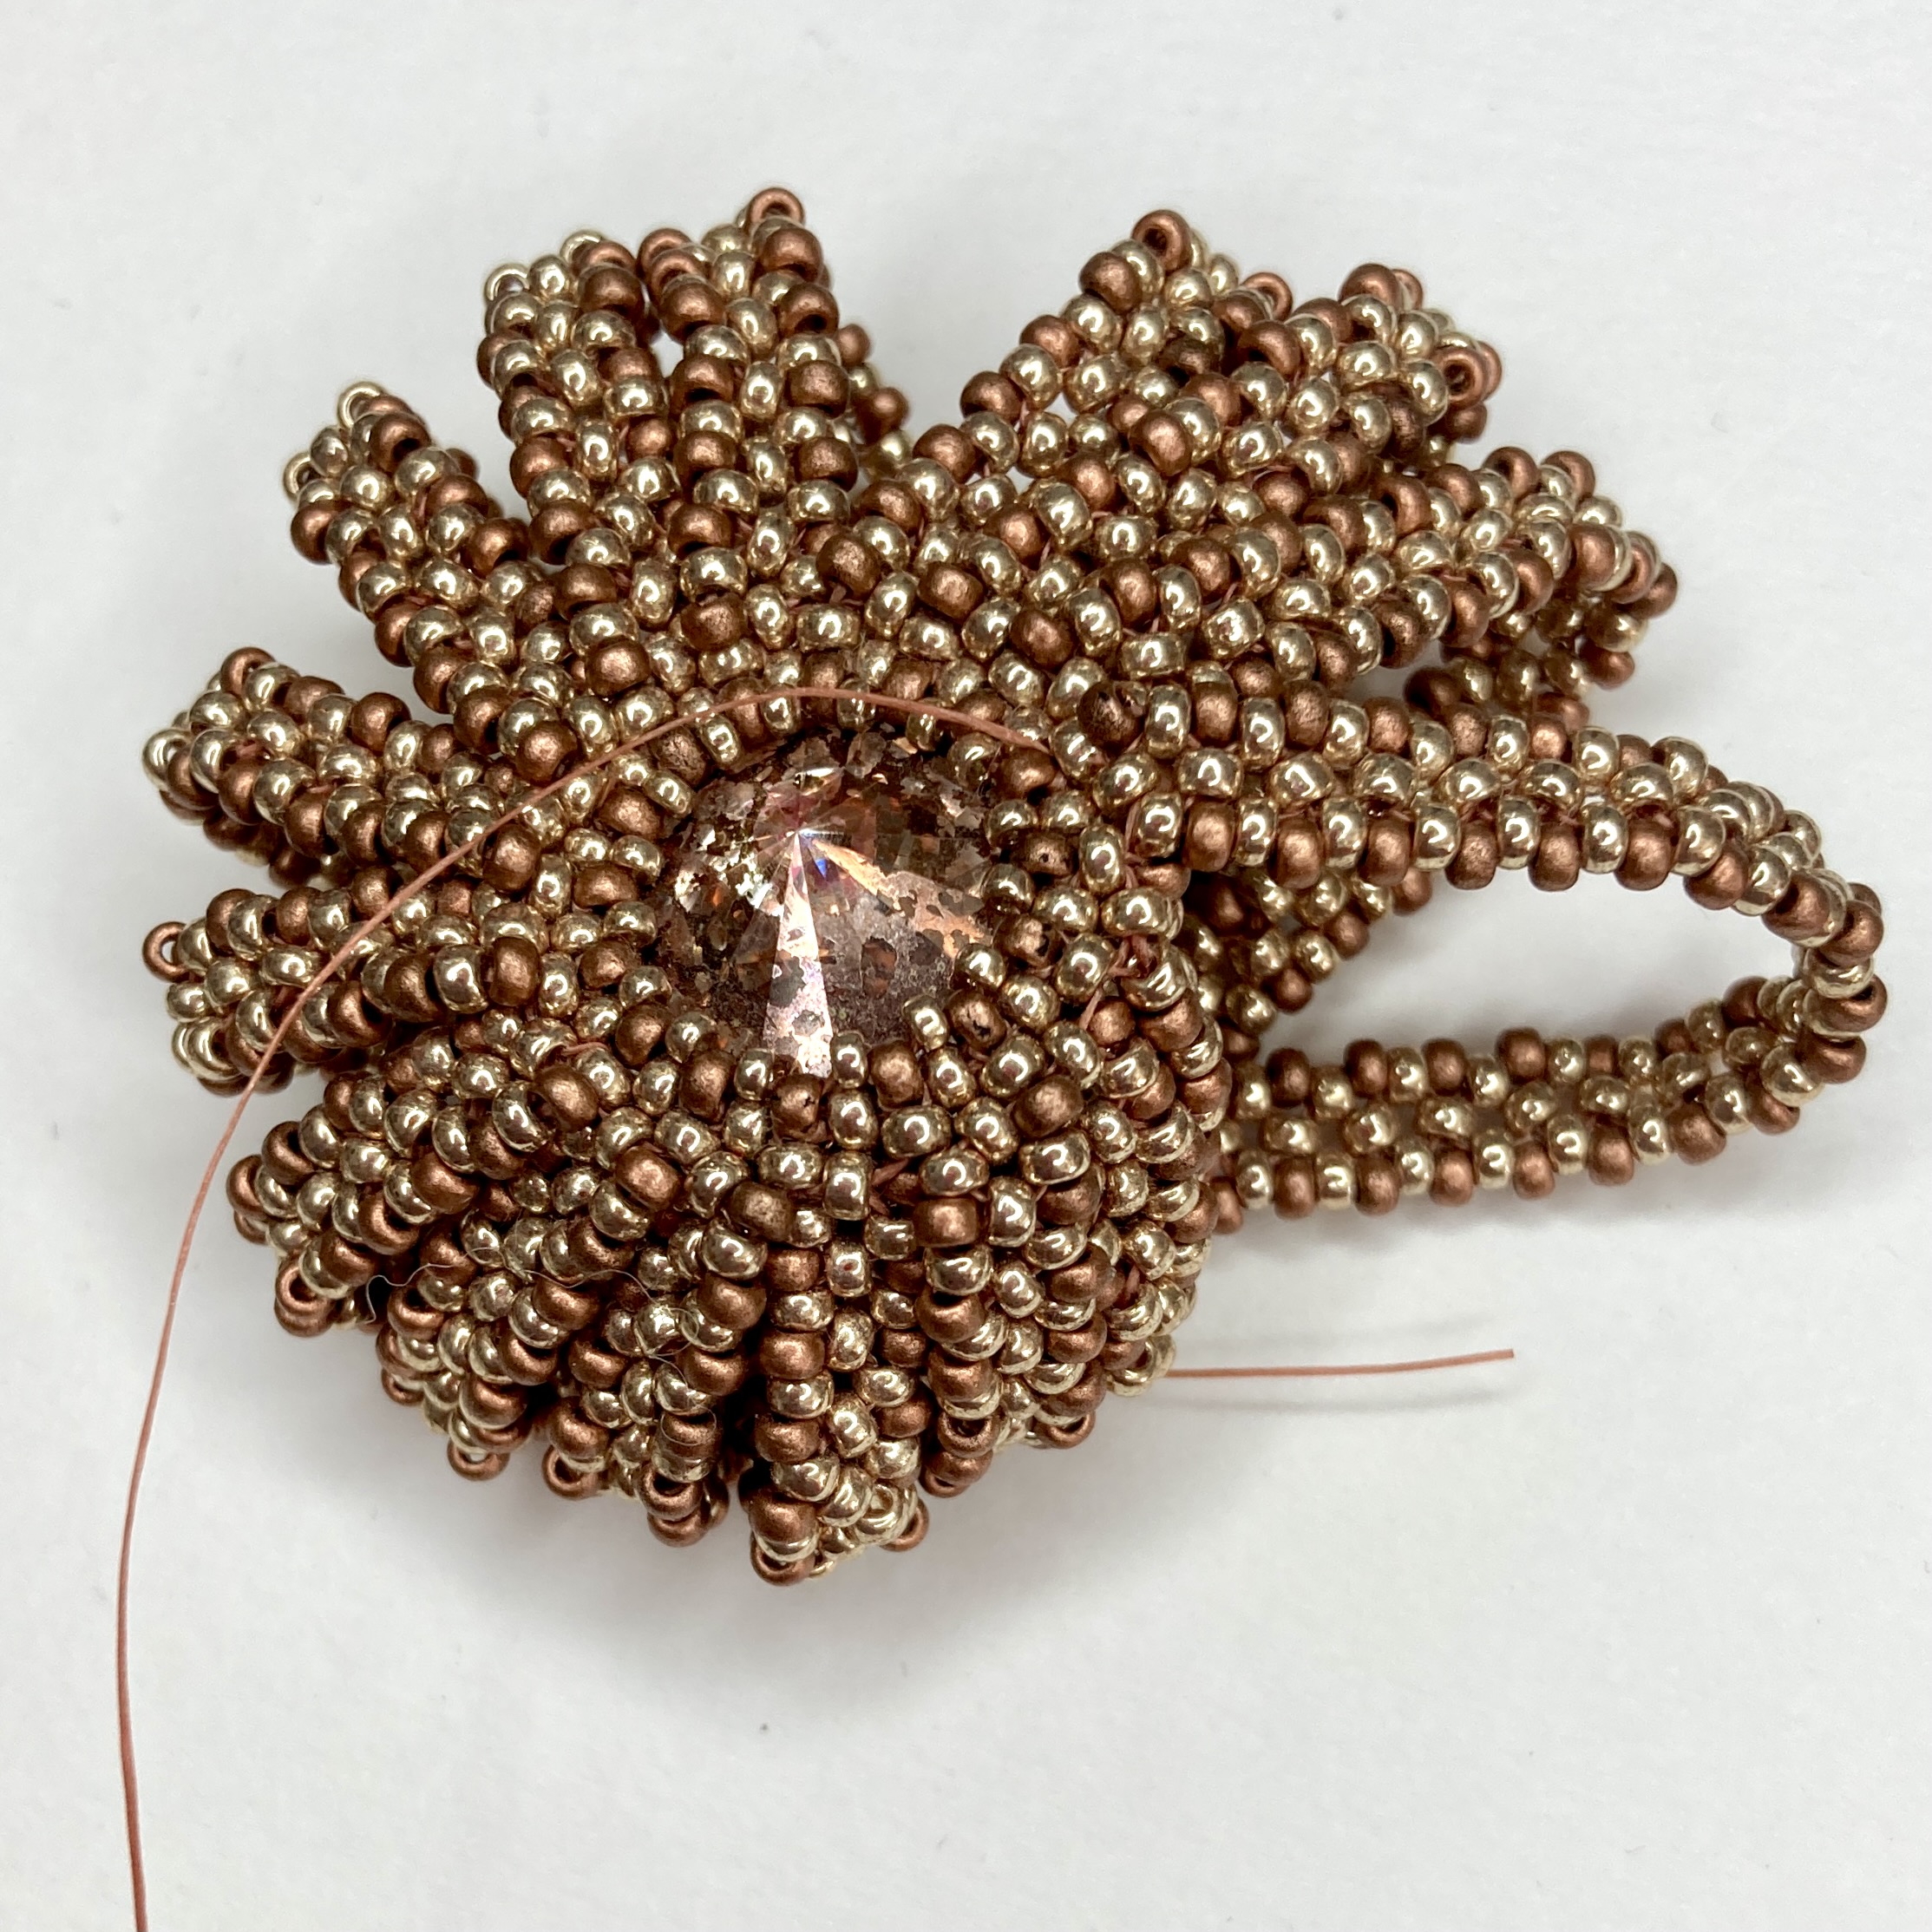
There were a few mis-steps along the way – early versions had a terrible wobble in the middle until I changed the central join to make it more rigid, and I had a lot of trouble getting the spines rigid enough without busting needles weaving through (and getting bored as well as annoyed in the process). A offset version was hopeless but did give me some ideas. Overall the set up was a little plain – still not shelly enough, and the metallic beads weren’t helping either.
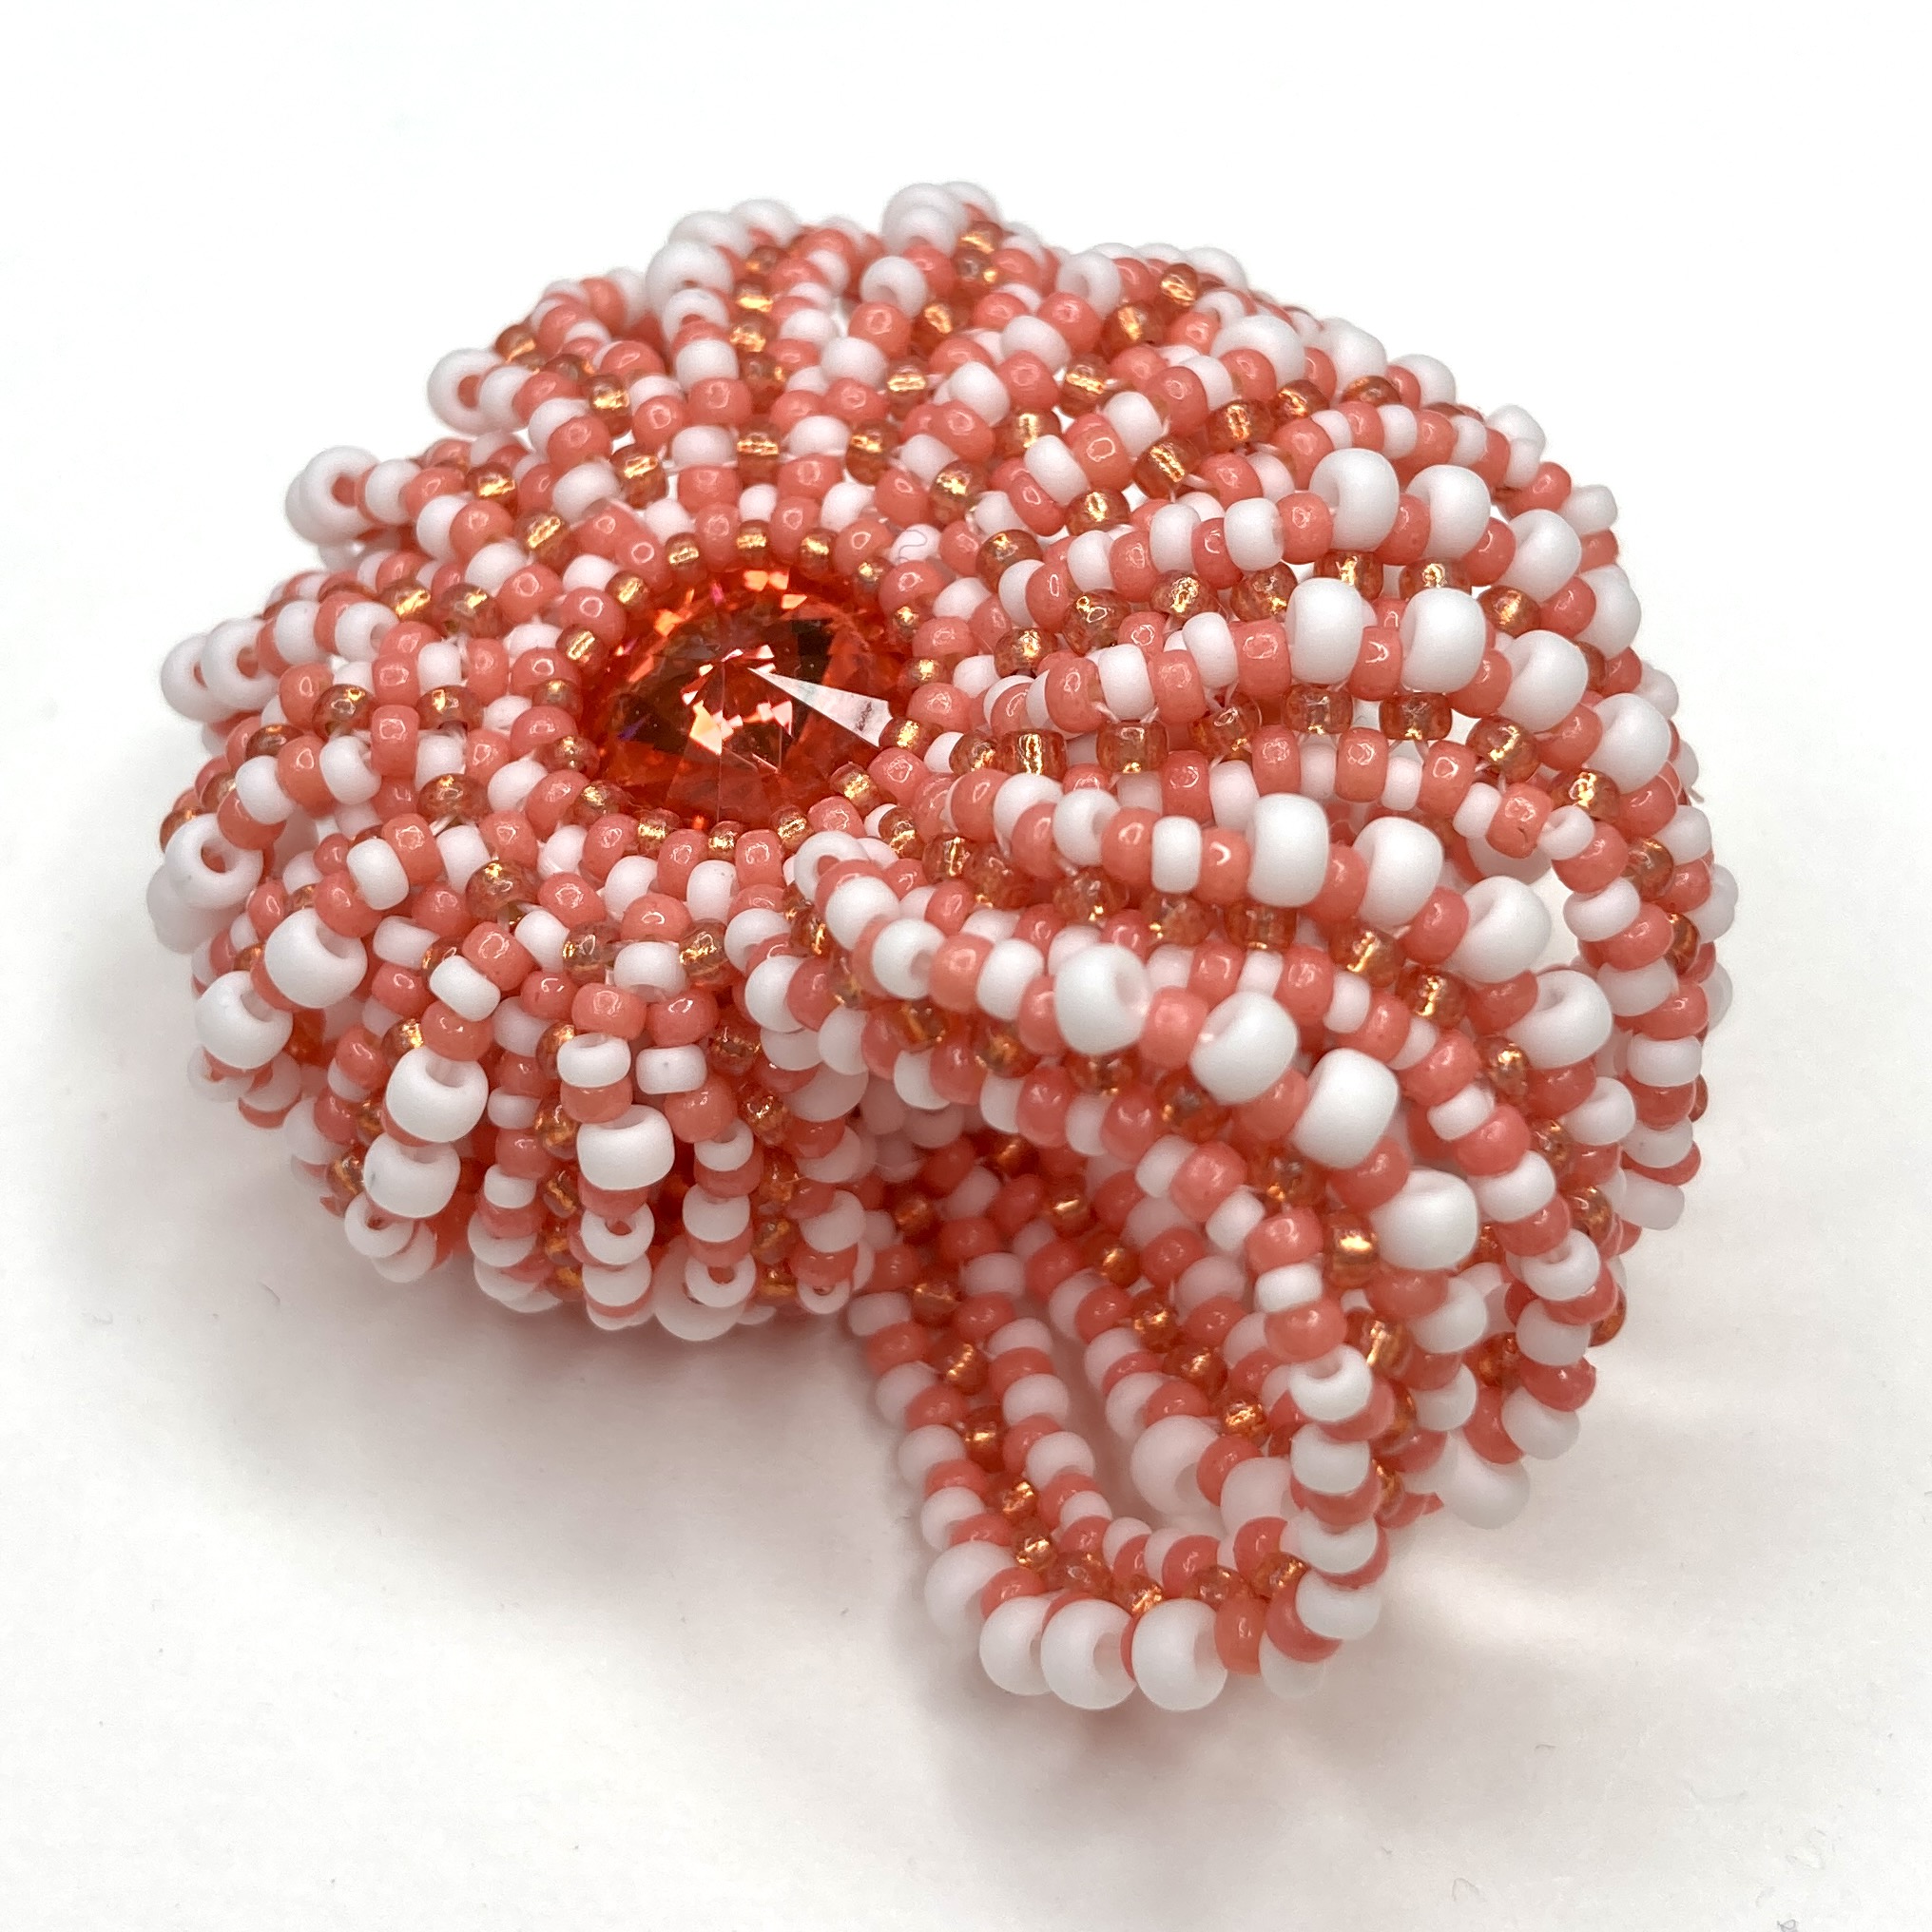
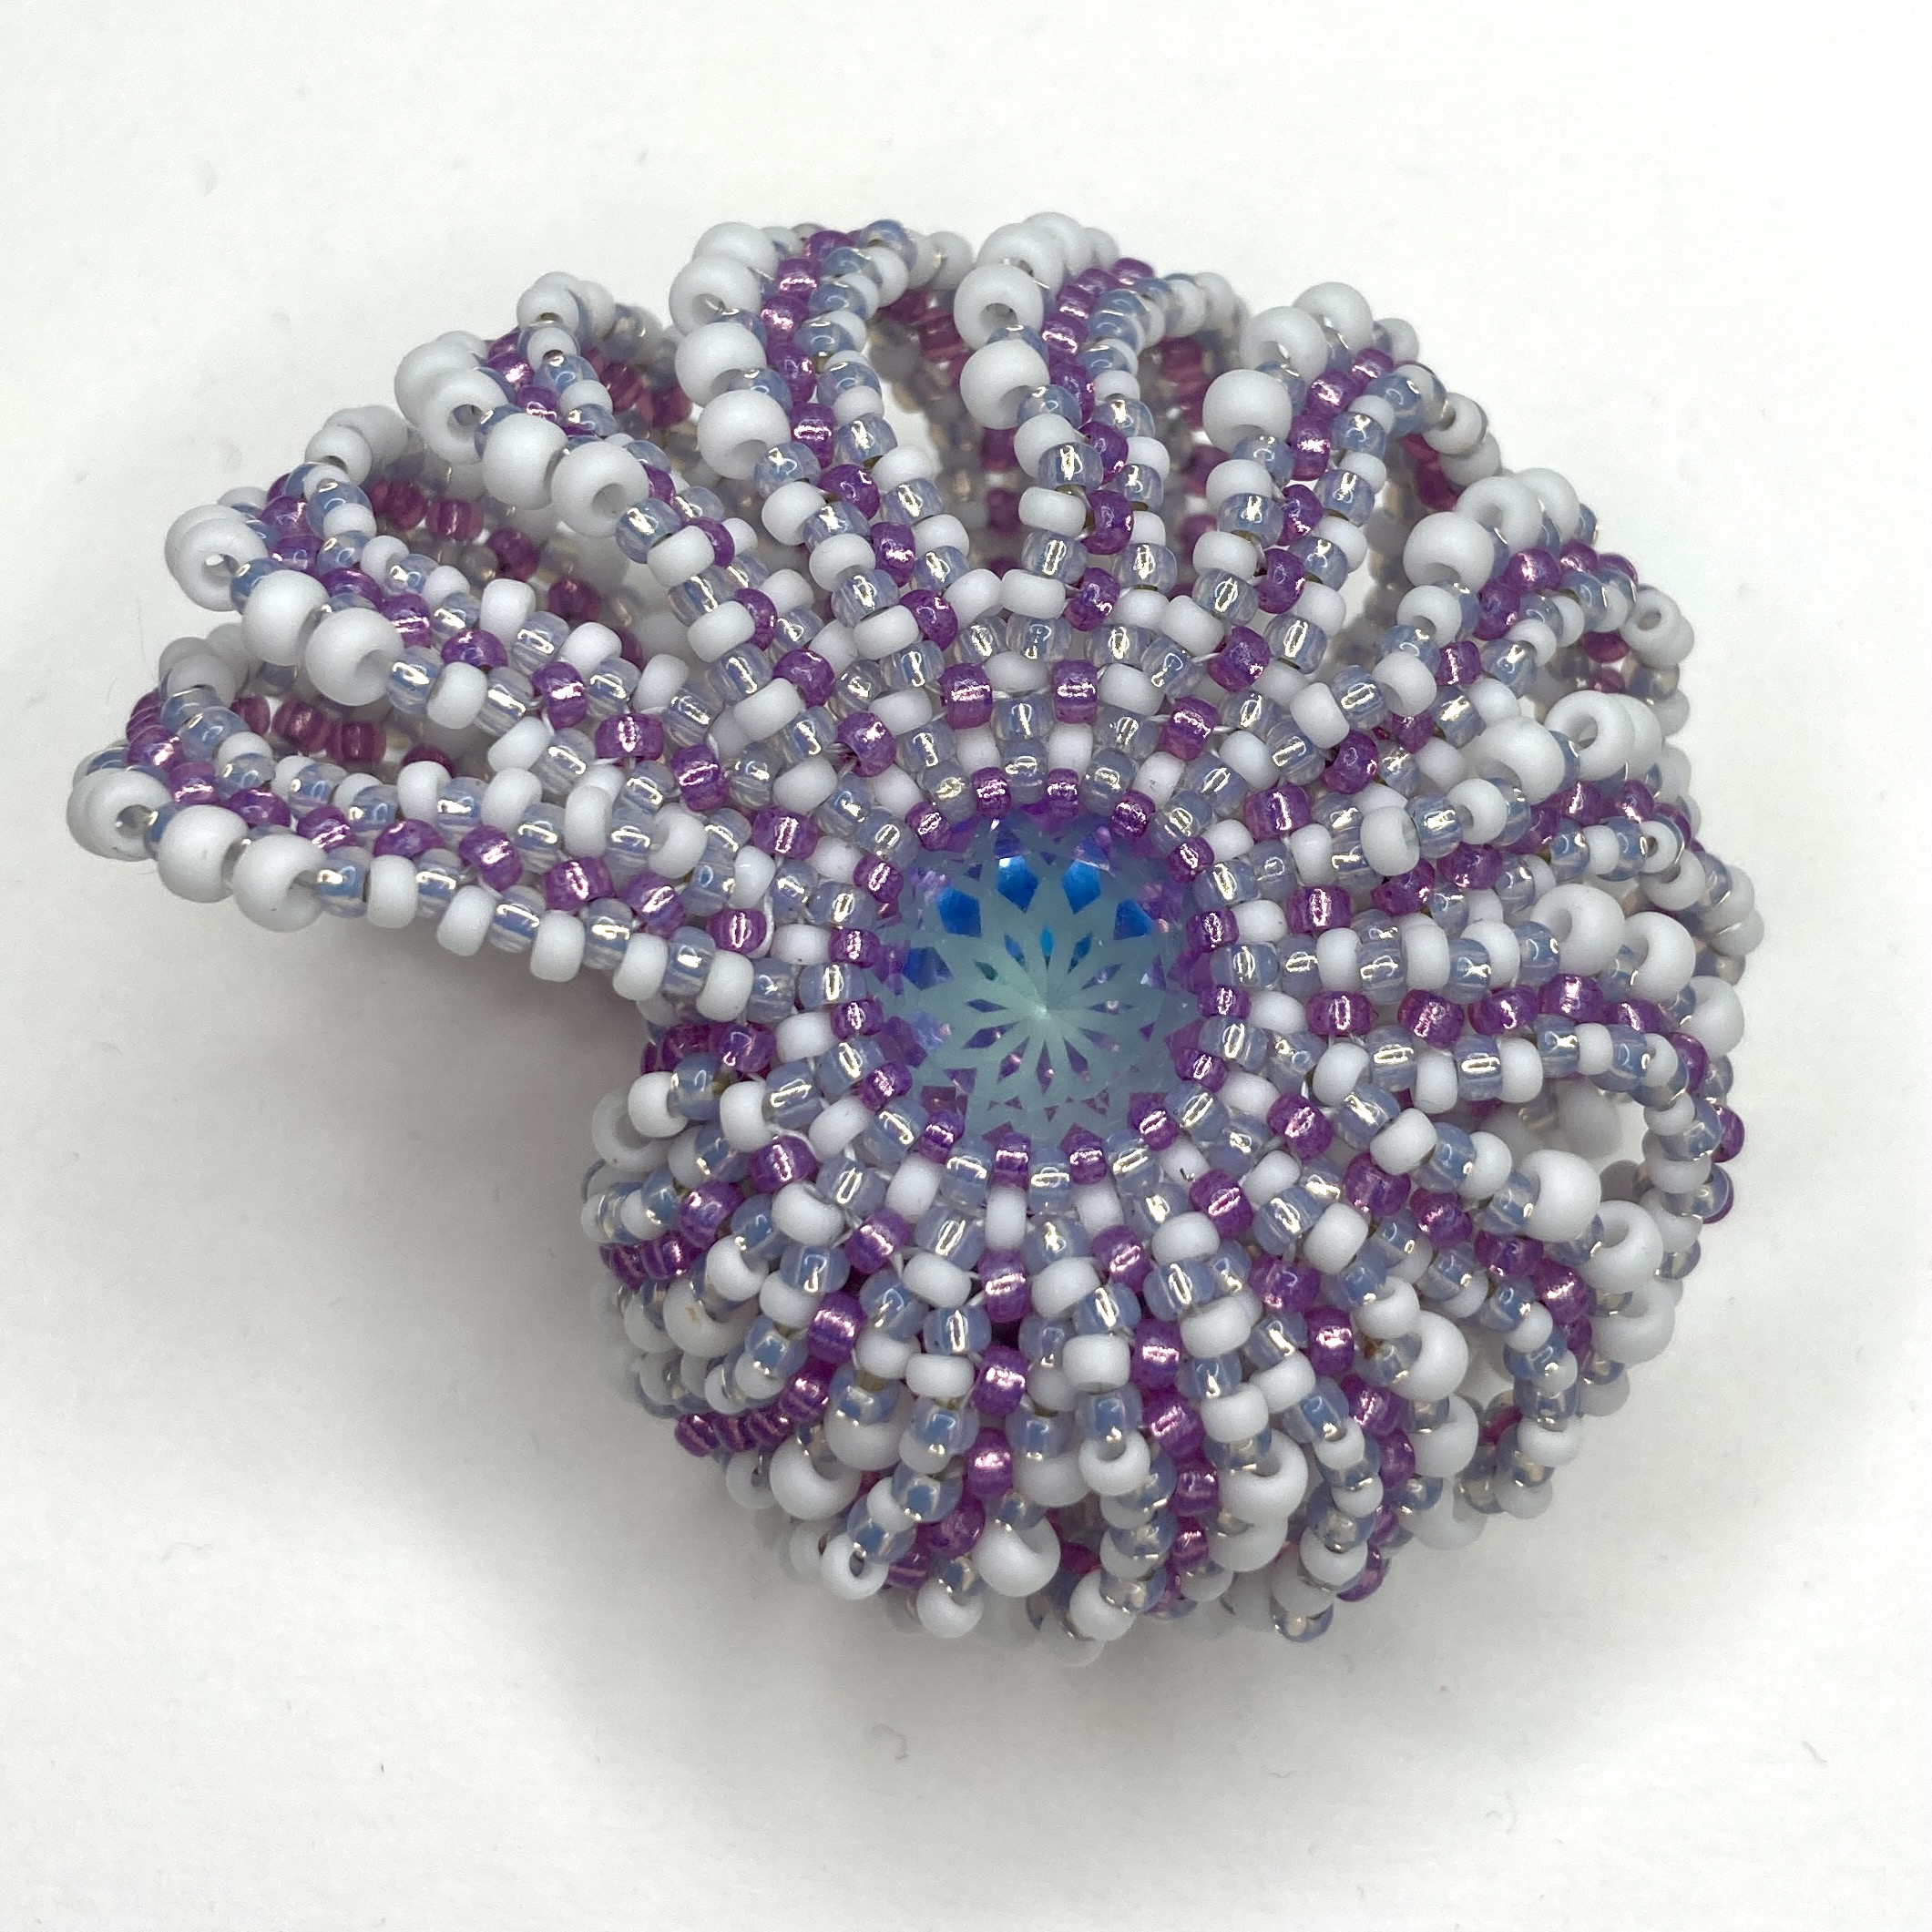
Then I had the idea to add Cellini to the spine edges – that immediately gave a beautiful S shaped curve and an instantly rigid shape, but I was still having issues with getting through some of the beads to get the spines in place and to make them rigid enough. That meant lots of new versions, trying different bead sizes, thread paths, even altering the bezels. Colours became less metallic, sometimes a little bright (for clarity) but mainly staying in a ‘shell’ palette.
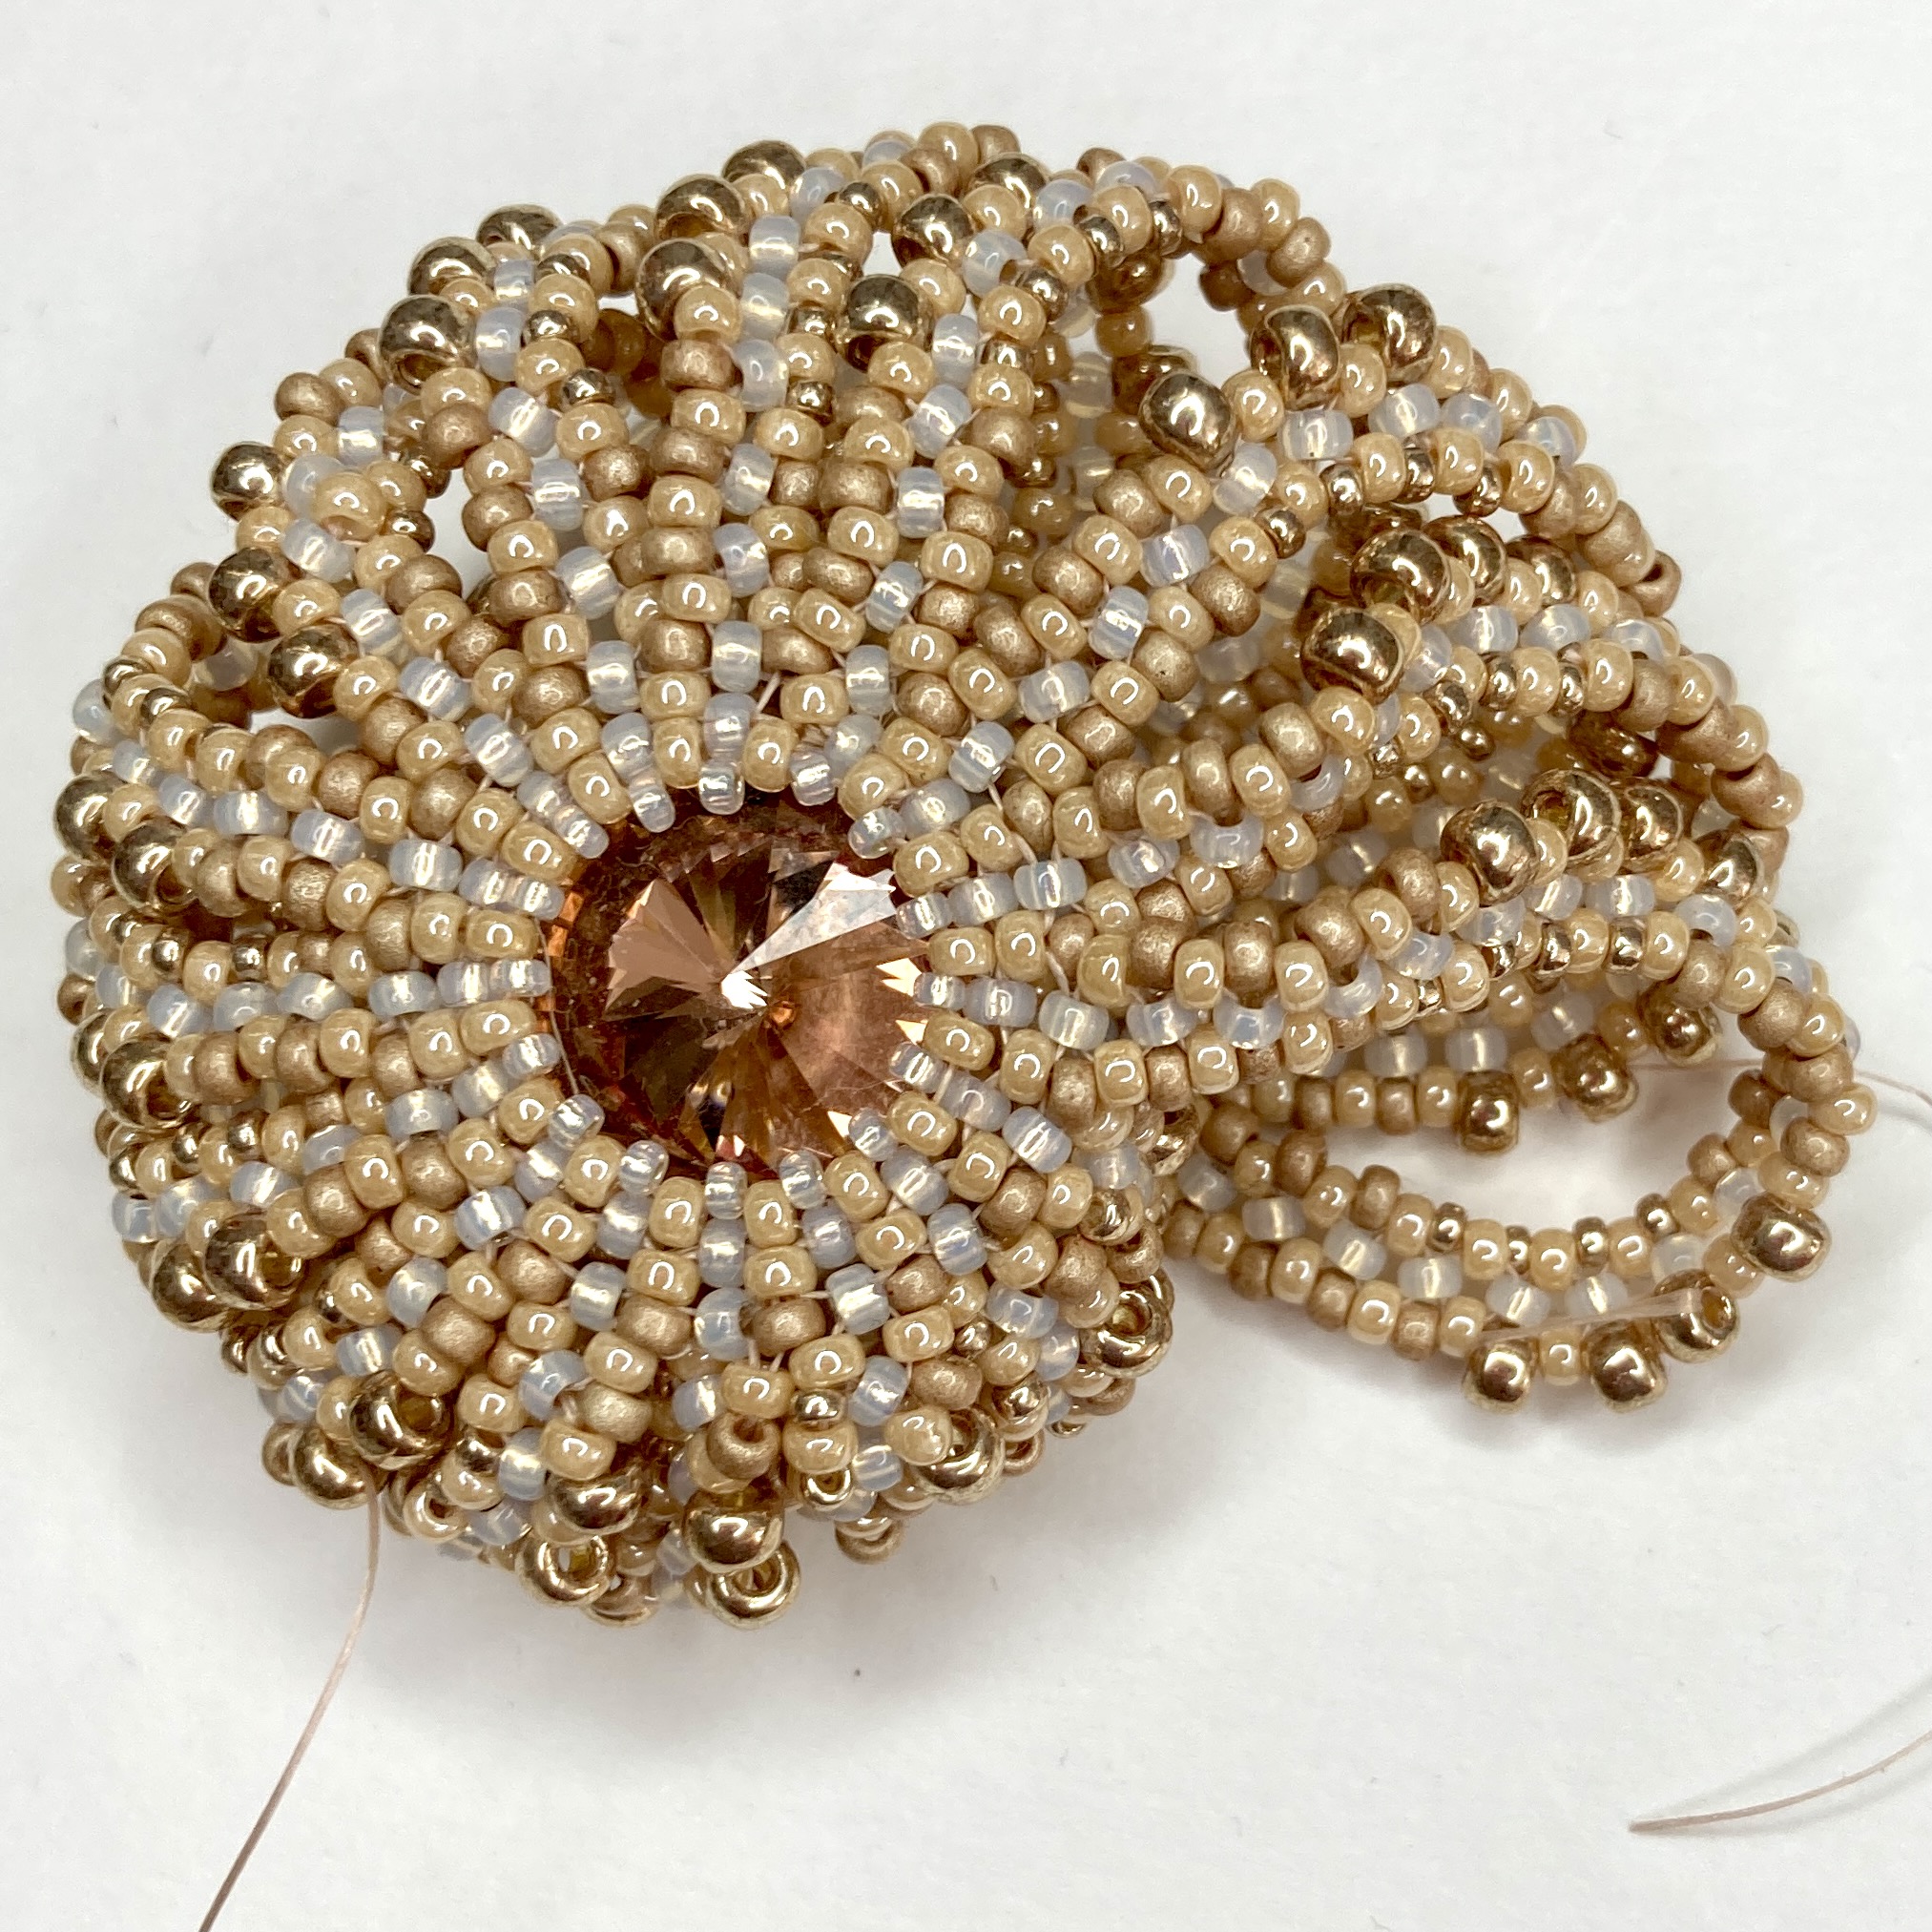
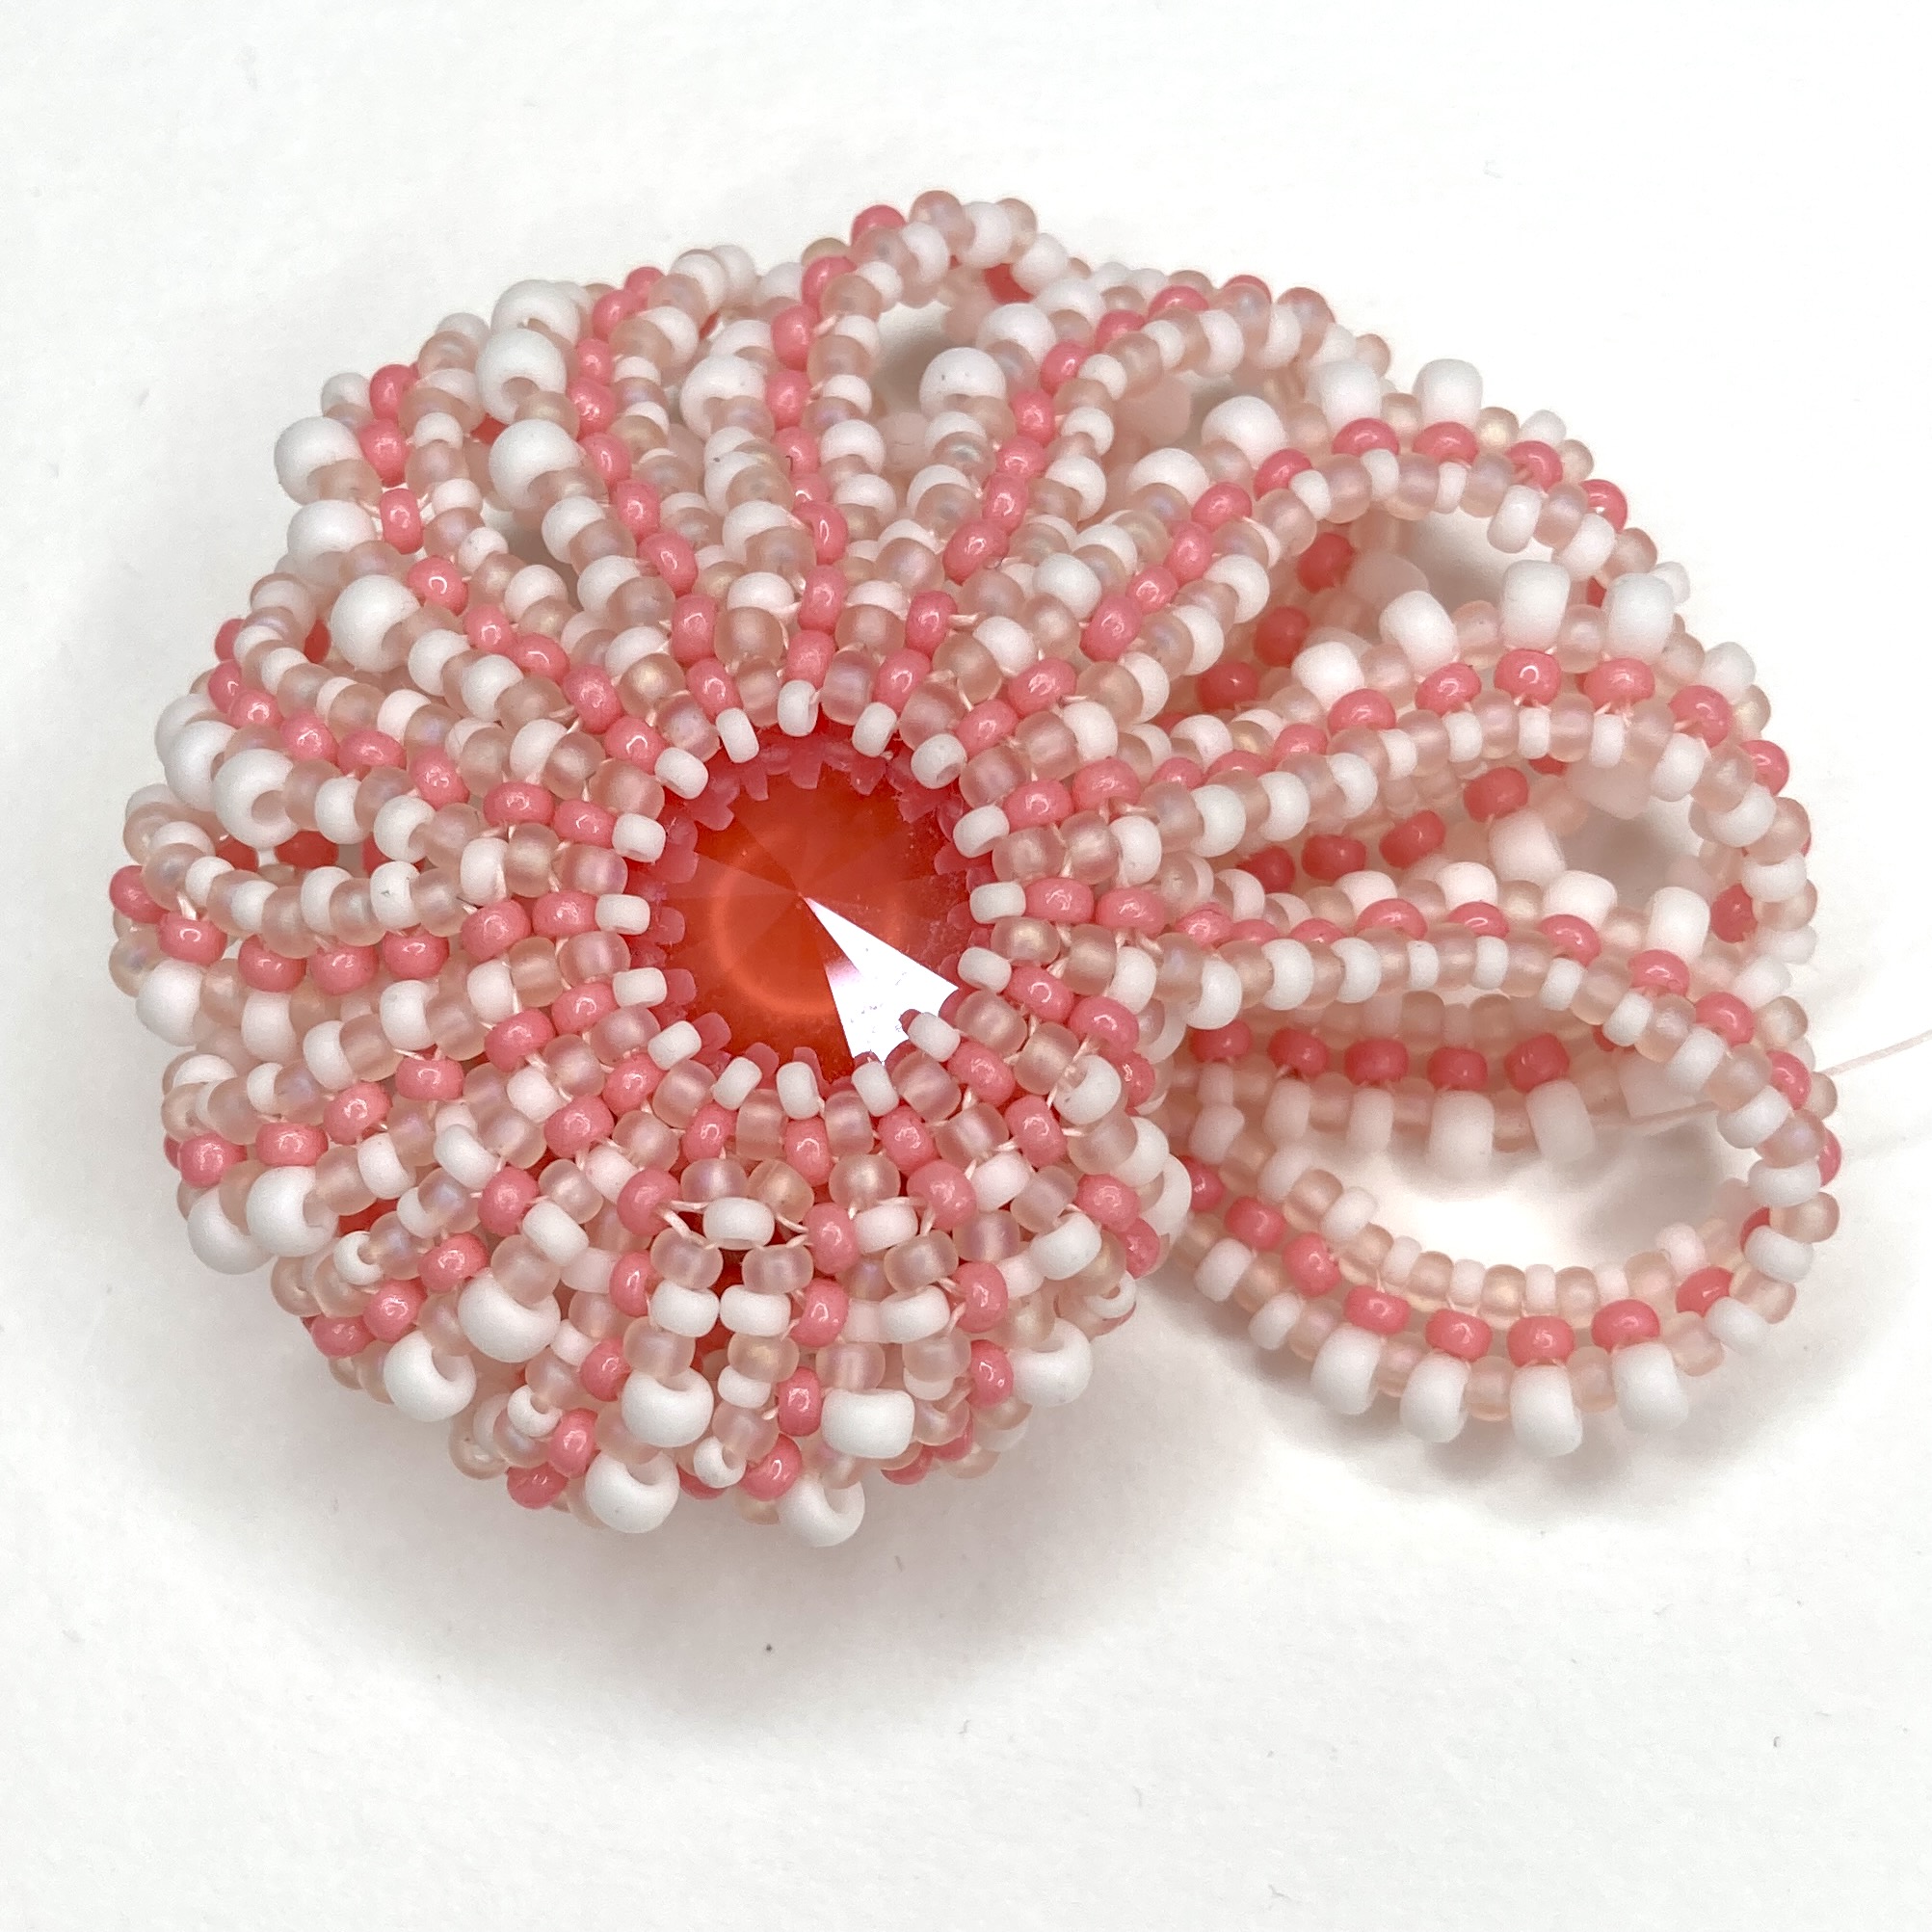

After all that fiddling and frogging I had a breakthrough, managing to come up with a cunning trick to improve the thread path at a critical point to save needles, remove the need to weave through to strengthen and best of all, preventing bad language! Ironically the diversions were all red herrings – the final piece is very close to the two first Cellini versions, just with that slight critical adjustment. Brighter colours to help with picture taking at this stage……
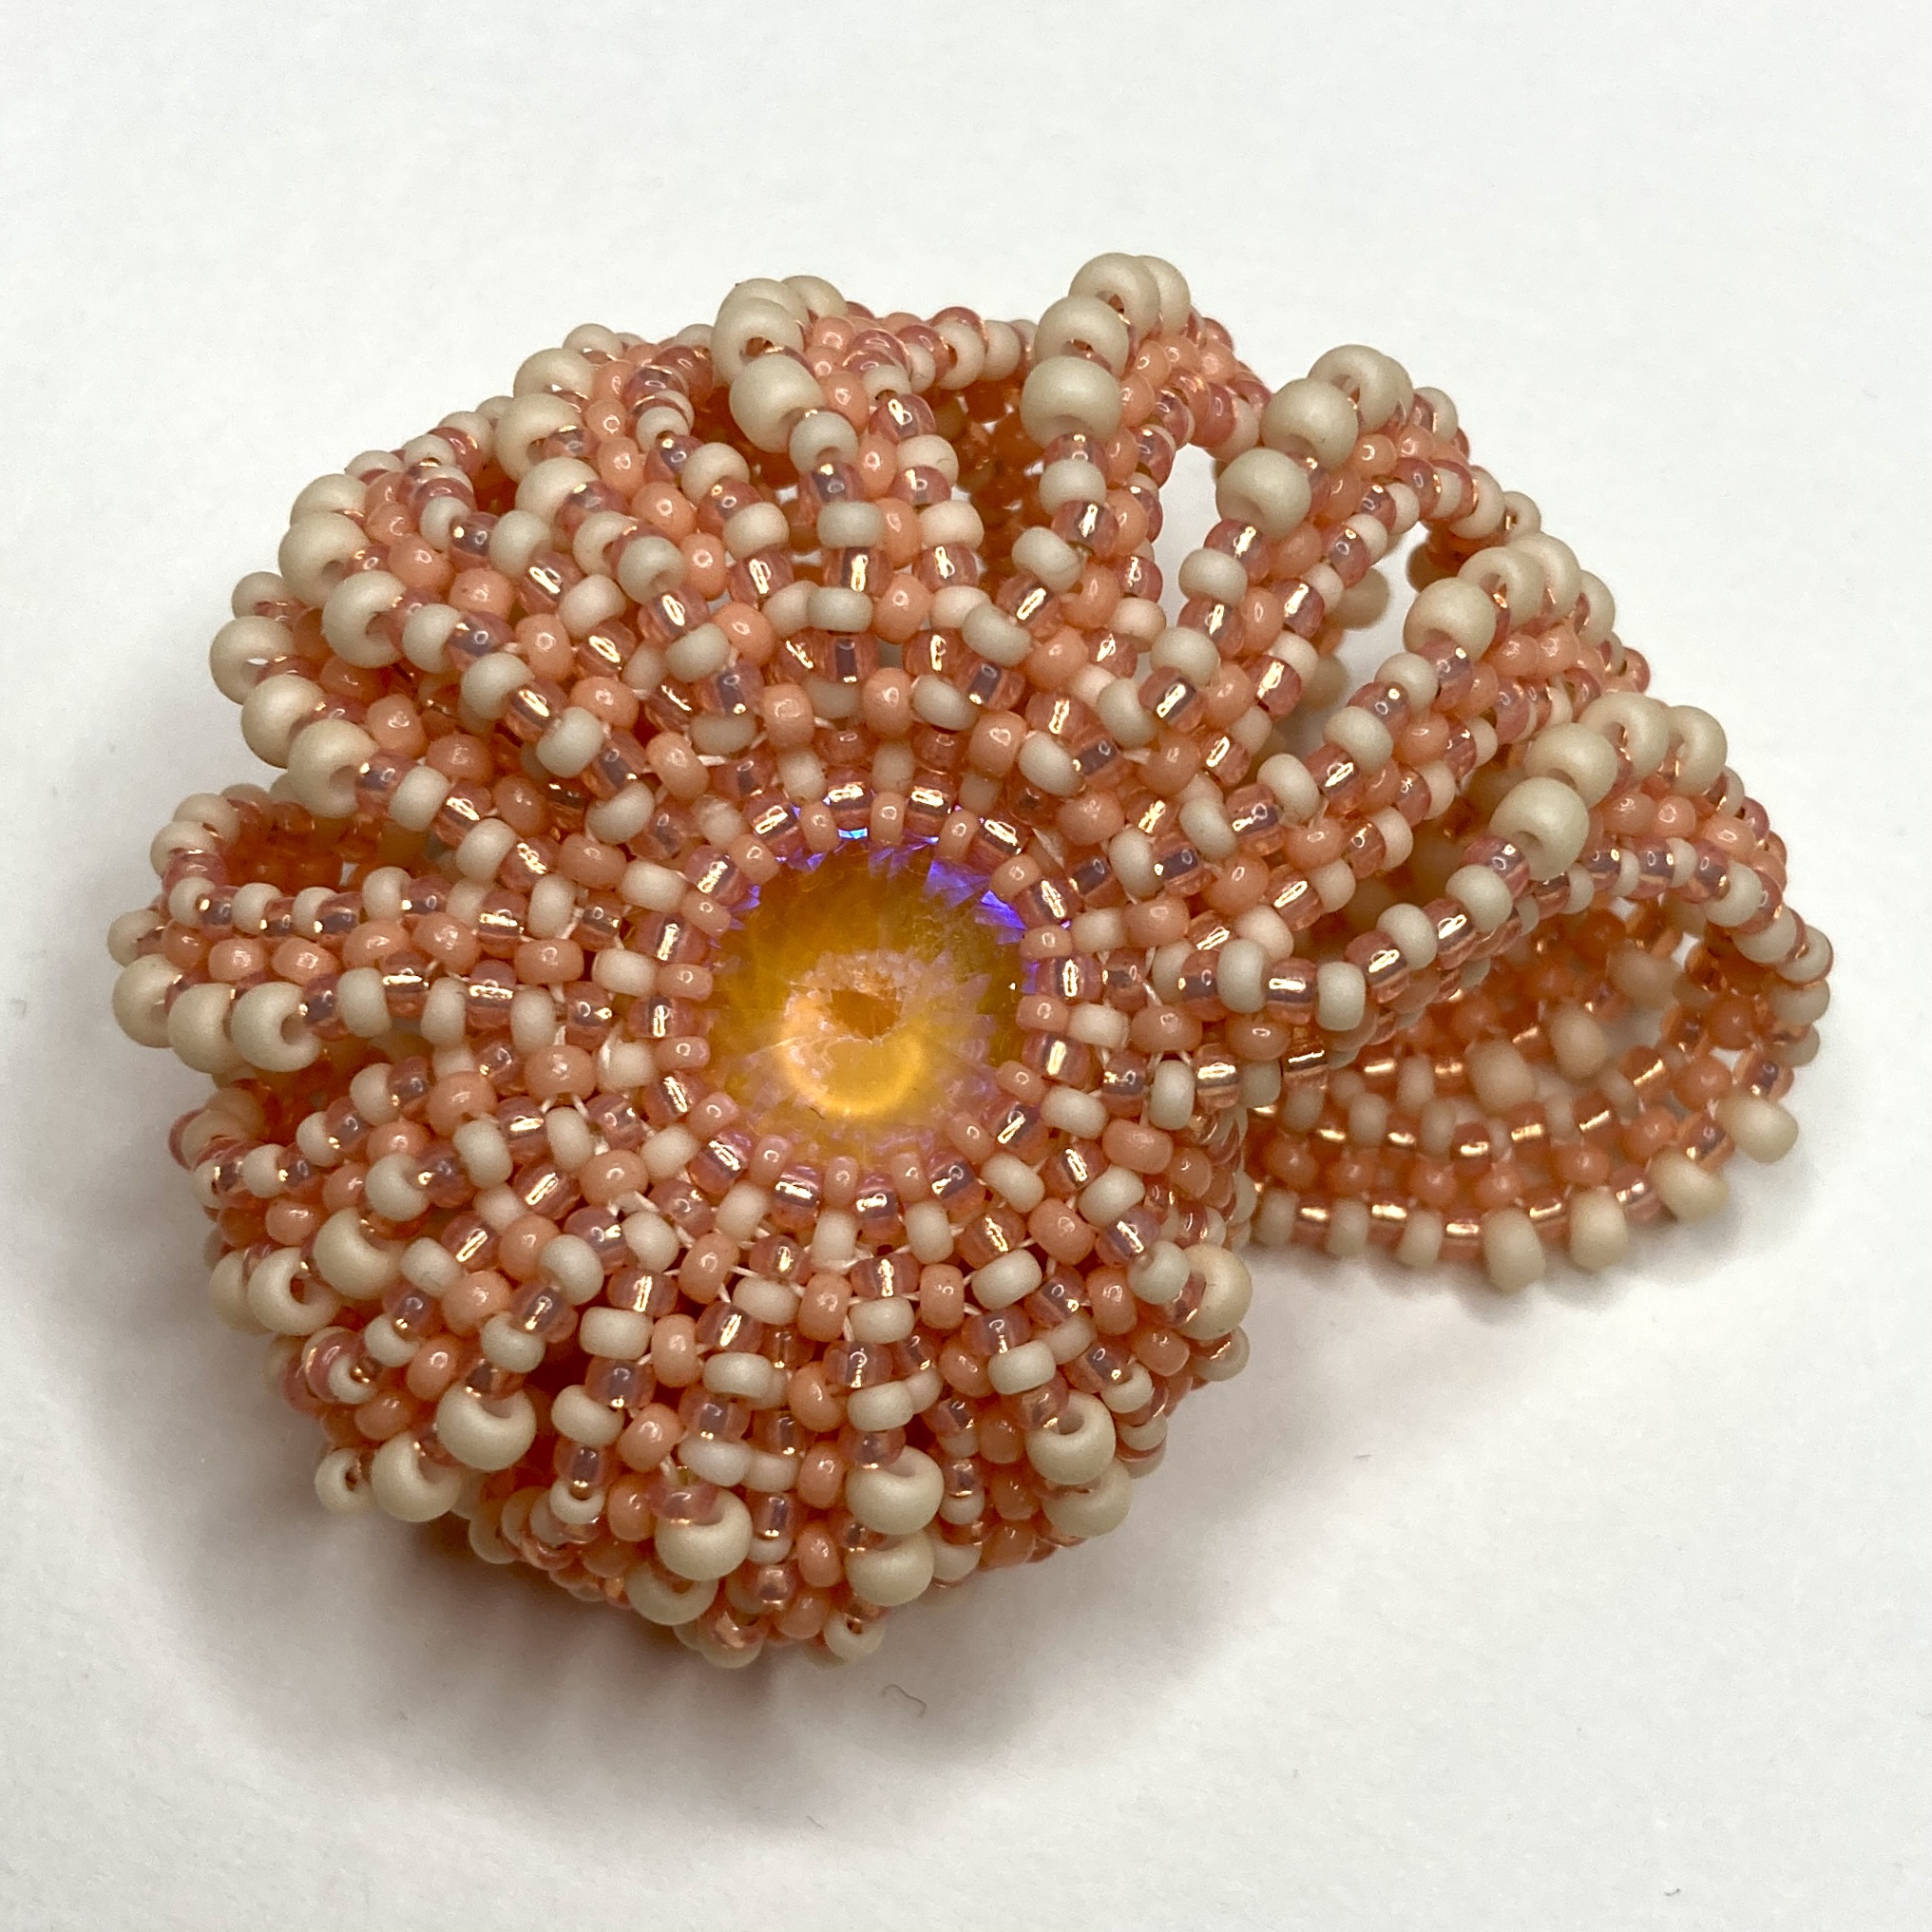
Along the way I made another plain version (no Cellini, but refined from the earlier plain versions), and after some useful comments on Instagram when I showed some in progress pieces, I added a baby variation using an 8mm chaton, and a Sea Urchin variation using the 14mm and some 3.4mm drops. These are in my favourite colour palettes for this piece – warm palest peachy pinks and soft creams or whites (very pretty and an indulgence after having to work with more distinctive colours for tutorial images).
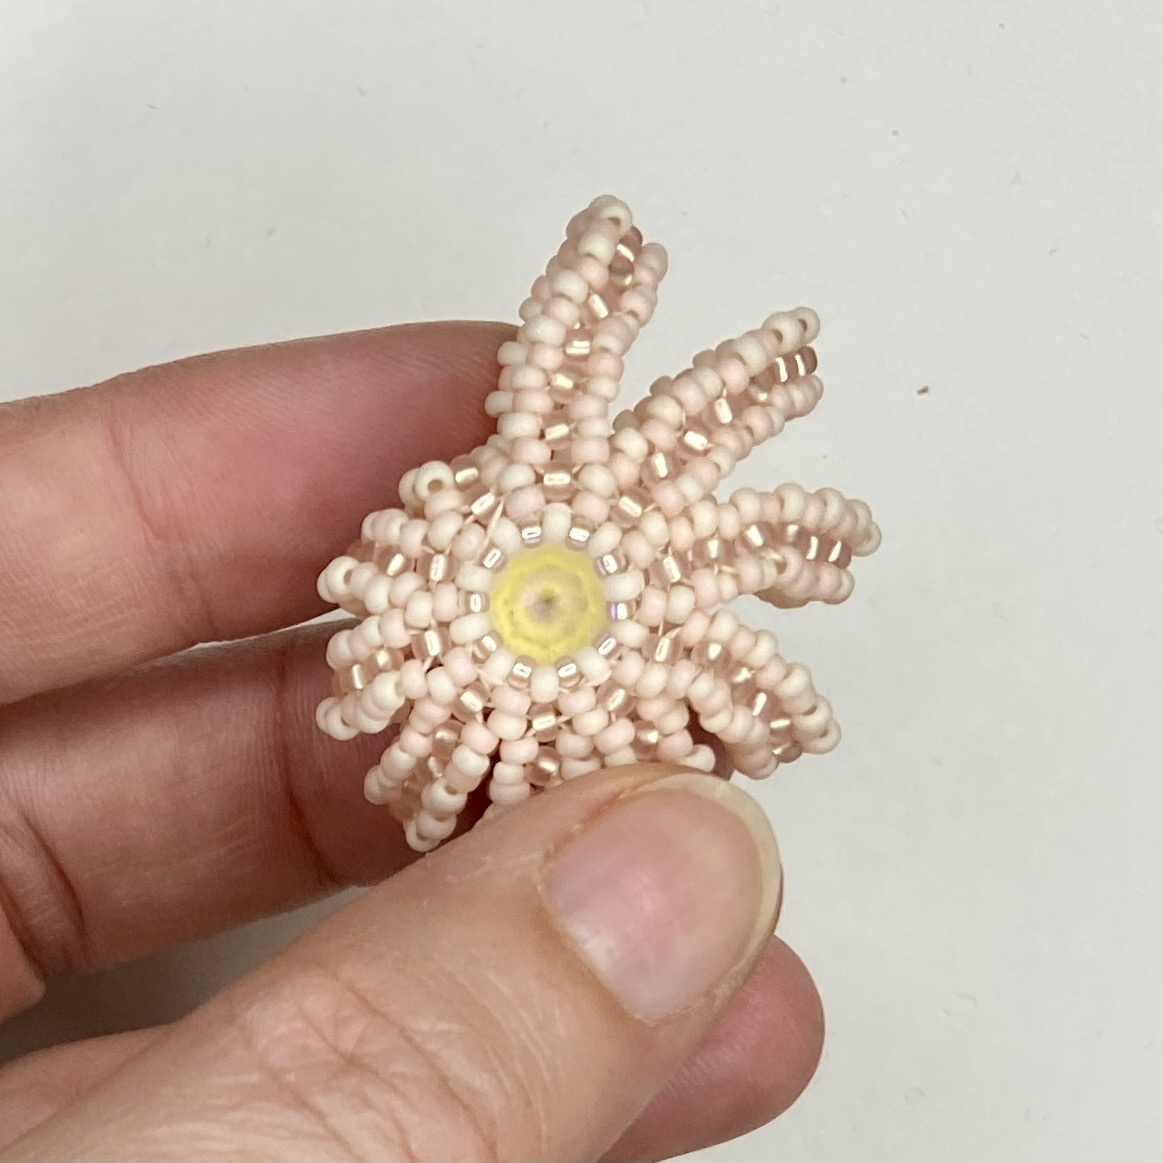

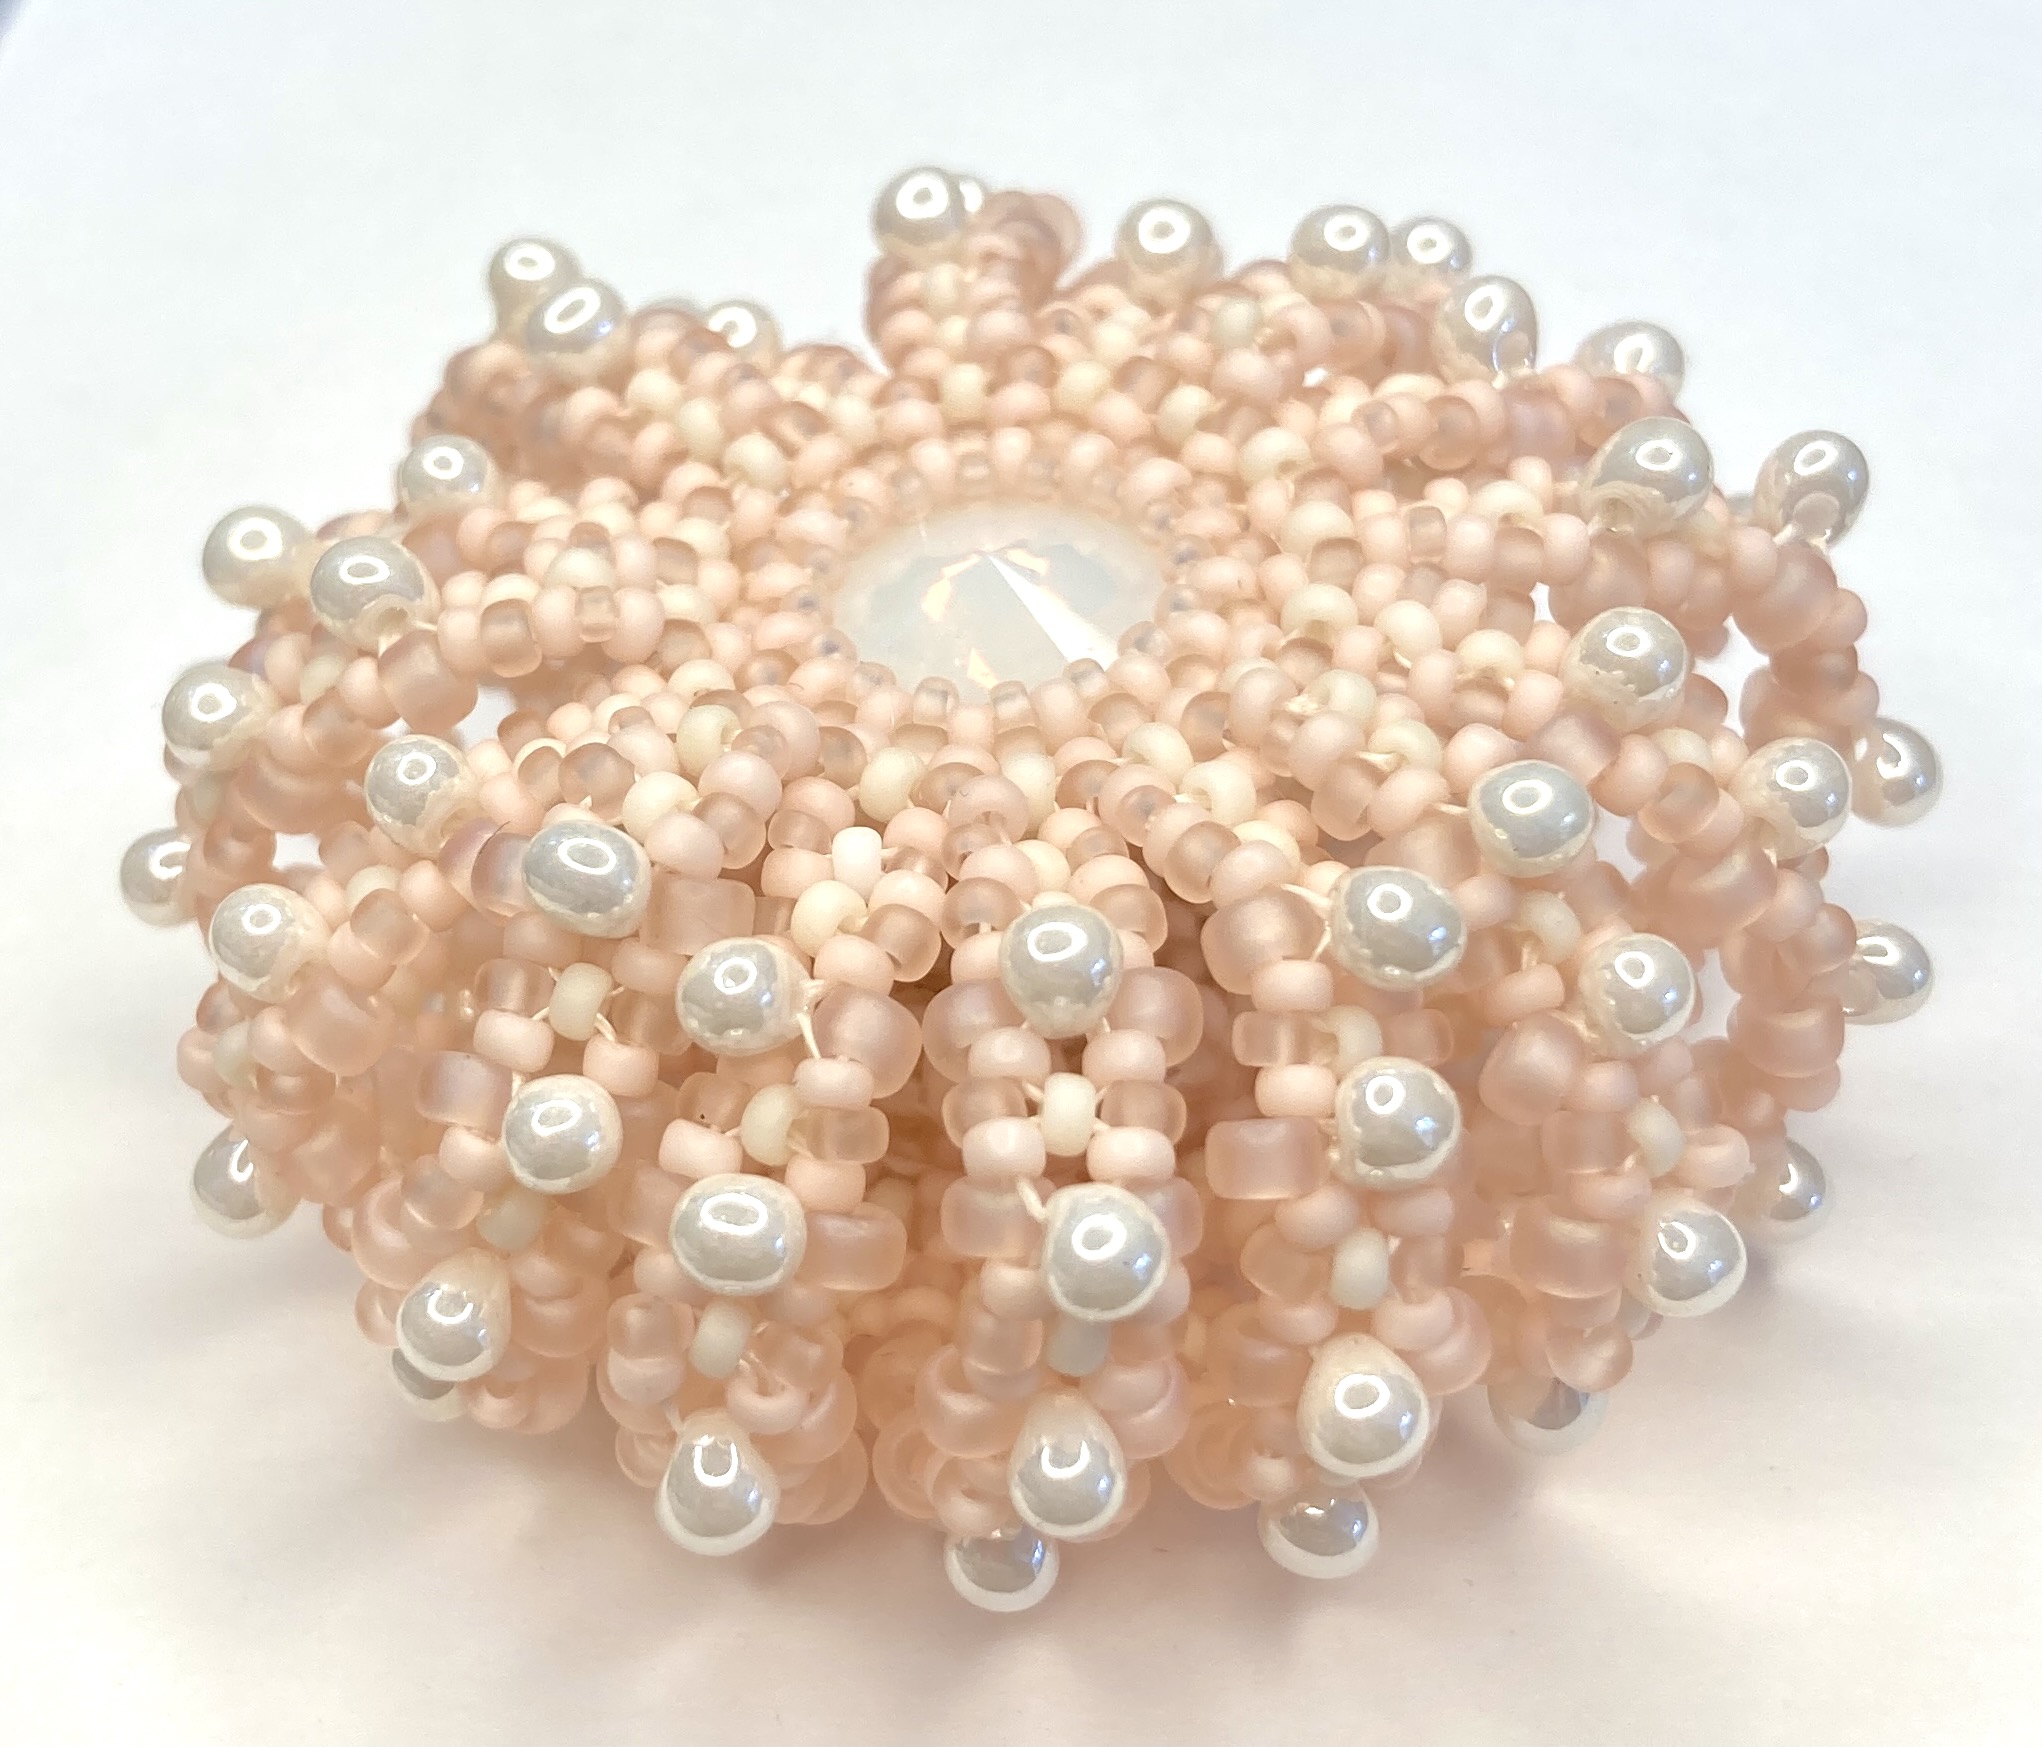
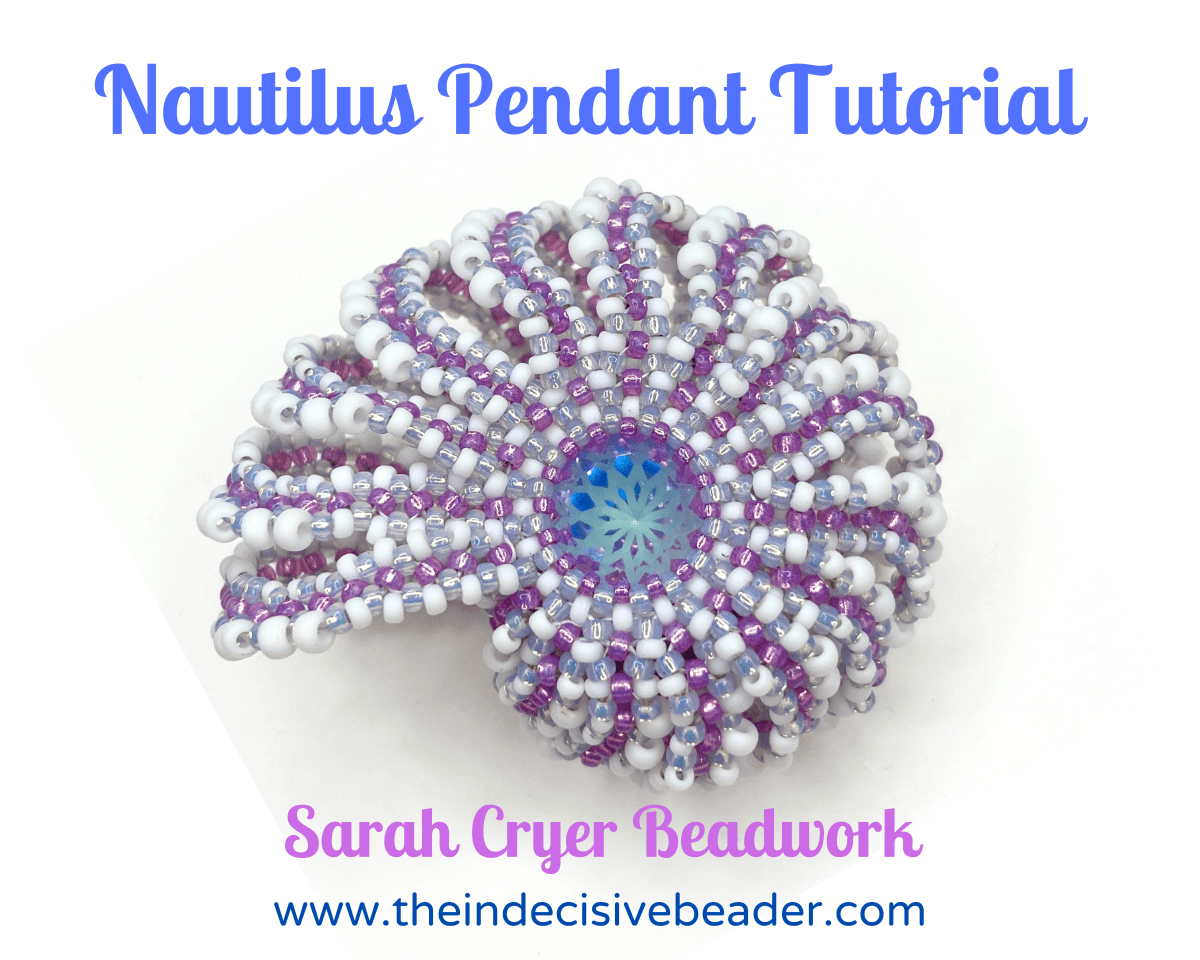
So here it is – Nautilus, made with just Miyuki seed beads and 2 14mm Rivolis or Chatons (any brand will do), using RAW, MRAW and Peyote stitches.
Intermediate level, suitable for anyone who is confident with RAW strips in particular (there are 16!), and fully illustrated with both diagrams and photos, written out steps and even some listed out colourways (with bead numbers) or your own colouring in sheets if you’d like to plan your own colours. A full detailed list of bead requirements is available on the usual page here.
Available in my Etsy or PayHip shops as a PDF download. Etsy don’t like my decent quality illustrations or photos so force me to turn it into 3 PDFs to meet their teeny file limit- if that annoys you as much as it does me, the PayHip version is a single PDF and exactly the same price.
