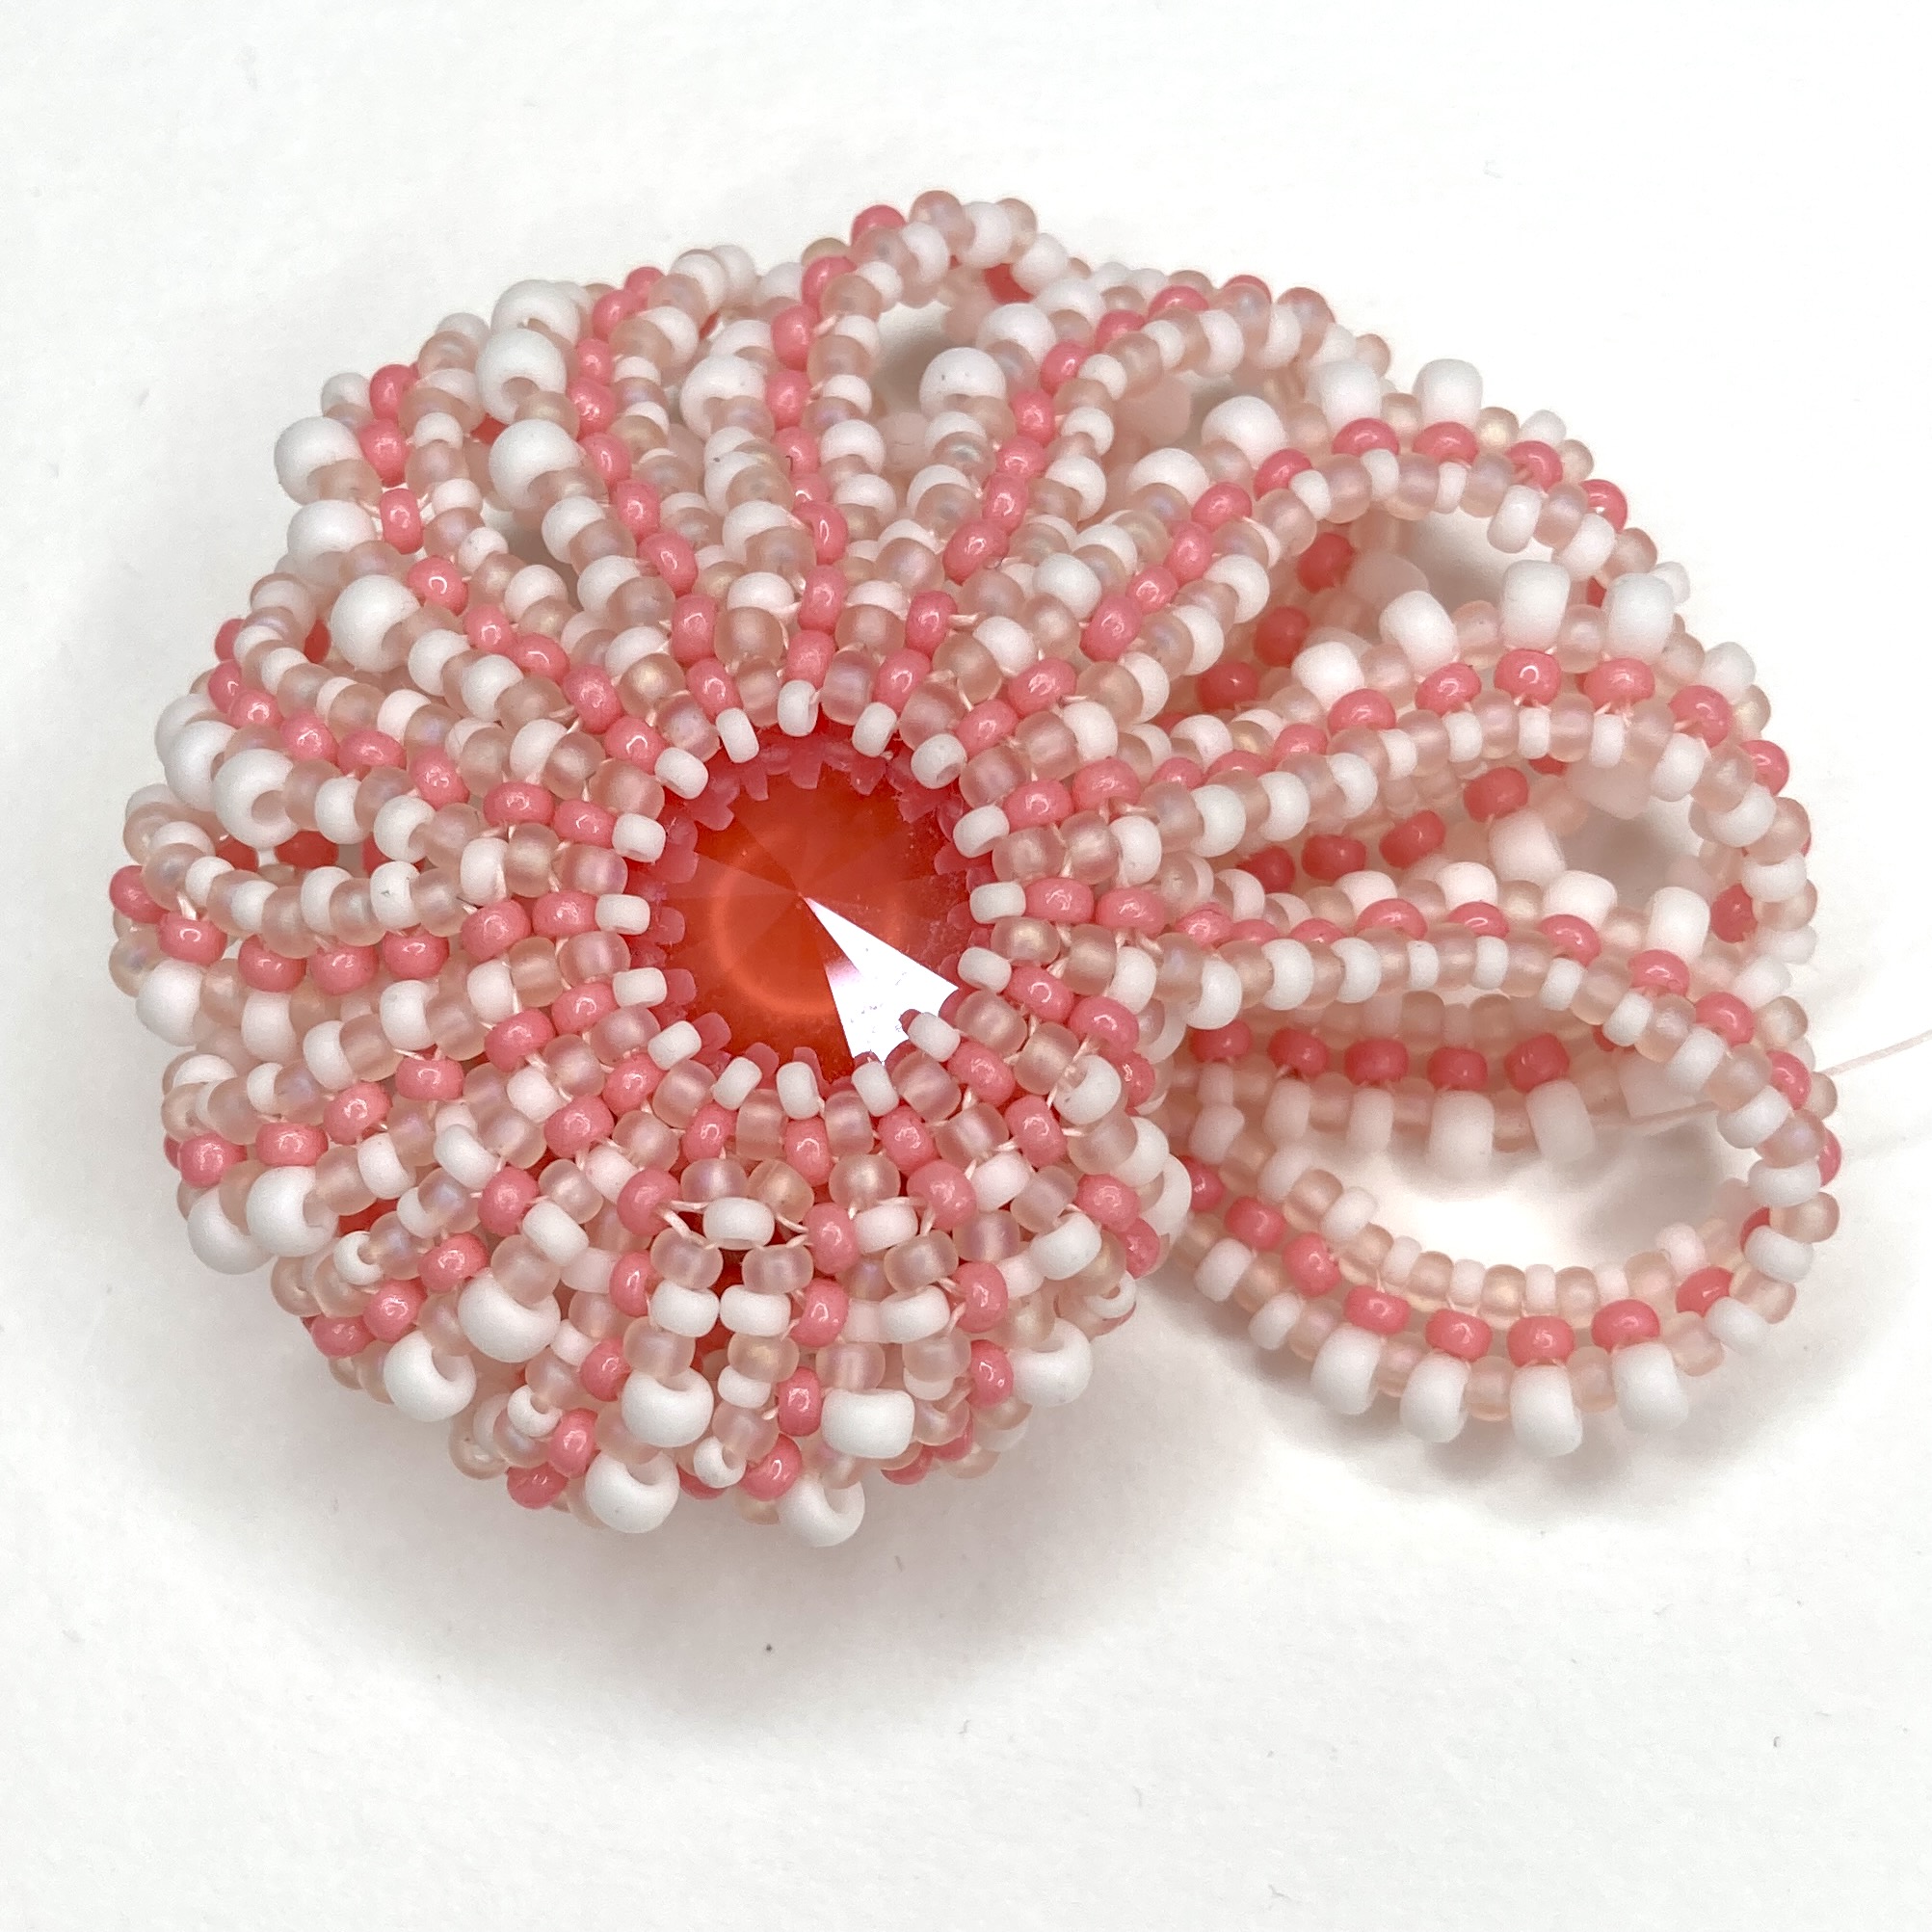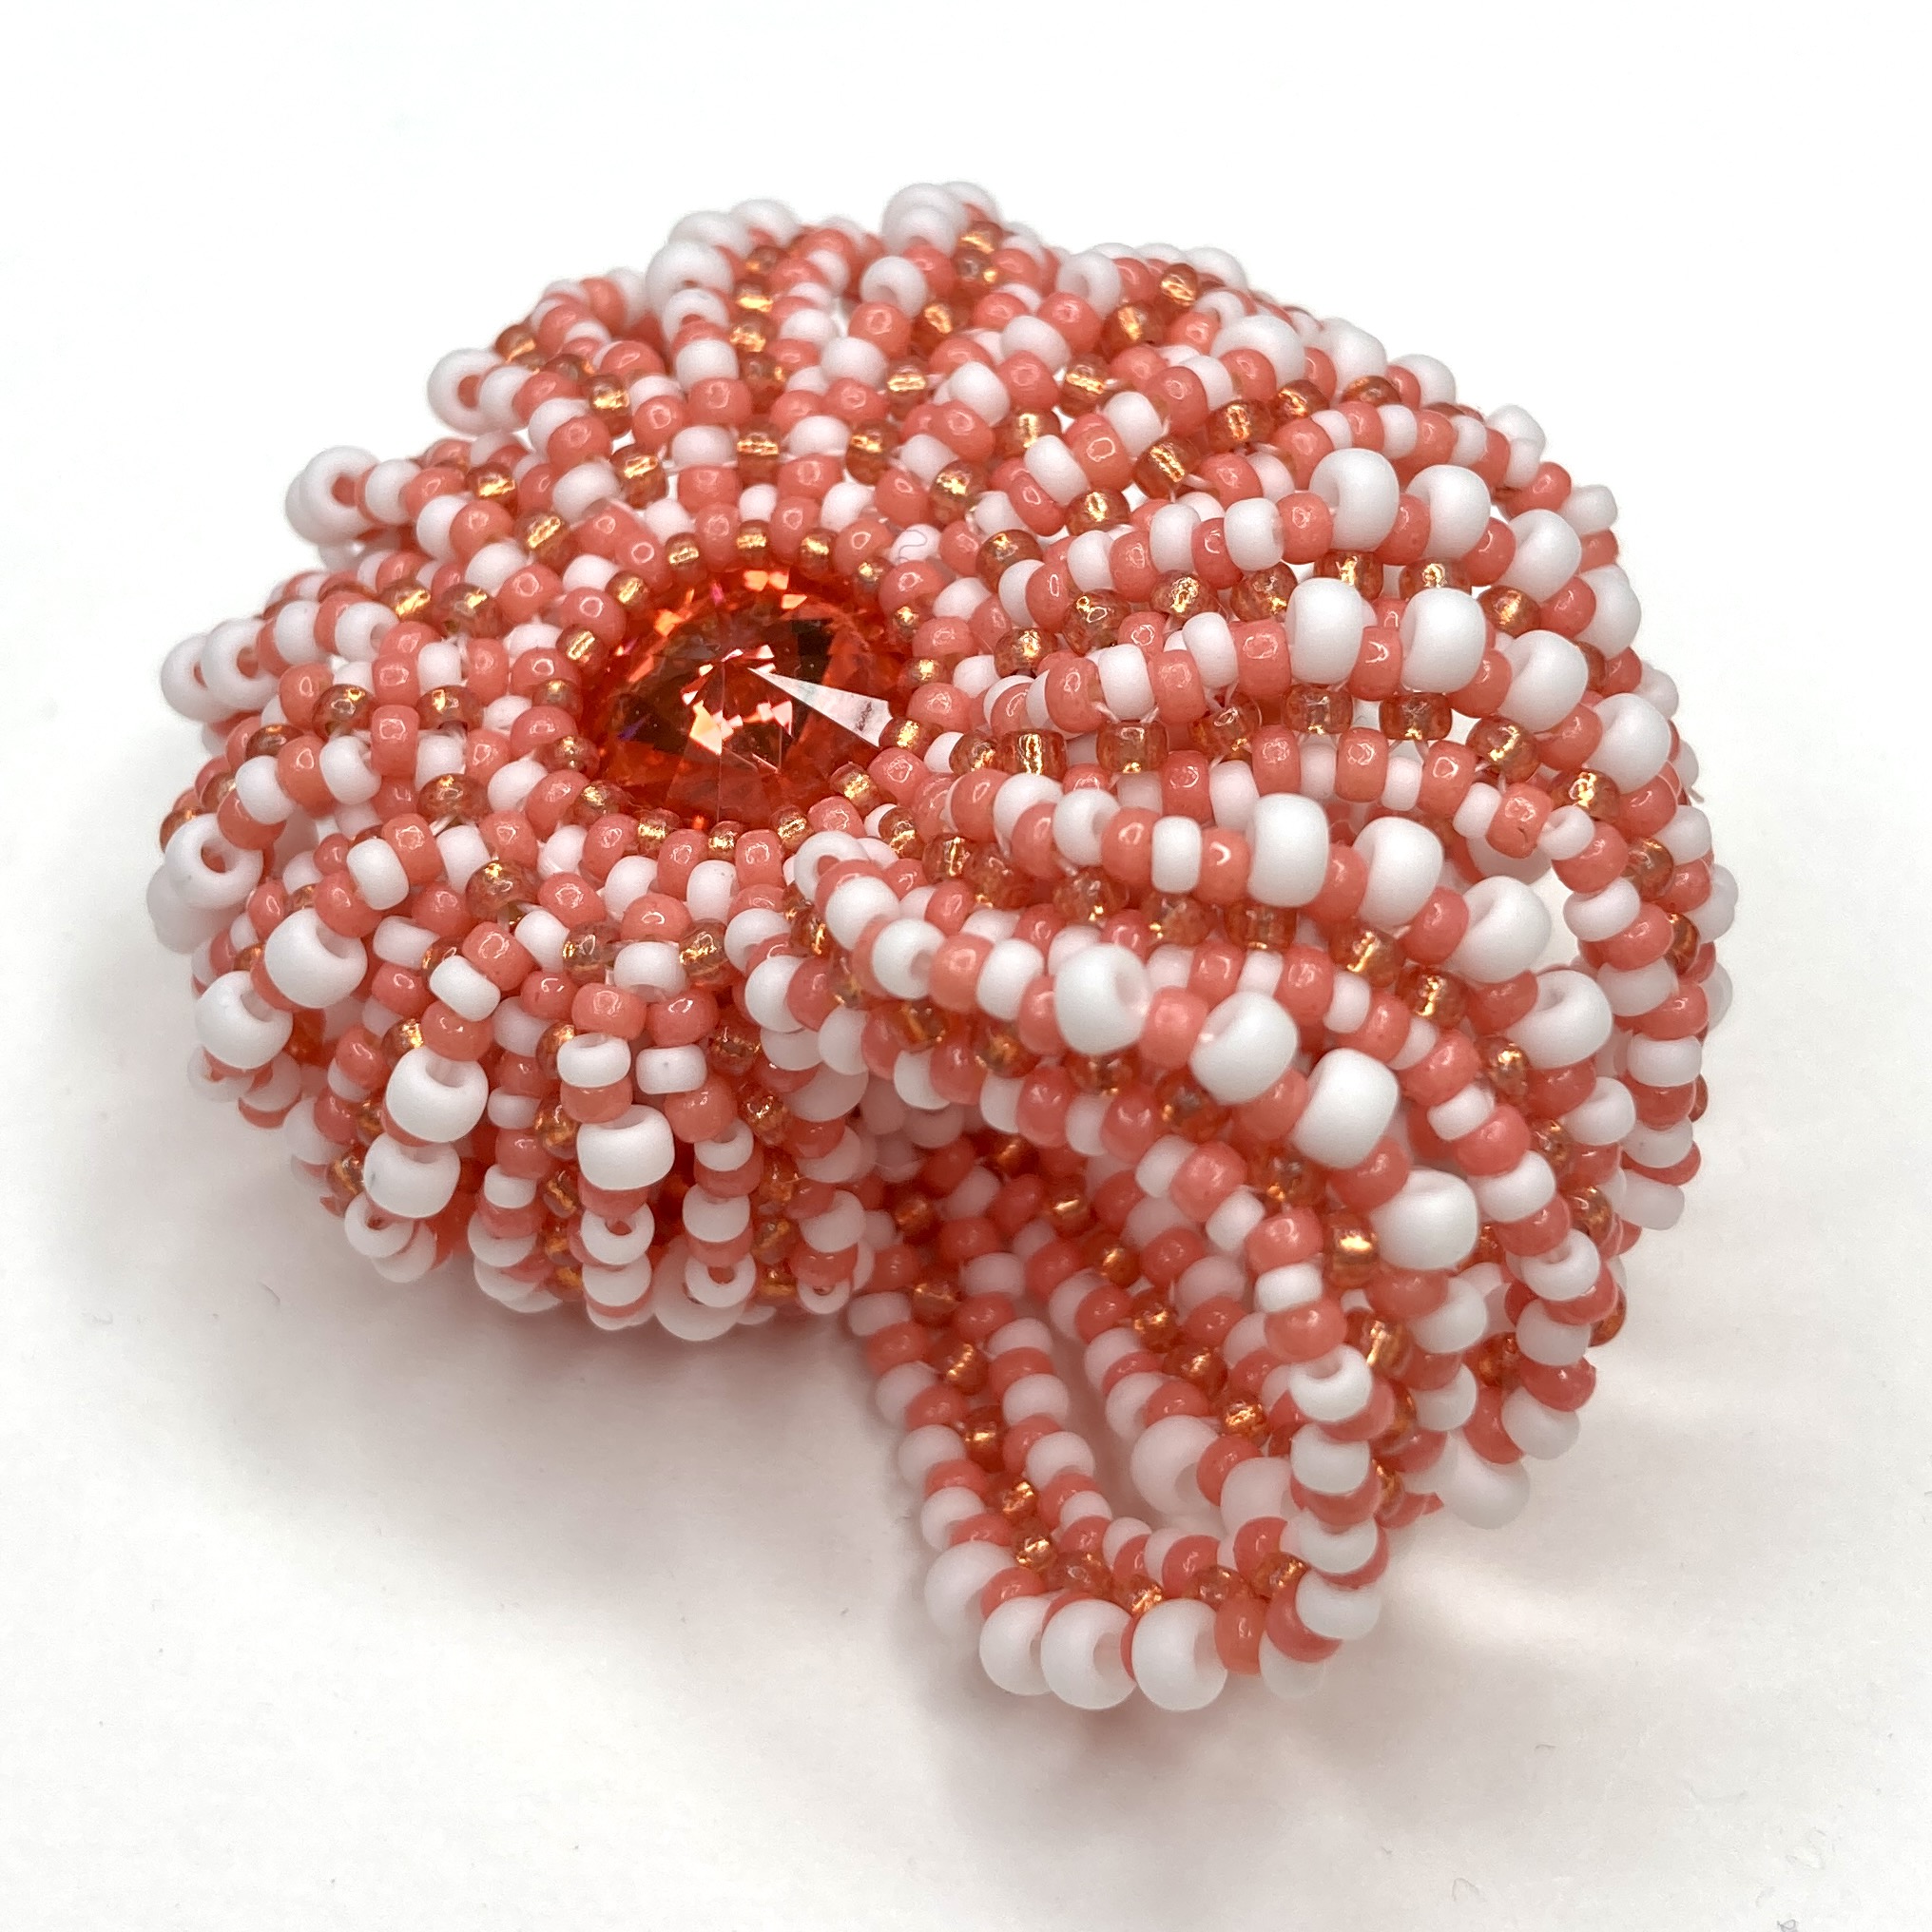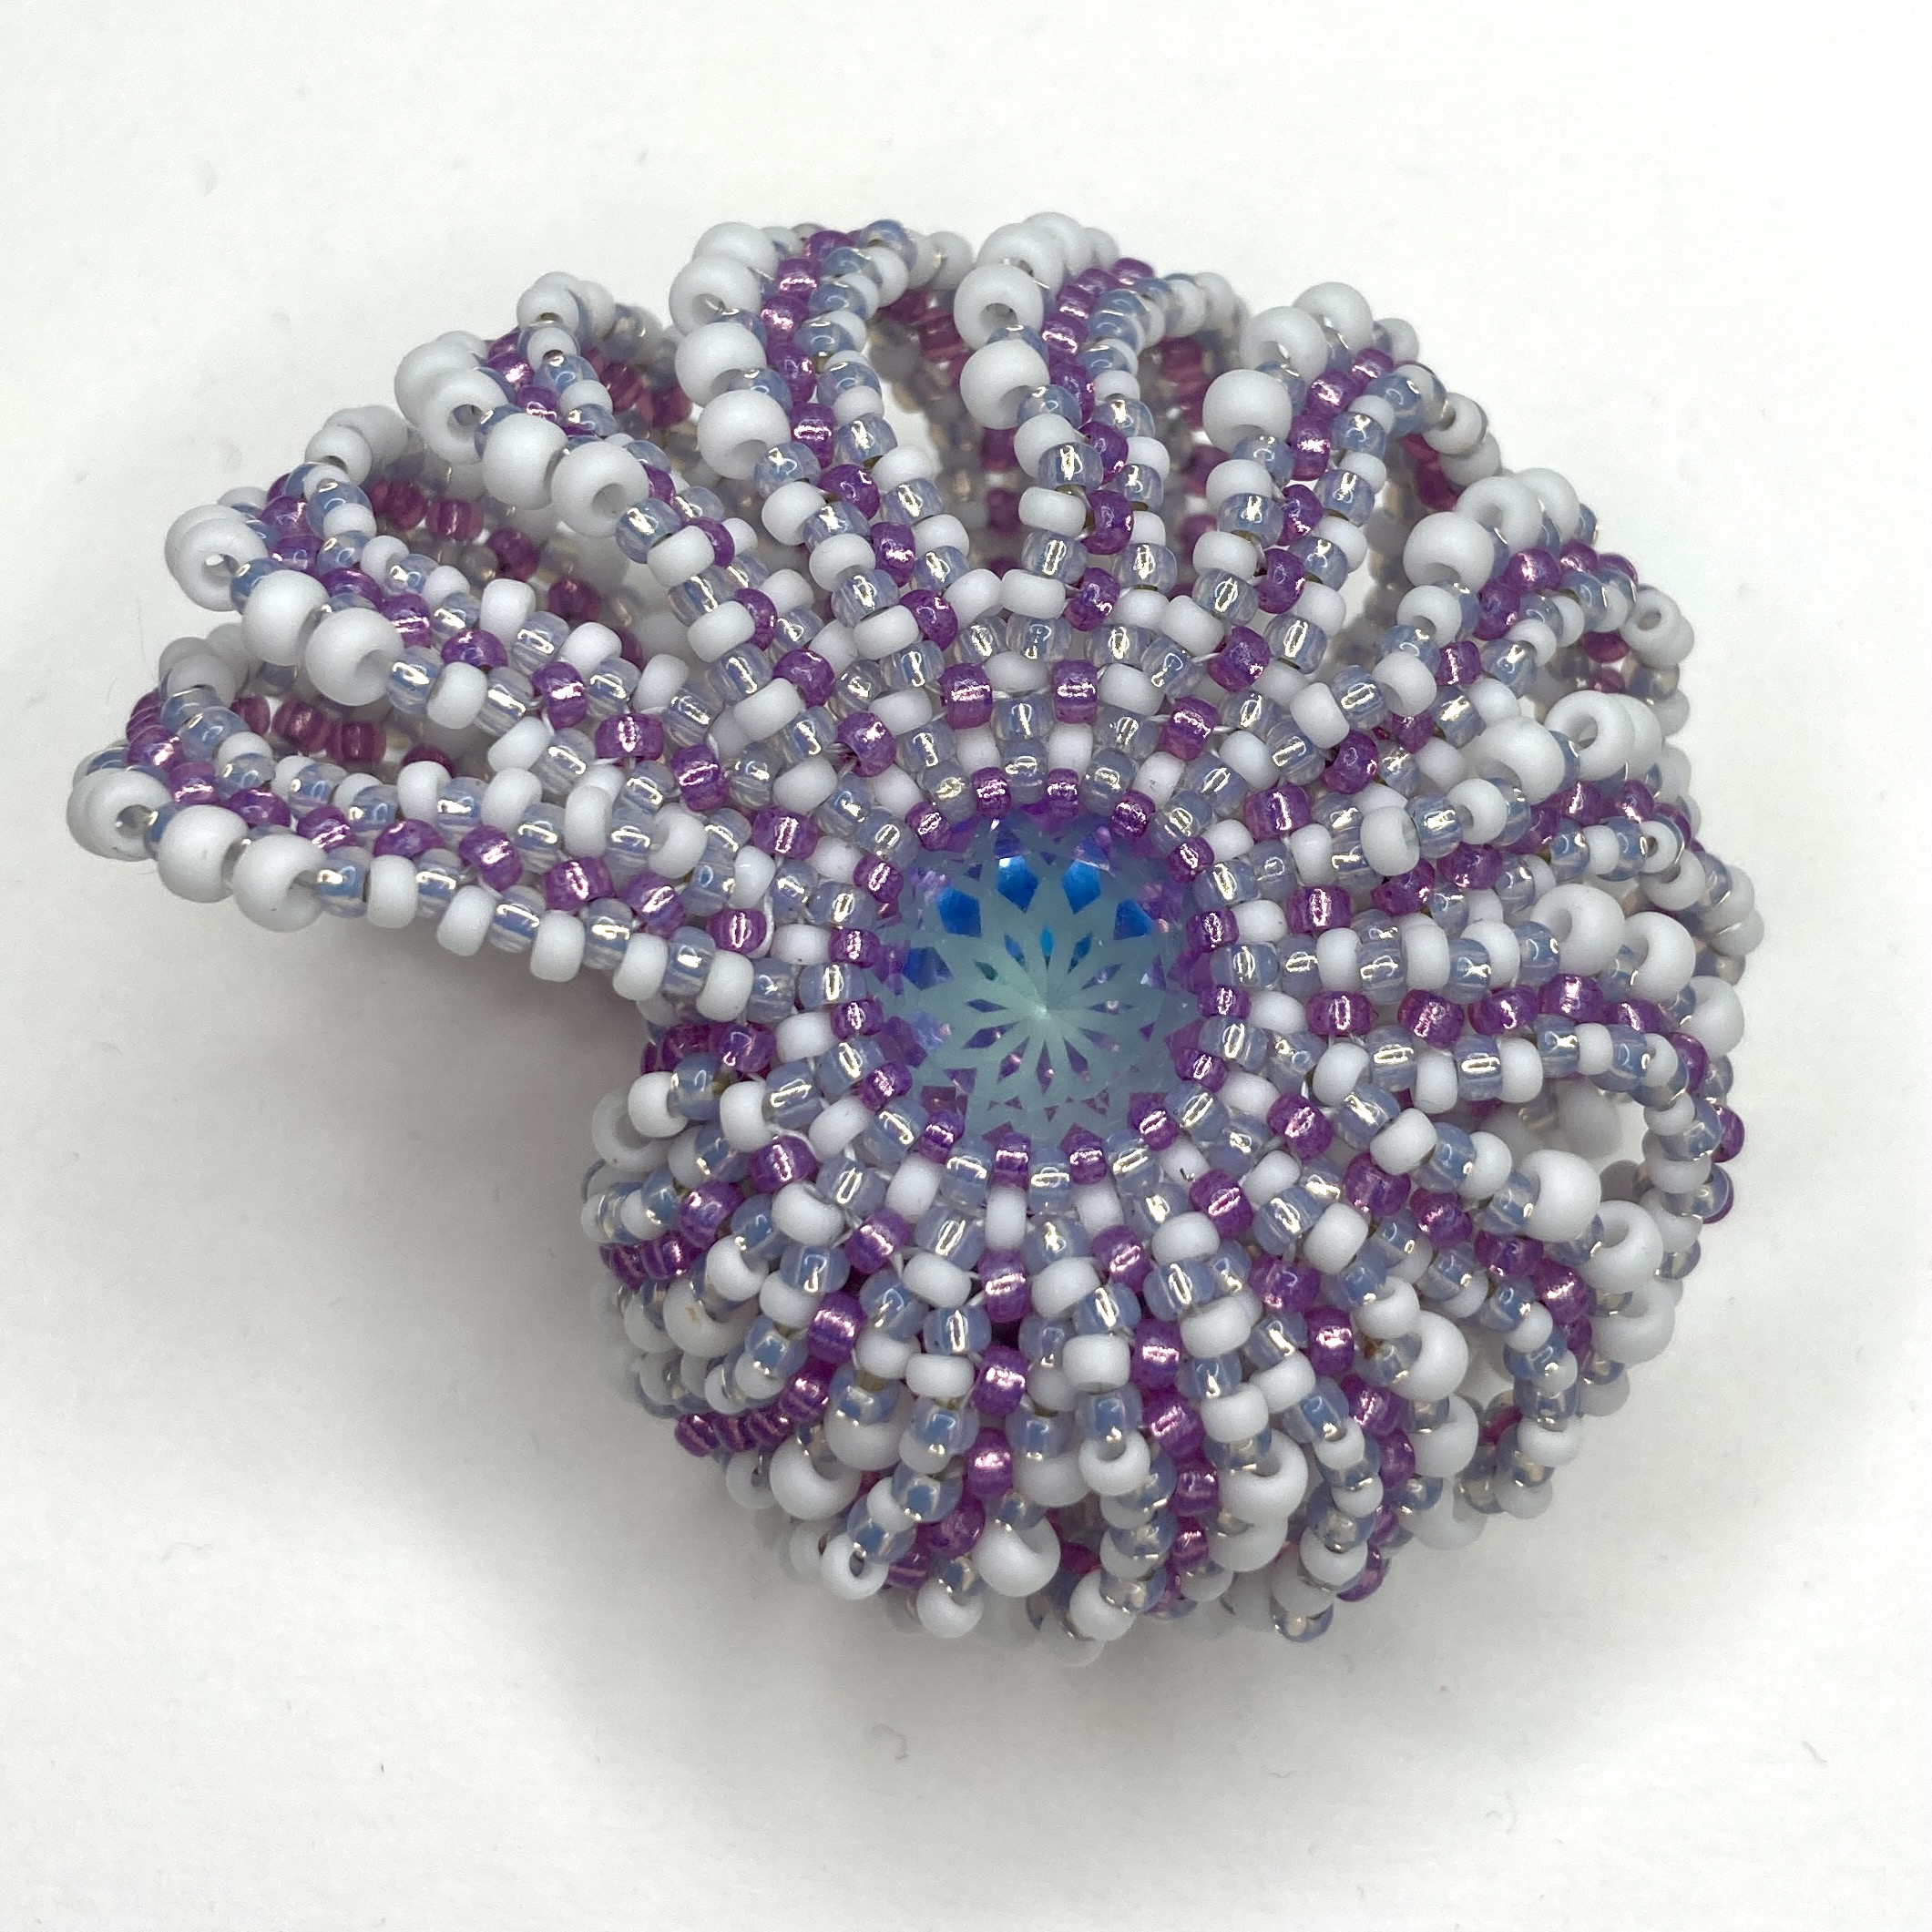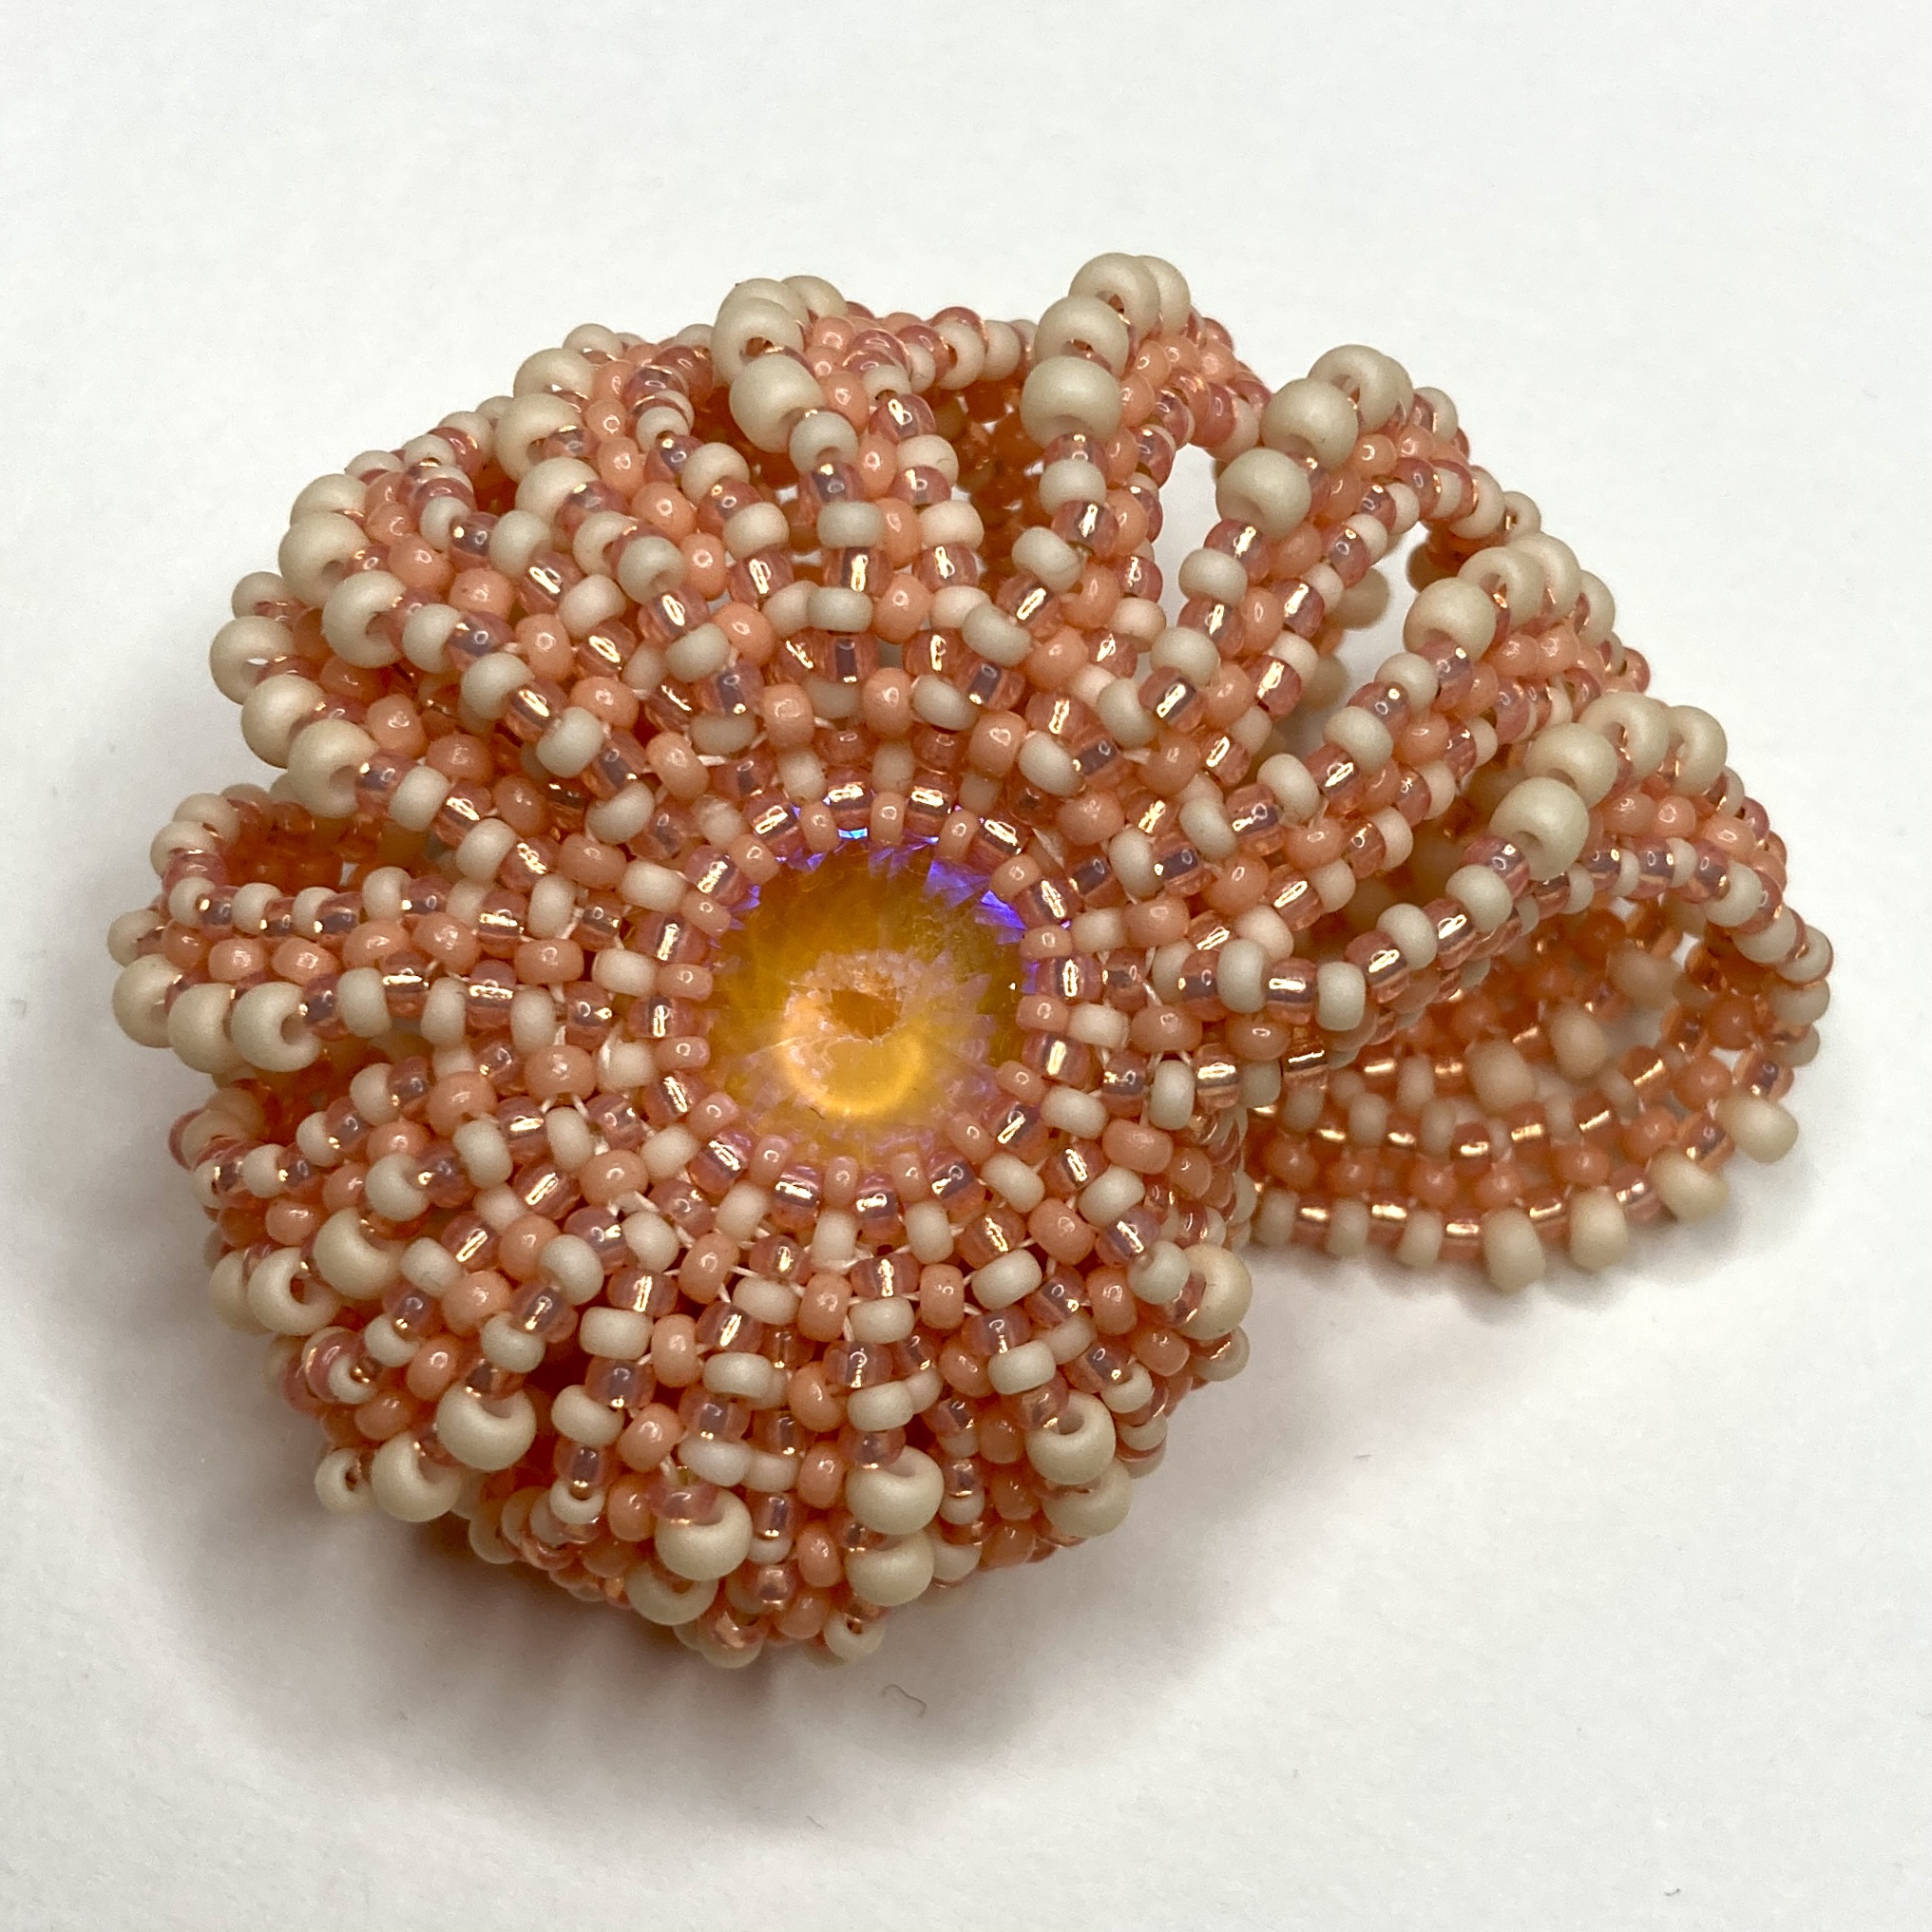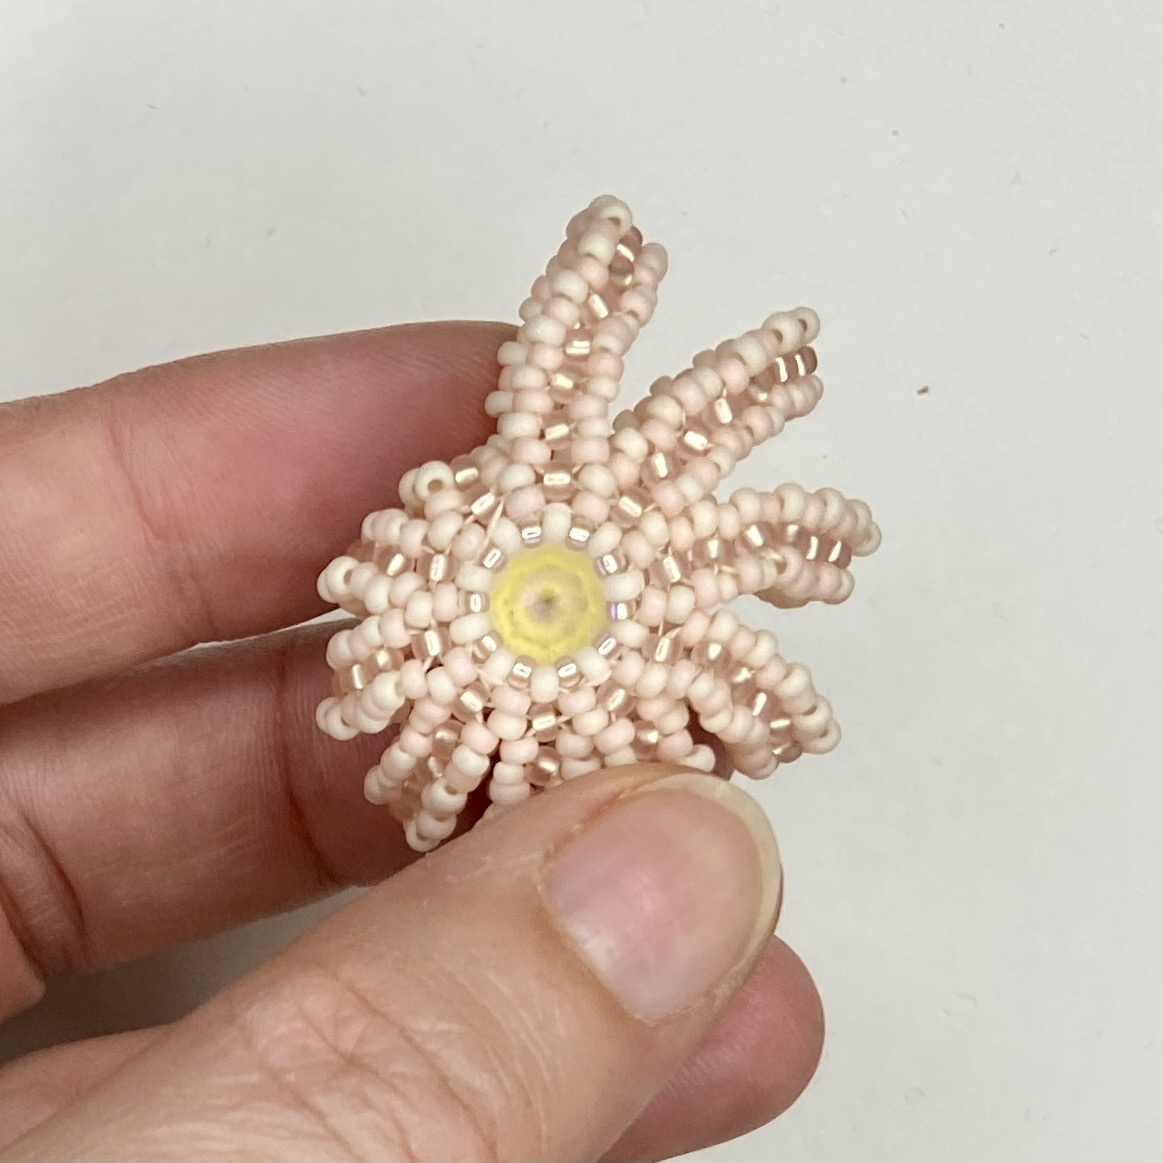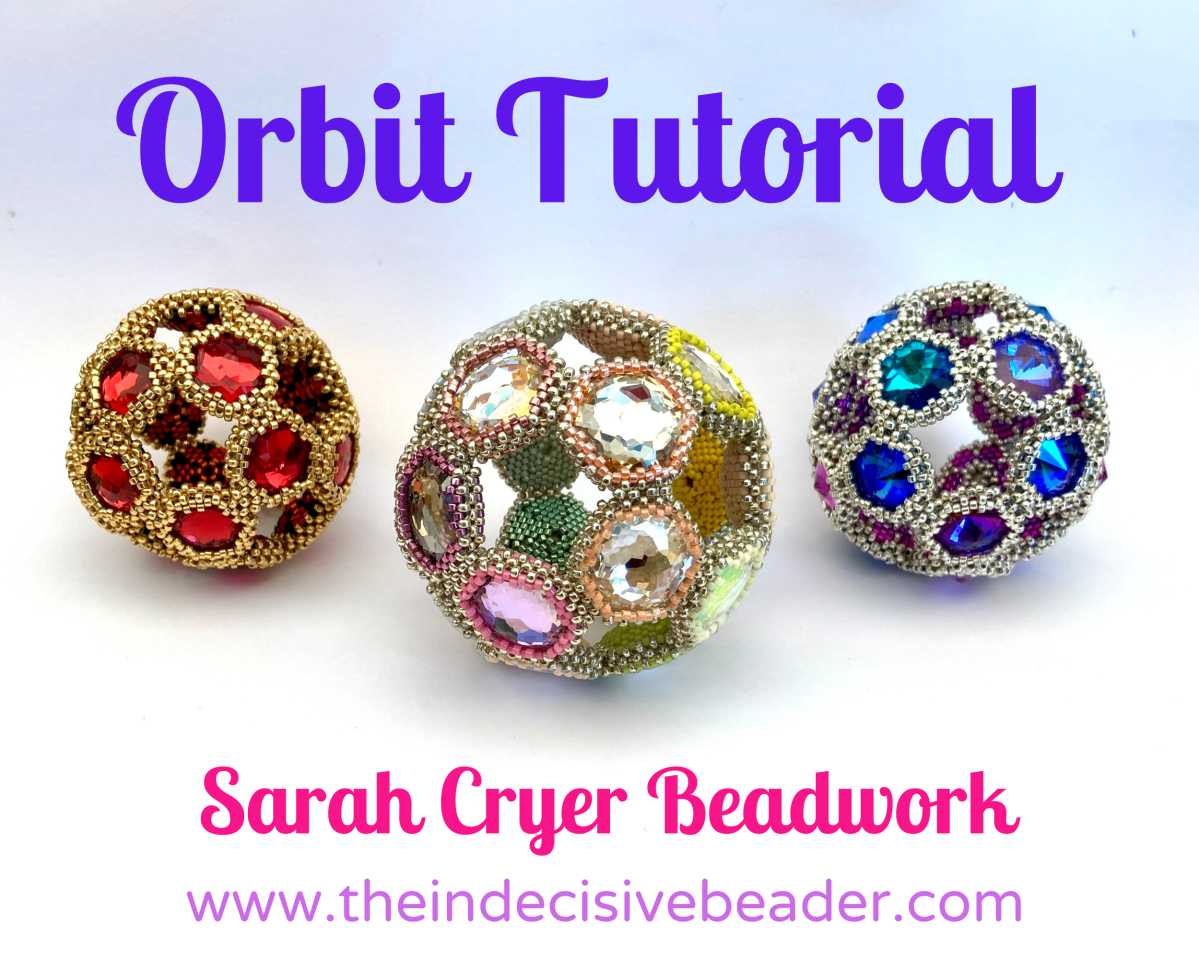
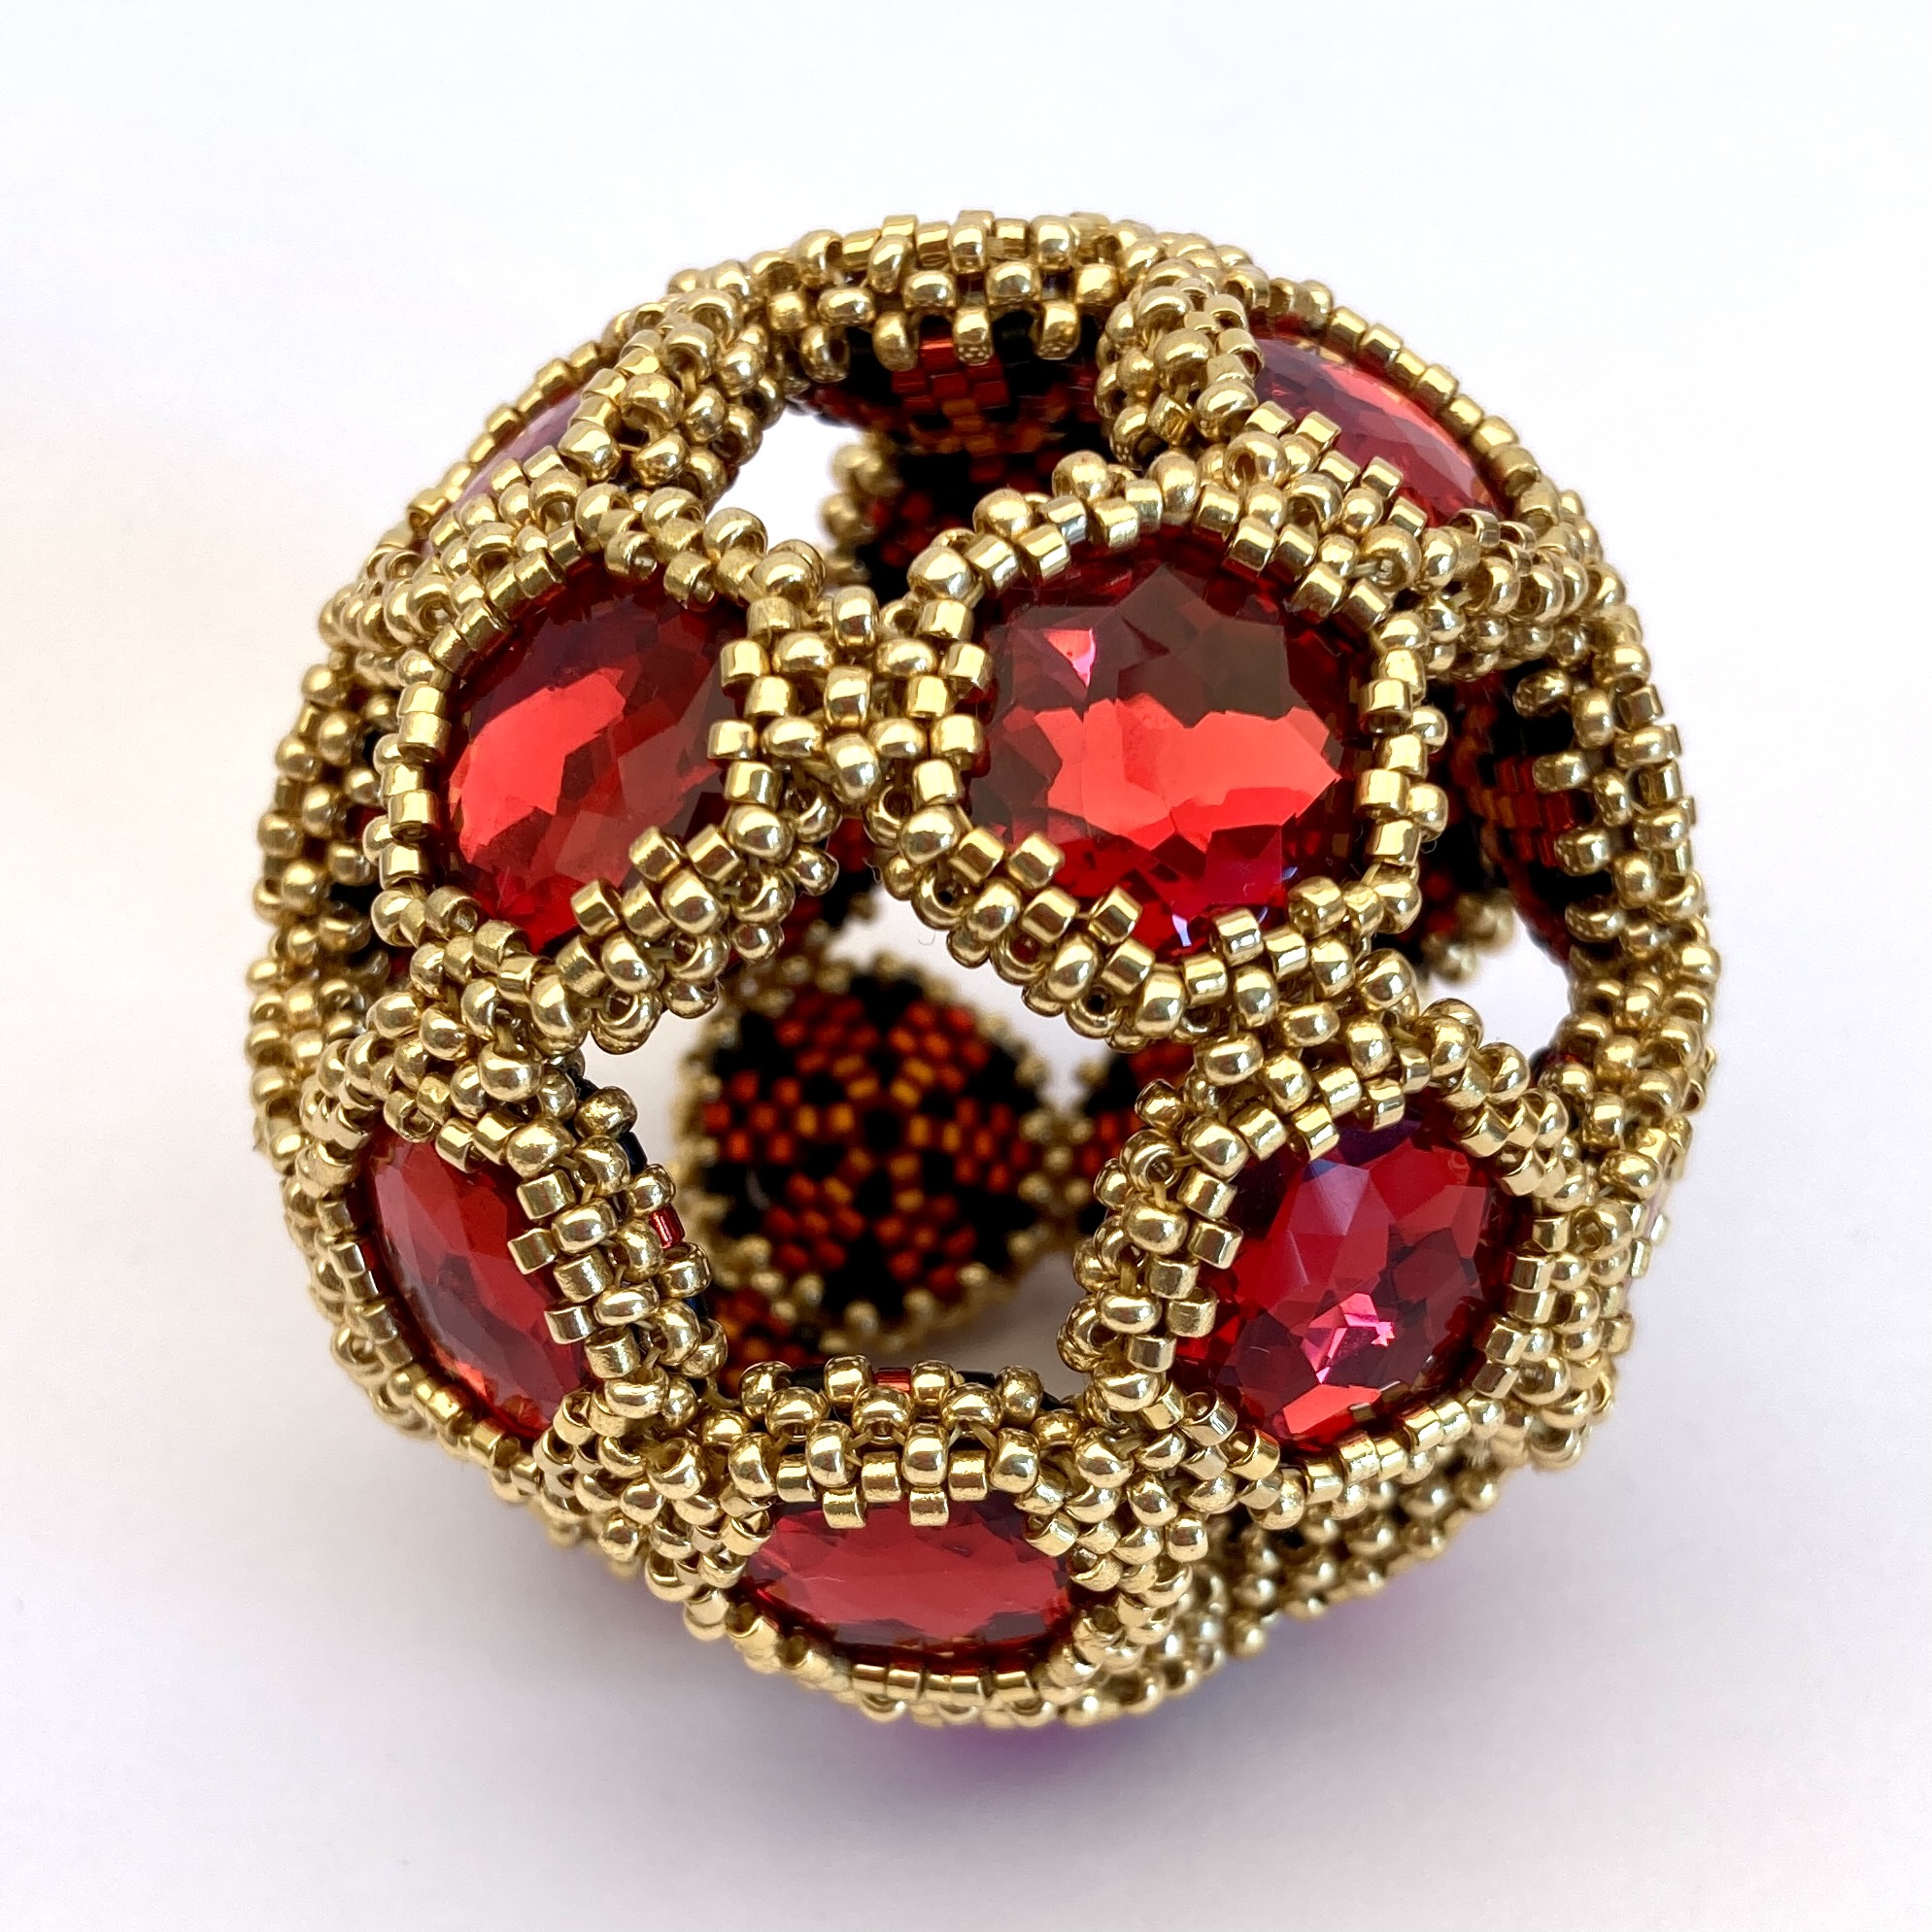
Orbit is a new tutorial, born from a pack of amazing intricately faceted hexagonal crystals from my regular supplier – I can’t resist trying new sparklies and a pack fell into my basket whilst I was restocking other lines.
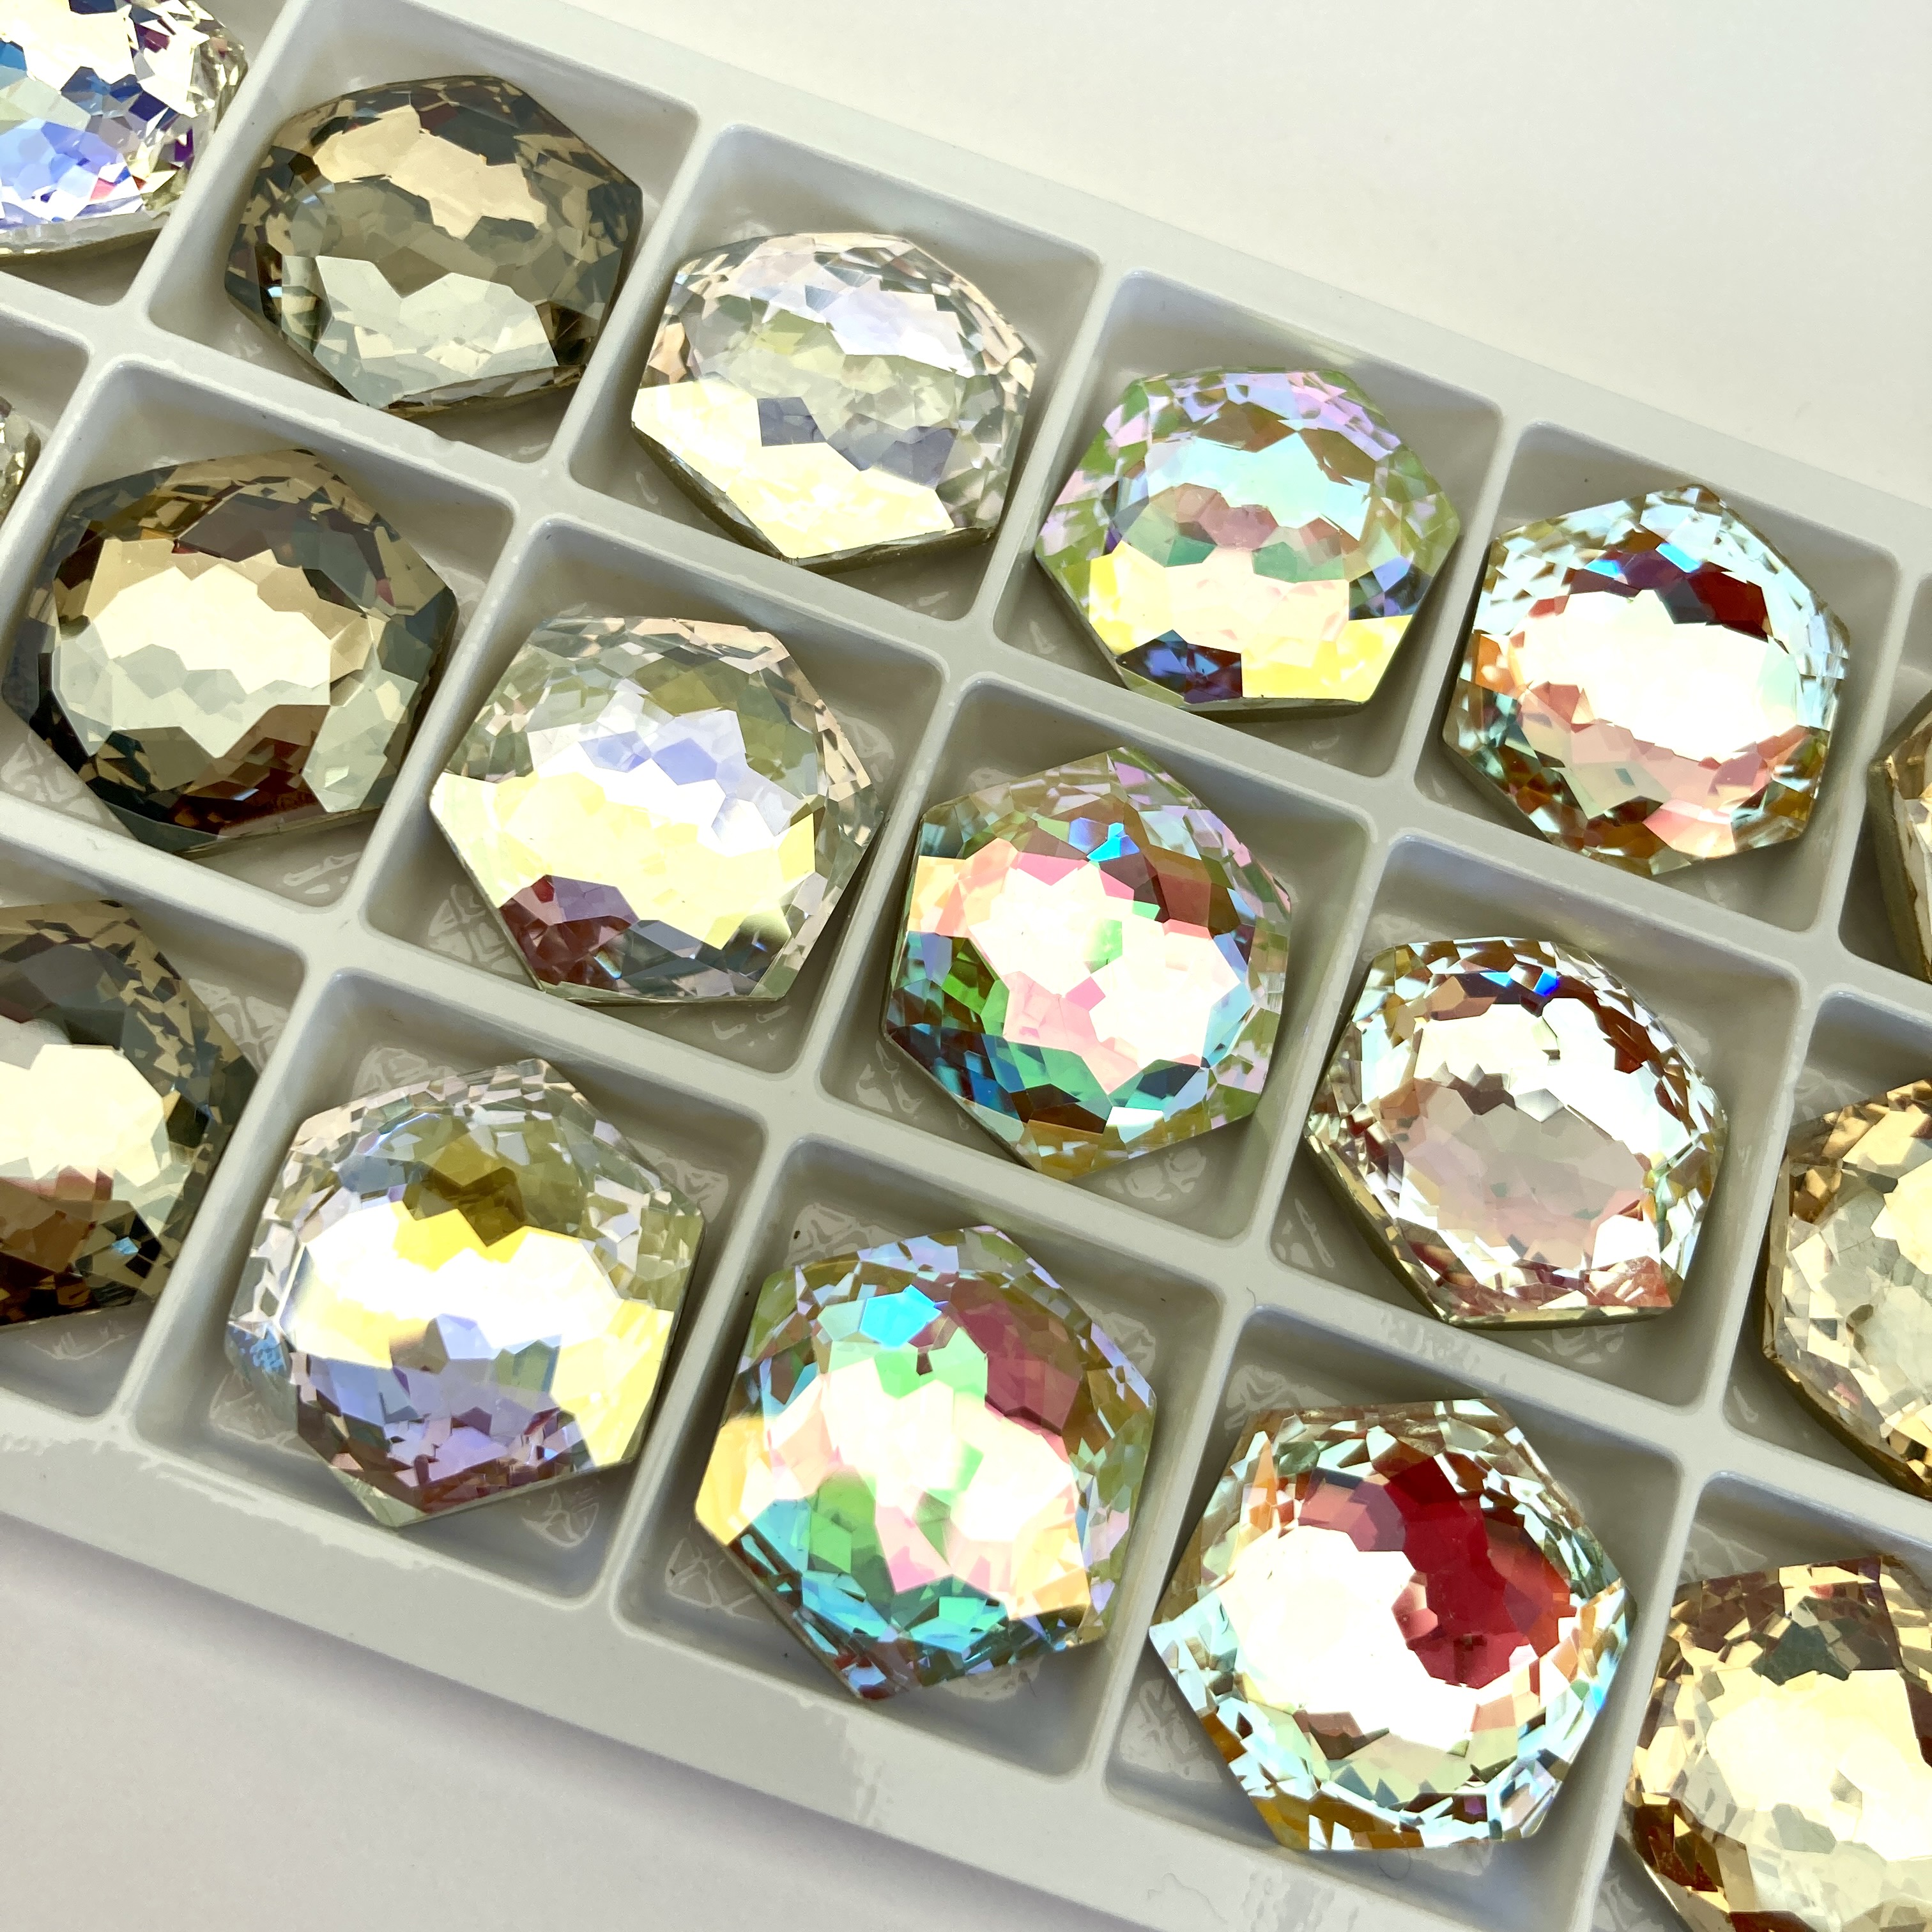
Absolute whoppers at 18mm across (21mm point to point) the colours and finishes were amazing, but I needed to come up with a design to use them. If they’d have been pentagons they would have been so much more useful for making my favourite dodecahedra, but they weren’t – hexagons tessellate to a flat sheet, so only make 3d geometric figures if they’re combined with other shapes which weren’t available to match. So I put them away and moved onto other things.
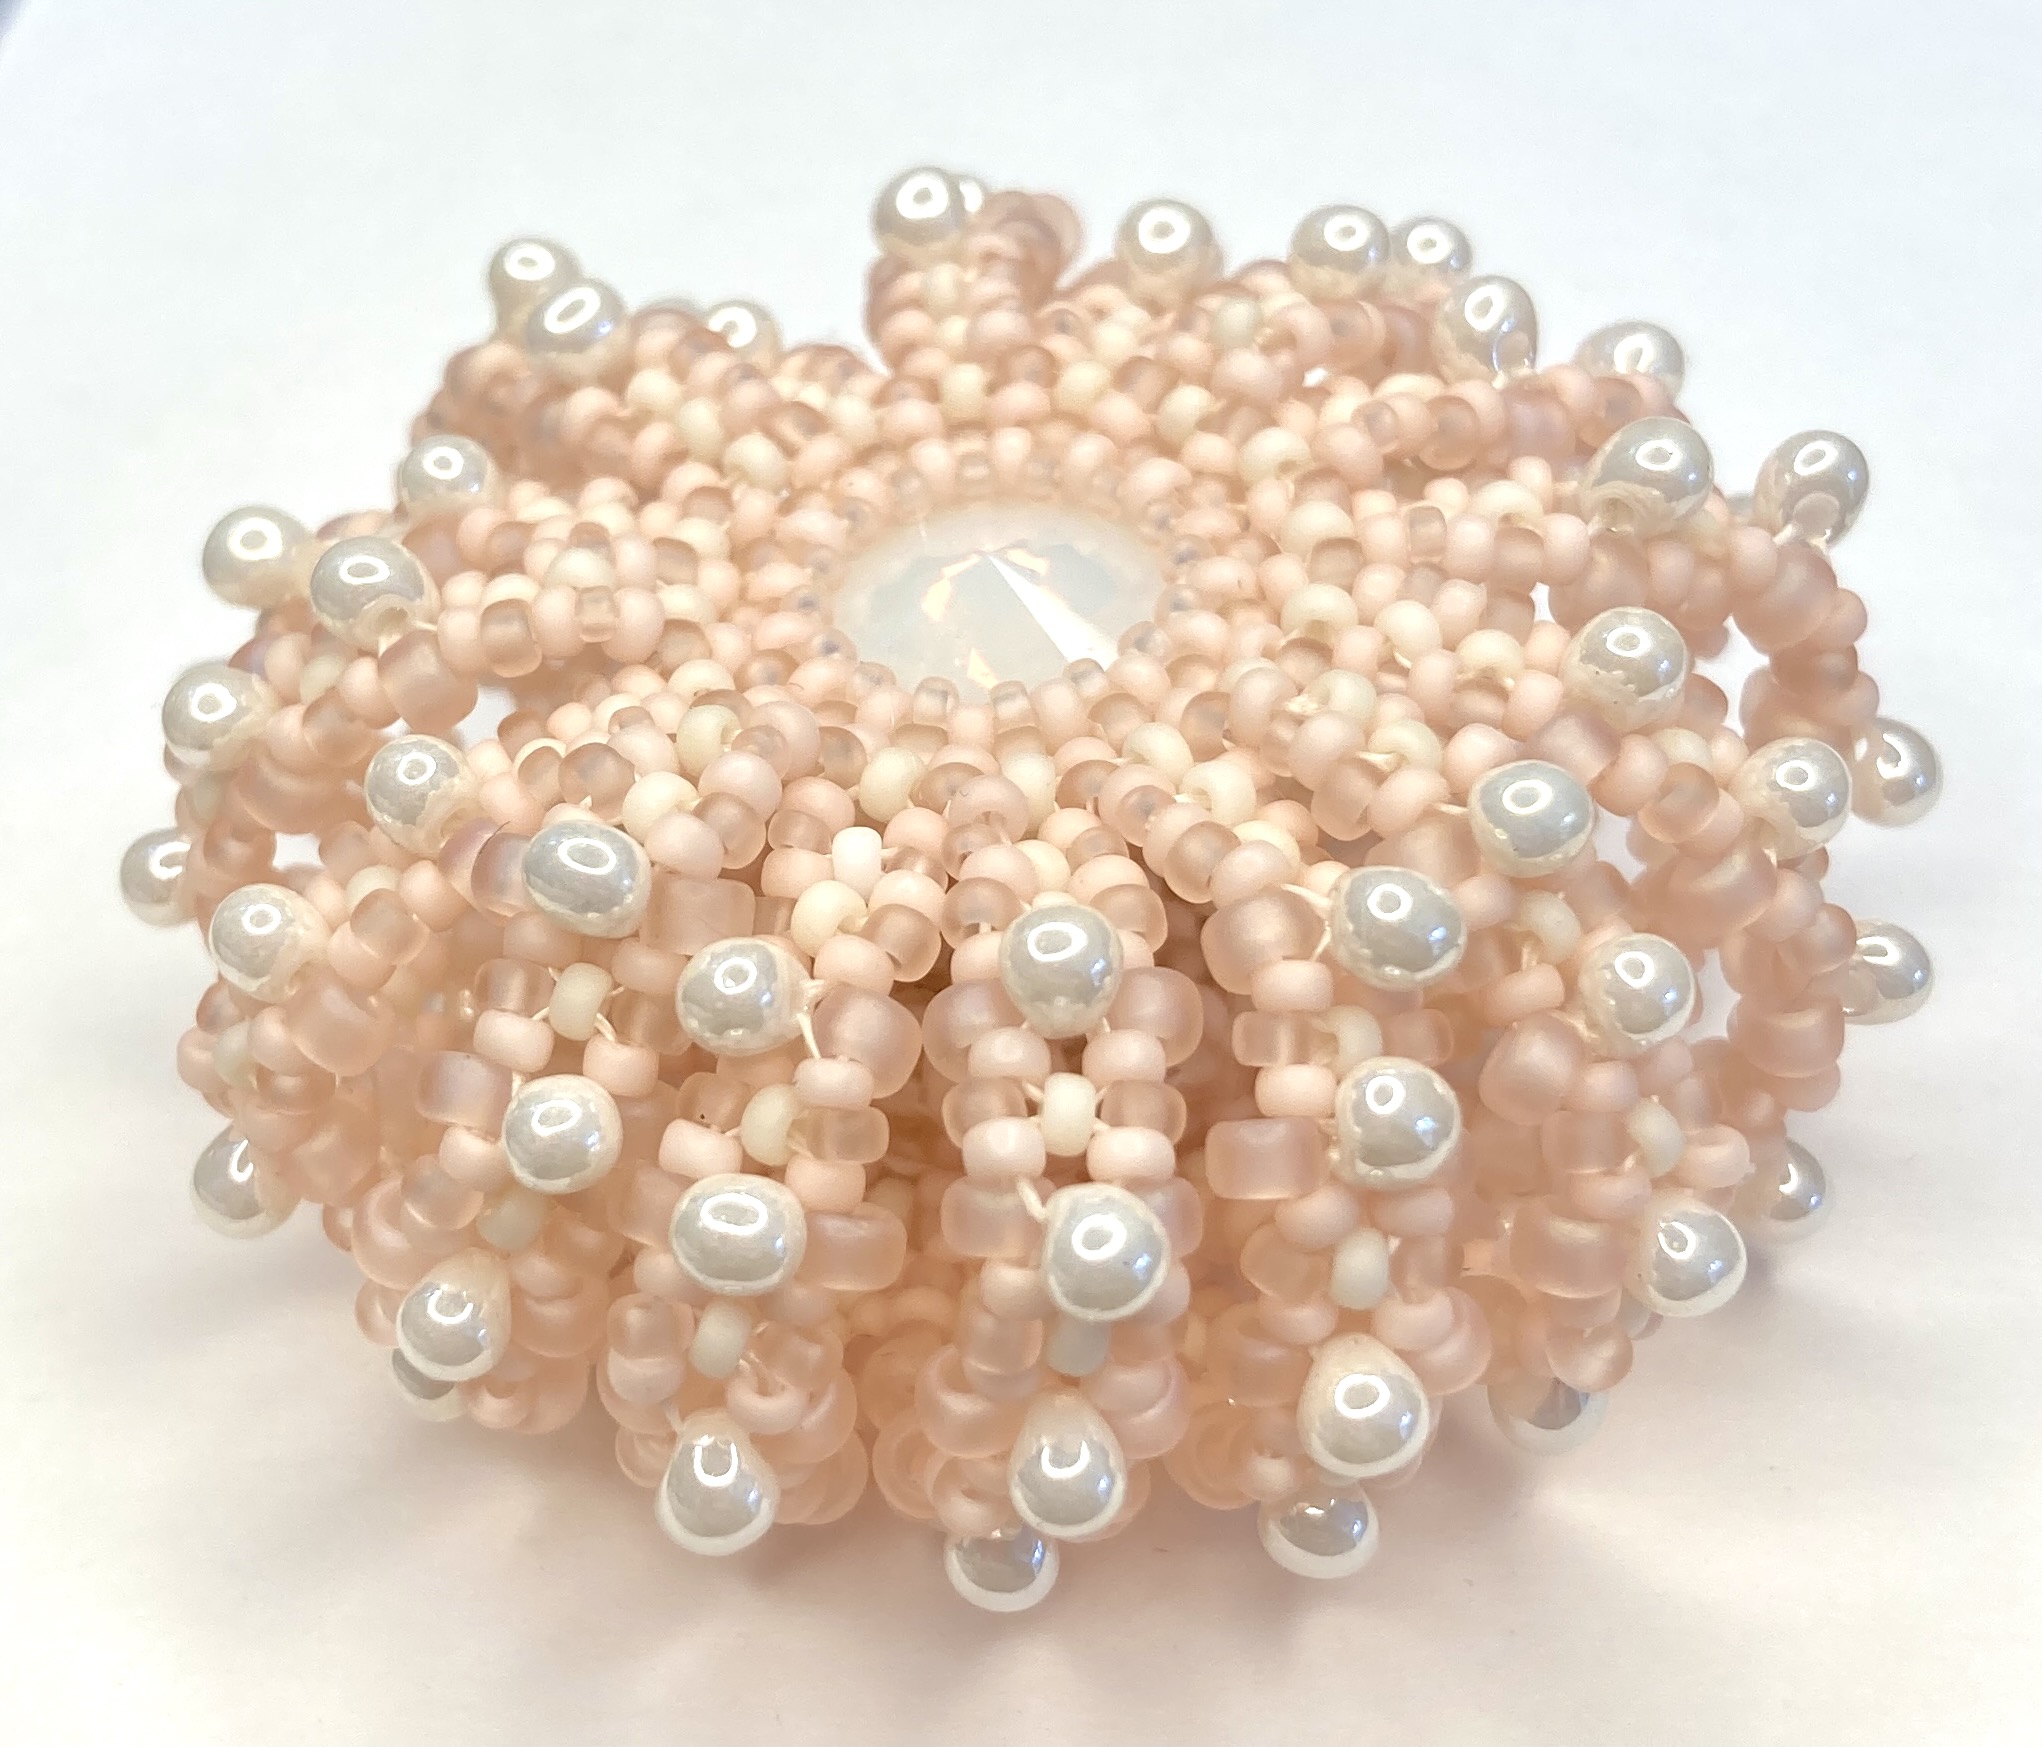
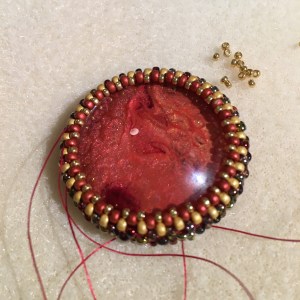
A few months later I was looking at them again, and had a go at my favourite MRAW bezel to see how best to start using them. I always try that first with new cyrstals, and if that fails try peyote combinations, and finally complex 3D netting. It worked, and made a lovely solid bezel (particularly when I used a hexagon on the backs), but when I joined it to another I couldn’t get it to sit flat – whatever combinations of beads and stitches I tried I could only get a nice finish that was either concave or convex.
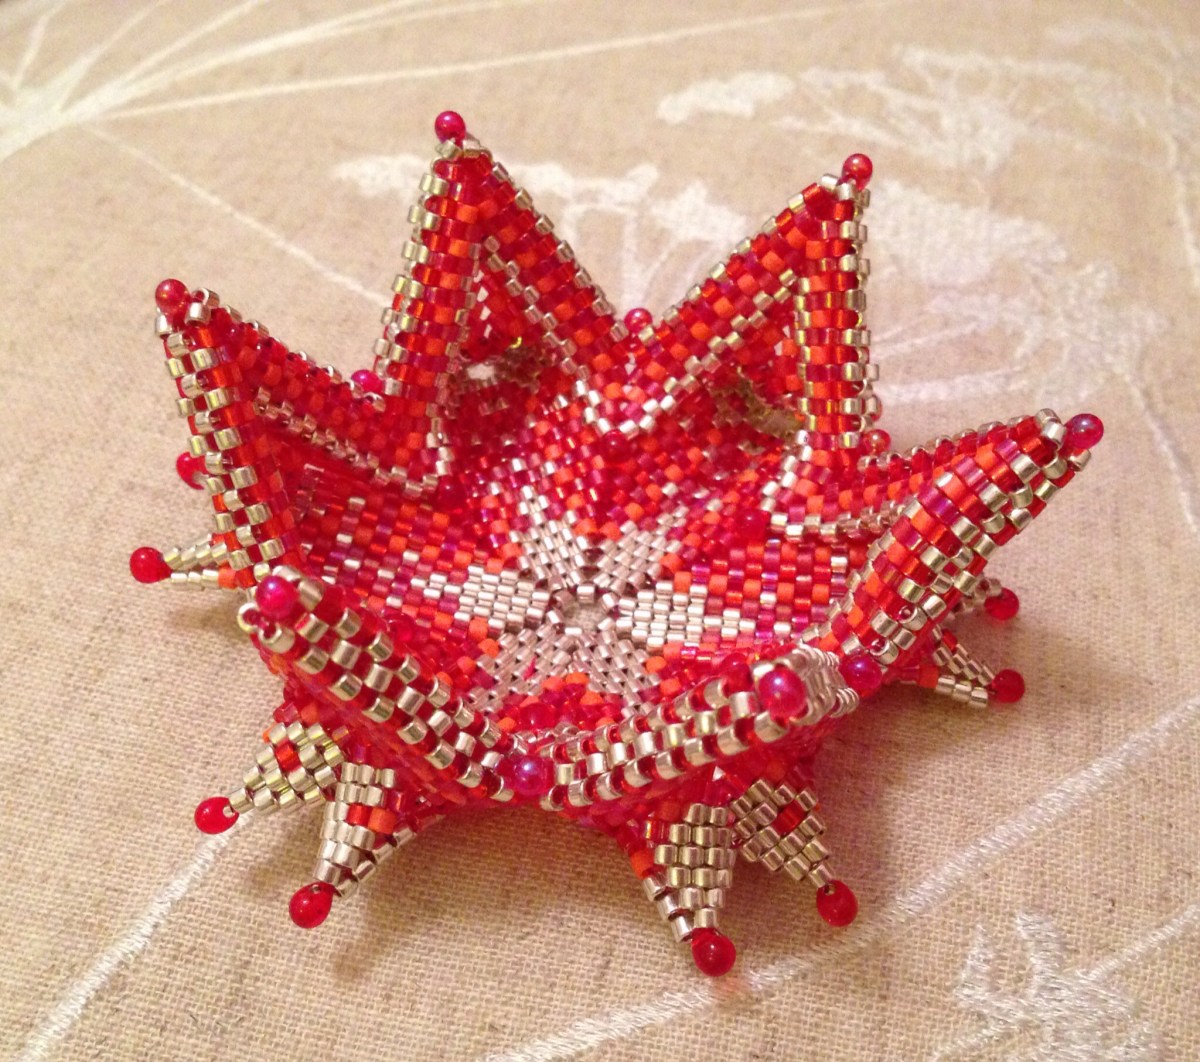
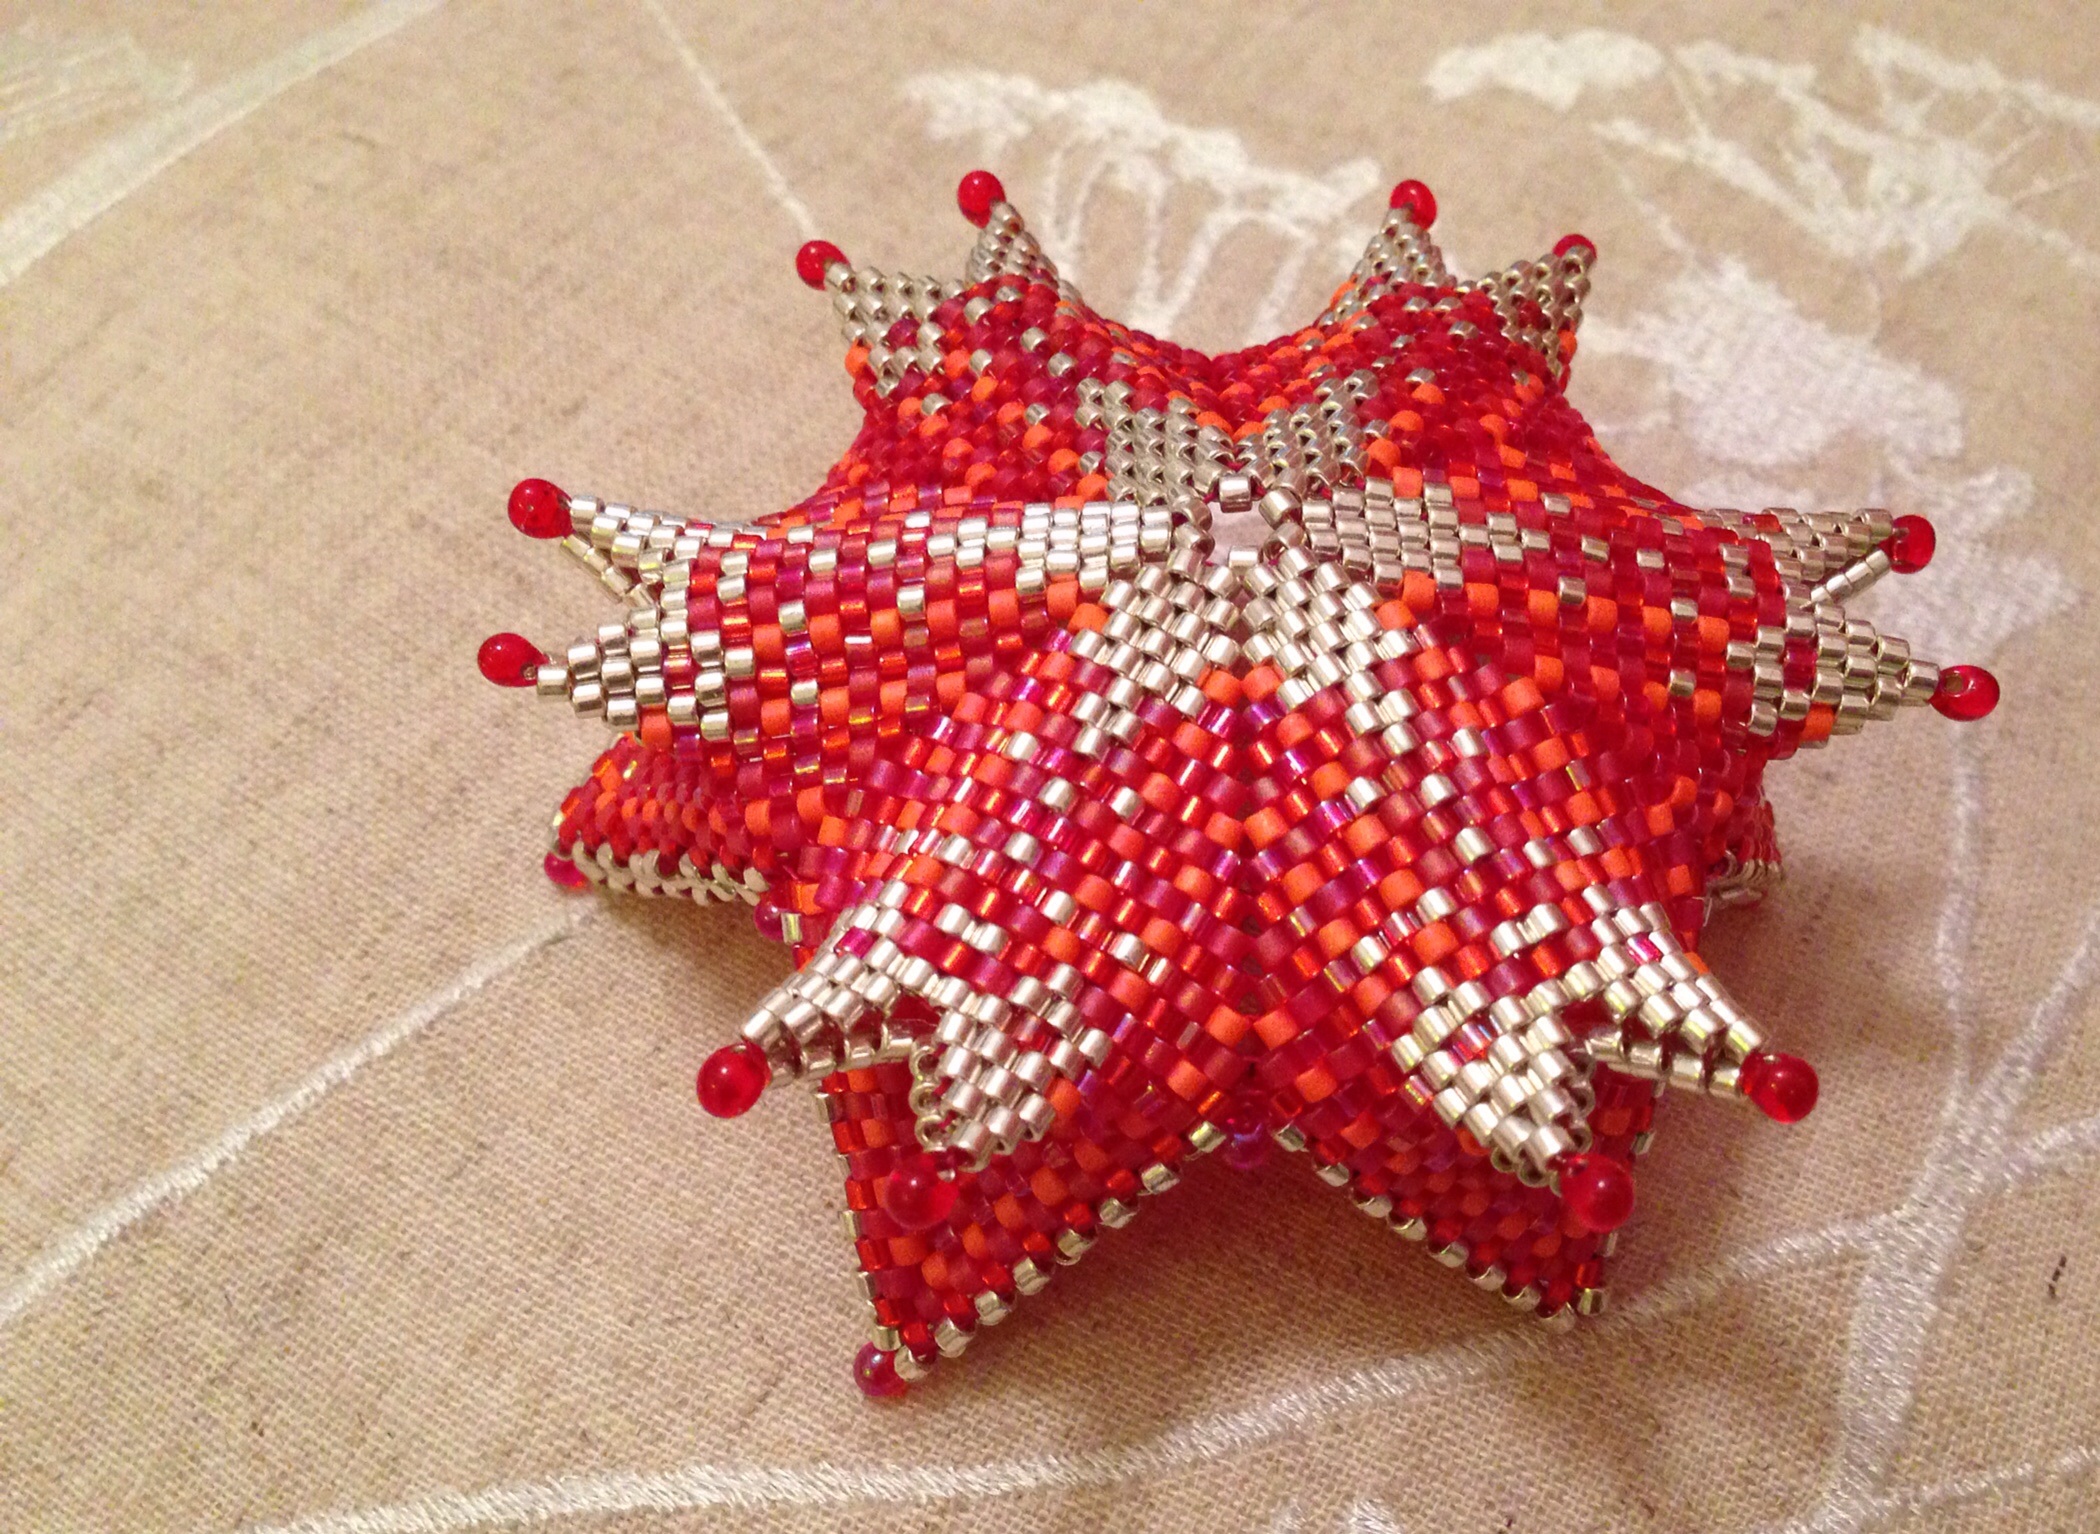
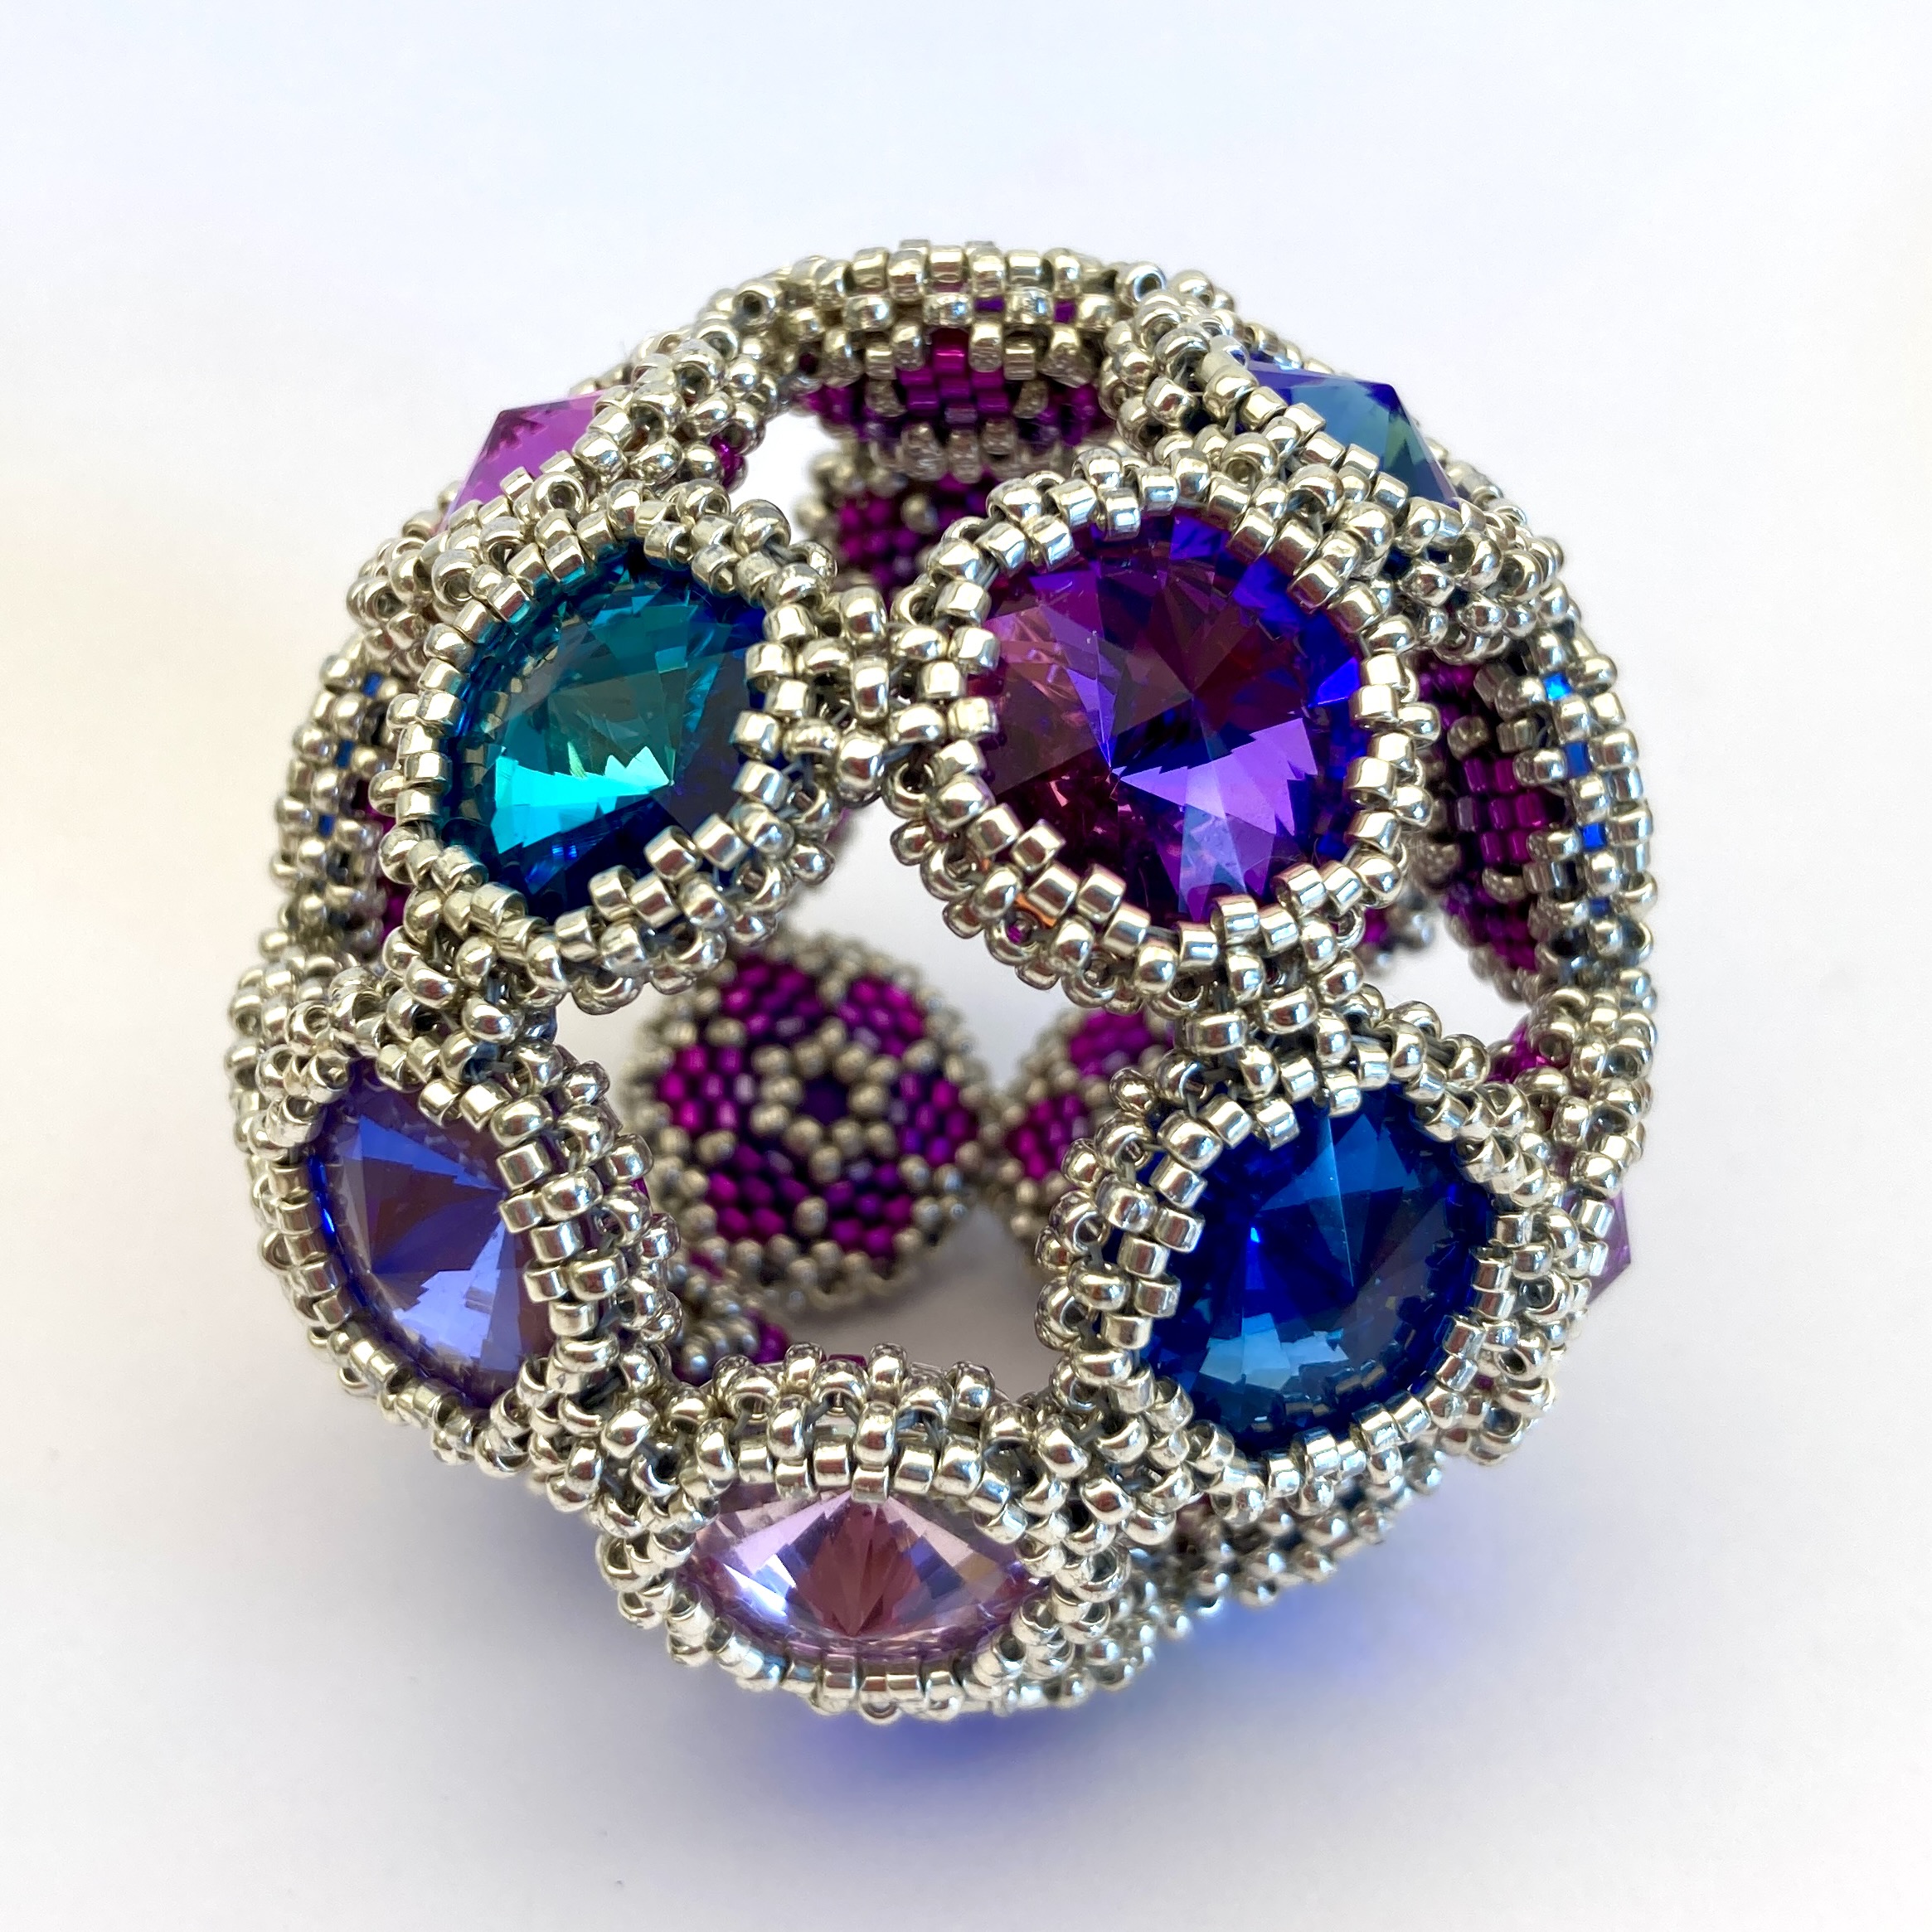
That took me away from flat sheets and back to 3d shapes and got me to thinking about the 3d Geometric shapes which do use Hexagons. The best known of these is of course the Truncated Icosahedron, also known as the Bucky Ball, seen everywhere as the basic patchwork layout for the football (or for the US peeps, a soccer ball). It uses pentagons, each surrounded by a ring of 5 hexagons. All the hexagons are joined, which made me wonder, what would happen if I just missed out the pentagons altogether and left the resulting gaps as voids, viewing windows into the delica bezel backs? Could I create a structure which was rigid enough to feel solid even with the voids? Would the curvature be correct? My engineering brain said ‘maybe, if you have a solid joint, rather than a hinge joint’. In peyote 3d shapes we usually use point beads to join, giving a hinge. If every side has a join then those hinges act in combination to give a solid shape. Any missing sides or joins mean flexibility returns, so the shape won’t be rigid. So I needed to come up with a joint which was solid – it would need a bit of flexbility to allow it to shift during construction, but ultimately needed to lock into a solid formation. Once again the curvature showed me the way to go, and in the tutorial you’ll see how the two part joint gives you the rigidity you need.
So a plan, but no way to see if I was right other than beading it, we departed for Christmas with 20 pots of pastel delicas and 20 hexagonal crystals. I doggedly beaded them half askeep in front of the post Christmas telly whilst the boys built Lego and played with my Dad’s train set, and by New Year I was relieved to see that my gamble had paid off, and Orbit was born.
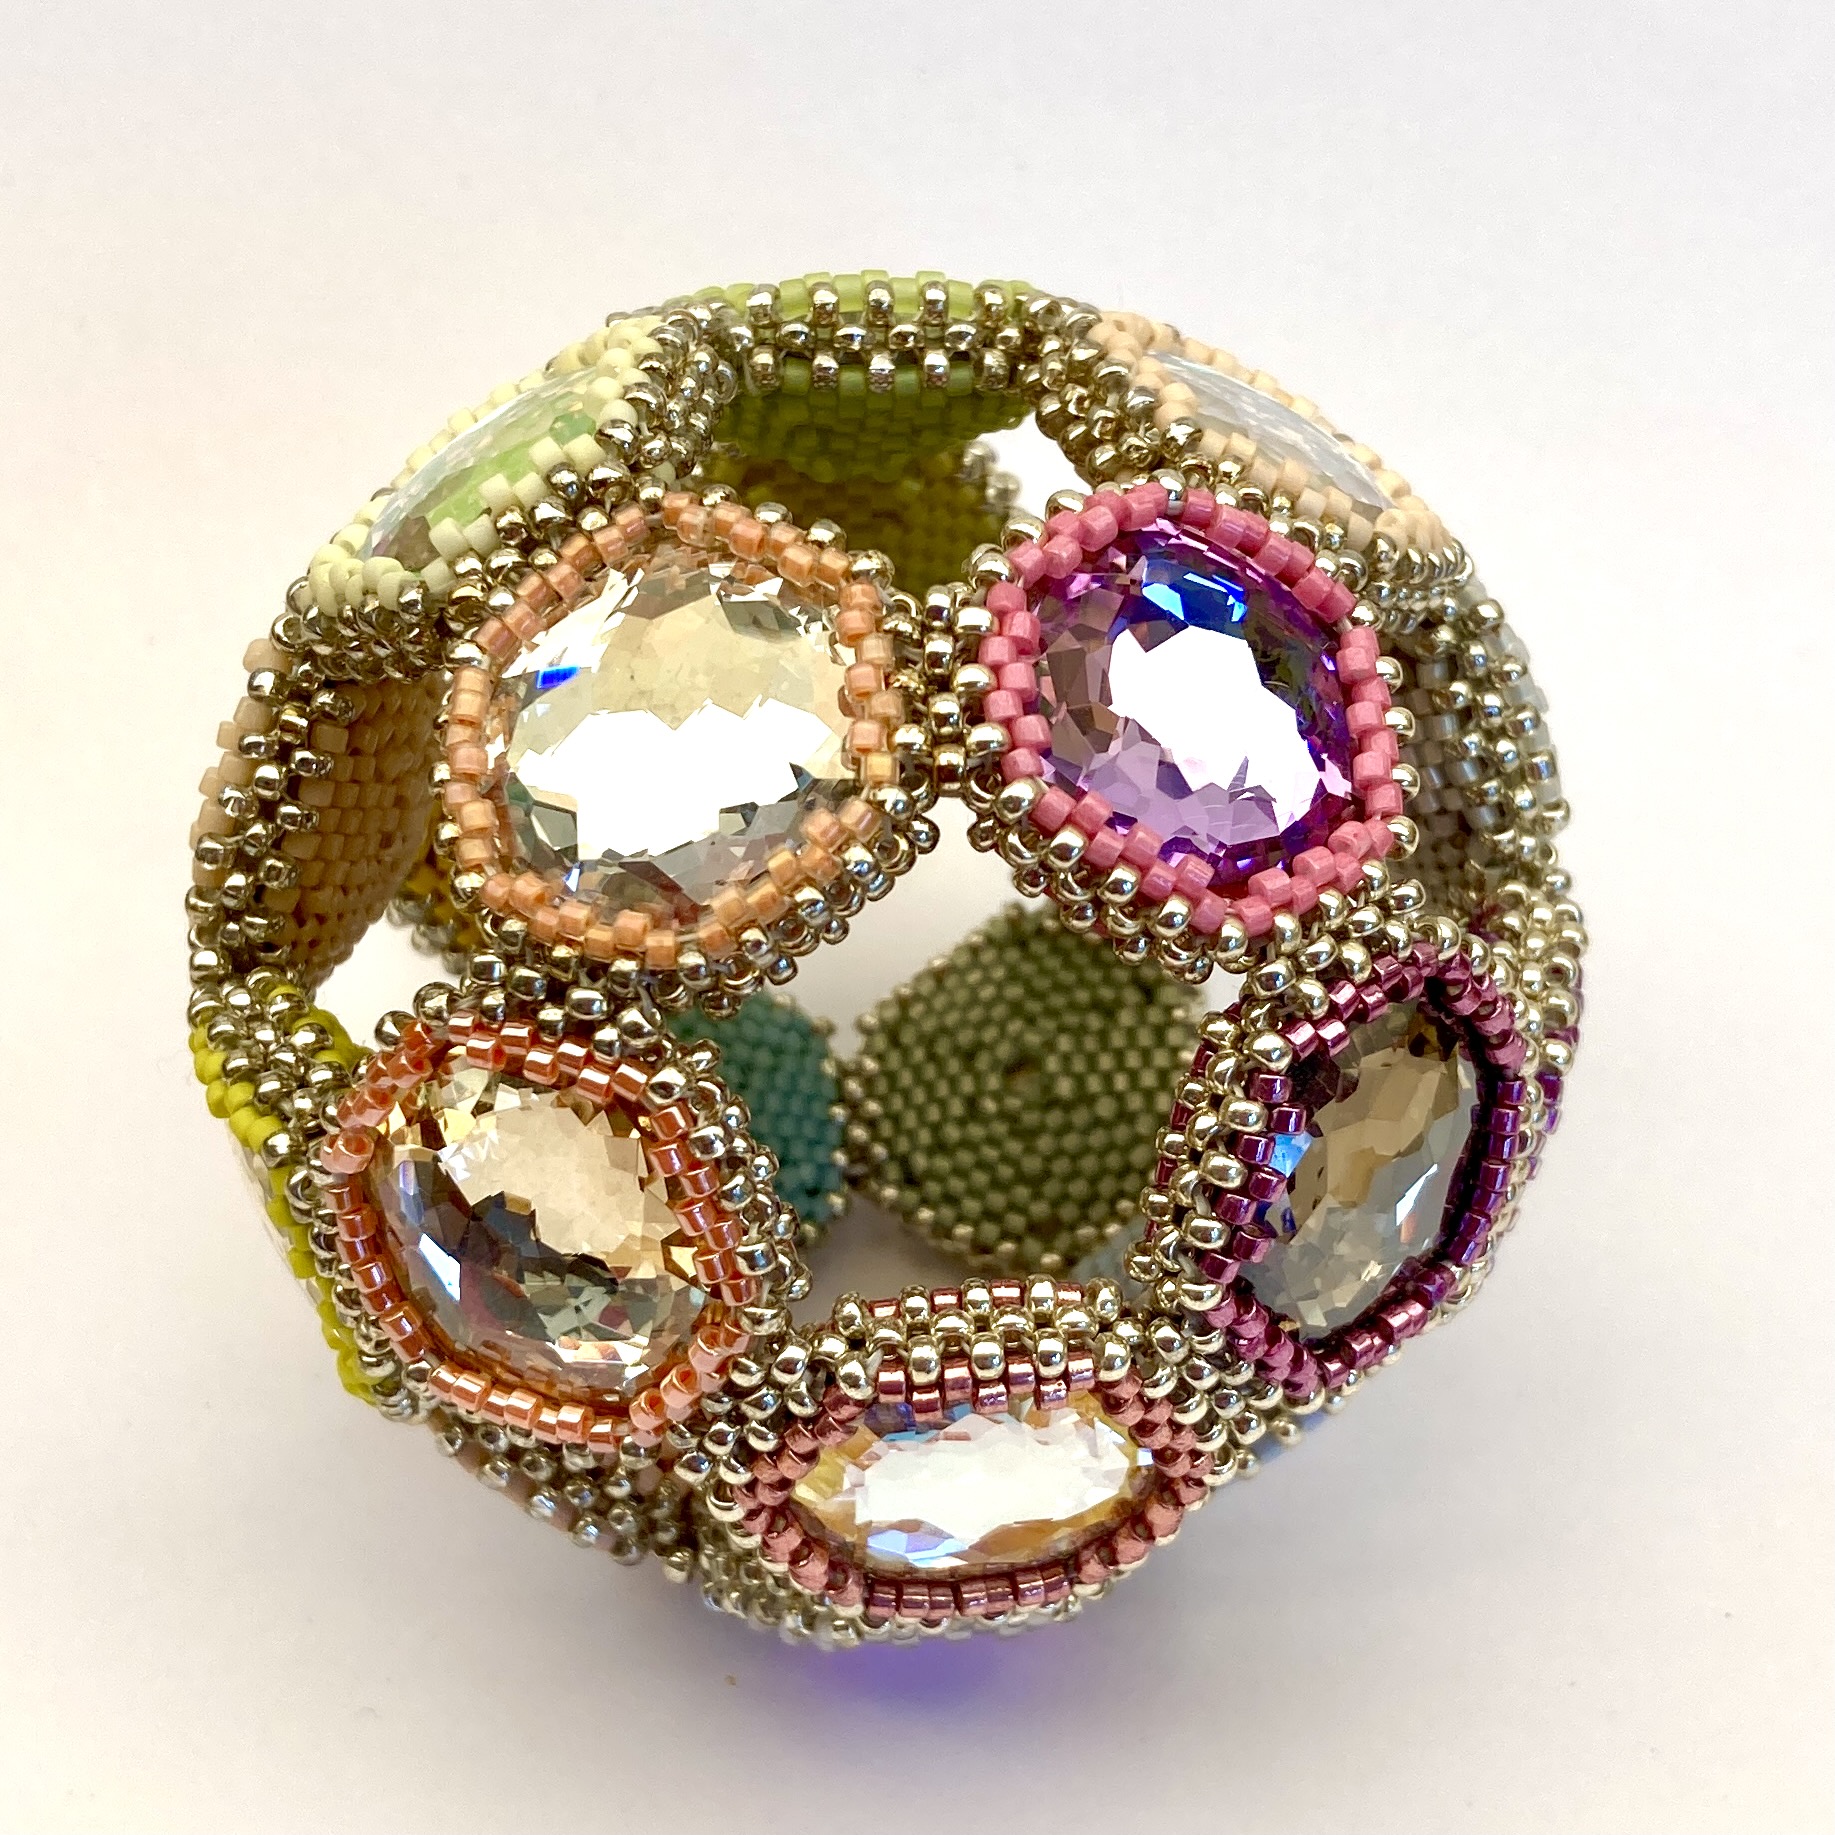
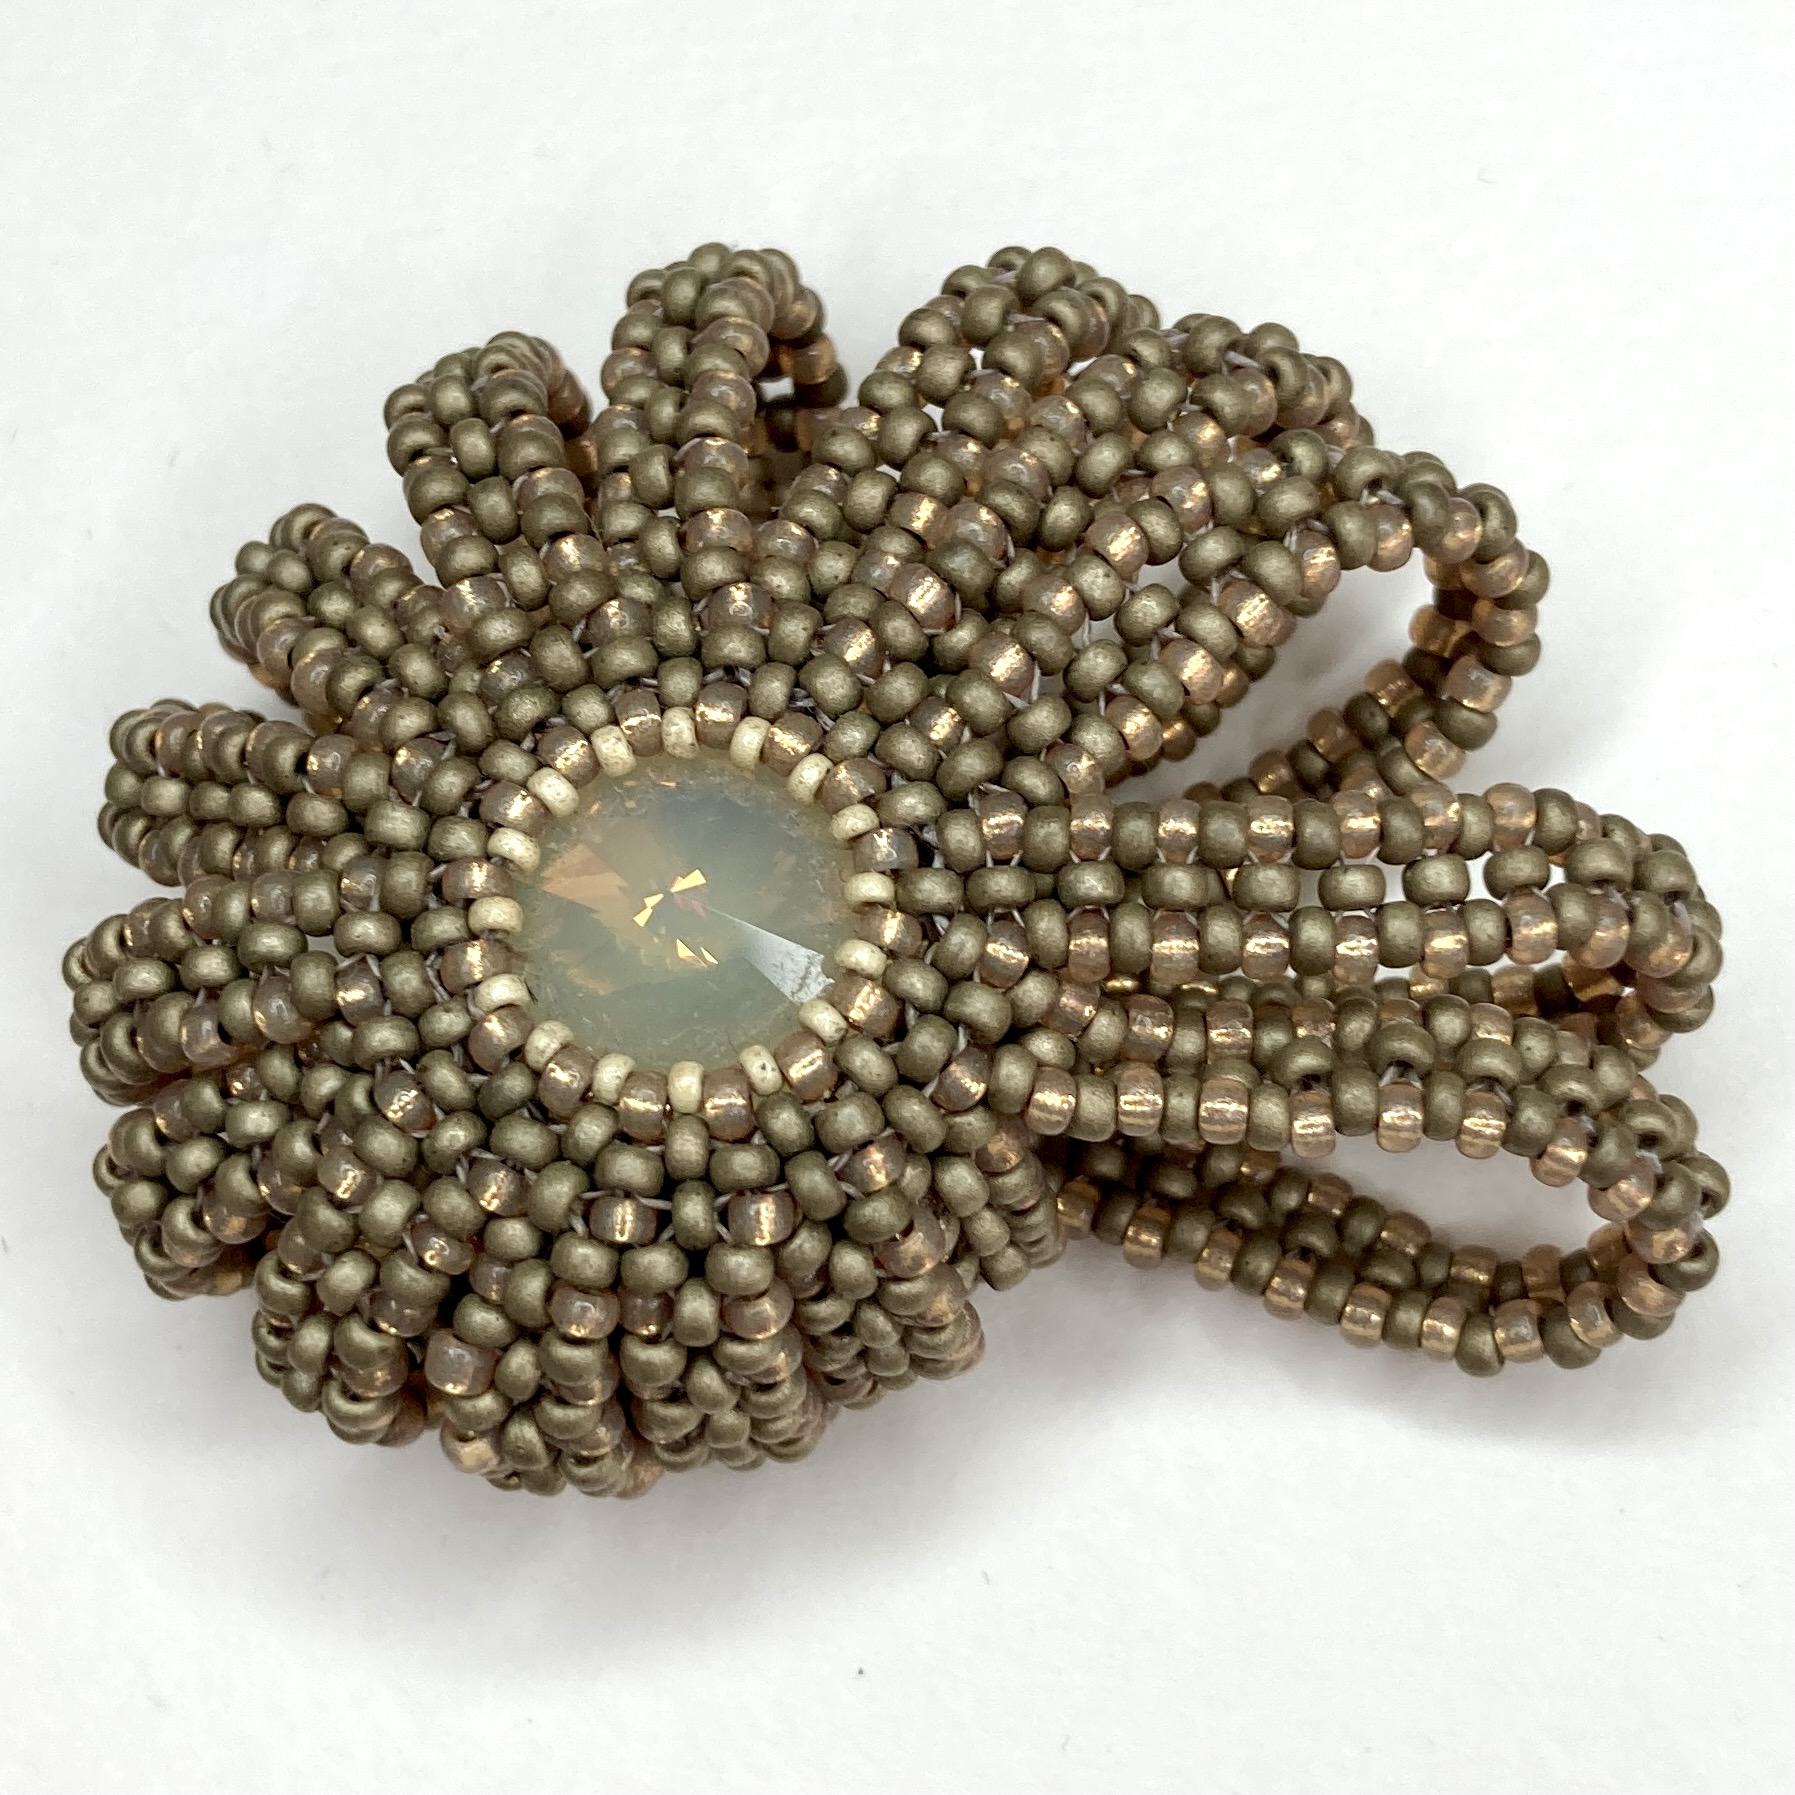
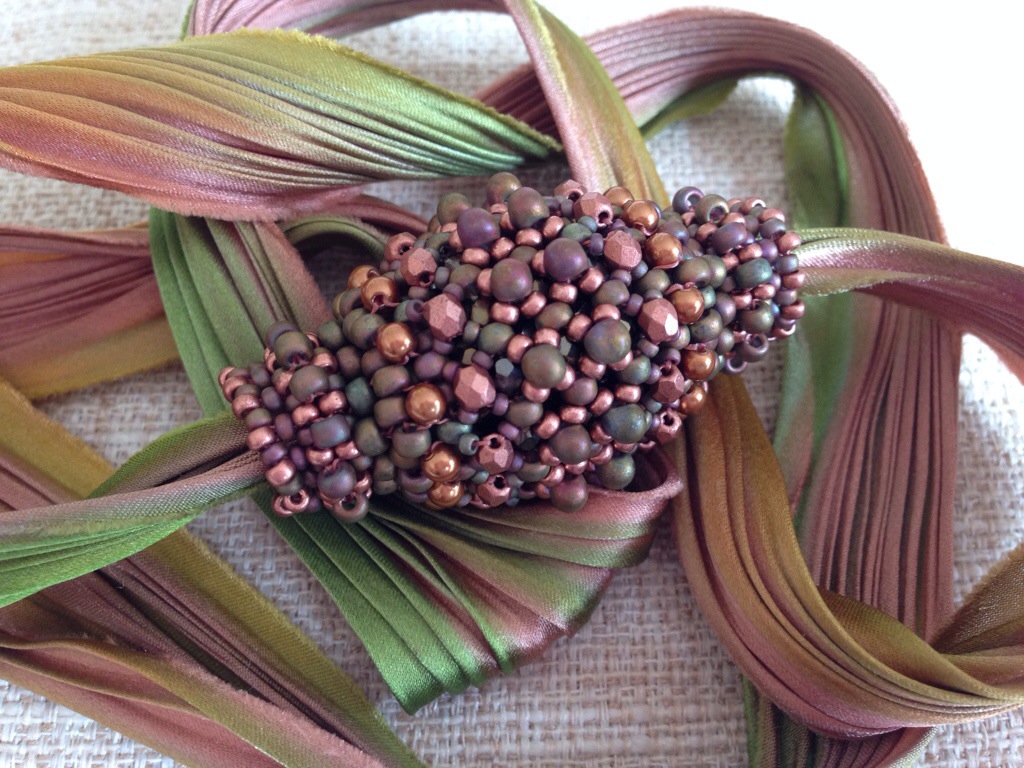
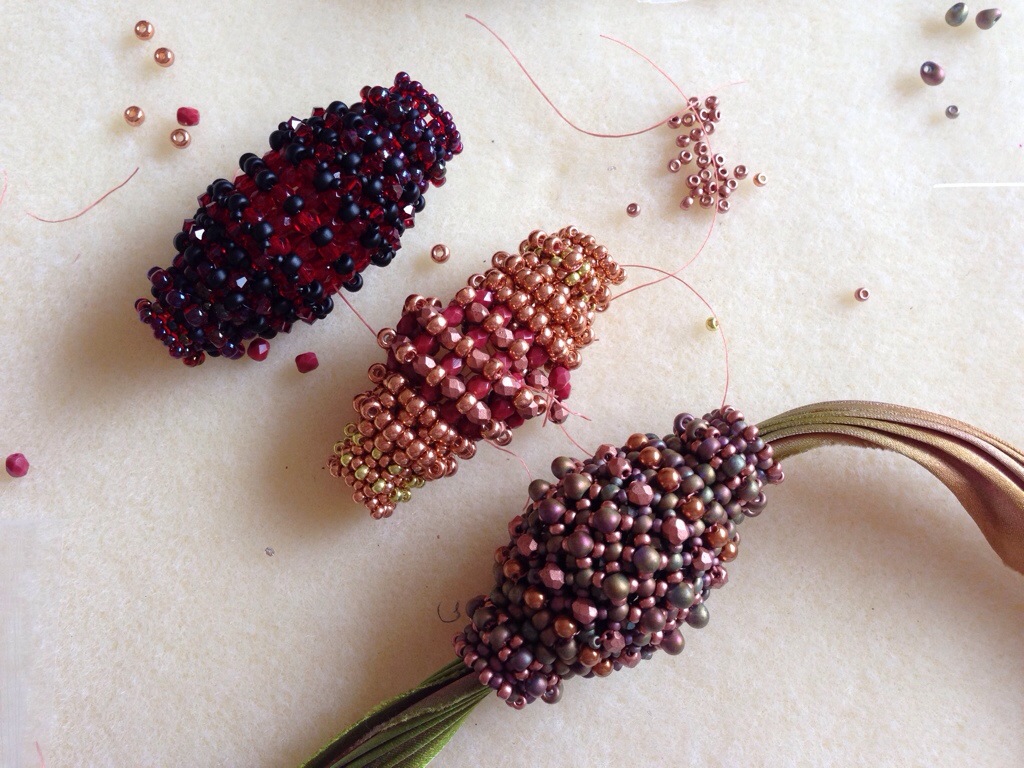
Next, a lone Swarovski 14mm crystal in my stash of the same shape and cut beckoned, and I managed to alter the bead count to get a bezel to work for that too. Crystal Idea in Lithuania had a good stock, so 19 more were ordered, and the Poppy variation followed.
But those 14mm versions were eye wateringly expensive, what beader was ever going to chose them? I had been able to get enough stock of the 18mm original crystals for launch, but realistically that wasn’t going to serve more than a couple of dozen customers, so would really limit the market for the tutorial. Back to the bead mat then as I tried to make it work for different sizes of hexagons – 10mm NO, 12mm NO. More thinking. What about a 14mm Rivoli, the beader’s favourite – NO – too small. At this point I had drawn all the diagrams and invested a lot of time (and crystal money) and I was getting a bit discouraged.
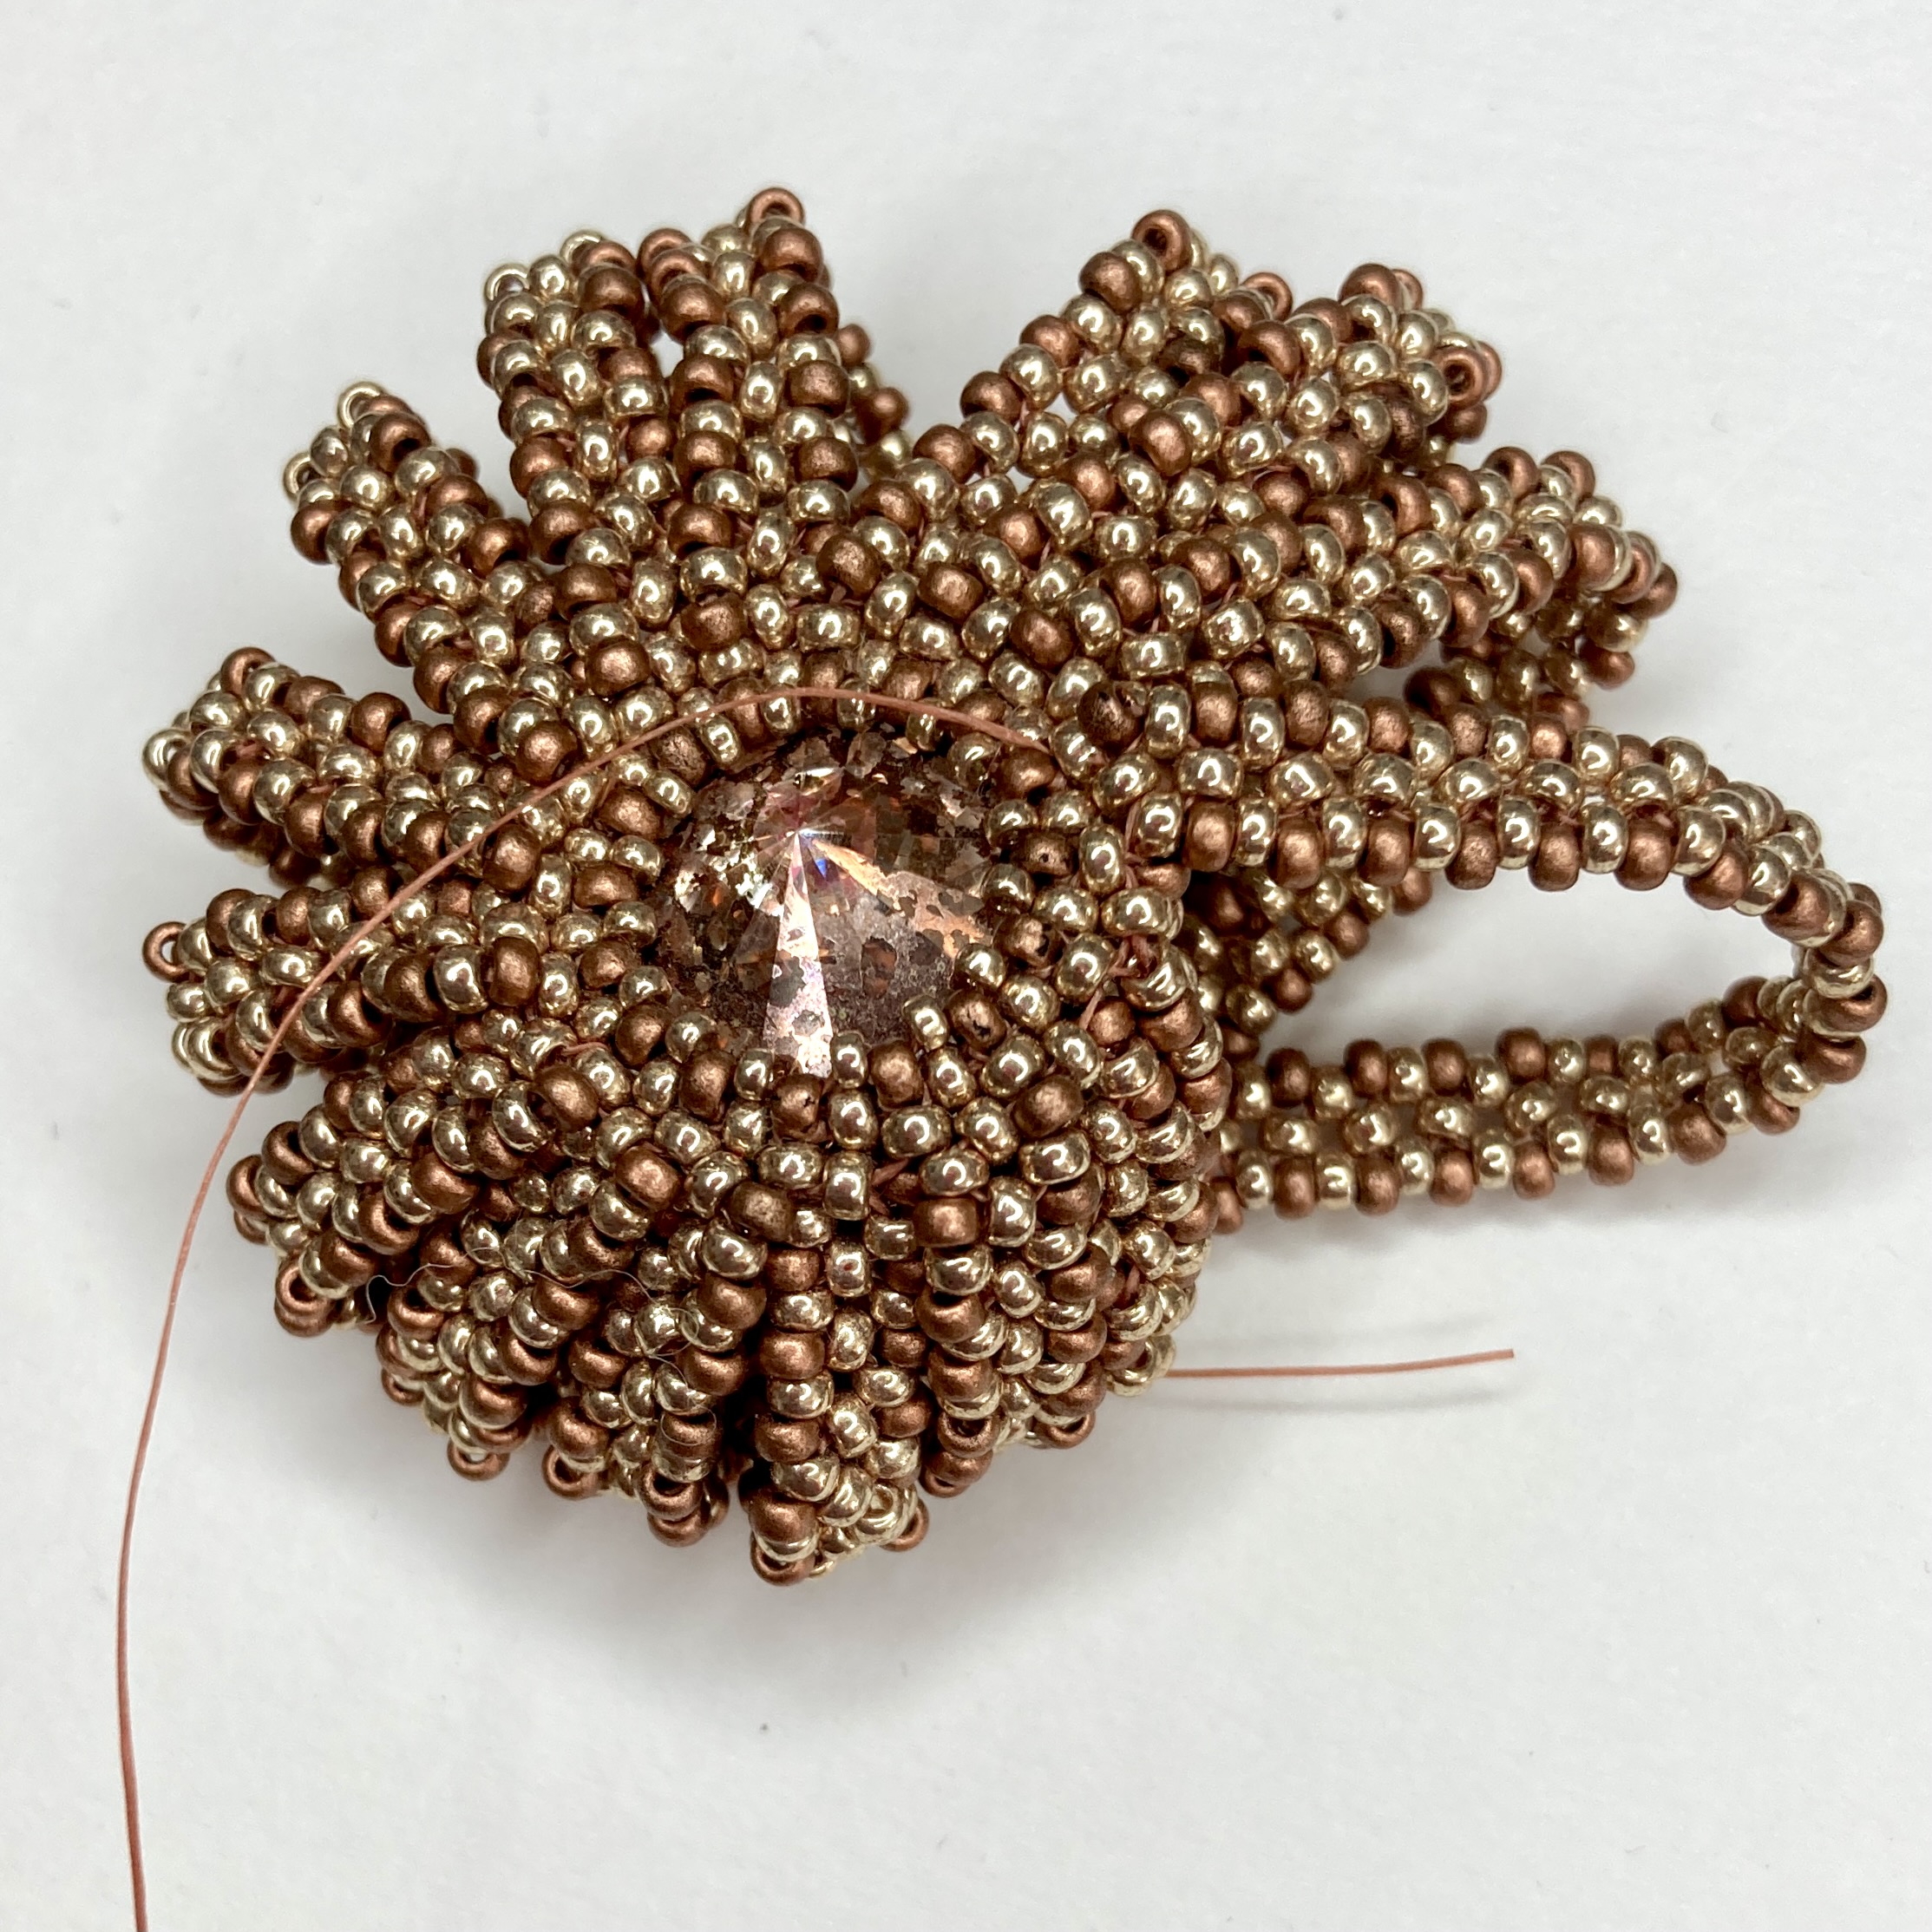
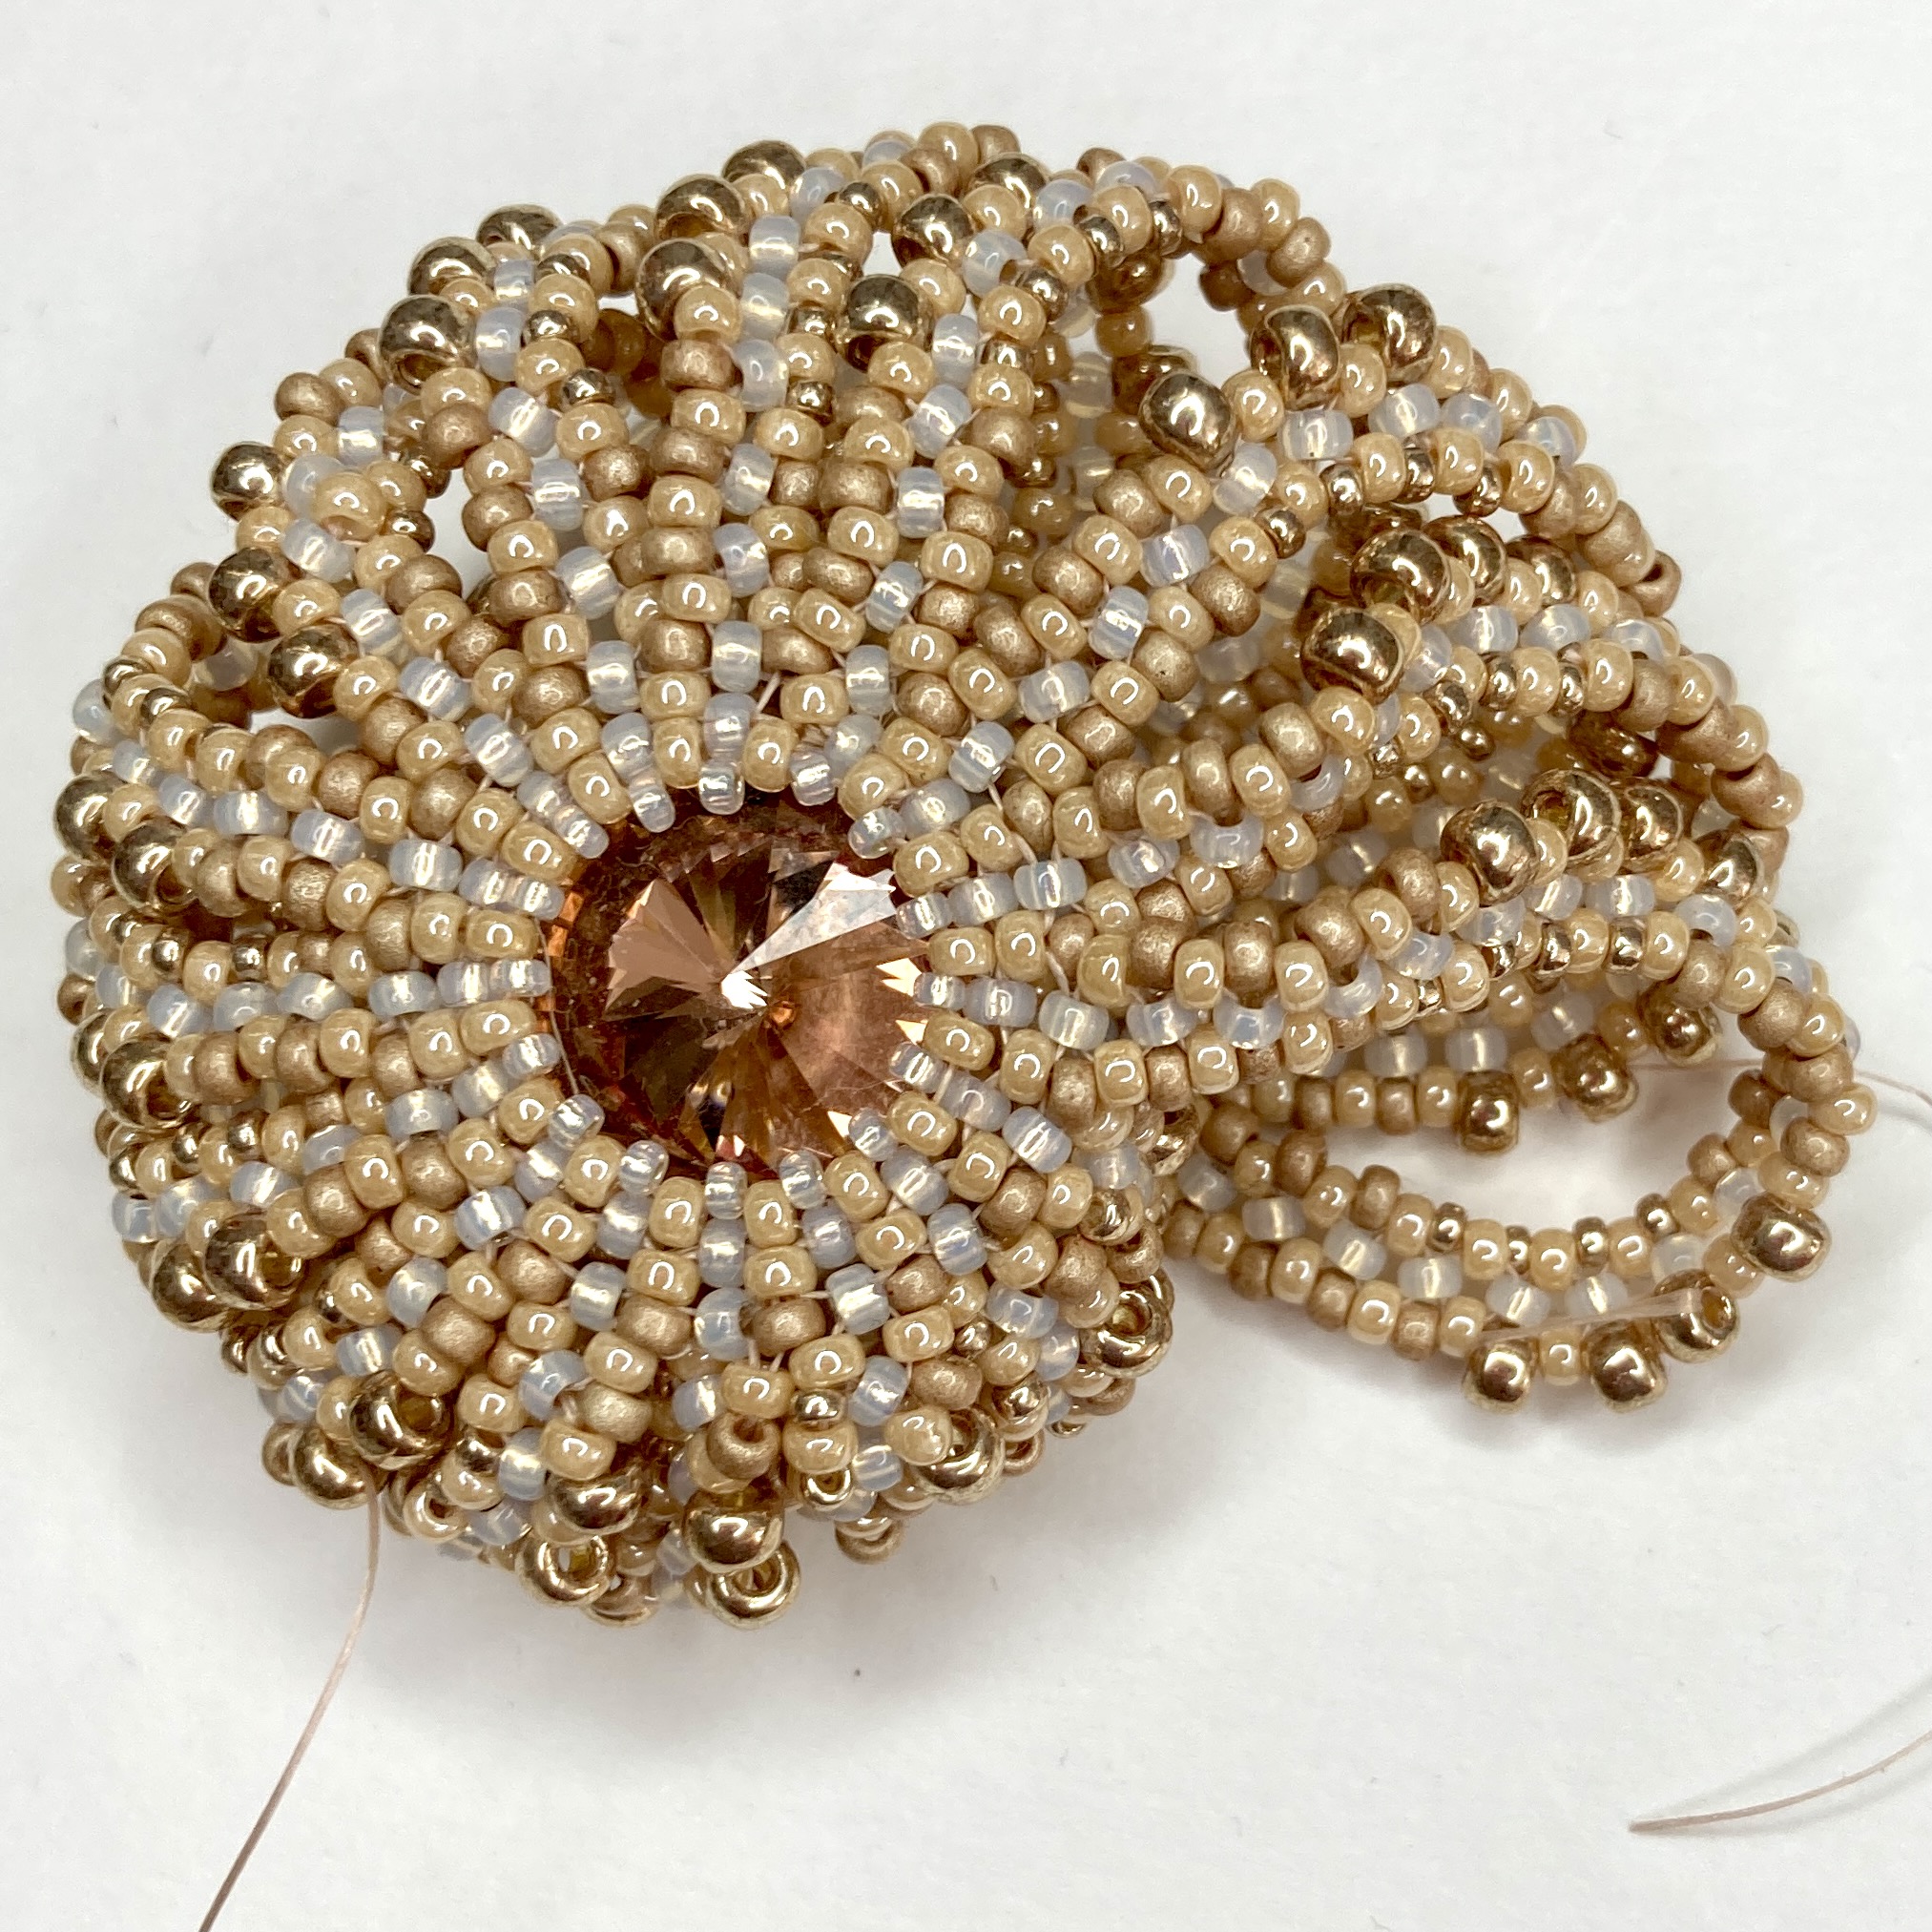
Happilly one day I was working on the materials section of the tutorial and needed to measure the crystals, leading to one of those ‘doh’ moments when you realise you’ve been daft. They’re sized across the parrallel edges as 18mm or 14mm, but point to point they’re actually 20mm or 16mm. I had 2 lonely 16mm Rivolis in my stash and hooray, they fit the bead count for the 14mm hexagon. The bezel ended up circular, so the backs needed some changes to fill the gaps that opened up in the delica peyote, but eventually I came up with some slight tweaks to allow beaders to adapt the 14mm version to make this with 16mm rivolis – they’re way way cheaper and much easier to get hold of, so I very much hope this will allow more of you to enjoy making this piece. If I’m honest I prefer the look of the hexagon versions to the rivolis, and the join beads don’t sit quite as neatly. However, the 14mm hexagons were £70 in total, and the 18mm hexagons I sell are £20 for a set (plus post and packing) so it feels important to offer a lower cost option – I paid £10 for the 16mm Aurora Rivolis from Old Bicycle Shop Beads and I think you’ll agree that’s fantastic value.
At some point I will also try to put together a 20mm rivoli version – I have some gorgeous vintage rivolis (again from Old Bicyle Shop Beads) all ready to try this with but as they’re a less easy to find size I concentrated on getting the 16mm tested first.
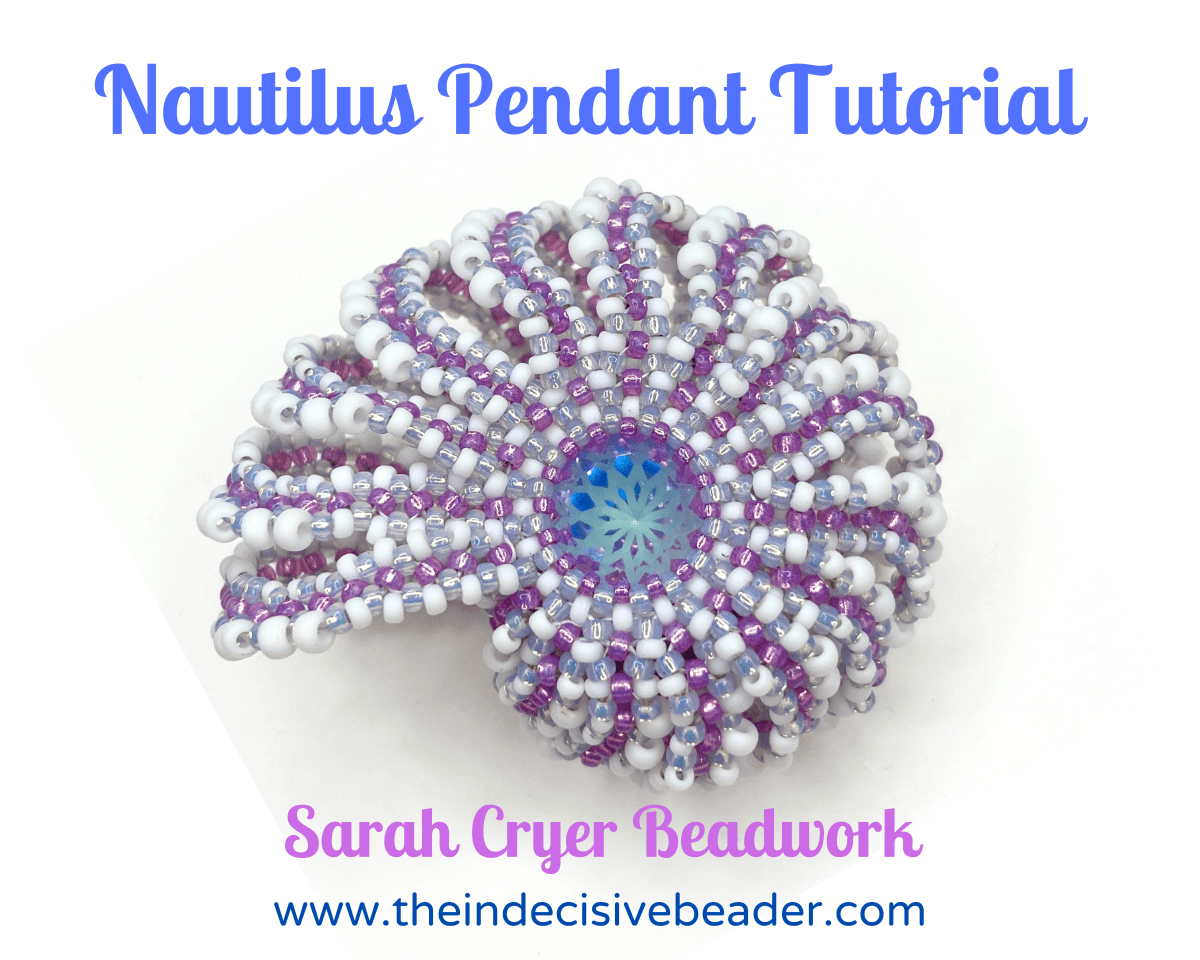
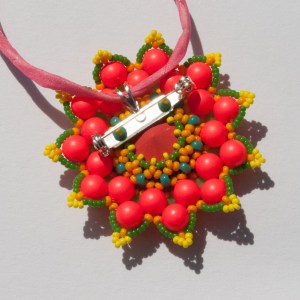
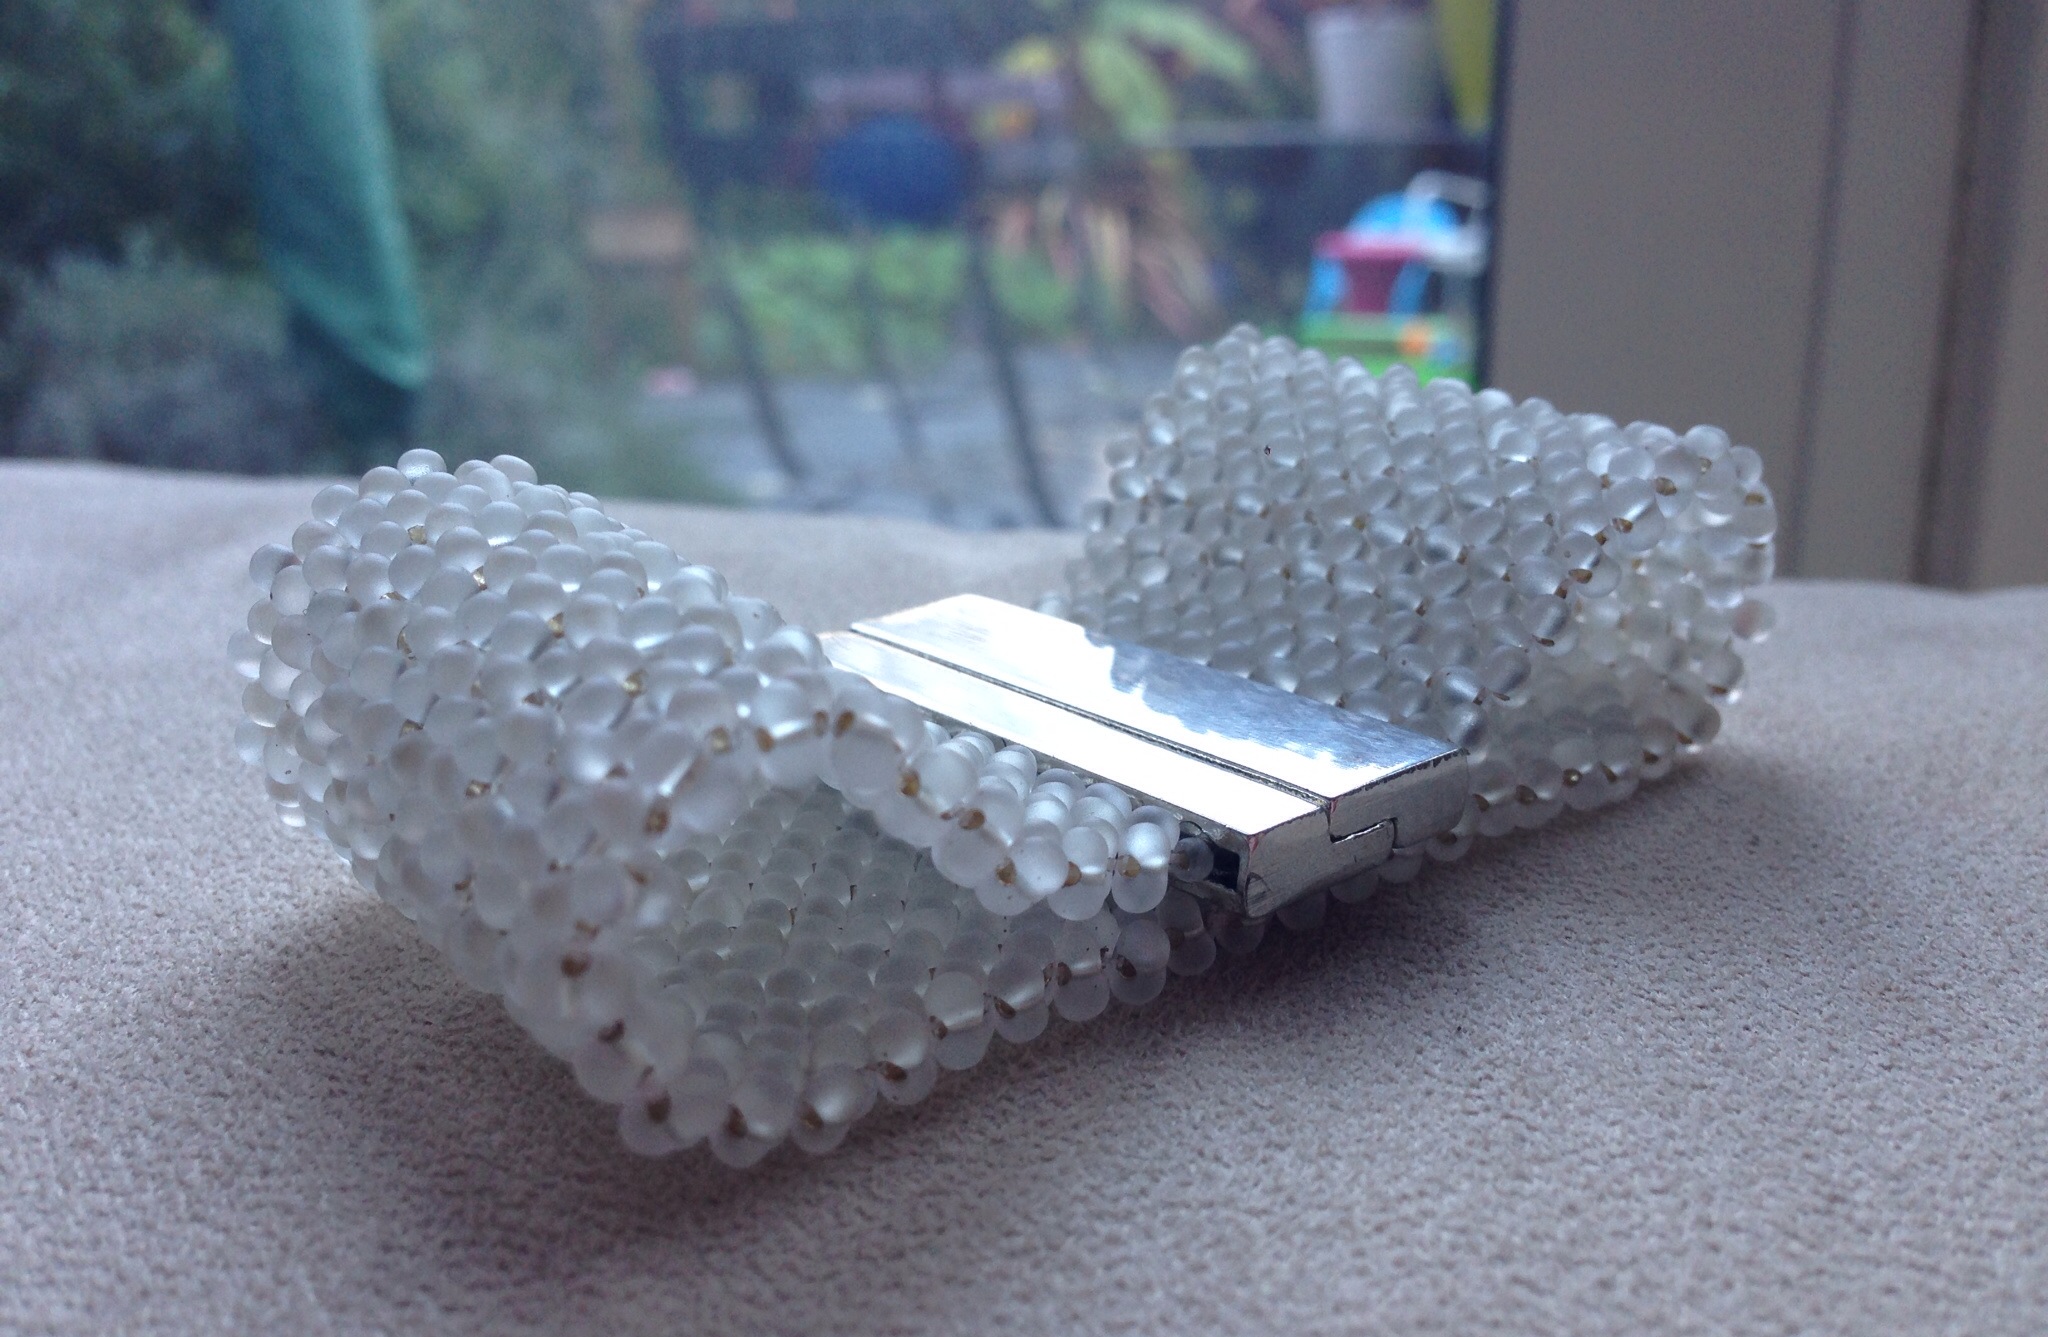
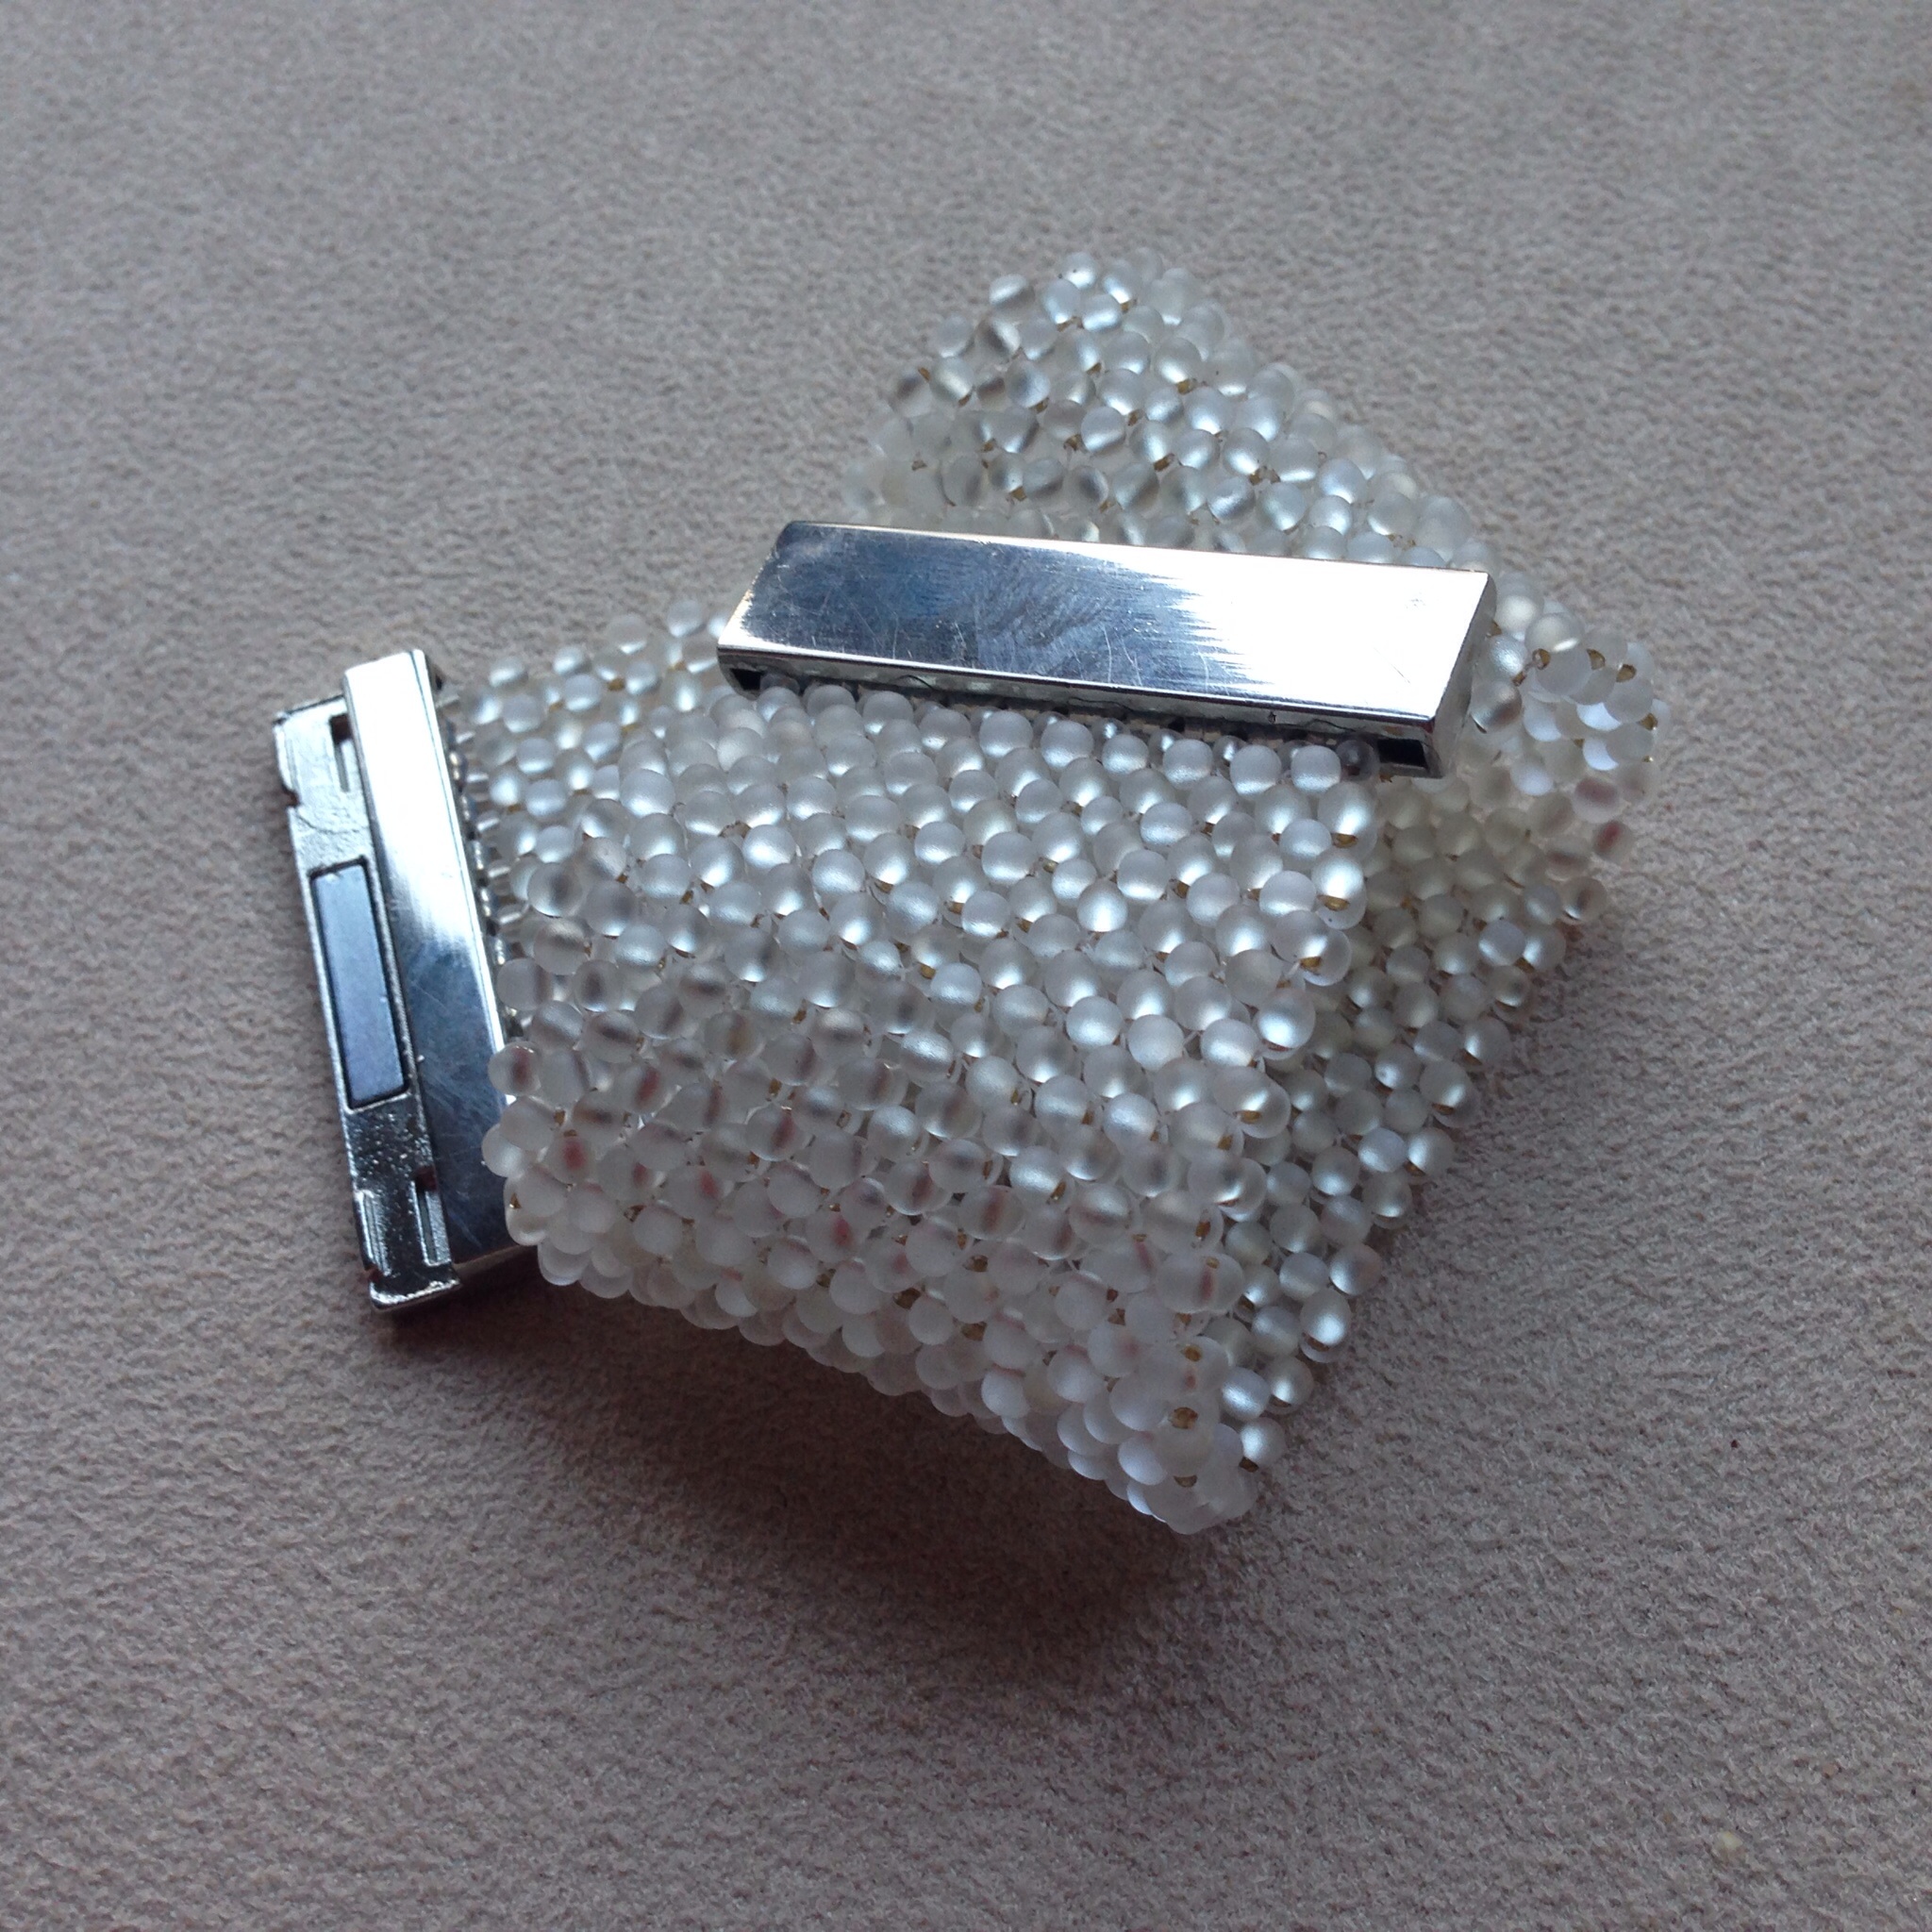
So here it is – Orbit, made with just Miyuki size 11 seed beads, size delicas and 20 gorgeous crystals using RAW, MRAW and Peyote stitches.
18mm Hexagon crystals which I think make the best version are available from my Etsy shop in packs of 20 (exactly the right number of course) here. Alternatively you can purchase the 14mm 4683 (under the brand name Primero) from Crystal Idea here or from other Swarovski stockists, or the 16mm Rivoli from Old Bicycle Shop Beads here (and probably lots of other places).
Intermediate level, suitable for anyone who is confident with RAW and Peyote, and patient enough to make 20 identical components and carefully follow a net to join them correctly. As usual it is fully illustrated with both diagrams and photos, written out steps and even some listed out colourways (with bead numbers) or your own colouring in sheets if you’d like to plan your own colours. A full detailed list of bead requirements is available on the usual page here.
Available in my Etsy or PayHip shops as a PDF download. Etsy don’t like my decent quality illustrations or photos so force me to turn it into 3 PDFs to meet their teeny file limit- if that annoys you as much as it does me, the PayHip version is a single PDF and exactly the same price.