And another one……

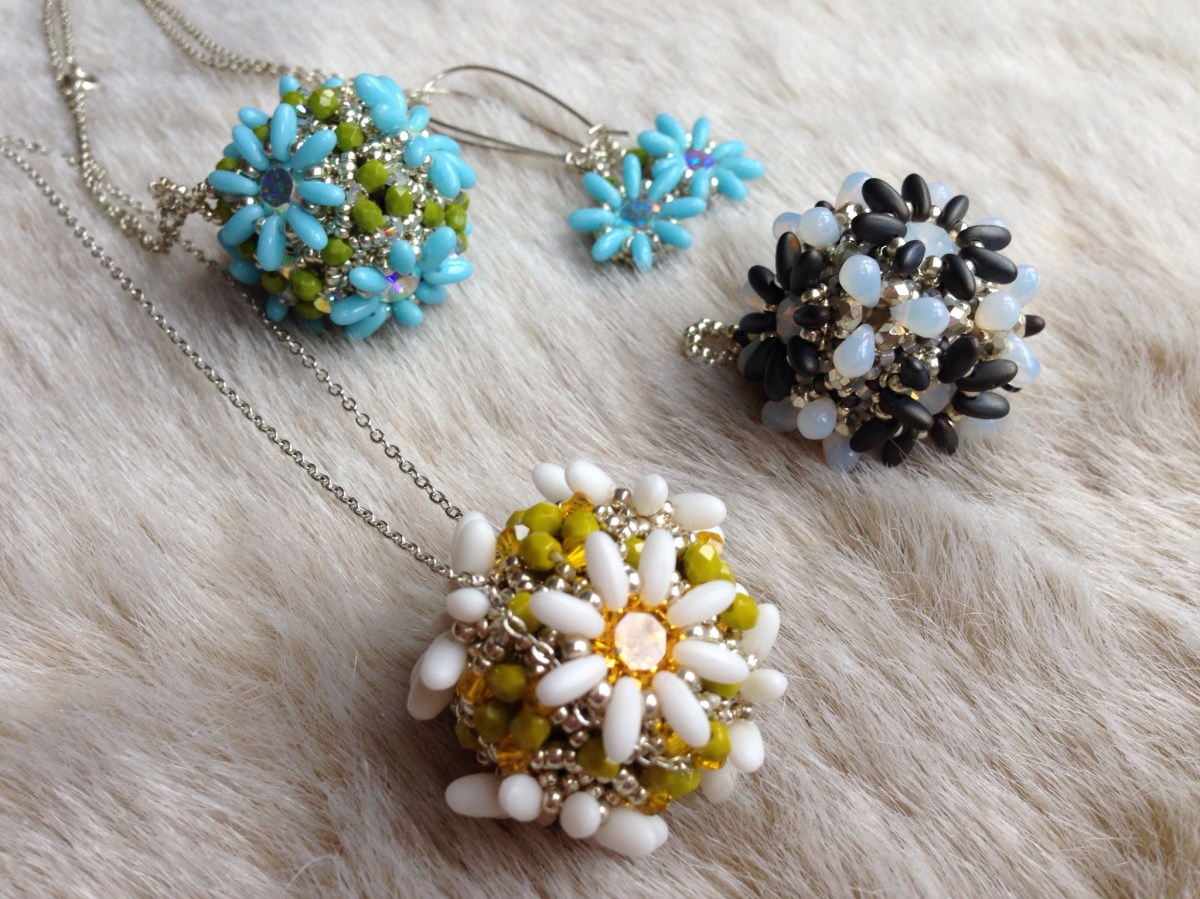
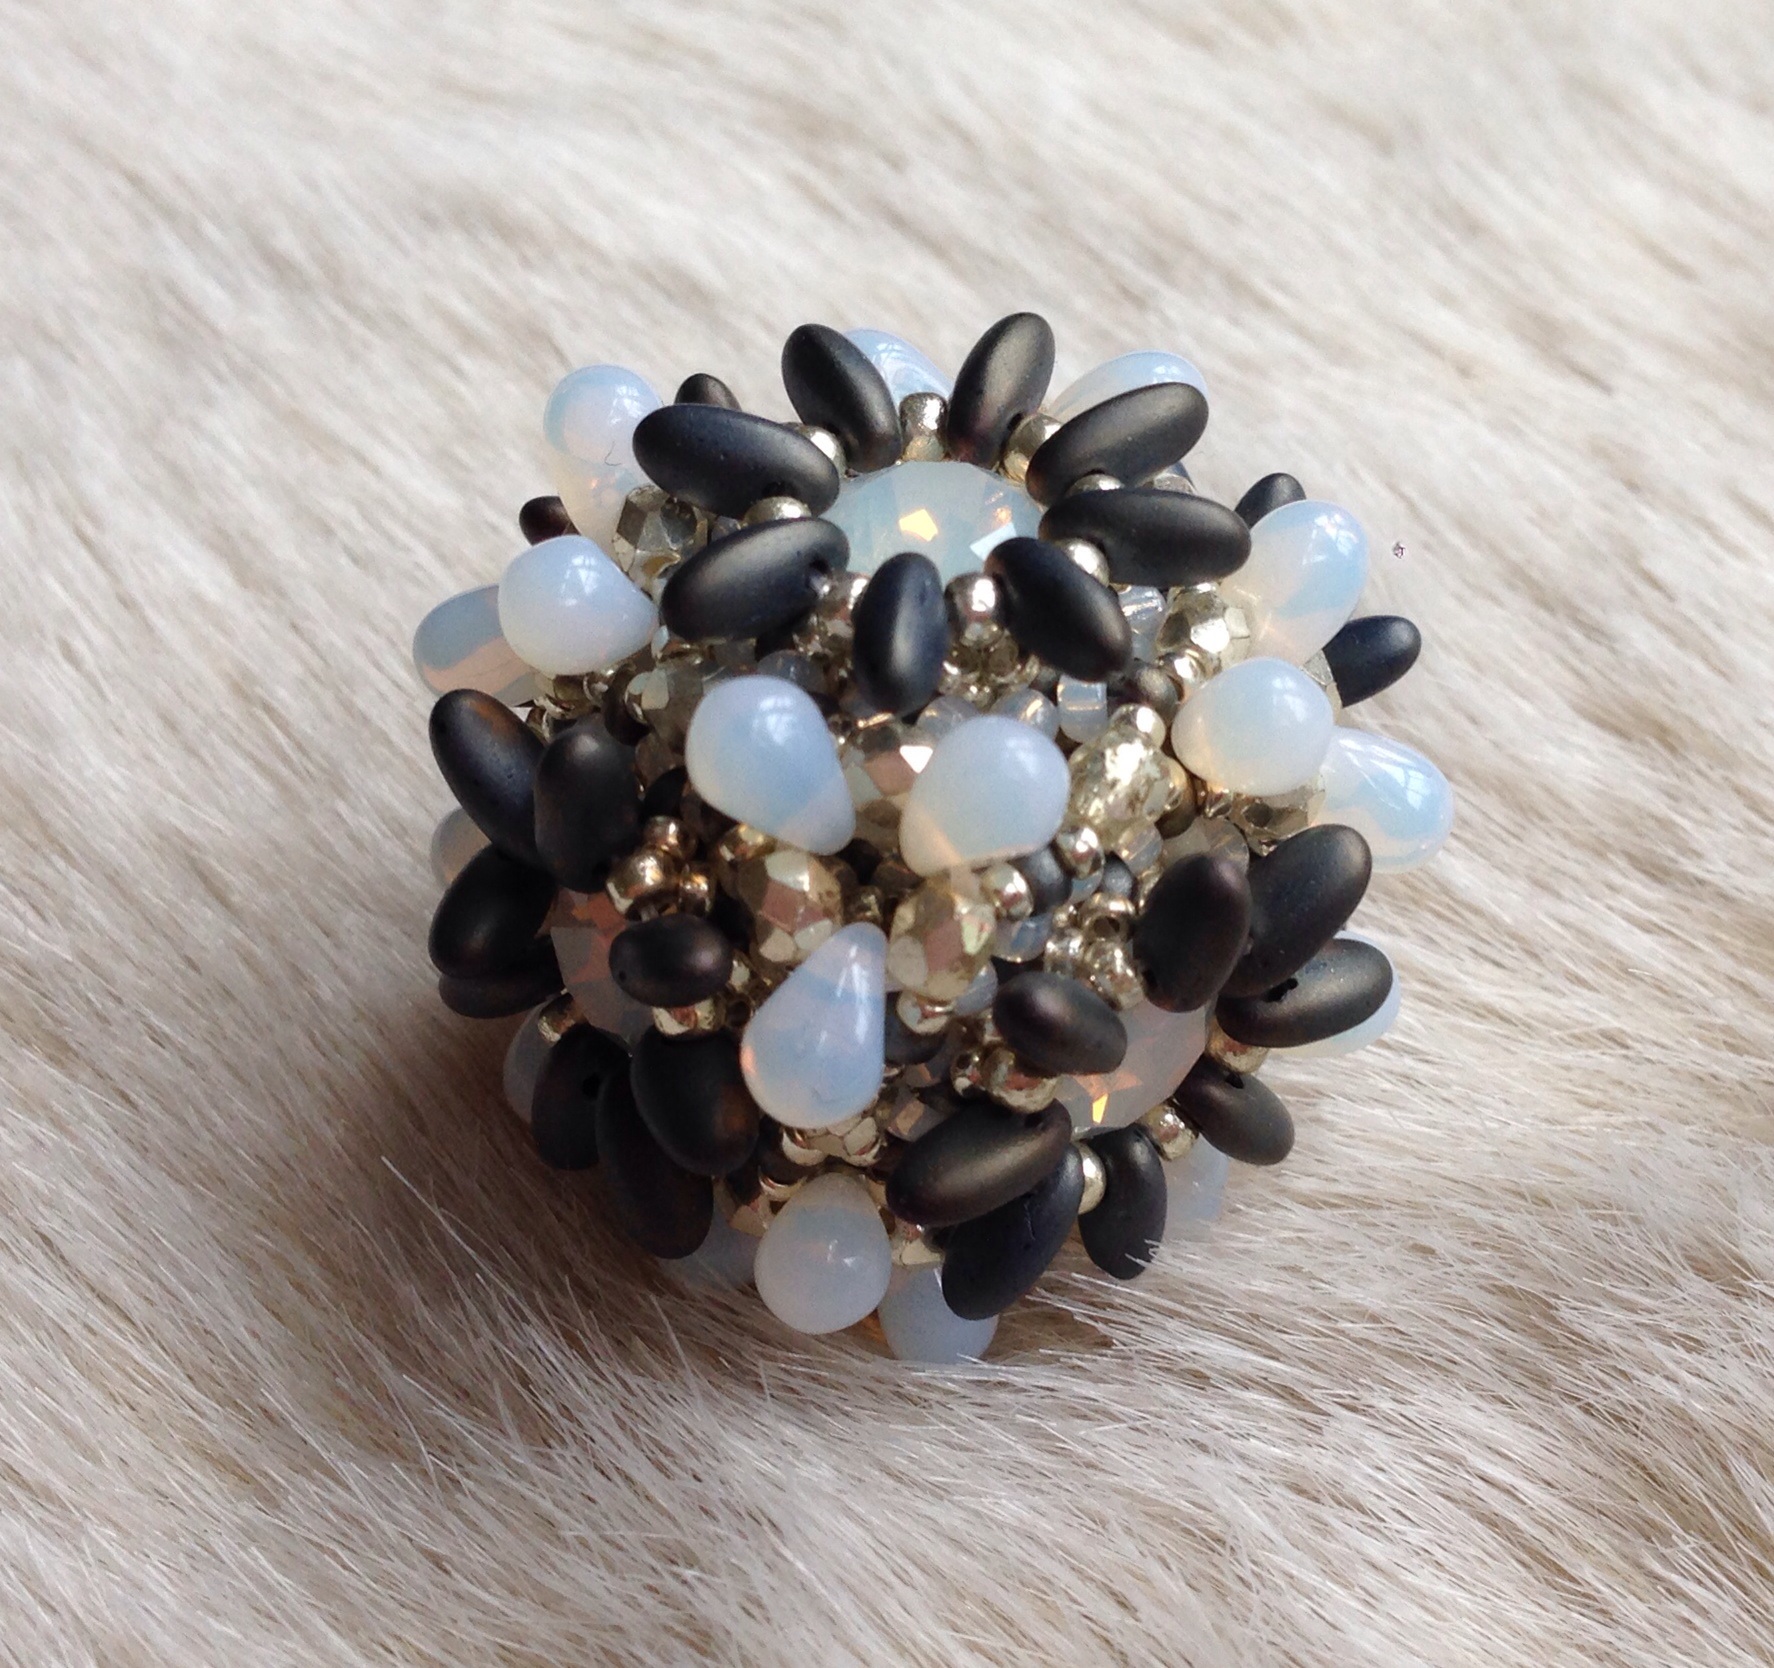
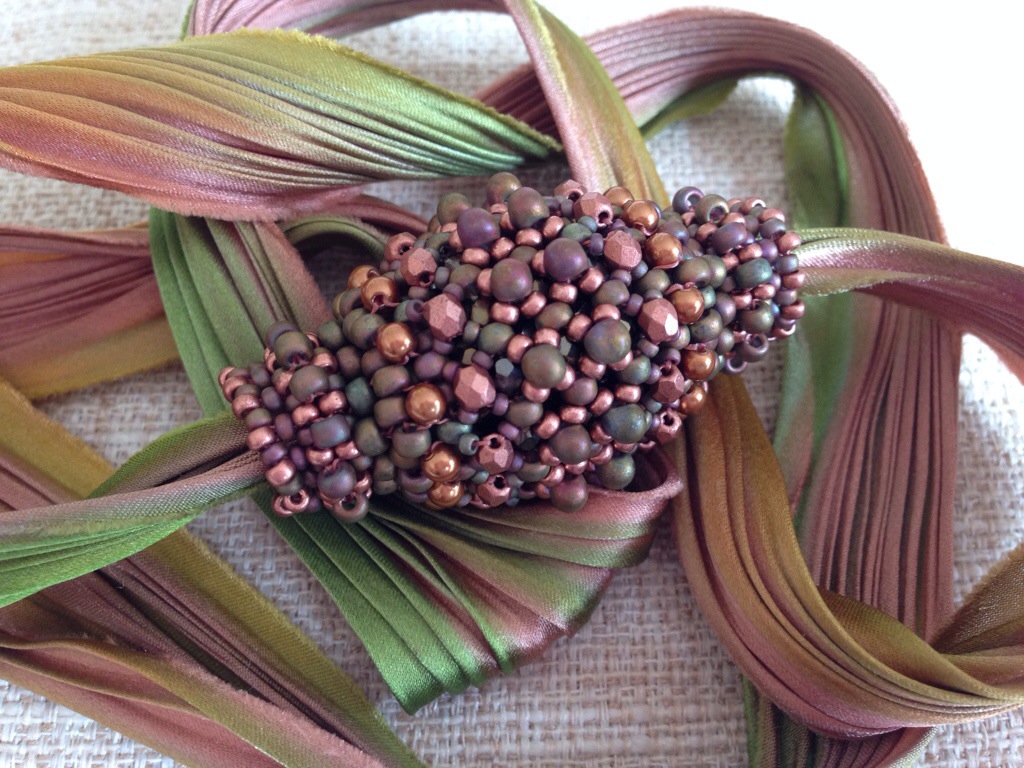
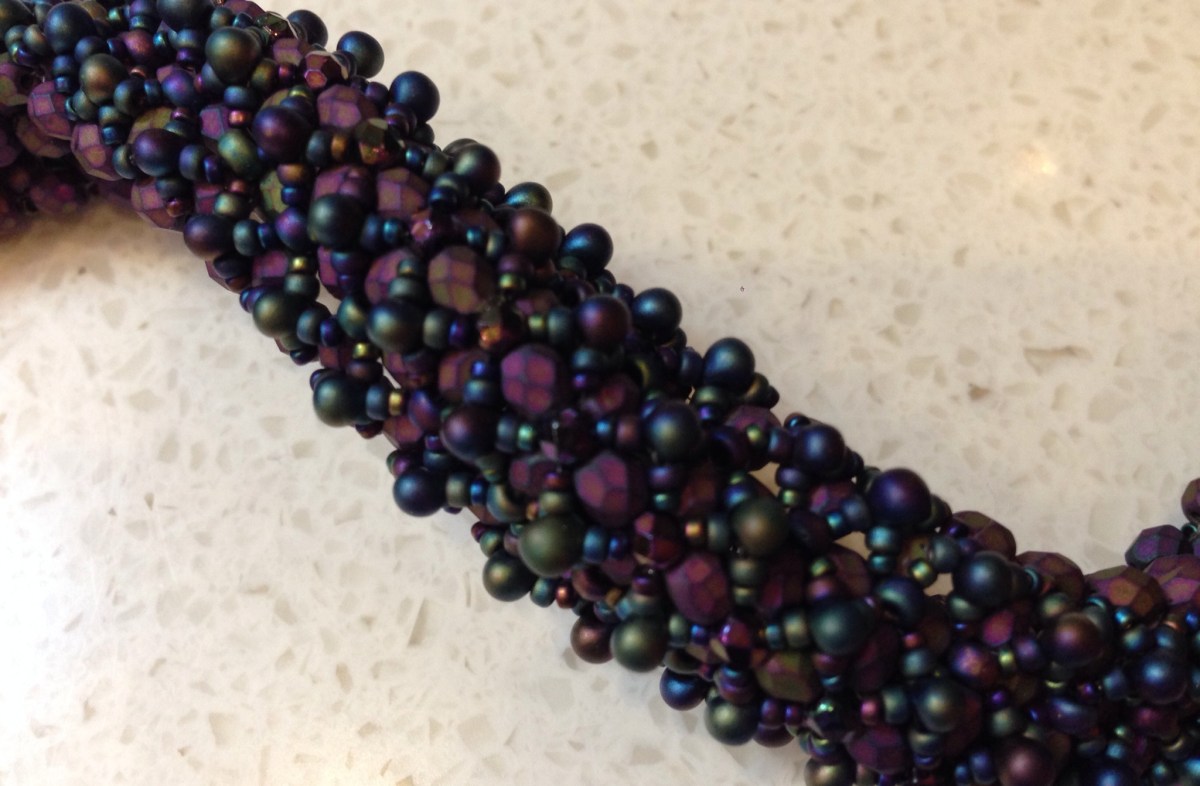
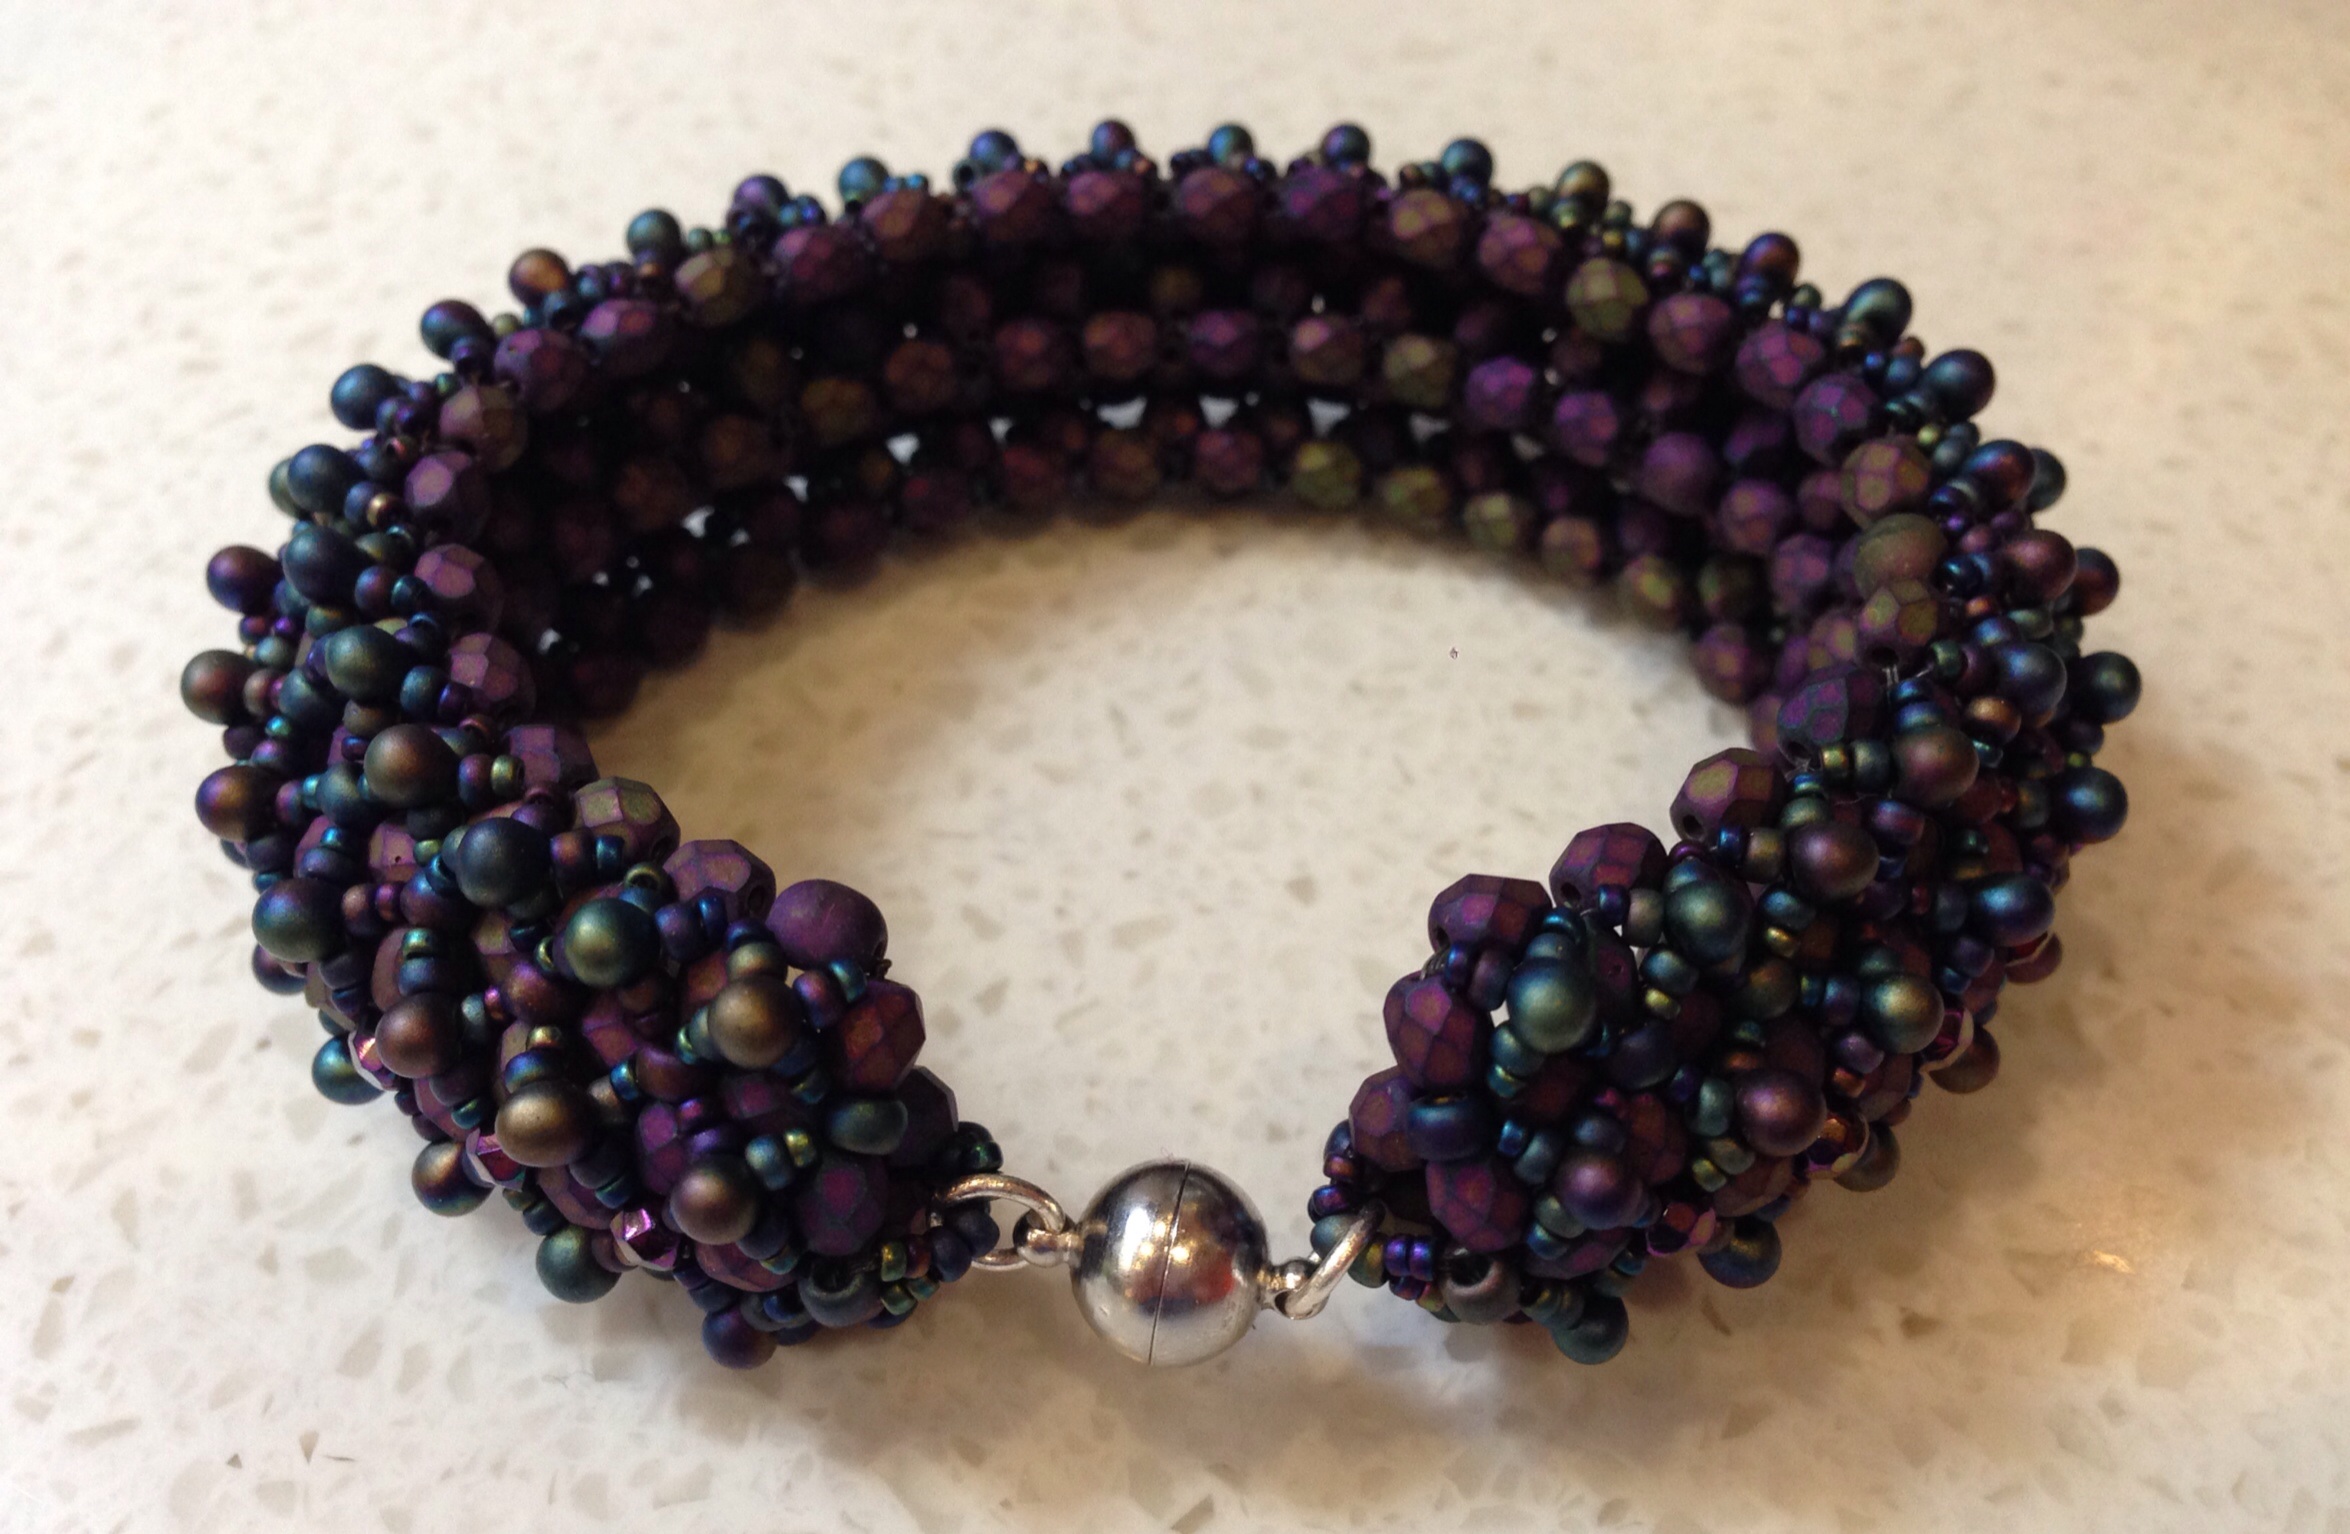
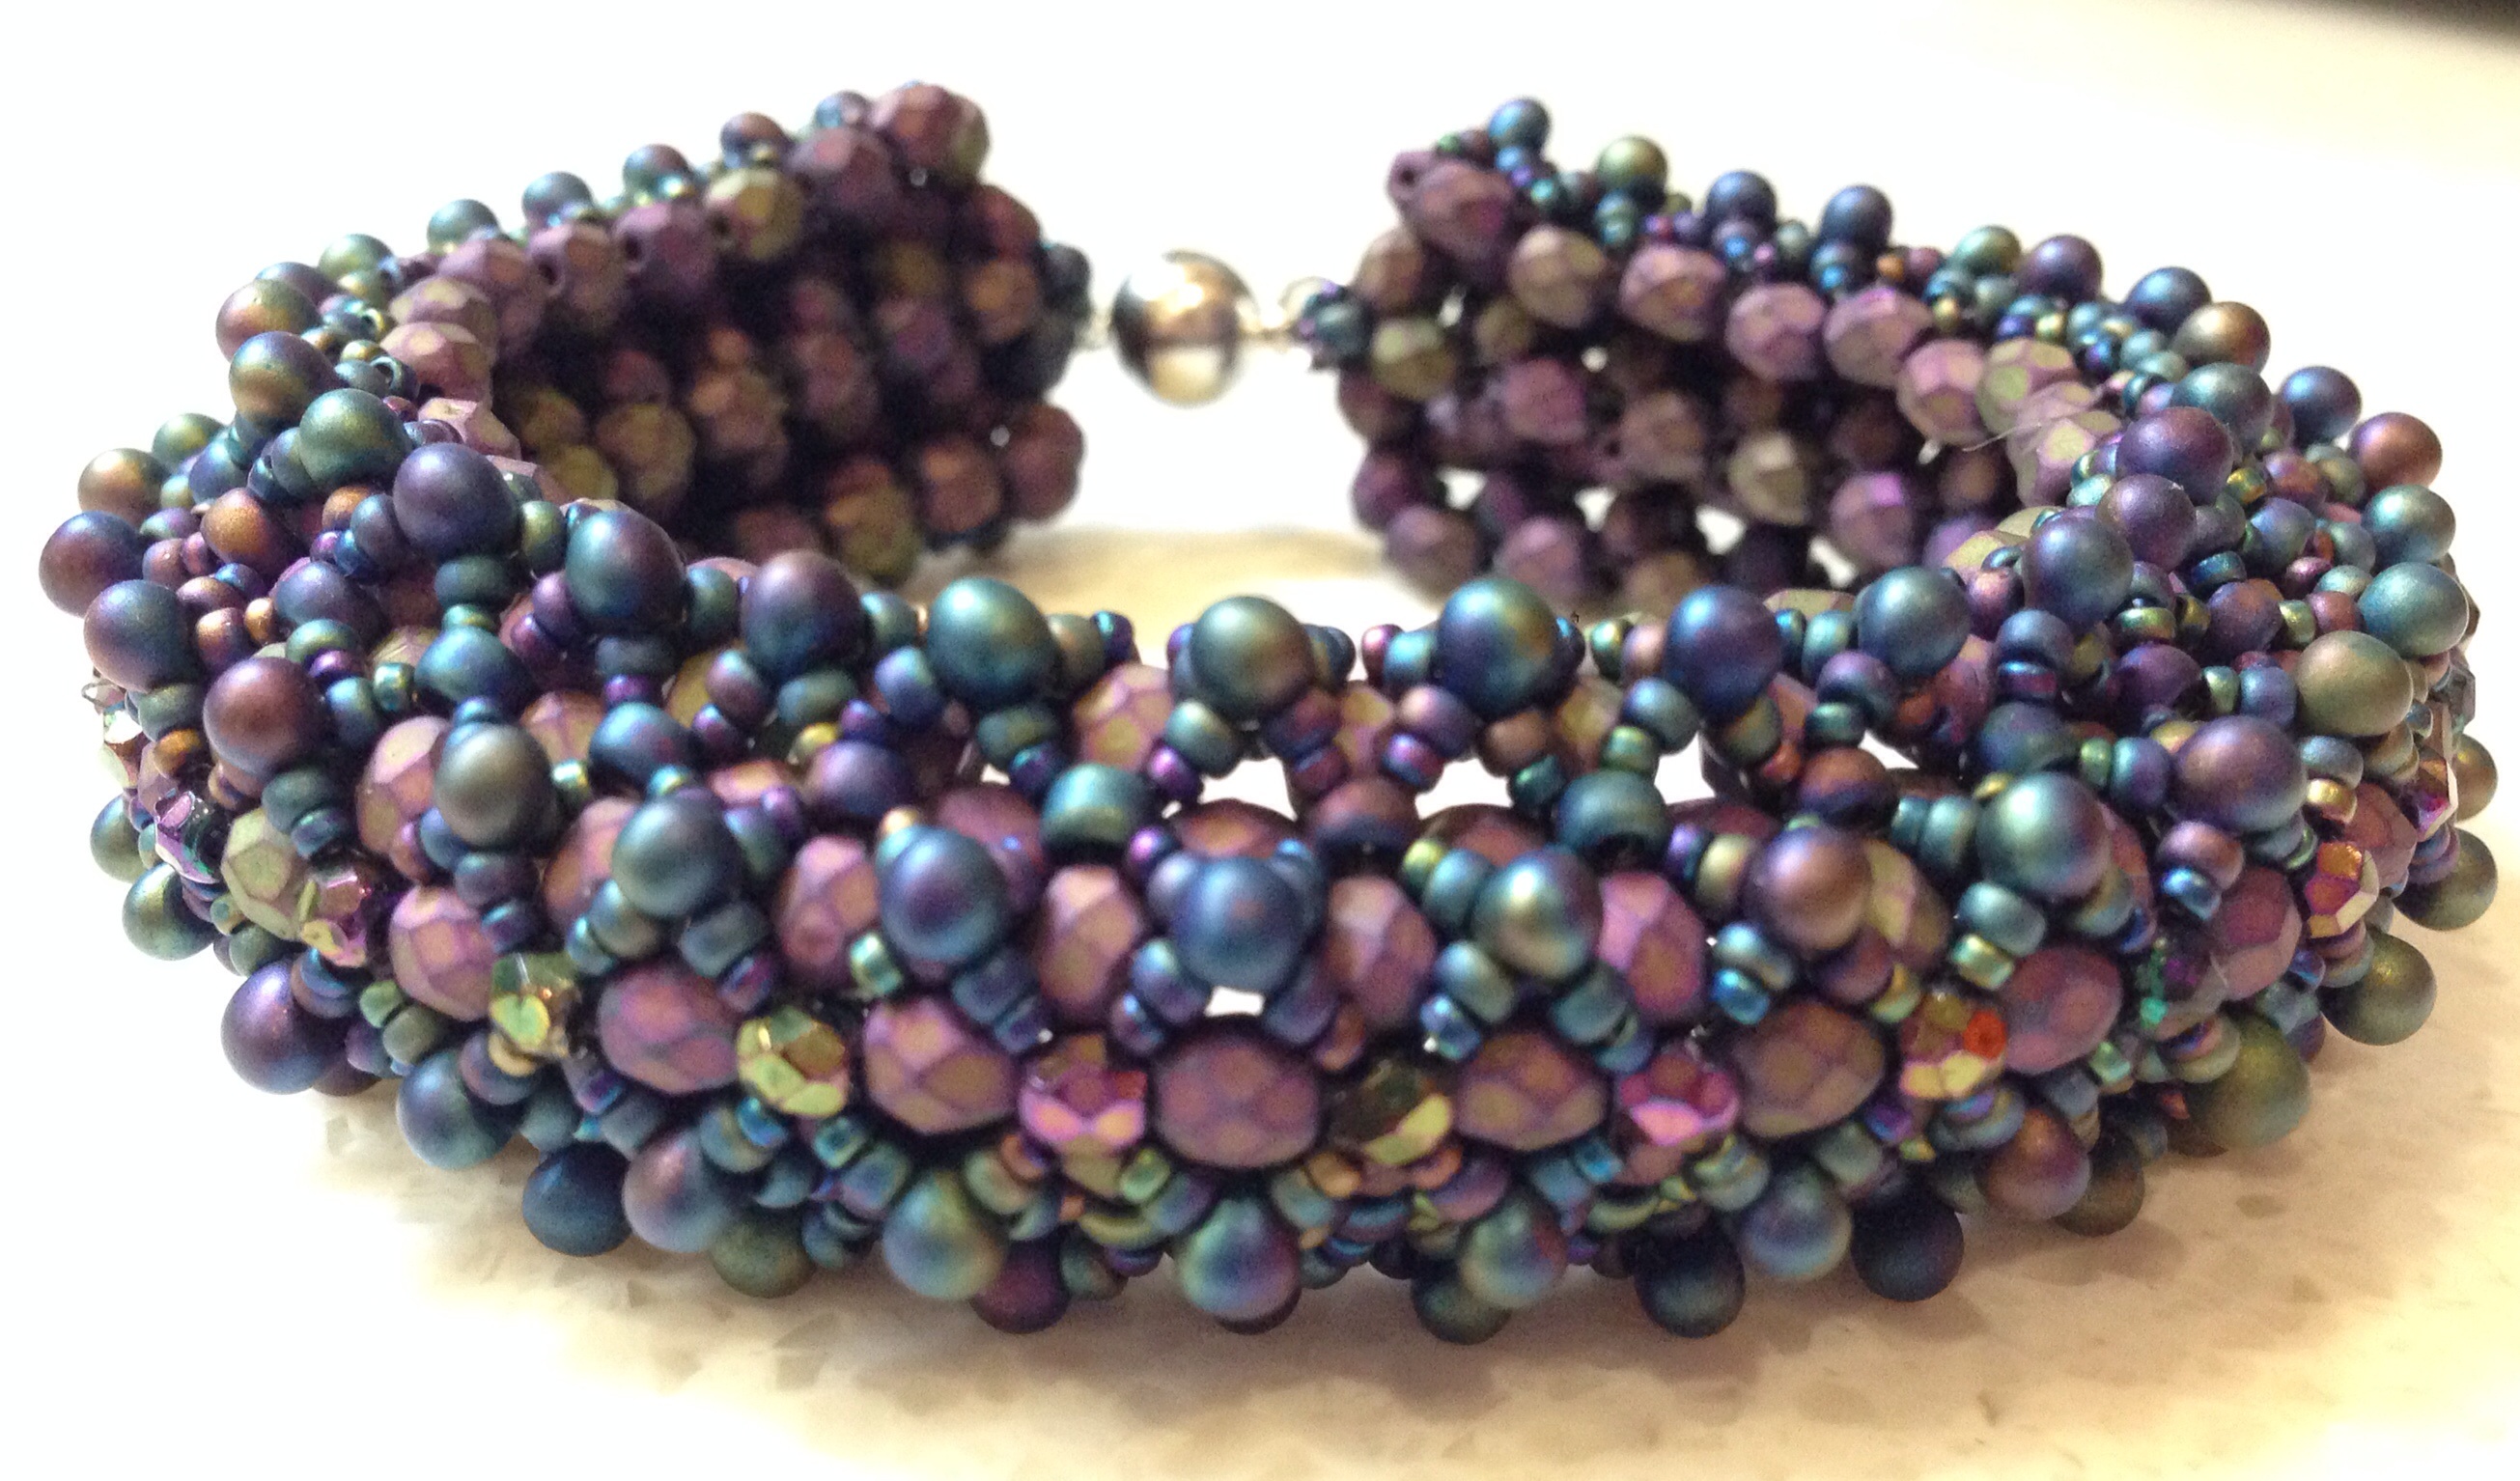
Since I had the pliers out yesterday I finally got round to adding a clasp to a Sabine Lippert piece I finished beading a while back.  It’s a Baroque Dimensional Bracelet and  instructions are available for download from her website, and the simplicity and repetition made it a really lovely piece to make – but of course as with all Sabine’s pieces it looks absolutely amazing.  It curves beautifully – both around the wrist and across the width of the piece, making it seem lovely and fat and chunky.  Very pleased with this one.

image

Recipe

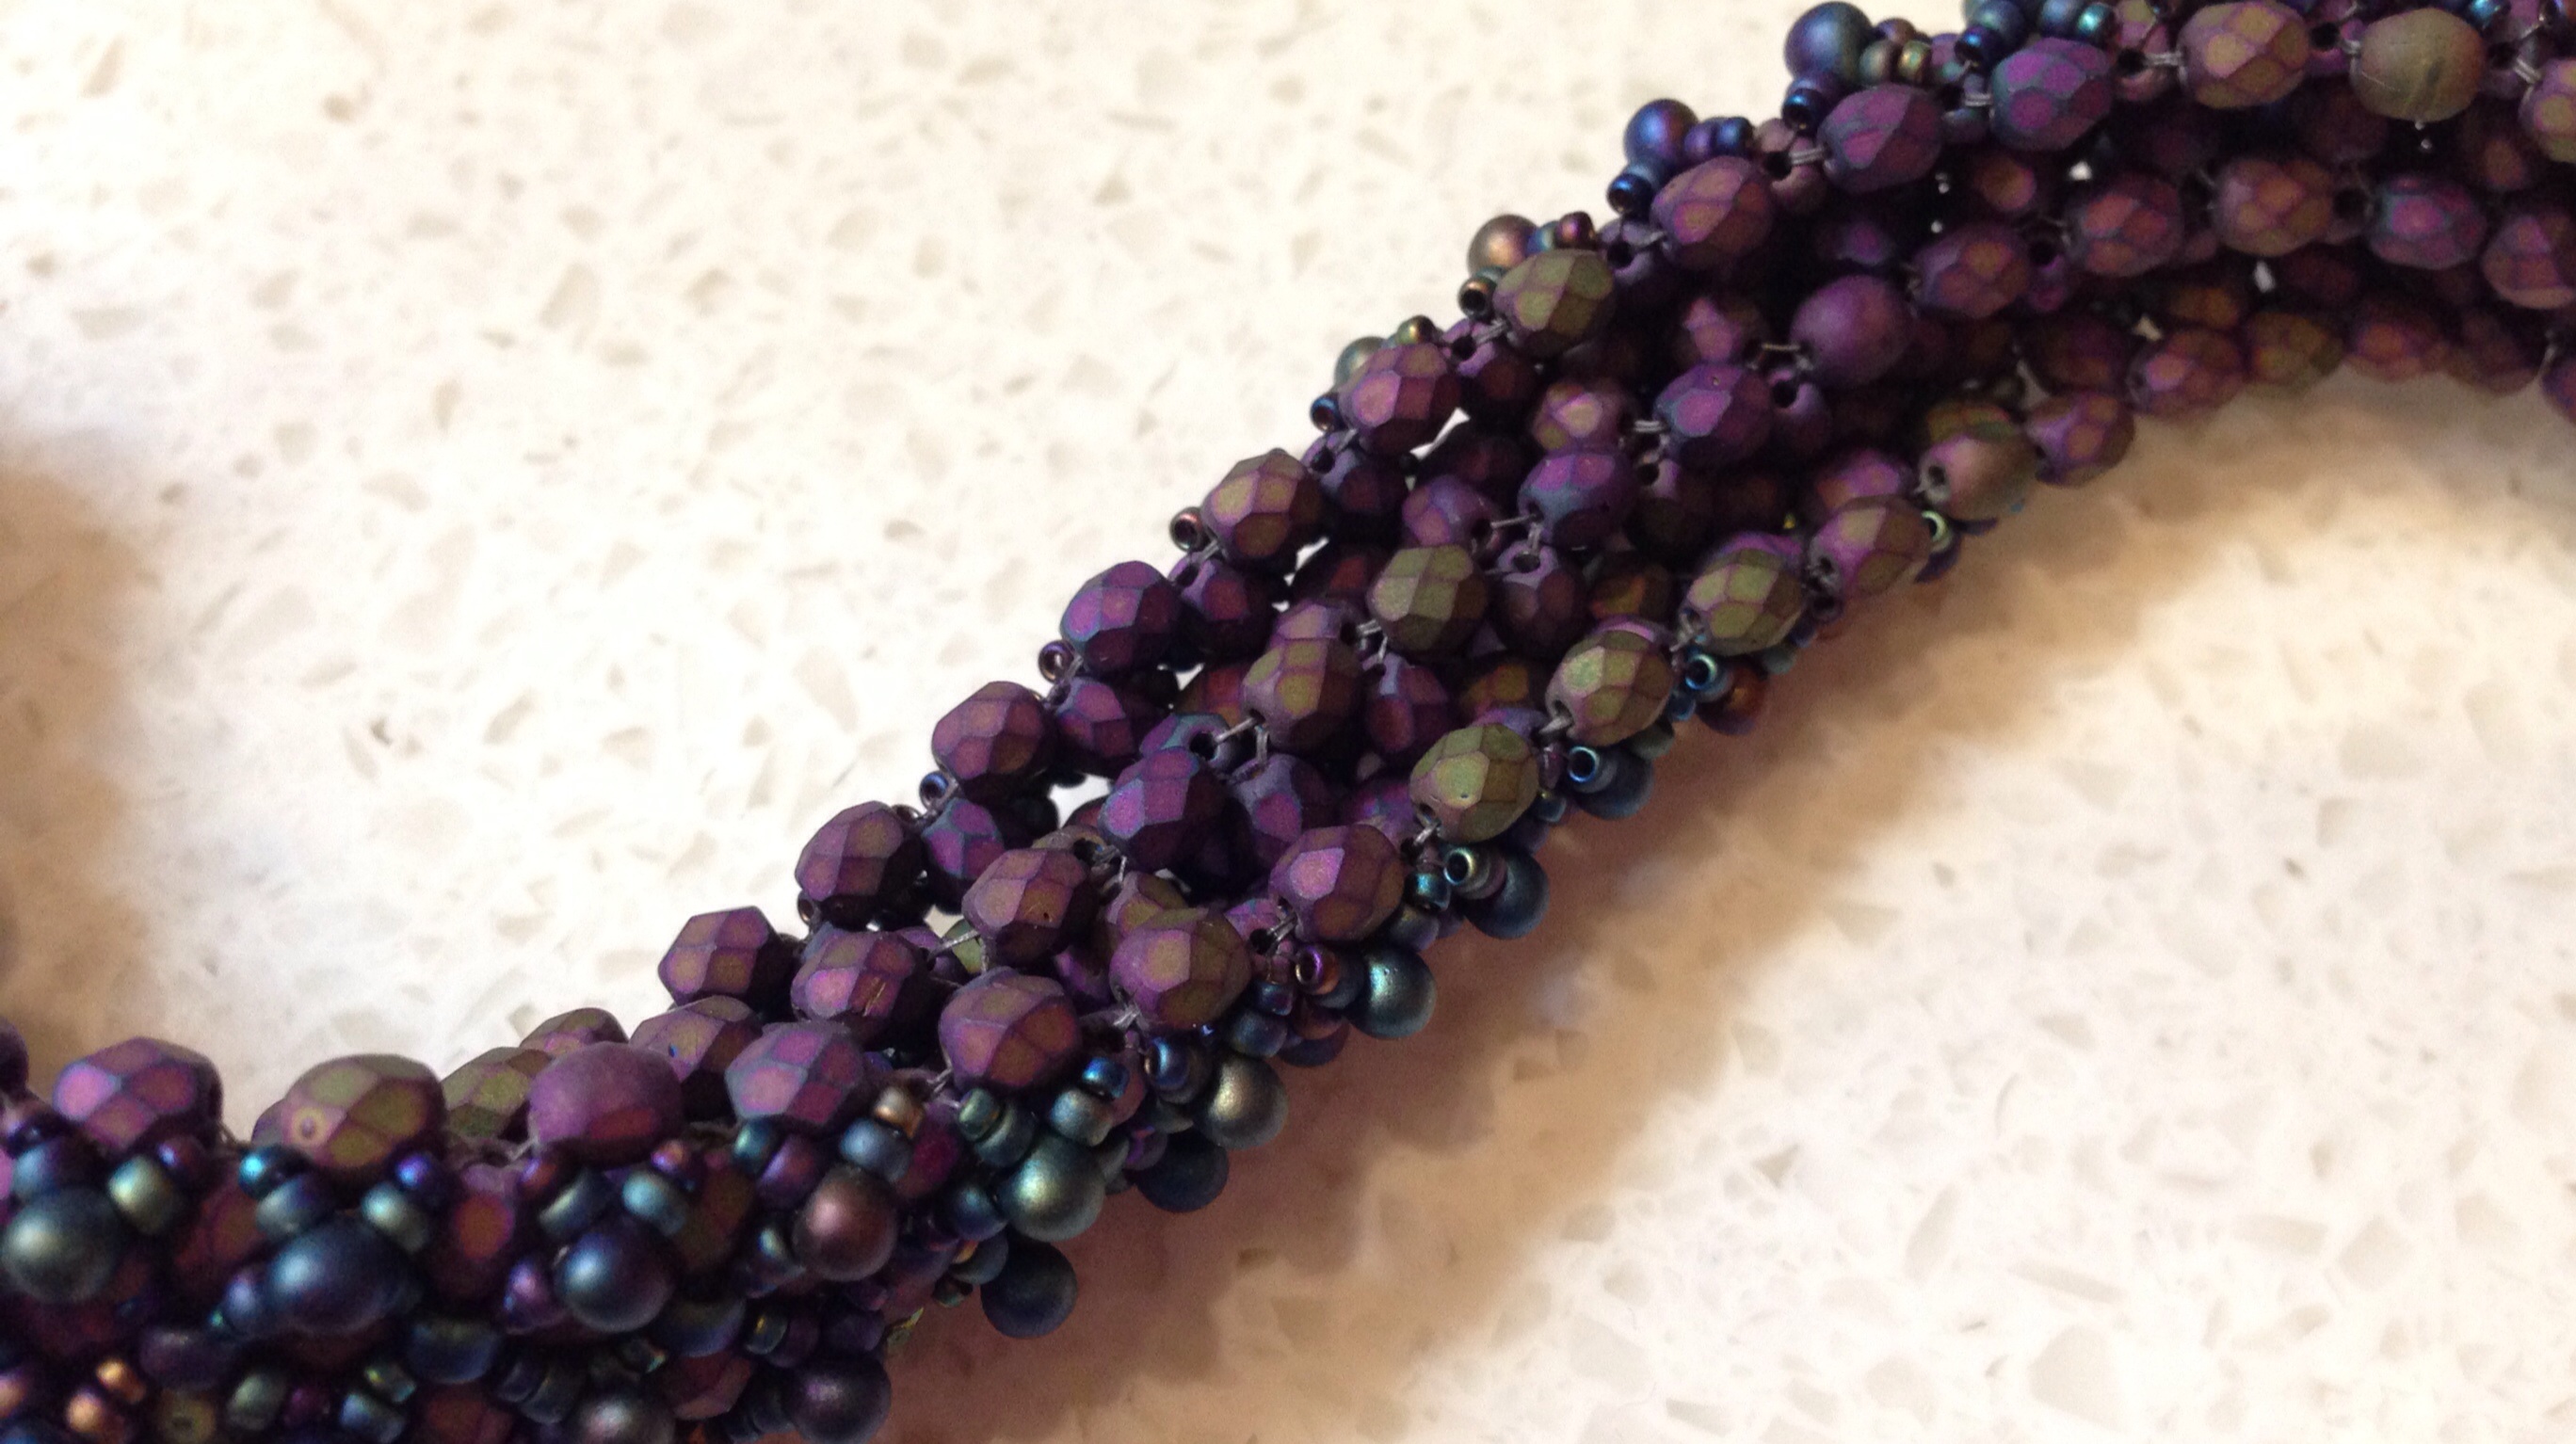
Fire polished beads 4mm  Matte purple iris (from Etsy More Beads4U)

Fire polished beads 3mm Purple iris (from Robins Beads)

3.4mm drop beads Miyuki 401FR Black Matte AB (from Stitch N Craft)

Size 11 & Size 15 seed beads Miyuki 401FR Black Matte AB (from Stitch N Craft)

Fireline 6lb

Silver magnetic clasp, jump rings.

The Miyuki Black Matte AB are a current favourite as they are a kind of navy blue base, and I’ve not been able to find another good match for navy.  For some reason I am wearing a lot of navy at the moment and it is certainly easier to work with than straight black.

image

Tips

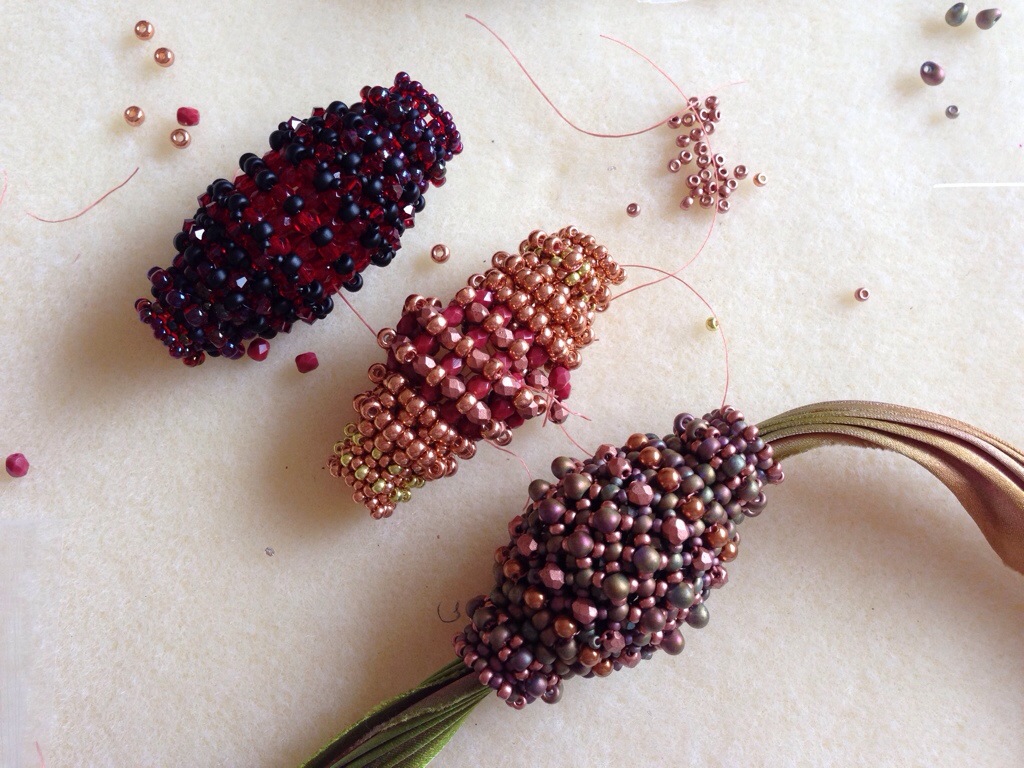
  • I did 30 repeats as per the instructions, and it fits very nicely.  The finished beadwork measures 20cm (without the clasps) although do bear in mind I am quite a tense beader.
  • On that note, relax, relax, relax your tension, particularly for the base layer.  For me that means beading in a way which felt baggy, floppy and downright messy, but you need plenty of give in order to add the embellishing layers.  This is common with embellished RAW pieces.
  • Otherwise as usual Sabine tells you everything you need to know……..

Next steps

Another good relaxing project, like the Faux Cro, I’m definitely going to make another one of these when I have assembled enough Fire Polished beads (it does use quite a lot).  Perhaps this time I’ll go a bit wilder with the colours (I’m thinking some sort of outrageous red, pink and orange with lime highlights again).  Or perhaps something bright but wearable instead.

And I’ve got the pattern for Sabine’s Tweed bracelet to do as well yummy yummy.  Sabine has also put together some beautiful kits, and one day I will definitely treat myself……..


image

A quick comment about ordering from abroad before I get told off for listing MoreBeads4U:    I usually try to stick with local suppliers – although sadly I don’t have any ‘normal’ bead shops selling teeny beads locally, I use UK mail order shops where possible (mainly Stitch N Craft and Robins Beads).  However wonderful they are though, it isn’t possible for them to stock absolutely everything I need, and I have now found (through Etsy) a super supplier in Latvia for Czech beads (links above) – reasonable and prompt postage, and pretty much every colour and size of fire-polished beads I could want, competitively priced.  So while I continue to use and support my lovely UK suppliers when they sell the colours and shapes I need, and will always look here first, I do sometimes have to go elsewhere.  I don’t take this lightly, as shops like Stitch N Craft are so wonderful for the beading community – their class programme is probably the best in the world, they are very supportive of the Beadworkers Guild and bead groups and their range is absolutely wonderful.  So their website will always be the first one I go to so that I can support them in return.

Of course one day I will open my own bead shop, sell everything I want and consequently go bankrupt in a year.  But it will be fun.


Curizo

I love Sabine Lippert‘s work – the techniques she uses are incredibly clever but often simple to bead, and the results are wonderfully exuberant, beadtastic pieces.  When she created her Rizo beads a while back I bought a copy of her Curizo design so that I could use them in the way she’d intended, and I fell in love with it.  So much that I made another, and then when I needed to put something together in a hurry  for a wedding this weekend, another.  They’re quick to bead – 3-4 hours for me, and use my current bead binge favourite chatons.  And I love them, and other people love them (although the smallest boy sadly loves them so much that he bust the chain on the white one last week).

Recipe

Turquoise – Opaque turquoise rizos, opaque olive 3mm fire polished, crystal AB Swarovski chatons and 3mm bicones, silver duracoat miyuki seeds.

White – Opaque matte white rizos, opaque lime 3mm fire polished, sunflower Swarovski chatons and 3mm bicones, silver duracoat miyuki seeds.

Grey and Opal – Brown Iris Matte rizos, silver 3mm fire polished, white opal Swarovski chatons, white opal czech small teardrop beads.

Tips

I don’t have many tips for this one, it’s really very lovely to bead and works perfectly.  I quite like to thread the chain or cord through the whole finished piece (as I did with the white and lime version), although that then leaves you with quite a short piece.  For the grey and opal version and the original turquoise I’ve added a loop – the former needs to go with a specific dress with quite a low neckline, so long was the only option.

If you’d like some matching earrings like my turquoise ones, simply complete the flower shape and capture the chaton, then add a loop to hang.

Variations

image

For the final version, in the step where you would add fire polished beads and crystals I simply used fire polished, and then in the final joins I put Czech drops where the fire polished would have been.  I did this because I didn’t have any 3mm bicones in the right colour (and have bought far too many beads lately so didn’t want to buy any more).  On reflection the drops don’t really go with the rizos I used, and the cube shape is more visible (the others look more like a ball which is easier to wear), so I wouldn’t necessarily recommend this variation.

And next…..

Some lovely Heliotrope chatons have just arrived from the States, and I’ve got some fab neon Rizos (Robin’s Beads), and neon fire polished beads (More Beads 4 U – Etsy) – quite a flambouyant Curizo this time.

Birthday beaded bead

As usual I was stuck for a birthday present for my mother, and as usual had left it a bit late (under a week). But then inspiration struck on Tuesday as I remembered that Stitch ‘n’ Craft have started selling lovely Shibori Ribbon. Made by Shibori Girl, I’ve wanted to buy some for a while, but have held back as it’s not cheap.  However, I thought a yard of it would make a lovely necklace if I made a big beaded bead to thread on it, and it didn’t seem quite so expensive if it meant I could get a whole necklace from only a few hours work.

The colours that were very obviously Mummy’s thing were sadly out of stock, so I gambled on ‘Fallen Apple’, ordered on Tuesday morning and it was with me by Wednesday lunchtime – and it’s perfect for her. Some scrabbling around in my too large book collection turned up ‘Amphora’ in Marcia DeCoster’s Beaded Opulence, and I got started. I’ve made one before, which you can see below top left (reds and black).

My first attempt this time failed – the tension of the RAW base was much too tight (it seems to need to be very loose for this piece, presumably because of the shape and embellishment), and the colours I had chosen (coppers and lime) were much too brash. You can see that one in the middle below, half done and then hacked about a bit to get at the beads.   Fortunately the second attempt (bottom right), using much more subtle beads has turned out perfectly, and was all done in just a few hours.  I tweaked the design a bit, substituting copper 3mm pearls and matte copper 3mm fire polished beads for the 3mm bicones (Mummy is not really a crystal person), and using drop beads as the central few embellishments to add texture. I’m very pleased, although the ribbon is looking a little thin, so I will experiment with pressing the pleats a little tonight to widen it out. Hopefully Mummy will like it when we give it to her tomorrow.

20140628-150213-54133475.jpg

RECIPE:

‘Amphora’ – Marcia DeCoster’s Beaded Opulence page 107

Shibori Ribbon in ‘Fallen Apple’ by Shibori Girl (Stitch & Craft if you’re in the UK, or available through her Etsy shop and from other US suppliers if you’re elsewhere).

Beads (seed all by Miyuki, from Stitch ‘n’ Craft of course)

  • A (11), F (15), G (8), H (drops, substituted for 8s) – 2035 (Matte Metallic Khaki Iris)
  • B (11) – Custom Coated Vintage copper, also used instead of 15s around the Drops in step 3 above rows 6, 7 & 8)
  • C (3mm FP) – Brown Iris (Robins Beads)
  • D (3mm pearl substituted for bicones) – Copper I think (Robins Beads)
  • E (3mm FP substituted for bicones) – Matte Copper (Etsy –  MoreBeads4U)

LESSONS LEARNT:

  • Tension in first layer needs to be pretty loose.
  • The substitutions worked well.  However if you want to substitute drops in where I did then you will need to use 11s rather than 15s to surround them (as although the  top of the drop is over 3mm, the base is much smaller).
  • Marcia works with lovely subtle base colours – so it may be best to stick with these if you’re using one of her designs. She then uses several highlight colours in the upper layers, but I also found that using just one worked.
  • You can’t really see the fire-polished beads from the centre of layer 1 as there are two layers above – so don’t flap too much about having the perfect ones – use some OK ones and save the nicer finishes for something where they will be seen properly.  A darker colour than the rest of your base beads actually seems to enhance the design.
  • Good and quick – I’d say around 2 hours if you’re familiar with the design or an embellised RAW fanatic.