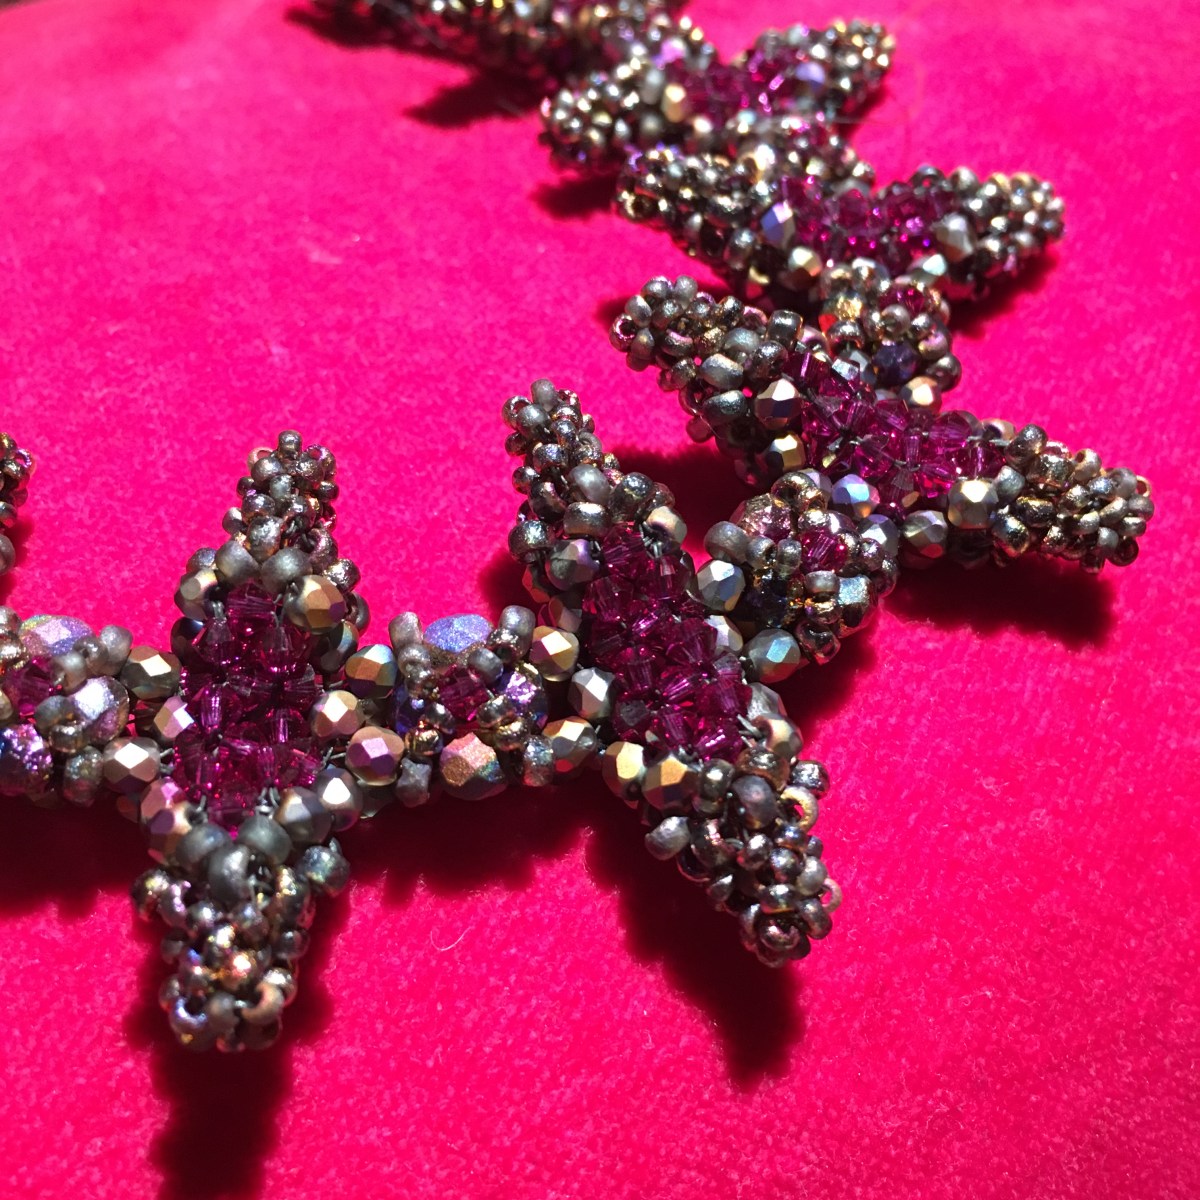
Early last year I wrote a post about my beady UFOs. None of the pieces in that post have really progressed (I have put a couple more humps on the Ootheca cuff, but that’s it). Then I wrote a piece about the tutorials I was planning to publish – one (my Space Needle Case) is now out in the world, but the others haven’t really moved. I’ve managed to recreate the CRAW ring, but I’m still not quite happy with how to write up the corner joins…. All in all my beady planning is looking like the opposite of Mastermind – no ‘I’ve started so I’ll finish’ here. On the other hand, I did get some work finished last year, published a new tutorial, and won a competition, so I won’t berate myself too much.
This year, rather than a series of pictures of lonely, unloved UFOs, a glance through my PDFs on my iPad has prompted a different kind of list – rather than UFOs I thought I’d share some USOs (Un-started objects). As well as a huge stash of beads I’m afraid I have a large collection of tutorials lurking – I buy them because there is a discount offer, because I simply cannot fathom how something’s been done and I need to know now, because I want to support the artist, or just because I really want to make them. Because I’m trying hard to focus on original work at the moment the unused ones are starting to accumulate, so I thought it might be interesting to give you a flavour of what has caught my eye (since it may be a while before they appear here as finished or even started beadwork).
So first (and I’ve had these for a while) a set of three from Barbara Briggs bought while I was very into Contemporary Geometric Beadwork. How I ever thought I would have the time for such substantial pieces made almost entirely of delicas I can’t say, but they are quite amazing:

Fantasy Flora Cuff

Mermaid Cuff
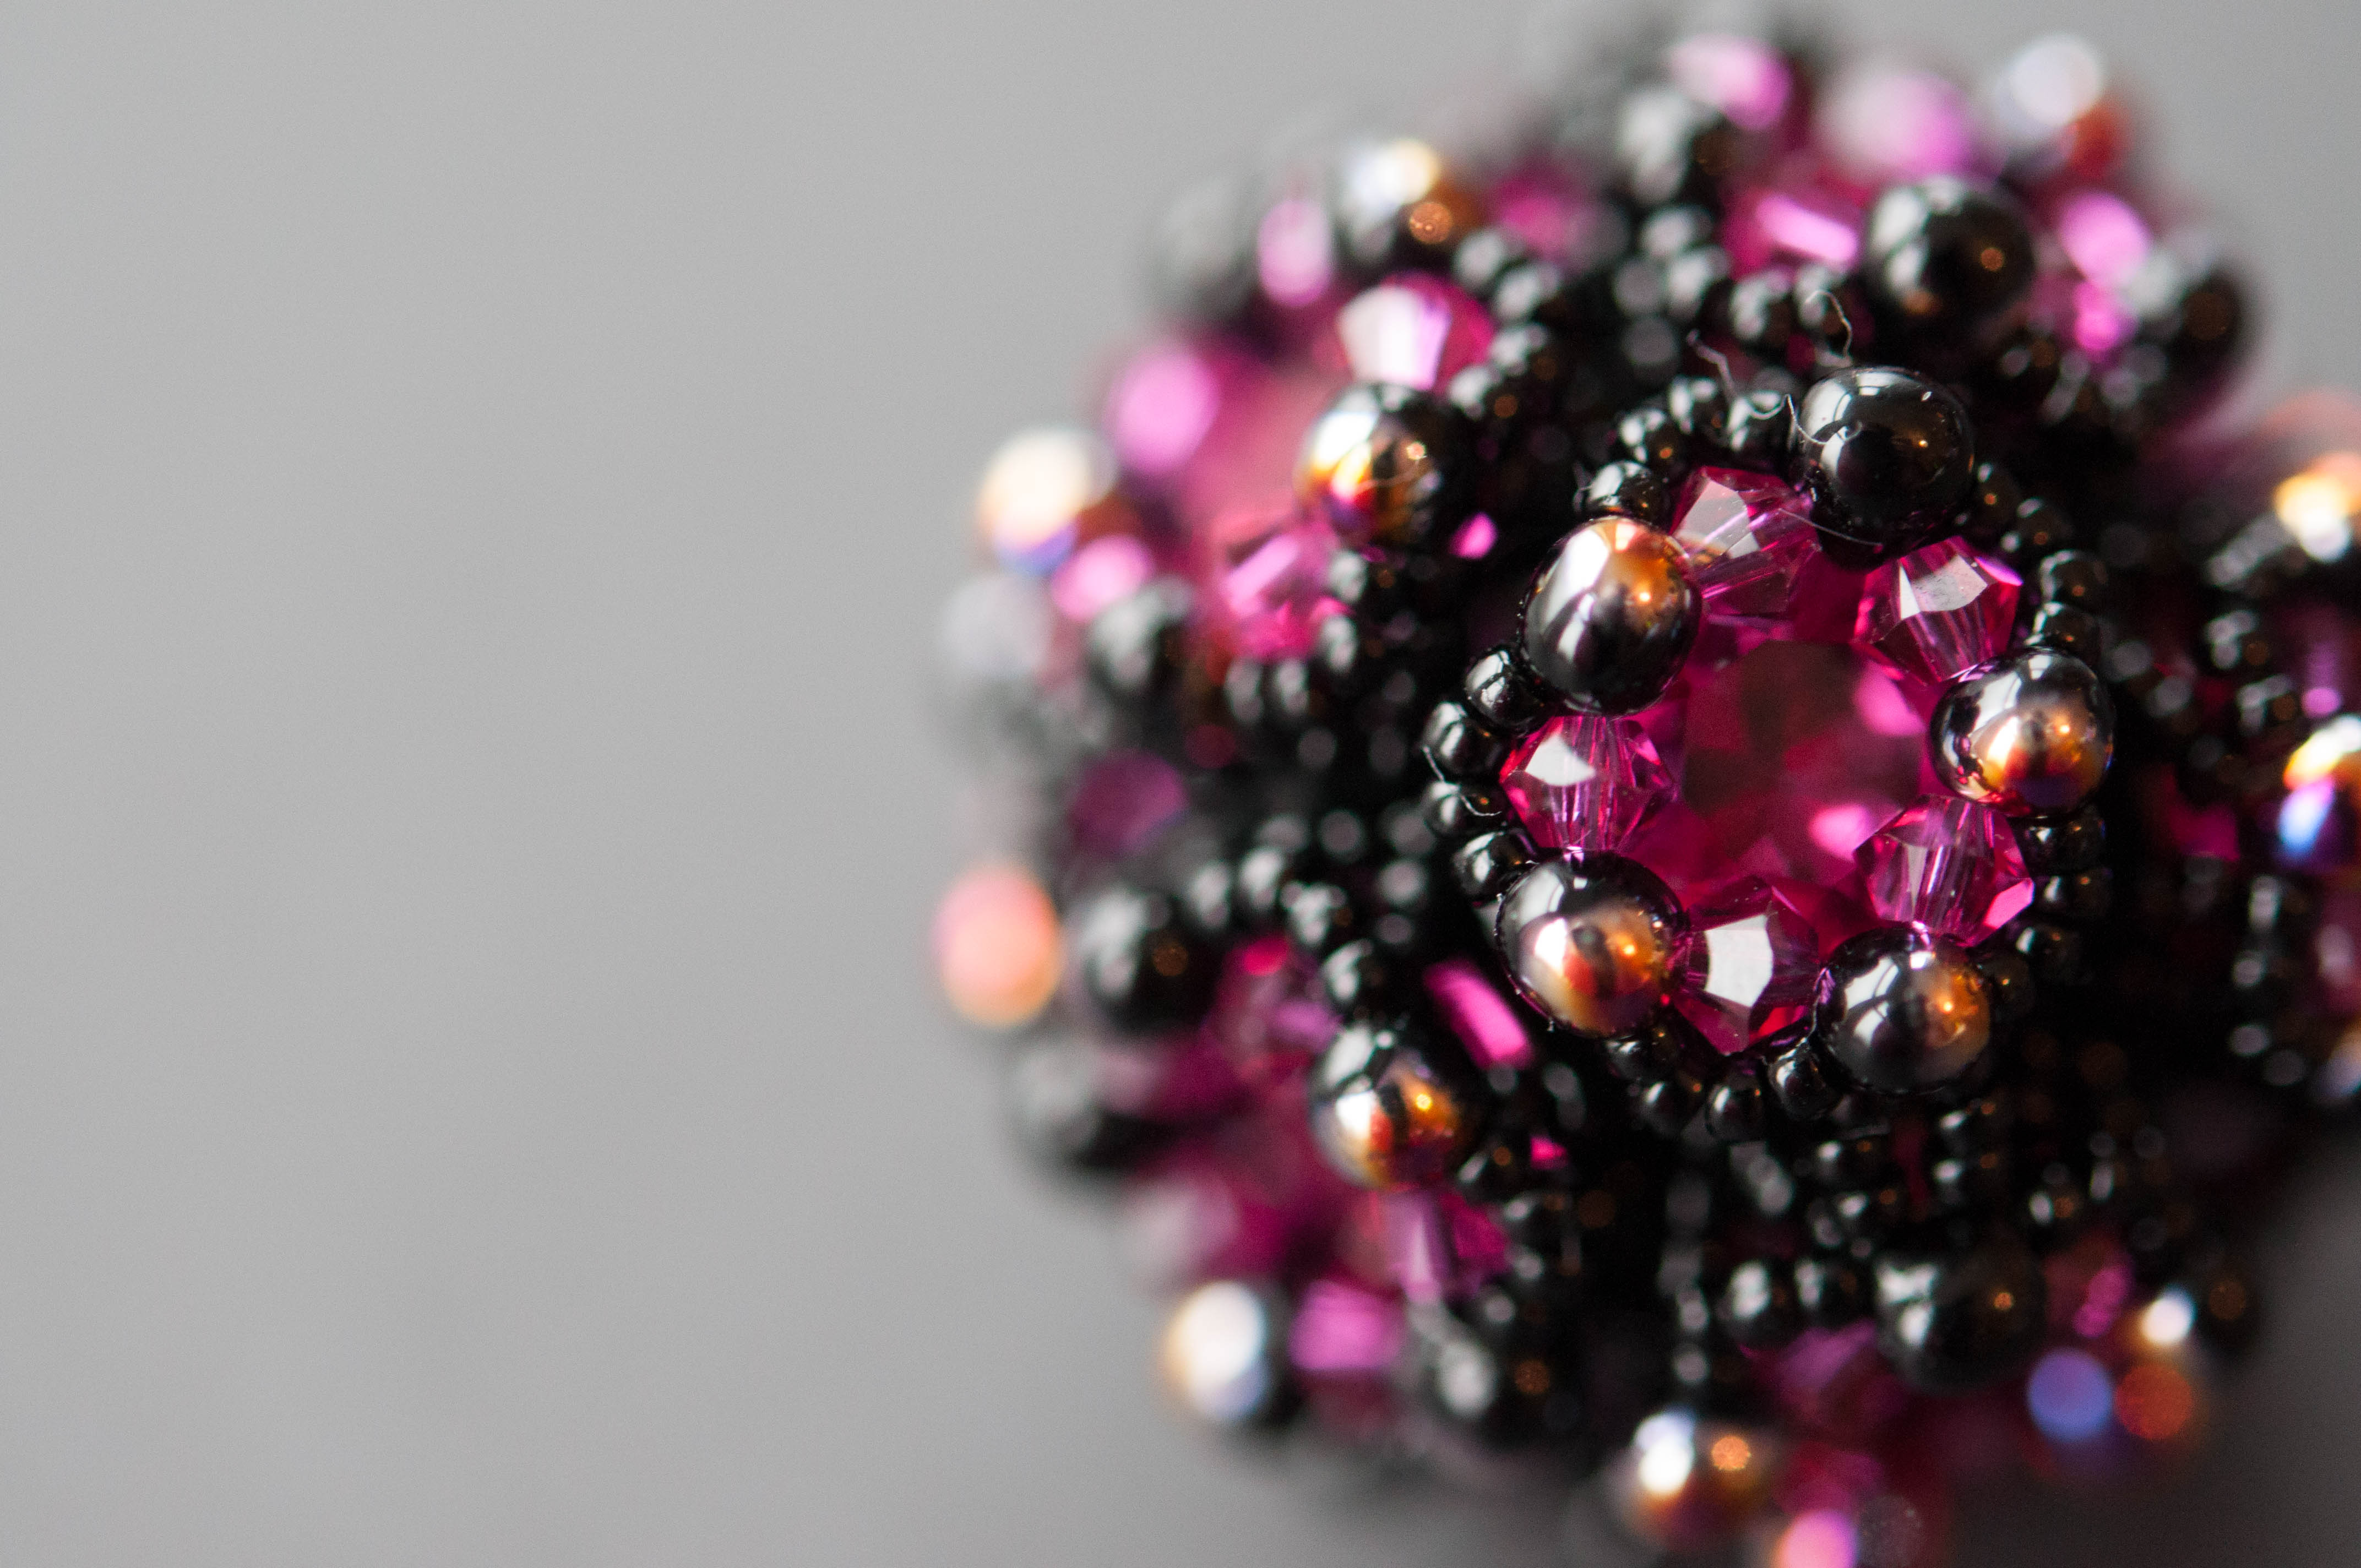
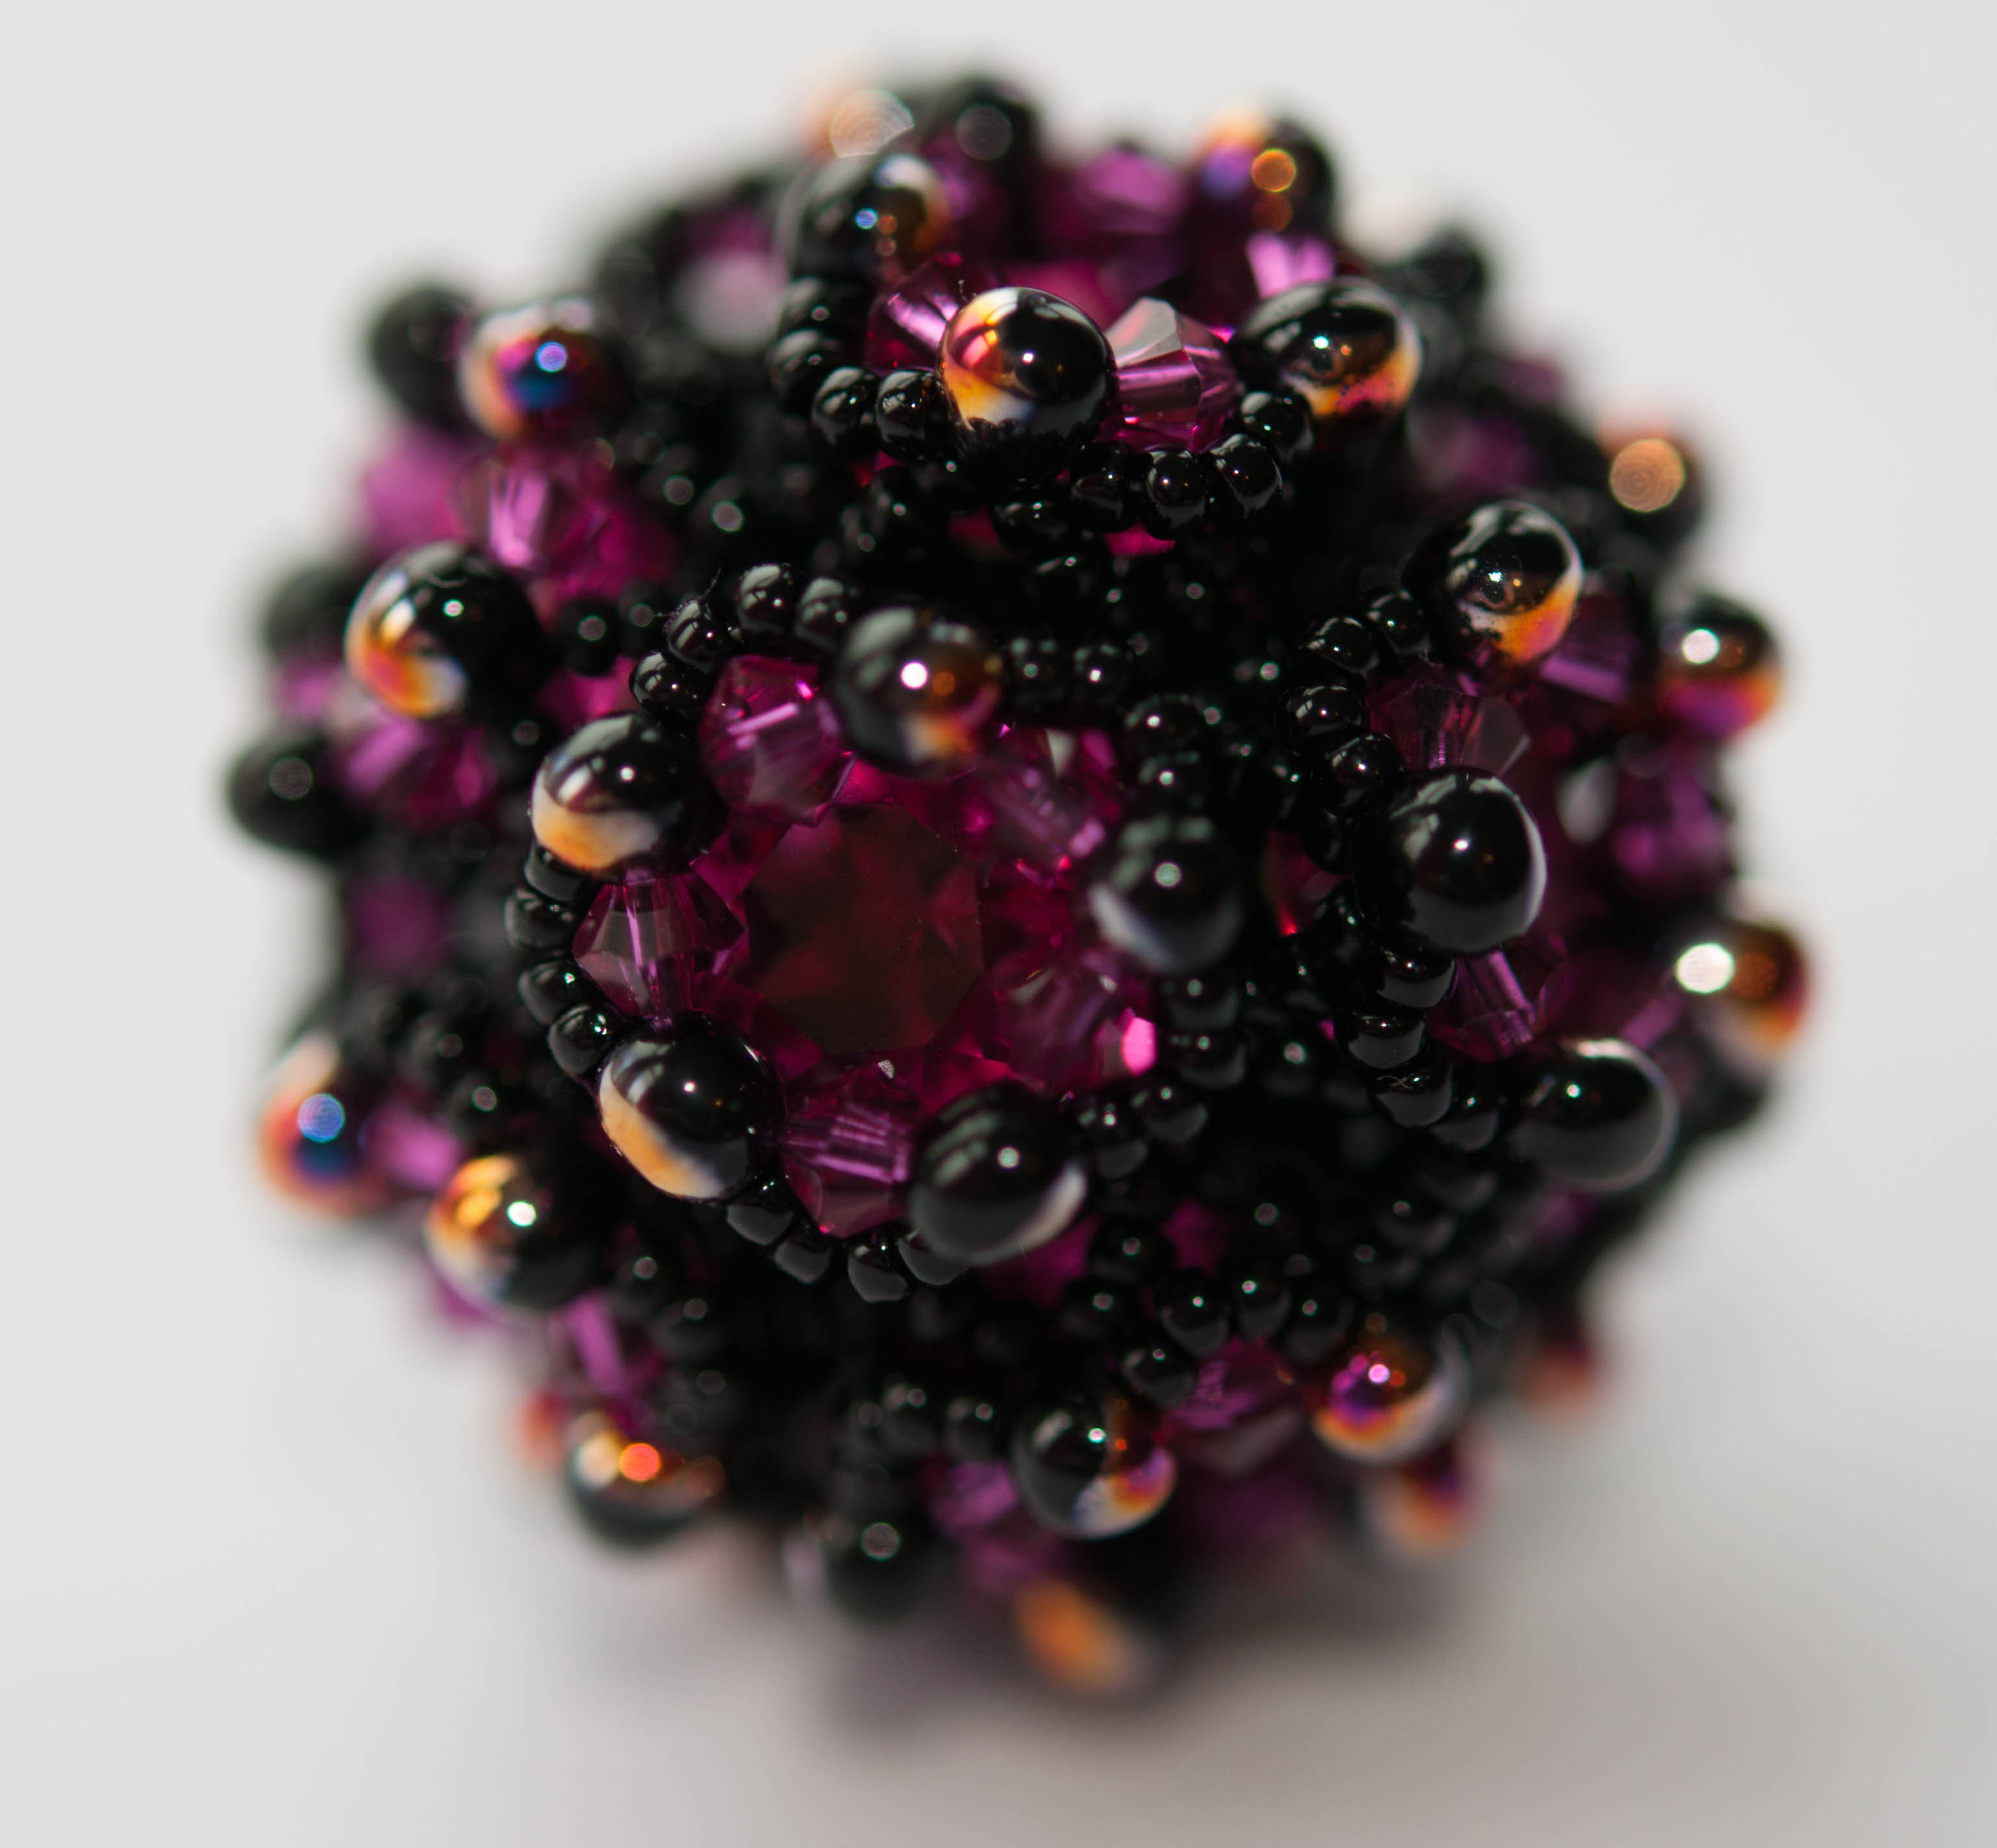
 Fire Dragon Wrap
I’ve been a huge fan of Sabine Lippert for many years, and have completed lots of her pieces, which gives me an excuse for accumulating so many patterns (plus two books) – although I have to say until I wrote this list I didn’t realise quite how many. Sabine has a sale on at the moment for some of these patterns, and even with the ridiculously low pound they are super value:
 Tchacka Boom Bangles – a free pattern using her spiky button beads.
 Wanna be a Butterfly – another freebie, this time using her Rizos.
 Tweed – I’ve already beaded the related Baroque Dimensional which has a similar basis – I just need to get organised and pick fire-polished colours for this as I’ll need to do a bulk order as it needs 460 4mms!
 Turbulence – looks like a lovely, smallish project.
 Boomerang Bling – another one which needs some planning/shopping, and a fair amount of work, but looks like it will be amazing when finished.
 Squaricals & Penticals – I tried to start this on holiday last year but was a few beads short. I should do this soon – it looks lovely to bead.

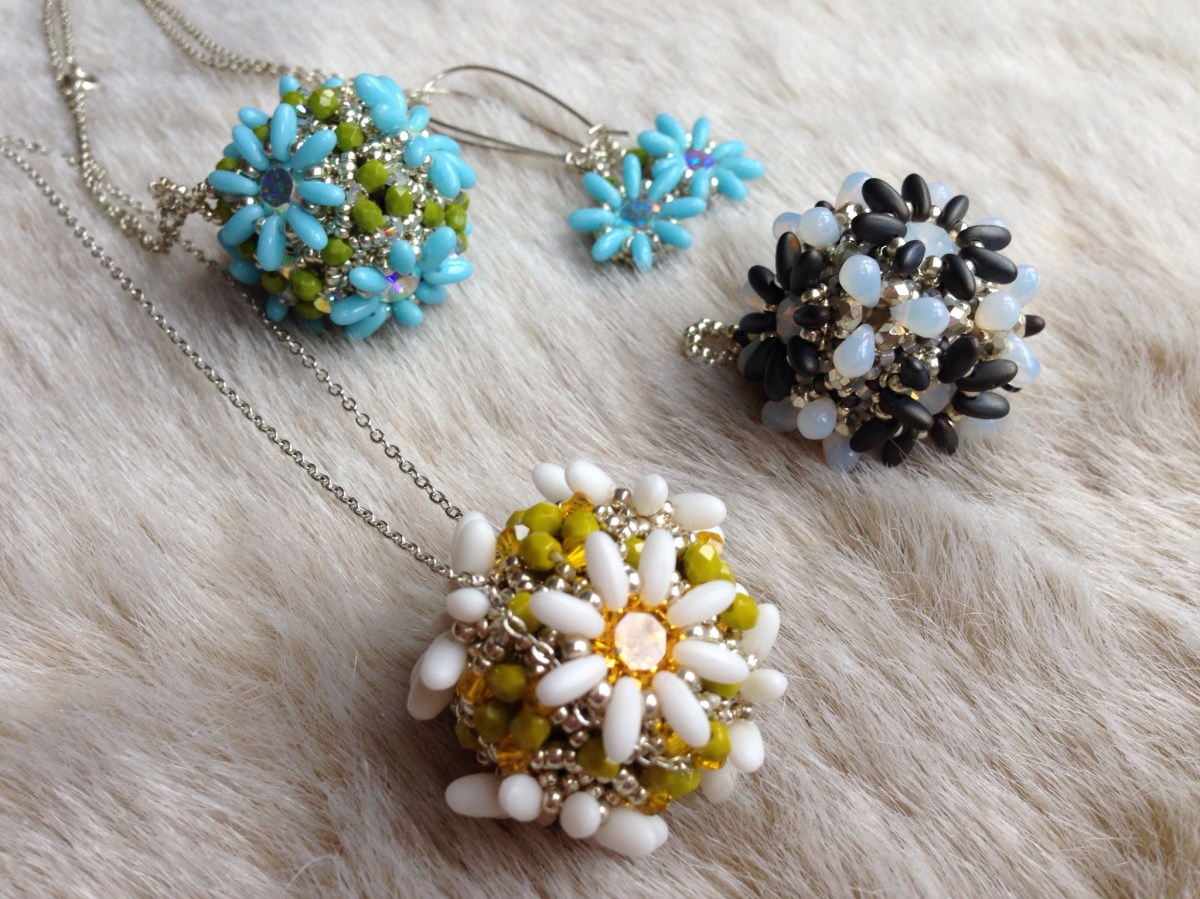
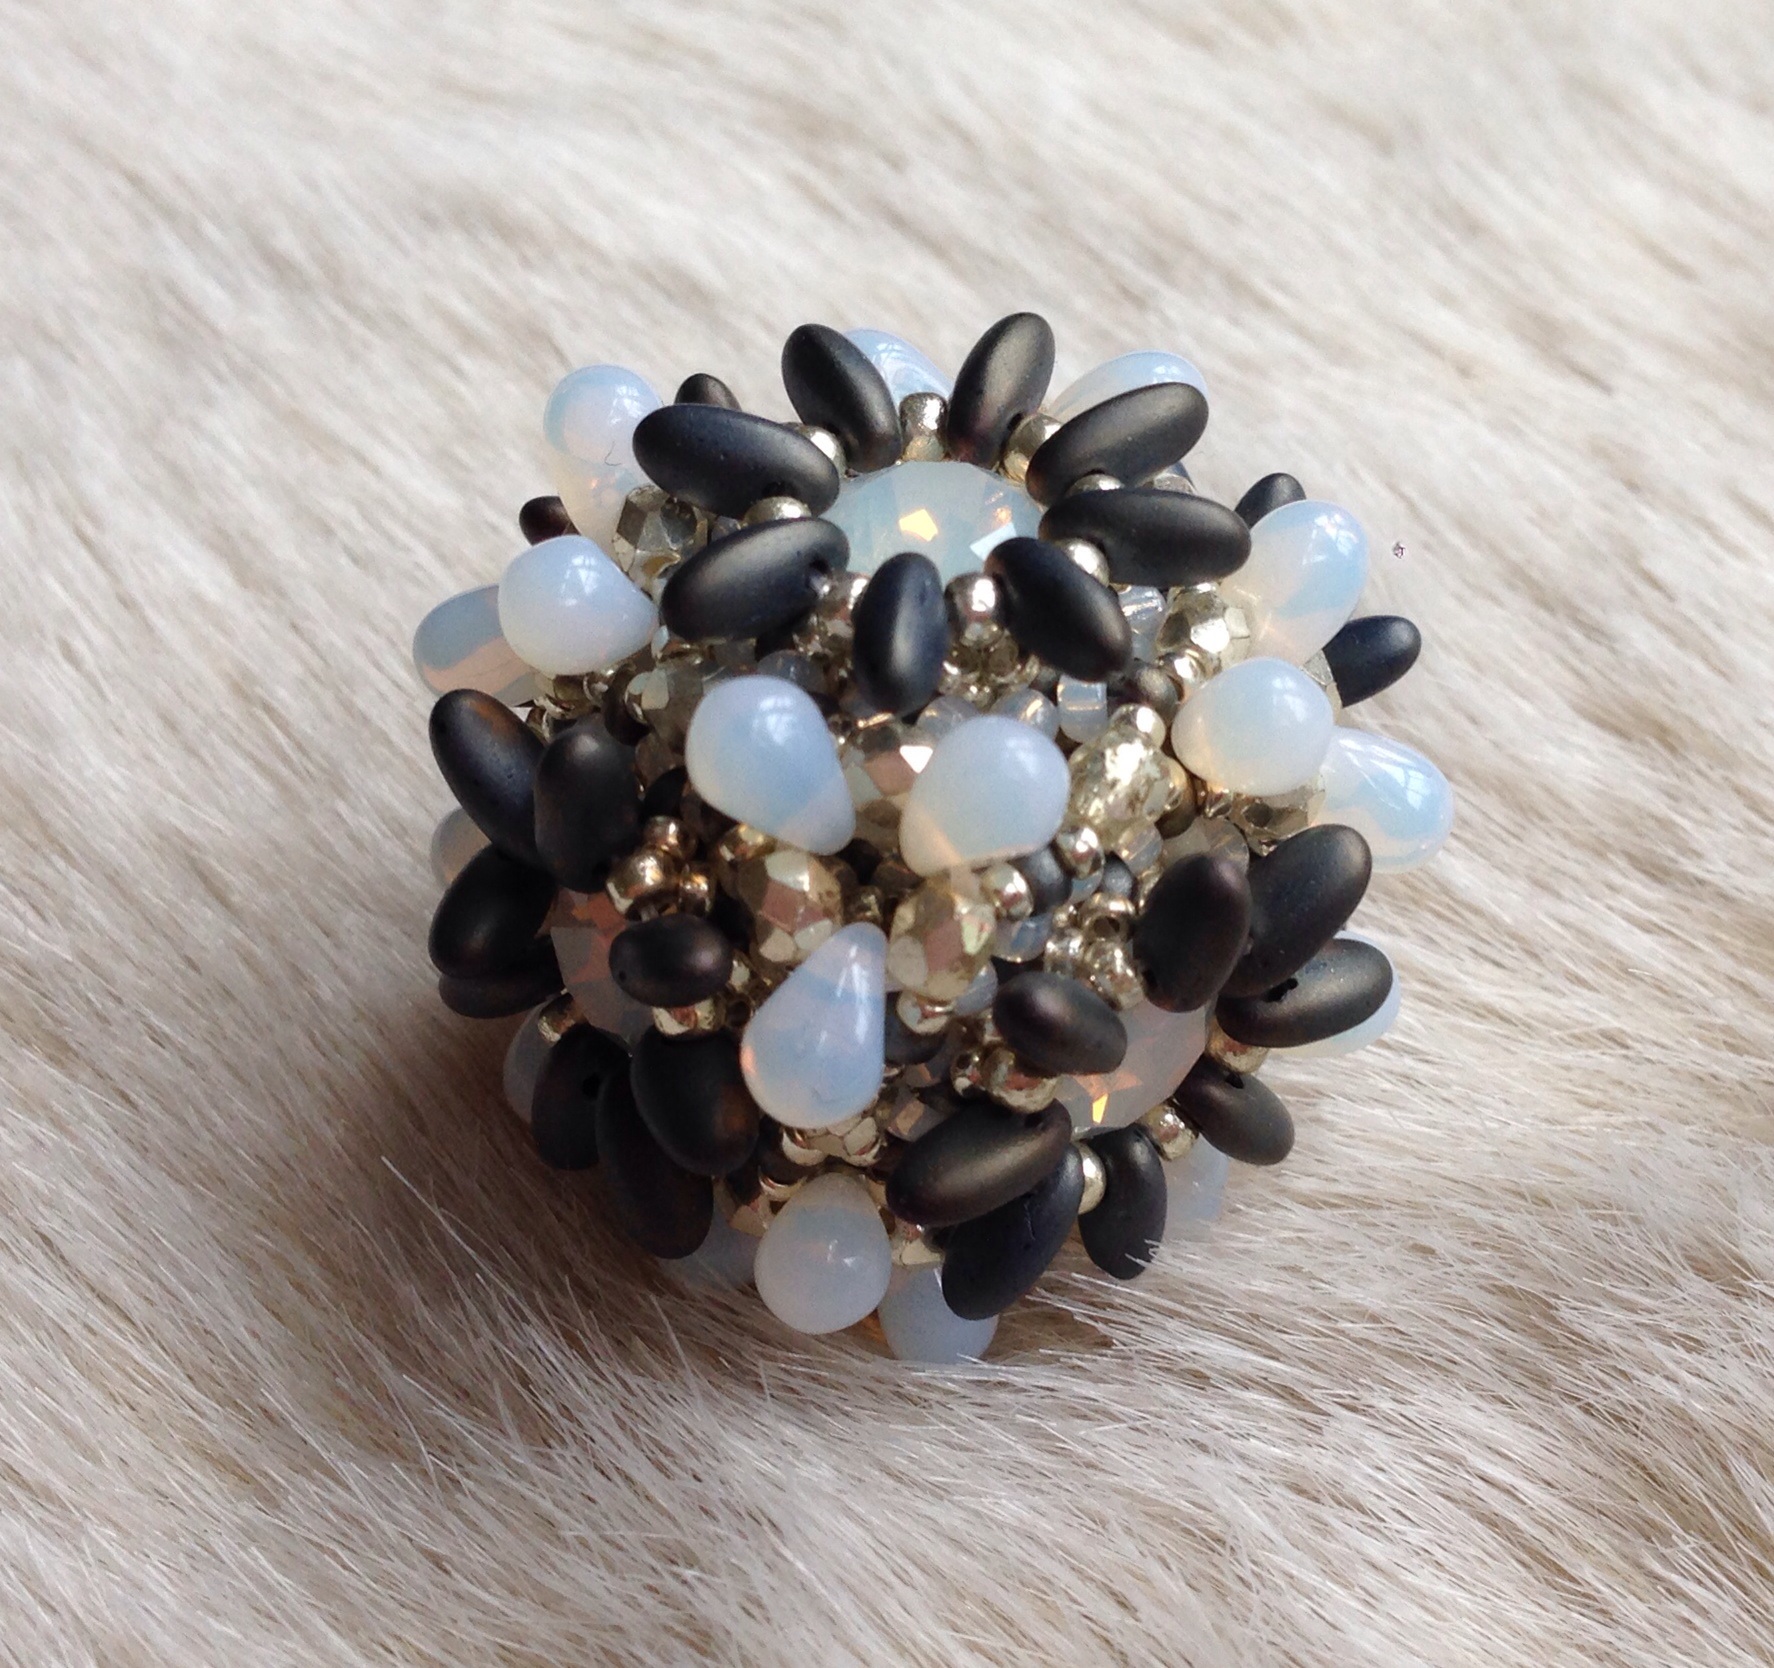
Go Dimensional – a classic Sabine blingy beaded bead – my Rivoli stash is much more substantial now so I should be able to do this without shopping!
From Cindy Holsclaw at Bead Origami (my sister is a big fan, and I love the way Cindy works) courtesy of a small special offer:
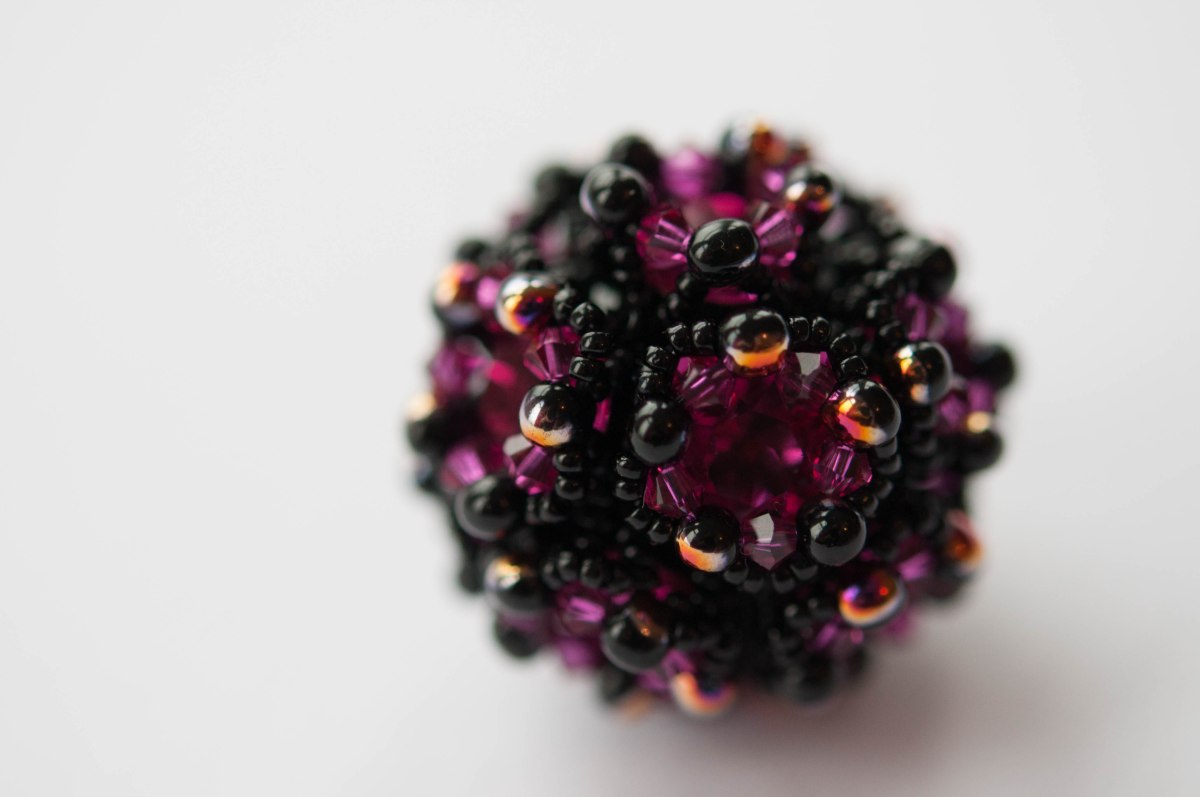
 Teardrop Bubble Beaded Bead – I love beaded beads and I love Czech teardrops, easy choice.
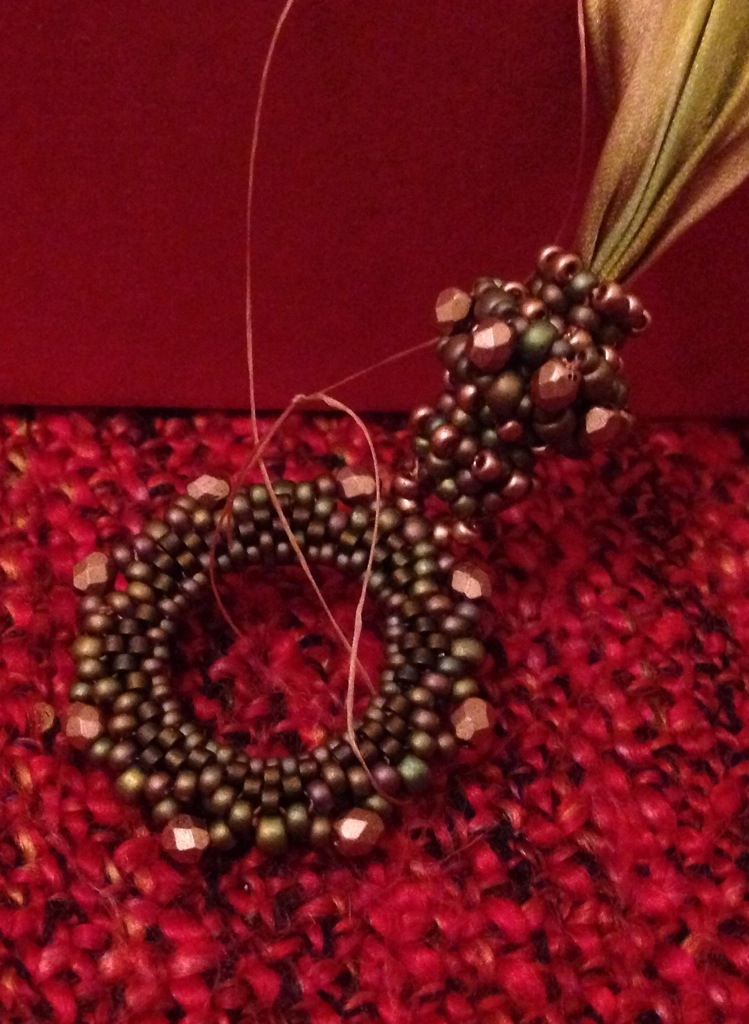
 Supercoiled Beaded Rope – how completely cool is this – I need to know how it is done, and hopefully a bit of a stash buster.
None of you will be surprised to discover some of the fabulous Jean Power’s work lurking in my collection. As well as lots of tutorials and book projects from her which I’ve already beaded and some inevitable UFOs, I have two still to do:
 Star Flowers – this is quite new so I don’t feel too guilty about this one. I have some of the giant acrylic stones already, so this should happen soon!
 Interlocking Crystals – this is a Jean classic which I’ve had for years. I tried it with some cheap rivolis a while back, and it didn’t work because they were a different shape to Swarovski ones, which is fair enough. I’ll need to take a deep breath before starting this one as the necklace takes over 40 rivolis.
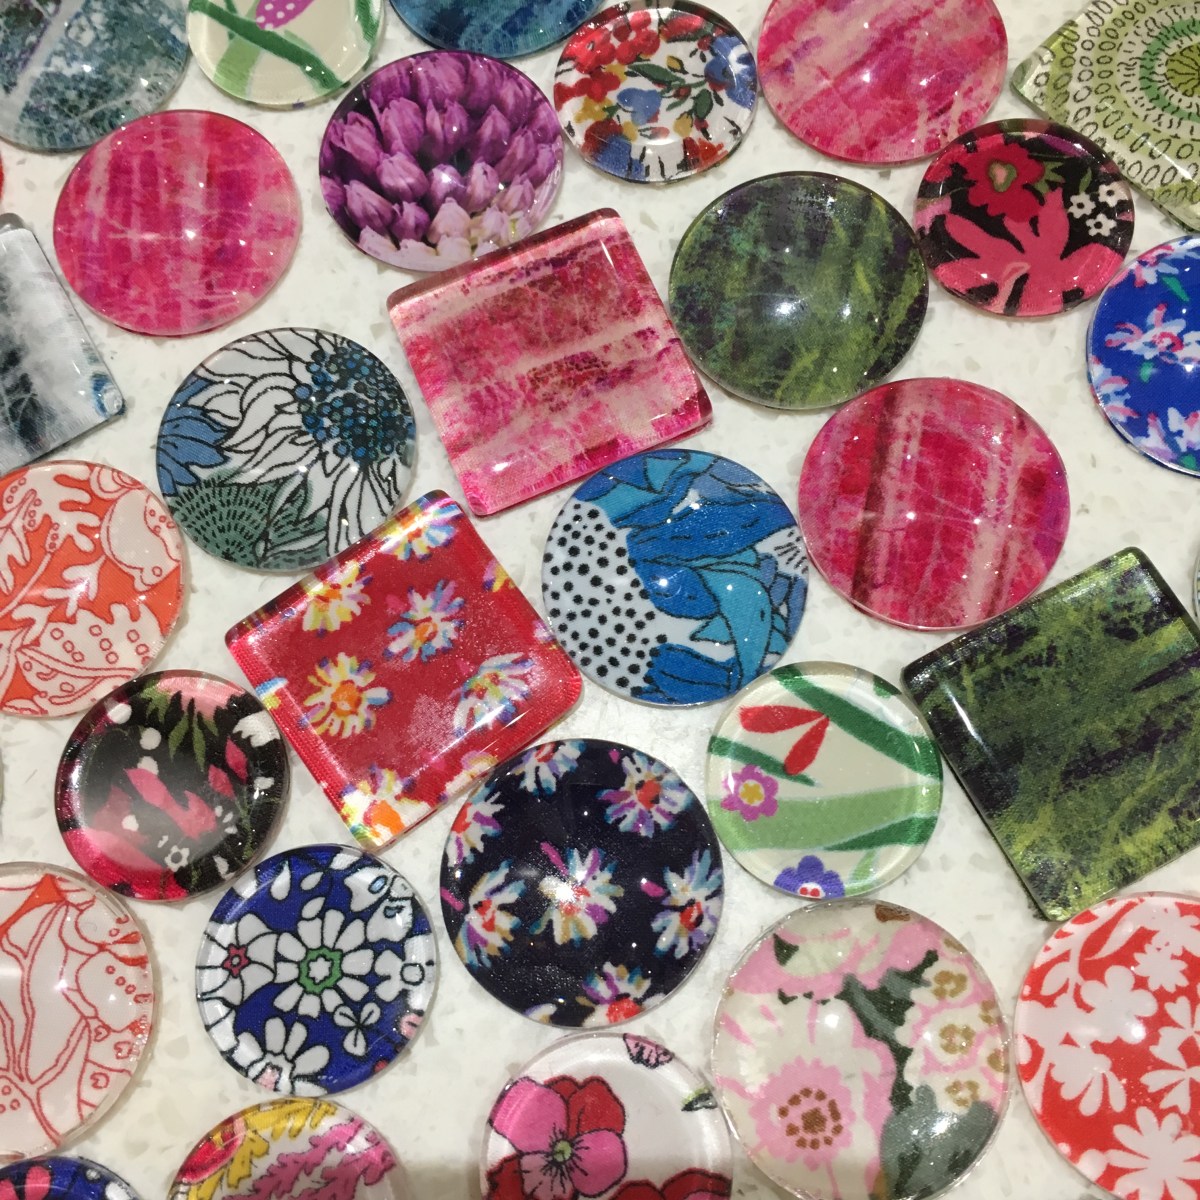
Actually, apart from the huge glut of Sabine’s patterns, and the fact that I also have a pile of beading books and magazines, this list doesn’t look quite as bad as I had expected. Hopefully I’ll get onto some of them soon – I have all my new cabochons to work with first though, so don’t hold your breath!