Last year I finally managed to enter a Beadworker’s Guild Annual Challenge, and was lucky enough to win in my category of ‘professional’ with my Pineapple Rick Rack Fascinator ‘ Fascinating Carmen’. As soon as I heard the topic for this year was to be ‘Indian Summer’ I knew I needed to enter again – although now I have to be in the ‘Previous Winners’ category so that was even more daunting than being with the Pros.
I started work in late autumn last year, and knowing that I wanted to make something inspired by a late summer English ‘hot border’, pulled beads in Fuchsia, Orange, Purple and Bronze.


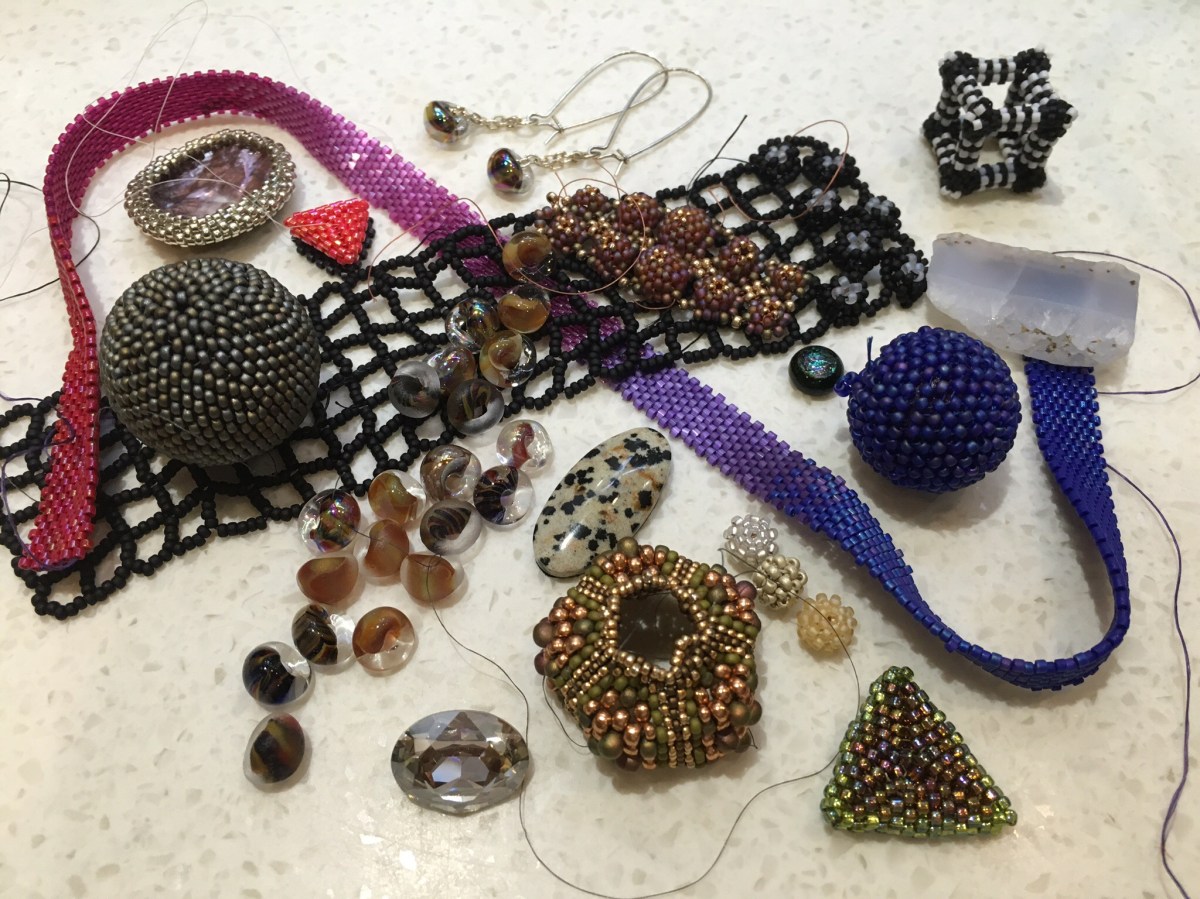
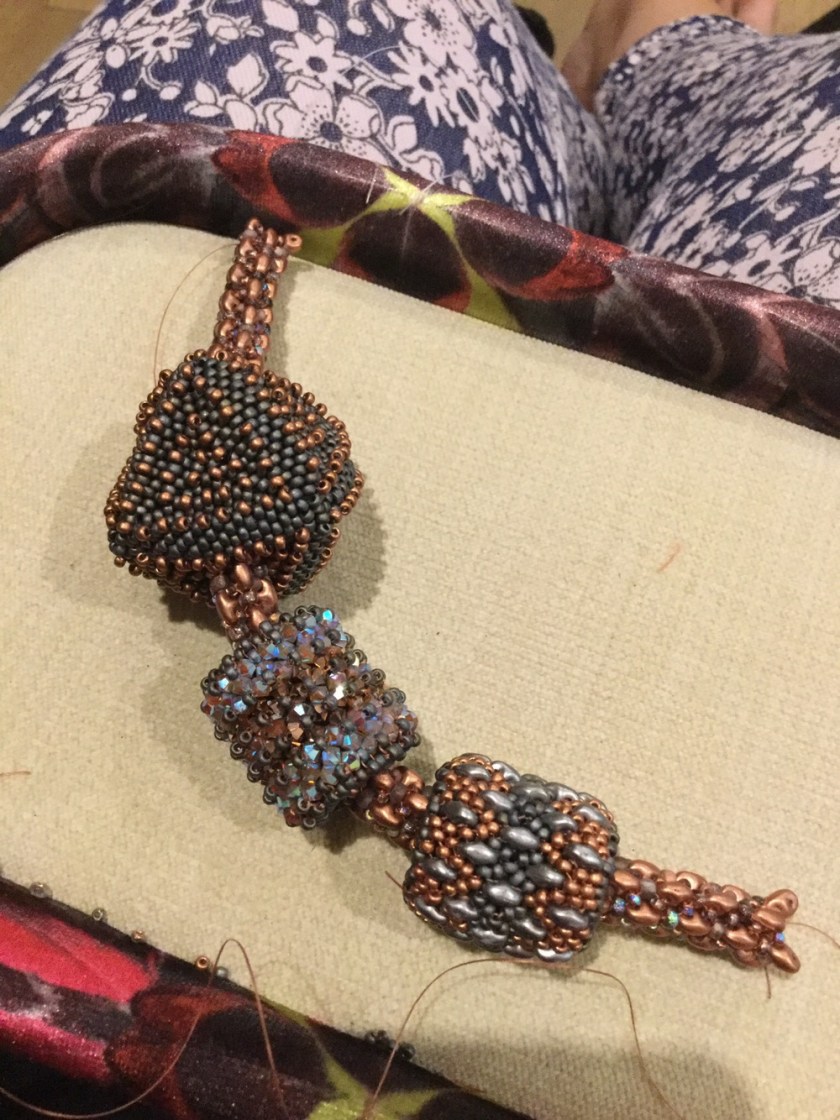
And boy do I have a lot of beads in that set – it felt like I’d been collecting treasures for years with this challenge in mind. I then started to bead, beginning with my favourite etched sliperit Czech beads, working through an idea for beading concentric circles to form a dahlia, working towards a huge set of flowers, and also working on some large beaded beads.

But then I discovered the wonderful work of Anna Bronze, a Russian artist working with lost wax castings to form beautiful natural forms. She had a beautiful range of seed pods and spices which played perfectly to the late summer theme, so I took a deep breath and ordered some (hand made work of this quality understandably does not come cheap). And when they arrived that of course threw the whole plan up in the air. The dark bronze was very striking, but didn’t work at all with the etched beads. It needed something deeper and richer, and I needed to get some crystals into play. And then I thought of the ‘Diva’ necklace I’d loved making earlier in the year, and started playing with putting together a collection of bezelled cabochons with the castings in a similar way.
On the huge tray of pulled beads I had some amazing ‘Crystal Astral Pink’ Swarovski stones which I’ve been hoarding forever, and looked amazing against the bronze. They also looked great with some lunasoft fuchsia cabochons, but that gave me a little too much pink, so I knocked up some cabochons of my own using orange Pebeo Prisme to balance them out. With the largest Astral Pink stone in the centre I was starting to get a bunch of stones that worked, but for a necklace I like to reflect the shape of the ‘decolletage’, so I needed something to basically point downwards into the chest! After a couple of failed attempts to make a marquise shaped cab myself I turned to Designer Cabochons and found a lovely dark marmalade agate drusy cab, and I had my set.

So I bezelled away, using bead embroidery for the pieces which would sit flat against the backing, with a backstich starter continuing into a peyote bezel, some with some picot or similar embellishments. For the large Swarovski stone which would sit in the centre I wanted a beadwoven bezel so that it could sit up above everything else, giving dimensional interest, so I used netting, and featured some lovely dyed agate faceted beads I’ve been hoarding forever, along with sparkly crystals. And I also beaded some similar bezels around some rivolis to form more ‘flowers’, and a different variant for some chatons – again these would add height, textural interest and of course sparkle.

As I beaded I checked the layout continually, taking pictures as I worked so I could assess (and remind myself of my plan later!).

Once I’d finished all the bezelling and finalised the layout I glued the flat backed bezels onto another piece of bead backing, and where needed, added more rows of bead embroidery. I added the bronze pieces, and then before adding the final bezelled rivolis and crystals, filled in all of the visible backing with seed beads, crystals and groups of fuchsia agate berries.

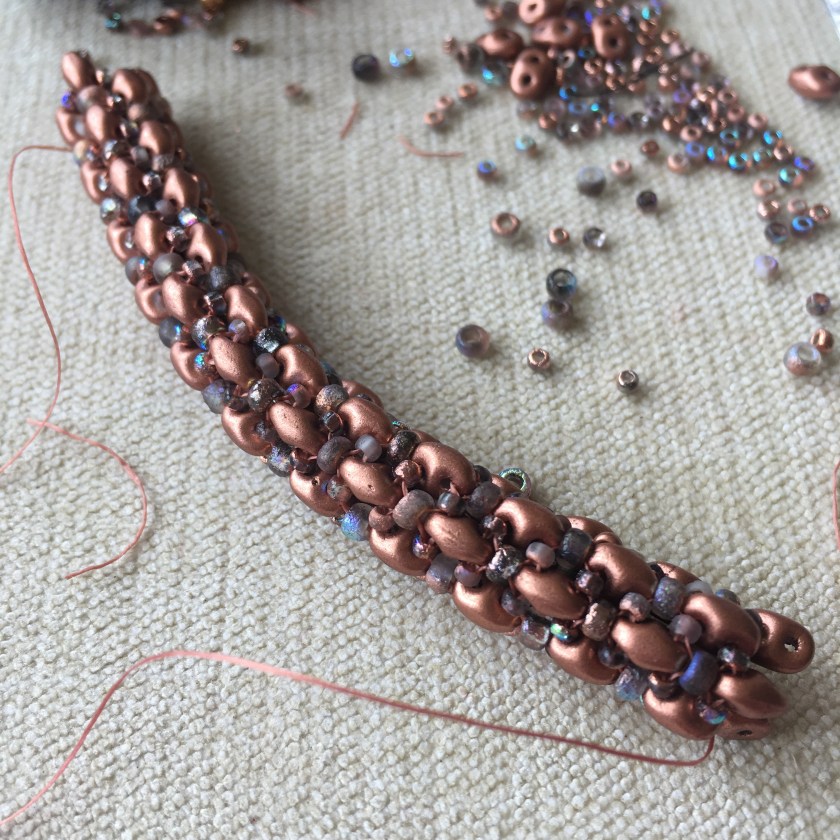
And then I beaded a simple spiral rope which was attached through the largest bronze piece on one side, and behind a rivoli on the other, and added a lovely Anna Bronze seed pod toggle clasp.

By the time I’d done all that the main piece was getting a little floppy – both from the weight of the pieces, and from the amount of stitching (as this will inevitably make the backing less rigid), so I added another slightly smaller layer of Nicole’s Bead backing before adding a fuchsia Ultrasuede backing fabric and beading round a simple ‘sunshine’ edge. I had planned to do a fancier edging but at this point I realised that I needed to stop and not overdo things!

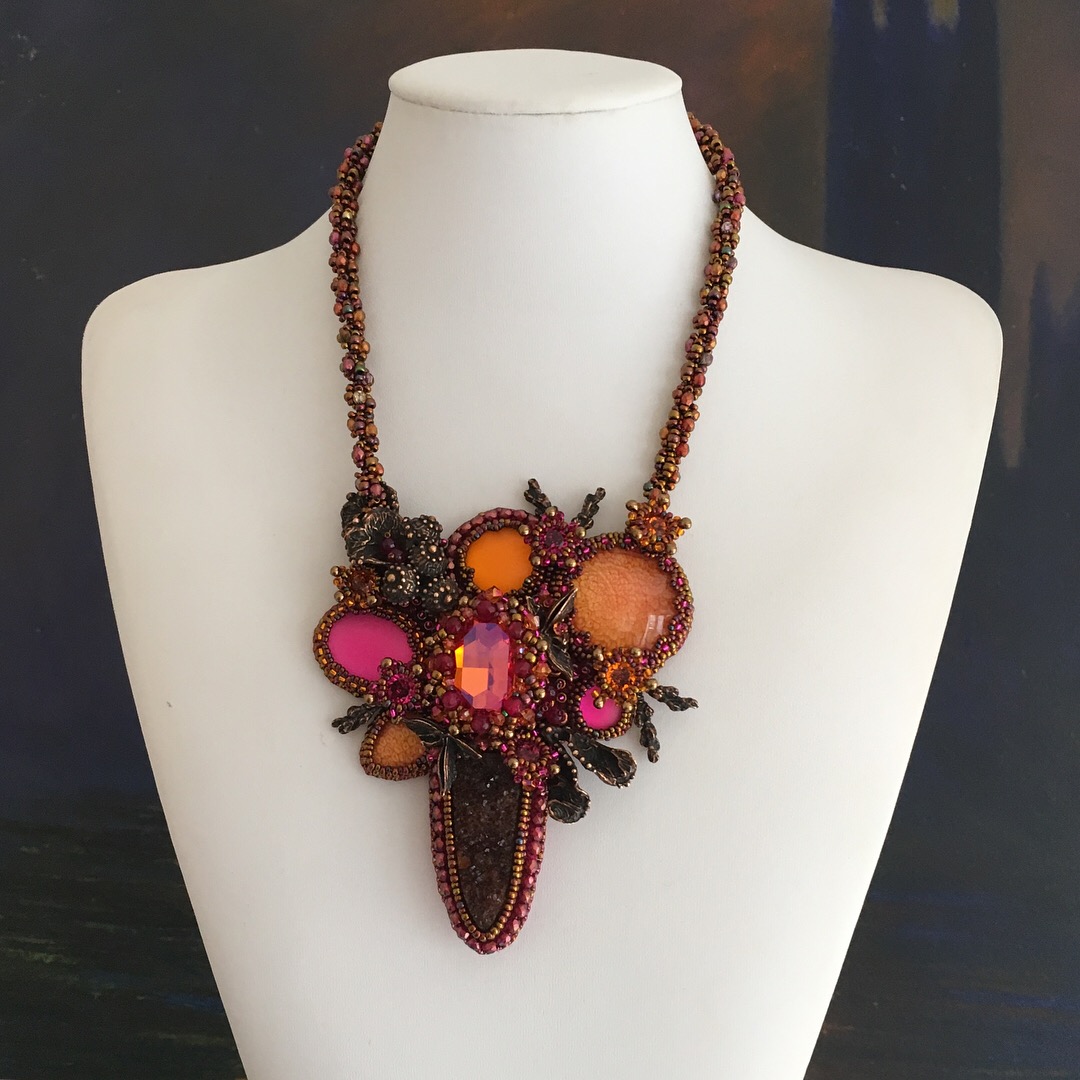
So, the finished piece was ready, and I posted it off to the lovely Denise at the Guild, who runs the challenges. And this was my description ‘Inspired by the work of the late Christopher Lloyd I planted a ‘hot’ bed. Filled with dahlias, cannas, bananas and tropical beauties in hot and rich shades, and with bronzed foliage and interesting seed heads, it would look its very best in the balmy ‘Indian Summer’ of early autumn. Unfortunately the English weather combined with an appalling number of snails means the crucial dahlias keep drying out or getting eaten, so this piece represents how it looks in my imagination rather than in reality. It includes my own hand painted cabochons, wonderful Anna Bronze findings, Swarovski crystals and much more.’


That was several months ago, and although I knew the judging was last weekend, it was a lovely suprise to get a phone call from Denise on Sunday morning to say that I’d won their ‘Founder’s Award’ – which as well as £100 and a trophy conveys the honour of making the piece ‘which the Judges select for the quality and imaginative use of beading stitches to enhance the design of the piece’. As per last year the necklace will now embark on a tour with the Guild, visiting shows around the country on the Guild’s stand, and hopefully generating some interest and new beaders. Again as per last year I didn’t take any particularly good pictures before I posted the piece off as I thought it would be back soon, so until we see some professional images in the next Beadworker’s Guild Journal these are all I can share! If you fancy a look at the other entries, they are available in here on the Guild site.


 Fire Dragon Wrap
 Tchacka Boom Bangles
 Wanna be a Butterfly
 Tweed
Tweed  Turbulence
  Boomerang Bling
  Squaricals & Penticals
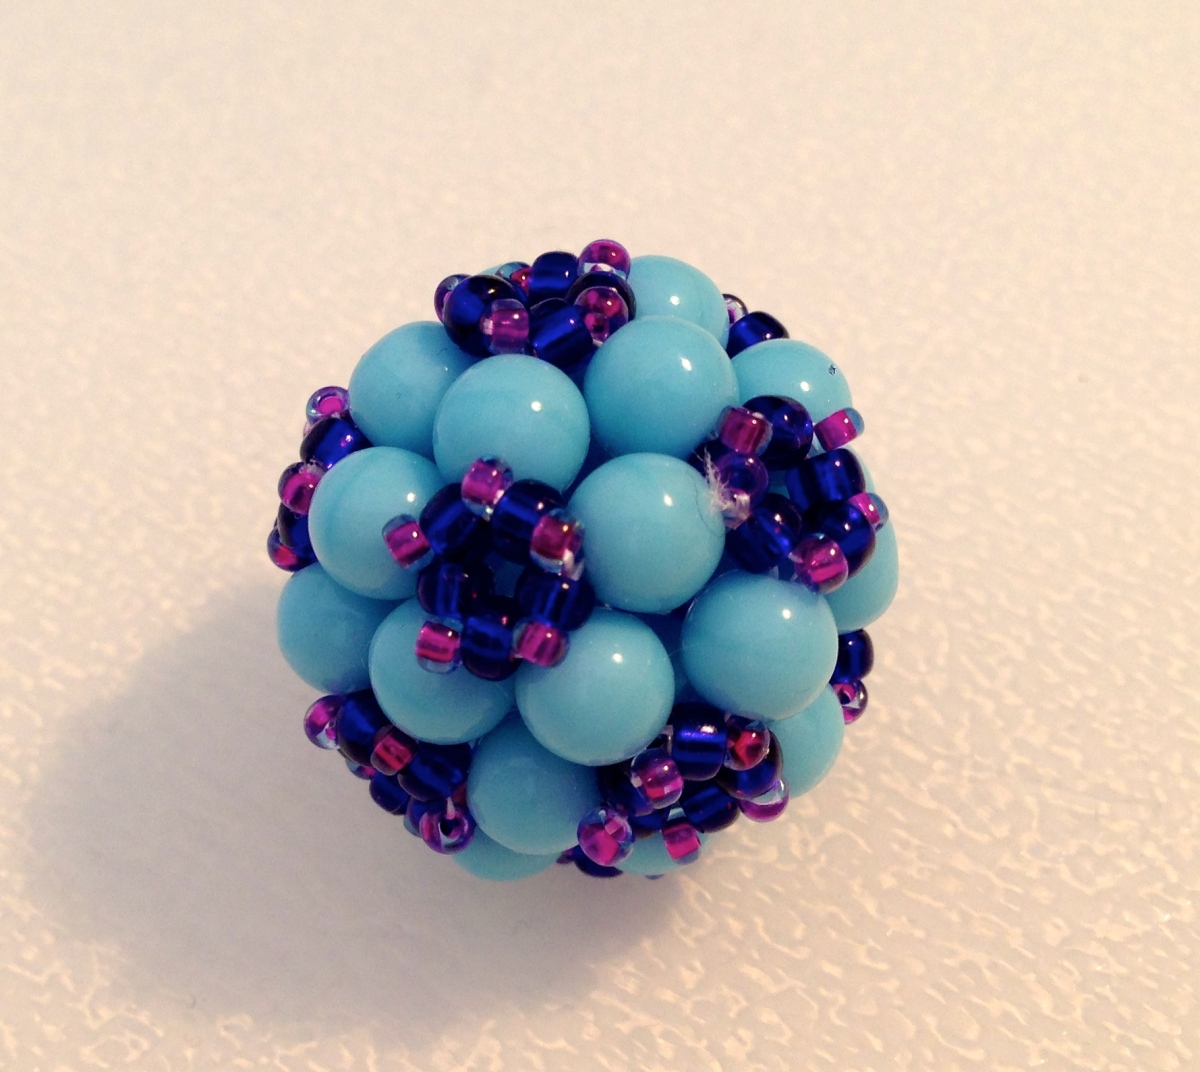
 Teardrop Bubble Beaded Bead
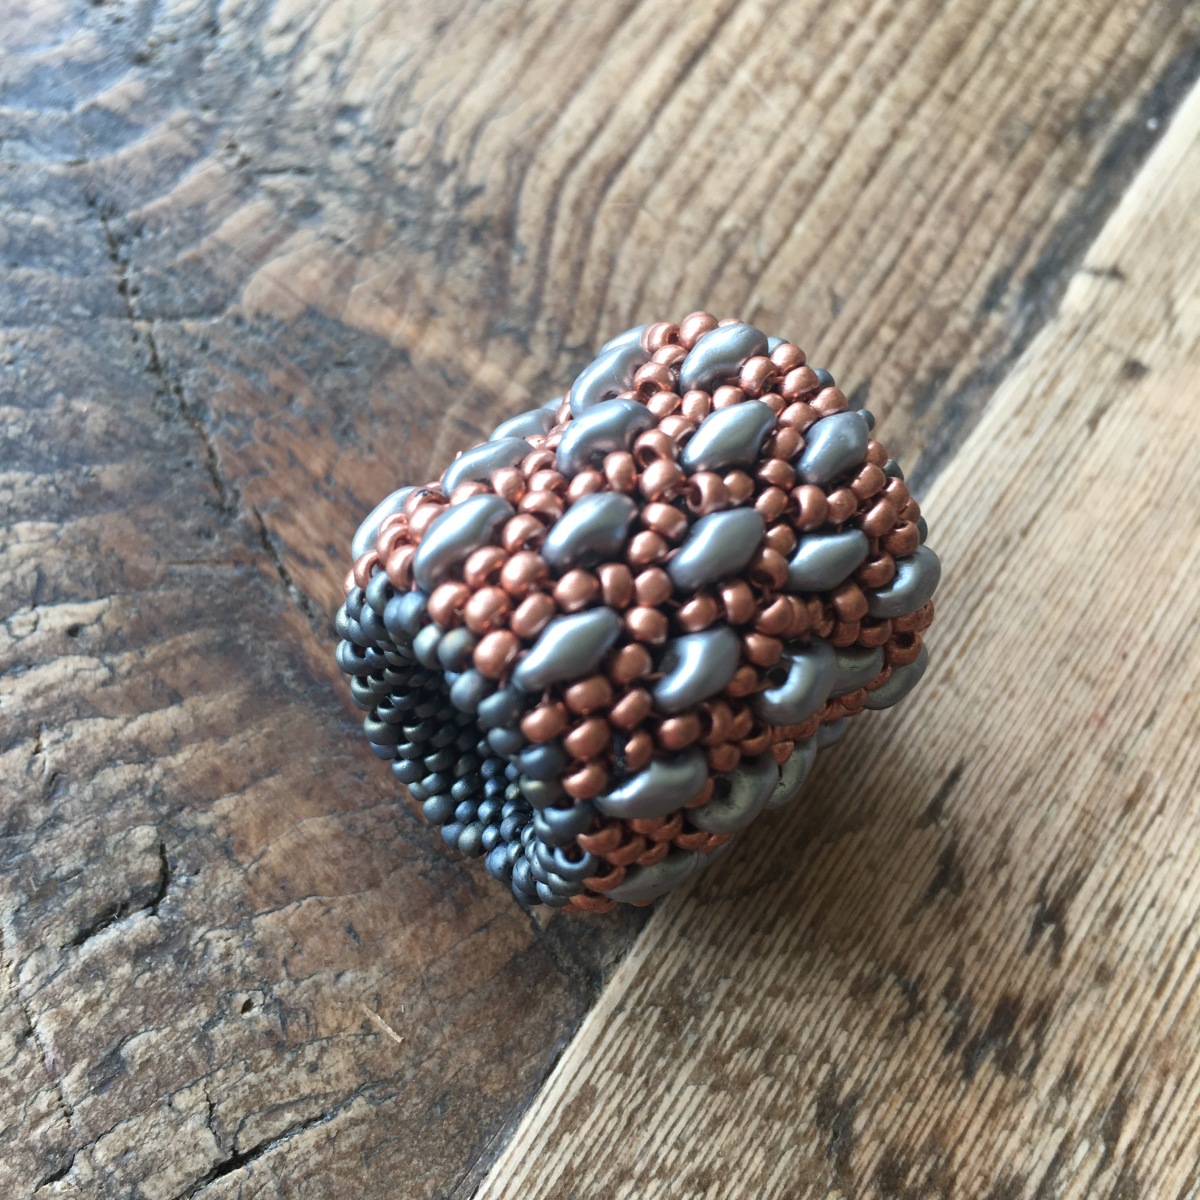
  Supercoiled Beaded Rope
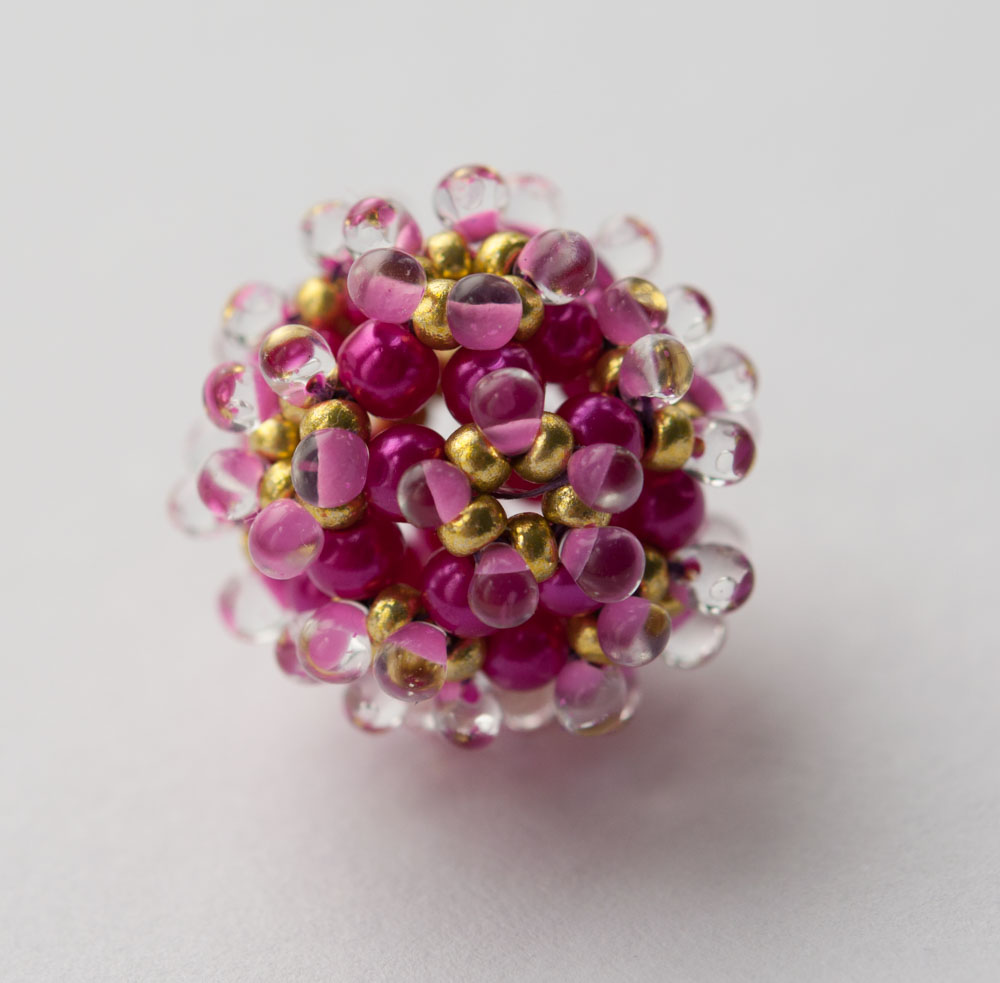
  Star Flowers
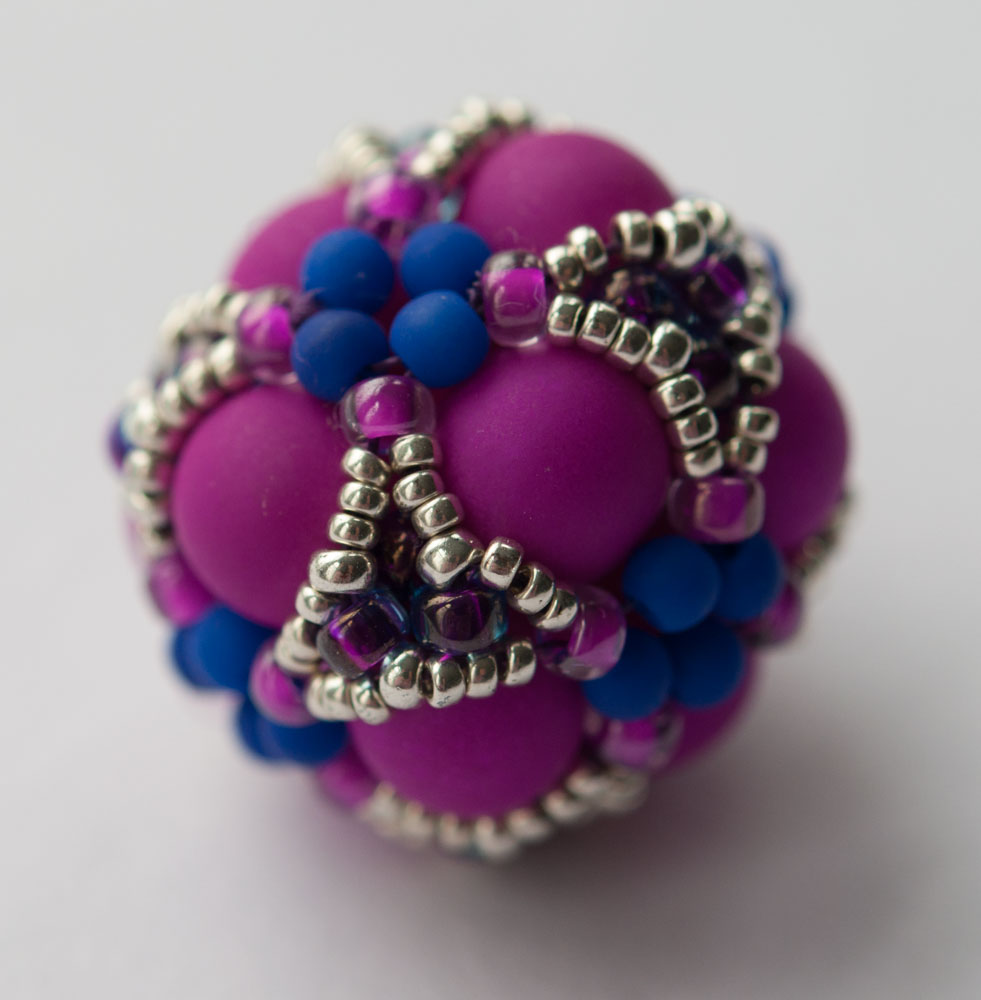
  Interlocking Crystals