National Beading Week

Here in the UK the Beadworker’s Guild’s National Beading Week will begin tomorrow (25th July).  There are lots of activities all over the country, at Bead Groups and in shops, but as I am a bit constrained by work and it bring the school holidays, I’m joining the beading community remotely in a few different ways.  Firstly, I’m taking part in Jean Power’s Secret Bead Along – I’ve completed my prep work which you can see at the top of this post with my beads all ready, and a bit of day 1 (a bit early but I couldn’t wait, photos tomorrow).  As you can see I have chosen very subtle colours.

Anyway, you can read all about it on Jean’s site or read my blog post containing the details here.  I’ll be popping a quick blog post out every day to show progress, and you can follow lots of other beader’s work on the Secret Beadalong Facebook group which Jean has set up.  Over 4000 beaders worldwide have signed up for this, which is absolutely amazing – Jean has done an amazing thing and it’s really very exciting and inspiring taking part.  For me the lovely thing is knowing that so many other beaders will be working on the same piece at the same time.  That includes that my little sister Susie Hoad, who I taught to beadweave a few years ago and got hooked on Jean’s work.  She is now a designer and teacher in her own right, and we plan to finish the last day’s beading together next Saturday, which will be just lovely.  Being Susie she is doing two colourways  (but she is a teacher so I guess she has nothing to do now school has broken up – or could it be that indecisiveness runs in the family?).

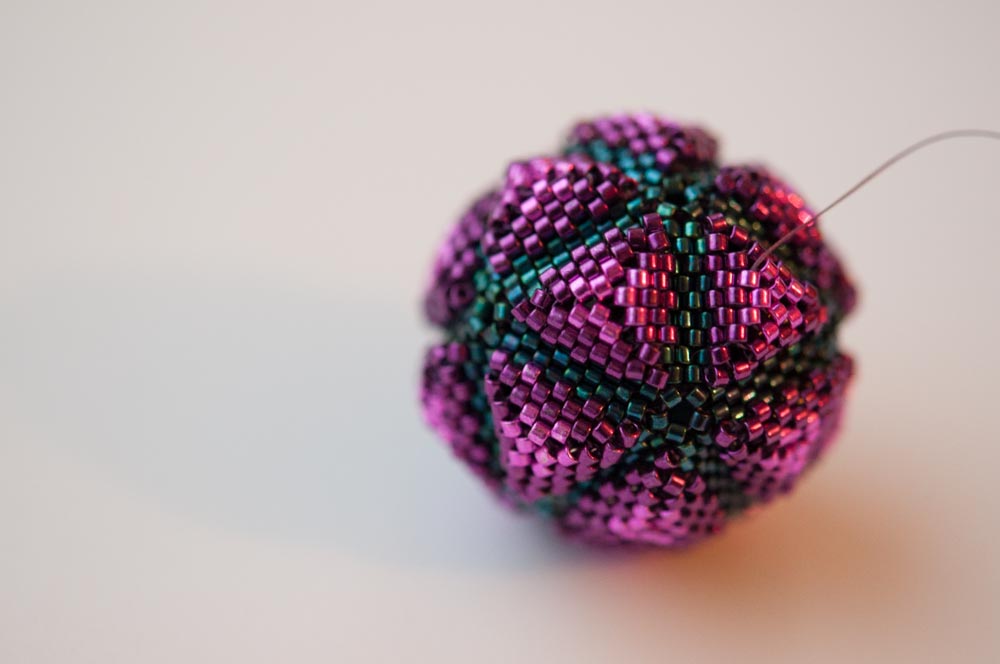
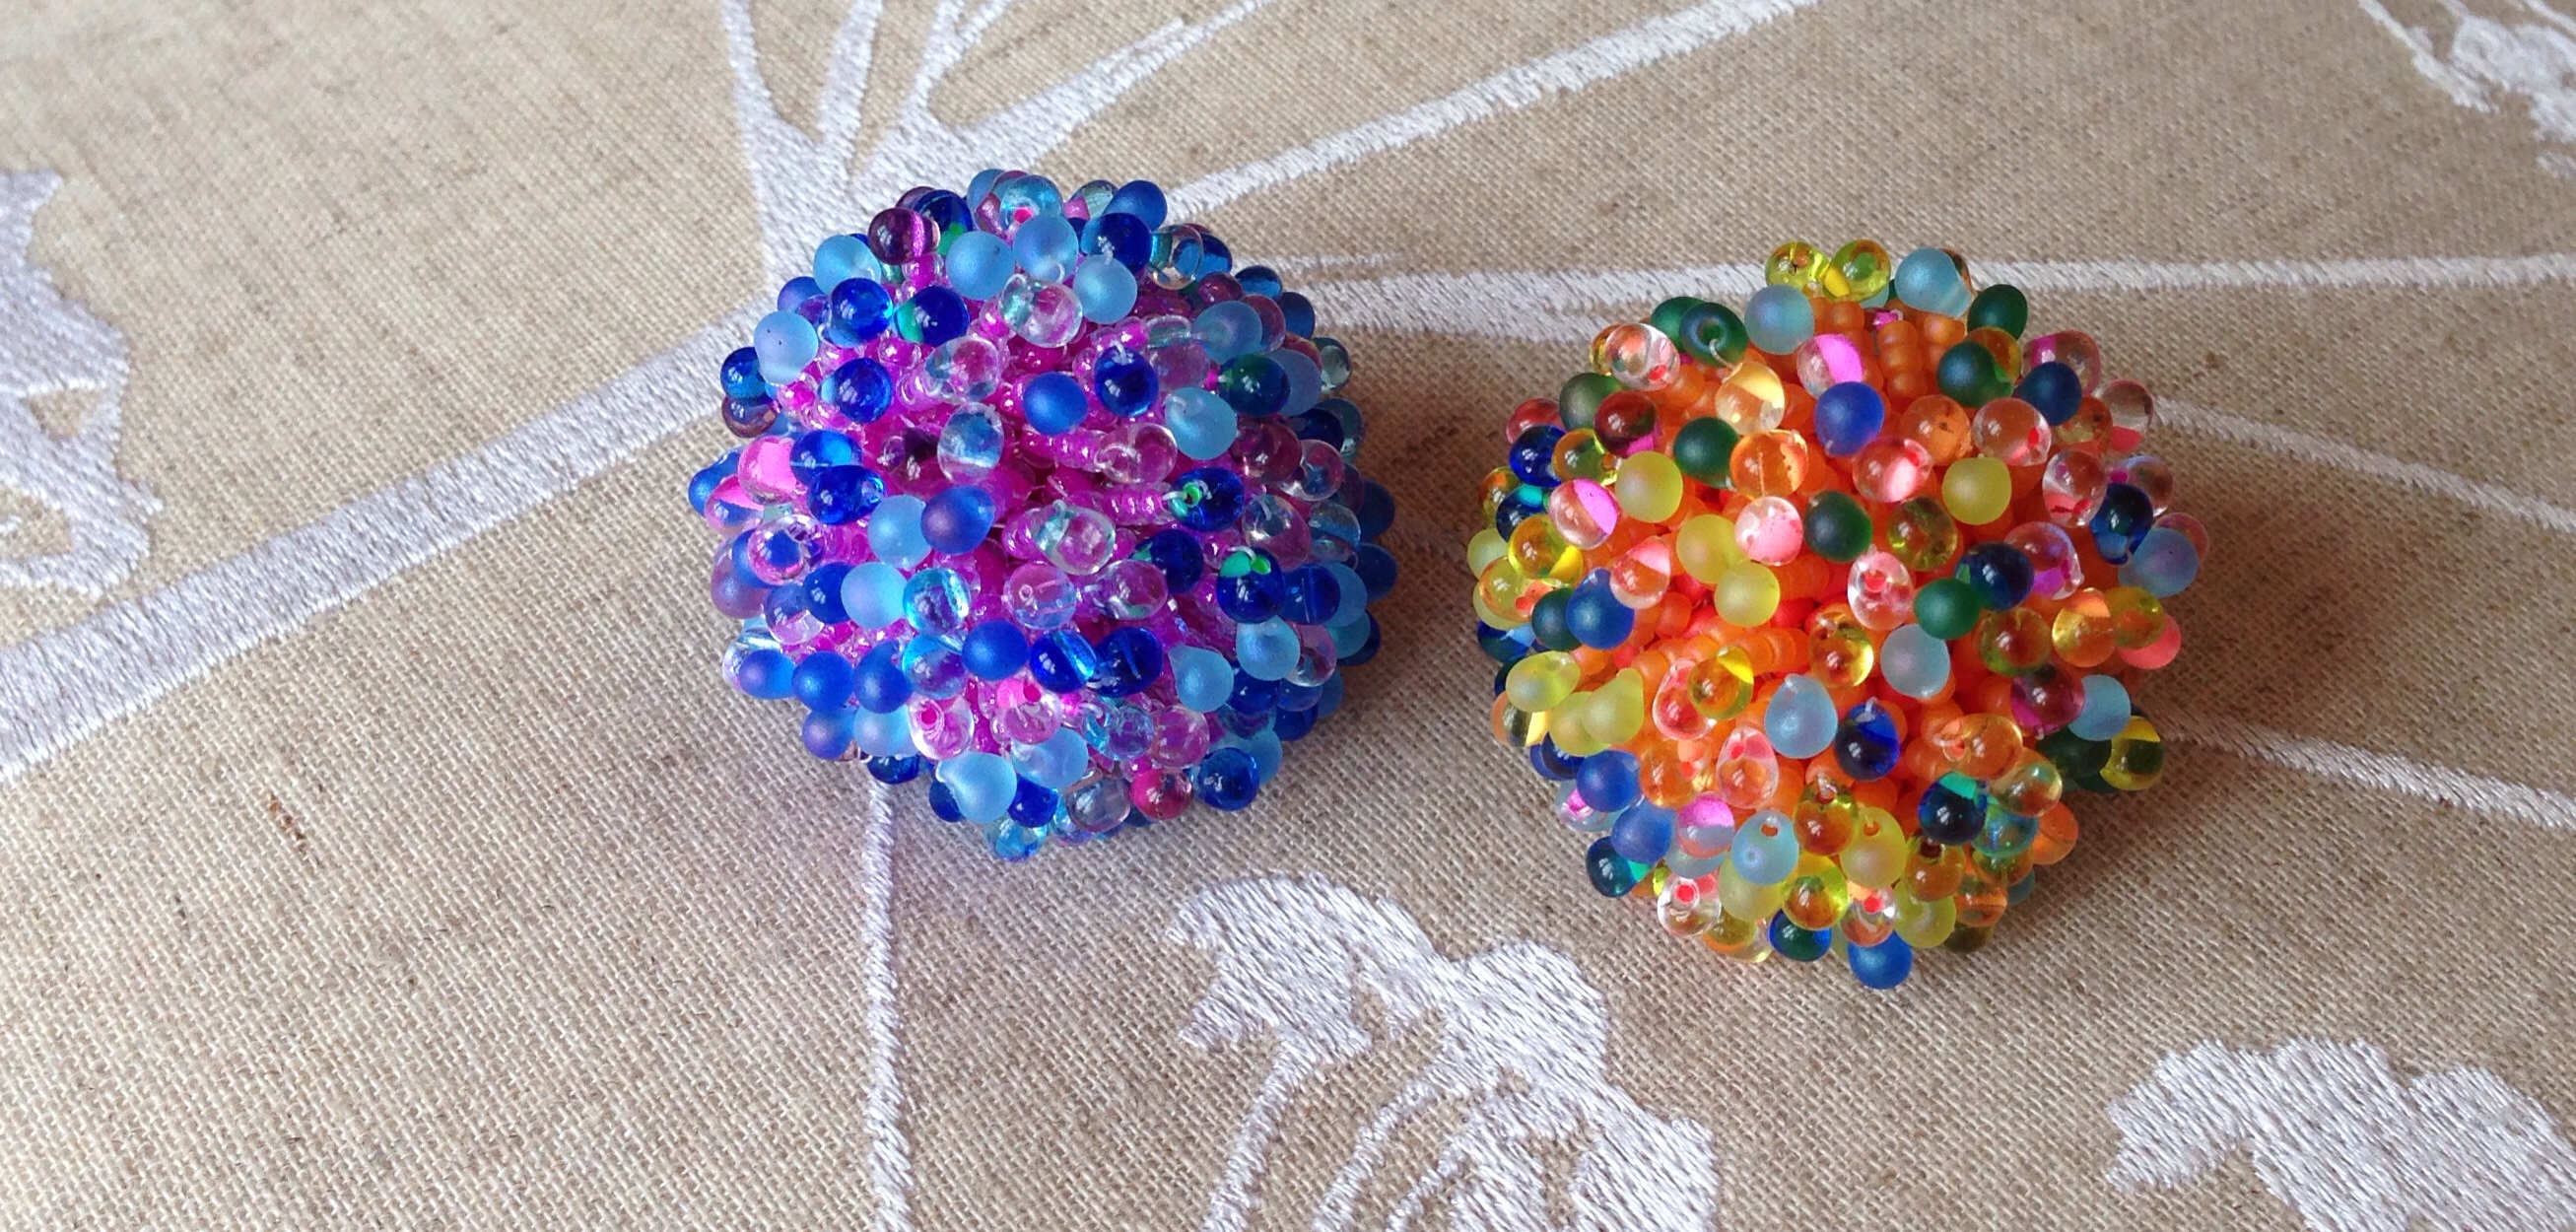
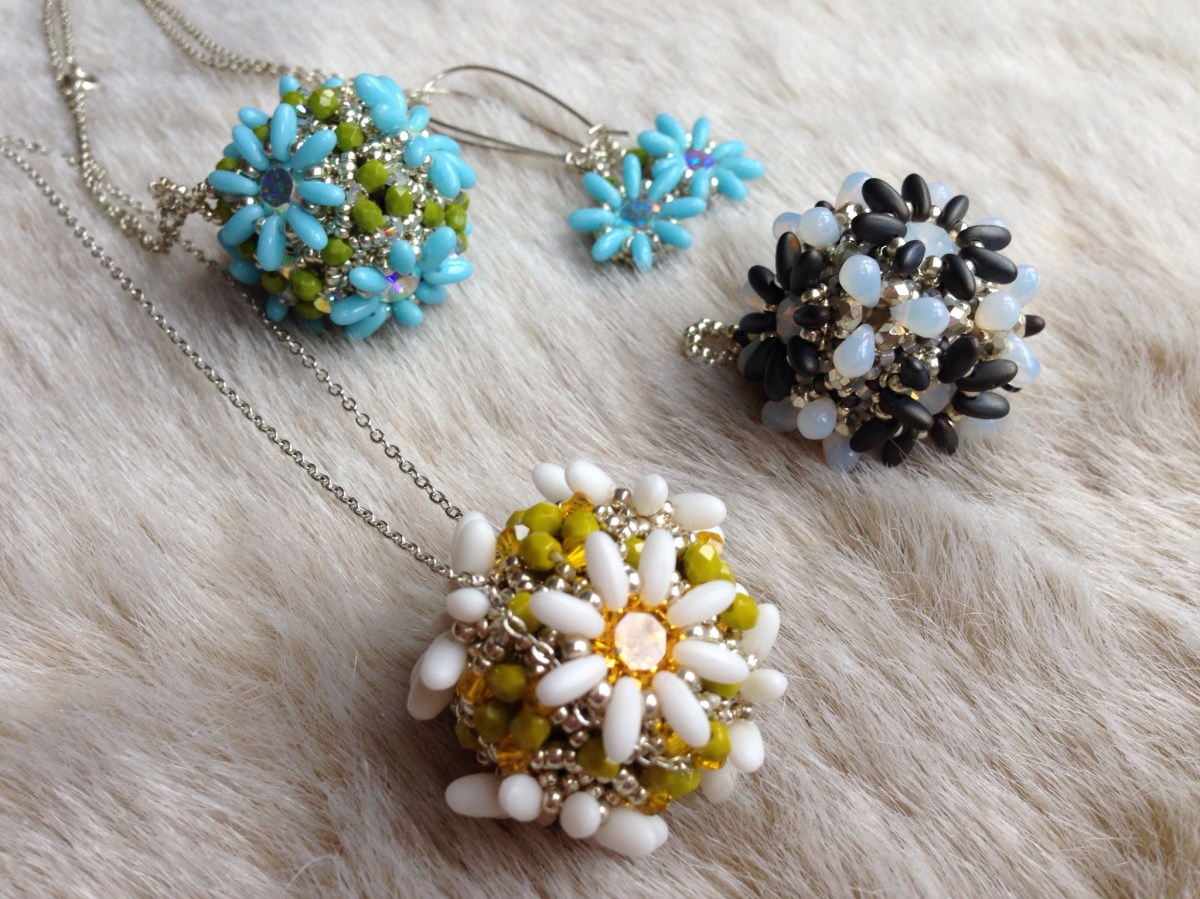
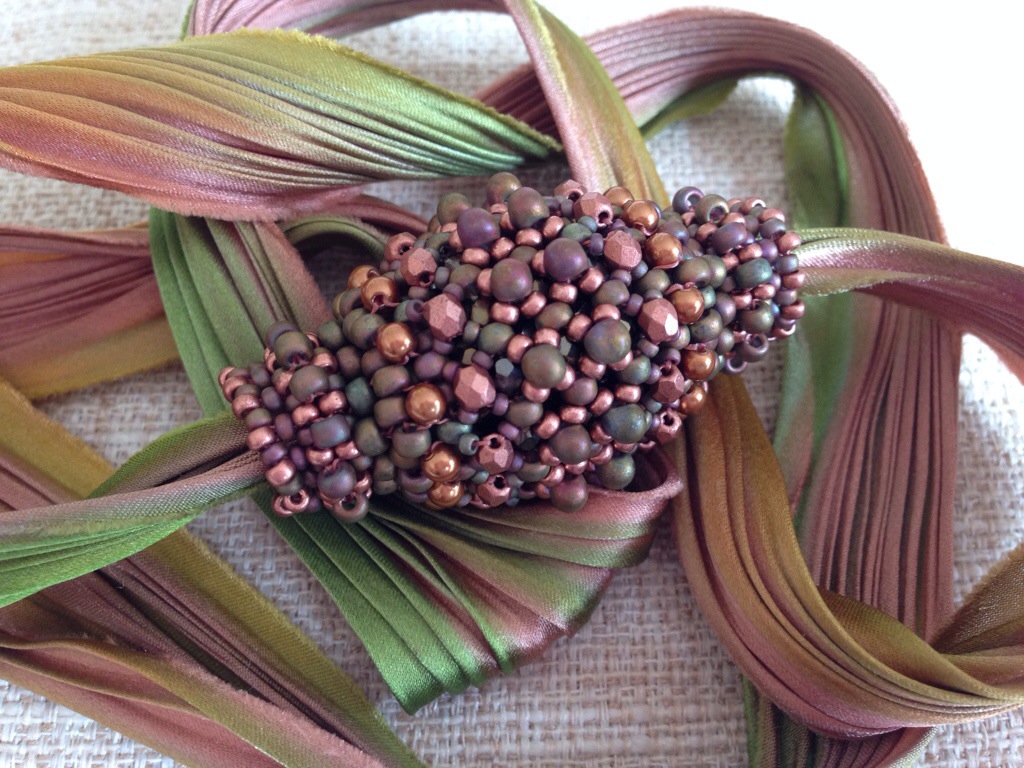
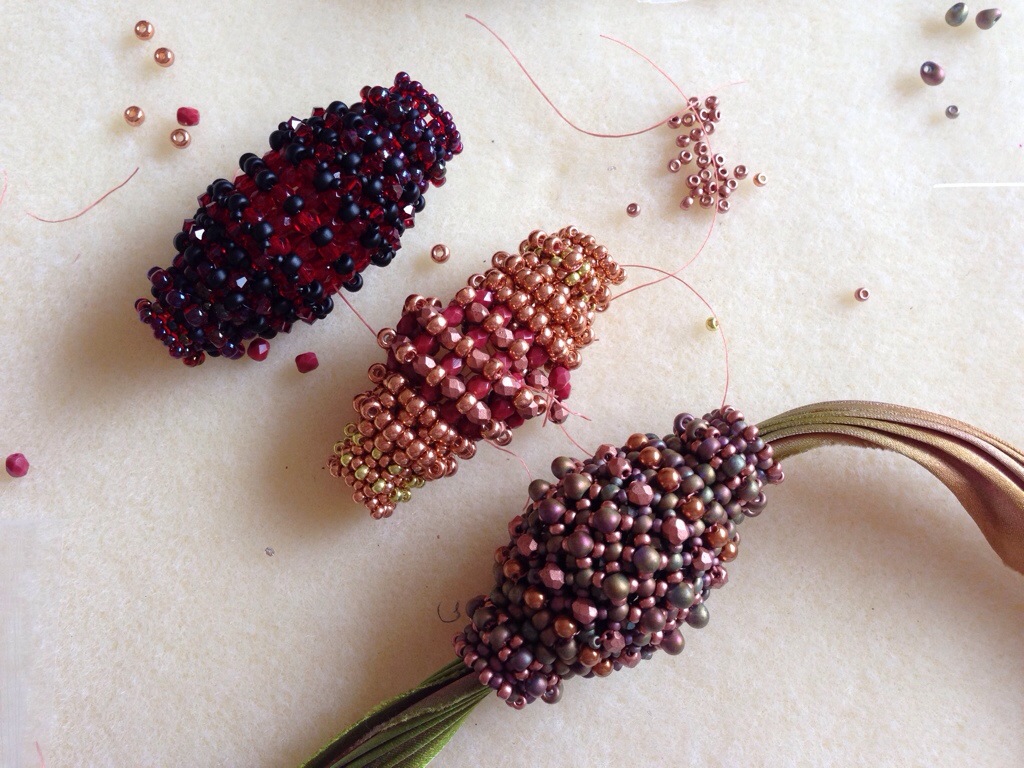
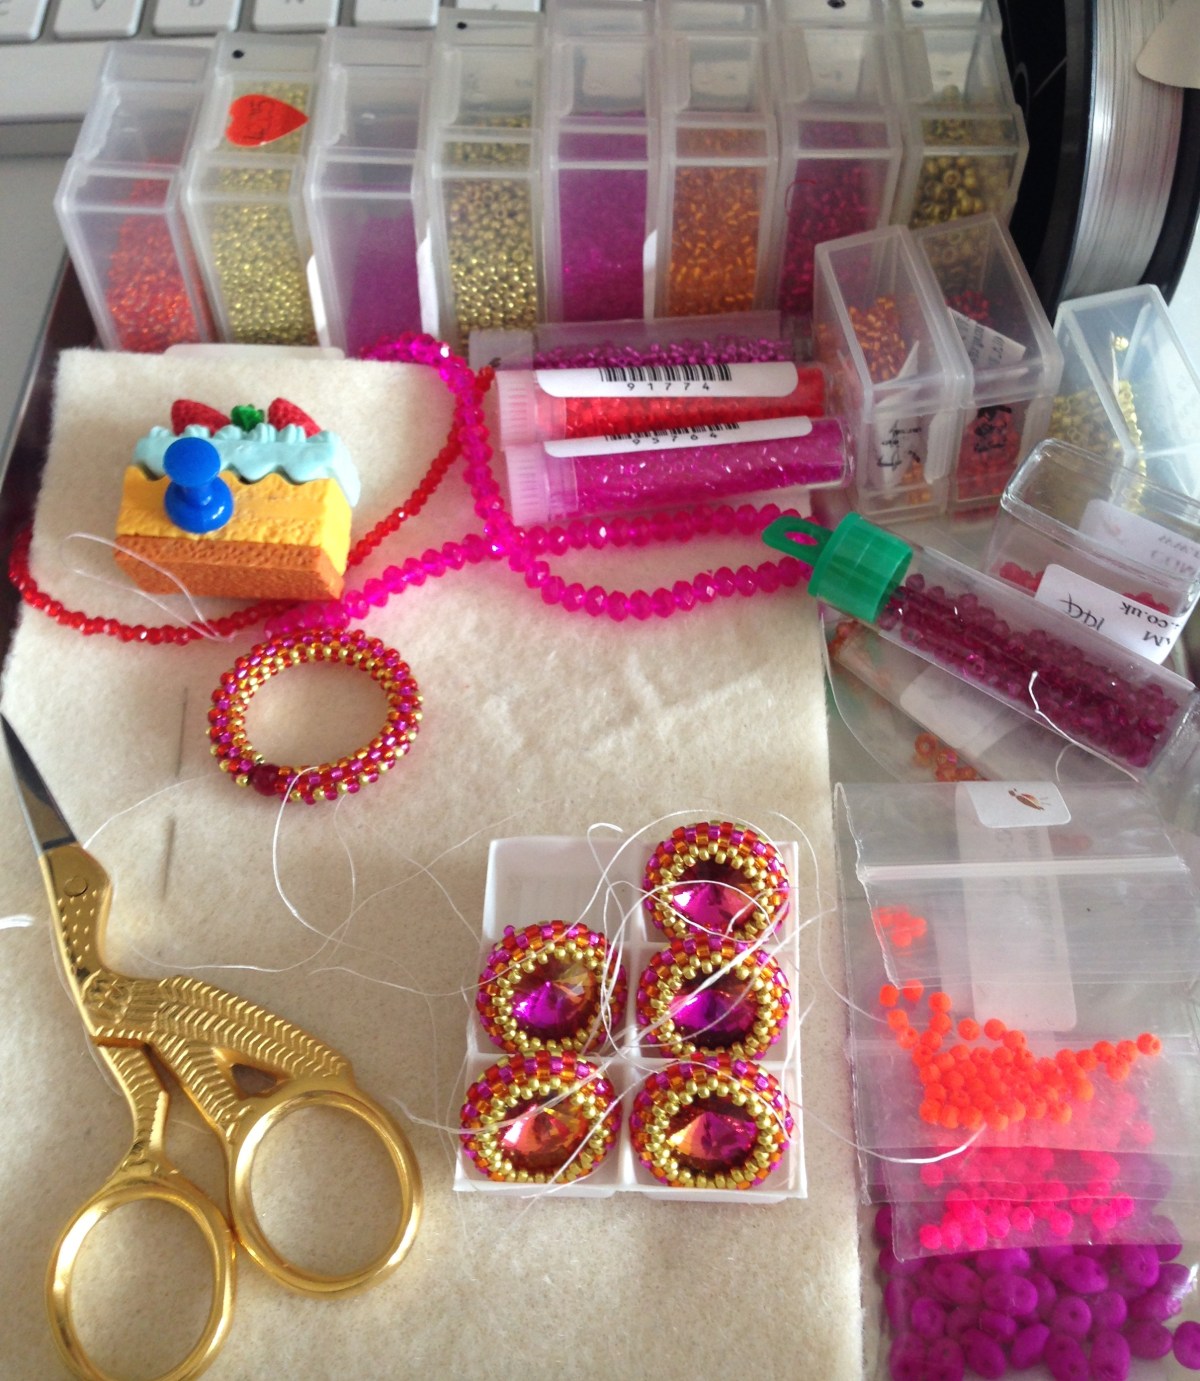
Secondly I’m going to kick off a project for this blog to celebrate the awesome range of beadweaving going on around the world – ‘Beading Beaded Beads’.  I’m going to be coming back to one of my original reasons for blogging – to show, review & comment on tutorials and patterns by other designers (as well as writing about my own original work).  I’ve put together a range of beaded beads, some from books & tutorials I already own, some from free tutorials, and some of my own designs, and the idea is that over the coming months I will focus on beading them.  I’ll be working from my stash, so I’m going with two colourways (as even my stash won’t accommodate the range of beads required to complete the various designs in one colour scheme) – bright fuchsia, lime, scarlet and orange, and fuchsia (again), indigo, cobalt and a bit of silver and gunmetal.  Hopefully I will end up with two very spectacular necklaces.  You can see the initial cut of designs on a Pinterest Board here, if you have any suggestions (or designs you’d like me to road test) then comment here or on Facebook and I’ll give them a try too.

I started beading earlier this week, and was hoping to have the first beaded bead to show off for the start of National Beading Week, but sadly the first beaded bead did not go well.  Out of fairness to the designer I’m going to have another go before I post about it………….probably just me being tired and being a bit of a tight beader.

May the 4th be with you……

Ok, so it probably won’t still be May 4th by the time I post this, and to be honest I’m not really a big Star Wars fan.   I mean why does Yoda keep saying ‘you are wise young Jedi’ to Anekin – he’s clearly not even slightly wise, since he got his girlfriend pregnant and changed the fate of the universe – use contraception you twit?  That said, DH is a fan, I do like the concept of Star Wars day, and I have this awesome Icos pendant by Jean Power to tell you about which reminds me of the Death Star.

As usual it was a lovely design to work, there’s one tricky bit at the corners of the outer puffs, but once you’ve cracked that it goes together very nicely.  I would really really love to do one with crystals – it will look fab and be even quicker, but for now I’m really pleased with this one.  I don’t have anything to mount it from yet – I’m undecided as to whether to bead a loop.  Jean uses a wire loop on what I assume is a headpin, but since I didn’t plan ahead and put it in before I zipped up the final seam I will need to either come up with an alternative or unpick a bit.  I’m going to wear it with a purple tunic I live in at work during the winter, so I have a while to decide, now the weather has improved at last.

Recipe

Jean Power’s Icos pendant tutorial

10g of Miyuki delicas:

1005 Metallic Purple Gold Iridescent (C1 & C2)

463 Galvanised Dark Magenta (rows 1-3 of C3)

422 Galvanised Fuchsia (rows 4&5 of C3)

Tips

If I had been more organised I would have used a cheaper finish delica for the inner rows of the base triangle (Jean does point out that these rows won’t be visible and labels them C1, but I was away and only had the three colours with me).

What’s next

My next version might be in 15s – using 11s makes a nice bold pendant, with a finished diameter of 35mm, but using 15s will make something quite exquisite.  I will save that for some daylight beading though as teeny beads hurt my eyes – so perhaps first I will do a crystal version.  Jean still has some crystal sets, and Perles and Co have stock in a few colours (Swarovski seem to have discontinued this shape).  Alternatively I’m feeling quite bold at the moment and have some new yellow sandals, so perhaps I’ll get Jean’s yellow plastic stones and work up a vintage colourway…………

Anenenenemones

We’ve all been a bit peaky recently, so favourite films have been deployed.  I was managing to do a bit of beading, but kept getting stuck, so I thought I’d do some quick beaded beads as they are always useful.  We were watching Finding Nemo at the time, and before I knew it I’d fringed over the peyote base to make a lovely anemone for Marlin and Nemo.

However the colour was not deemed suitable for an anemone, so a second one with colours chosen by Boy 1 (who has quite garish taste, even compared to me) is now finished.

Fun, relatively quick, and if my previous fringed beaded bead is anything to go on, will be much commented on.

image

Recipe

  • Large base bead of your choice – I used a 20mm diameter.  The size 8s plus the fringing make it much bigger – the finished size is more like 40mm diameter.
  • Enough size 8 seeds to cover the base bead – probably around 1-2 g (apologies, forgot to weigh them).
  • At least 4g of size 11 seeds.
  • And around 4g of 3.4mm Miyuki drops or similar.

Method

  • Using circular peyote (I favour a 5 bead start), cover the base bead with an even, firm peyote layer.  This layer will barely be visible, so don’t worry too much about gaps.  Leave holes for later threading onto a neckwire or chain.
  • Then, working from one of the holes, go through a size 8, pick up 3 11s and one drop.  Go back through the 3 11s and then into the ext 8.  Repeat ad nauseum until you have a fringe coming from every 8.  That’s it really.

Tips

  • If you’ve not peyoted onto a base bead before then have a hunt around for a tutorial.  Having tried and failed to do them in the past without a tutorial, a while back I invested in a few different sizes from The Crimson Moon, and having made a few of each size am now comfortable enough with the technique to just go for it.  Sadly Liz isn’t selling her patterns any more, but have a look around Etsy and similar sites and see what you can find – post some recommendations here if you find a good one.   If you can find a tutorial using 8s, even better, as you can use them as a basis for an Anemone beaded – those inevitable gaps and threads in your first few attempts will be hidden by the fringe!
  • As with any fringing, you have to watch the working thread like a hawk to ensure it doesn’t get caught.  Work methodically around the bead, rather than darting around, as as things fill up you will find it hard to spot the gaps and even harder to fill them in without getting in a tangle.

Enjoy!

Curizo

I love Sabine Lippert‘s work – the techniques she uses are incredibly clever but often simple to bead, and the results are wonderfully exuberant, beadtastic pieces.  When she created her Rizo beads a while back I bought a copy of her Curizo design so that I could use them in the way she’d intended, and I fell in love with it.  So much that I made another, and then when I needed to put something together in a hurry  for a wedding this weekend, another.  They’re quick to bead – 3-4 hours for me, and use my current bead binge favourite chatons.  And I love them, and other people love them (although the smallest boy sadly loves them so much that he bust the chain on the white one last week).

Recipe

Turquoise – Opaque turquoise rizos, opaque olive 3mm fire polished, crystal AB Swarovski chatons and 3mm bicones, silver duracoat miyuki seeds.

White – Opaque matte white rizos, opaque lime 3mm fire polished, sunflower Swarovski chatons and 3mm bicones, silver duracoat miyuki seeds.

Grey and Opal – Brown Iris Matte rizos, silver 3mm fire polished, white opal Swarovski chatons, white opal czech small teardrop beads.

Tips

I don’t have many tips for this one, it’s really very lovely to bead and works perfectly.  I quite like to thread the chain or cord through the whole finished piece (as I did with the white and lime version), although that then leaves you with quite a short piece.  For the grey and opal version and the original turquoise I’ve added a loop – the former needs to go with a specific dress with quite a low neckline, so long was the only option.

If you’d like some matching earrings like my turquoise ones, simply complete the flower shape and capture the chaton, then add a loop to hang.

Variations

image

For the final version, in the step where you would add fire polished beads and crystals I simply used fire polished, and then in the final joins I put Czech drops where the fire polished would have been.  I did this because I didn’t have any 3mm bicones in the right colour (and have bought far too many beads lately so didn’t want to buy any more).  On reflection the drops don’t really go with the rizos I used, and the cube shape is more visible (the others look more like a ball which is easier to wear), so I wouldn’t necessarily recommend this variation.

And next…..

Some lovely Heliotrope chatons have just arrived from the States, and I’ve got some fab neon Rizos (Robin’s Beads), and neon fire polished beads (More Beads 4 U – Etsy) – quite a flambouyant Curizo this time.

Birthday beaded bead

As usual I was stuck for a birthday present for my mother, and as usual had left it a bit late (under a week). But then inspiration struck on Tuesday as I remembered that Stitch ‘n’ Craft have started selling lovely Shibori Ribbon. Made by Shibori Girl, I’ve wanted to buy some for a while, but have held back as it’s not cheap.  However, I thought a yard of it would make a lovely necklace if I made a big beaded bead to thread on it, and it didn’t seem quite so expensive if it meant I could get a whole necklace from only a few hours work.

The colours that were very obviously Mummy’s thing were sadly out of stock, so I gambled on ‘Fallen Apple’, ordered on Tuesday morning and it was with me by Wednesday lunchtime – and it’s perfect for her. Some scrabbling around in my too large book collection turned up ‘Amphora’ in Marcia DeCoster’s Beaded Opulence, and I got started. I’ve made one before, which you can see below top left (reds and black).

My first attempt this time failed – the tension of the RAW base was much too tight (it seems to need to be very loose for this piece, presumably because of the shape and embellishment), and the colours I had chosen (coppers and lime) were much too brash. You can see that one in the middle below, half done and then hacked about a bit to get at the beads.   Fortunately the second attempt (bottom right), using much more subtle beads has turned out perfectly, and was all done in just a few hours.  I tweaked the design a bit, substituting copper 3mm pearls and matte copper 3mm fire polished beads for the 3mm bicones (Mummy is not really a crystal person), and using drop beads as the central few embellishments to add texture. I’m very pleased, although the ribbon is looking a little thin, so I will experiment with pressing the pleats a little tonight to widen it out. Hopefully Mummy will like it when we give it to her tomorrow.

20140628-150213-54133475.jpg

RECIPE:

‘Amphora’ – Marcia DeCoster’s Beaded Opulence page 107

Shibori Ribbon in ‘Fallen Apple’ by Shibori Girl (Stitch & Craft if you’re in the UK, or available through her Etsy shop and from other US suppliers if you’re elsewhere).

Beads (seed all by Miyuki, from Stitch ‘n’ Craft of course)

  • A (11), F (15), G (8), H (drops, substituted for 8s) – 2035 (Matte Metallic Khaki Iris)
  • B (11) – Custom Coated Vintage copper, also used instead of 15s around the Drops in step 3 above rows 6, 7 & 8)
  • C (3mm FP) – Brown Iris (Robins Beads)
  • D (3mm pearl substituted for bicones) – Copper I think (Robins Beads)
  • E (3mm FP substituted for bicones) – Matte Copper (Etsy –  MoreBeads4U)

LESSONS LEARNT:

  • Tension in first layer needs to be pretty loose.
  • The substitutions worked well.  However if you want to substitute drops in where I did then you will need to use 11s rather than 15s to surround them (as although the  top of the drop is over 3mm, the base is much smaller).
  • Marcia works with lovely subtle base colours – so it may be best to stick with these if you’re using one of her designs. She then uses several highlight colours in the upper layers, but I also found that using just one worked.
  • You can’t really see the fire-polished beads from the centre of layer 1 as there are two layers above – so don’t flap too much about having the perfect ones – use some OK ones and save the nicer finishes for something where they will be seen properly.  A darker colour than the rest of your base beads actually seems to enhance the design.
  • Good and quick – I’d say around 2 hours if you’re familiar with the design or an embellised RAW fanatic.