Jelly

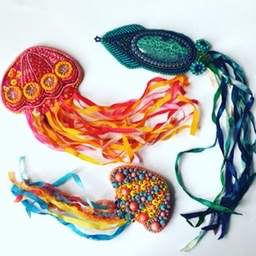
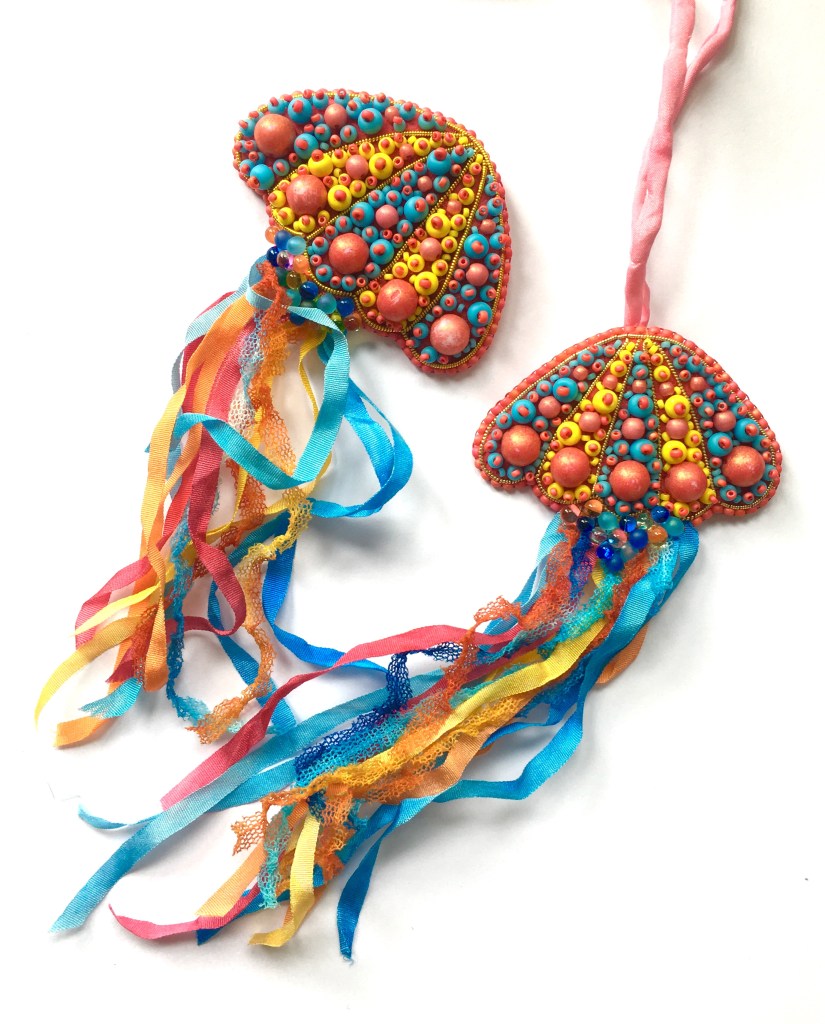
Last summer I made a series of sea creatures – beginning with a bead embroidered pink and yellow jellyfish done as a stitch and material sampler. She was a bit big and slightly clumsy, so she was called Big Jelly.

The next piece was Squidy, who mixes bead embroidery, bead weaving and goldwork embroidery techniques. I published Squidy as a tutorial last year, and also sell component packs for him (which include Hope Jacare‘s lovely ribbons and the other non-beady elements). You can read about him here.

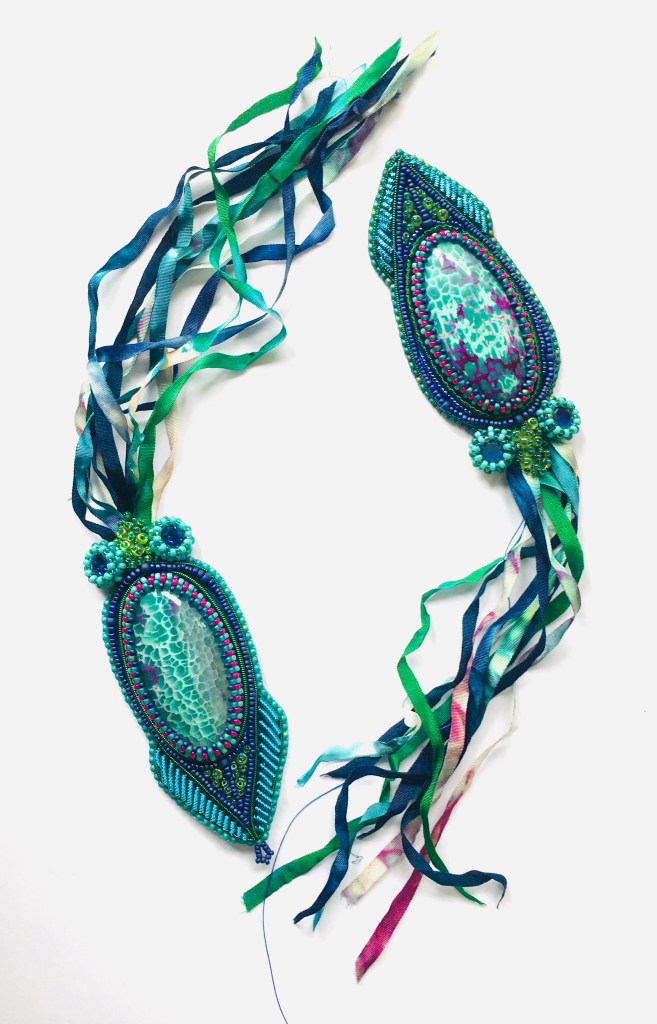
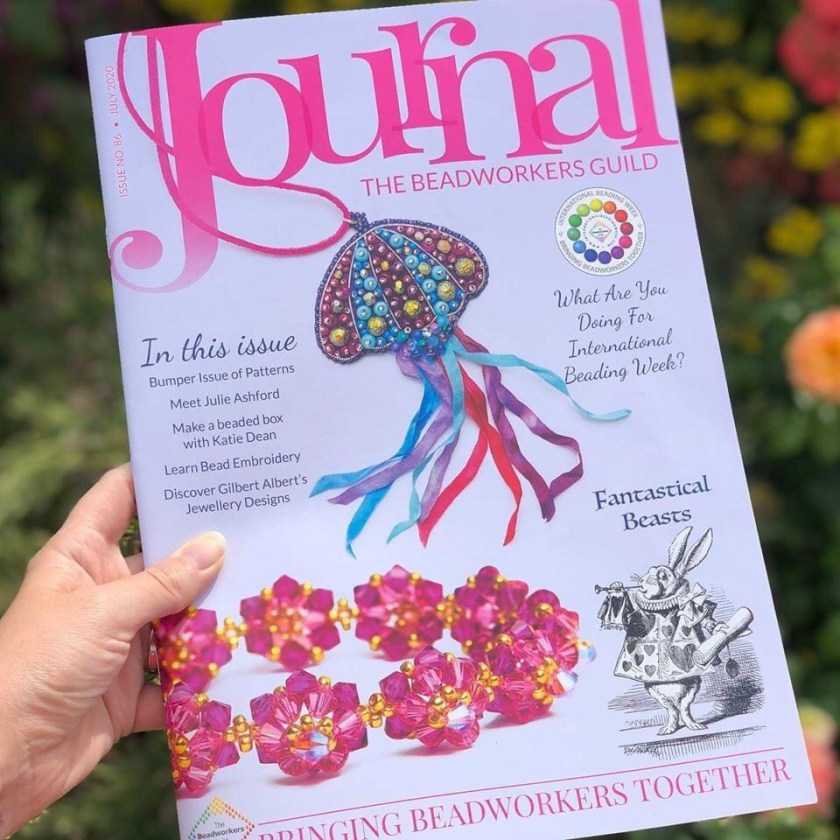
Finally I made Jelly, a simplified piece using just one goldwork and a few bead embroidery stitches – simplified because I knew she was going to go off to the Beadworkers Guild as a journal tutorial. So that meant I had to keep her under wraps for quite a long time!

Last week the Journal was published and here she is. She looks lovely on the cover, particularly in her second colourway of blues and fuchsia, and it’s great to make a contribution to the Guild and to one of the most popular beadworking publications.

If you’re interested in the Journal it forms part of the membership benefits of joining the Guild, and is available internationally.

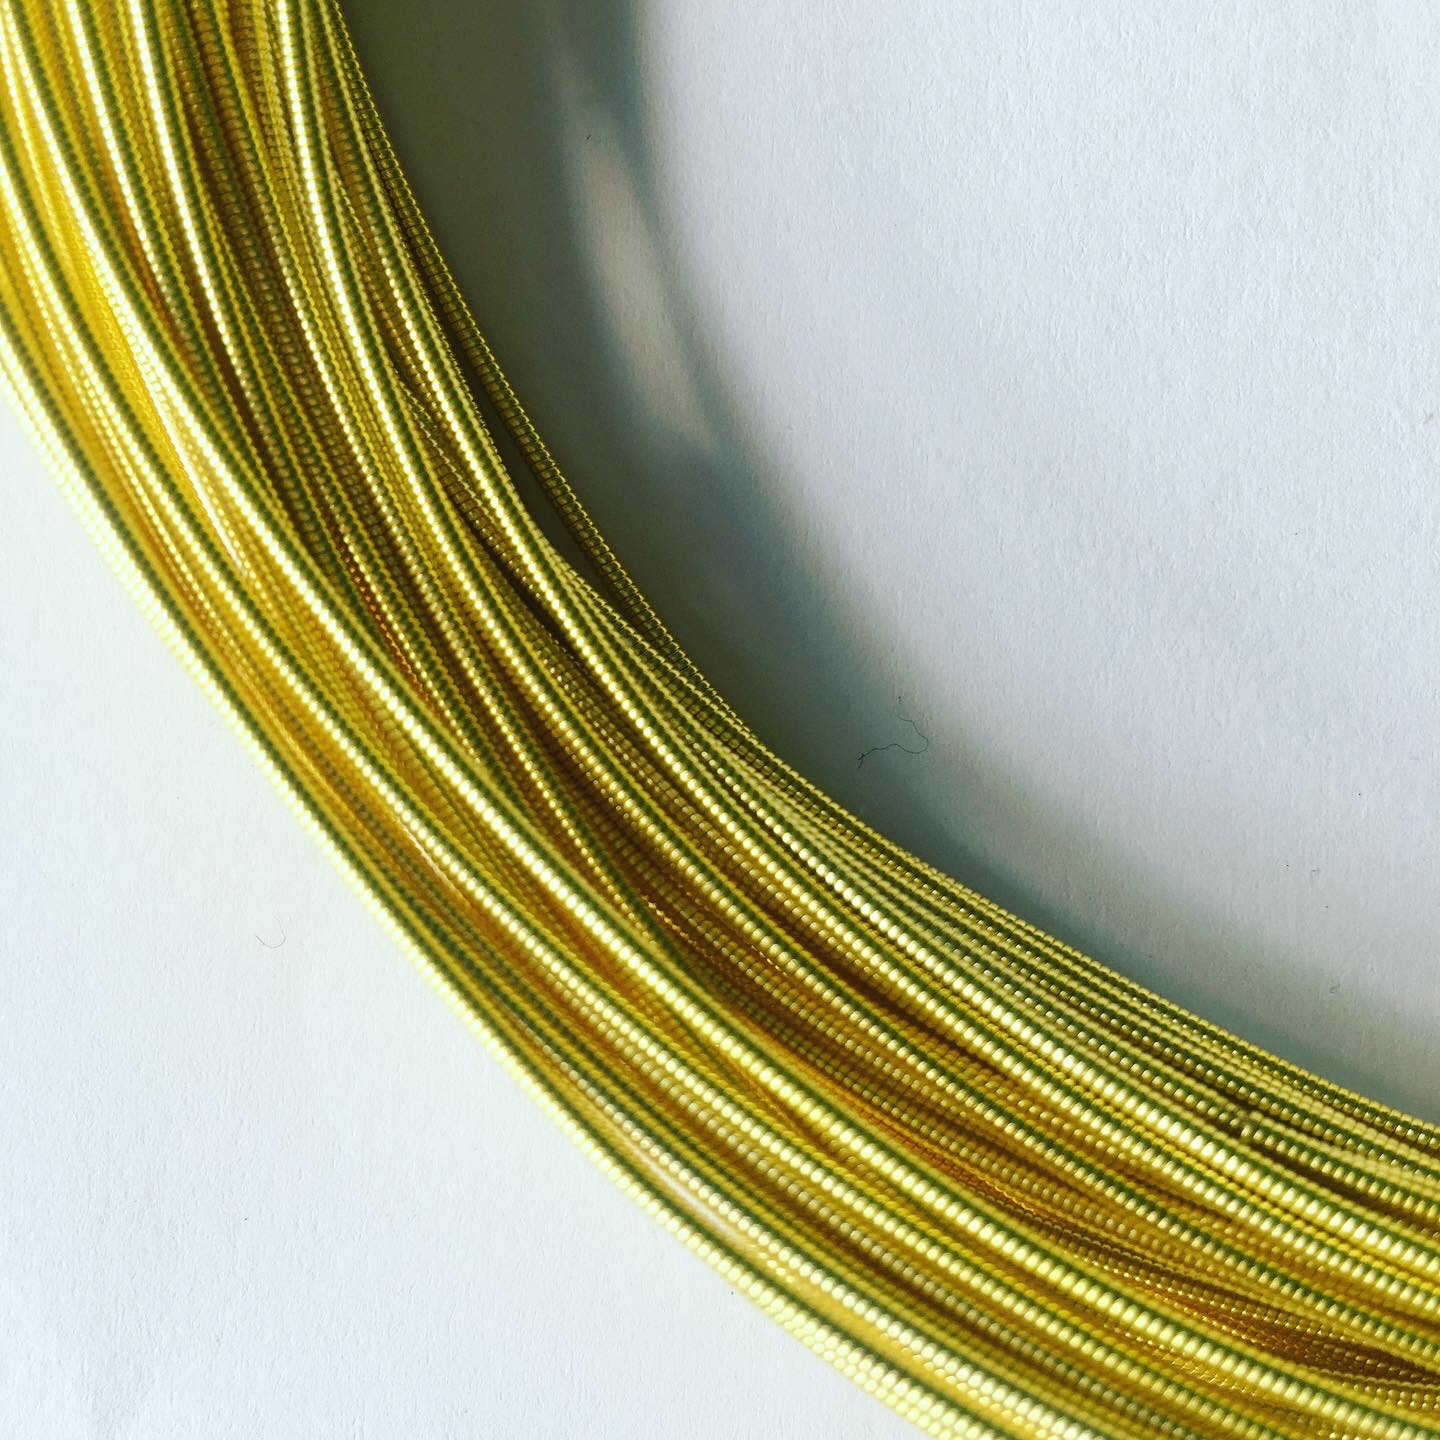
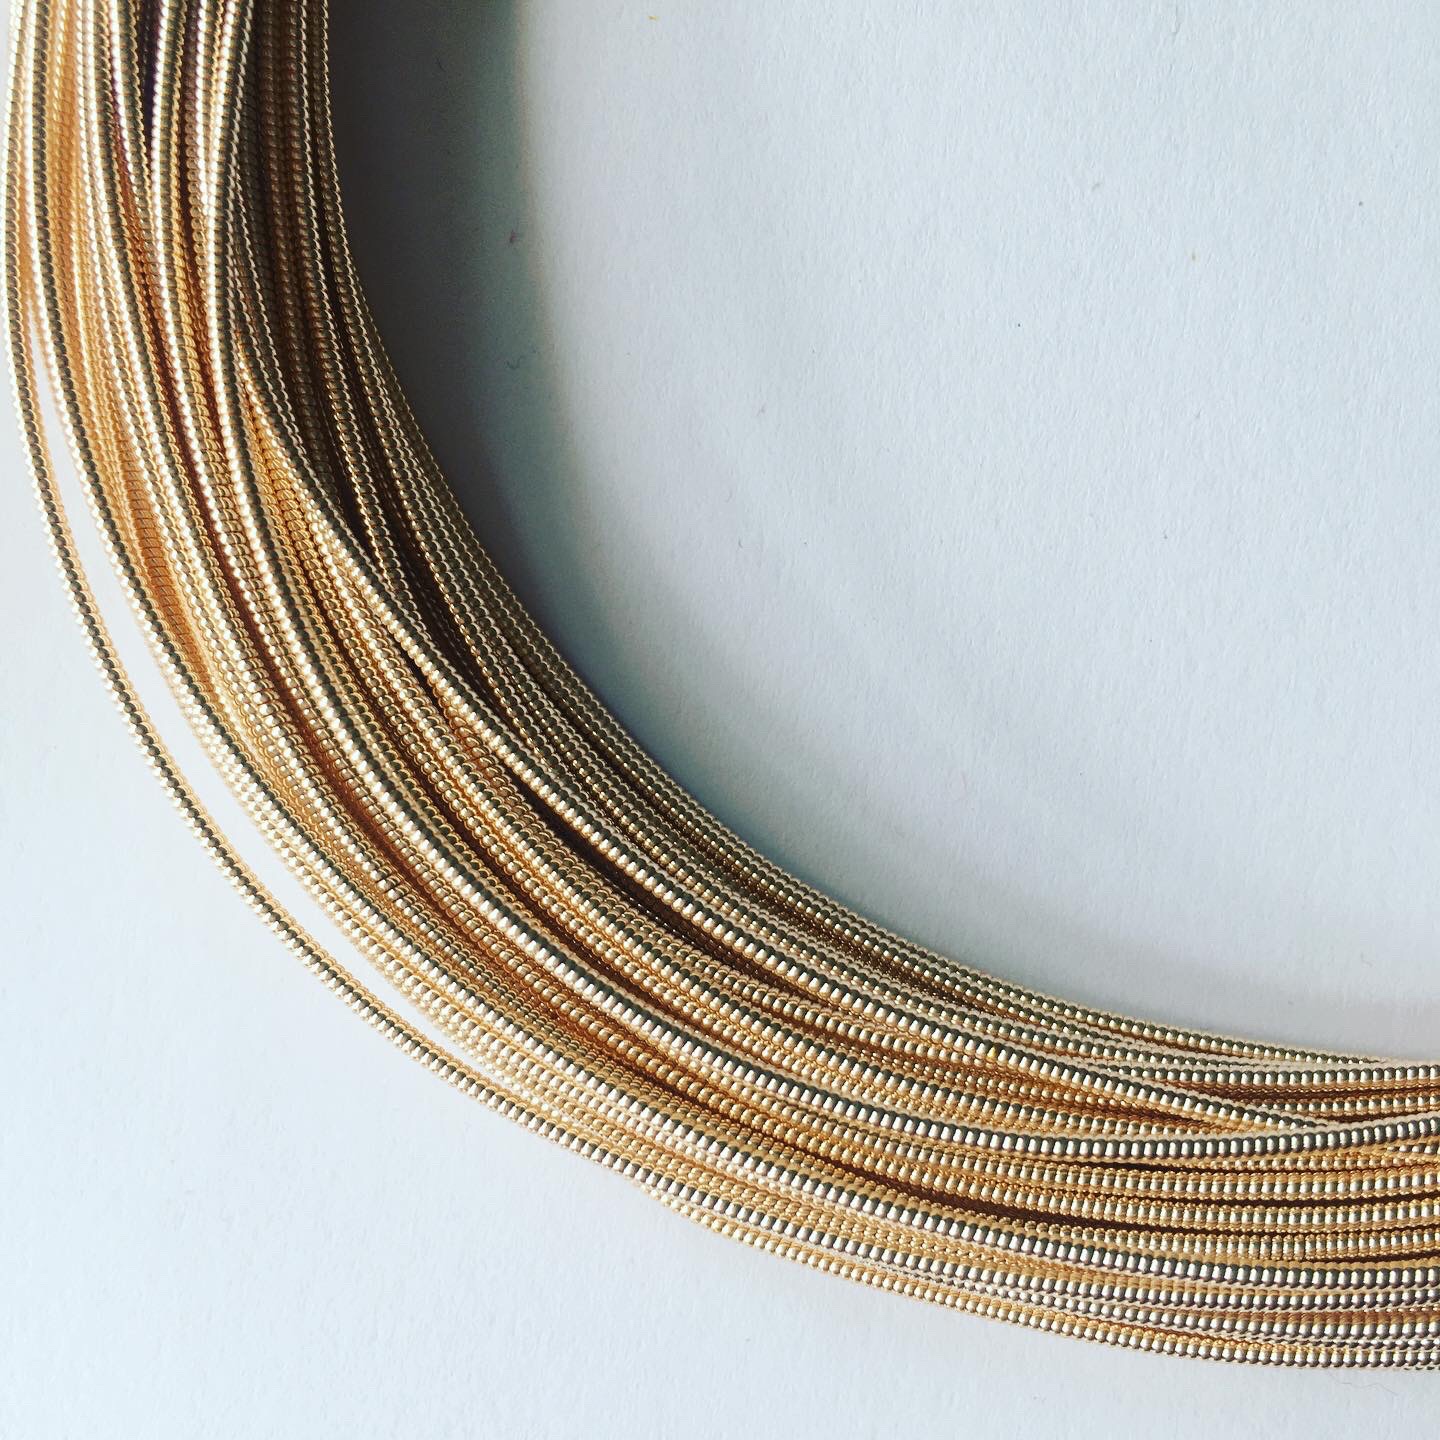
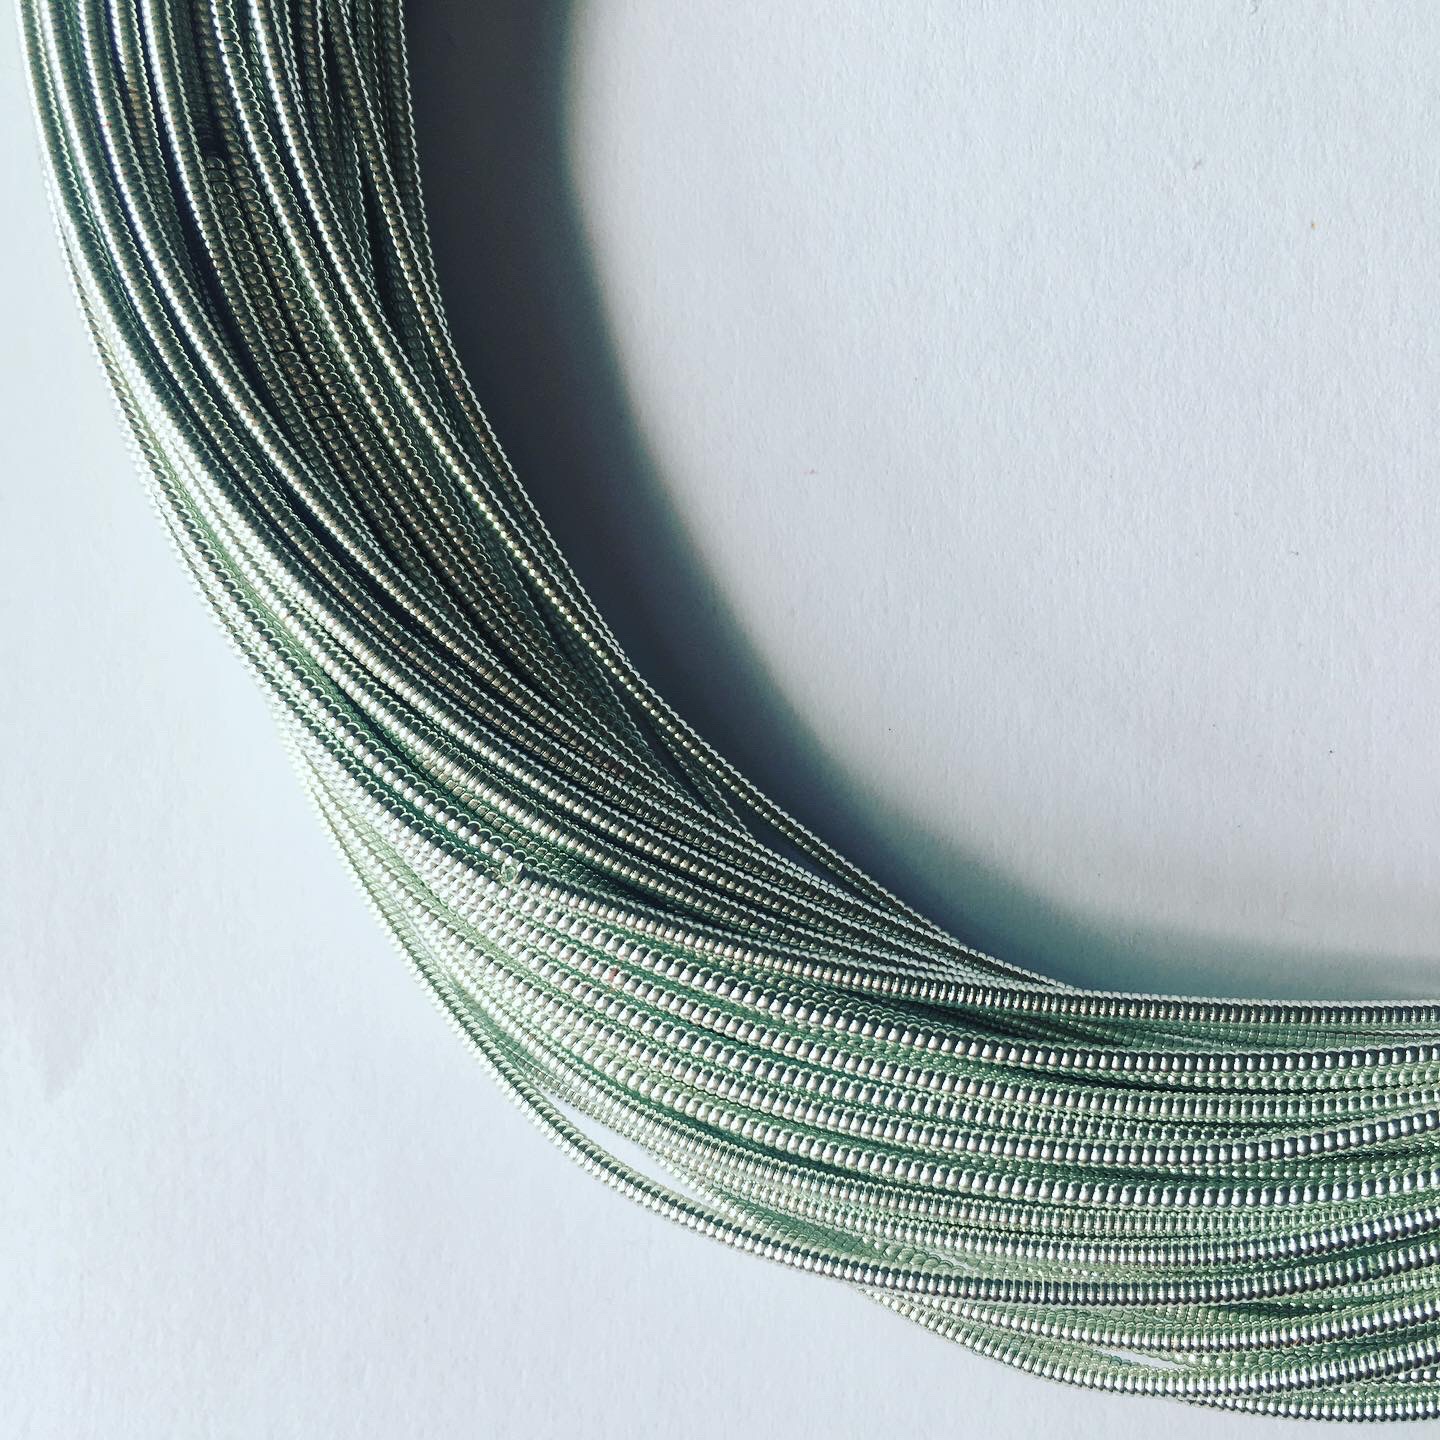
If you’re already a member and wanting to try making Jelly, then I have the Pearl Purl available in my Etsy shop, and Clare at Hope Jacare has just listed yet more beautiful ribbons, net tape and other hand dyed loveliness. Have fun!

Oscar’s Bauble

For ages now I’ve wanted to use the bezel I did for the chatons at the end of the handle on my Oscar’s Rattle to make the centres of the dodecahedron pentagons. The bead count and general construction was the same, so logically I hoped that I could adapt the gumdrop bezel included in Oscar’s Bauble, and simply substitute the chaton bezel for some of the early steps, continuing on to build out the skirts and pentagons, and join them in the same way as the current variants.

Well it wasn’t quite as straightforward as that, but it wasn’t too awful and in the end only 4 of the steps are actually different, which is pretty good for a 25 step piece! Anyway, I’ve written it up, added it to the current version available on Etsy, and sent the extra variation out to everyone I can find who has already bought the original version (please let me know if you think you’ve bought this one and haven’t had a message from me with the new section).

If you’d like to have a go, you can purchase it from my Etsy shop here (currently with 10% off until the end of December 2019). If you’d like to learn more about the original bauble then read my blog post here.

International Beading Week

I’m busy at the moment helping fellow Beadworkers Guild Members to run all of our Social Media channels during International Beading Week, and struggling to find much time for actual beading. Hopefully you all have a bit more time to bead – if you do I’m having a 20% off sale on my tutorials in my Etsy shop – no need for a coupon code, they’re already reduced. Just click on the image to go to the tutorial section.

If you’re interested in finding out more about International Beading Week, please swing by the website http://www.internationalbeadingweek.co.uk and/or search for our page and group on Facebook, or follow #IBW2019 and #Internationalbeadingweek

Materials Packs for Sunstar

So I finally had time to put together some materials packs for my Sunstar brooch tutorial.  The tutorial uses basic bead embroidery to bezel a 30mm domed cabochon, and then add some amazing dagger beads to make a striking giant flower.  The finished piece was designed as a brooch, but also makes a stunning pendant, and the cunning brooch pin in these packs already has a bezel on so you can wear your finished piece as either a brooch or a pendant without any adjustments.

Three of the packs are based around my own hand painted cabochons, and also include amazing Czech etched beads – both seeds and daggers.  The etched daggers were the original inspiration for this design, so it’s been great picking the right colours for these packs, and it’s been even nicer getting to play with my Pebeo paints and custom make cabochons to compliment the daggers exactly.

Colourways are Vitrail dots (I mean how amazing are those dotty etched daggers, and though I say it myself the cabs are exquisite); Sliperit (etched Sliperit is my absolute favourite of these finishes, and I use it constantly so it seemed right to share), and Magic Apple (a partially transparent red and green finish, with metallics which was the first colourway I made this brooch in).

The fourth pack is based around some amazing matte canary yellow daggers, and my own hand made Liberty print cabochons, with this colourway guaranteed to bring sunshine into even the darkest day.  So you don’t feel left out of the etched bead side though, some of the seed beads in this set are etched too.

As well as the beads and cabochon, each materials pack contains Nicole’s Bead Backing as the embroidery foundation, Ultrasuede for the brooch backing, and the dual purpose brooch pin and pendant bail.  As with all of my packs, the tutorial needs to be purchased separately, and you will need to dig out your own beading needles, thread and some strong glue.  The tutorial and packs are available in my Etsy shop here.

Sun Star Brooch

It’s been a long time coming, but I’ve finally finished my Sun Star Brooch tutorial.  This is my first bead embroidery tutorial, and has evolved over a number of years from a bezelled RAW ring to it’s current huge embroidered flamboyant form, with a centrepiece hand painted cabochon.  It plays to my ongoing obsession with Czech etched beads, particularly the larger sized seeds and absolutely amazing daggers.

Sun Star Brooch – Sarah Cryer Beadwork – Magic Apple

It uses a variety of bead embroidery techniques, including back stitch, bezelling using circular peyote, seeding and edging to make a statement brooch or pendant, and would suit beginner bead embroiderers comfortable with a needle – it’s an ideal project for beadweavers or embroiders looking to try out bead embroidery as it covers key basic techniques which you can then go on to try out in your own designs.  If you already have some bead embroidery experience, then this makes a lovely quick project – I can do one in an evening (although to be fair I have had quite a lot of practice and am a bit naughty about letting the glue dry properly).

Sun Star Brooch – Sarah Cryer Beadwork – Magic Apple and Crystal Marea

The thirteen page tutorial contains a full materials list, with suggestions for colour schemes, and every step is fully illustrated with a detailed diagram showing thread paths etc, with photos to show you what you are aiming for.  And of course every step is also written out clearly for those of us who prefer written instructions.

It’s available now in my Etsy shop as an instant download, as are the cabochons (both hand painted and Liberty print) and I hope to complete some materials packs in the next couple of days.

Once you’ve mastered the basic brooch, there are possibilities for variations which I hope to explore here over the next few months, so watch this space.   I’ve already worked out that you can add extra rows of embroidery around a smaller central cab if you can’t find a 30mm one:

How completely gorgeous are those capri rose etched beads?

And the advent of 2 holed daggers opens up some new ideas……..

In my Folksy Shop

A while back I decided to make life easier for myself by taking my faster moving items (tutorials and materials packs) out of my Folksy shop, basing them solely on Etsy.  That way I didn’t have to fret about the materials packs being sold in two places at once, or manually e-mailing out the tutorials.  This was particularly important because most of my customers are over in the States, and tend to buy things while I’m asleep!

But because my Etsy shop is busy, it’s kind of sucked up my attention, and I’ve rather neglected my Folksy shop.  This is a shame, because it’s got some lovely pieces in, and they deserve a good home!  And they could probably also do with some new friends from the legion of half finished or finished but undocumented works which are cluttering up my new storage (more on that another day).  So I’m going to be working on refreshing the shop over the next few months, and thought I would start by reminding myself (and you) about some of the lovely pieces in there, starting with my Egyptian Collar.

A few years ago (OK a lot of years ago since it was pre children and the oldest boy is nearly 8) we went to Egypt.  This was the result of a long obsession by both myself and Dr. Indecisive Beader with all things Egyptological, and it’s inspired quite a few pieces in the years following.  This necklace was inspired by the amazing collars we saw both for real and in various paintings.  And as a special offer it is currently reduced from £75 to £60.

Egyptian Collar £60

The collar forms part of my ‘minerals’ series – pieces focussed around a central stone. The stone in the collar is a lovely matte Chrysocolla, and it’s captured with Miyuki delicas, then joined onto a herringbone band, which uses changes in bead size to form a flat, circular collar which sits really nicely round the neck.

Oscar’s Bauble

Oscar’s Bauble was originally made as a fully beadwoven babies’ rattle.  It formed the winter part of my entry for the Stitch N Craft Challenge in 2014.  In 2013 just as I was working on the piece our second son Oscar was born – a winter baby, the beads I had to incorporate for the challenge were soft cream opals, palest pinks and blues, and they matched his lovely delicate skin tone, so I made him a rattle.  It has a tiny bell, a cellini spiral candy cane handle with lovely pink opal chatons at the base, and the main body is a dodecahedron made of hexagonal gumdrop bezels.  

DSC_0372

Whilst I don’t think I could repeat the rattle as a whole (there was a particularly challenging join to the handle involving a 20 bead hole needing to meet up with a 7 bead spiral), the bauble works really nicely on it’s own, with gumdrops or spikes, so I’ve finally written it up as a Tutorial which is now available in my Etsy shop.  Hopefully in a week or so I will also have some Materials Packs for it as well – it’s taken nearly 4 years to write up the Tutorial though so for now I’m just focussing on getting it published!

DSC_0401

Techniques – Circular Peyote

Difficulty Level – Intermediate.  Knowledge of 3d beading is useful, and you’ll use the concepts of ‘step ups’ and ‘point rows’ so if you already know about these that will help.

The finished bauble measures 5.0cm in diameter made with Gumdrops, and 6.5cm with Spikes.

What will you need?

12 qty Czech Gumdrop beads 7x10mm, or Czech spikes 7x17mm

11A 11g Size 11 seed beads, colour A (main colour)

11B 8g Size 11 seed beads, colour B (highlight colour, forms the petals/star)

15A <1g Size 15 seed beads, colour A (although these are not seen so you could use any colour).

Something to hang the bauble with – fine chain, thread or fine ribbon or cord.

Beadweaving needles, thread of your choice, scissors.

DSC_0411


Cabochons

Regular followers will know that for a while now I’ve been playing with Pebeo paint effects, and working out how to use them to make my own cabochons.  Attempts to make successful resin pieces are still ongoing (and not going well), but I’m pleased to say that after a lot of experimentation (lasting over 6 months) I’ve got a stable technique for using clear glass cabochons.  I’ve spent a couple more months playing with the results, and making sure they are easy to work with and wear well, and now I’ve built up some experience with them I’ve put a subset up for sale in my Etsy shop.

Most are domed, so have that lovely magnifying effect, although some including the large 30mm squares are flat tiles.  All have flat backs, making them suitable for bead embroidery as well as beadweaving.  They come in a range of colours, and are sold both singly and in sets, and I’m happy to take commissions for sets or the larger individual ones (40 & 50mm).  I’ll hopefully be putting together some tutorials very soon to give you some ideas as to what to do with them, starting with my awesome brooch etched dagger brooch.


If you’re chomping at the bit though, and have some beading experience, then for a beadwoven bezel try doing an MRAW start in 11s with 32 repeats.  Then add one row of 11s using peyote, and one using 15s.  Sit the cab in front side down, and finish off the back with 2 rows of 11s and 2 of 15s.  And then embellish, embellish, embellish!

IMG_6627


Materials Packs

I’ve just realised I forgot to update you here about the addition of a new set of Materials Packs  for my Baroque Tape Measures.  As I said in my previous post, the plan is to stick with a set of colourways going forward, rather than building each pack individually, as this allows me to hold more of each one in stock.  I’ll vary the sets over time, but for now these are the colourways:

DSC_0745

Tequila Sunrise – my current favourite Yellow Opal rivolis, with my always favourite 407FR light red opaque matte rainbow seeds, and silver and orange to make a fun cocktail.

DSC_0736

Fuchsia and Bronze – the original and I still think the best!  The garnet AB rounds are a favourite, and this time I’ve included some lovely Halo coated fire-polisheds.

DSC_0382

Red and Gold – a splendiforous luxurious colourway, for VIP measurements.  Lots of Swarovski Light Siam, one of their most intense colours.  This would work well with the red colourway in my Space Needle Case.

DSC_0741

Turquoise, Silver & Scarlet – more Light Siam, this time mixed with opaque turquoise and silver for a Mediterranean feel.  This is a variant on one I made for myself a while back, shown below, but with some adjustments to balance the red and turquoise more effectively (it had too much turquoise on the edge and red in the middle, so I’ve swapped the rounds and fire-polisheds over for the pack).

DSC_0719-2

DSC_0398Vitrail, Lime & Silver – Medium Vitrail rivolis and shiny rounds, with a silver base and lime and turquoise highlights to pick out some of the colours in the rivoli.  I really love the opaque lime fire-polisheds with a half Vitrail coating in this.

DSC_0731-2

Fuchsia and Dark Plum – born initially of a bronze bead shortage, this grew into a lovely dark, intense colour way.

Sadly, because I’ve been so slow posting, the Fuchsia and Bronze has sold out, and the Fuchsia and Dark Plum I replaced it with has also sold out.  I hope to have one or both of them back in stock soon, but in the meantime this week I’ve listed the new Vitrail sets (which may not appear that often as the rivolis are more expensive and the other beads can be harder to source).  Anything I have is available in my Etsy shop here, or by clicking on the pictures (in the case of those still available), in my Folksy shop.   Do let me know if you have any ideas for colour ways you’d like me to make I the future.

Materials Packs for Great Balls of Spikes

I’ve been meaning to put together some Materials Packs for my Great Balls of Spikes Tutorial for ages, and on Saturday I had the time (well I had the energy to stay up late to make the time).  So here they are – I hadn’t realised quite how many Spikes & Gumdrops I’ve managed to collect whilst ‘meaning to do this’, so there is a nice variety of colours and finishes to suit all tastes.  I’ve really dug around in my stash to find some interesting finishes for the seeds and fire-polished beads, and am parting with some really nice ones which I’ve been hoarding.  My favourite is the Magic Orchid Spike colourway, because the spikes are gorgeous and really sing with the Zest, Fuchsia and Magic Orchid seeds and Magenta Metallic fire-polisheds, and quite frankly if someone doesn’t buy it soon it may mysteriously disappear.

Anyway, here they all are – if you click on each photo it should take you through to the correct listing in my Folksy shop.  If you’d rather use Etsy, then the brights (Magic Orchid, Cornflower, Frosted Crystal) are here, the darks (Matte Black, Jet Copper, Blue Iris) here, and the Gumdrops (Magic Blueberry, Jet Slipperit) here.

Magic Orchid Spikes
Magic Orchid Spikes

Magic Blueberry Gumdrops

Cornflower Spikes
Cornflower Spikes

Dark Blue Iris Spikes

Jet Slipperit Gumdrops

Matte Black & Crimson Spikes

Jet & Copper Spikes
Jet & Copper Spikes

Matte Crystal, Scarlet & Silver Spikes

And finally, the tutorial itself is available for instant download via Etsy here (VAT will be added if you are in the EU), via PayHip here (no VAT), or if you don’t mind waiting for me to e-mail via Folksy here (no VAT).