Fresh cabochons

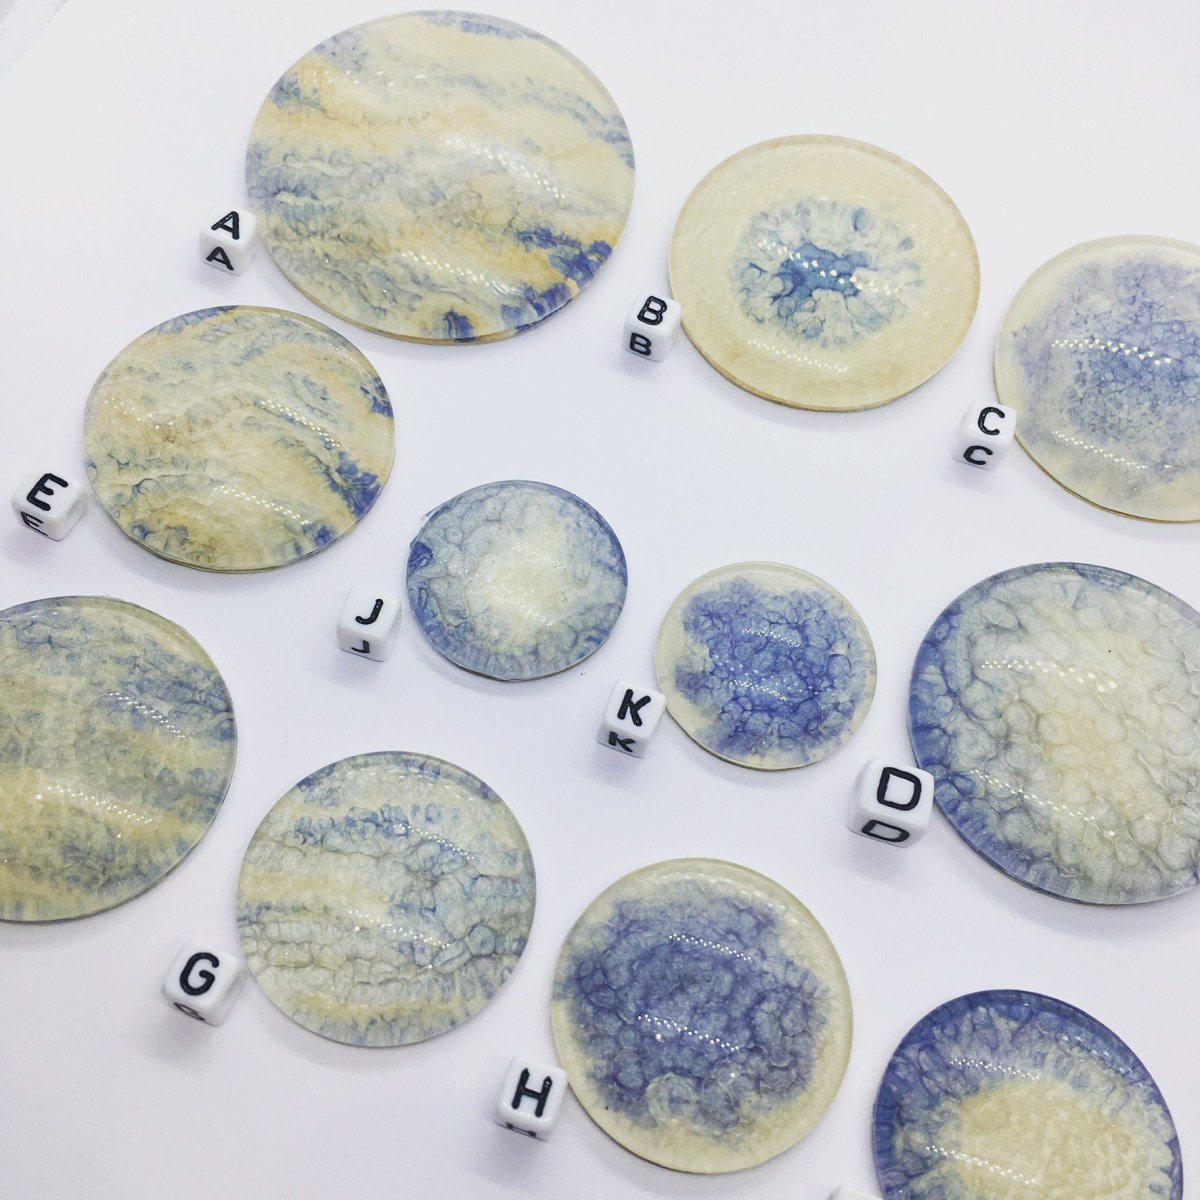
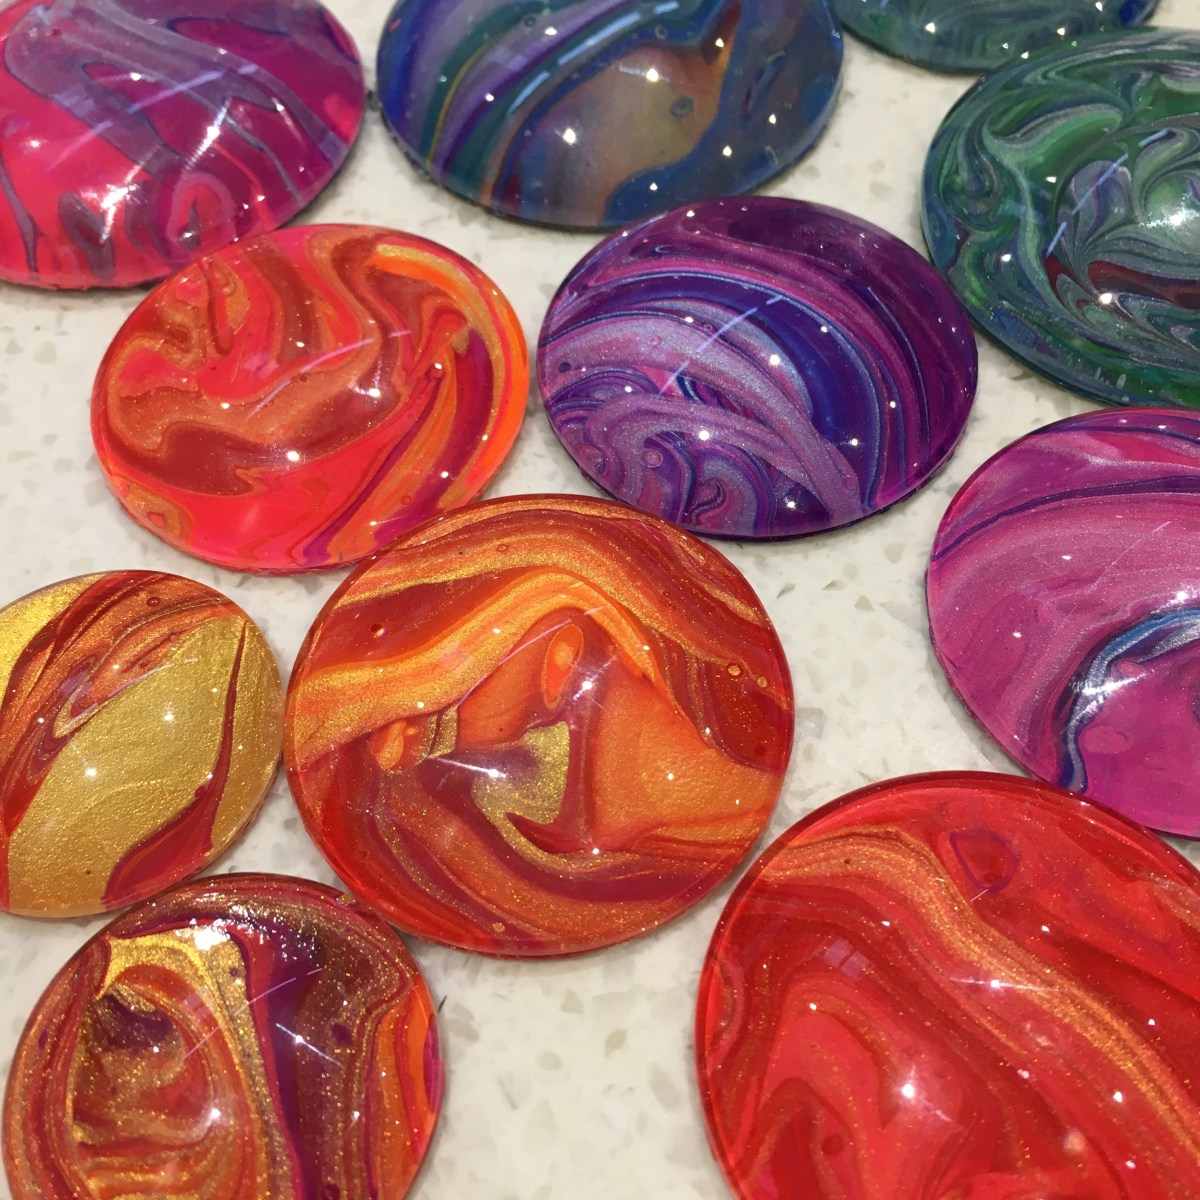
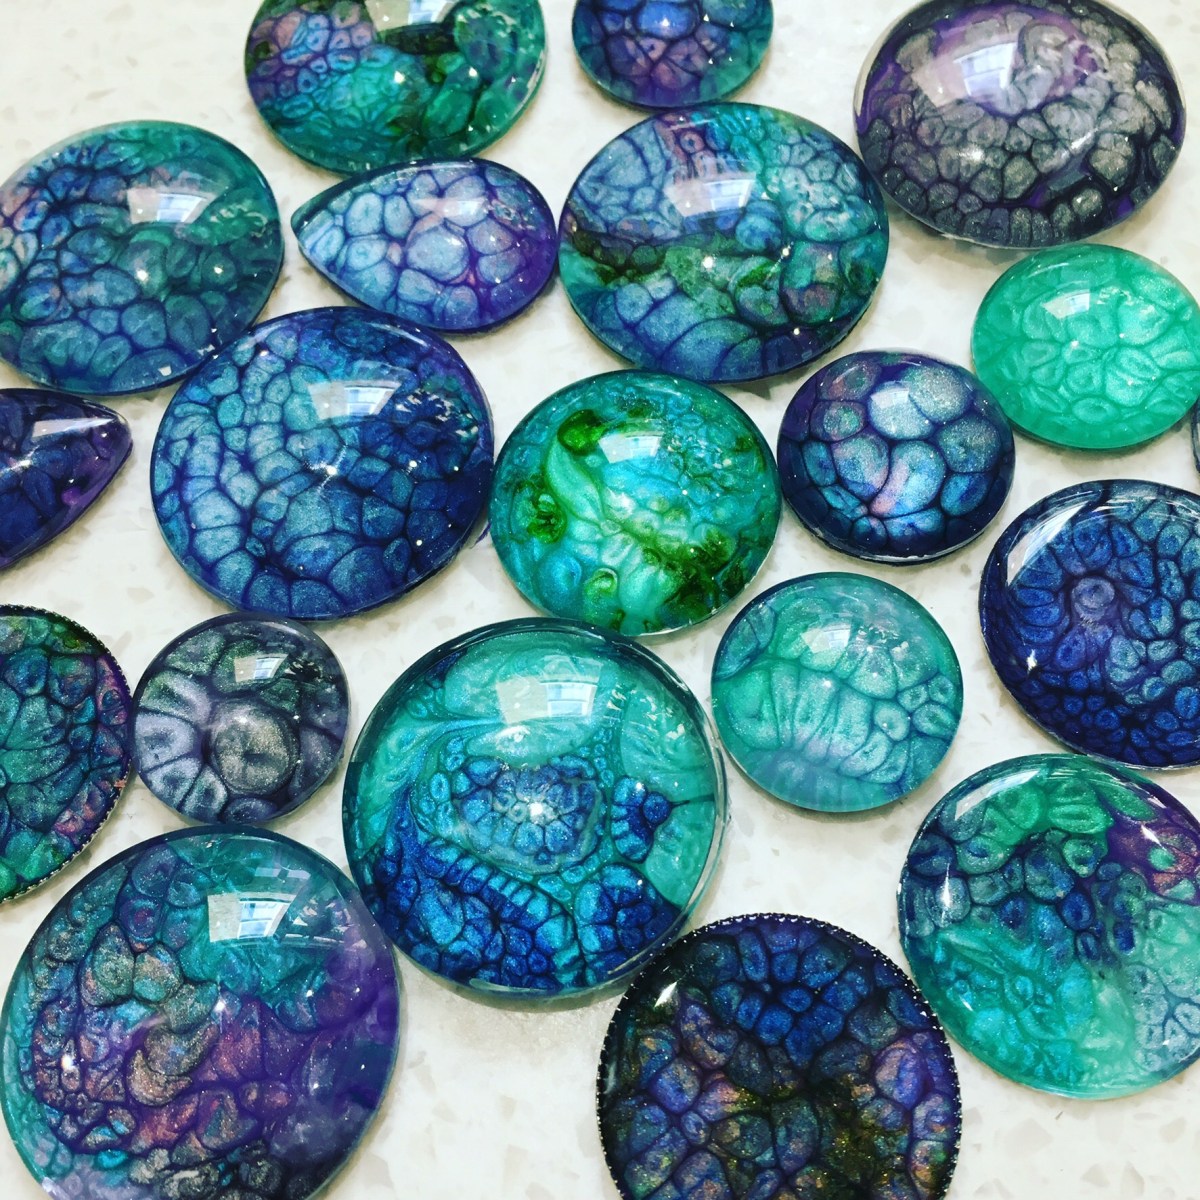
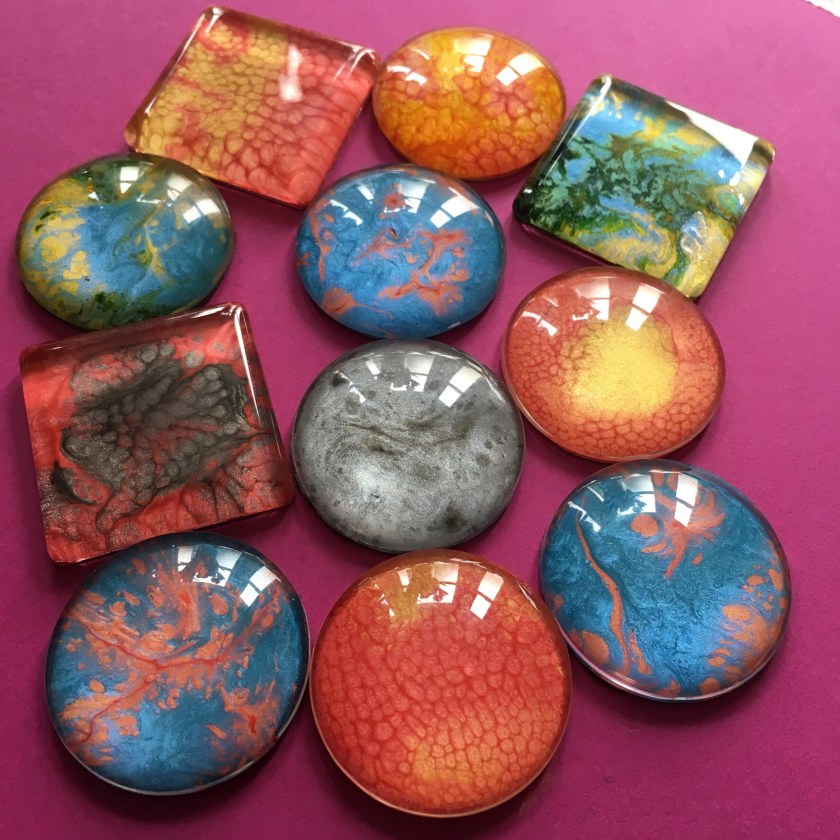
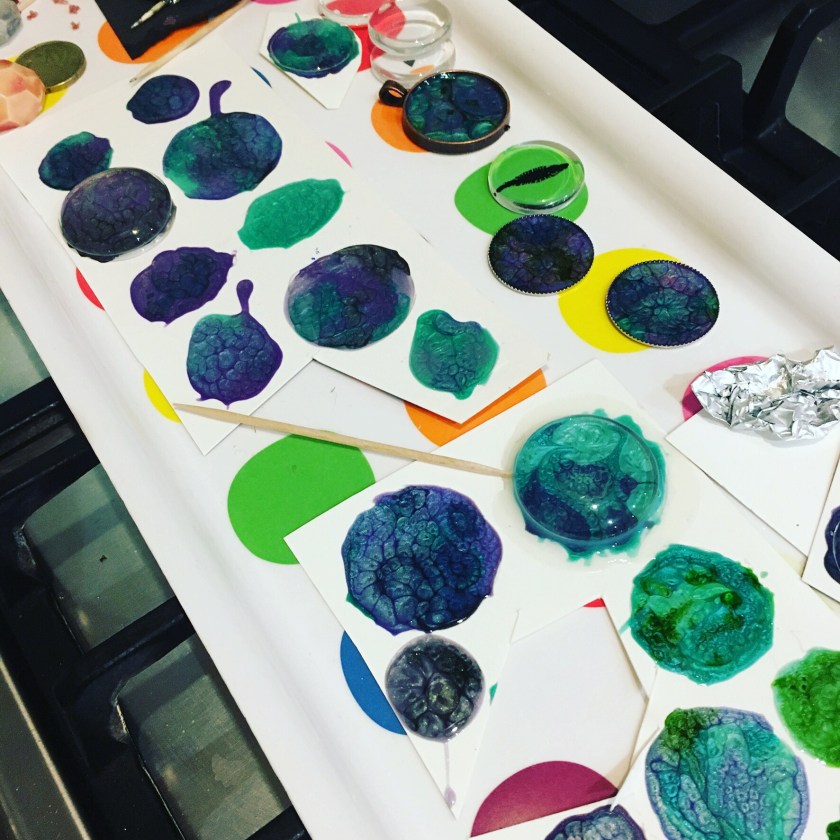
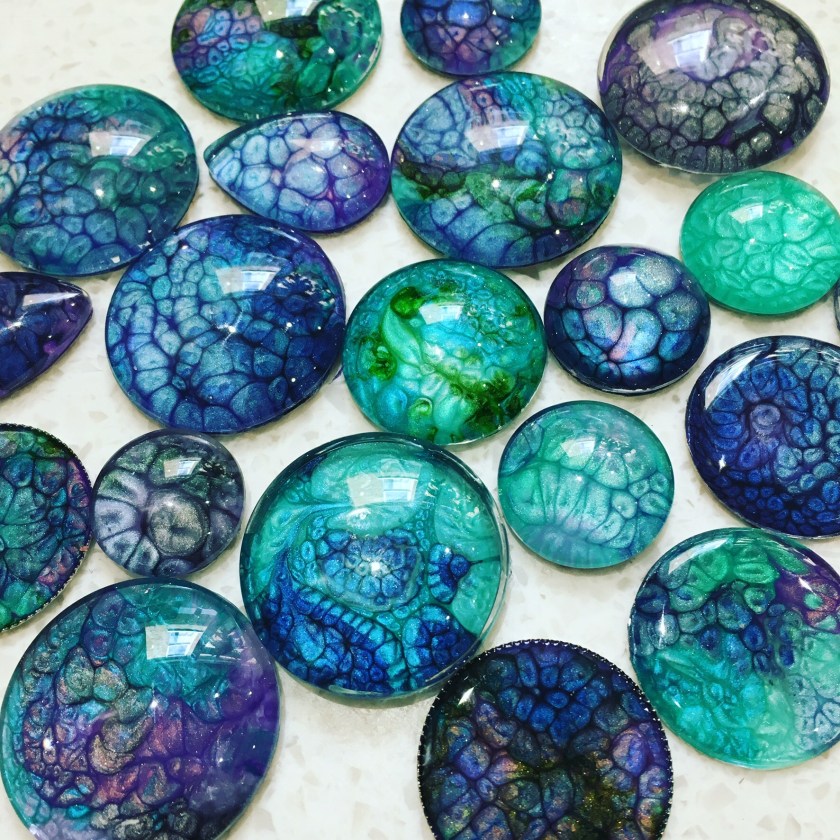
I’ve had a big push this weekend to finish, photograph and list all of the cabochons I have made, to clear space for the next batch.

They’re largely from three pouring sessions – the first working with reds and oranges, and for half of the batch, opaque salmon pink; and the second and third working with a cream base and trying a variety of different colours to complement the cream. These were poured quite recently to make a custom cab for an old school friend’s up-coming wedding. Her piece is under wraps for now, but I’ve begun another bridal piece with cabs from the batch, and you can see cabs from the brighter batch in some of my other finished work, such as my Autumn necklace.

All of the batches are available in my Etsy shop, grouped into listings based on the colours and techniques used. There is one set which is too perfectly matched to break up, and the rest are all available in singles as part of my 5 for 4 discount offer. Click on the images to go straight to the listings on Etsy.

Ra, Roth & Khepri

I’m somewhat ashamed to see how little I’ve posted over the last year or so, and I’m determined to change that, so be prepared for a flurry of posts as I catch up and tell you about what I’ve been up to.

First I need to tell you about my entry for this year’s Beadworker’s Guild Annual Challenge.  The theme was ‘Jewels of the Nile’ – we were lucky enough to visit Egypt some years back, and Dr Indecisive Beader and I have always both been fascinated by all things Egyptological.   I think my addiction stemmed initially from a desire to be Hercule Poirot in Agatha Christie’s ‘Death on the Nile’ (one of my favourite authors), and my more recent discovery of Elizabeth Peter’s ‘Amelia Peabody’ series has maintained my fascination long after the trip, so having said I’d have a year off after my win last year with Great Dixter, I immediately changed my mind as that theme was too ‘me’ to resist.

As usual this piece went through many aborted starts, abandoned designs and lots of iterations, many of which will reappear as new pieces over the next few months.   In the end I focused on using my own cabs (poured specifically for this piece), lots of different bead embroidery and beadweaving techniques (including goldwork and three different beaded ropes) and a very wide assortment of new and vintage beads to make a classic, component based collar.  I was really happy with the finished result – it’s quite eyecatching!

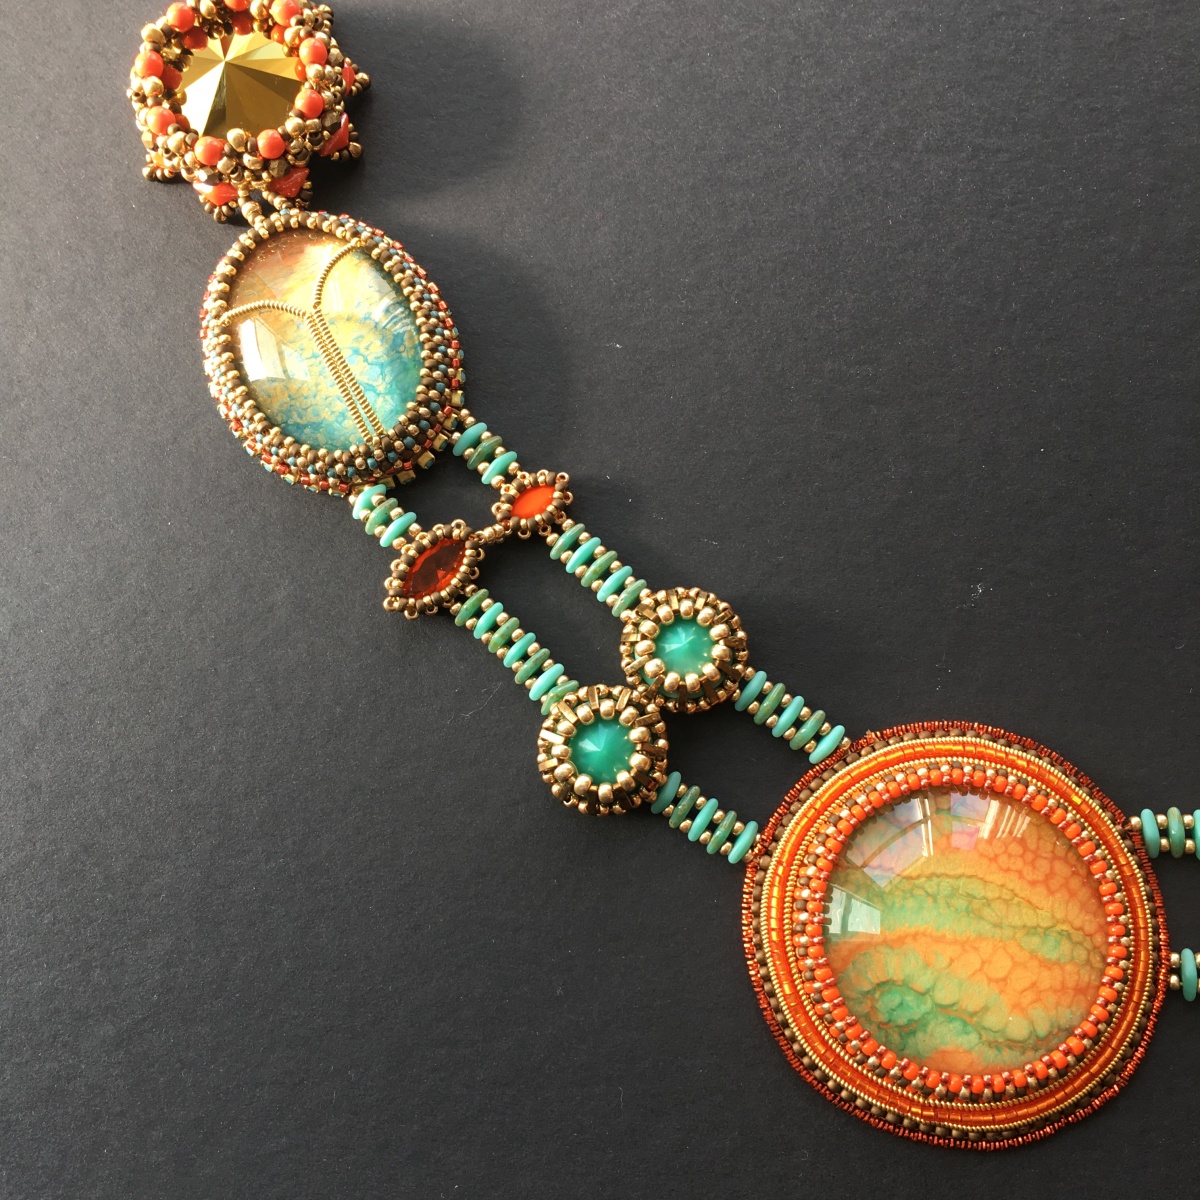
So here it is – Ra, Roth and Khepri (Sun, Moon & Scarab)

69FCFBB4-7423-4B7F-9719-C2E1DC32B251

The wide collar section shows the day – Ra as the hot noon sun, with Khepri the scarab pushing the warm, coral setting sun and the cool, jade rising sun, connected by blue sky.

The strung blue sky continues into the counterweighting night section, with added ropes of golden stars supporting a deep hung pendant, showing the full and crescent moons of Roth on a goldwork barque.  

4893C028-7CA4-4D6B-931C-4EE0BACA5A99

Either Ra or Roth can be worn at the front, to suit your outfit (Roth looks amazing hanging above a backless dress).

F09CB5AE-4D0F-4D44-B039-BD11D0884EBE

Materials – custom handpainted cabochons (by me); Swarovski, Preciosa & vintage crystals; vintage cup chain; Miyuki beads; Czech shaped beads; felt, ultrasuede; goldwork purls, leather, handmade gold hook clasps.

Techniques – bead embroidery, goldwork embroidery, peyote, netting, stringing, CRAW, DCRAW, DRAW.

Sadly no prize for me this year (but I’ve brought home a prize for the last two years, and hadn’t even entered prior to that so I really can’t complain) – you can see all of the amazing entries on the guild site here if you’re interested.  But I have a lovely piece, have worked out how to include goldwork techniques in bead embroidery, and have lots and lots of leftover components to make even more loveliness, including this necklace which is nearly done, so I’m going to count it as a personal win at least!

B93CC06F-7A6B-40C3-9572-4EB806286AAD


Materials Packs for Sunstar

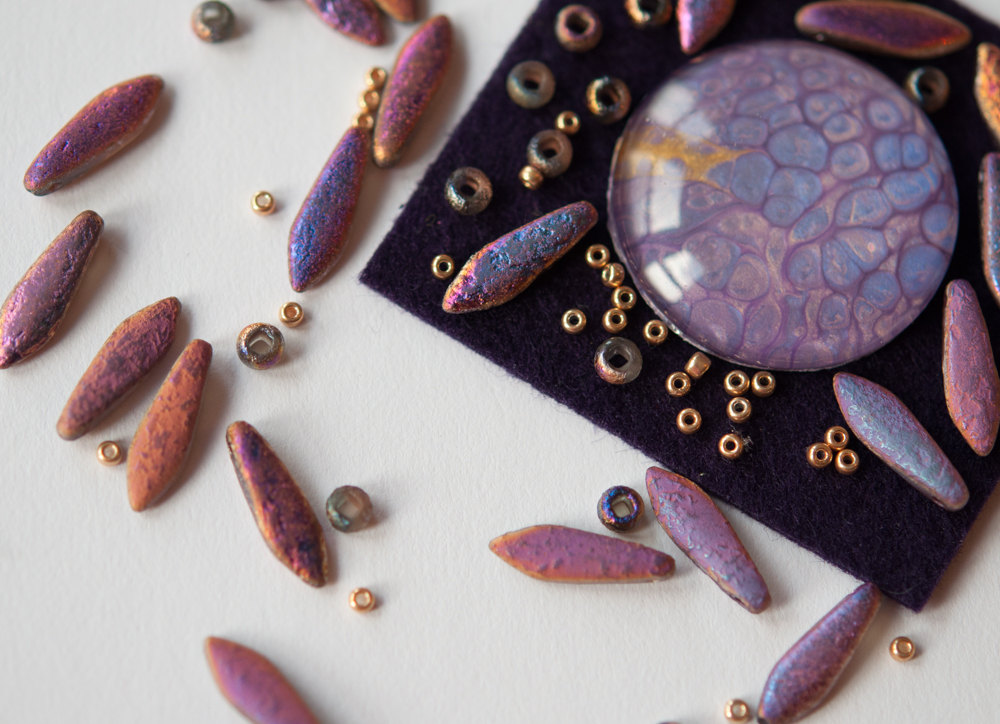
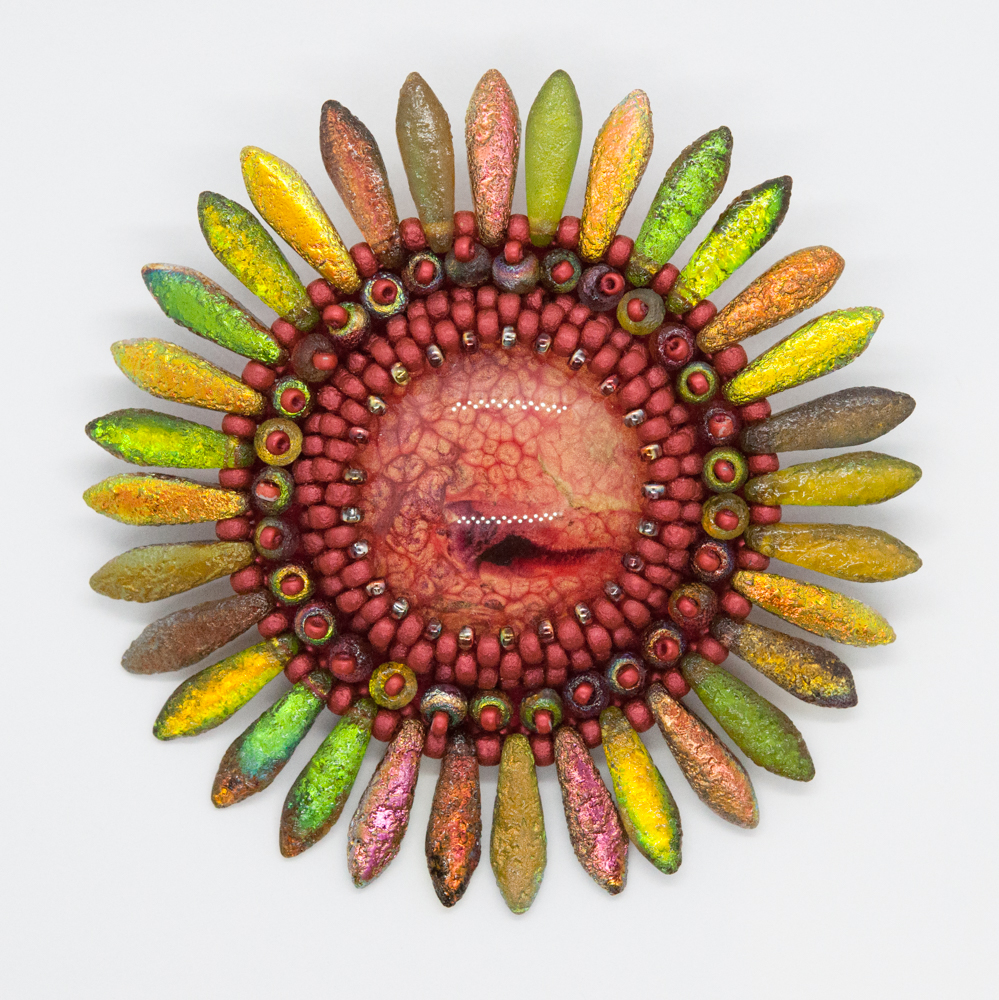
So I finally had time to put together some materials packs for my Sunstar brooch tutorial.  The tutorial uses basic bead embroidery to bezel a 30mm domed cabochon, and then add some amazing dagger beads to make a striking giant flower.  The finished piece was designed as a brooch, but also makes a stunning pendant, and the cunning brooch pin in these packs already has a bezel on so you can wear your finished piece as either a brooch or a pendant without any adjustments.

Three of the packs are based around my own hand painted cabochons, and also include amazing Czech etched beads – both seeds and daggers.  The etched daggers were the original inspiration for this design, so it’s been great picking the right colours for these packs, and it’s been even nicer getting to play with my Pebeo paints and custom make cabochons to compliment the daggers exactly.

Colourways are Vitrail dots (I mean how amazing are those dotty etched daggers, and though I say it myself the cabs are exquisite); Sliperit (etched Sliperit is my absolute favourite of these finishes, and I use it constantly so it seemed right to share), and Magic Apple (a partially transparent red and green finish, with metallics which was the first colourway I made this brooch in).

The fourth pack is based around some amazing matte canary yellow daggers, and my own hand made Liberty print cabochons, with this colourway guaranteed to bring sunshine into even the darkest day.  So you don’t feel left out of the etched bead side though, some of the seed beads in this set are etched too.

As well as the beads and cabochon, each materials pack contains Nicole’s Bead Backing as the embroidery foundation, Ultrasuede for the brooch backing, and the dual purpose brooch pin and pendant bail.  As with all of my packs, the tutorial needs to be purchased separately, and you will need to dig out your own beading needles, thread and some strong glue.  The tutorial and packs are available in my Etsy shop here.

Monet’s Garden at Giverny

This year for the Stitch n Craft challenge the theme was ‘Anything Goes’ – so no theme, no packs, no requirements, just enter something you’ve worked on this year that you’re proud of.  So I beaded away at a particular thread of an idea, and was getting really pleased with it when I realised it didn’t really meet a key requirement to use some beads bought from them.  Yes the core of the work used their beads, but the flashy bits, the visible bits were all from elsewhere.  So this didn’t really feel to me like it was entering into the spirit of the competition, so although I ‘d already paid the entry fee I decided to pause for a little think.

Whilst I was thinking (OK procrastinating) the theme was announced for another competition that fit my nearly complete piece perfectly.  In every other way that competition seemed like a better fit for it, so I decided to enter something else at Stitch and Craft instead – another one of my big bead embroidered necklaces perhaps, using beads that were definitely from them and some of my own cabochons?

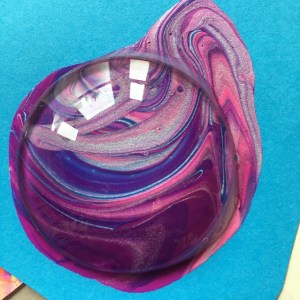
Digging around I found a set of experimental cabs that I made in the early days using the left over paint mess from a salad spinner painting session with the boys.  Surreal but true.  The drips and dribbles gave an acrylic pour effect, and I’d even tried mopping up the excess paint from the side of the spinner by blotting, giving a lovely blotchy effect which I’d then used to make a huge 50mm cab.

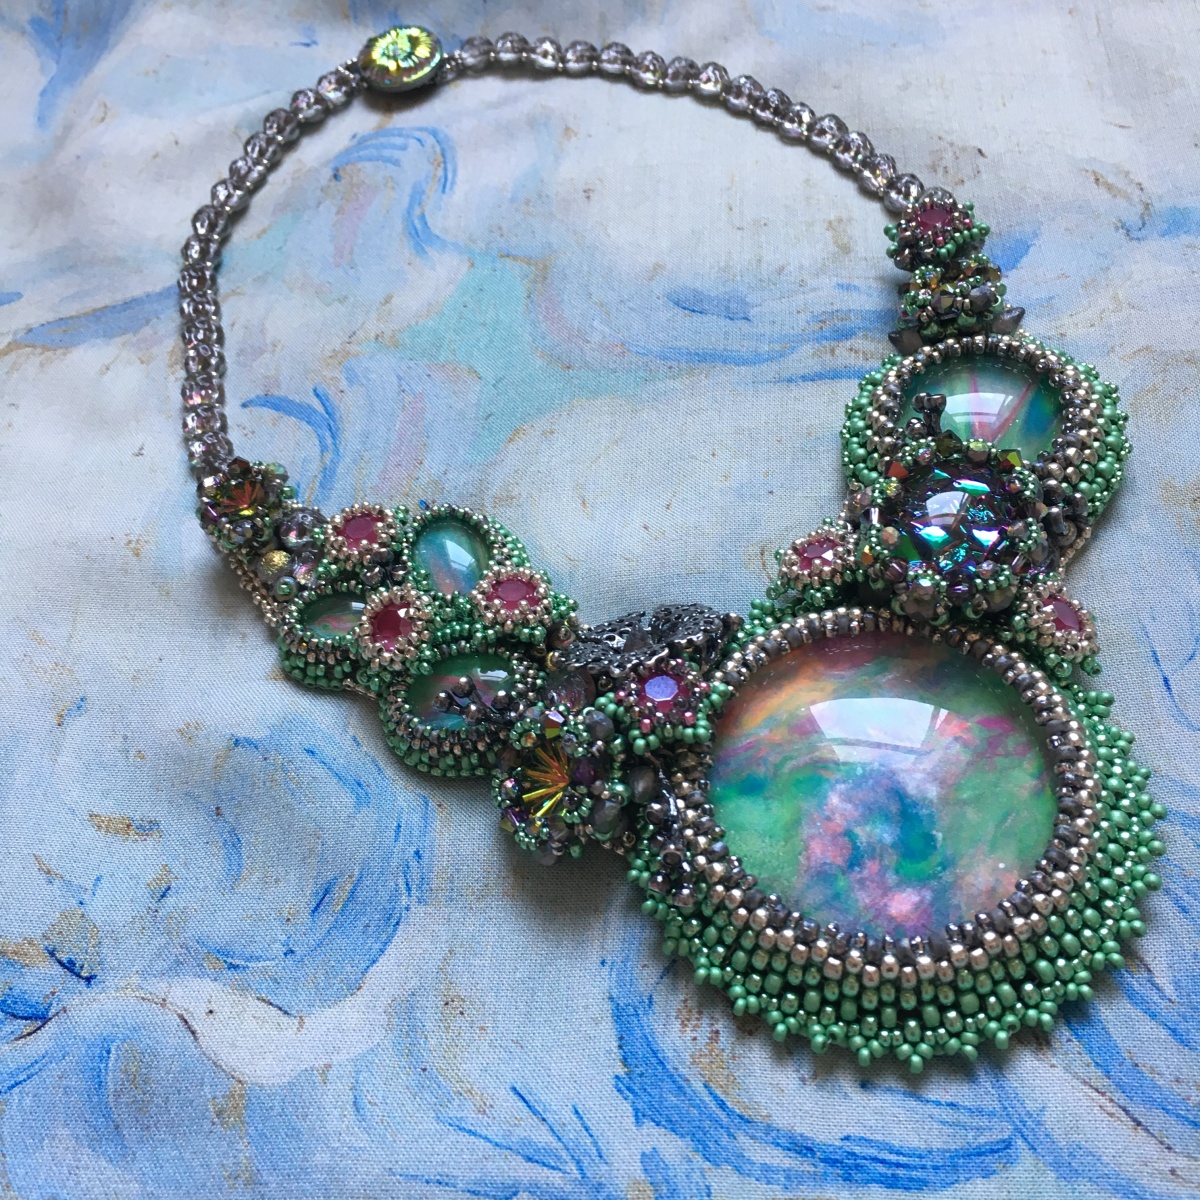
The large cab made me think of Monet’s waterlily paintings, particularly those in the Orangery in Paris, where if you stand close the beautiful paints form gorgeous abstract patterns.  In turn that made me think of water, with silvery bubbles and that got me to my base colour scheme of silver, etched vitrail and metallic mint green (Miyuki 4214 and 4214F), and I started my usual process of pulling out a big range of beads to kick start the design process.  A stash search unearthed some vitrail ridged back cabs from The Old Bicycle Shop, and a wonderful crumple backed oval Crystal Electra geode cabochon from Stitch n Craft themselves.  The colours though were still a bit subtle, and I needed to call on more of the contrasting colours in the cabs and crystals, so I added some pink – not my usual fuchsia though, but a more subtle Swarovski Crsytal Peony Pink (again from Stitch N Craft).  And finally I spent some of my Beadworker’s Guild Founder’s Award prize money on some gorgeous Anna Bronze findings, this time in an antique silver finish, but repeating some of the organic shapes I’d used in that piece.  Then I got stuck in, using what is becoming a standard process for these type of pieces.

First I did a rough layout and photographed it, then rather than bezelling onto a single backing I bezelled each of the flat backed hand made cabs onto a separate piece of backing.  I do this because I find that adding the bezel changes the shape, size and overall appearance of the cab, and usually means I want to alter the layout significantly (usually to add more space).  I used a simple backstitch/peyote bezel – quick and secure, adding a picot to some but not all.  If you want to learn how to do a basic back stitch/peyote bezel then take a look at my SunStar tutorial which takes you through this technique.

Then I did the beadwoven bezels for the crystals and other cabochons – biggest first, then using a variant of whatever bezel I came up with for that one (with less repeats, or smaller beads) on the smaller ones to give a sense of continuity, and a repeat of the method I used on my Great Dixter necklace for the chatons.

Then I looked at layout again, adding the metal pieces, and did my trick of deciding on a shape based on a specific neckline – in this case I’m really glad because the original layouts had been for quite a shallow ‘v’ which wouldn’t have been great in wear.  Then I was ready to start attaching the bead embroidered cabs to a fresh base, using both glue and stitching (these are big cabs so it’ important to be secure, particularly if there is any flex in the finished piece as this could break the glue bond on bending).

Then I checked the layout yet again, working out how I would attach the bead woven cabochons (which sit up above the base and bead embroidered cabs, and where and how to attach the metal pieces.  This showed me what space to leave free, and where I needed to cover the base with bead embroidery – which I then did using simple stack stitch, and supplemented with some lovely Backlit Spectrum and Etched Vitrail 2 hole cab beads (in my head these were the bubbles in the water).  Next the attachment points for the straps (I didn’t complete the whole strap, as I wanted to check the length with the finished centrepiece, but I chose the beads, got it started and reinforced it repeatedly), and then finally I was able to secure the metal pieces and crystals.

At this point it was becoming apparent that the 50mm cabochon was pretty heavy.  Inevitably the bead backing is weakened as well when you stitch into it, so it was time for some serious reinforcement, sandwiching, glueing and stitching on additional sheets of backing, and even some flexible plastic cocktail sticks.

Of course those are hidden by the beading above, and the ultrasuede behind, so once that was on I worked on the edging, adding a picot to the focal cab and a simple sunshine edge to the remainder.

The neck strap of backlit 2 hole cabs was completed with simple loop and a vitrail Czech button from Snoochy, and then the whole thing was posted off to Dorset.

You can see all of the entries here on the Stitch n Craft website – in the end I was beaten on the day by Chloe Menage’s gorgeous bead embroidered headpiece, which she’d made for her own wedding.  However that’s not really why I enter competitions – it’s to stretch and challenge myself to do something original and ‘me’, and  I’m still really very pleased with this piece.  It’s the third I’ve made using this process (the first was my ‘Diva’, the second ‘Great Dixter), and each time it gets a bit easier, and a bit more enjoyable.  It was the last Stitch N Craft Beady picnic (and probably the last challenge) as they’re closing the studio to focus on mail order only, so as I’ve enjoyed them so much over the years I was really glad to be able to enter again this year, and I’ve got a lovely necklace to show for it too.

Sun Star Brooch

It’s been a long time coming, but I’ve finally finished my Sun Star Brooch tutorial.  This is my first bead embroidery tutorial, and has evolved over a number of years from a bezelled RAW ring to it’s current huge embroidered flamboyant form, with a centrepiece hand painted cabochon.  It plays to my ongoing obsession with Czech etched beads, particularly the larger sized seeds and absolutely amazing daggers.

Sun Star Brooch – Sarah Cryer Beadwork – Magic Apple

It uses a variety of bead embroidery techniques, including back stitch, bezelling using circular peyote, seeding and edging to make a statement brooch or pendant, and would suit beginner bead embroiderers comfortable with a needle – it’s an ideal project for beadweavers or embroiders looking to try out bead embroidery as it covers key basic techniques which you can then go on to try out in your own designs.  If you already have some bead embroidery experience, then this makes a lovely quick project – I can do one in an evening (although to be fair I have had quite a lot of practice and am a bit naughty about letting the glue dry properly).

Sun Star Brooch – Sarah Cryer Beadwork – Magic Apple and Crystal Marea

The thirteen page tutorial contains a full materials list, with suggestions for colour schemes, and every step is fully illustrated with a detailed diagram showing thread paths etc, with photos to show you what you are aiming for.  And of course every step is also written out clearly for those of us who prefer written instructions.

It’s available now in my Etsy shop as an instant download, as are the cabochons (both hand painted and Liberty print) and I hope to complete some materials packs in the next couple of days.

Once you’ve mastered the basic brooch, there are possibilities for variations which I hope to explore here over the next few months, so watch this space.   I’ve already worked out that you can add extra rows of embroidery around a smaller central cab if you can’t find a 30mm one:

How completely gorgeous are those capri rose etched beads?

And the advent of 2 holed daggers opens up some new ideas……..

More Cabochons

So I’ve been playing again on the cabochon front. A chance discovery during a session of poster paint salad spinner painting with my youngest (google it) led to a very painterly set using the run off which reminded me of Monet’s Water Lilies.

That led immediately to another set using the kid’s paints, doll’s cups, and basic acrylic dirty pour techniques.

And then another couple.

Because these are all made using water based paints I won’t be selling them as I’m concerned about their durability in wear (although I am making things for me with them!) but panic not, because I’ve moved onto doing mini pours with actual acrylic paints, which are waterproof when dry, so will (hopefully) lead to some saleable versions. I say lead to as this is a whole new technique, with a new set of challenges, particularly around colour selection, so I’ve got a way to go. It took a year to get the Pebeo method right, so it may be a while, but it’s fun trying.

As well as the different patterns formed the acrylics come in a wider range of colours than the Pebeo, and are of course mixable, so I can finally make cabs with some of the colours Pebeo don’t offer such as fuchsia, pure white, black, and lime . Which is good as I use a lot of fuchsia!

Anyway, watch this space and I’ll let you know how I get on, and if and when I have some ready for sale I’ll let you know. In the meantime I have some lovely Pebeo ones for sale in my Etsy shop, and hope to list some more over the next week or so. If you favourite my shop in Etsy you’ll see any updates or new products in your personal front page, or keep an eye on my Facebook page (I post all shop updates there but Facebook might not show them in your newsfeed, so it’s always a good idea to pop in every so often and see what I’ve been posting).


Experiments

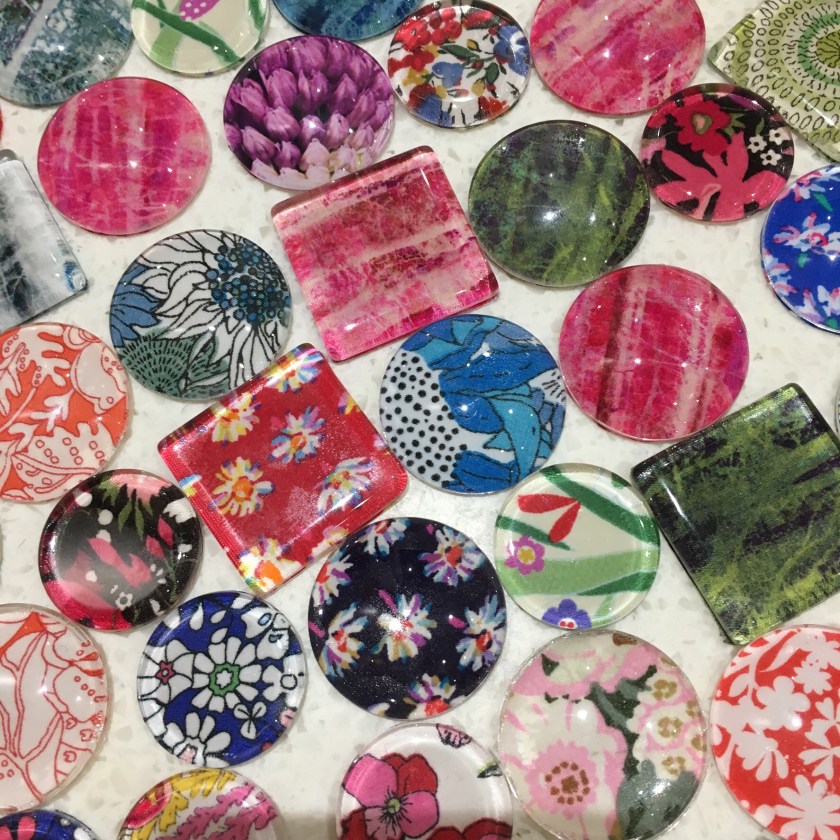
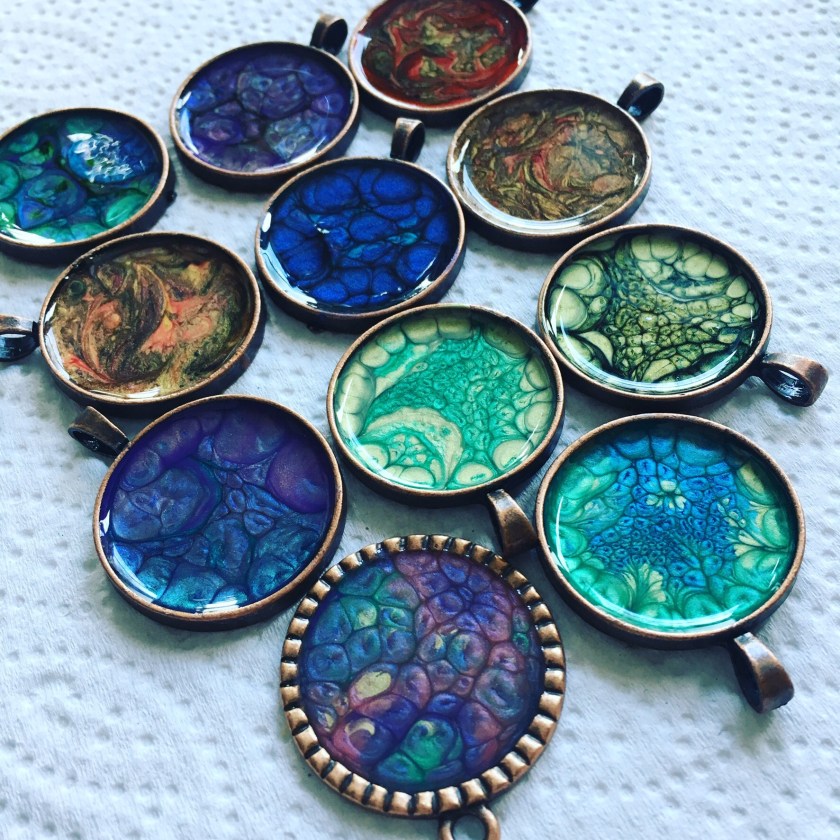
Those of you that follow me on Facebook or Instagram will know that recently I’ve been playing with Pebeo paints and Liberty fabrics to make my own cabochons.  It’s been an interesting diversion, and it’s still got a way to run as I hone the processes and get used to the paints.  It’s quite satisfying to be able to sit down and play with colours so quickly, never quite knowing how they will turn out but not having had to commit too much time.  I’ve had to try lots of different processes and materials, and source a whole new set of supplies, and now I’m getting good results I’m even beginning to use the finished cabs in my beadwork.

Anyway, once I’m happy with the process I’ll share it here so you can play too, and hopefully I’ll also make some of the cabs available in one of my shops (perhaps with some instructions for bezelling?).   But in the meantime here are some pictures of my experiments so far.