

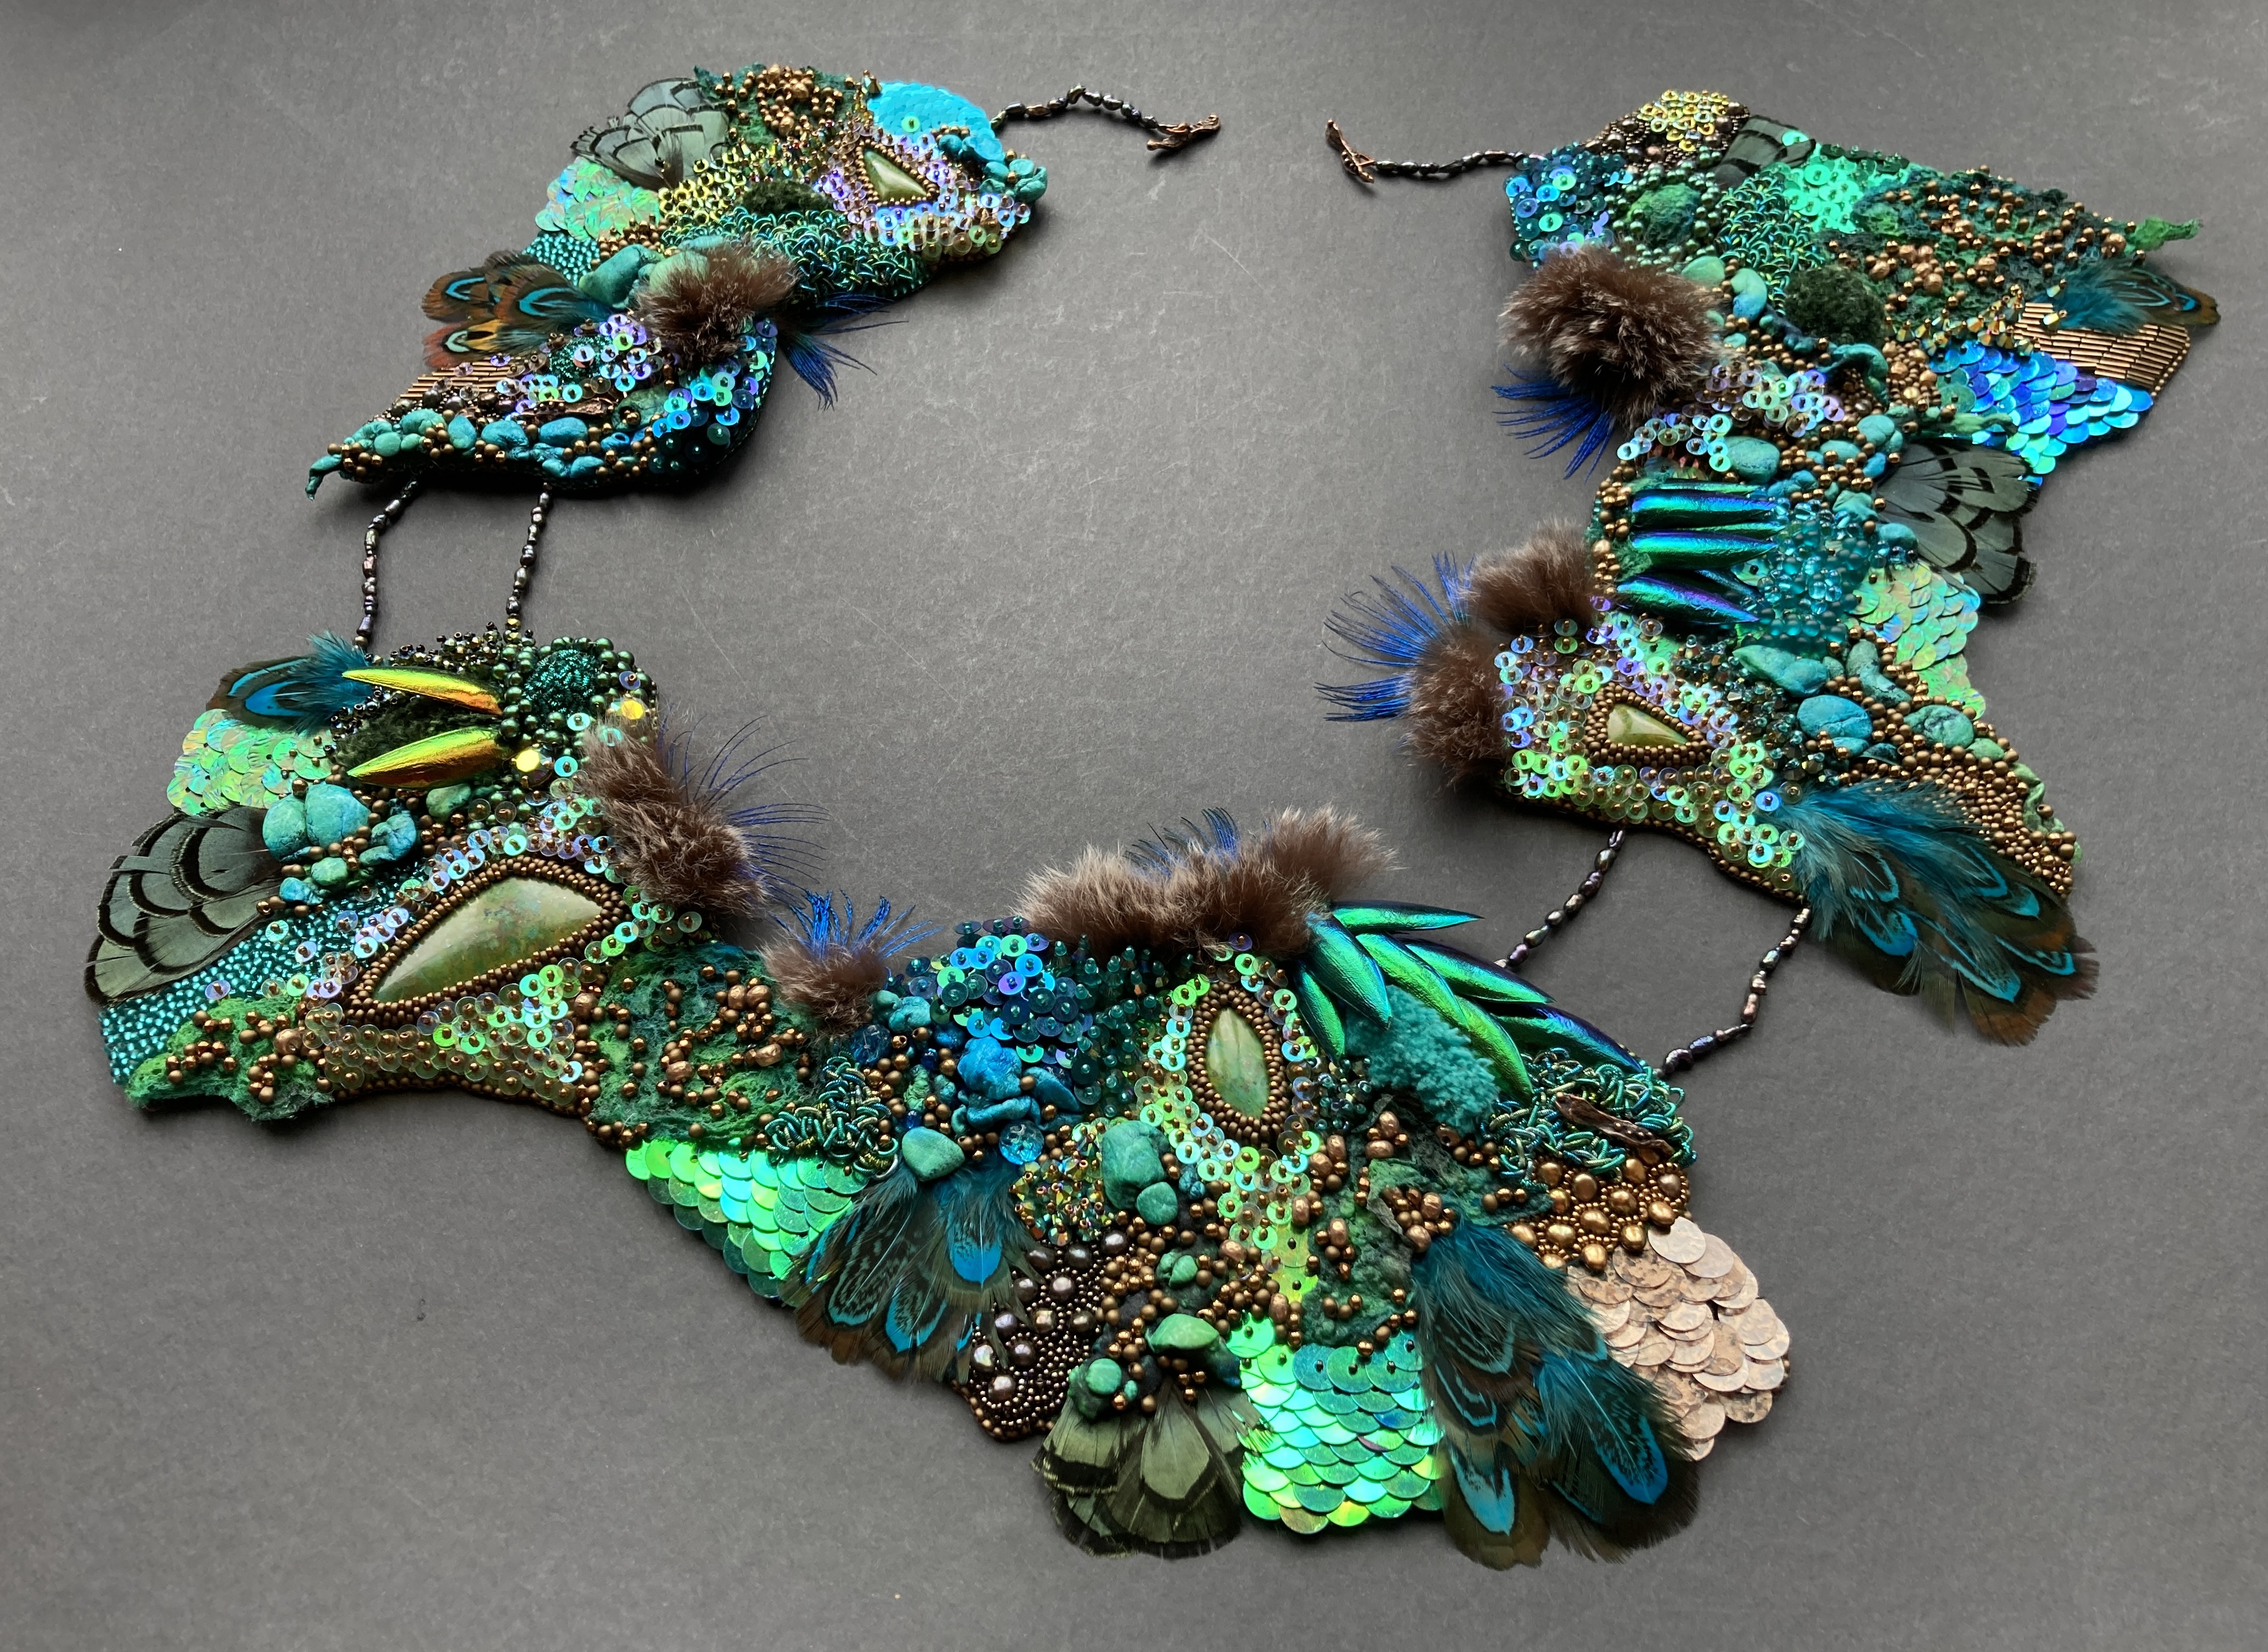
This was my winning entry in the ‘Previous Winners’ class of the Beadworkers Guild annual challenge – you can learn a little more about the piece in my earlier blog post here.
I really loved making this piece – every year I try to challenge myself creatively during the winter months, usually working on something big and using new techniques or materials. Often it’s a Guild Challenge provided that the theme is one which chimes with me.
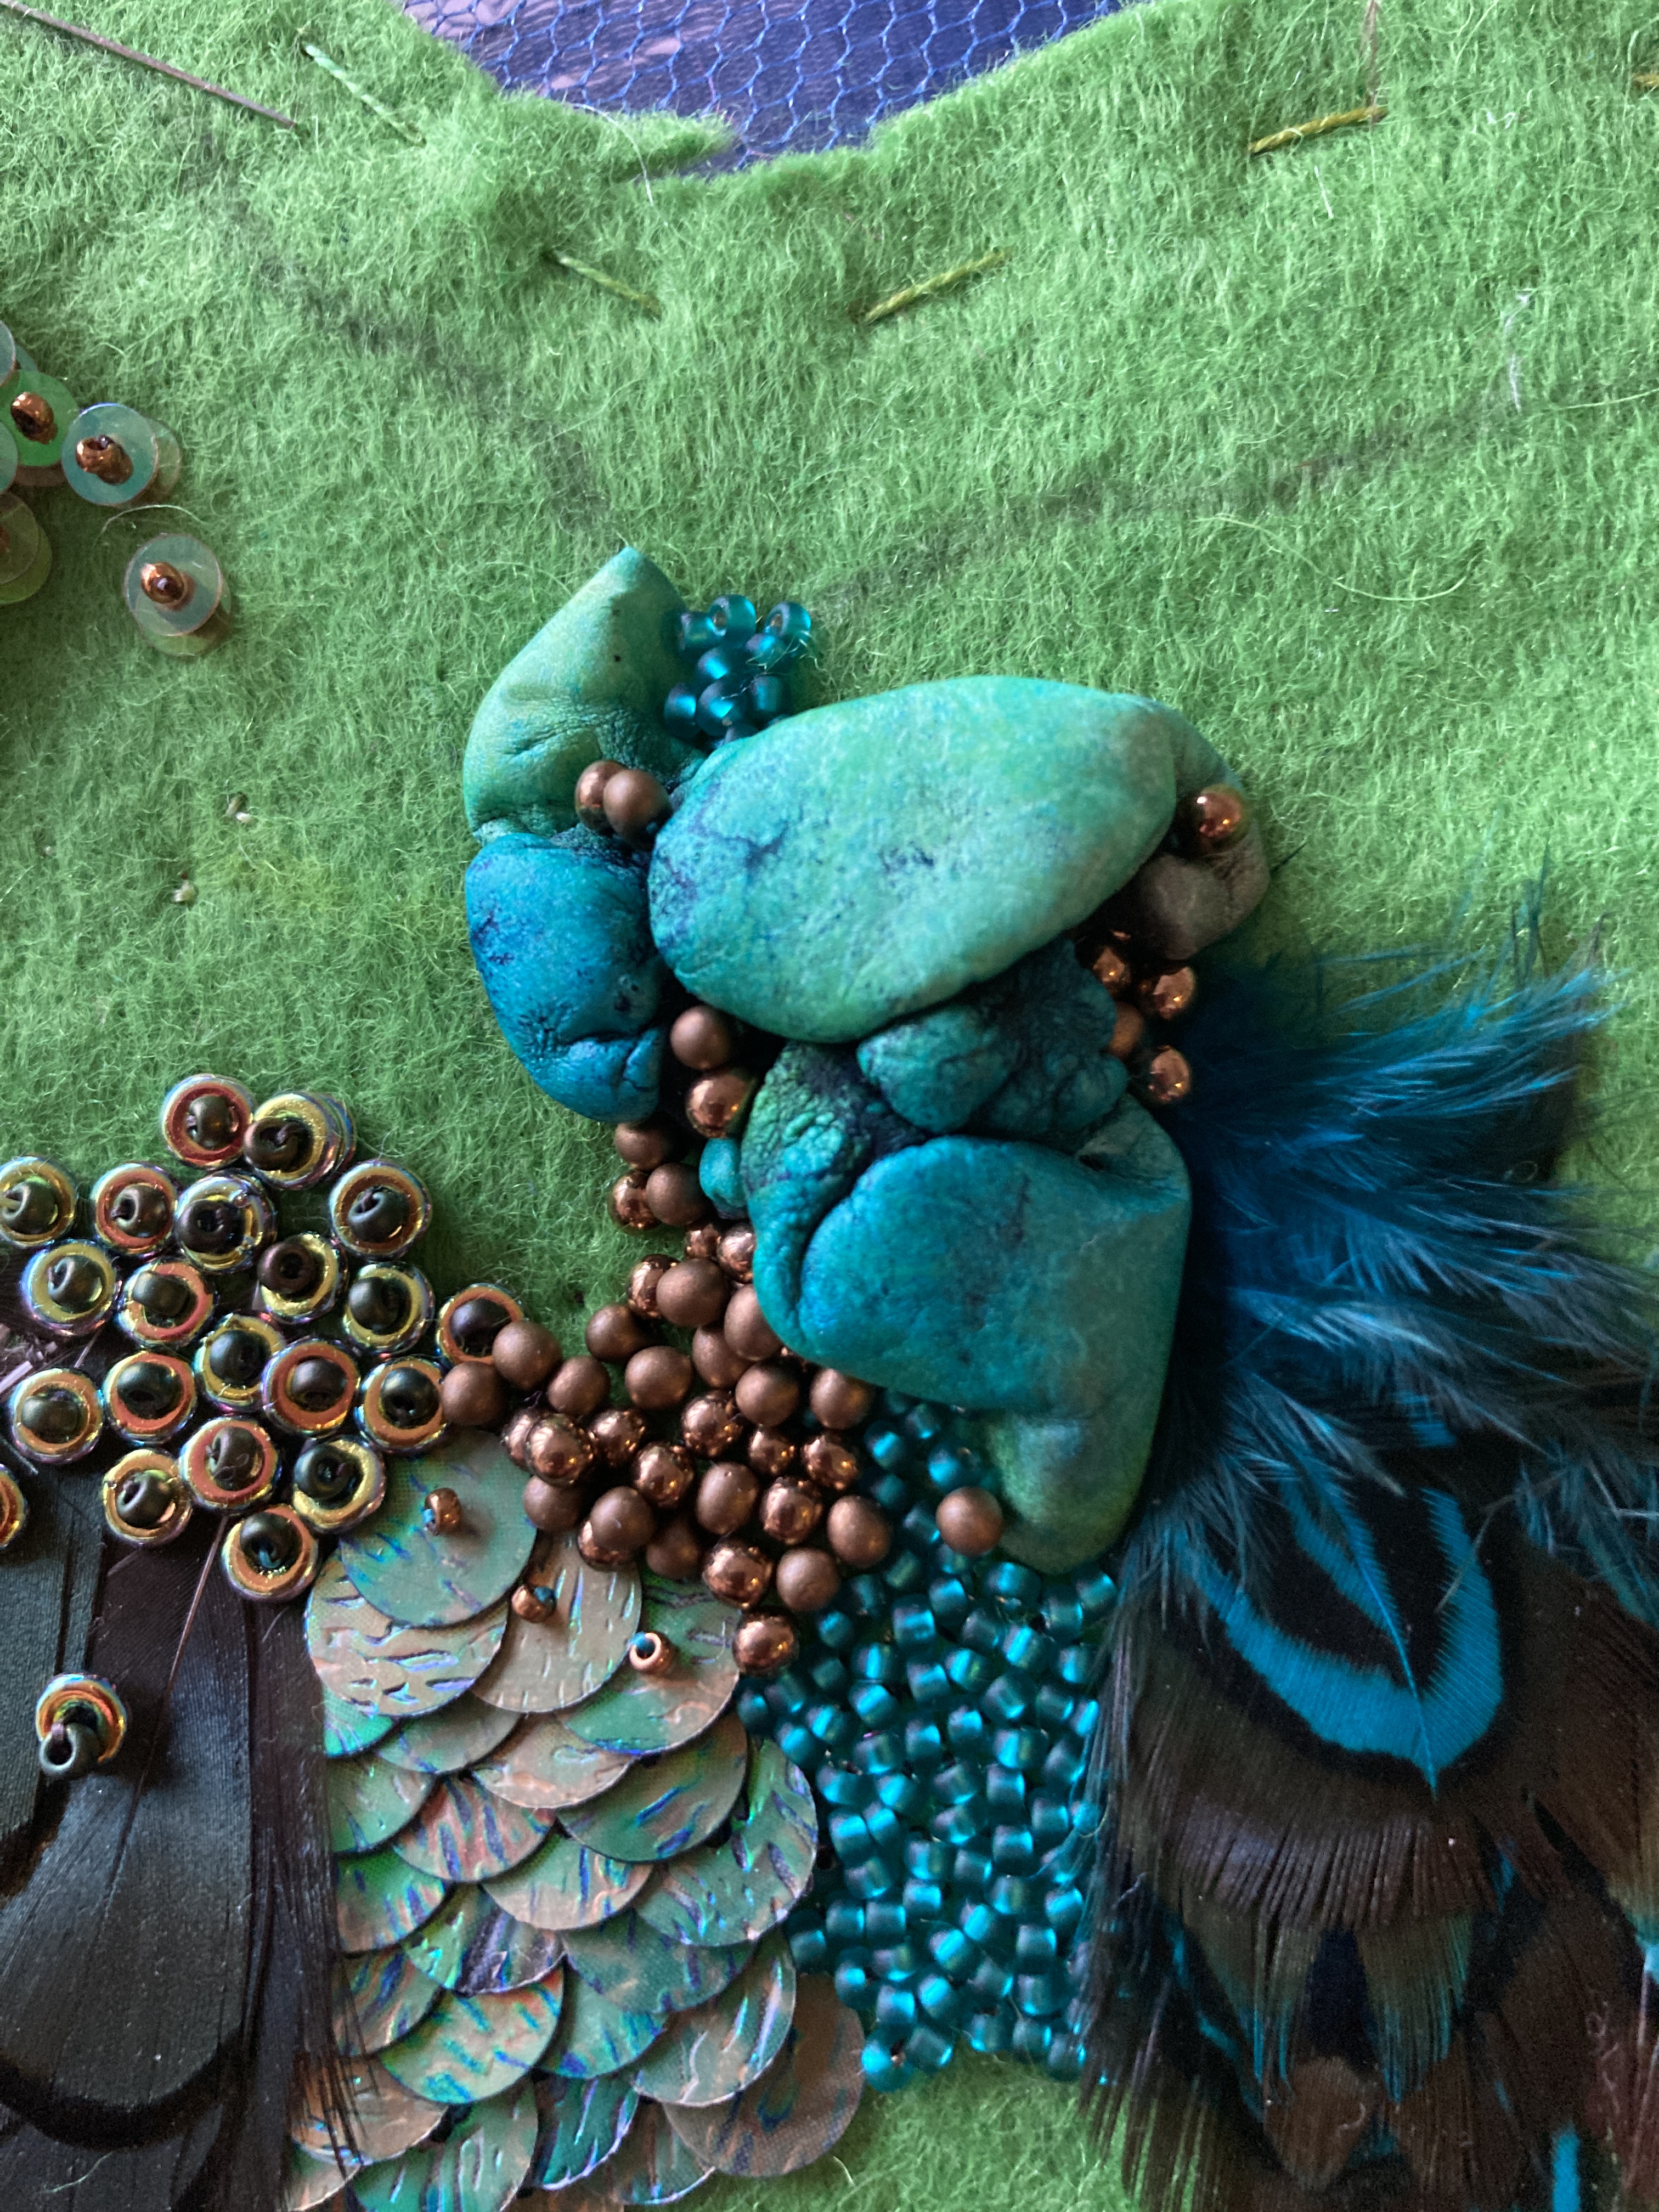
I’ve worked in most of my usual beadwork techniques into this piece – peyote bezels, a wide variety of bead embroidery stitches, goldwork smooth purl loops, scale like sequinned areas, but the ‘fur and feathers’ theme meant I also added some new to me materials, and perhaps new to the Challenge techniques – not too many though, as it does have to be beadwork based after all.

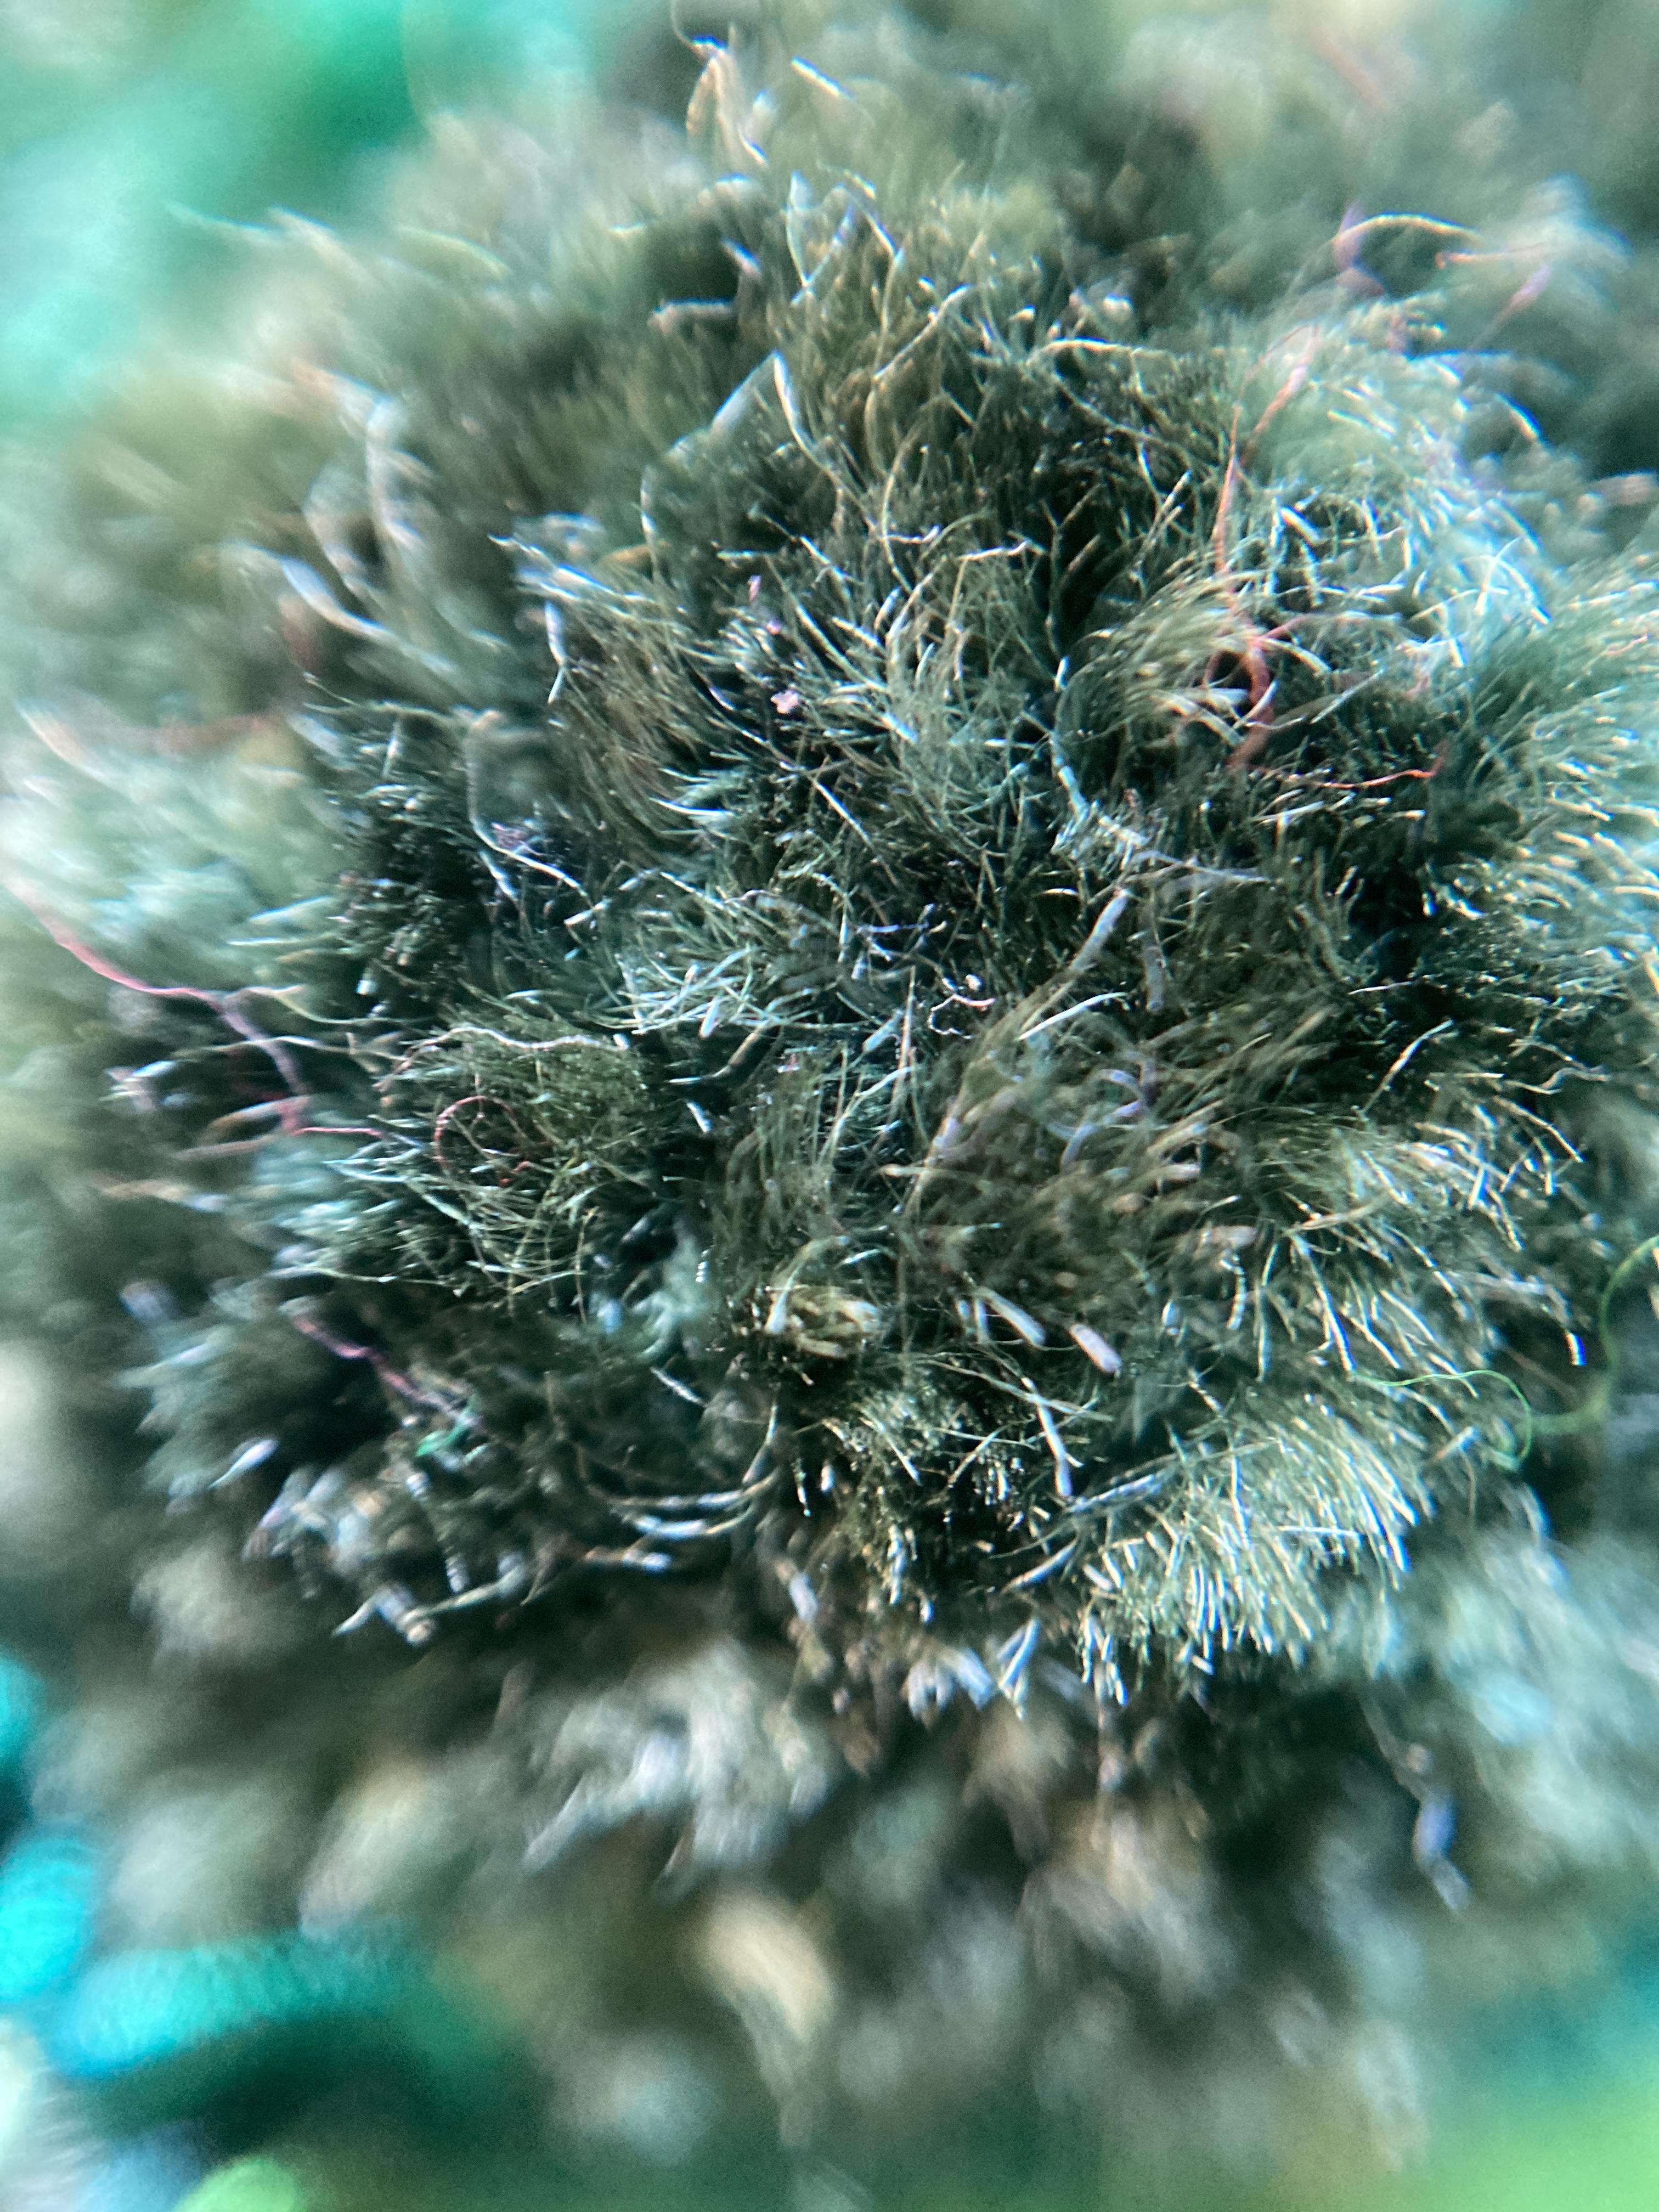
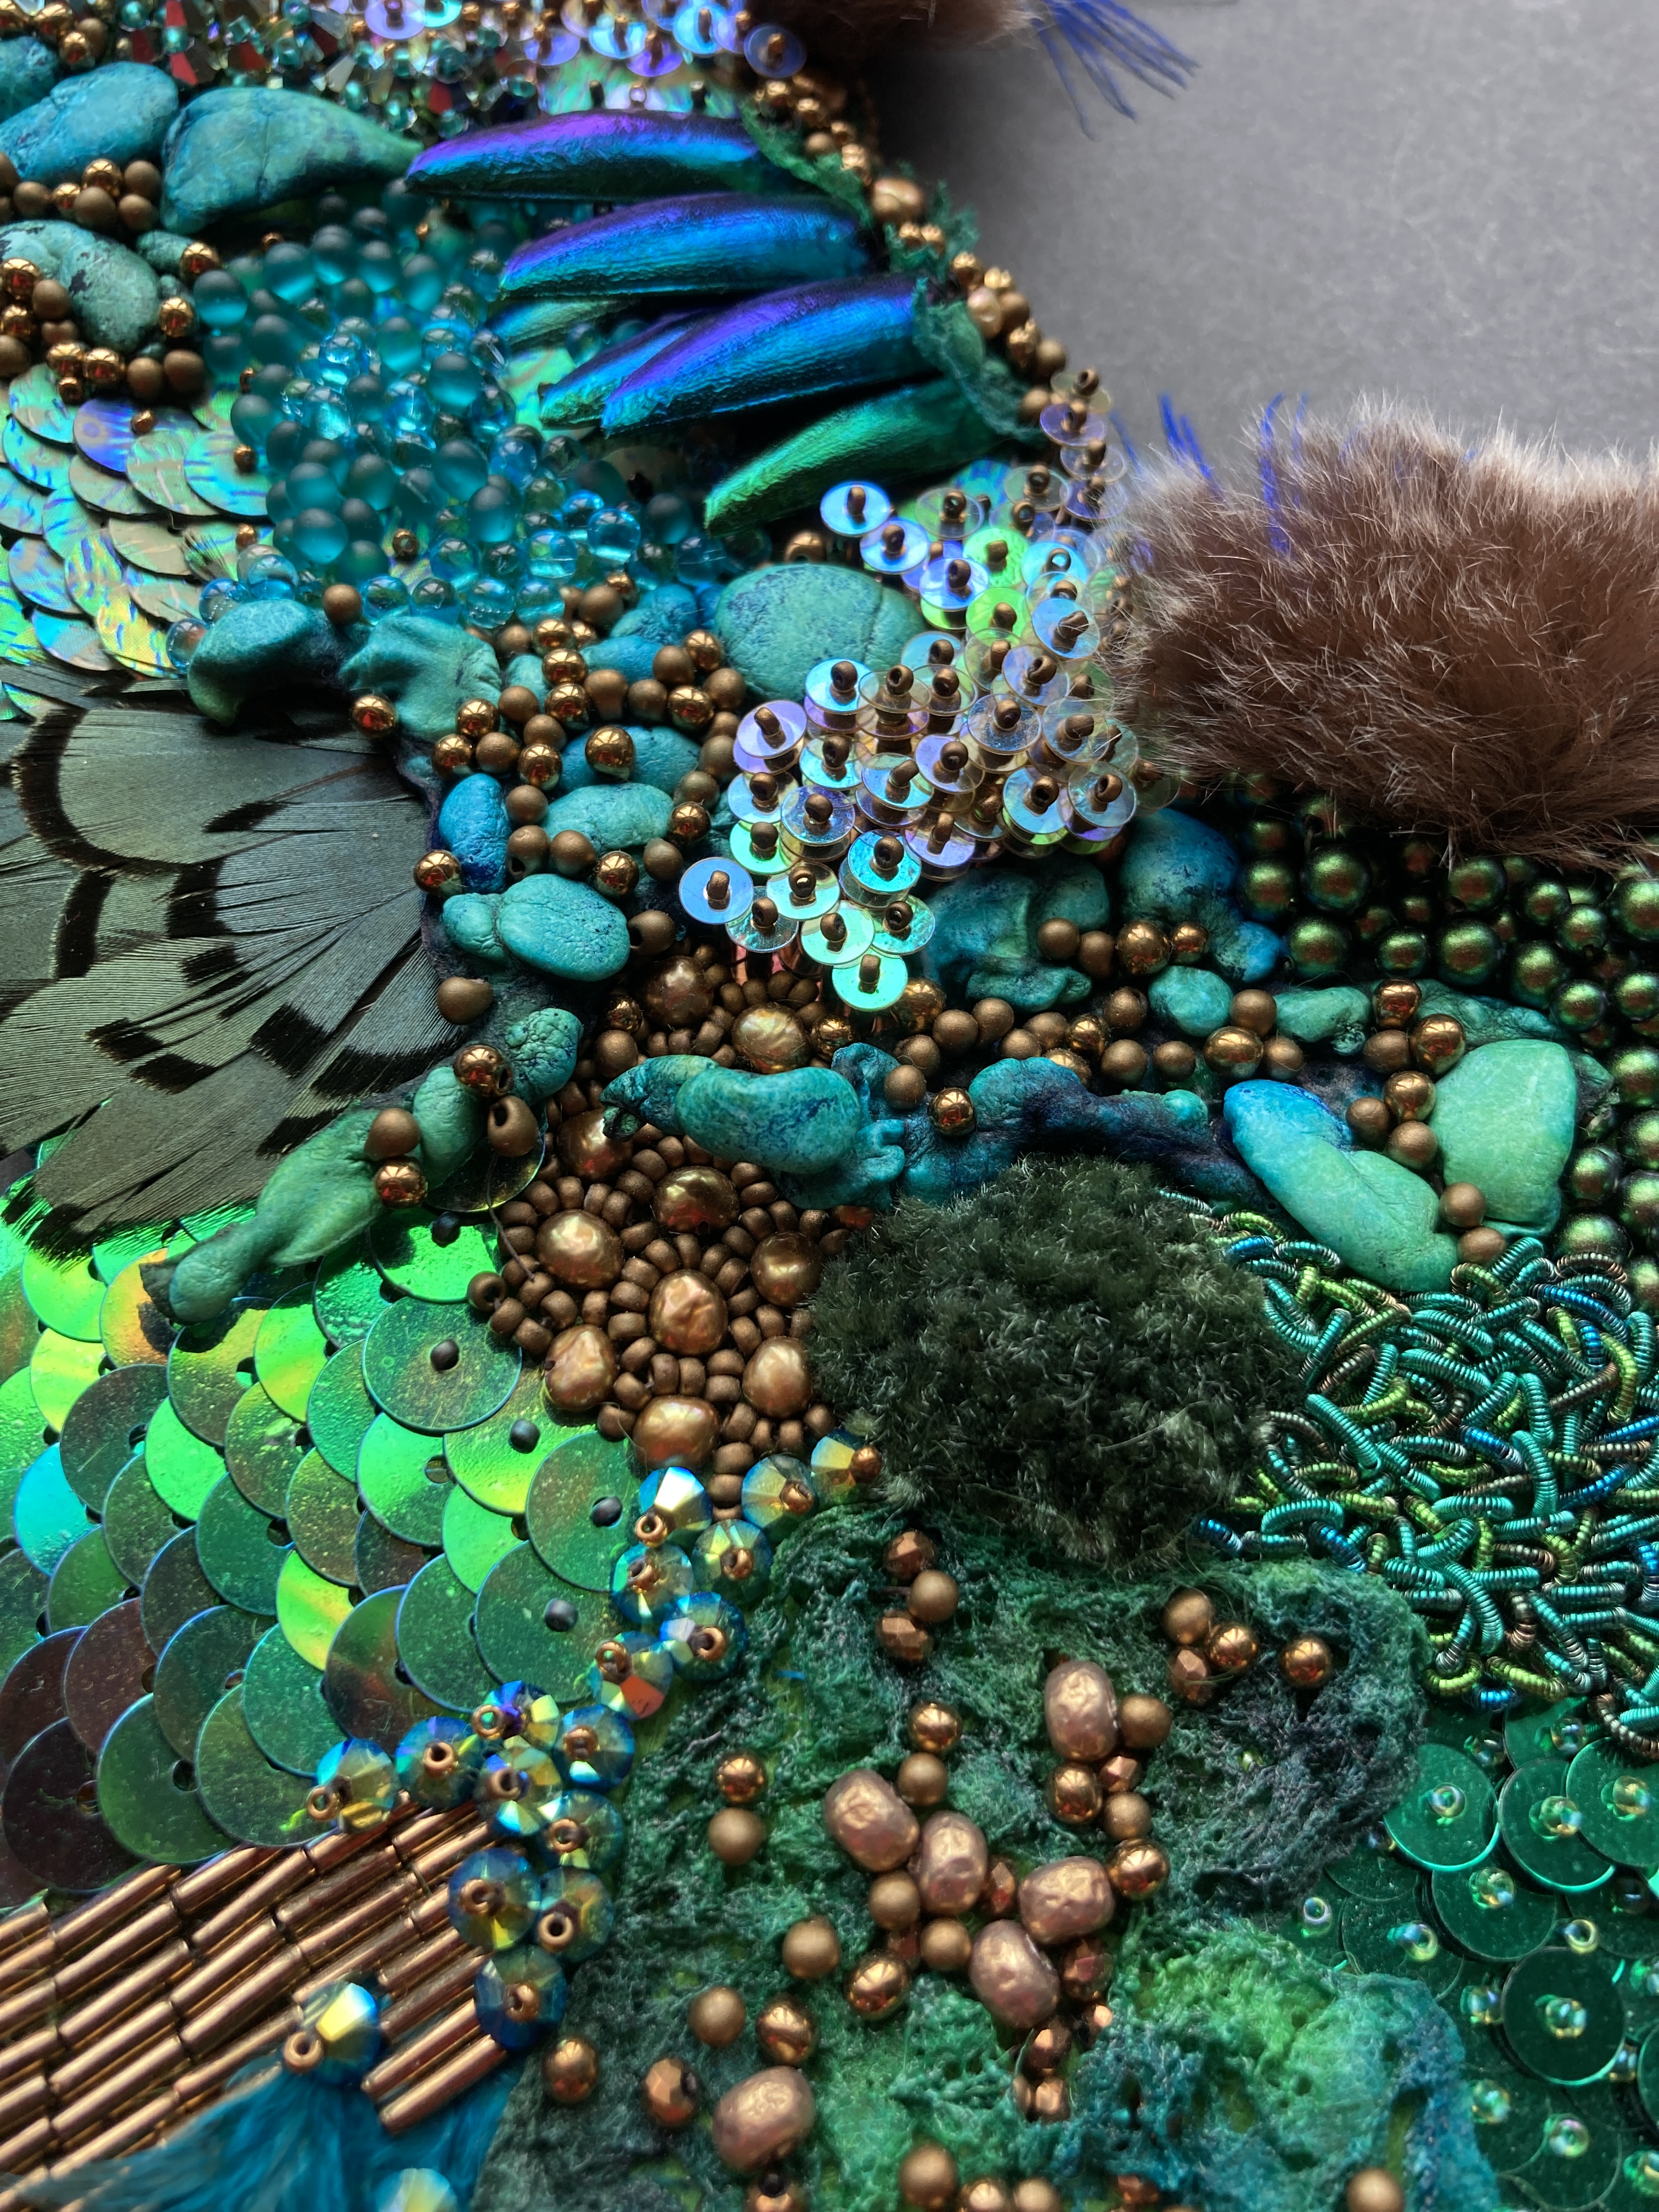
Tiny tufts of fur and a variety of feathers were taken from trimmings and individually cut down and stitched in place. I used punch needling on a separate fabric using hand dyed threads and fibres to make additional mossy fur patches, which were then stitched onto the main base, and also used needle felting and felt balls cut in half to add height under some sections, which were then bead embroidered.
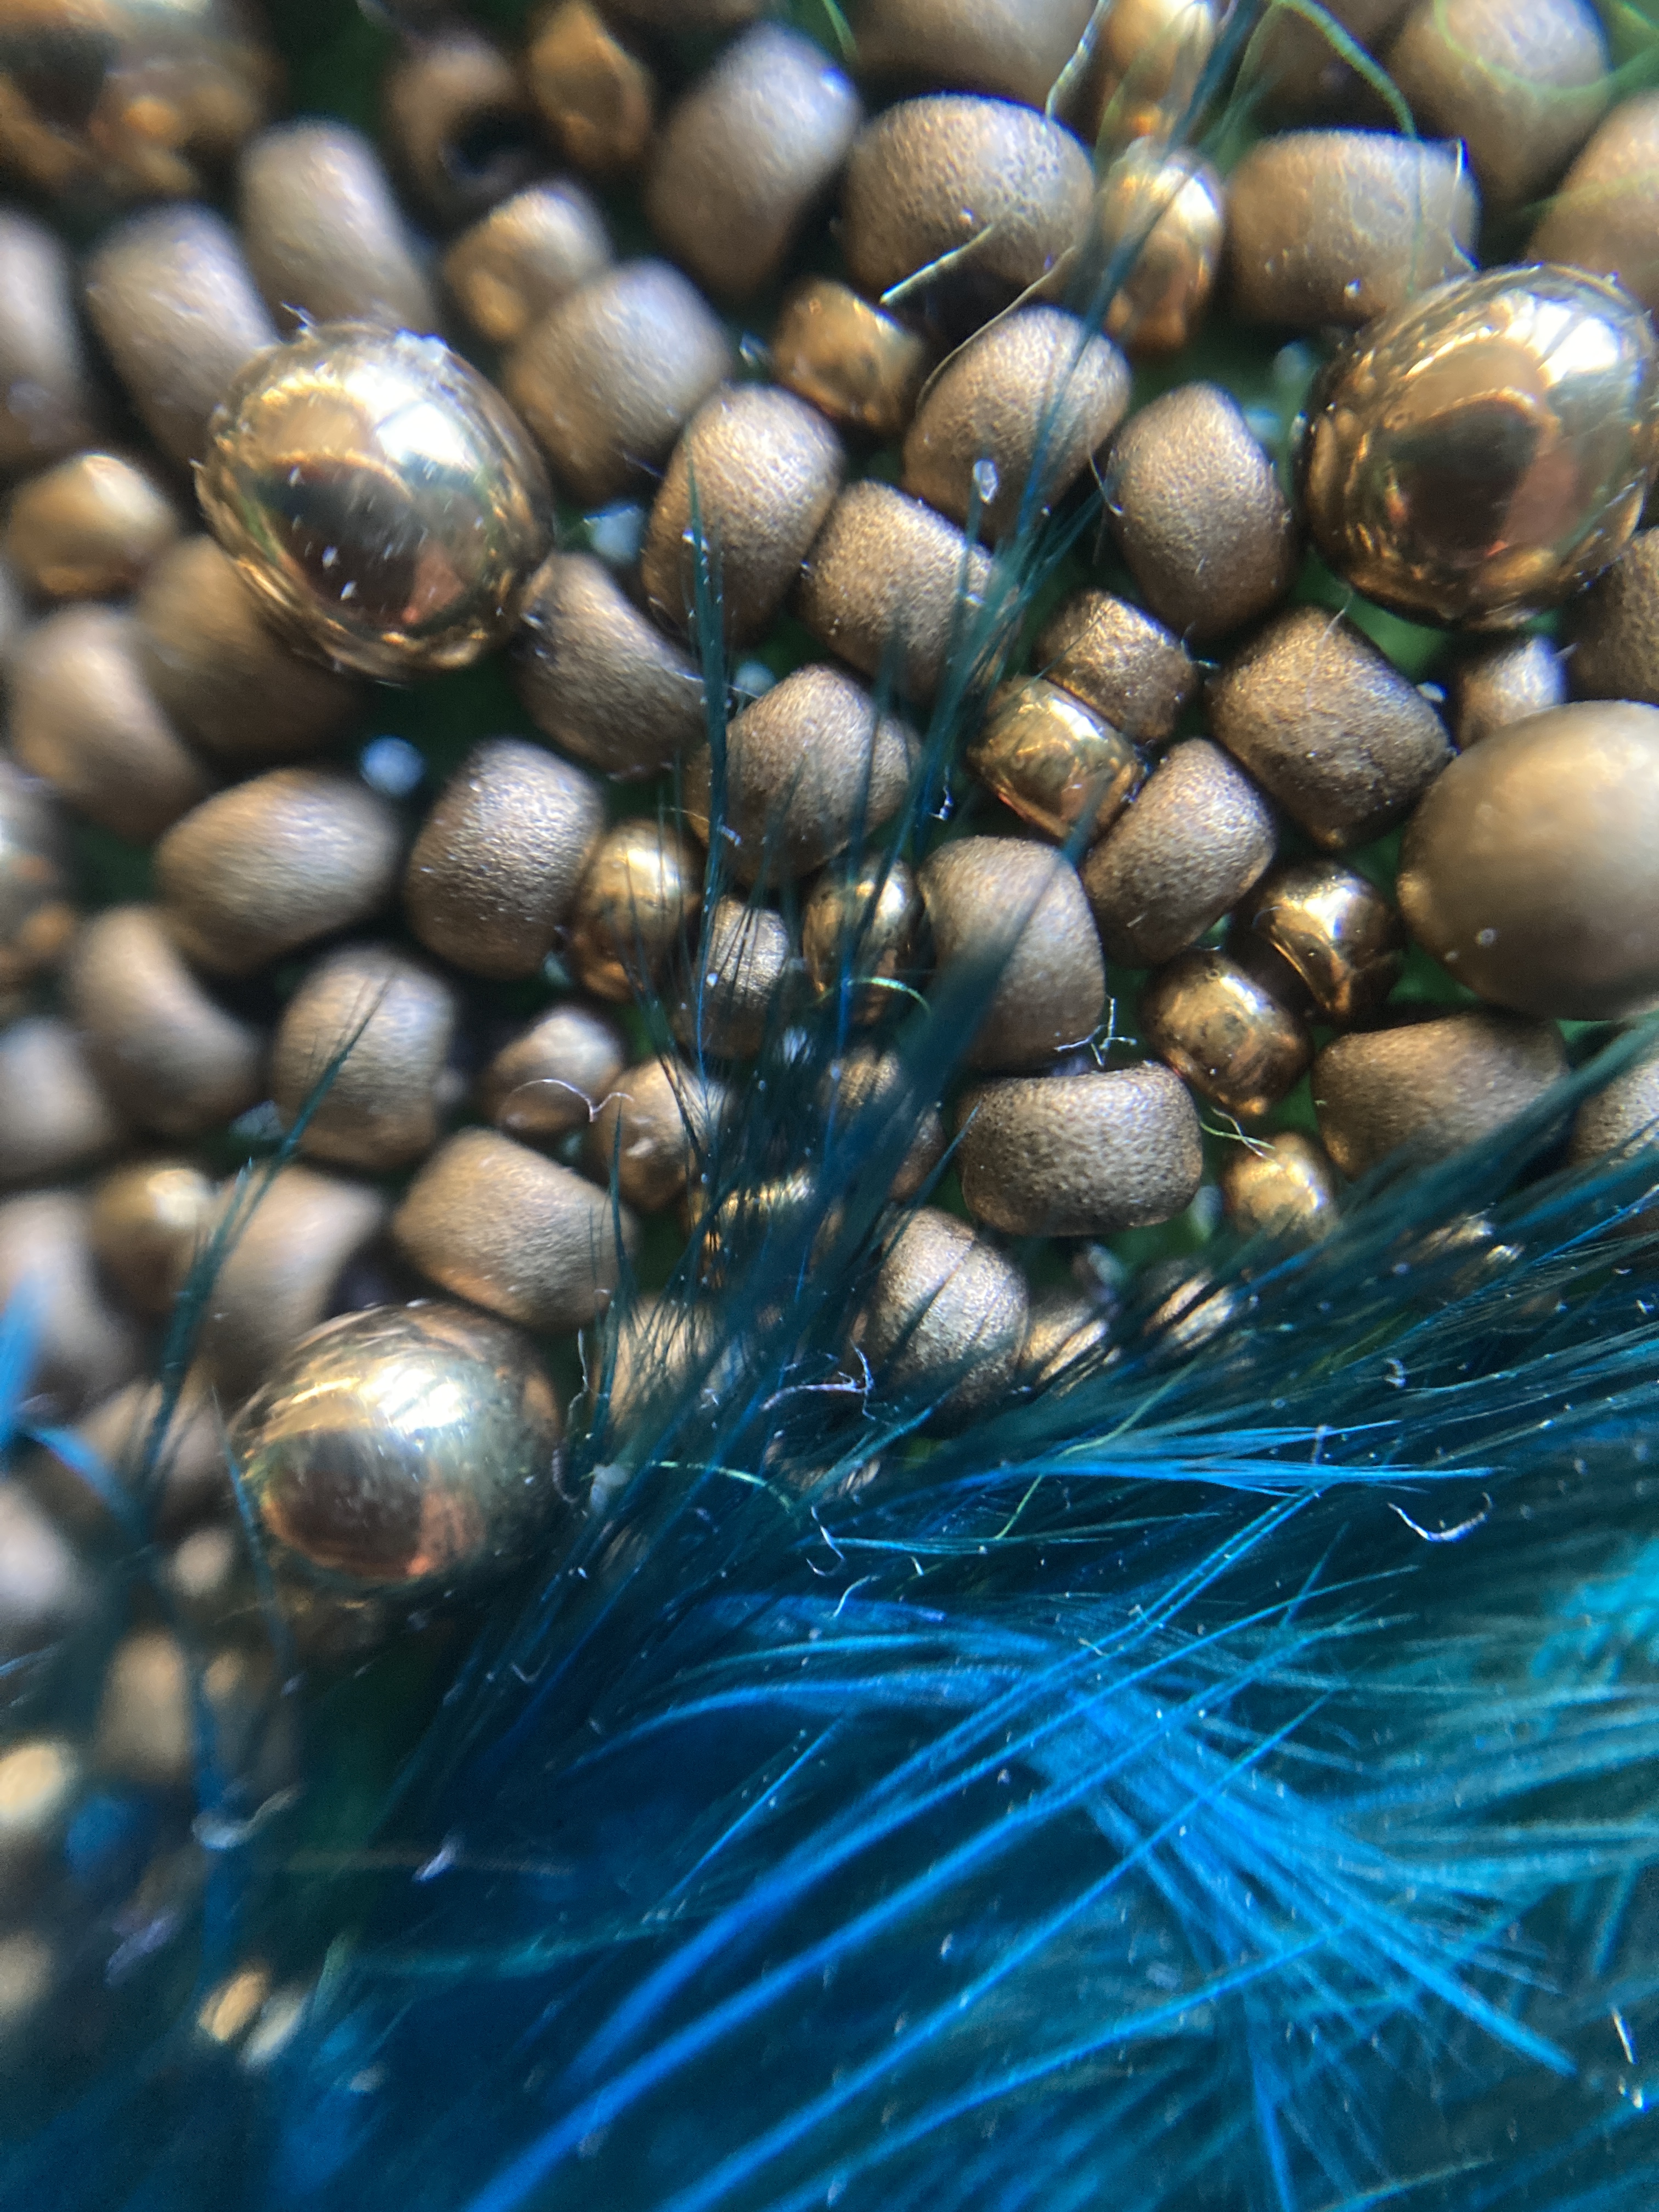

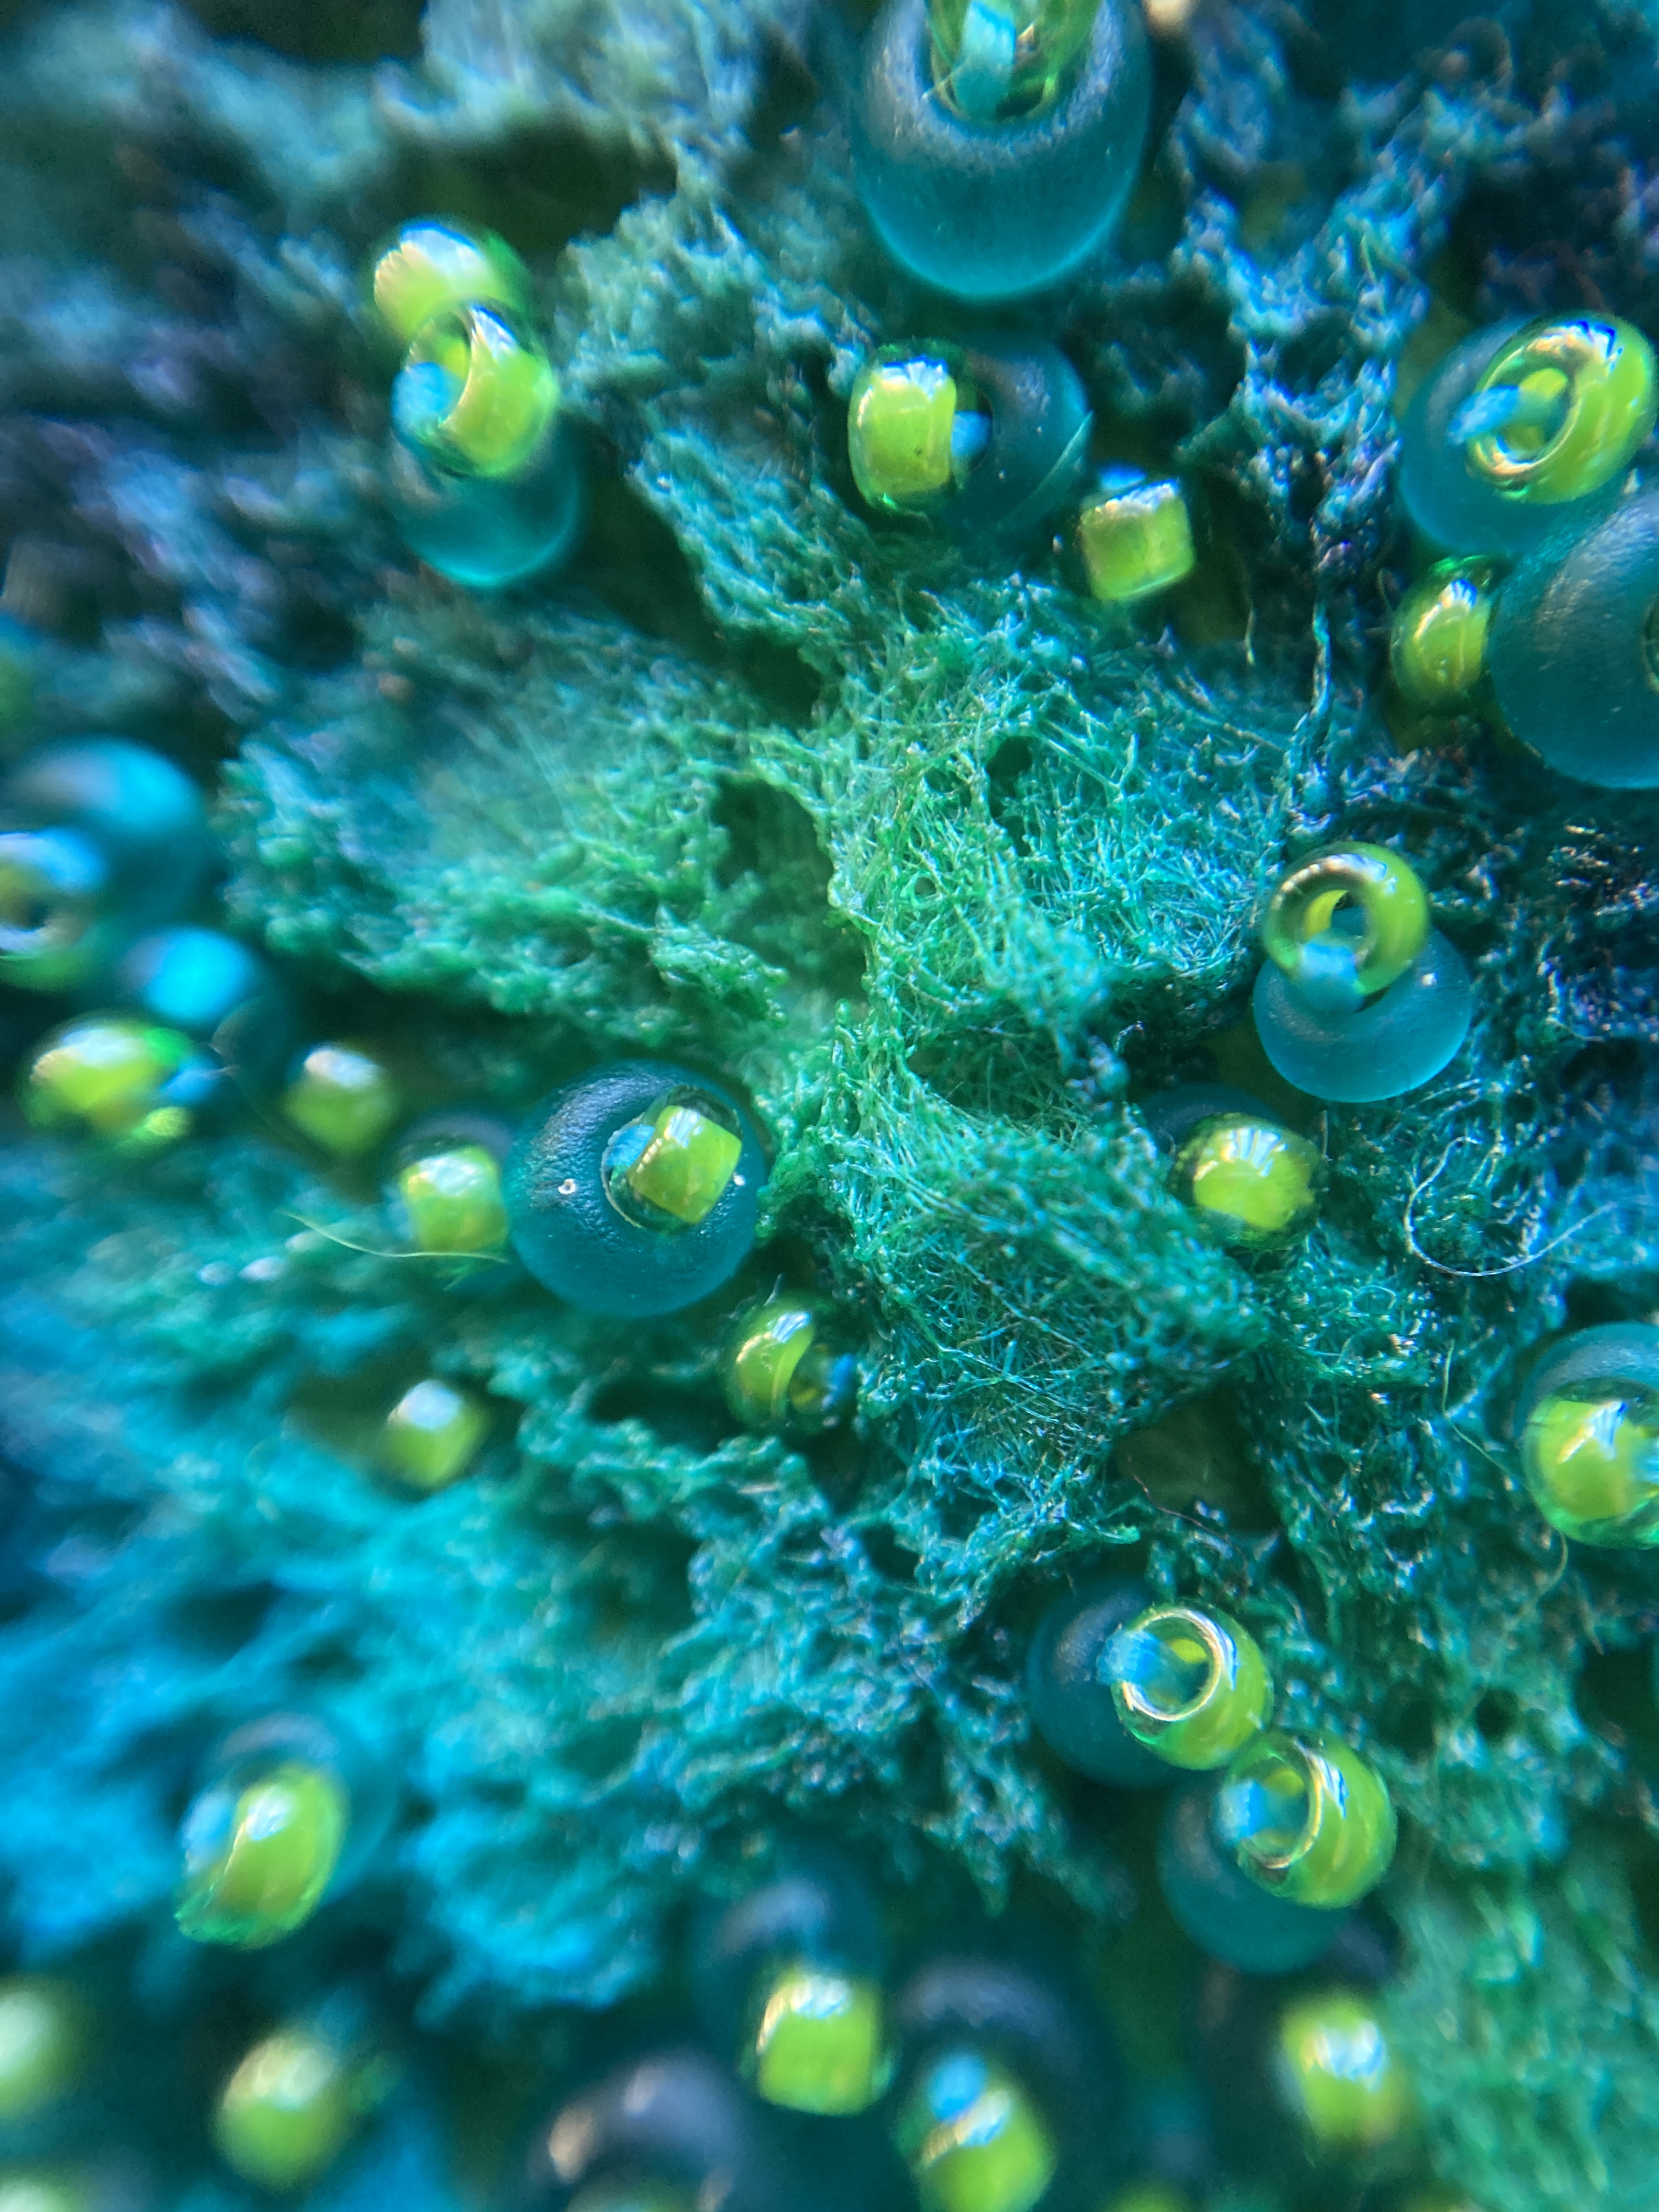

Early on as a key part of the piece I created the lutrador and tyvek sections – hand painted then carefully heat shrunk, the tyvek gives the bubbles, and the lutrador the mossy textures. Both were tacked in place and then bead embroidered using simple stab stitches and a variety of bronze Miyuki beads. The tyvek had to be pre-pierced with a beader’s awl so I could attach it and add the beads, and with the lutrador the objective was to fill in all of the lacey holes.

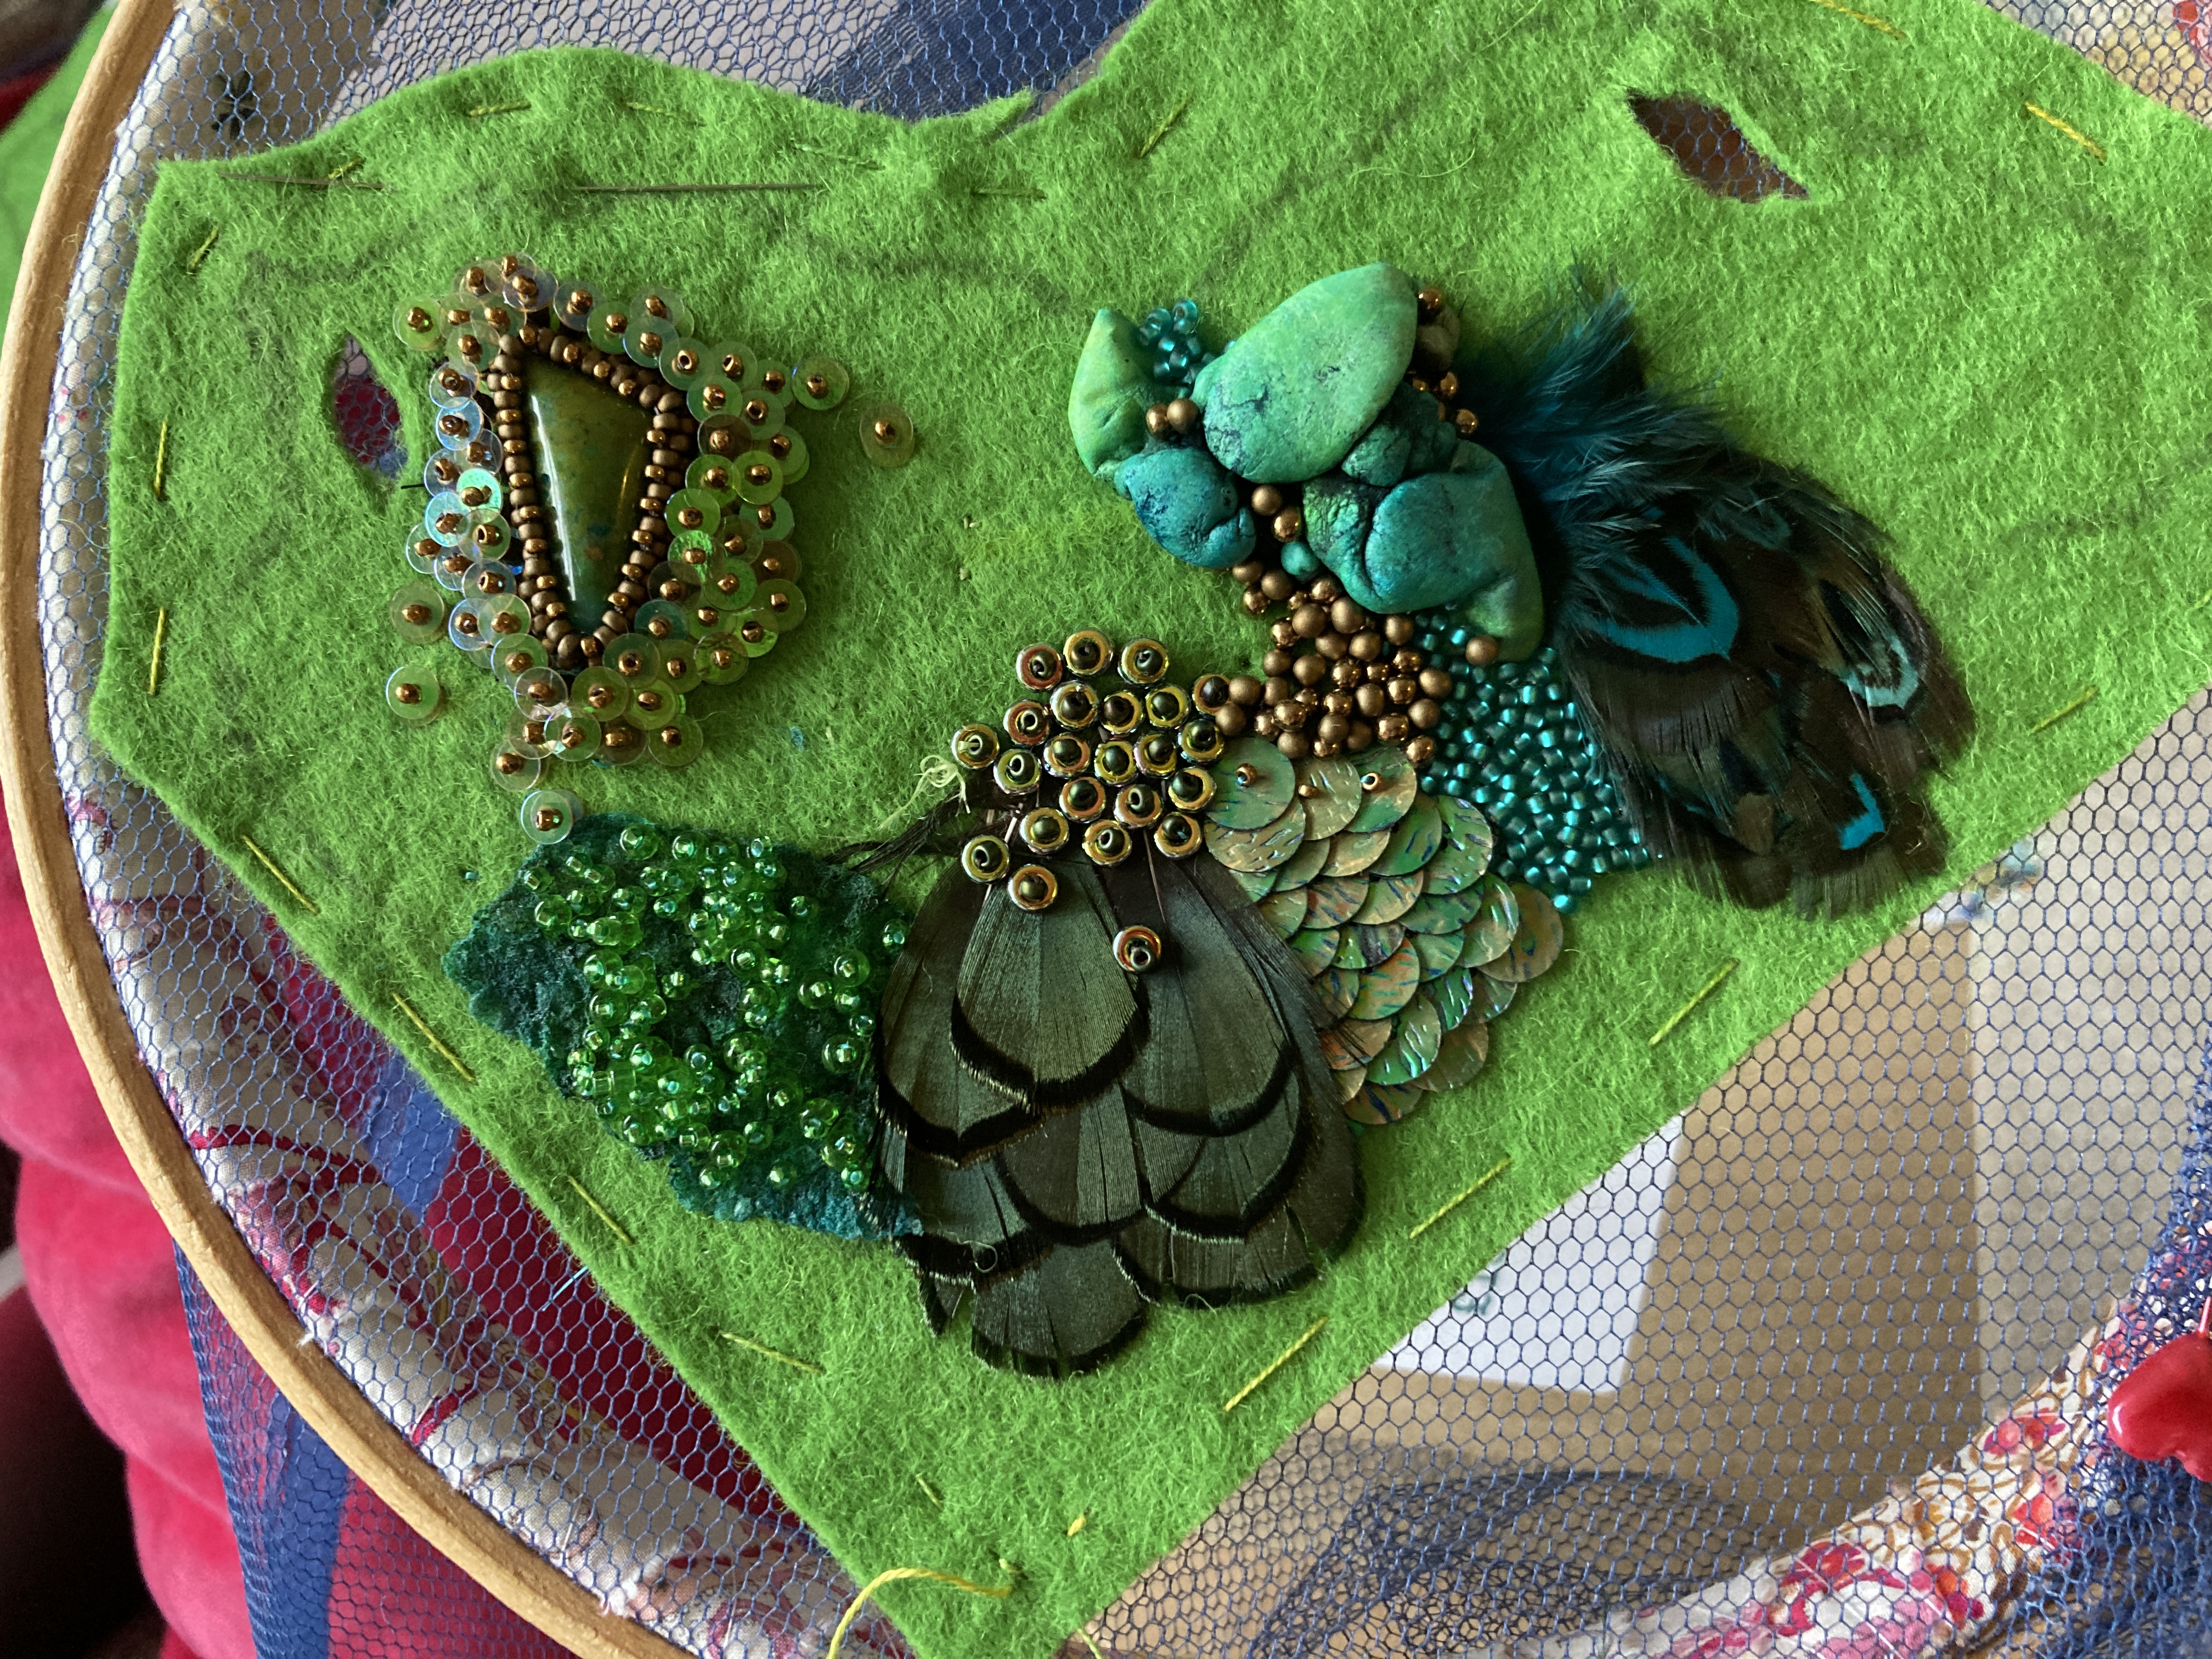
I’d already bezelled the cabs onto hard felt, and stitched those in place at roughly the same time as the manipulated synthetics, starting to build the layout. The hard felt edges were then masked with stacked seed beads and sequins. Below you can see one section as it built over time – bear in mind I was building all three sections in parrallel to ensure I had the same look and feel on each, so I was constantly swapping as I then went on to build up the beadwork sections.
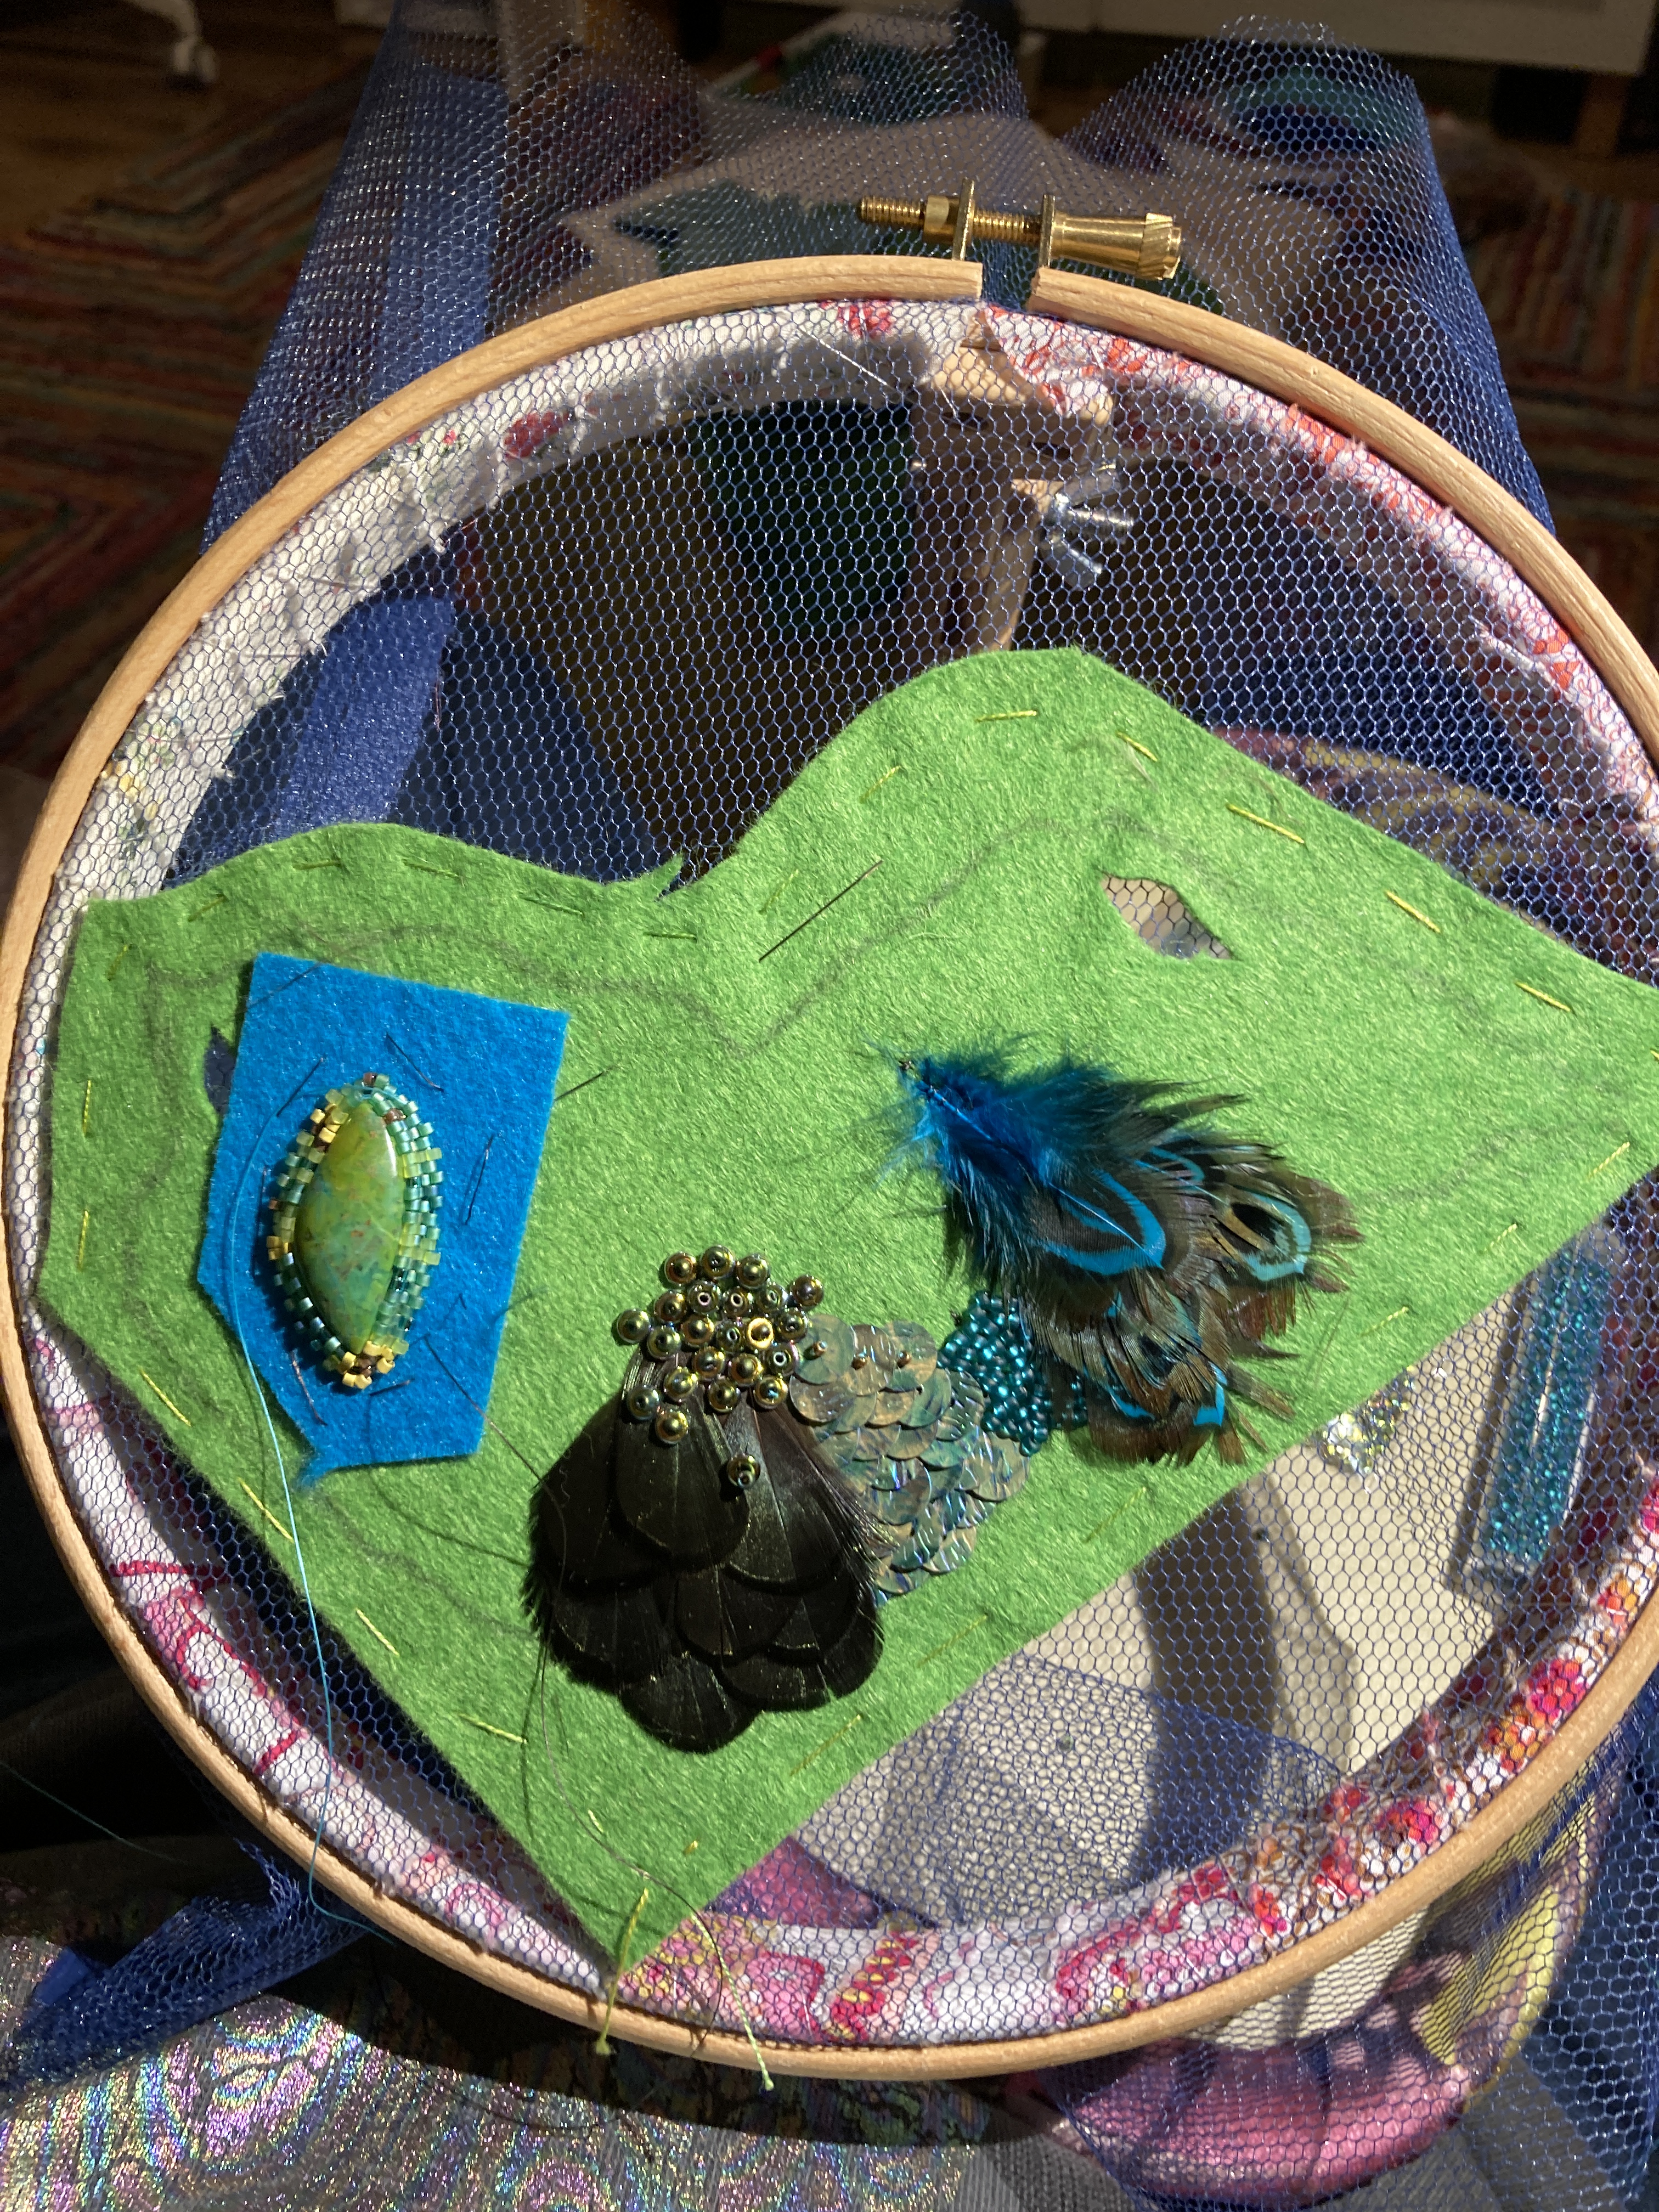
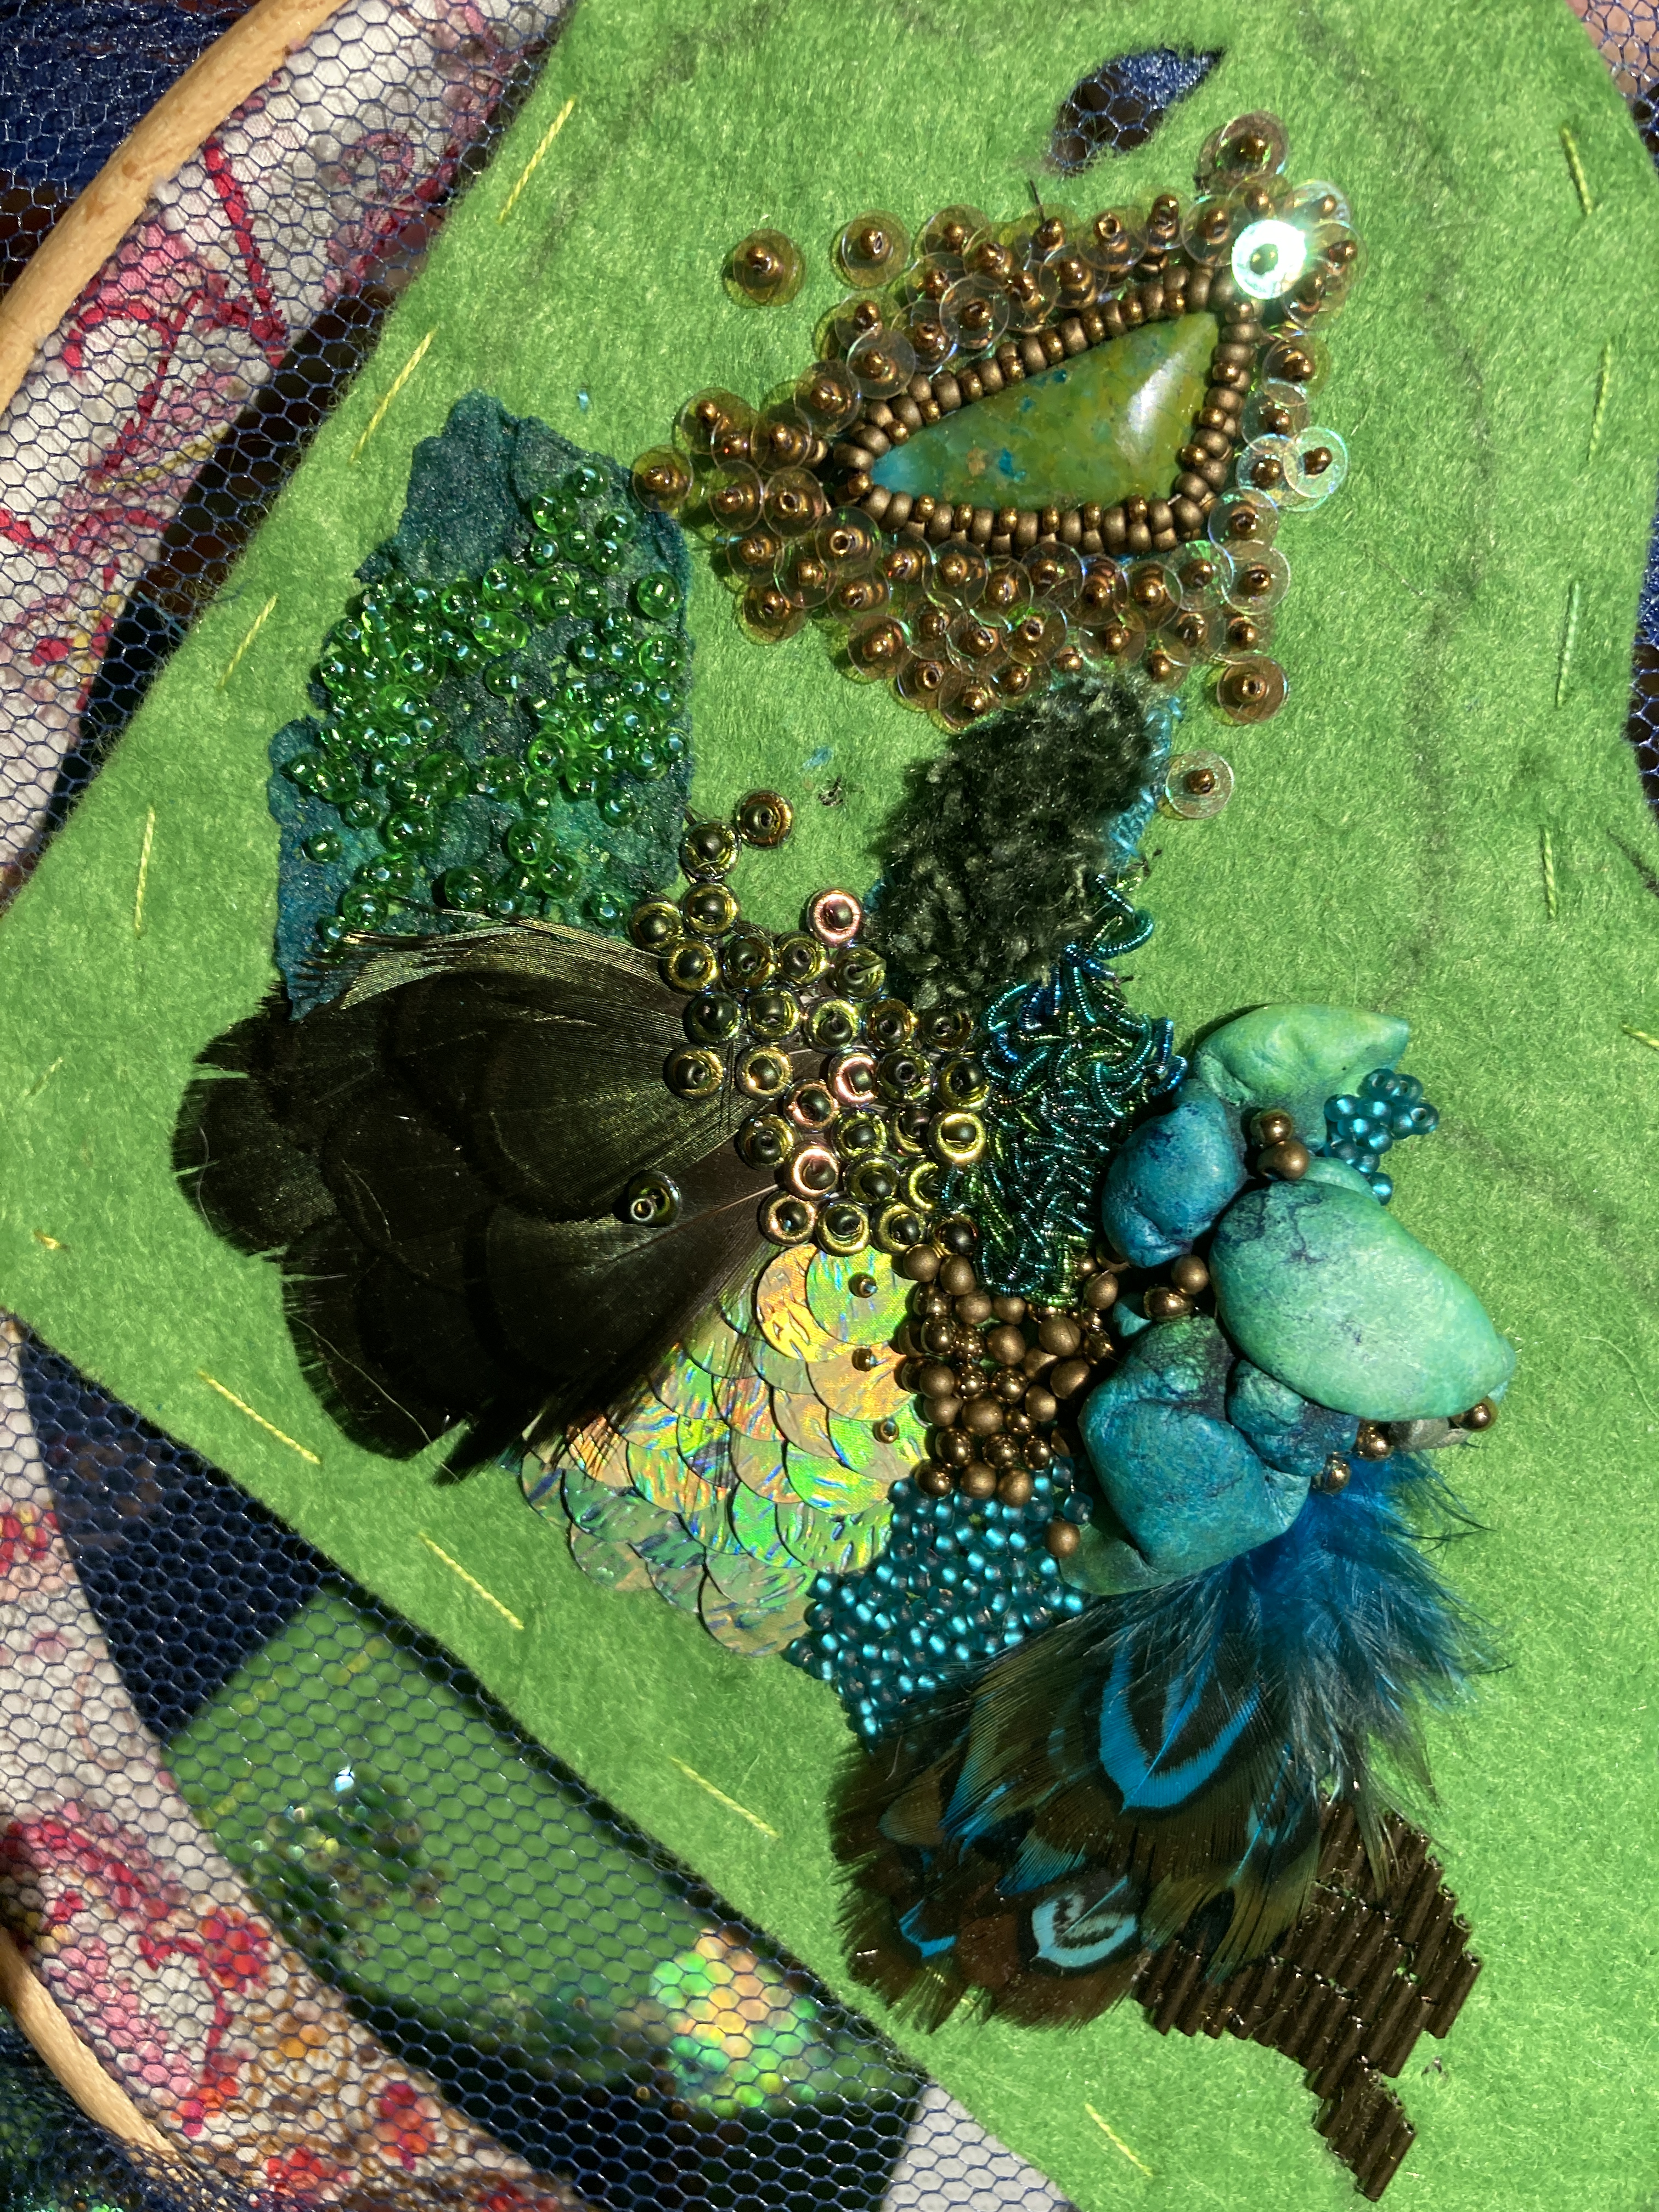
As you can see above, all the sections were worked onto soft felt which was mounted onto tough dress net – I needed to use soft rather than hard felt so the collar sections would drape on the body and move, but it wouldn’t have been strong enough then to support such heavy beading, so I added two layers of net beneath. The net was easy to work through, and as well as strengthening the felt once the stitching started, it of course provided the tensioned base to get the felt pieces onto an embroidery hoop (or in the case of the largest section, a quilting hoop as I had no embroidery hoops big enough!). More often I work bead embroidery on hard felt, which doesn’t require a frame, but with the soft felt you have to work under tension or it puckers (as well as flopping everywhere) – slower and bulkier but worth the extra effort.
Some parts of the base felt were also hand painted – bright green felt was the right colour at the beginning of the project but then the teal and bronze colours took over from the lime greens as I progressed, so I needed to use watered down acrylic inks to tone it down into the background – silly error but a useful new technique for me to perfect.
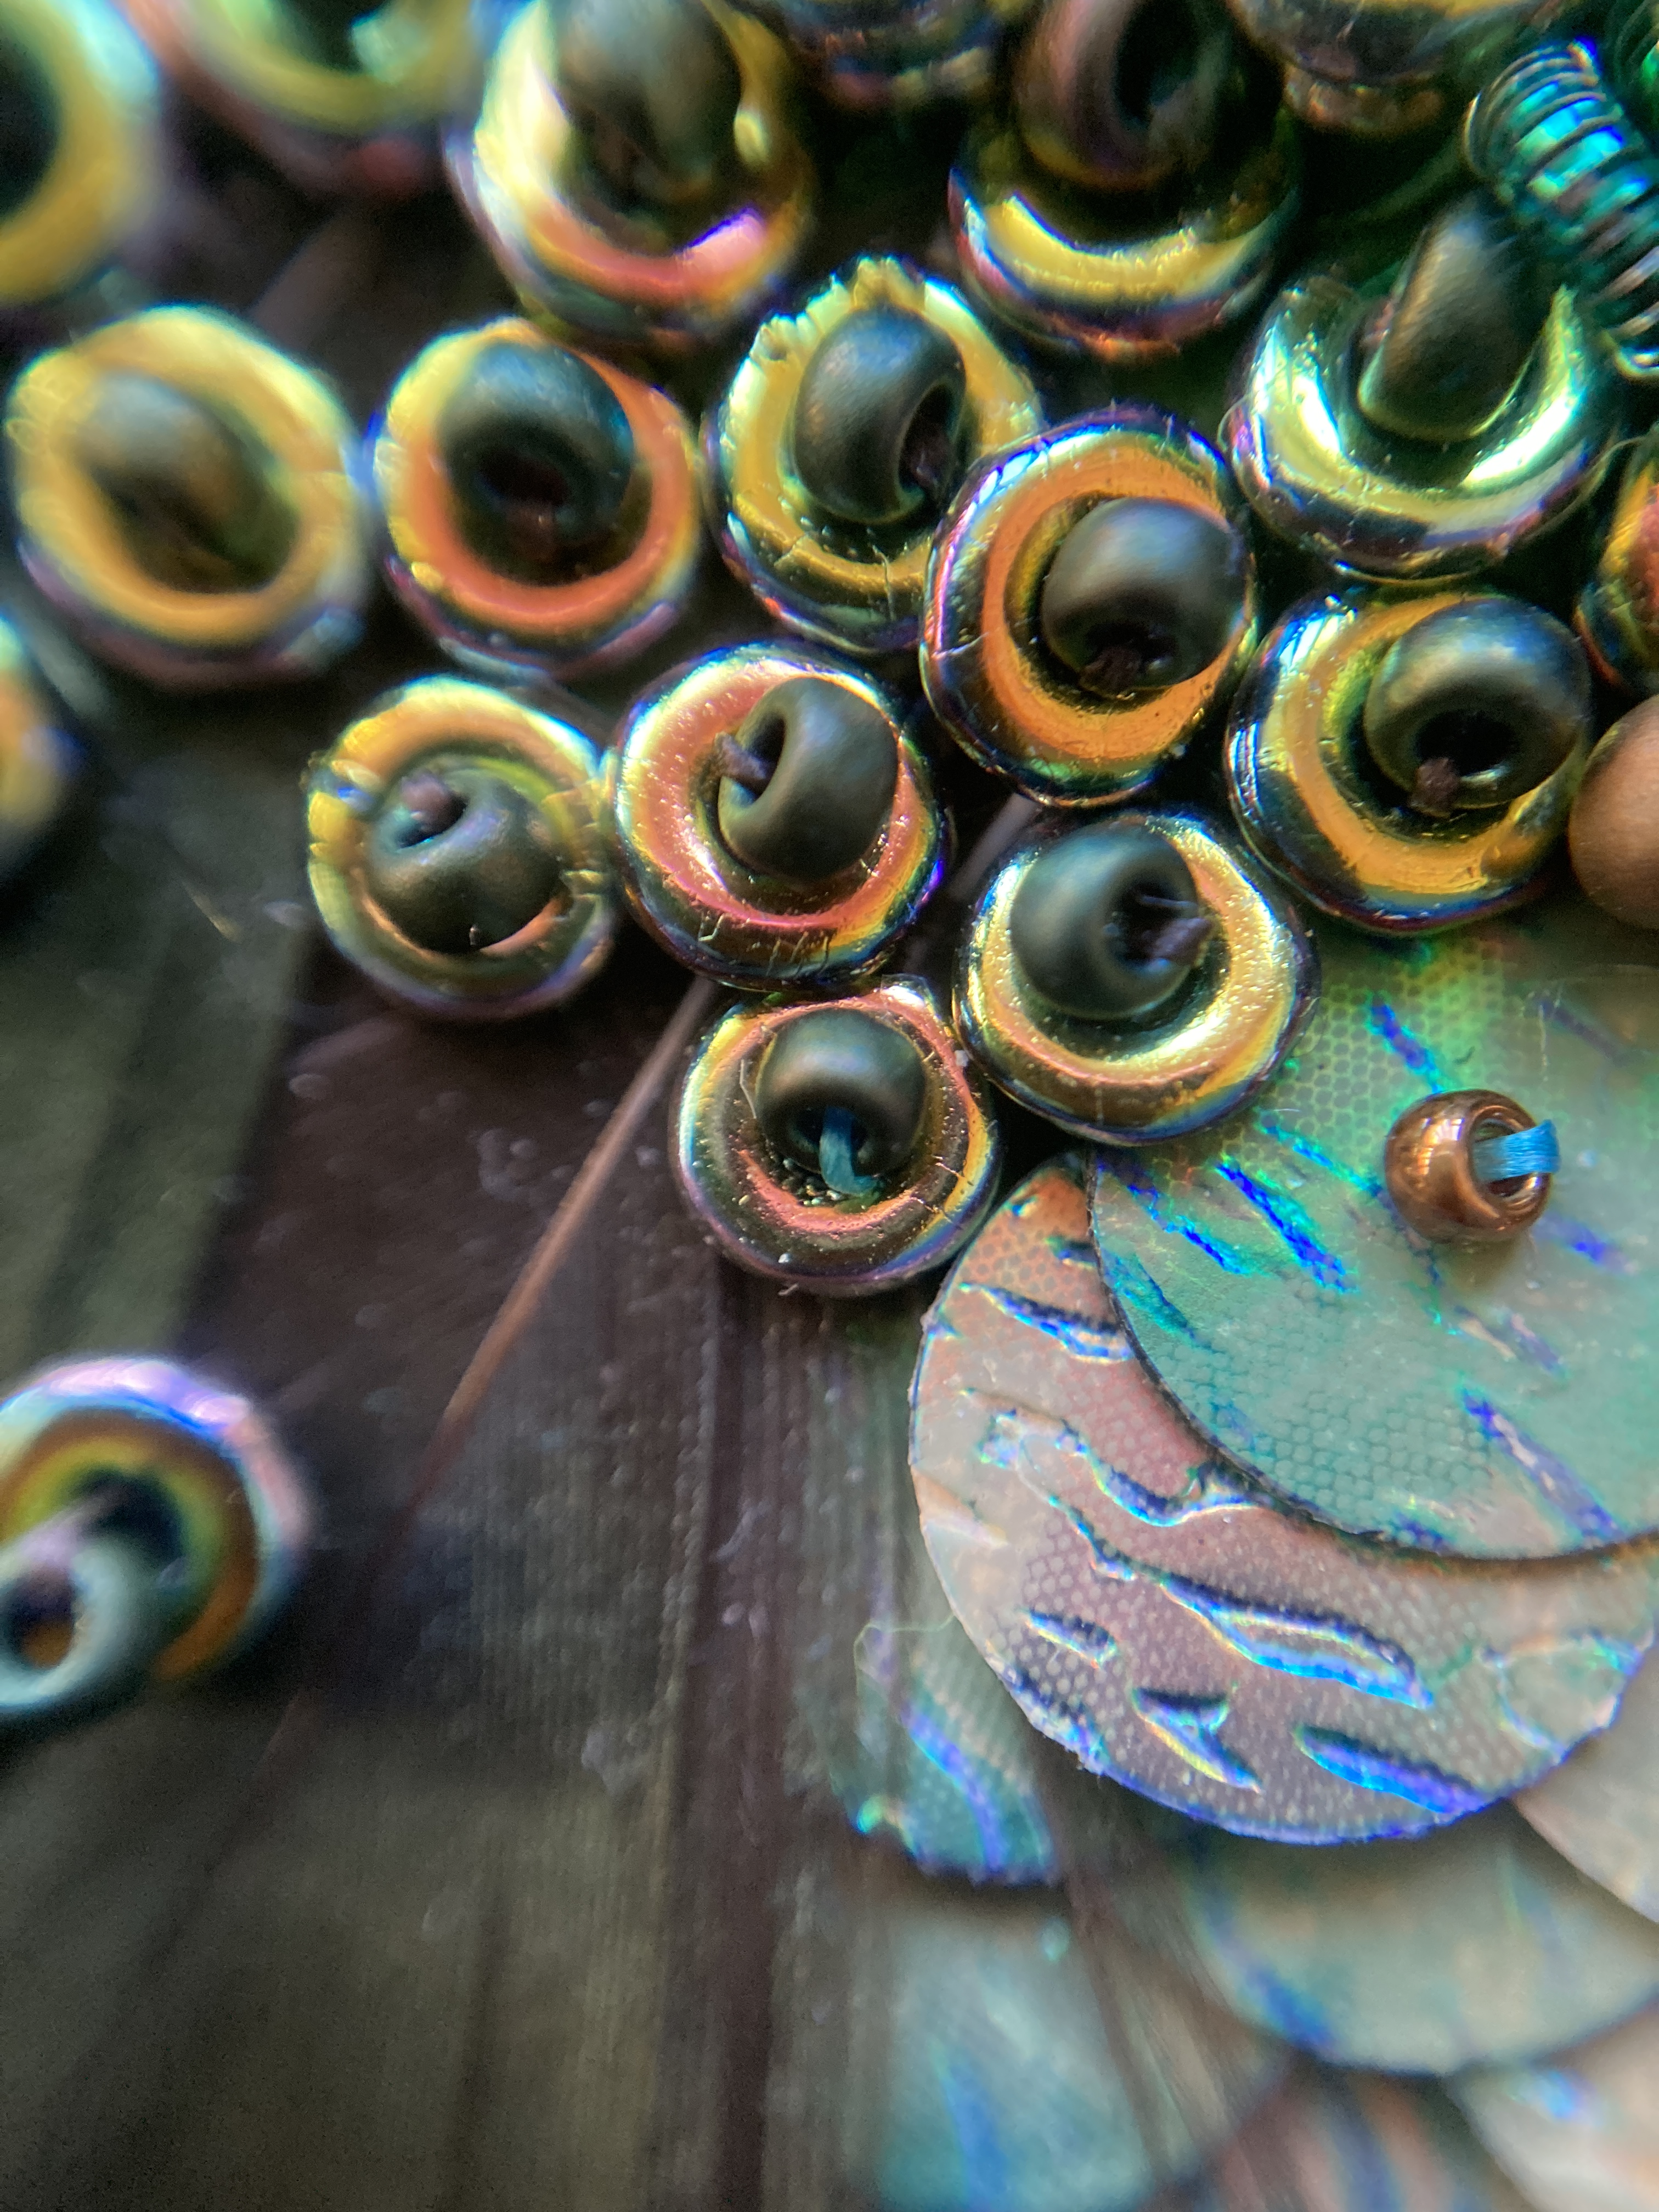
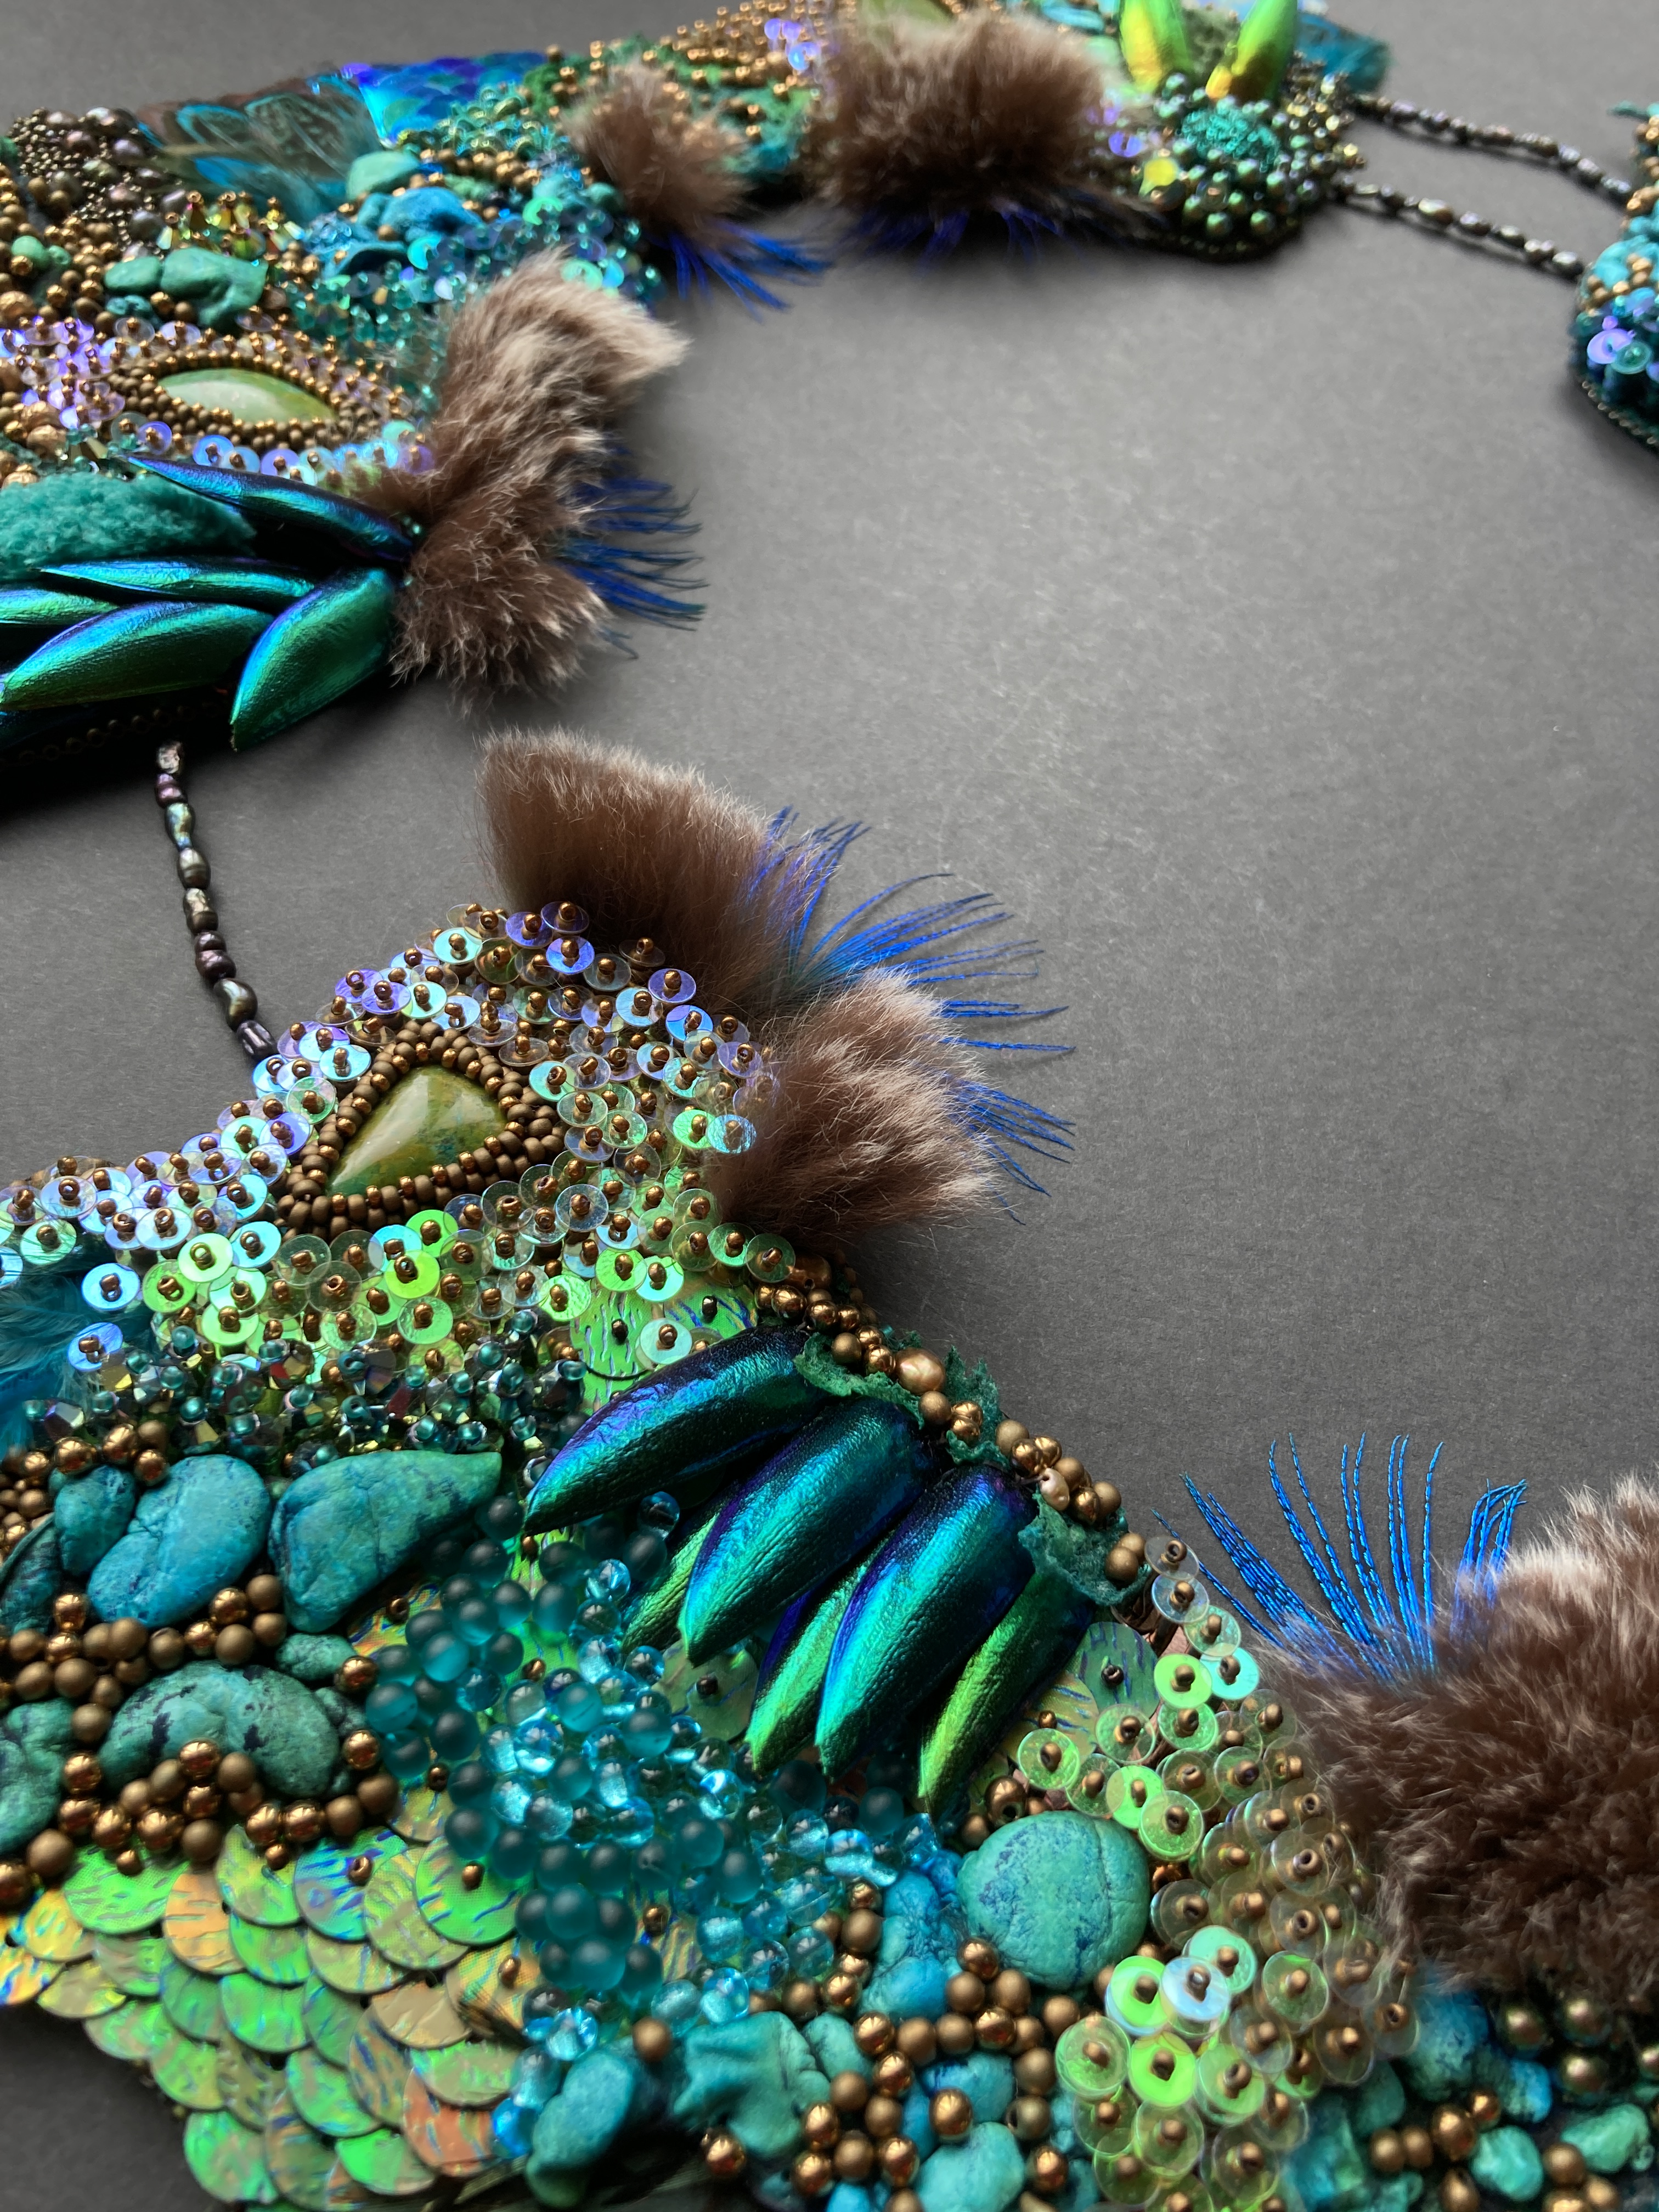
The beetle wings have been in my stash for about 15 years, and this was finally the perfect project for them – they’re carefully attached through tiny holes with give in the threads to allow them to move with the wearer, and had to go on just before backing.

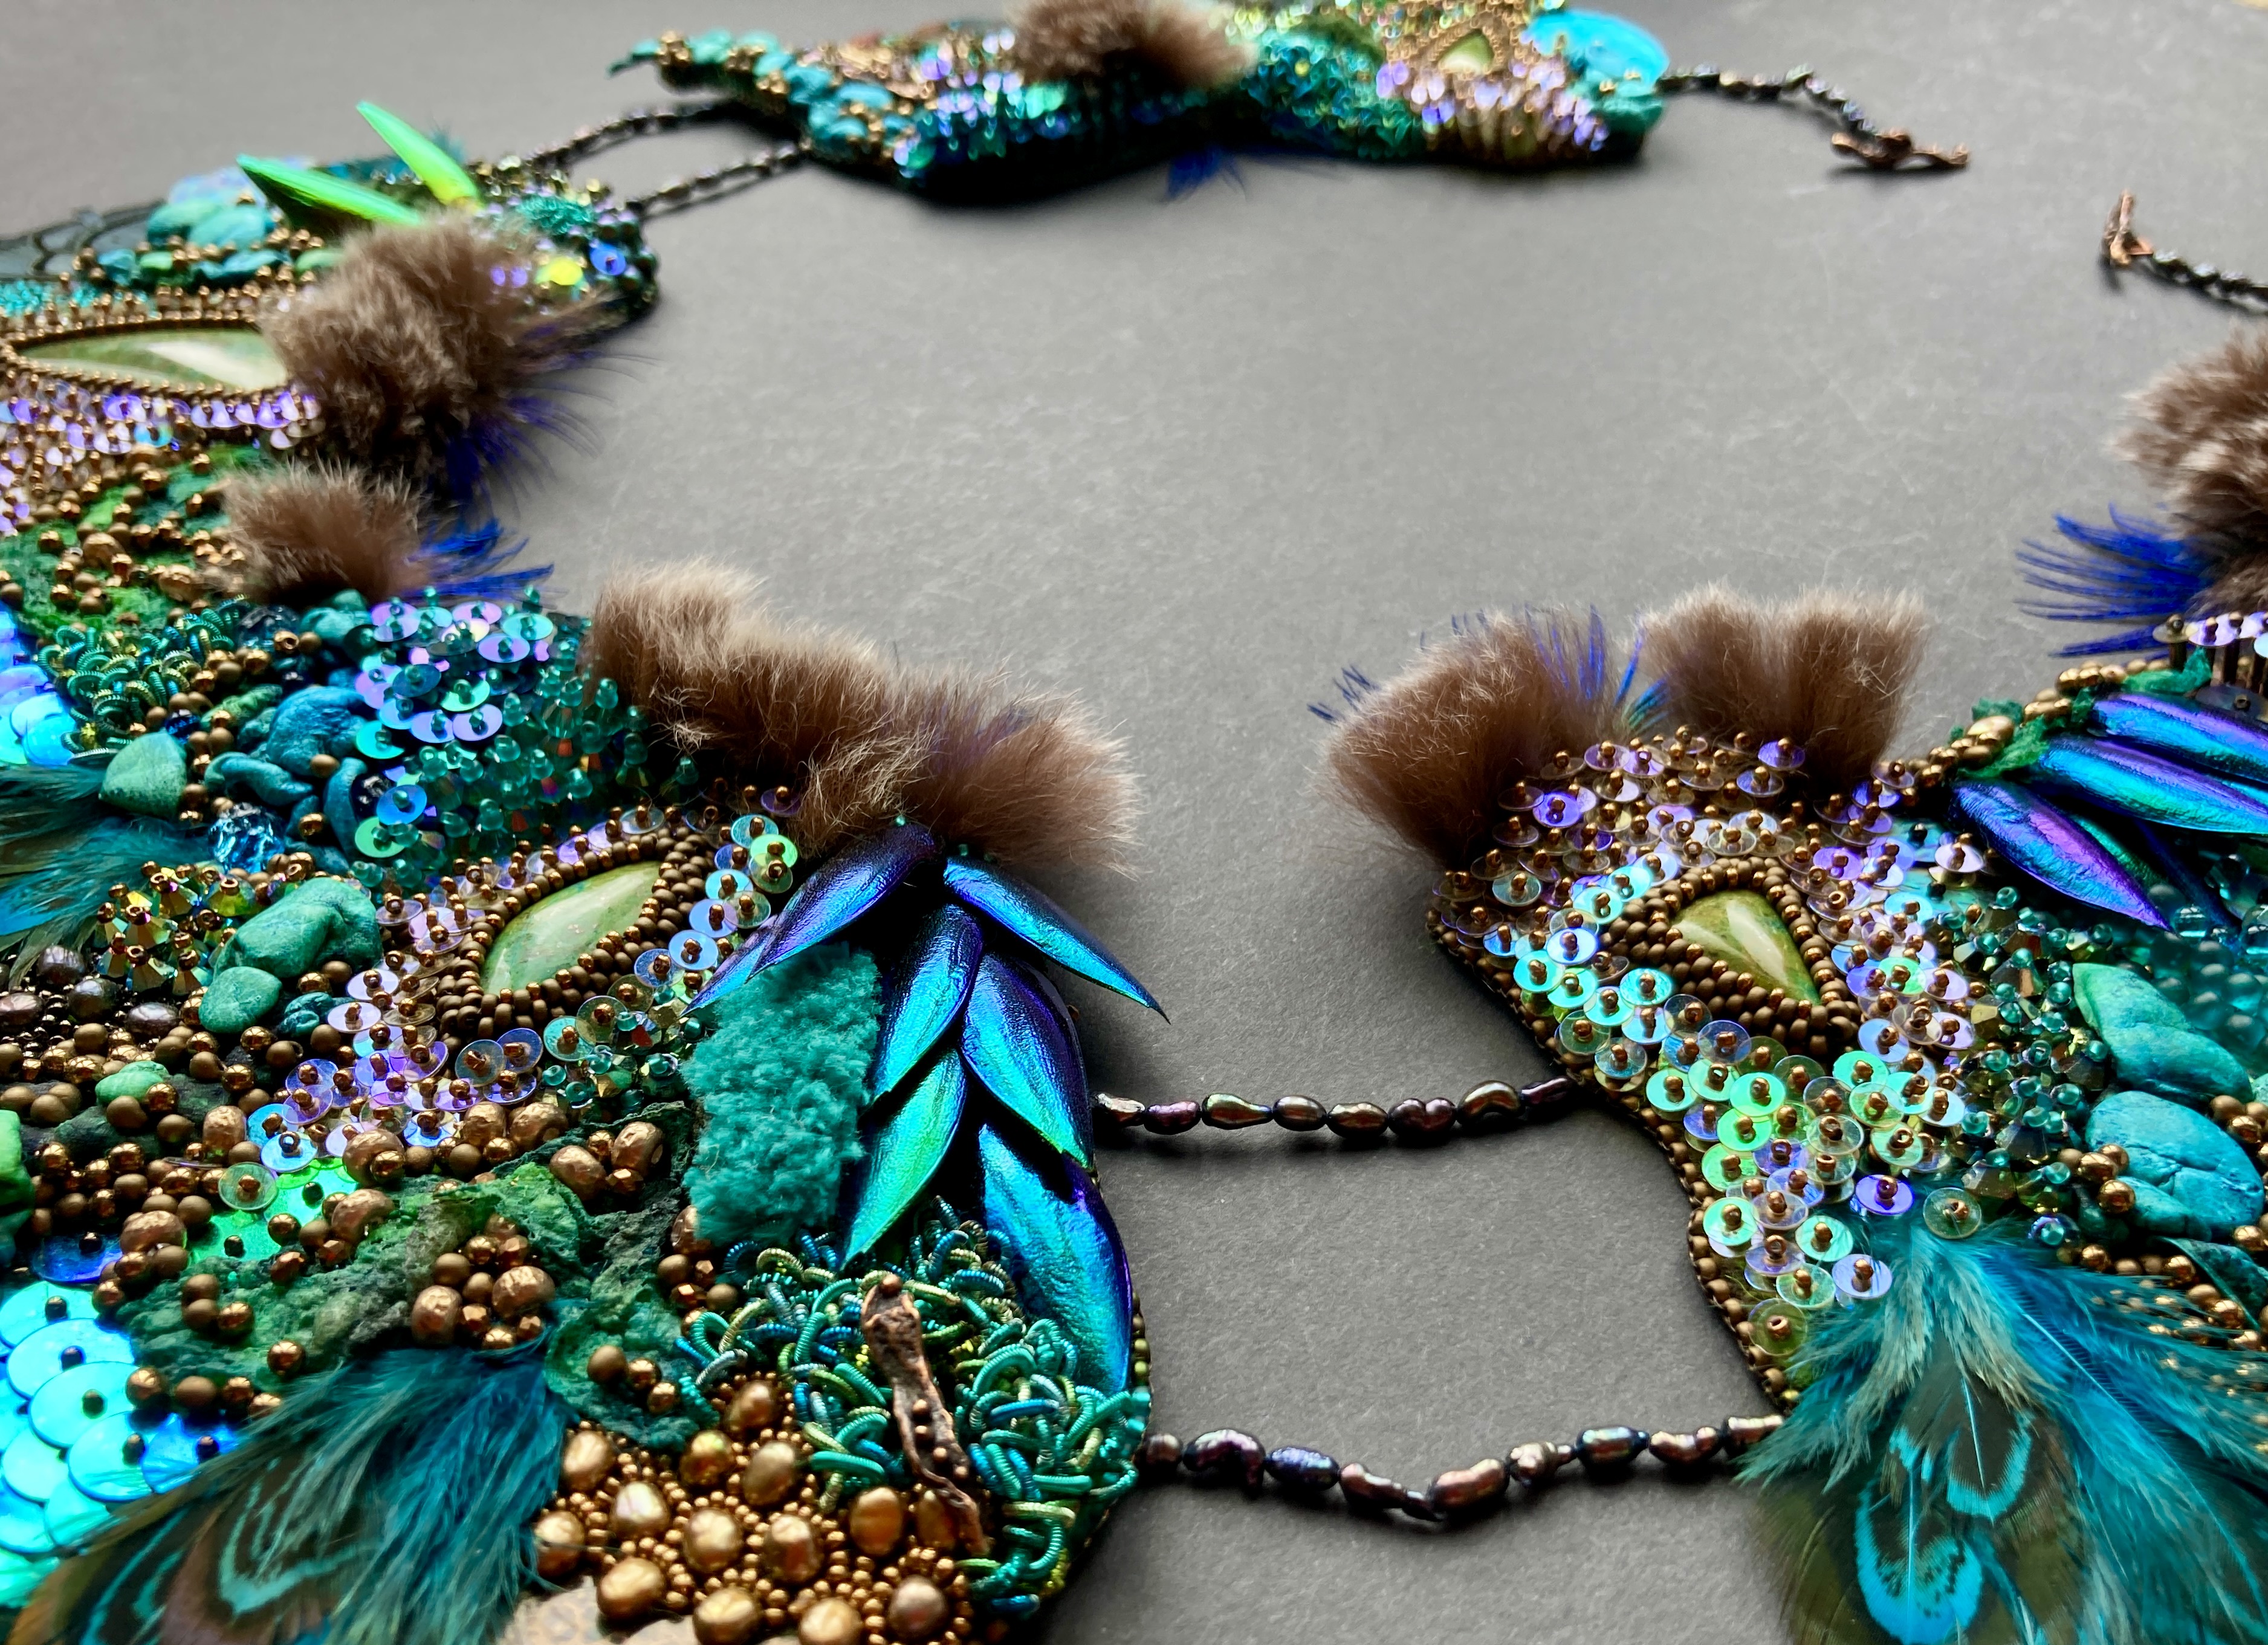
And finally, each section has small ‘button holes’ for the toggles – the sections need to move independently in wear so each have just two joining points, and the Anna Bronze toggles can sometimes just be seen sitting snugly in the textures. Each of those button holes plus all of the edges have been finished using the standard bead embroidery ‘sunshine edge’ – fiddly (particularly round the peacock feathers on the neck edge) but an important strengthening step to marry together the strong ultrasuede with the softer felt (which I’d already reinforced with dress net either side) .
I’ve probably missed some techniques or materials in this list – this was a very long project (started in November ’22, finished in March ’23) but I will try to share more ‘in progress’ shots on my social media accounts so we can all see it grow and I can describe some more of the process – just follow me on Instagram or Facebook to see those.


With so many materials in one piece a definitive supplier list is tough, particularly as so much came from my stash, but here are some key suppliers:
- The majority of the beads are Miyuki and from my stash, but I did need to bulk out some colours from a variety of bead sellers including Old Bicycle Shop, local to me Peppy Beads and the sadly now gone Stitch and Craft, and NataschaKralen rescued me when I needed lots more frosted silver lined teal in seeds and drops, as well as being the only place I could find the dark green Ultrasuede used to back it in a big enough quantity.
- There are also Swarovski pearls and bicone crystals from my stash, plus other crystals from Peppy Beads, who also supplied the long uneven rice pearl used in the reinforced linking strings. The chatons are Aurora from Old Bicycle Shop.
- The cabochons are Parrot’s Wing Chrysocolla from Designer Cabochons, actually partially purchased using a gift certificate from a previous Guild win – these were a great find and were the starting point for the whole piece and it was lovely to cycle the prize money back into the contest like this.
- The other pearls were all from my stash and had been there for many years, as had the beetle wings, and the Anna Bronze toggles have been languishing for a while waiting for a special enough project.
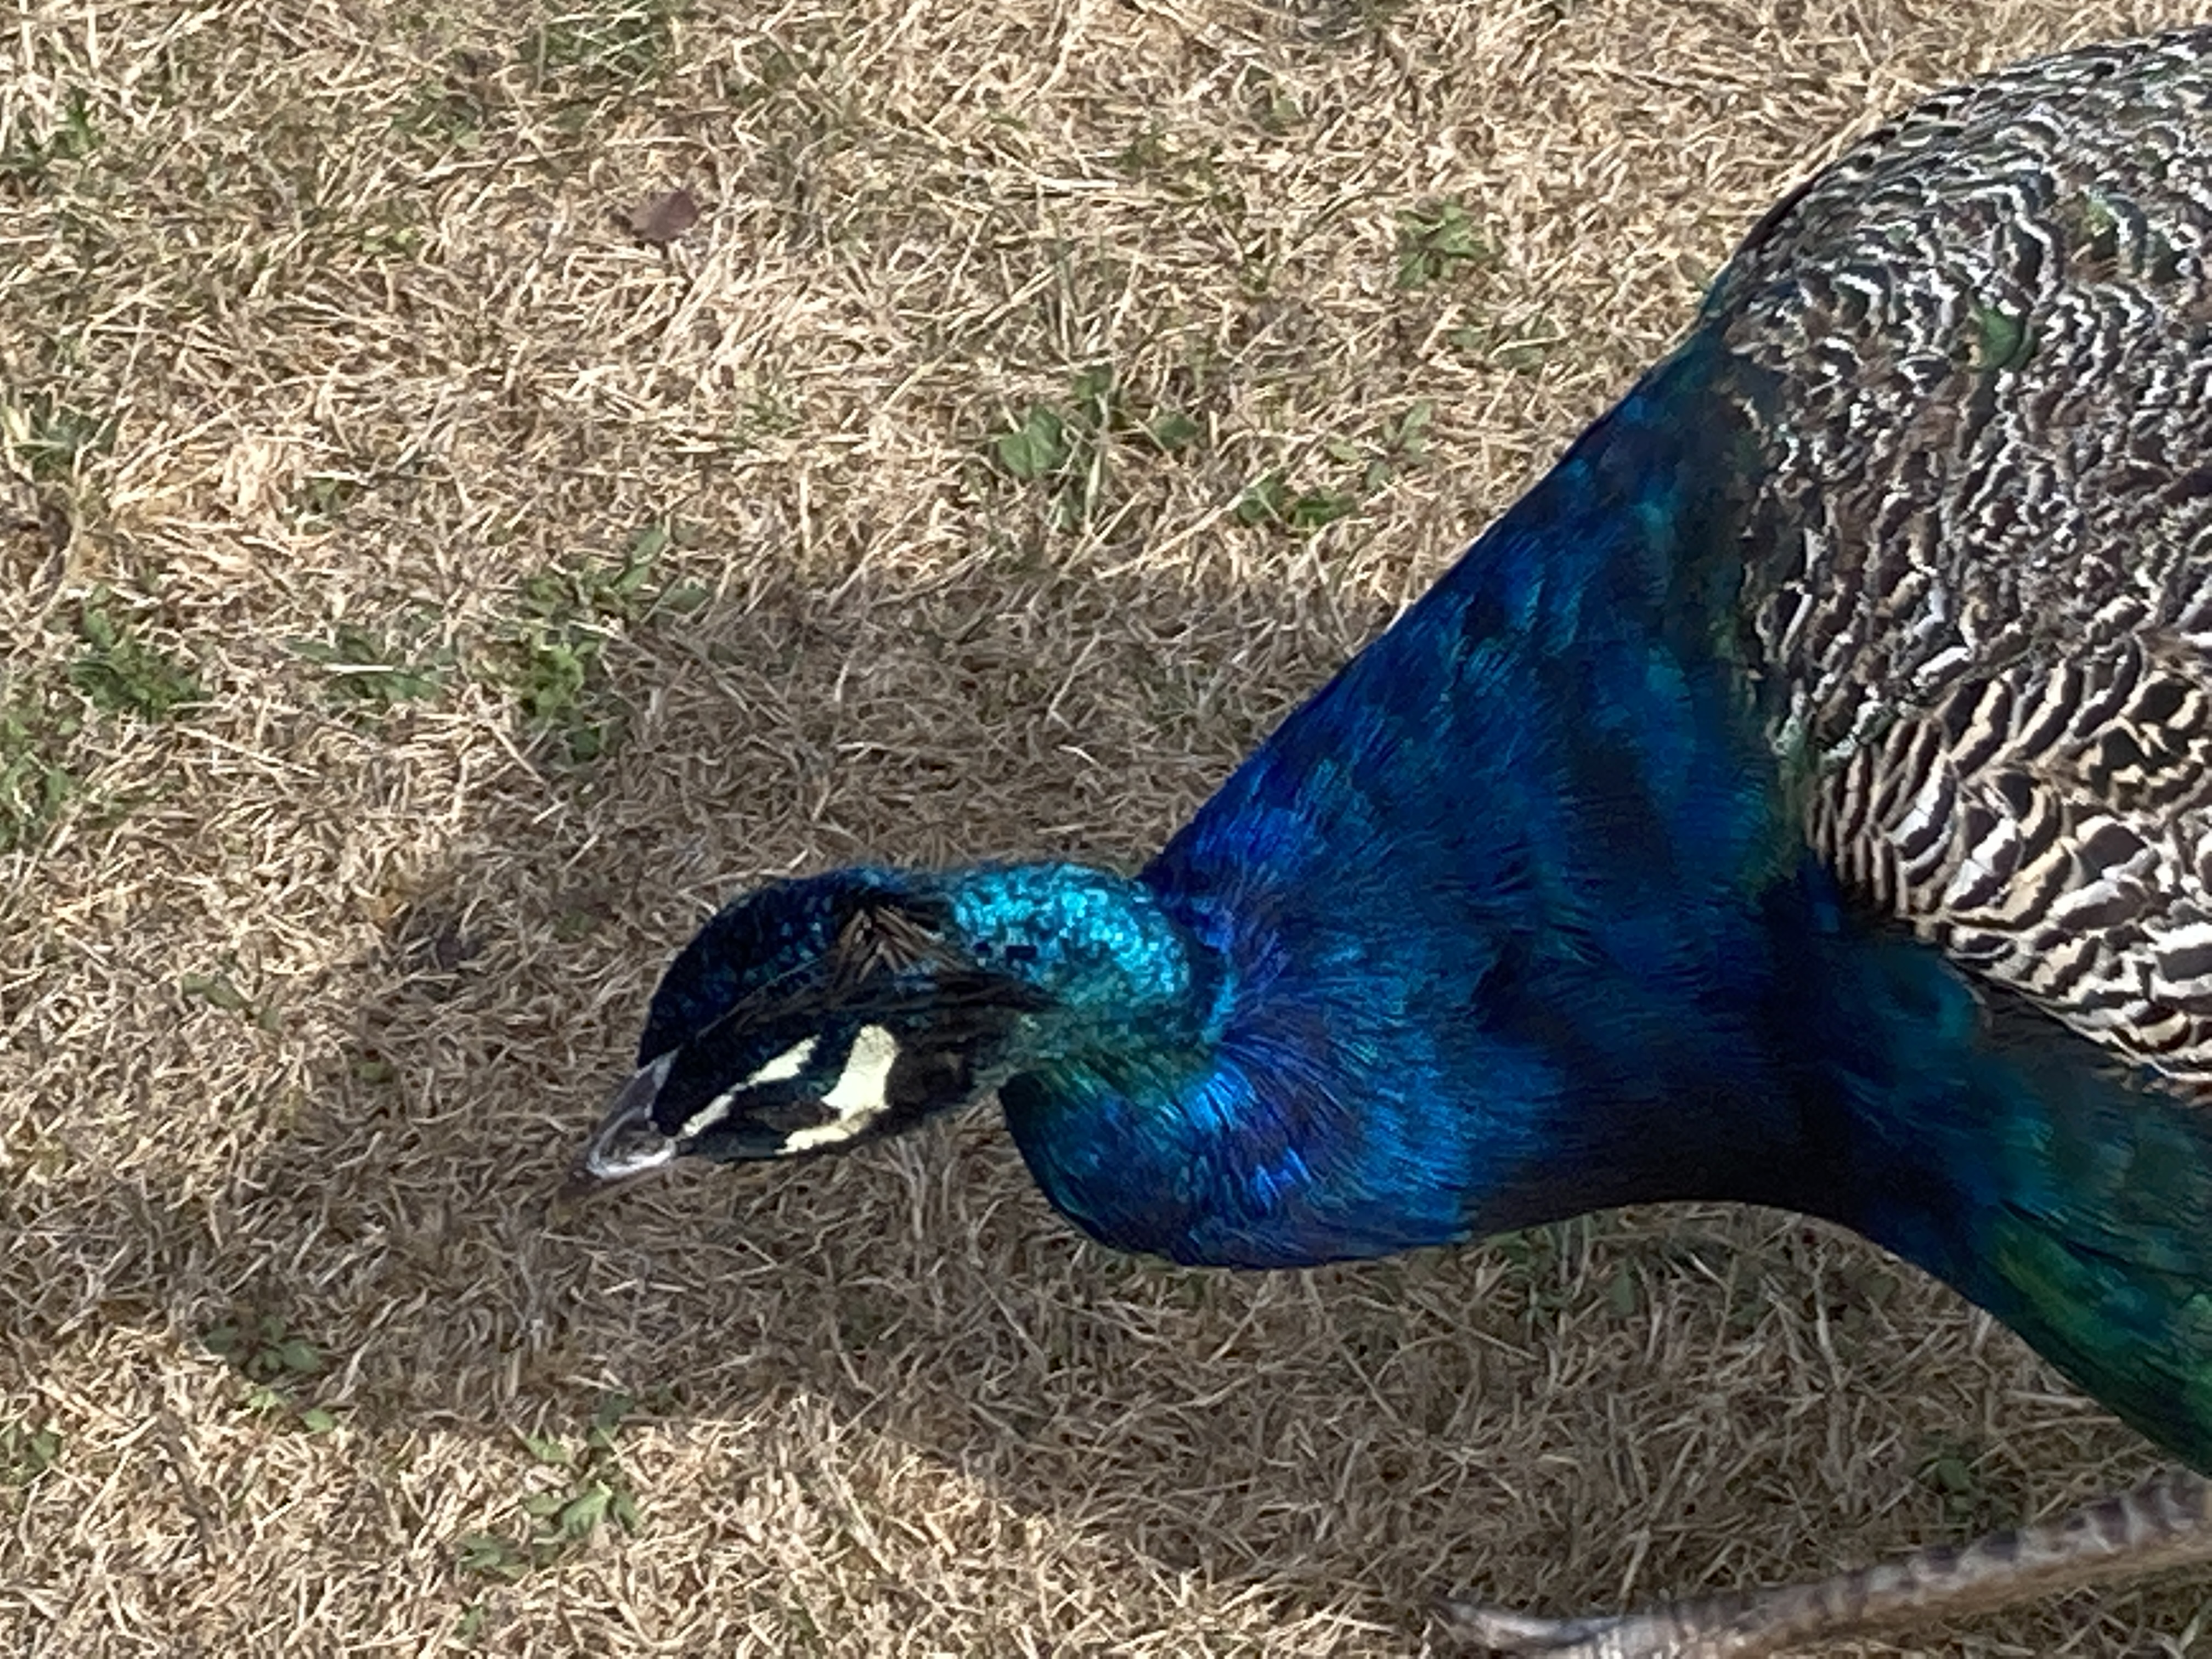
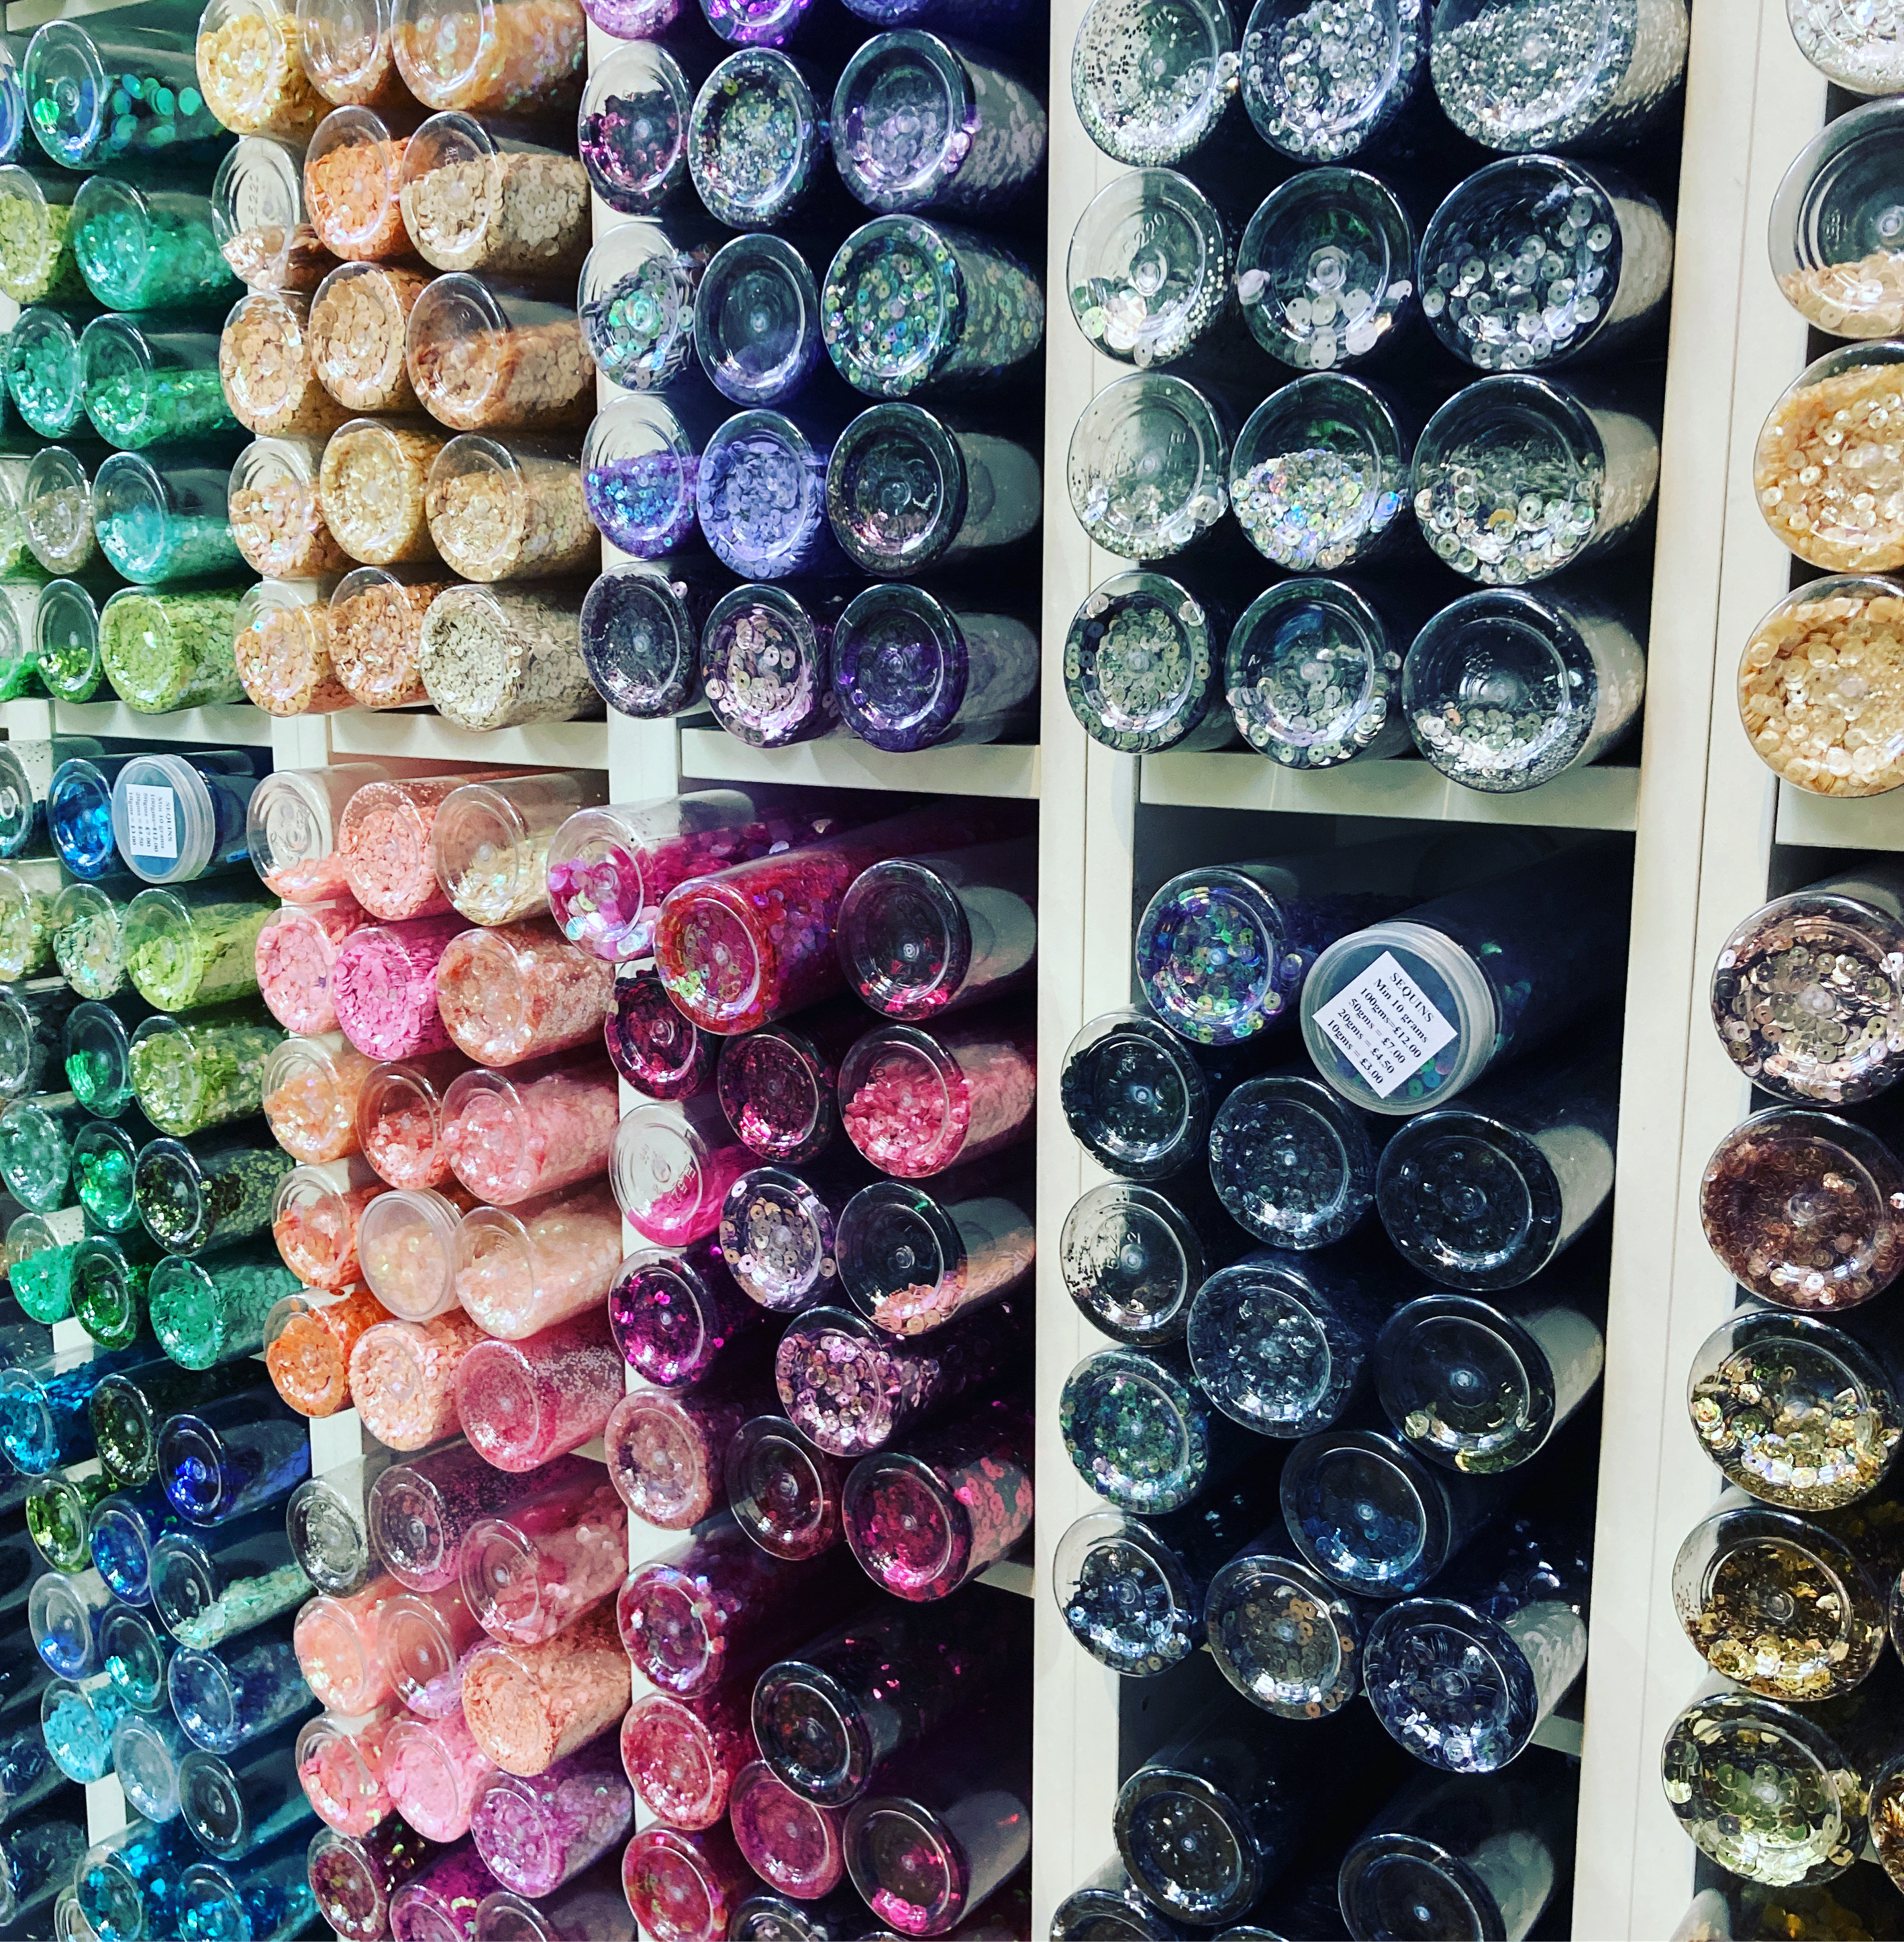
- Sequins again from my stash but also quite a few new ones from Fan New Trimmings in Soho’s Berwick Street (who sell them loose by weight – wow – pictures below), and they also provided the amazing feathers (plus a few of the peacock feathers had been collected on our annual trips to Brownsea Island, where the peacocks roam wild).
- Hand dyed threads for the mossy furry punch needled sections came from my stash, and were originally from Hope Jacare as usual.
- The tyvek and Lutrador came in a mixed pack from Molten Designs on Etsy- really useful for trying this out. I you want to have a go you’ll need a heat gun to melt and I used acrylic inks to colour them – you can use alcohol inks but they’re not as colour fast.
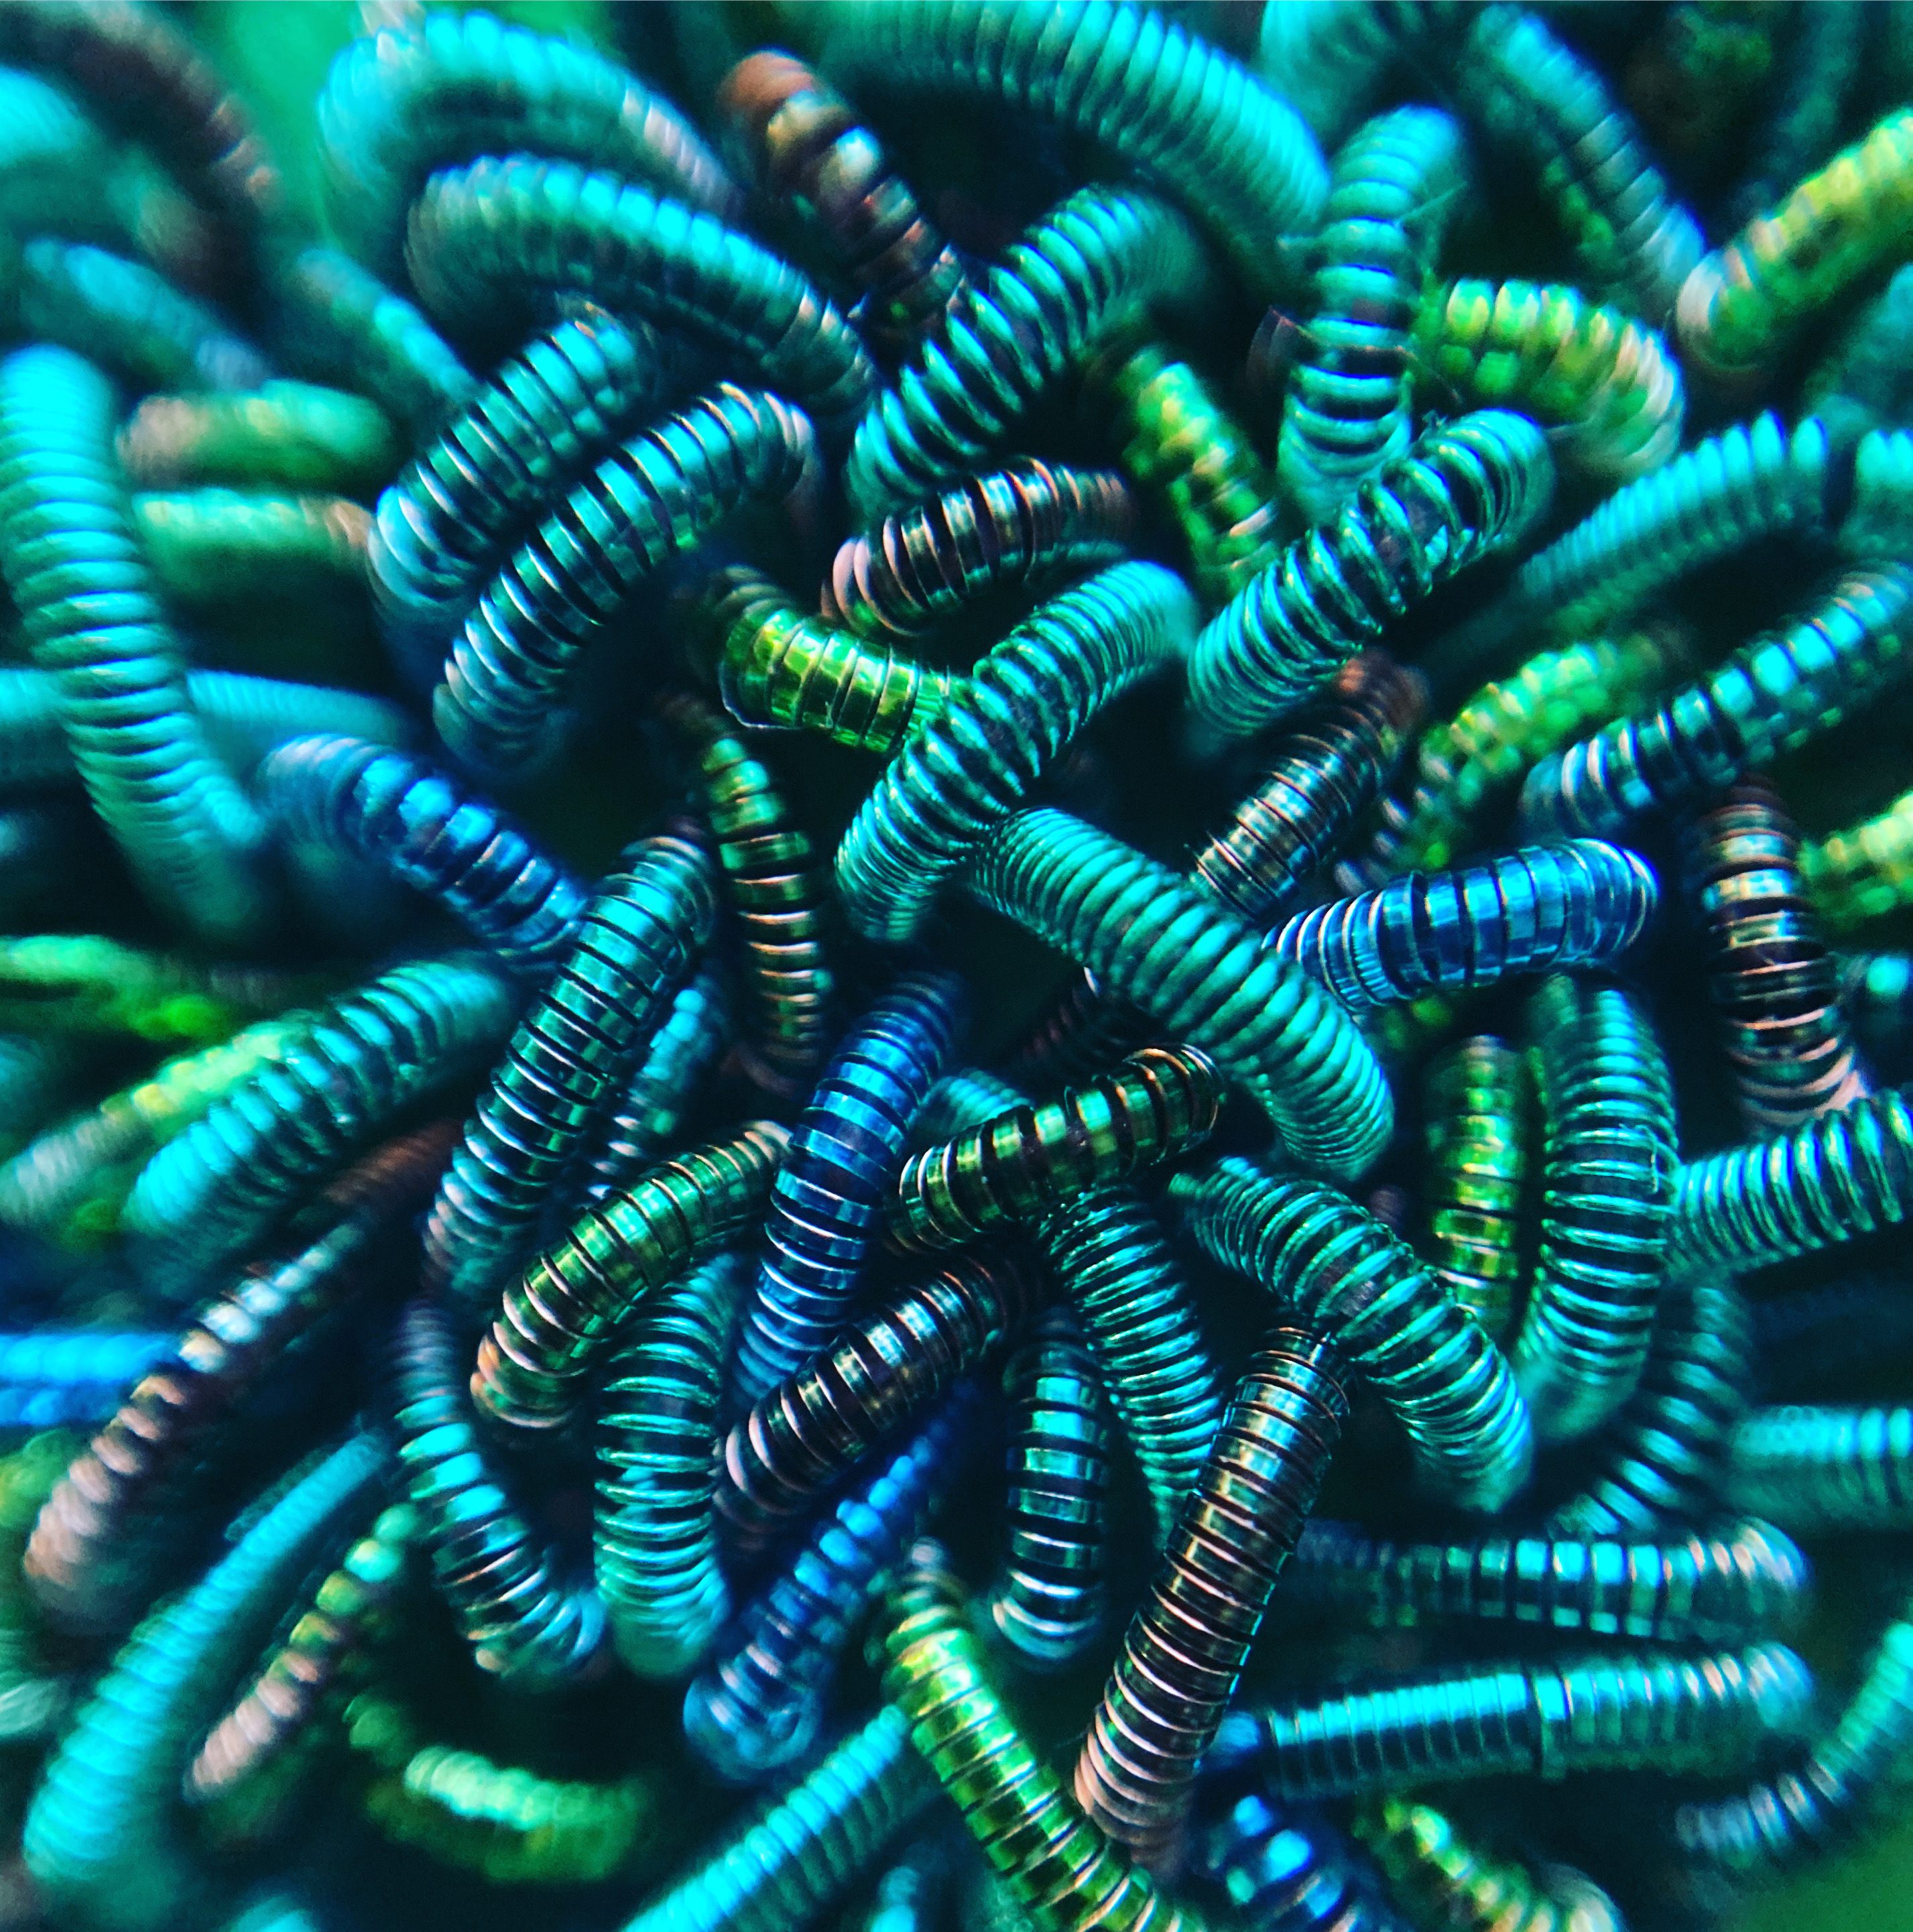
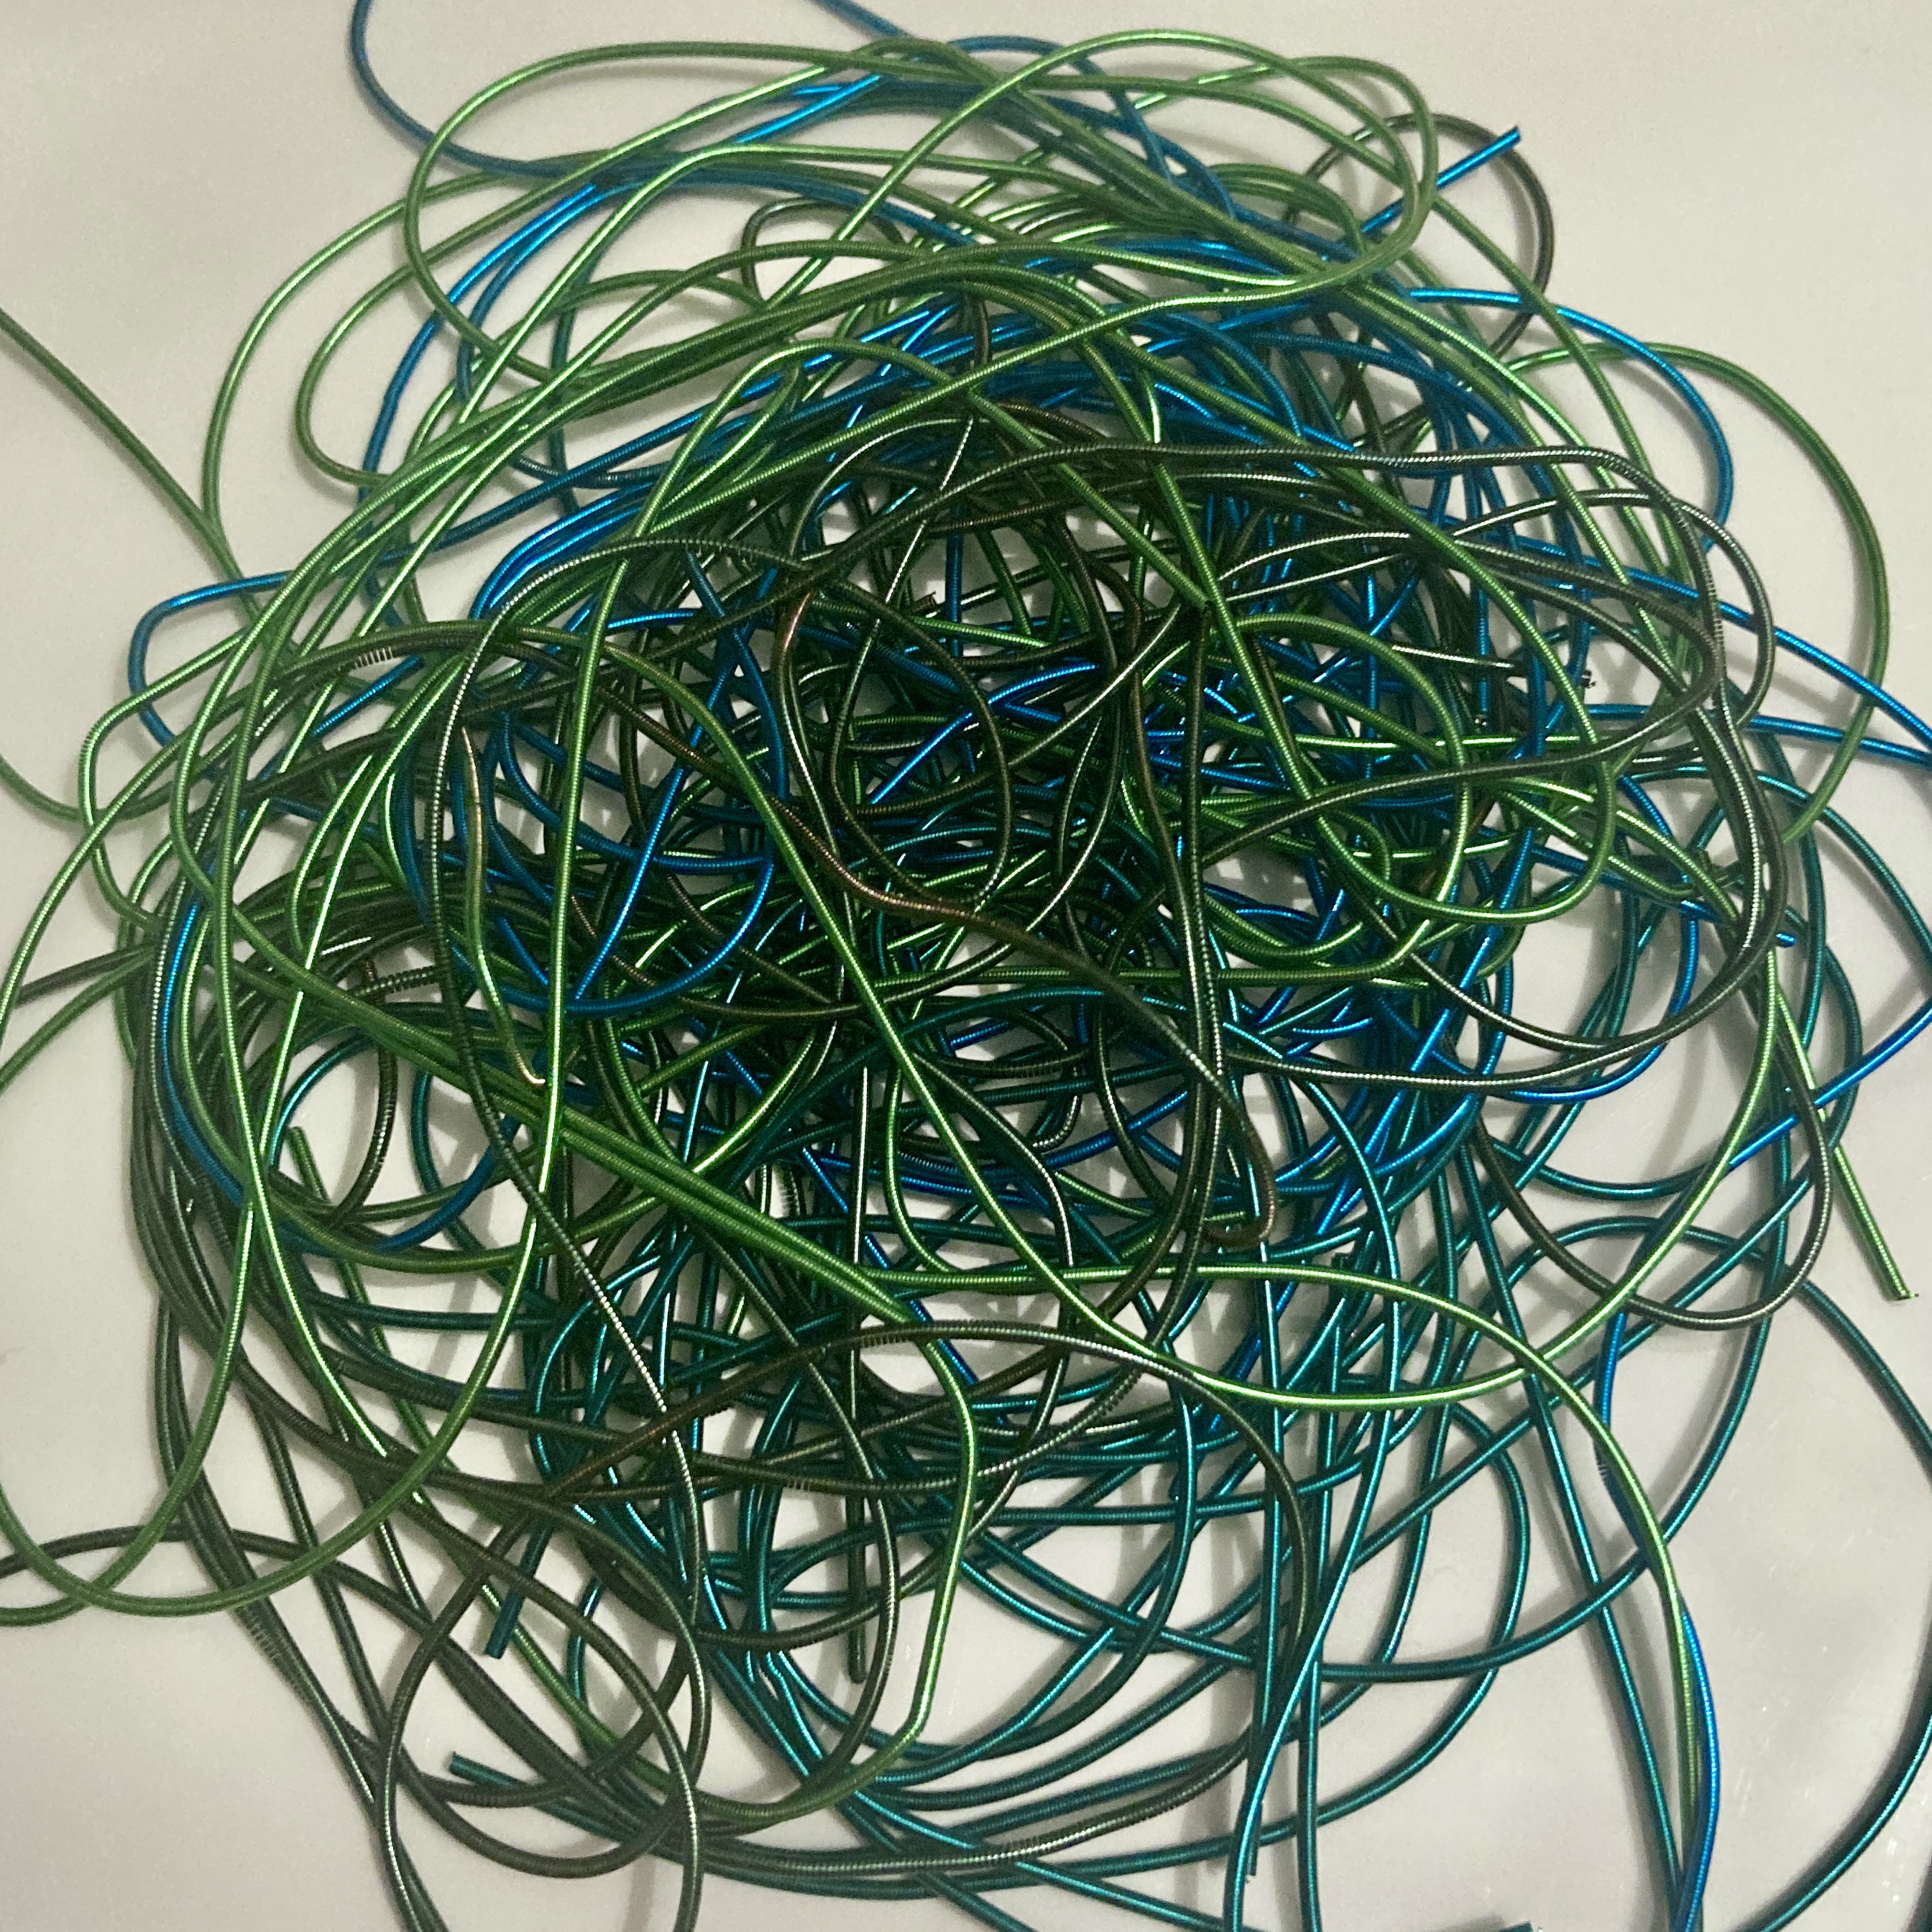
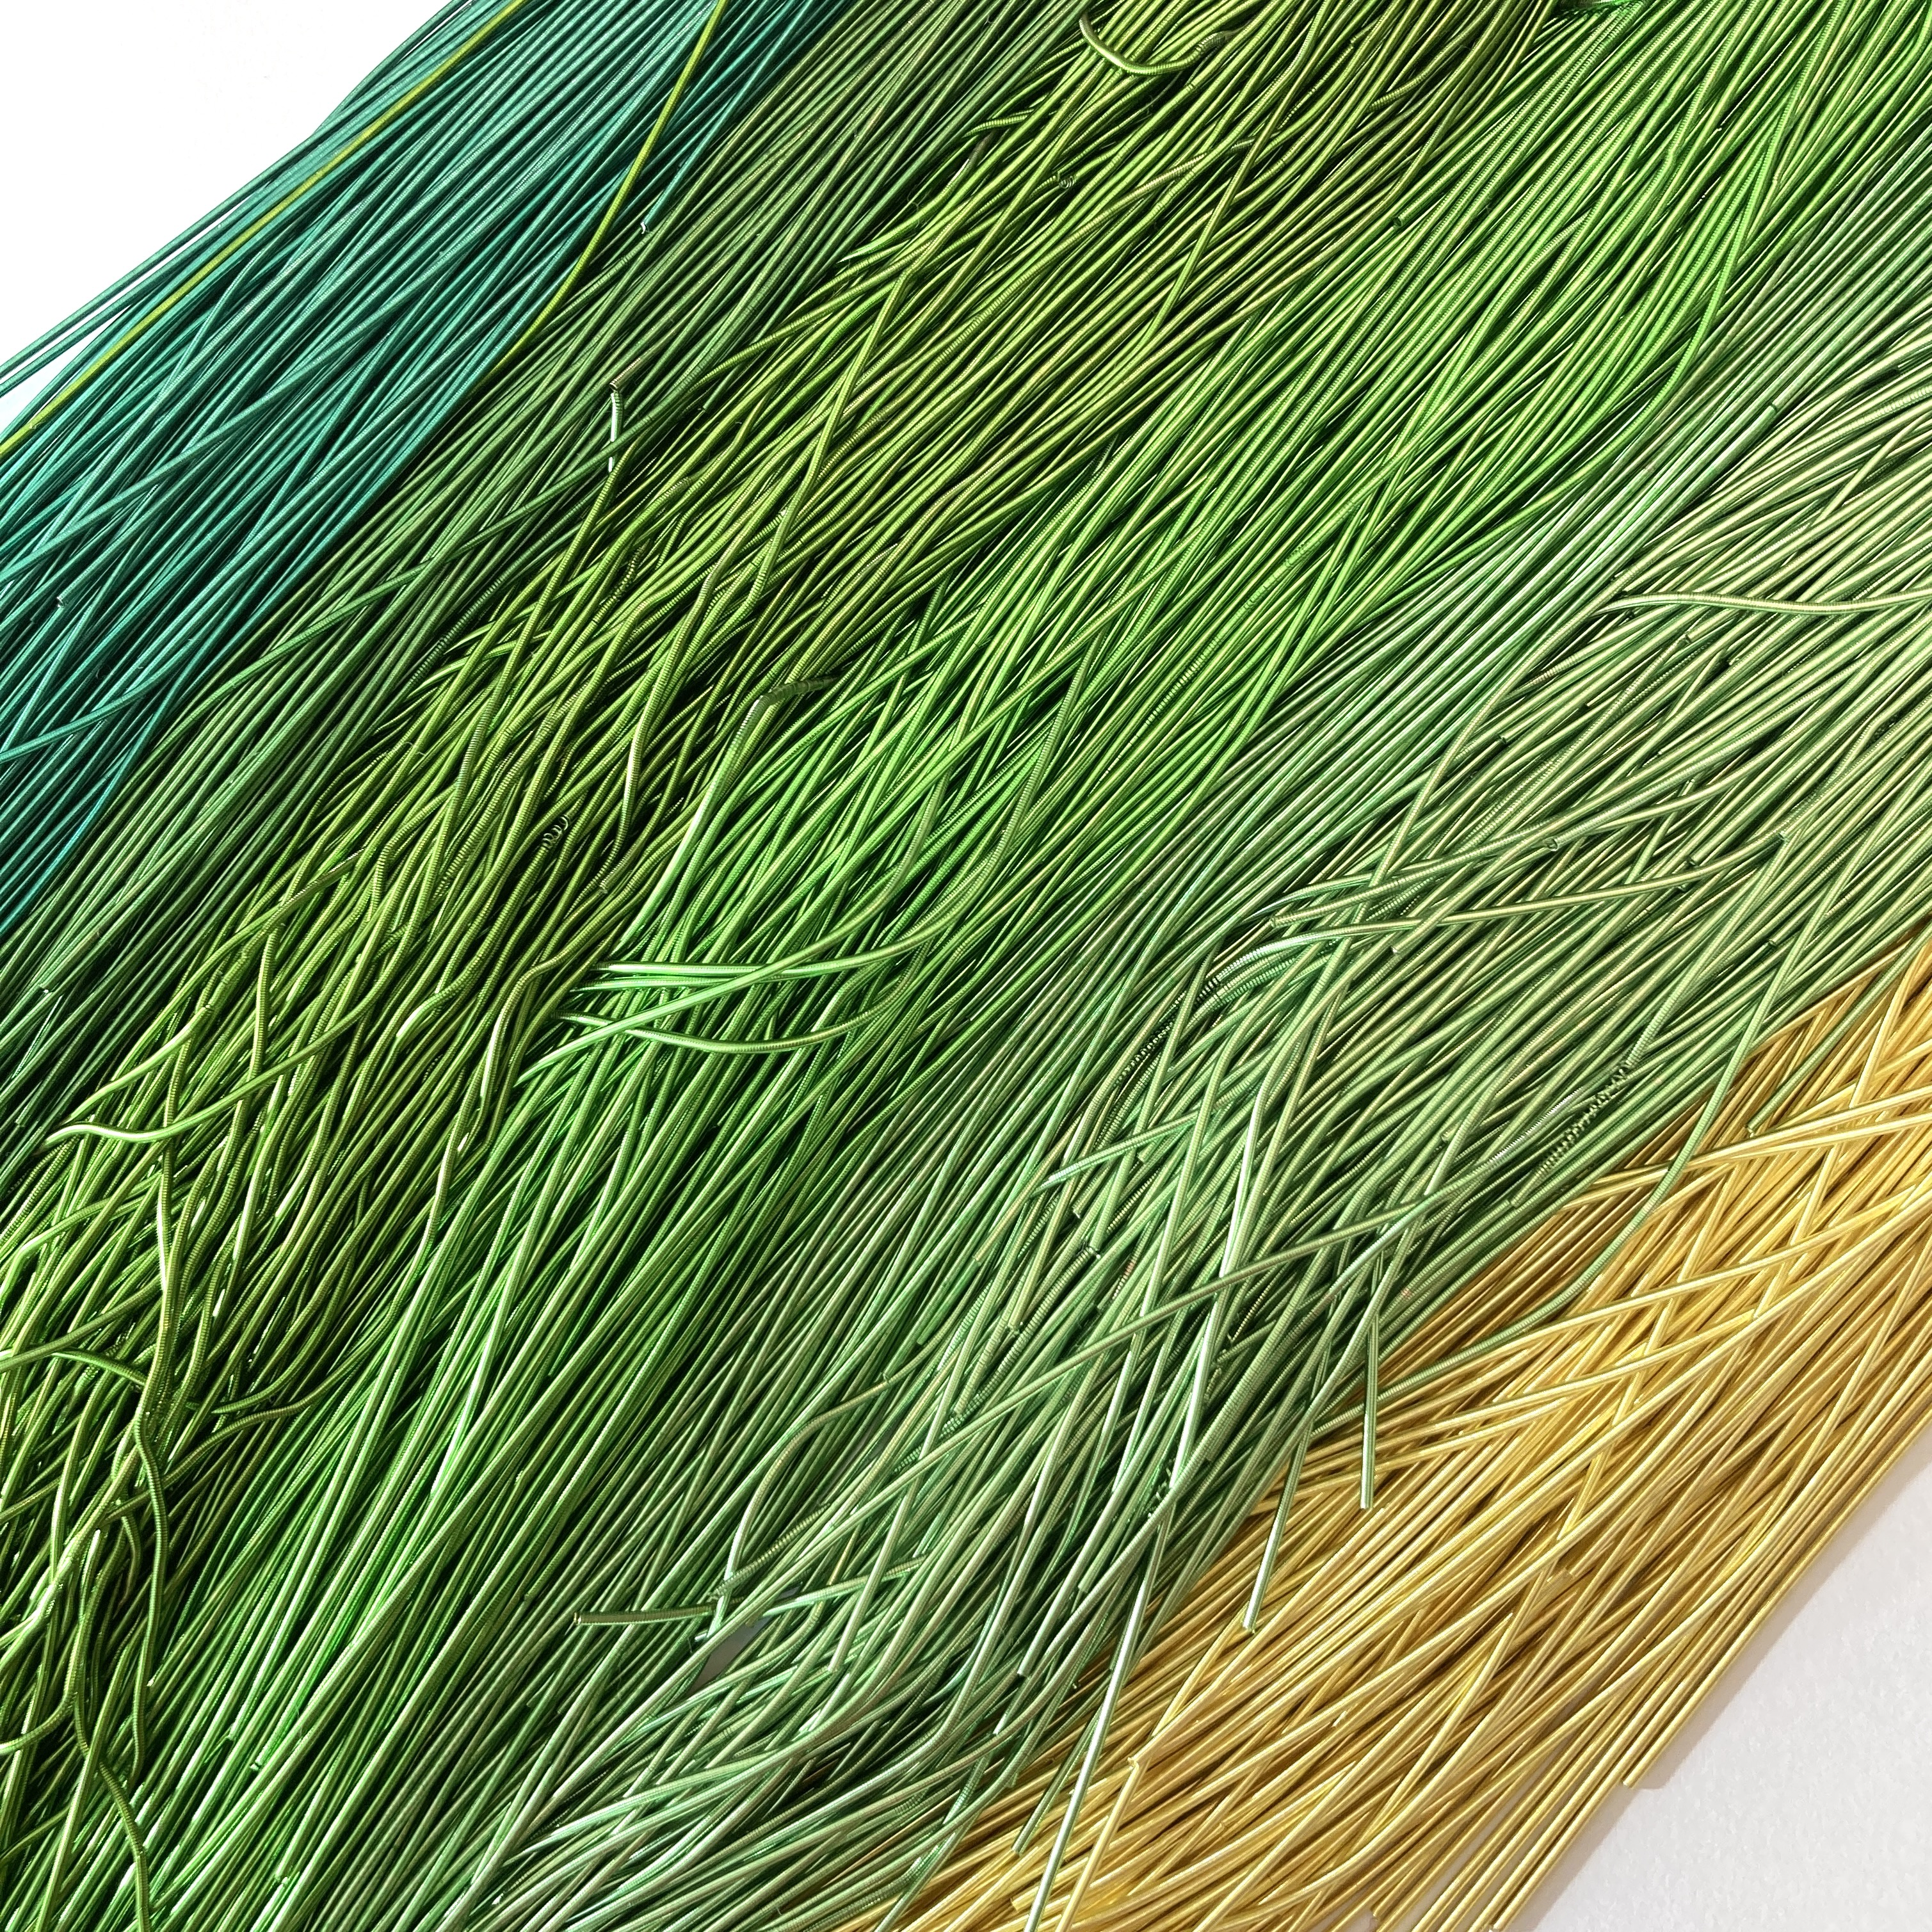
- And the smooth purls used on the loops are (obviously) from my stock for my own Etsy shop – where else!?

Anyway, overall I did enjoy making this piece, and after 5 months of work still actually like it (not always the case with some pieces). I feel very happy and proud that it won it’s class in such an important competition. Thank you to the Guild for continuing to run the Challenge and for setting such an interesting theme (and for liking my work yet again!). A particular thank you has to go to all those who enter – whether you’re like me and have entered several times or it’s your first try we’re all contributing to stretching and promoting our wonderful art form and I’m jolly proud to be part of that.

Congratulations on winning the challenge and for bringing such a beautiful and artful piece to life. I enjoy reading about your always innovating creative journey. I absolutely love what you make and I hope that you realize how absolutely amazing your work is.
Thanks Cath – we both did well this year! The Challenge is such a good chance to really push ourselves and it’s great to see the results. Looking forward to seeing the other entries at some point too.