Earlier this year I started making a set of beaded beads. I love beaded beads, they’re something I come back to time and time again when I need a beaded piece for an outfit, when I’m stuck creatively, or when I want to really dig into some new 3D techniques and ideas. I went back to geometric solids and started playing with some methods and ideas I’ve been back and forth with over many years. I was trying to put together ’99 Red Balloons’ for a competition (Bead a Song) – that didn’t work out (I’ll tell you what did another day) but returning to such a versatile method made me realise I needed to get this one published and out of my system.
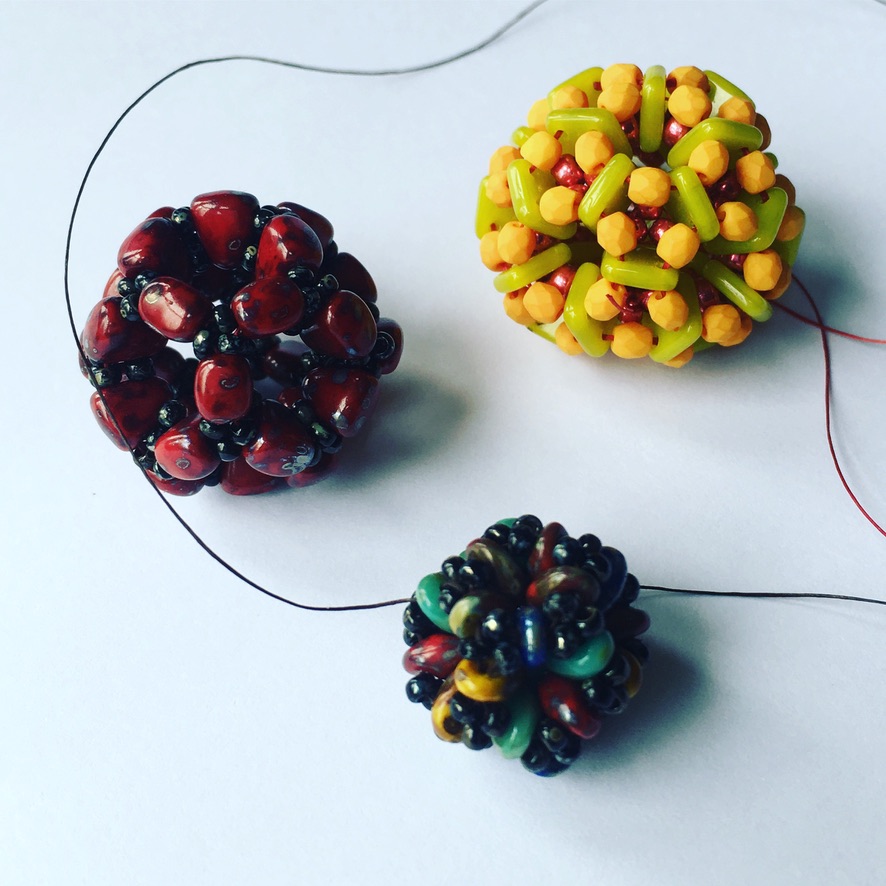
About 10 years ago I started making dodecahedra a lot, first using well known methods to do single layered versions alongside icosahedra. Those can be self supporting if you weave through enough (and you’ve picked the right bead size), and I loved that. A self-supporting beaded bead is hollow, often see through, and you don’t have to faff around finding exactly the right size and colour of inner support bead. 2 holed beads were starting to become mainstream, so I made double layered versions using Twins and SuperDuos and found that if I used the right combinations of beads I could make rigid 2 layered beaded beads, and also use (if I wanted) feature beads to the outside layer. The first of these were made with Twins and Pips and I used them a few years later to enter a Preciosa competition in 2017. The Pip versions were pretty good but at this stage the naked Twins were still a little wobbly.

So far fine, but nothing revolutionary. I played around a bit and worked out that other 2 holed beads worked, made a few pretty solid sets with Nib Bits, and even started playing with 4 holed beads with limited success (I need to go back to that one day). Other beaders were doing way better things with multi-holed beads and geometric builds and my efforts were cute but not really clever enough on their own compared to work being done by others, so I put them away.
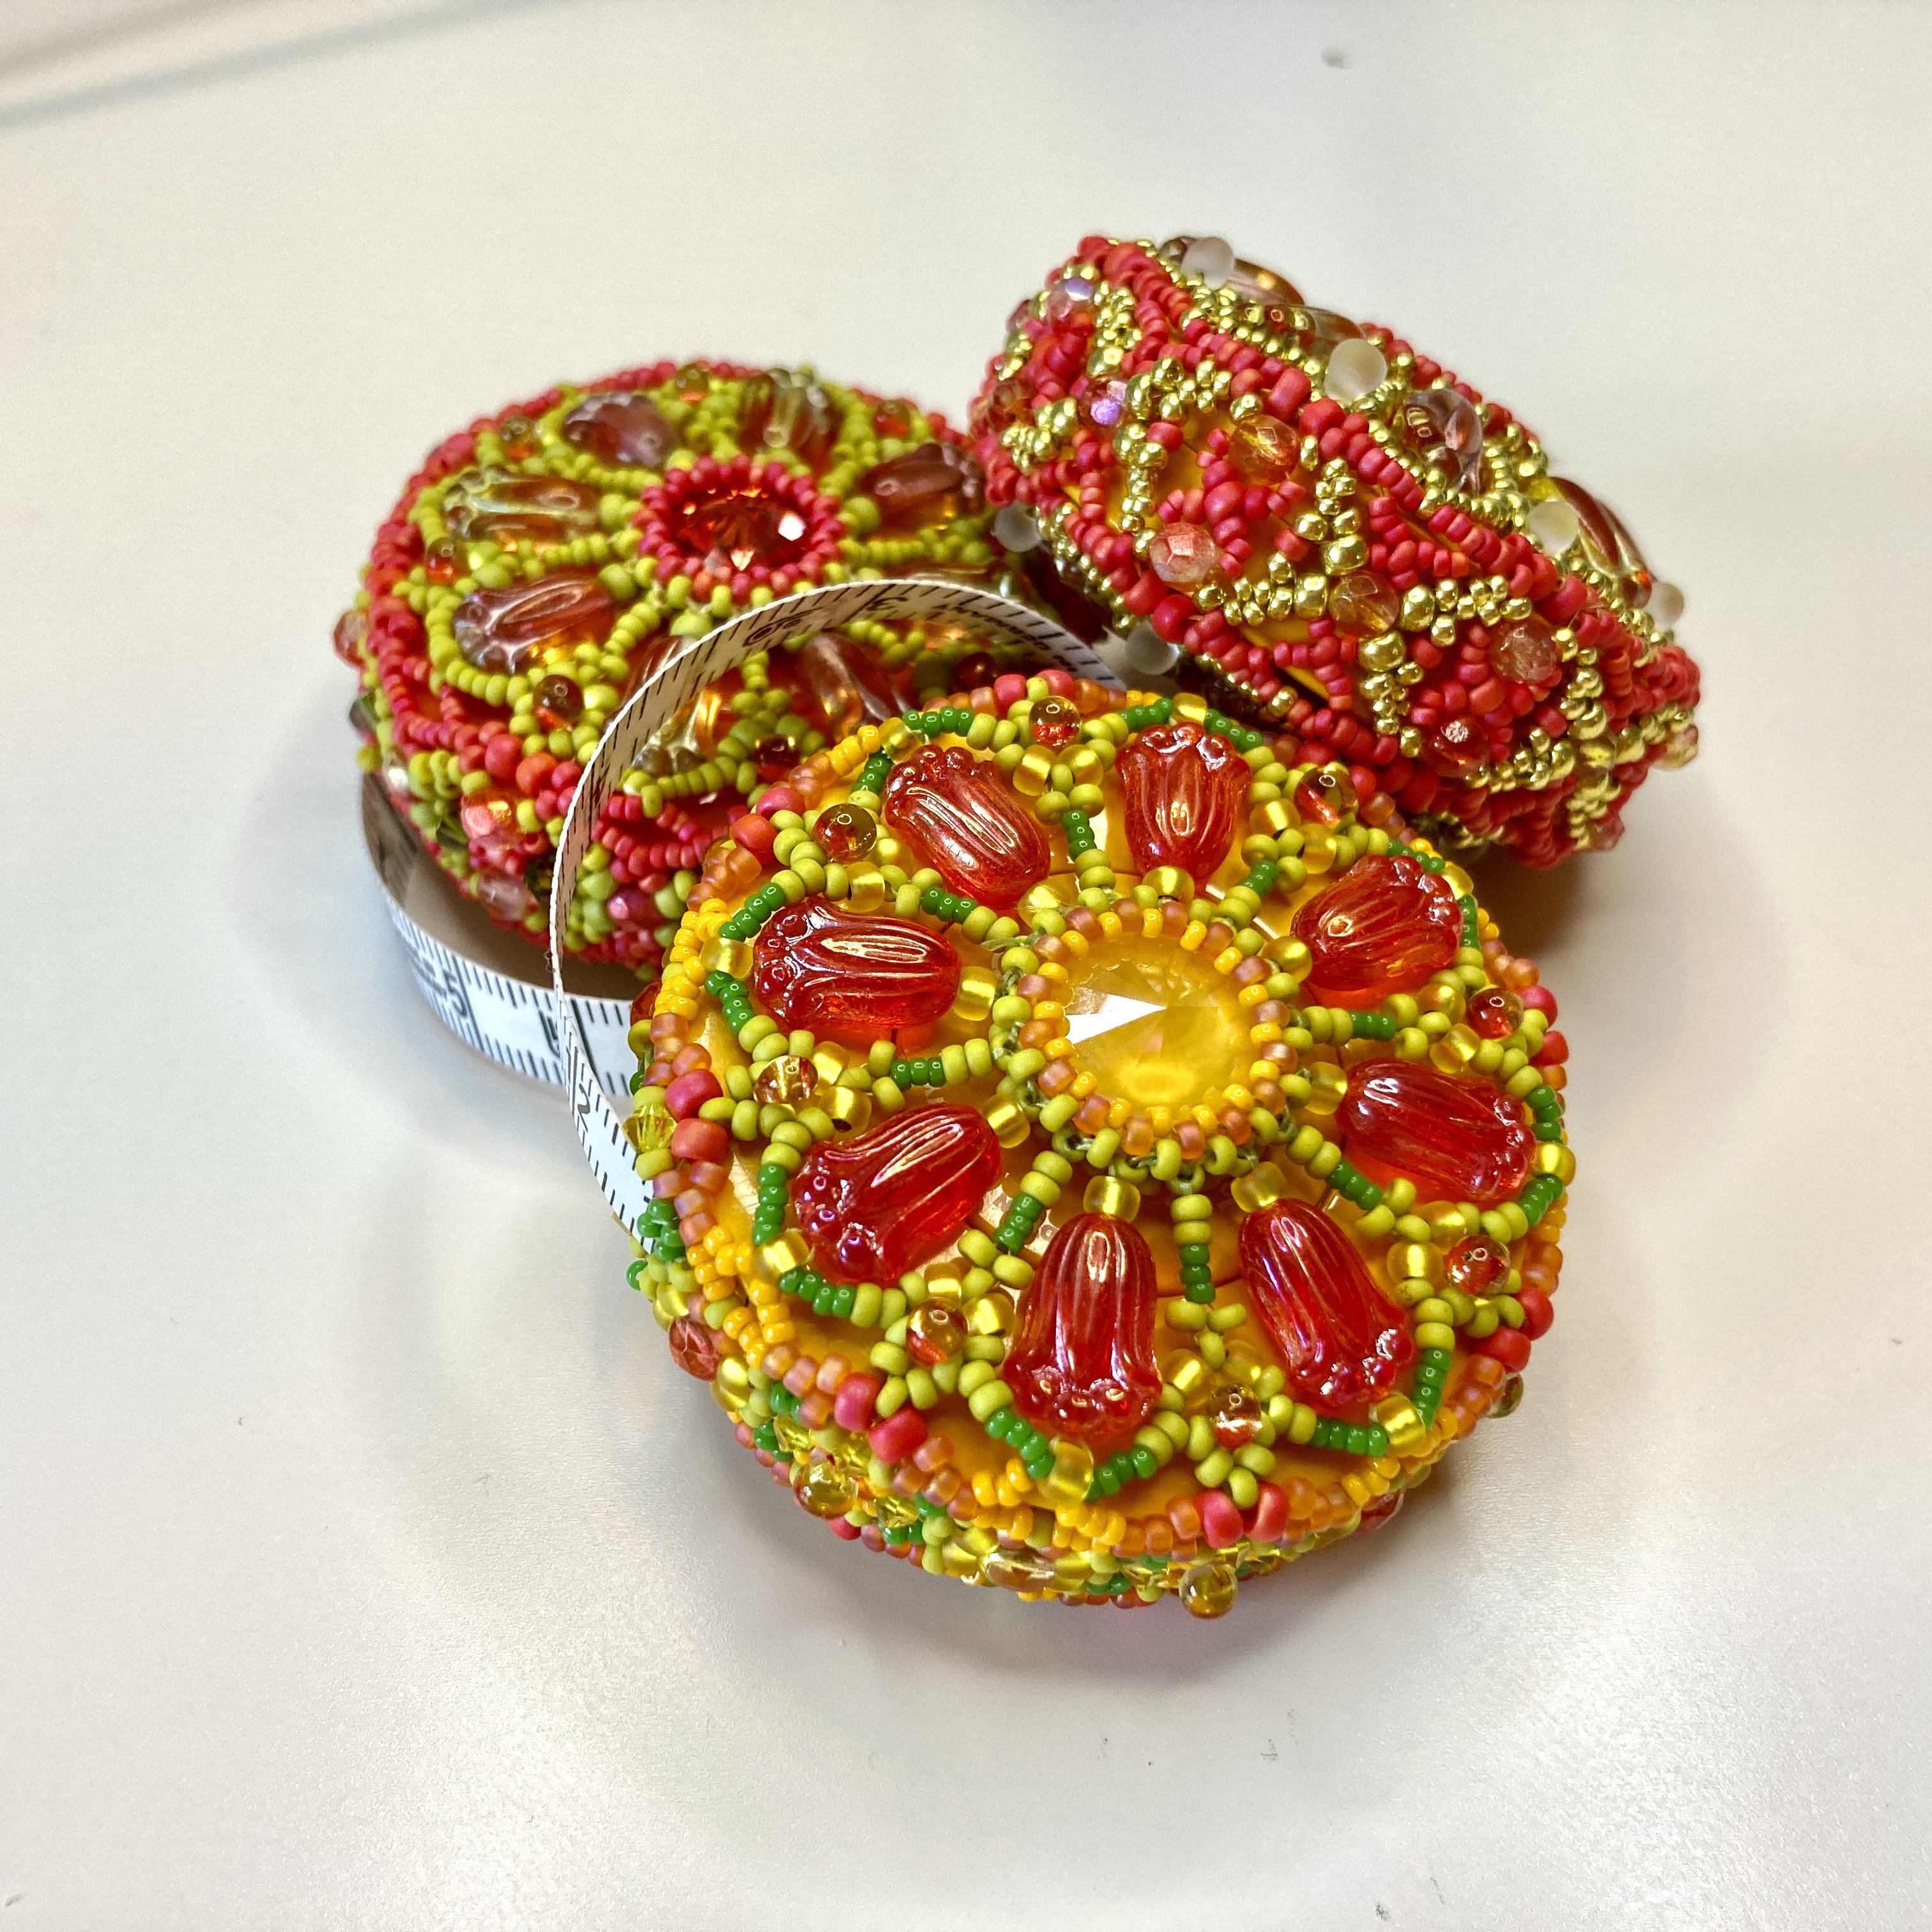
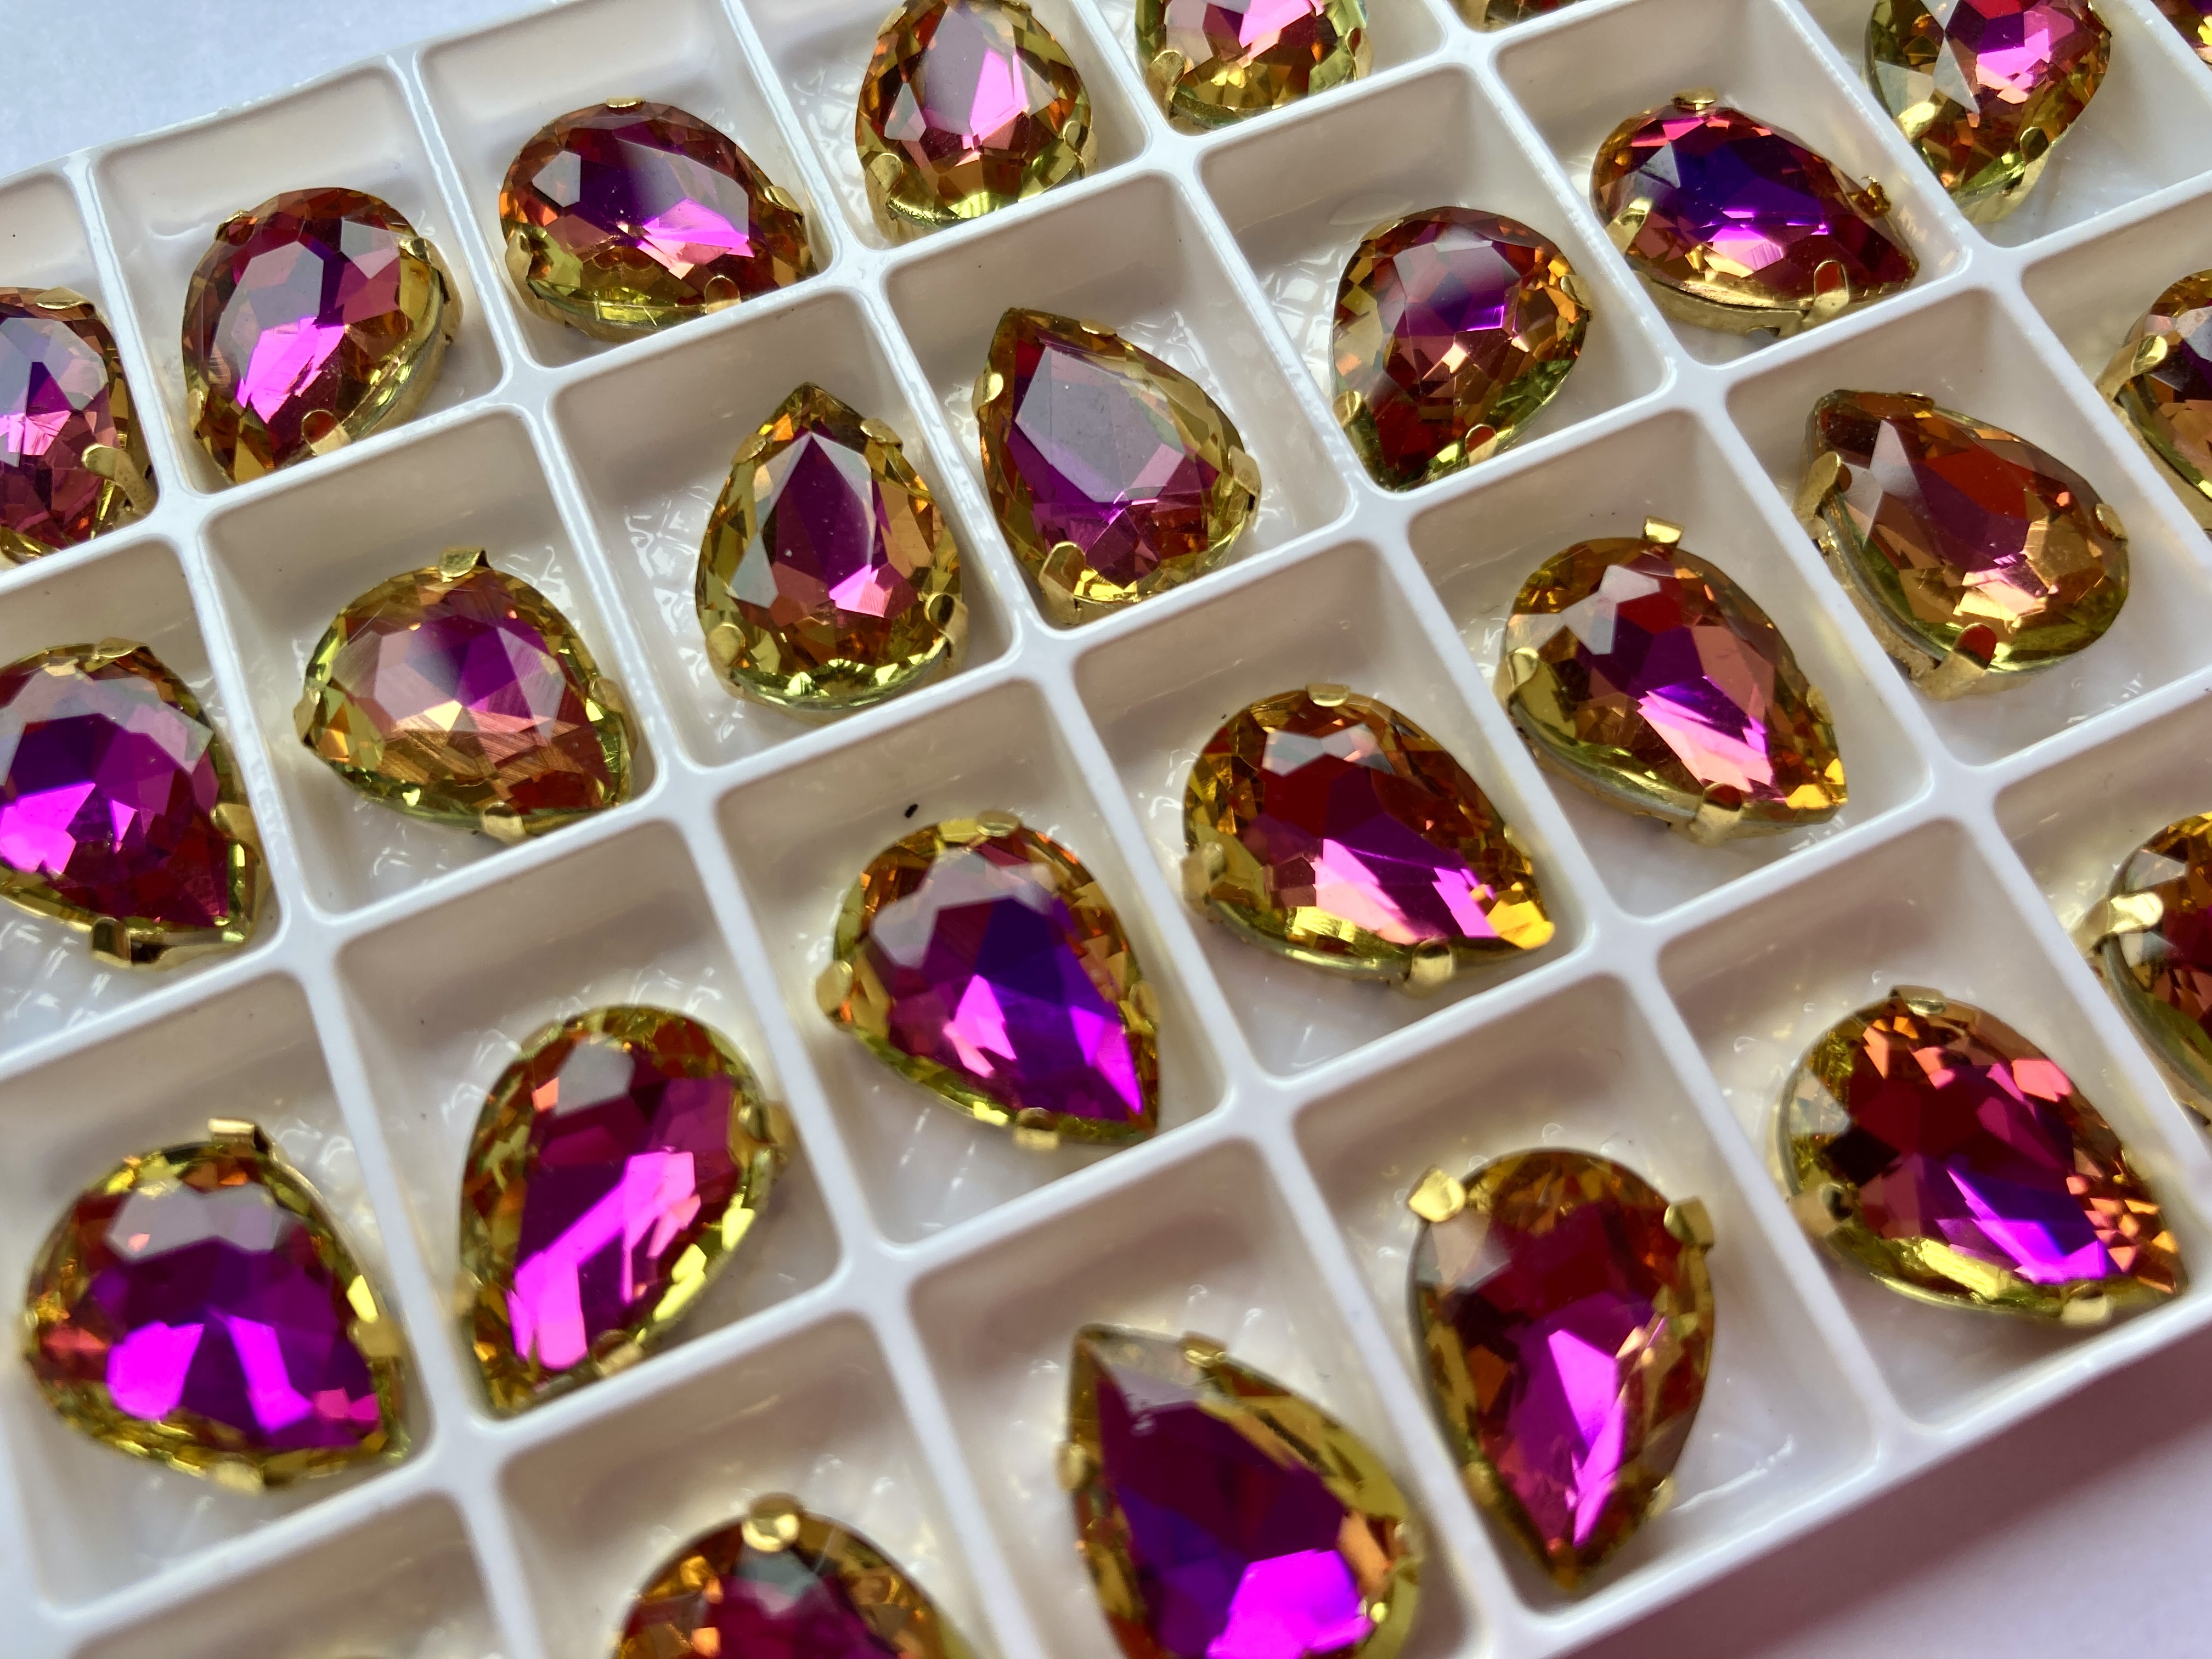
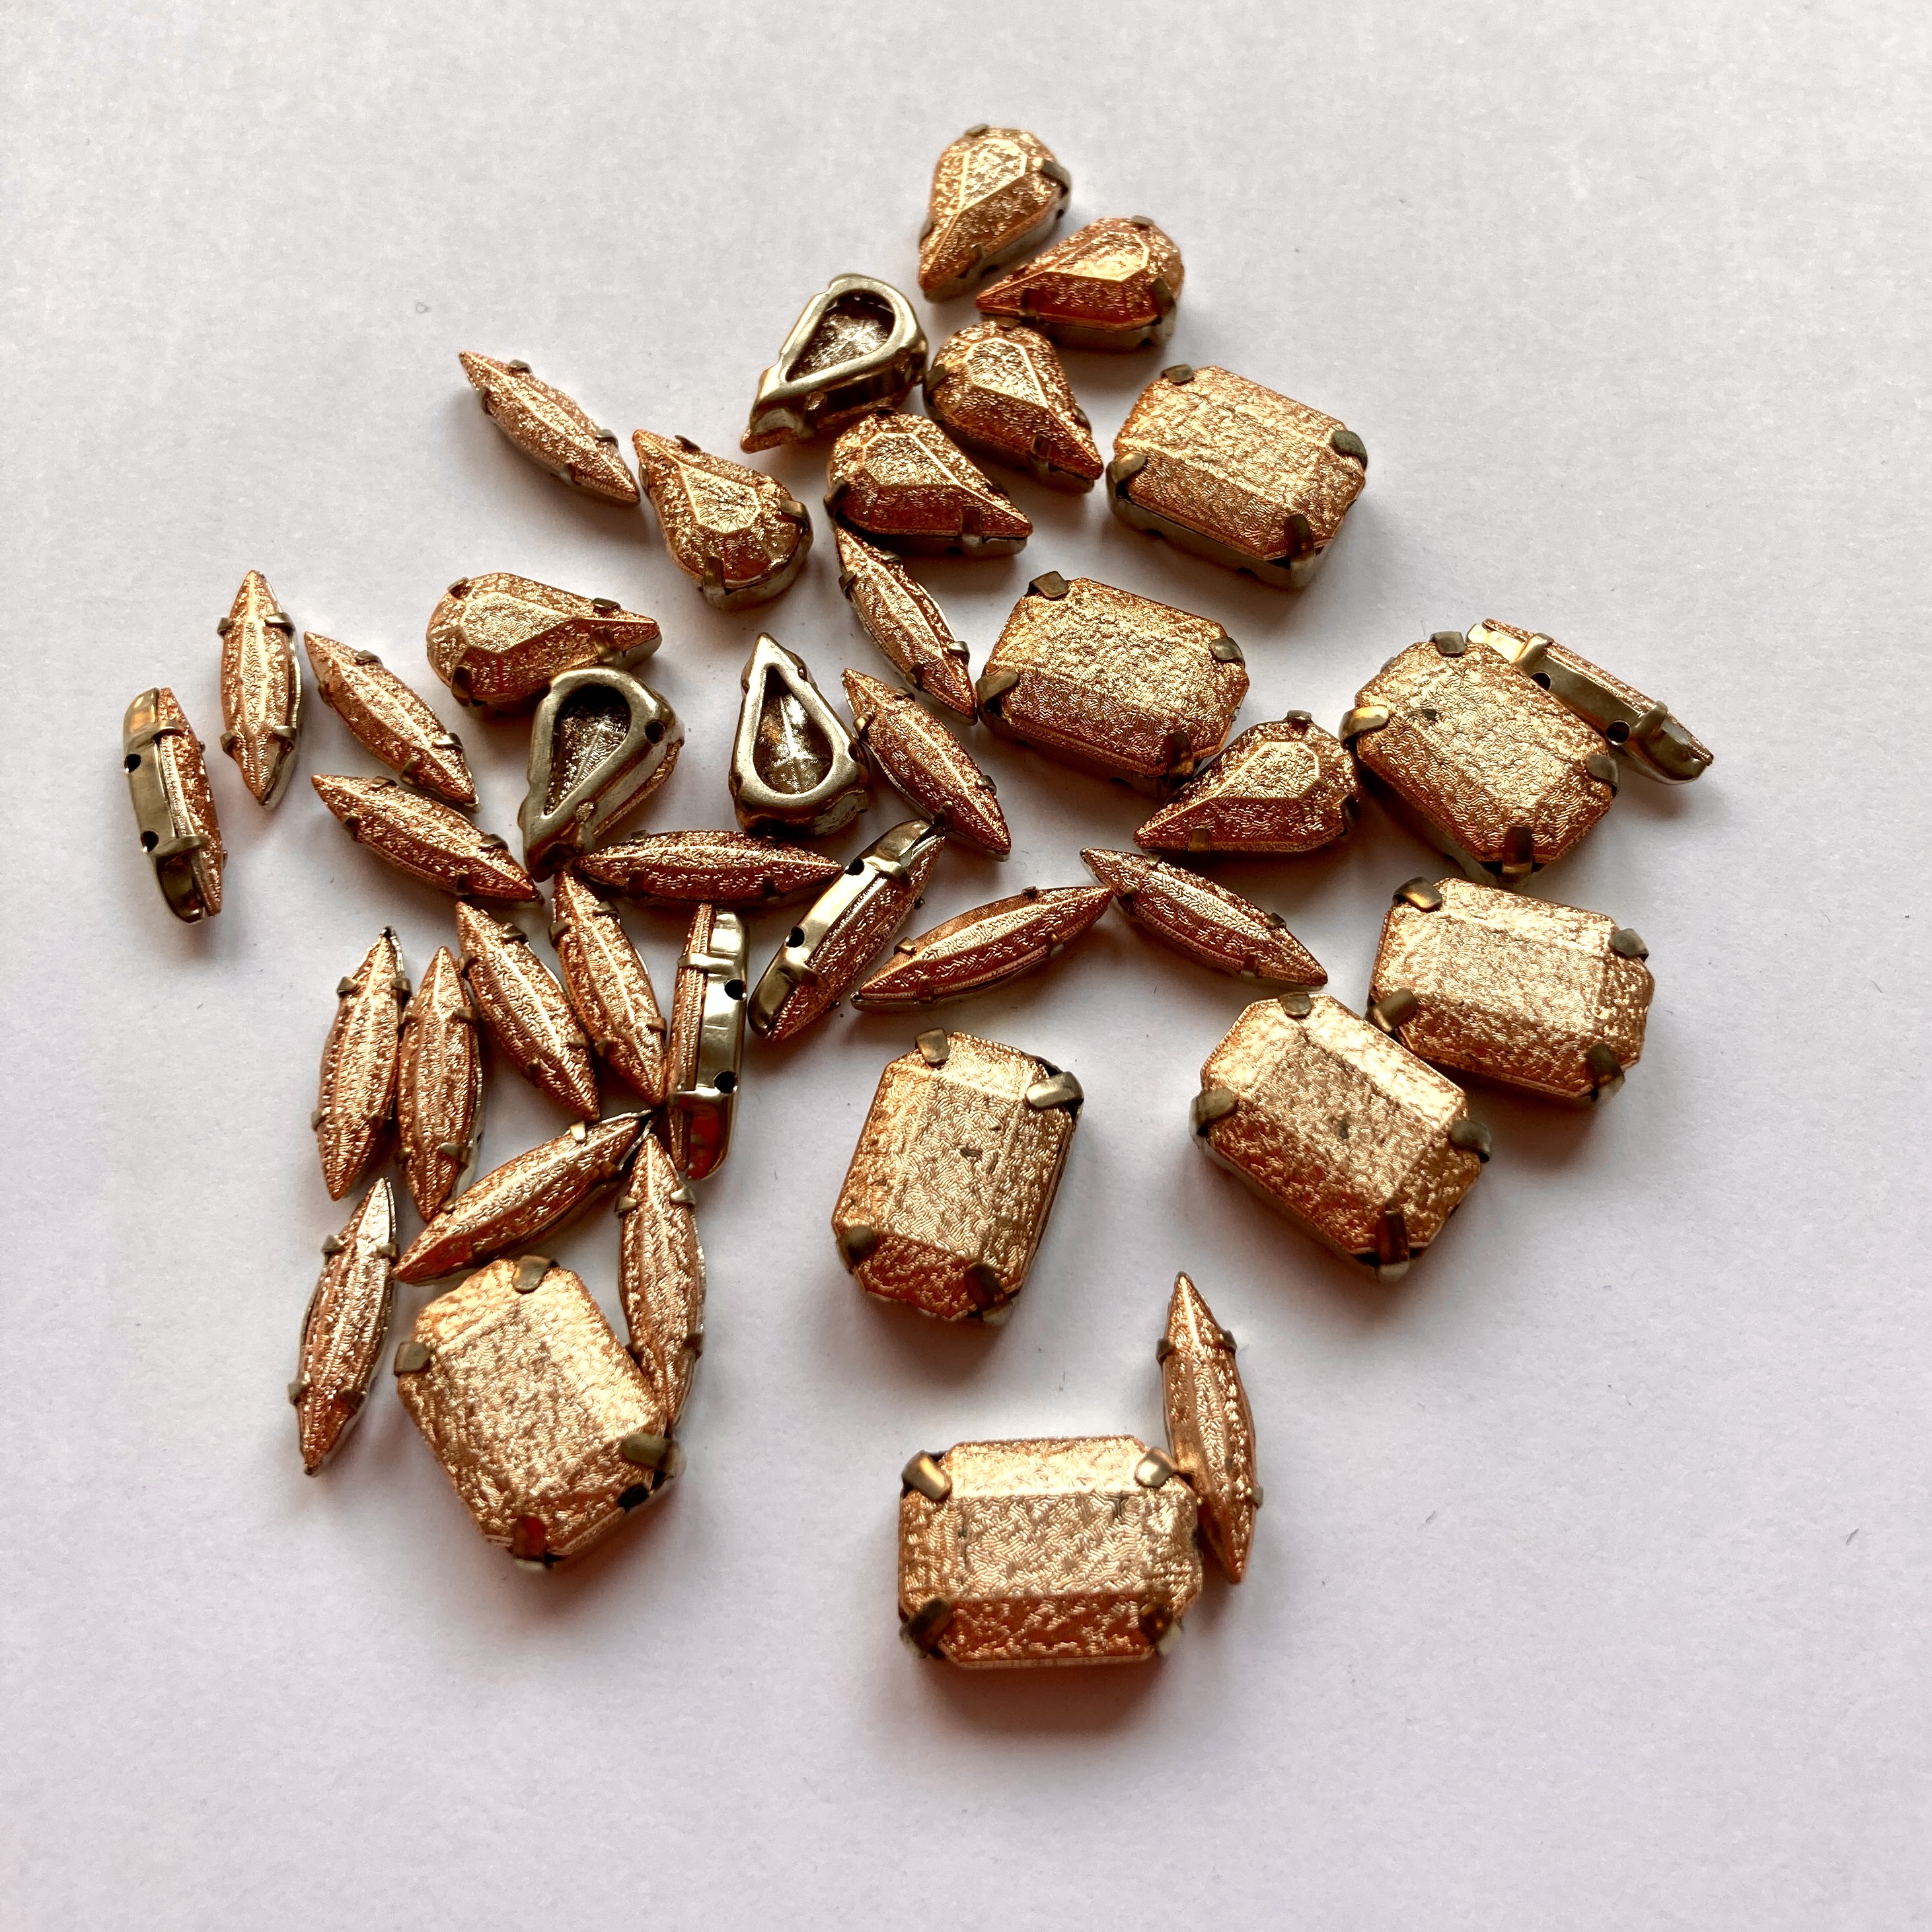
Then I started working with etched beads more, and at the same time, buying wholesale for my Materials Packs. I treated myself to packs of all sorts of Etched Slipperit beads in different shapes as this was my favourite finish at the time, and suddenly found myself with big enough bags to really delve and experiment. I tried different feature beads such as the Tulip Petals, and even 2 holed daggers (sometimes with single holed ones too for extra daftness) and at last something more interesting seemed to be coming.
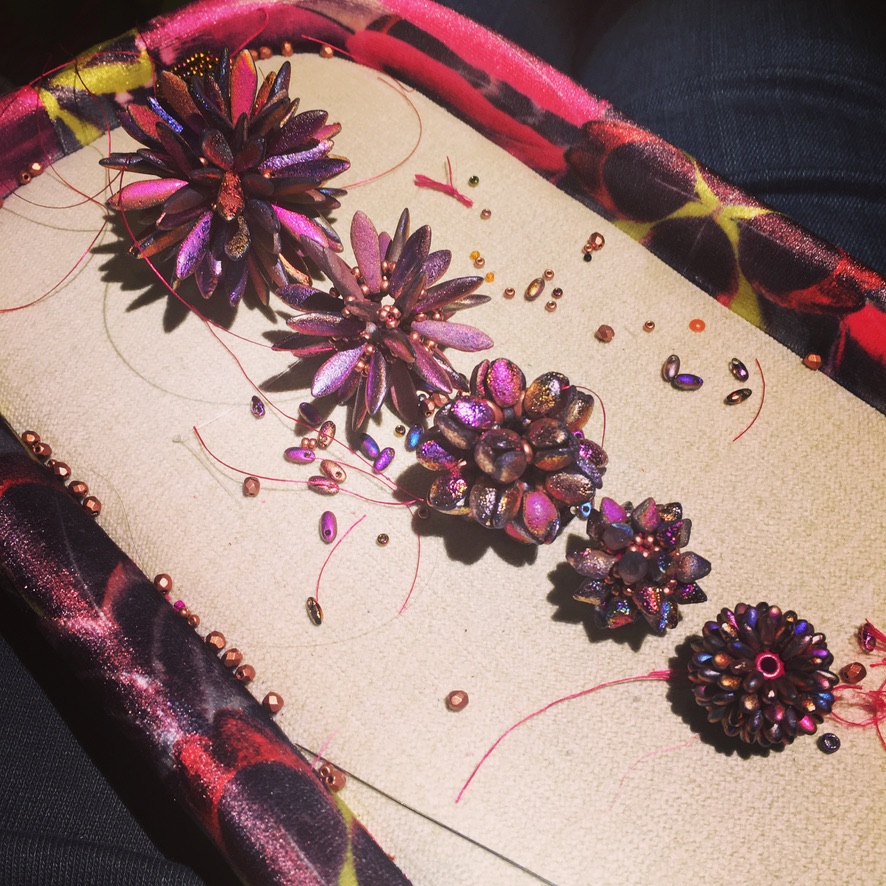
I was still as you can see above also pursuing the supported bead options – the right hand two have wooden centres, and they were nice but the hollow beads were really starting to be an obsession. I worked with whatever shaped beads I could get in that colour/finish in wholesale packs, and I even started adding Bucky Balls (Truncated Icosahedra) to the Dodecahedra.
The result of that obsessive period was this necklace (along with some pretty awesome Christmas Baubles).

But the trouble was, I couldn’t work out how to write this up. I hate writing up 3d beadwork – it’s just really really difficult, and I know from making these pieces that it’s really easy to get lost as you bead, which means not only do you have to deal with multiple layers as you draw, you have to help your beader know where she is. Even something like CRAW is hard for many beaders to follow, so how on earth could I extend that to this and not make them feel defeated? So I looked at the lovely necklace, felt proud, and put it away. Every so often I’d make some more, ponder the write up and give up again.
Fast forward to this year and the 99 Red Balloons. I made about 44, decided I would go mad if I made 99, and also that the song itself, being about accidental nuclear war probably wasn’t best represented in a long string of jolly red beaded beads (however much I tried to play up the ‘atomic’ structure). I made my competition piece about a completely different song, using completely different techniques and colours, and then once that was posted looked at the huge pile of red, pink and orange beaded beads and thought ‘hmmmmm….I love these so much, I’m so proud of them that I want to show them off, and I have all these extra combinations now – is now the time to make myself work this through?’

In the bead world if you do show off your work but don’t tutorialise some ignorant beaders think it’s then OK to reverse engineer. It’s really not OK, your work is yours whether you commercialise it yourself or not, but more and more I’m seeing discussions where the good guys are having to work very hard to stamp this kind of practice out, and also where the ‘no tutorial’ argument seems to be trotted out more and more often even by the helpful, respectful beaders. If I want to show these off, I run the risk of copying if I don’t also publish as a tutorial. I’ve been bitten before, bullied by other beaders who’ve ostensibly asked for ‘permission’ to reverse engineer a piece I’ve chosen not to publish for valid and important reasons (too close to the work of other beaders I wanted to protect) and then even when I’ve begged them not to have big fat done it anyway, and then against my wishes shared their methods (just because you don’t charge doesn’t make that OK – you know who you are). So I’ll be honest, me forcing myself to work out how to teach this is as much about protecting my own ideas and techniques as it is about wanting to share them. I absolutely do want to share them – these are completely addictive and a joy to make once you’ve properly learnt how, and I want other beaders to be able to knock up these super beaded beads too, and to start to play with their possibilities. So anyway, sorry for the digression, but this is pretty much why I had to get over myself and work out how to write these up once and for all, and here at last we arrive at the finished tutorial:

Techniques – Angle Weave
Difficulty Level – Advanced. Experience with RAW and CRAW/PRAW, good tension control (consistently able to vary from soft to medium to tight as instructed), and experience with following complex instructions for 3D layered beadwork.
This is a set of instructions to teach a method for building self supporting hollow dodecahedra (the fifth platonic solid or ‘quintessence’), using a variety of layouts or models, each of which can be used with a variety of bead recipes to give endless beaded bead combinations.
The 6 lessons will teach you each model step by step, and focus on learning the techniques, thread paths and understanding the layouts. They need to be done in order to learn the different variations logically. At the end of each lesson you can either try some alternative bead combos, or move onto the next lesson. The masterclass includes lists of the different bead combos you can use in an Appendix, as well as hints and tips for designing new combinations using the 6 methods, and for moving beyond dodecahedra into other geometric solids.
Because I’m planning to continue pushing through the multi-holed bead options, and feature bead options, I’ll inevitably have more recipes to add to Appendix 2 of this tutorial, so I’ve developed a secret formula which is explained there, which you can then use when you look at that page (linked in the tutorial) to decipher which beads and which techniques from the tutorial to use. I’ll also publish a notification when I update the page to my Facebook and Instagram pages. I know it sounds a bit mysterious but again, I want to share as much as possible whilst also protecting my work – if you buy the tutorial it will all make sense (and you can always contact me if it doesn’t!!).
The tutorial is now available in my Etsy and PayHip shops, and I will have ‘orientation bead packs’ available too in my Etsy shop in the next couple of days. If the tutorial sells well I’ll follow that up with some curated bead packs to make sets of Quintessence Beads.
I’ve loved spending more time on this series, although to be fair the write up has been a long slog (51 pages and countless diagrams and photos). The beading has been a delight – at the last count this morning I’d made over 70 this year alone (and that’s not including the ones I frogged because I needed to re-do photos etc) – I took a photo a few days ago but the eagle eyed among you will see I forgot the Lesson 6 samples (among quite a few others!):