With just a few days left of International Beading week as well as looking after my Etsy shop with a lovely 20% discount on all tutorials, I’m as usual doing Jean Power’s Secret Beadalong – Day 8 joins the pairs of rivolis together but leaves some mysterious gaps? One more day to go and I’m starting to have an idea of where we’re going but still not sure!
If you’d like to join in it’s not too late – pop over to Jean’s website and sign up! If you just want to watch then you can see what we are all up to on her Secret Beadalong Facebook page.
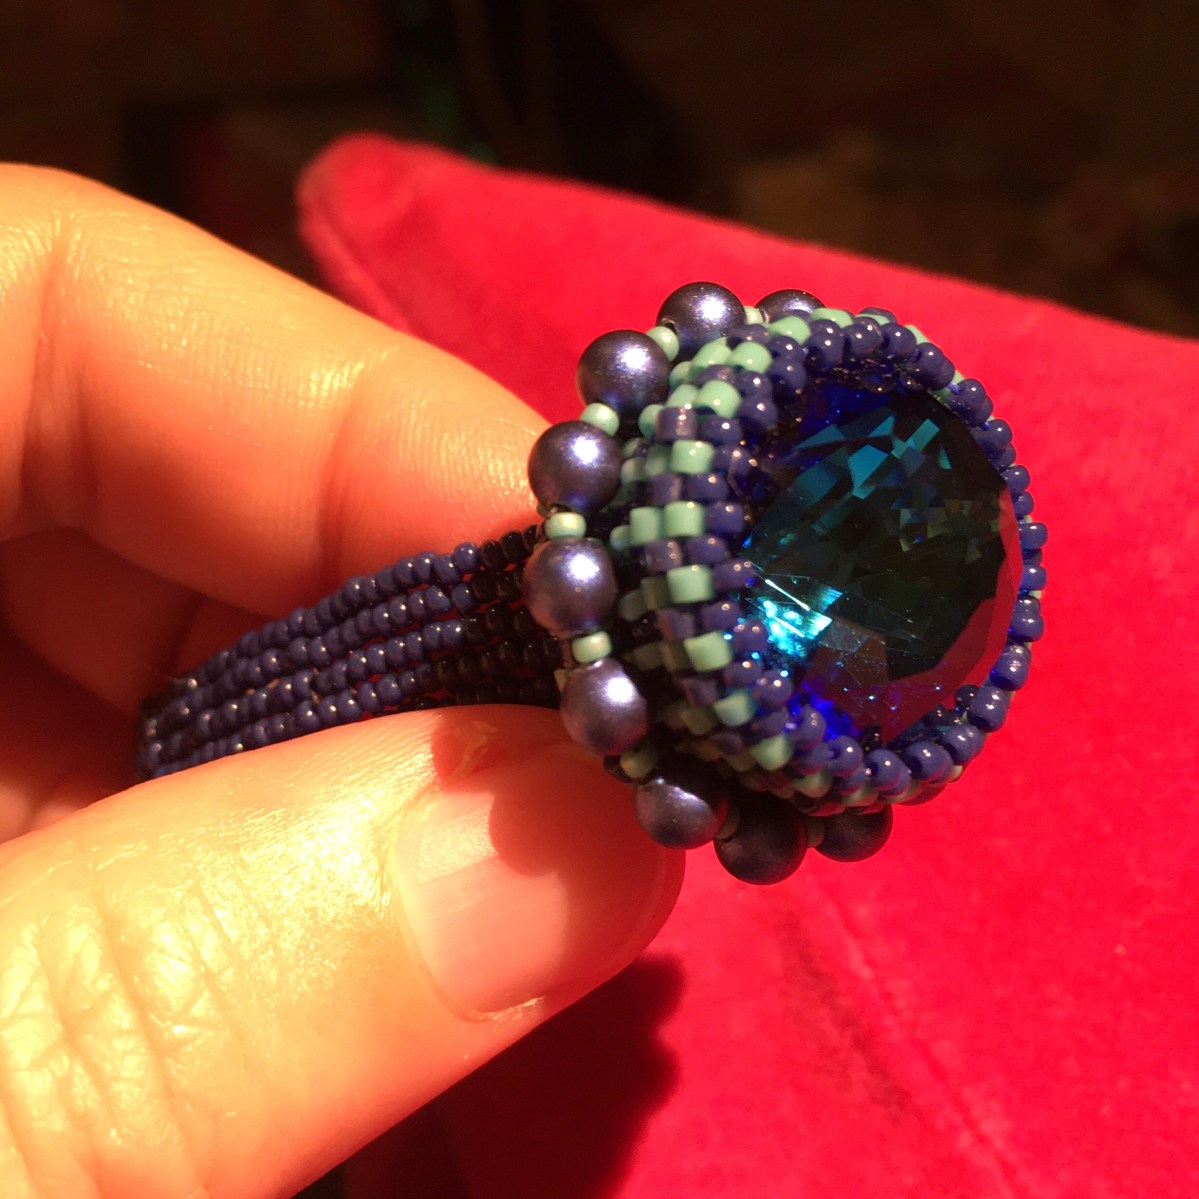
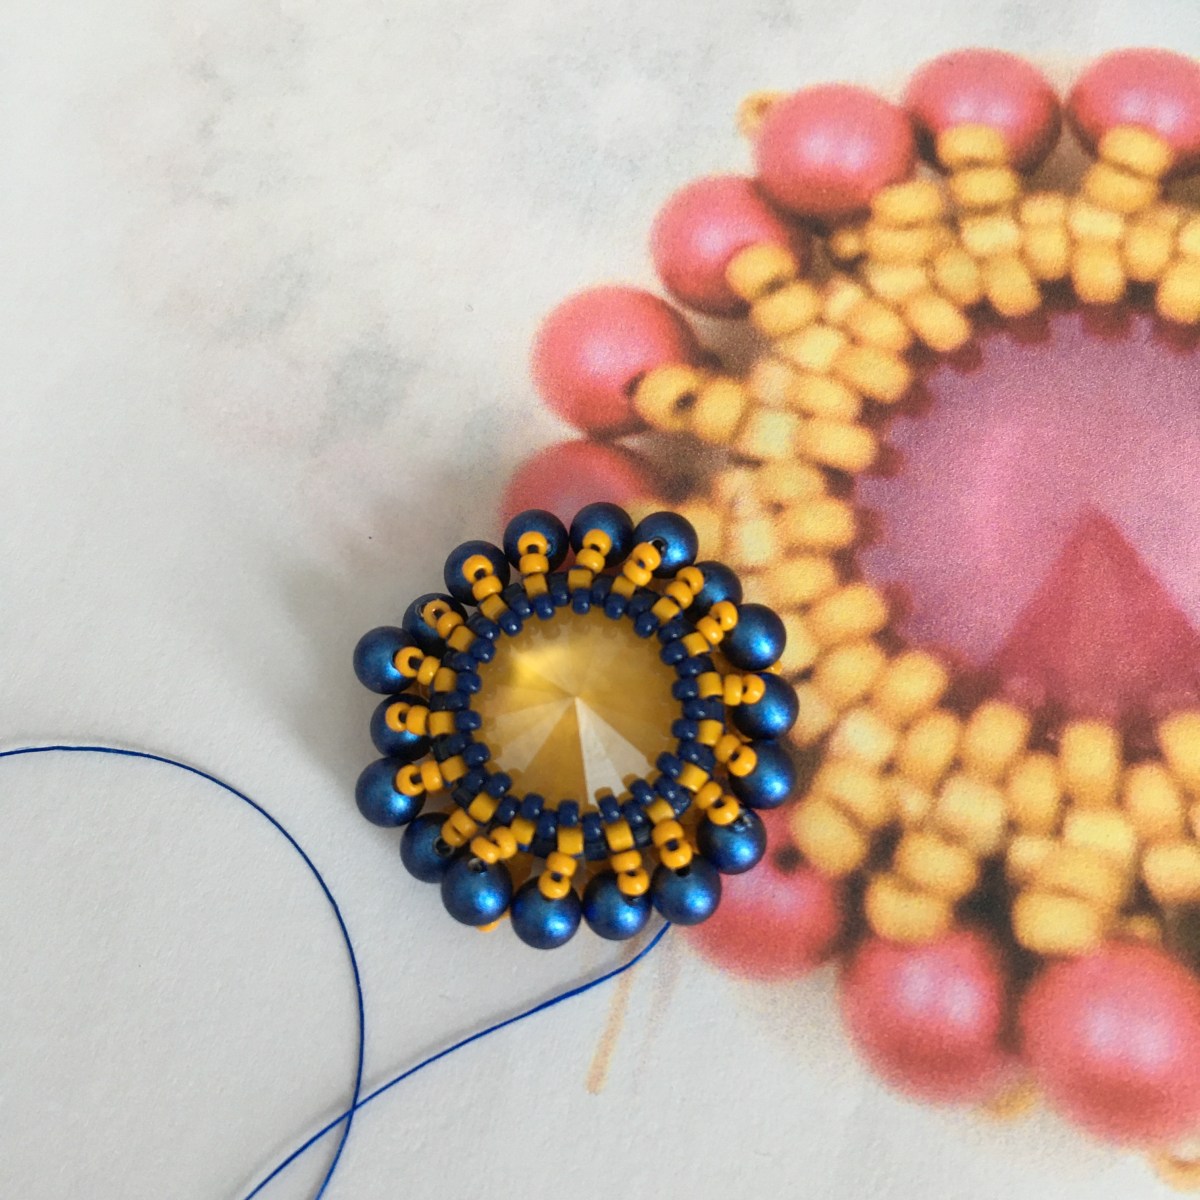
As usual for International Beading Week I’m doing Jean Power’s Secret Beadalong – Day 7 completes the skirt on the lovely Bermuda Blue dome crystal and adds a long strap. Lots and lots of herringbone in 15s…….
If you’d like to join in it’s not too late – pop over to Jean’s website and sign up! If you just want to watch then you can see what we are all up to on her Secret Beadalong Facebook page.
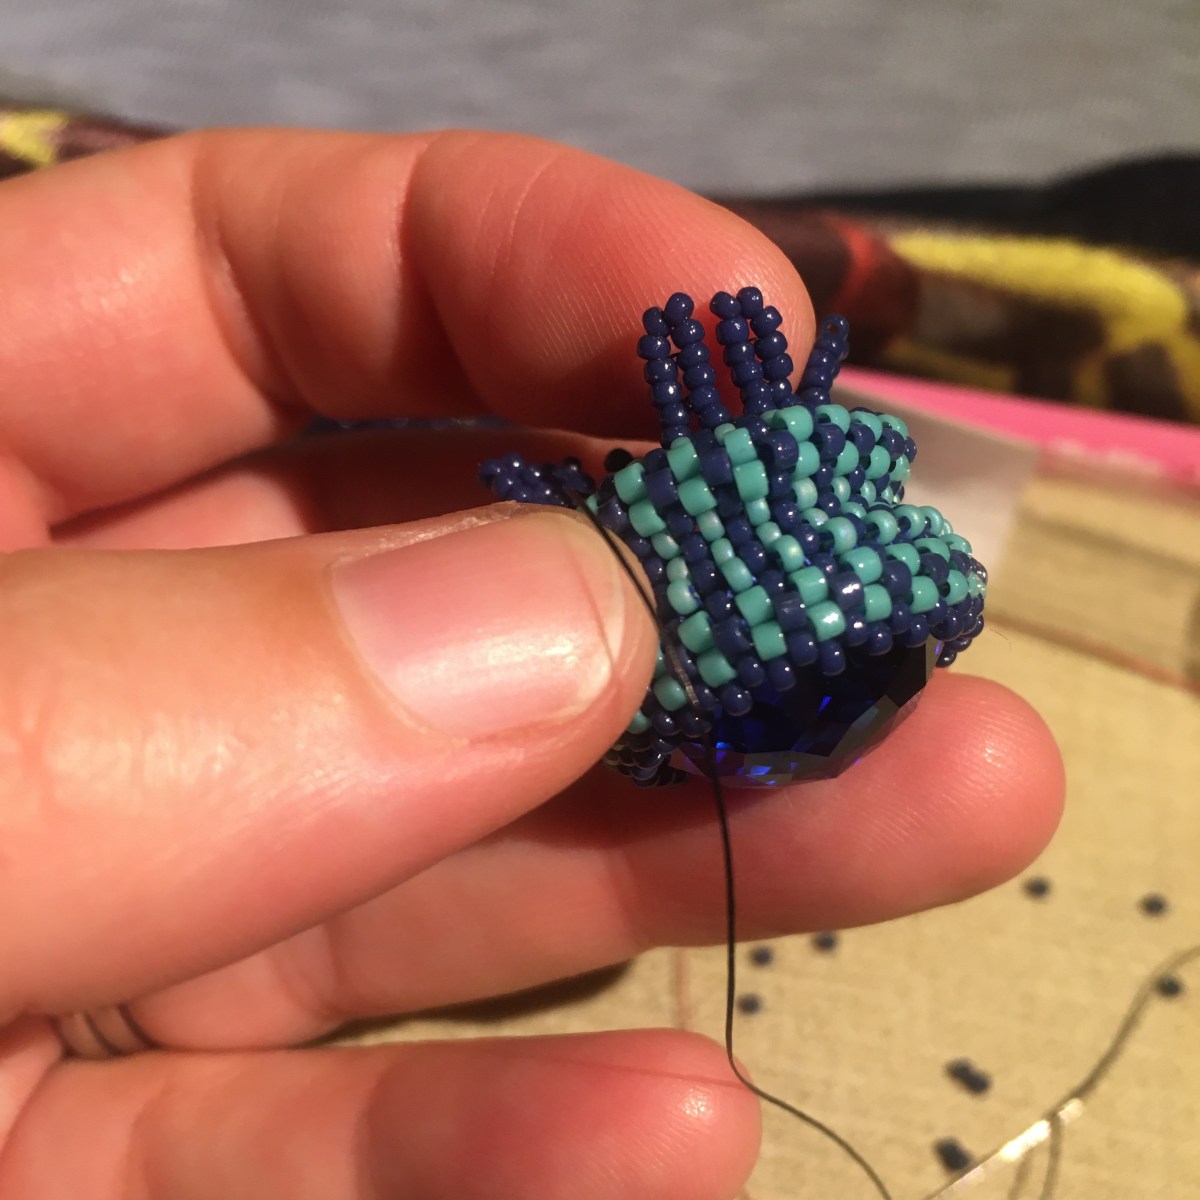
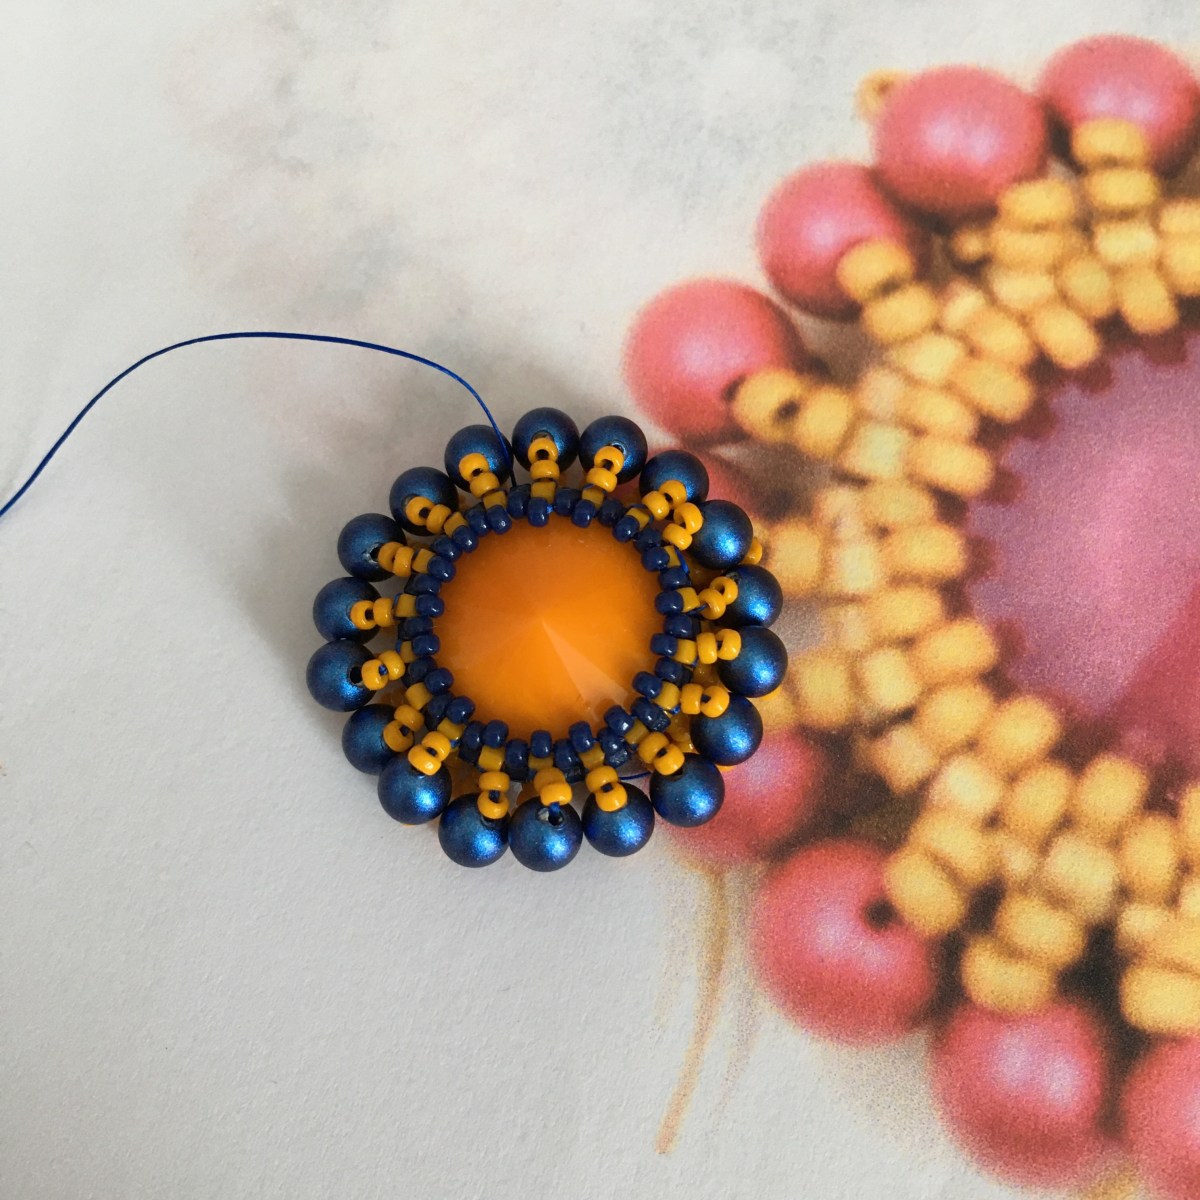
As usual for International Beading Week I’m doing Jean Power’s Secret Beadalong – Day 6 is quite a substantial bead, adding a skirt to the domed stone’s bezel. I’m working in the stripes I used in the bezel so there is a lot of bead swapping but I love how it looks.
If you’d like to join in it’s not too late – pop over to Jean’s website and sign up! If you just want to watch then you can see what we are all up to on her Secret Beadalong Facebook page.
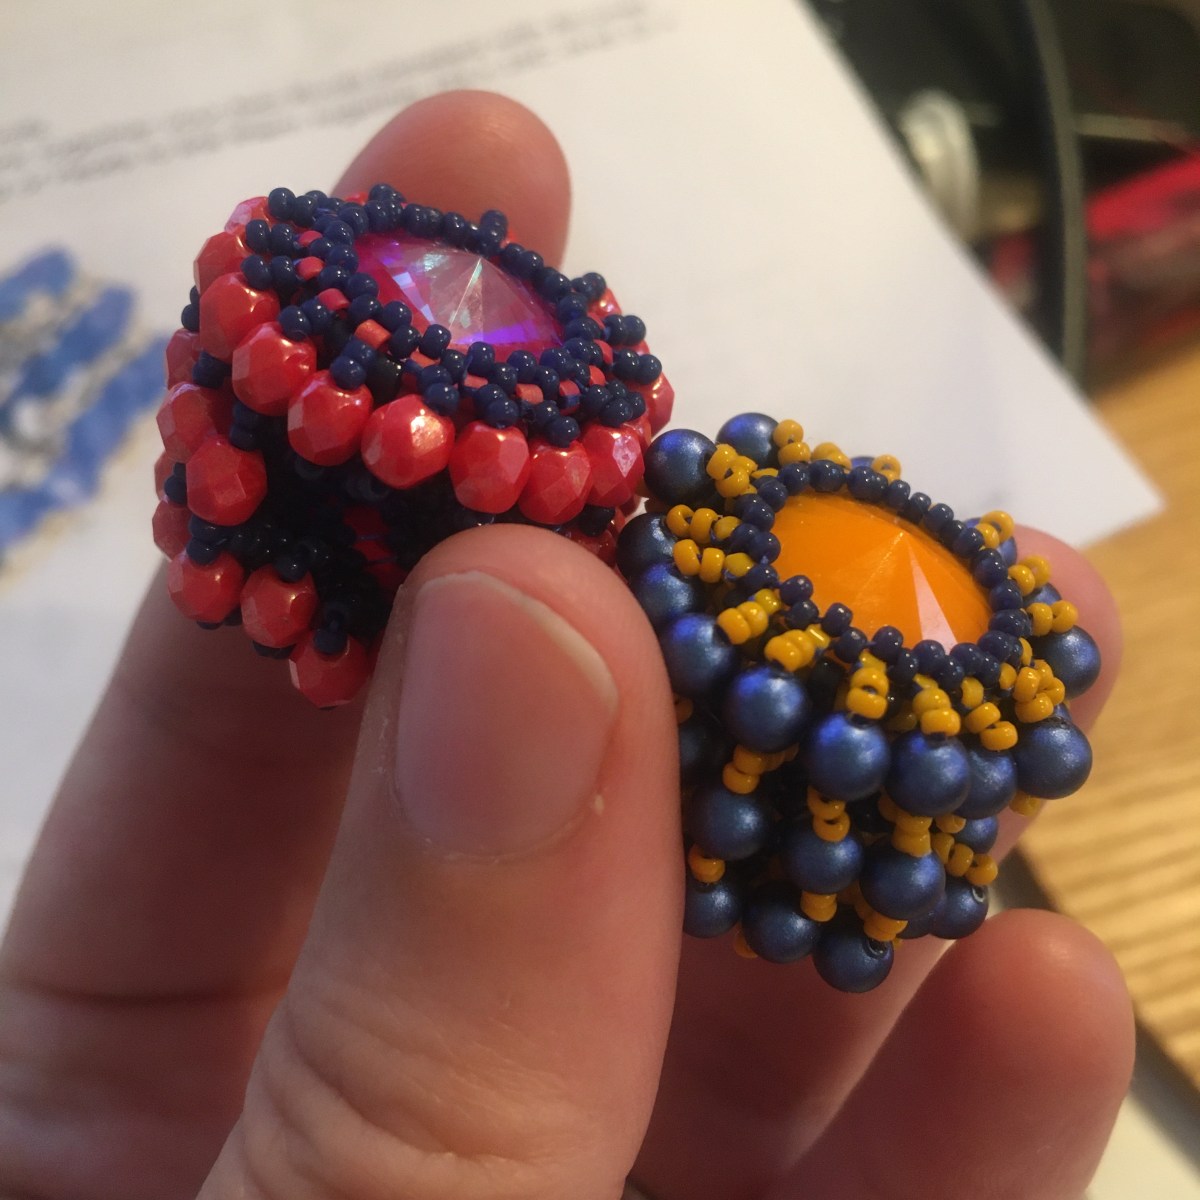
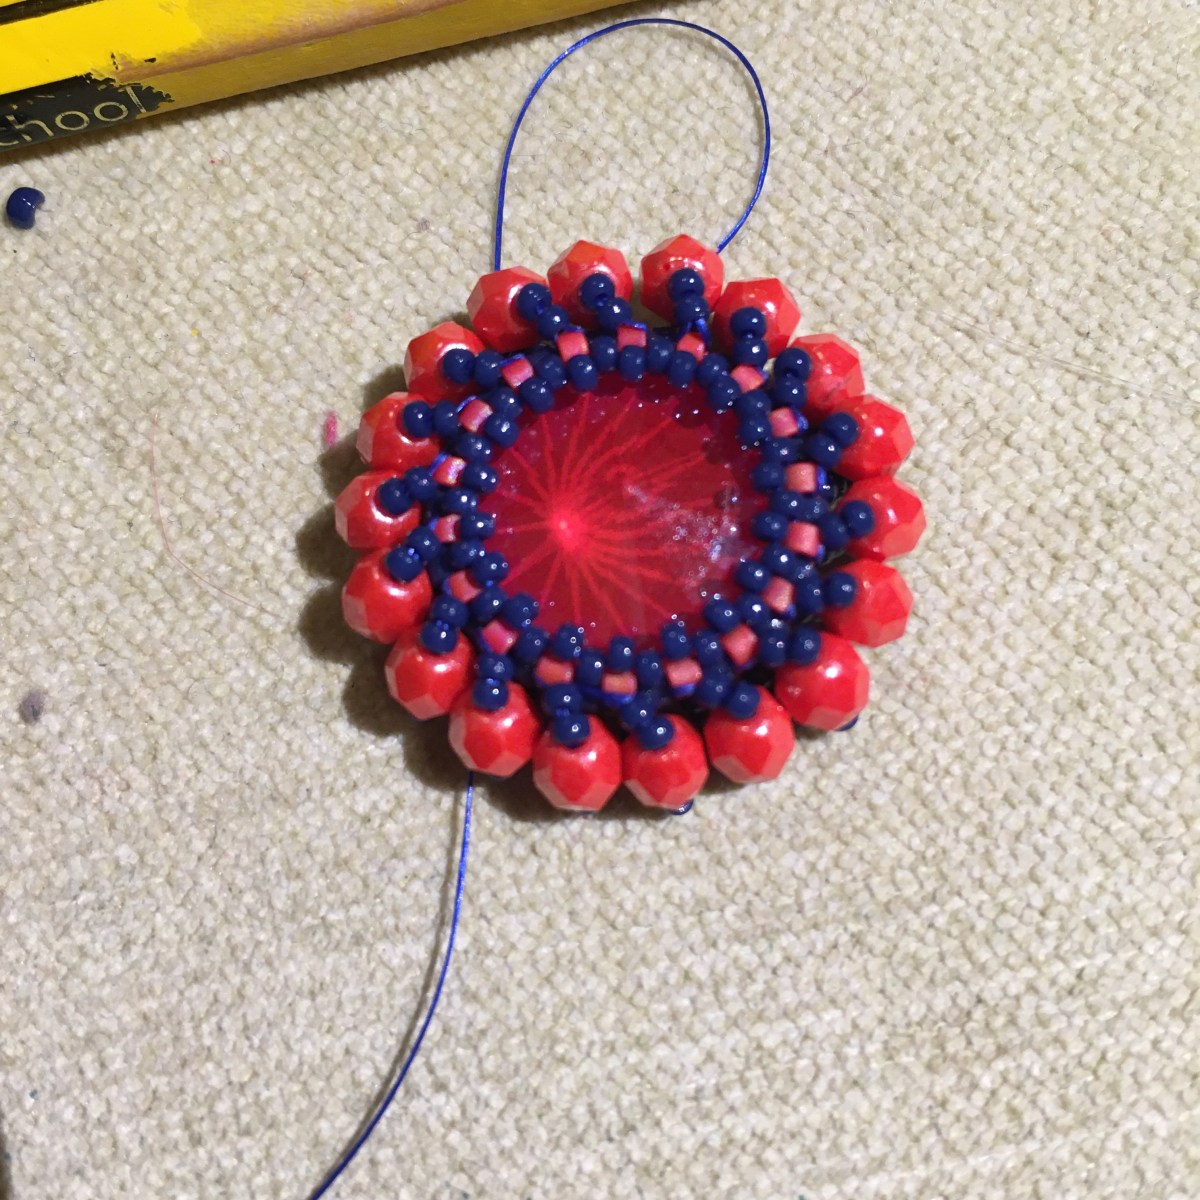
As usual for International Beading Week I’m doing Jean Power’s Secret Beadalong – Day 5 is adding some bicones to one of the rivolis we bezelled in the prep work as we did on Days 2 & 3 with pearls (you can see my prep work and colour choices in my previous post here), but as I said yesterday I’m playing with 4mm fire polished beads instead. The image today looks very like yesterday – the crystals have the same base Royal Red lacquer but yesterday’s one also has the additional DeLite coating, which gives it blue flashes which are only just visible in the photo. In real life it’s a really strong, visible finish though so they look really different.
If you’d like to join in it’s not too late – pop over to Jean’s website and sign up! If you just want to watch then you can see what we are all up to on her Secret Beadalong Facebook page.
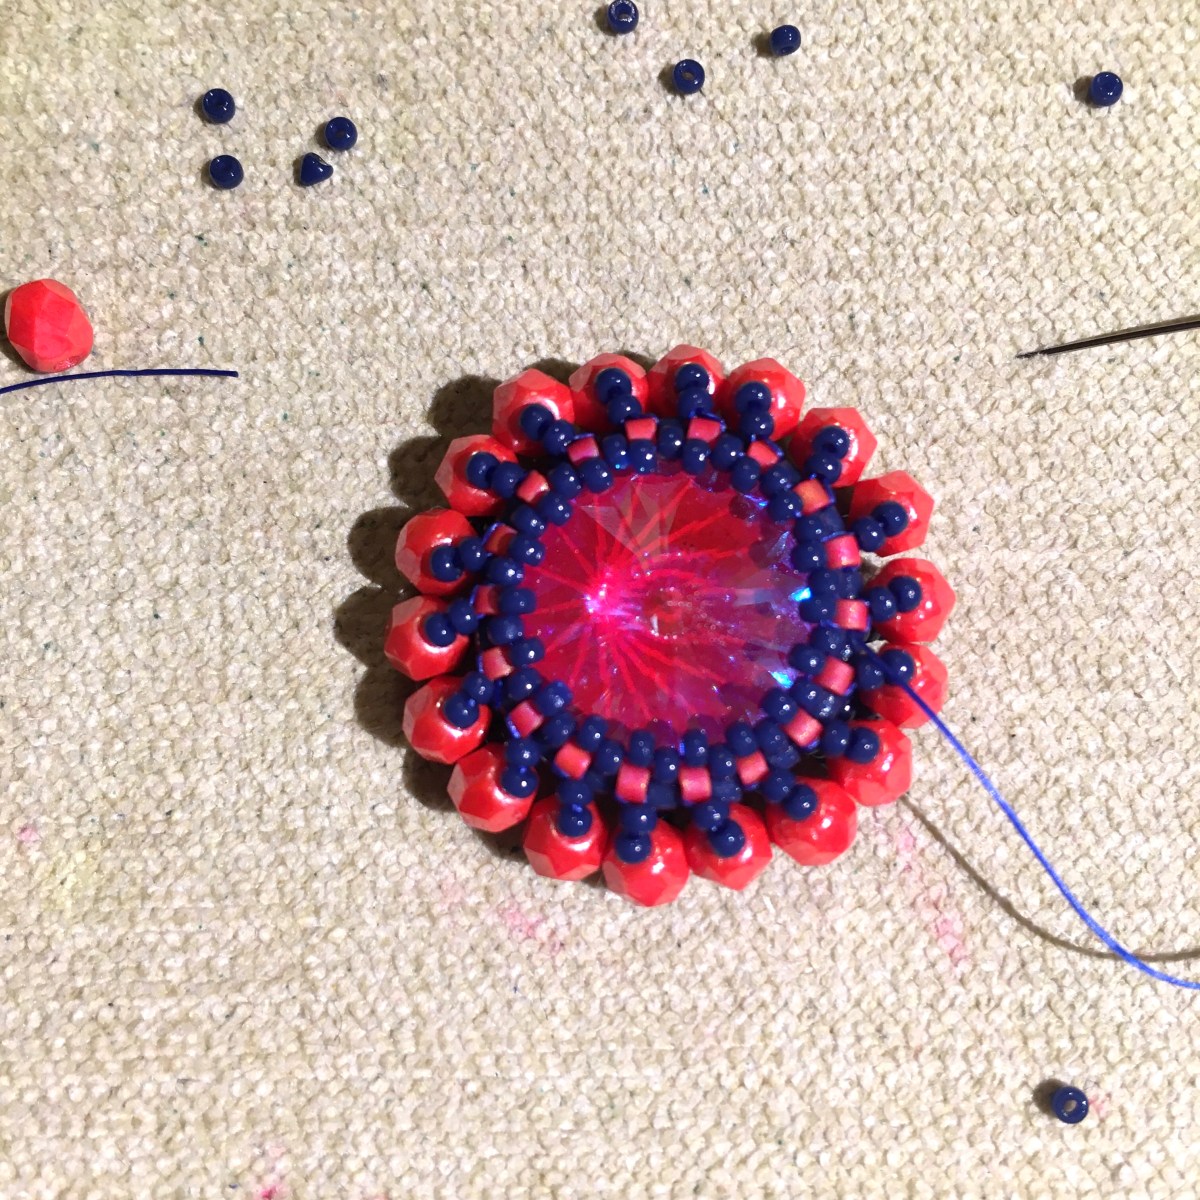
As usual for International Beading Week I’m doing Jean Power’s Secret Beadalong – Day 4 is adding some bicones to one of the rivolis we bezelled in the prep work as we did on Days 2 & 3 with pearls (you can see my prep work and colour choices in my previous post here). I don’t have any bicones which I want to use for this so I’m experimenting with using 4mm Fire Polished in a red lacquer finish and so far so good! They actually sit slightly better than the pearls as they are slightly narrower than they are long rather than being a perfect round.
If you’d like to join in it’s not too late – pop over to Jean’s website and sign up! If you just want to watch then you can see what we are all up to on her Secret Beadalong Facebook page.
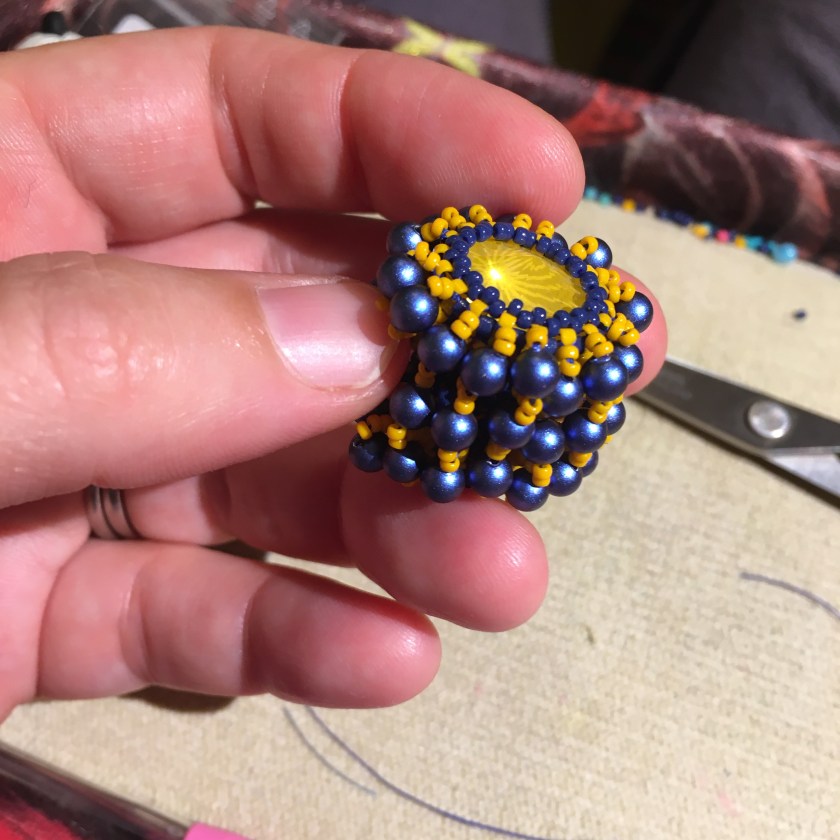
As usual for International Beading Week I’m doing Jean Power’s Secret Beadalong – Day 3 is adding some pearls to one of the rivolis we bezelled in the prep work as we did on Day 2(you can see my prep work and colour choices in my previous post here). It’s going along very nicely as you can see – here it is with my rope from Day 1 (plus some extra work on that on Days 2 & 3).
If you’d like to join in it’s not too late – pop over to Jean’s website and sign up! If you just want to watch then you can see what we are all up to on her Secret Beadalong Facebook page.
As usual for International Beading Week I’m doing Jean Power’s Secret Beadalong – Day 2 is adding some pearls to one of the rivolis we bezelled in the prep work (you can see my prep work and colour choices in my previous post here).
If you’d like to join in it’s not too late – pop over to Jean’s website and sign up! If you just want to watch then you can see what we are all up to on her Secret Beadalong Facebook page.
As usual for International Beading Week I’m doing Jean Power’s Secret Beadalong – which today started with a lovely superduo rope. It’s whizzing along nicely, and looking epic in my unsubtle colourway of navy and neon sunflower yellow.
This will hopefully work with my colour choices which you can see above in my prep work – I’ve worked a little stripe into the rivoli bezels and tubes already so we’re going for brights tempered with navy, matching the rivoli or crystal colours in the additional outer beads.
I’m also adding turquoise to compliment the gorgeous Crystal Bermuda Blue 18mm domed crystal (a new shape from Swarovski, which looks amazing), a pair of yellow rivolis (Swarovski Crystal Buttercup and Matubo Goldenrod), and a pair of pinkish red rivolis (Swarovski Royal Red Lacquer and Royal Red DeLite Lacquer). My beads are all Miyuki – delicas in 2143 (Navy), 729 (Turquoise Green), 873 (Matte Red AB), 2193 (Light Squash); seeds in 4493 (Navy), 412 various finishes (Turquoise Green), 407FR (Matte Red AB), 4453 (Light Squash). I have Swaroski Iridescent Dark Blue 4mm pearls, but might also swap in some Silk Turquoise Green druks. So far I’m thinking no bicones – the colours and rivoli choices should mean this works well for day wear and there isn’t a suitable bicone colour which won’t make it blingier than I want – so I’ll either repeat the pearls if the design works, pop in a 4mm fire polished, or have to switch back and pick a bicone. That’s the nice thing about the Secret Beadalong – because you don’t know what you’re making it’s sometimes a good idea to have a few alternative options up your sleeve!
If you’d like to join in it’s not too late – pop over to Jean’s website and sign up! If you just want to watch then you can see what we are all up to on her Secret Beadalong Facebook page.
This year’s International Beading Week runs from today 25th July until next Sunday August 2nd (OK so that’s 9 days rather than a week, but who cares, it’s more beads). I’ll be doing my usual duty as Beadworker’s Guild social media helper as an admin on the IBW page and group, and also doing my bit for beaders everywhere by offering a massive 20% off all of the tutorials in my Etsy shop. No code needed, they’re all reduced and ready to go right here!
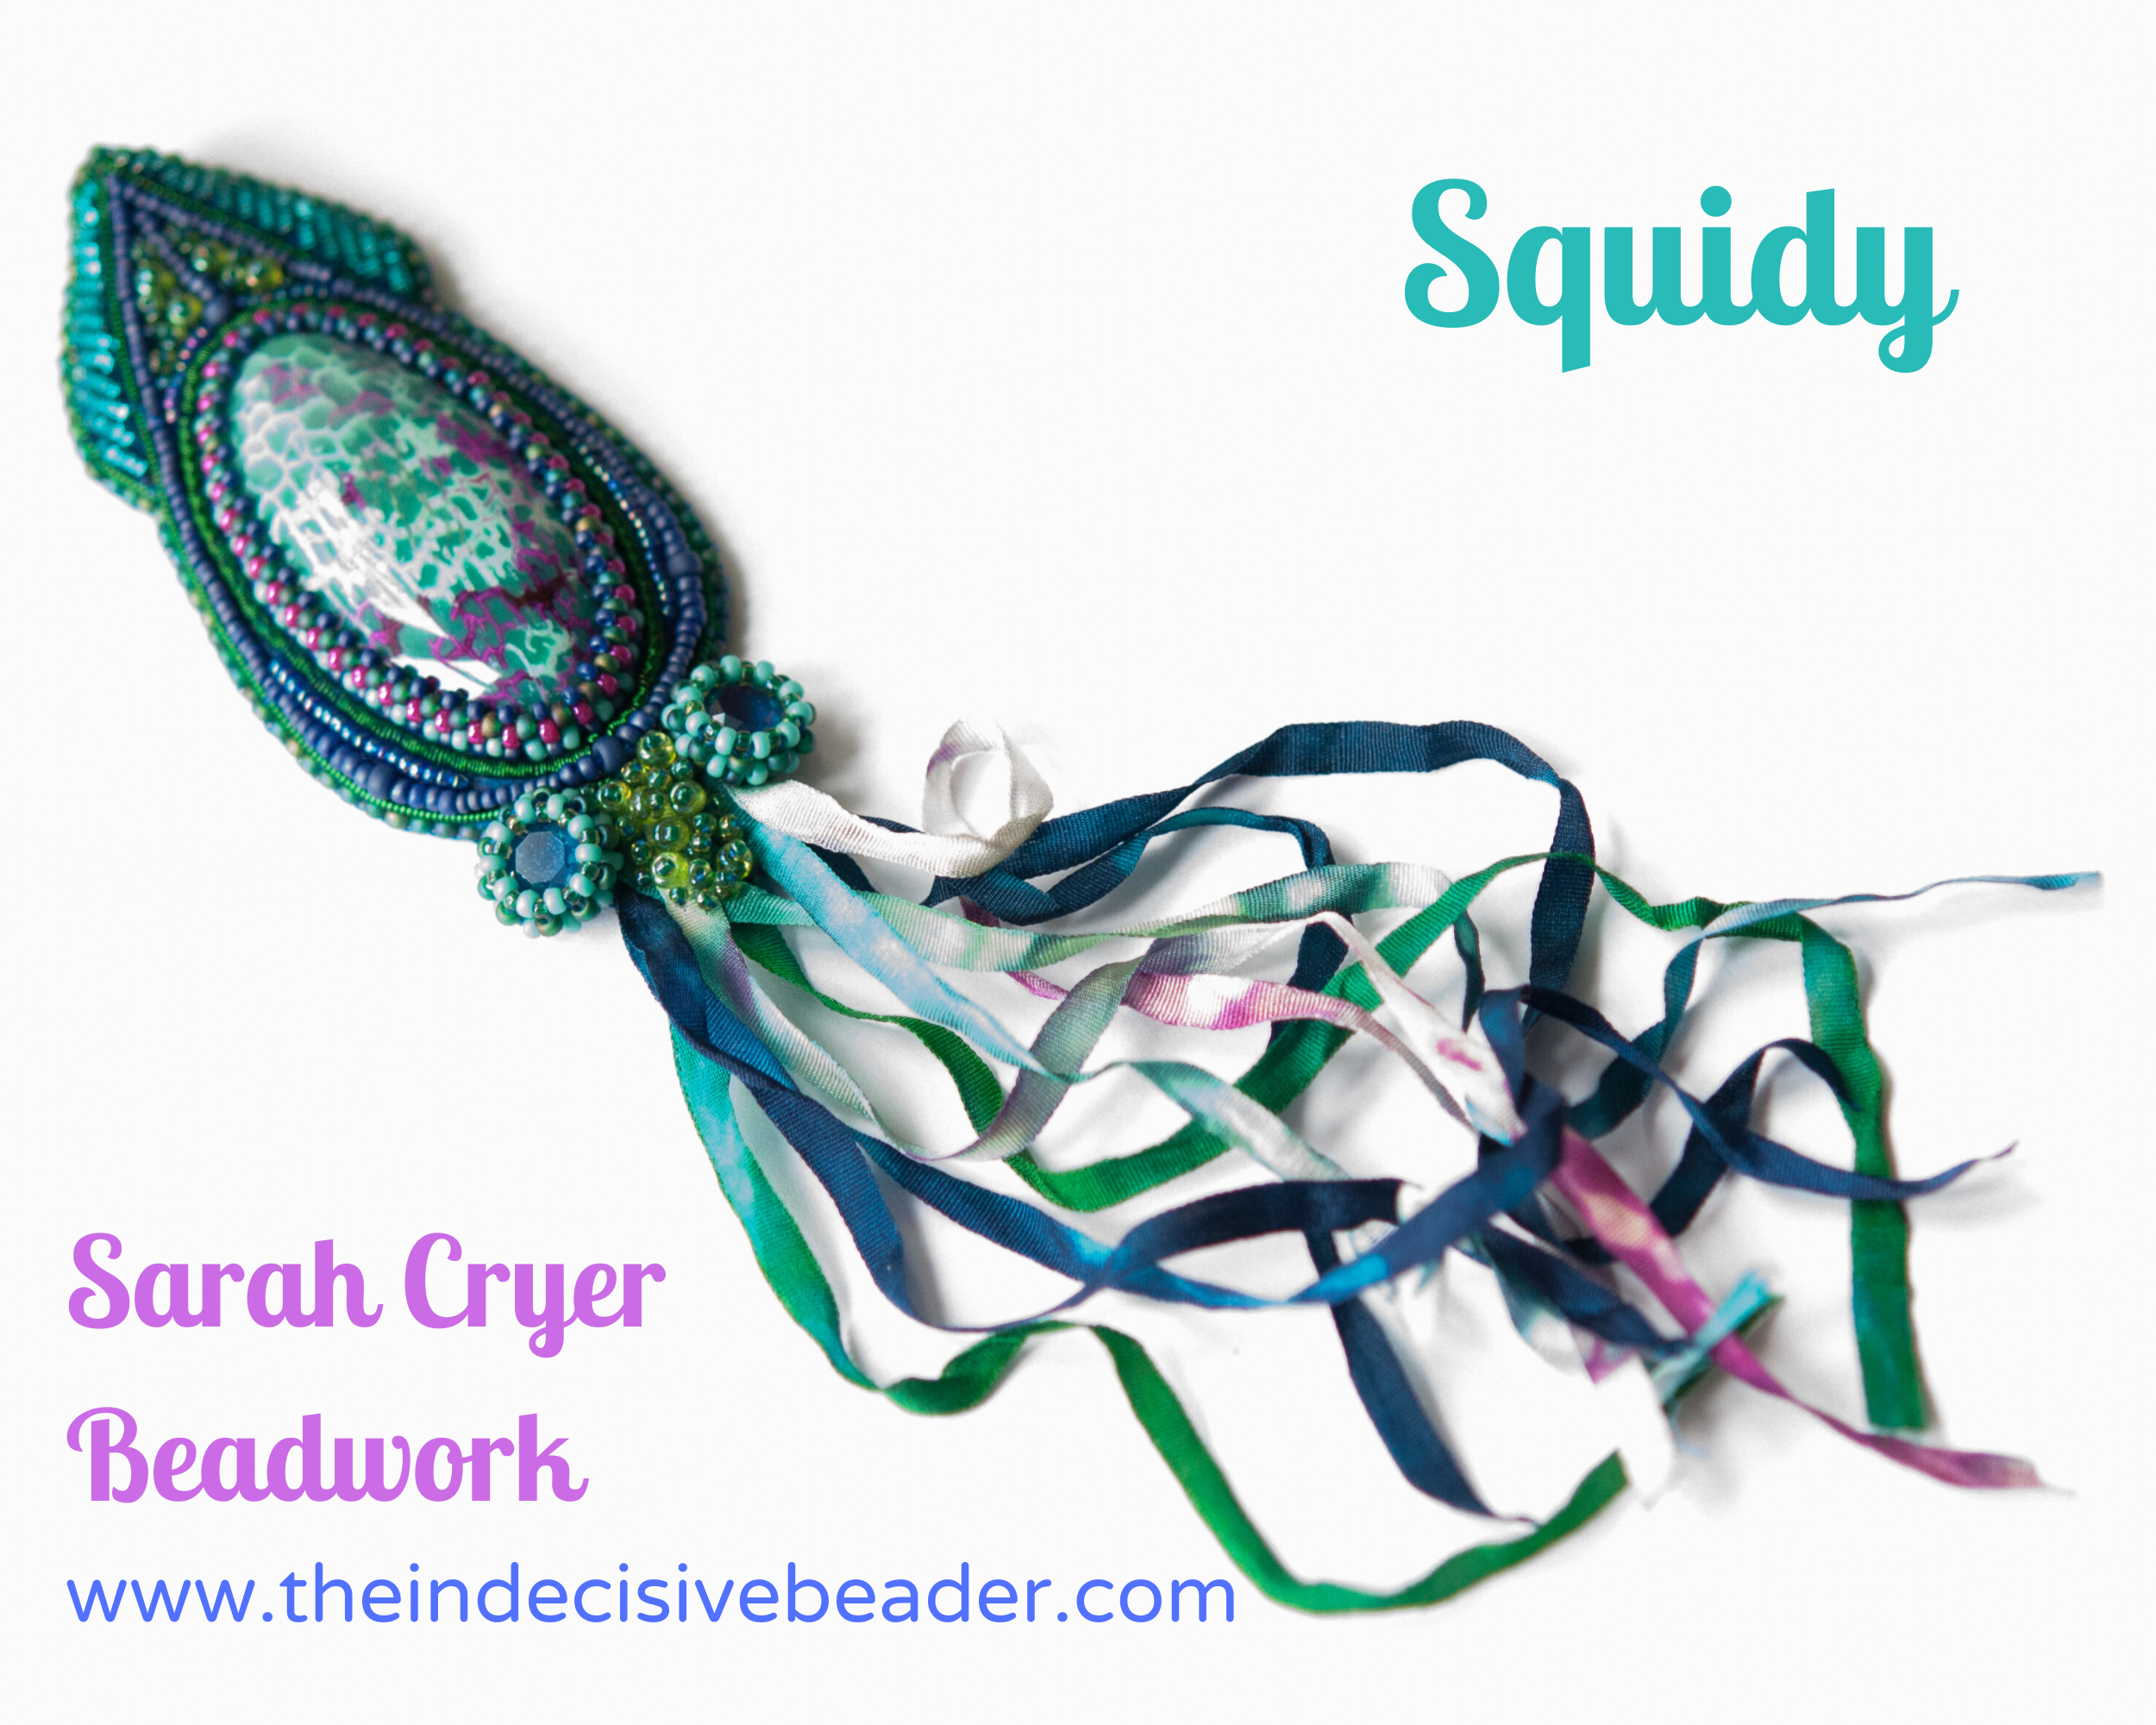
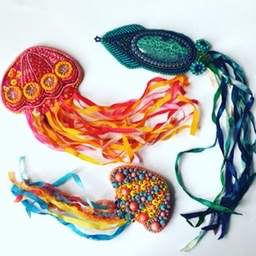
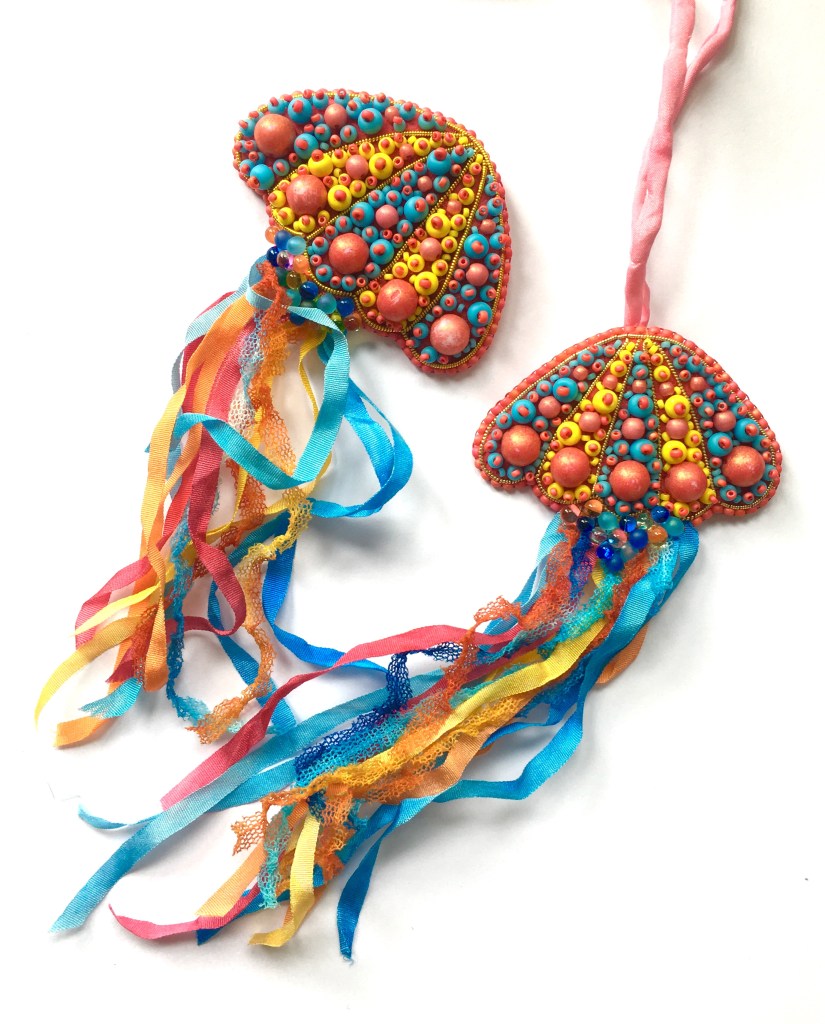
Last summer I made a series of sea creatures – beginning with a bead embroidered pink and yellow jellyfish done as a stitch and material sampler. She was a bit big and slightly clumsy, so she was called Big Jelly.
The next piece was Squidy, who mixes bead embroidery, bead weaving and goldwork embroidery techniques. I published Squidy as a tutorial last year, and also sell component packs for him (which include Hope Jacare‘s lovely ribbons and the other non-beady elements). You can read about him here.
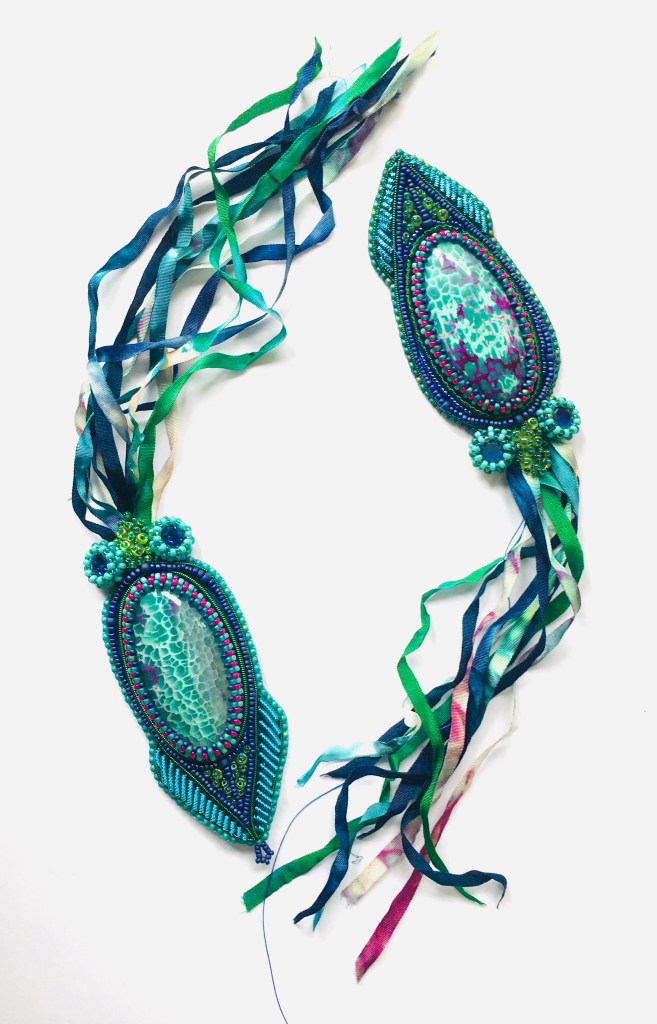
Finally I made Jelly, a simplified piece using just one goldwork and a few bead embroidery stitches – simplified because I knew she was going to go off to the Beadworkers Guild as a journal tutorial. So that meant I had to keep her under wraps for quite a long time!
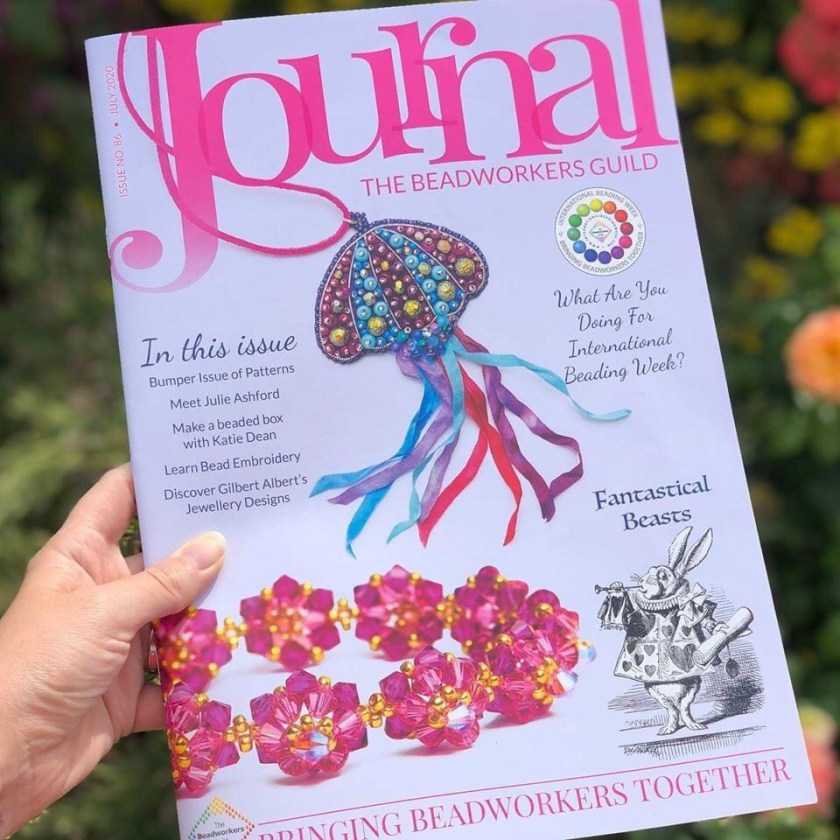
Last week the Journal was published and here she is. She looks lovely on the cover, particularly in her second colourway of blues and fuchsia, and it’s great to make a contribution to the Guild and to one of the most popular beadworking publications.
If you’re interested in the Journal it forms part of the membership benefits of joining the Guild, and is available internationally.
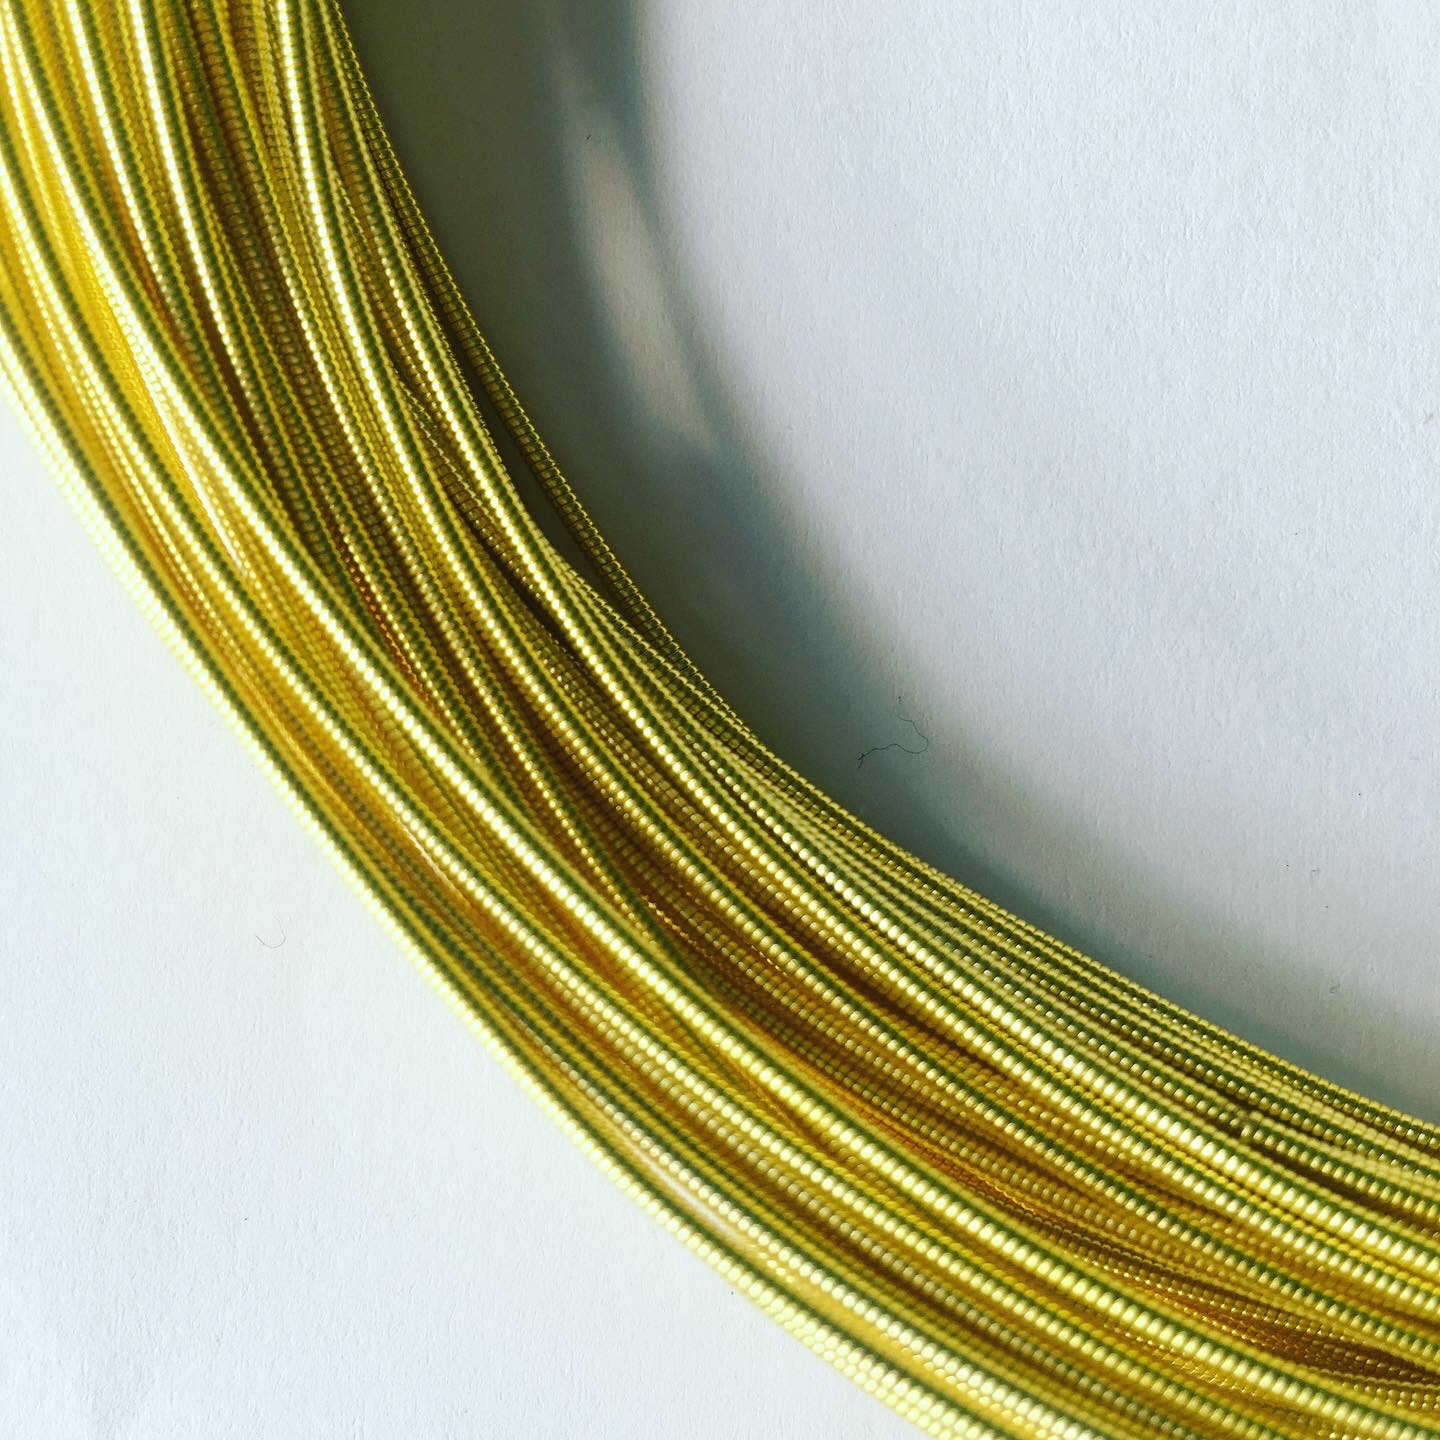
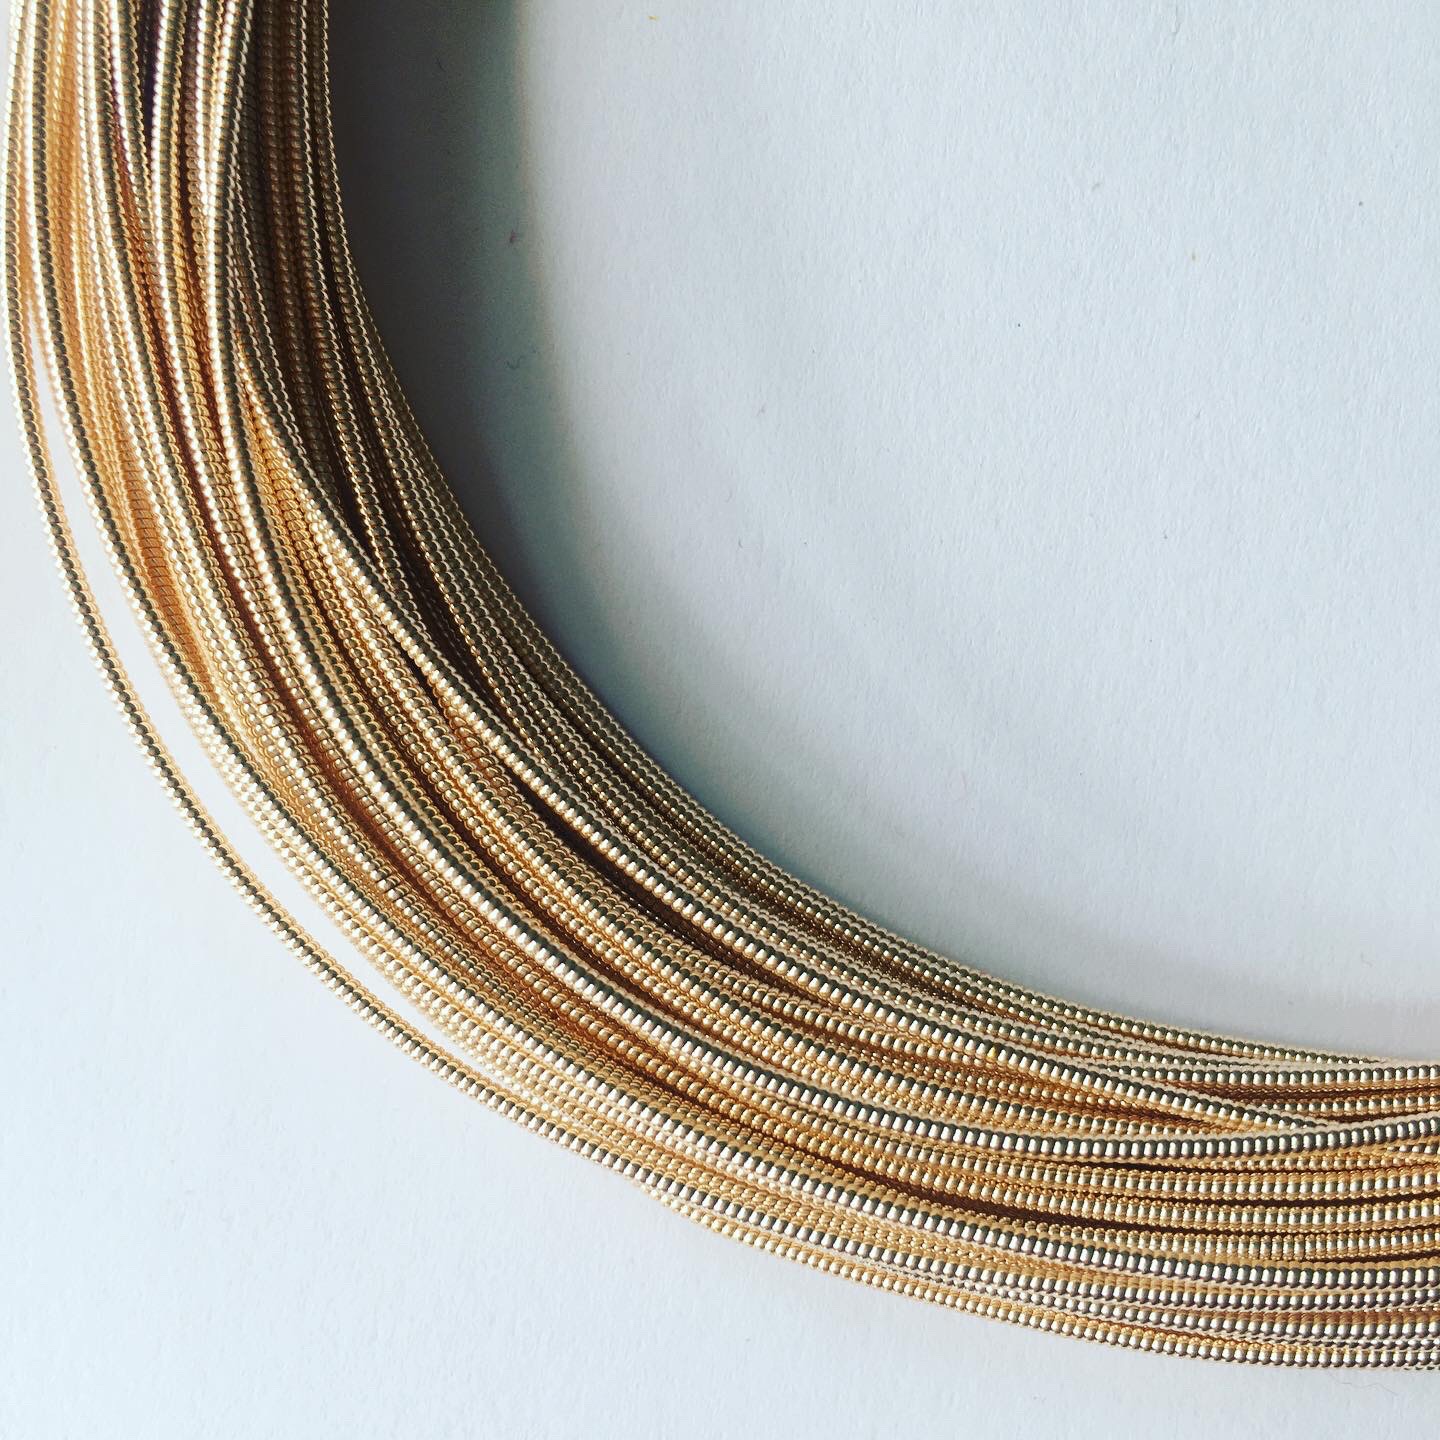
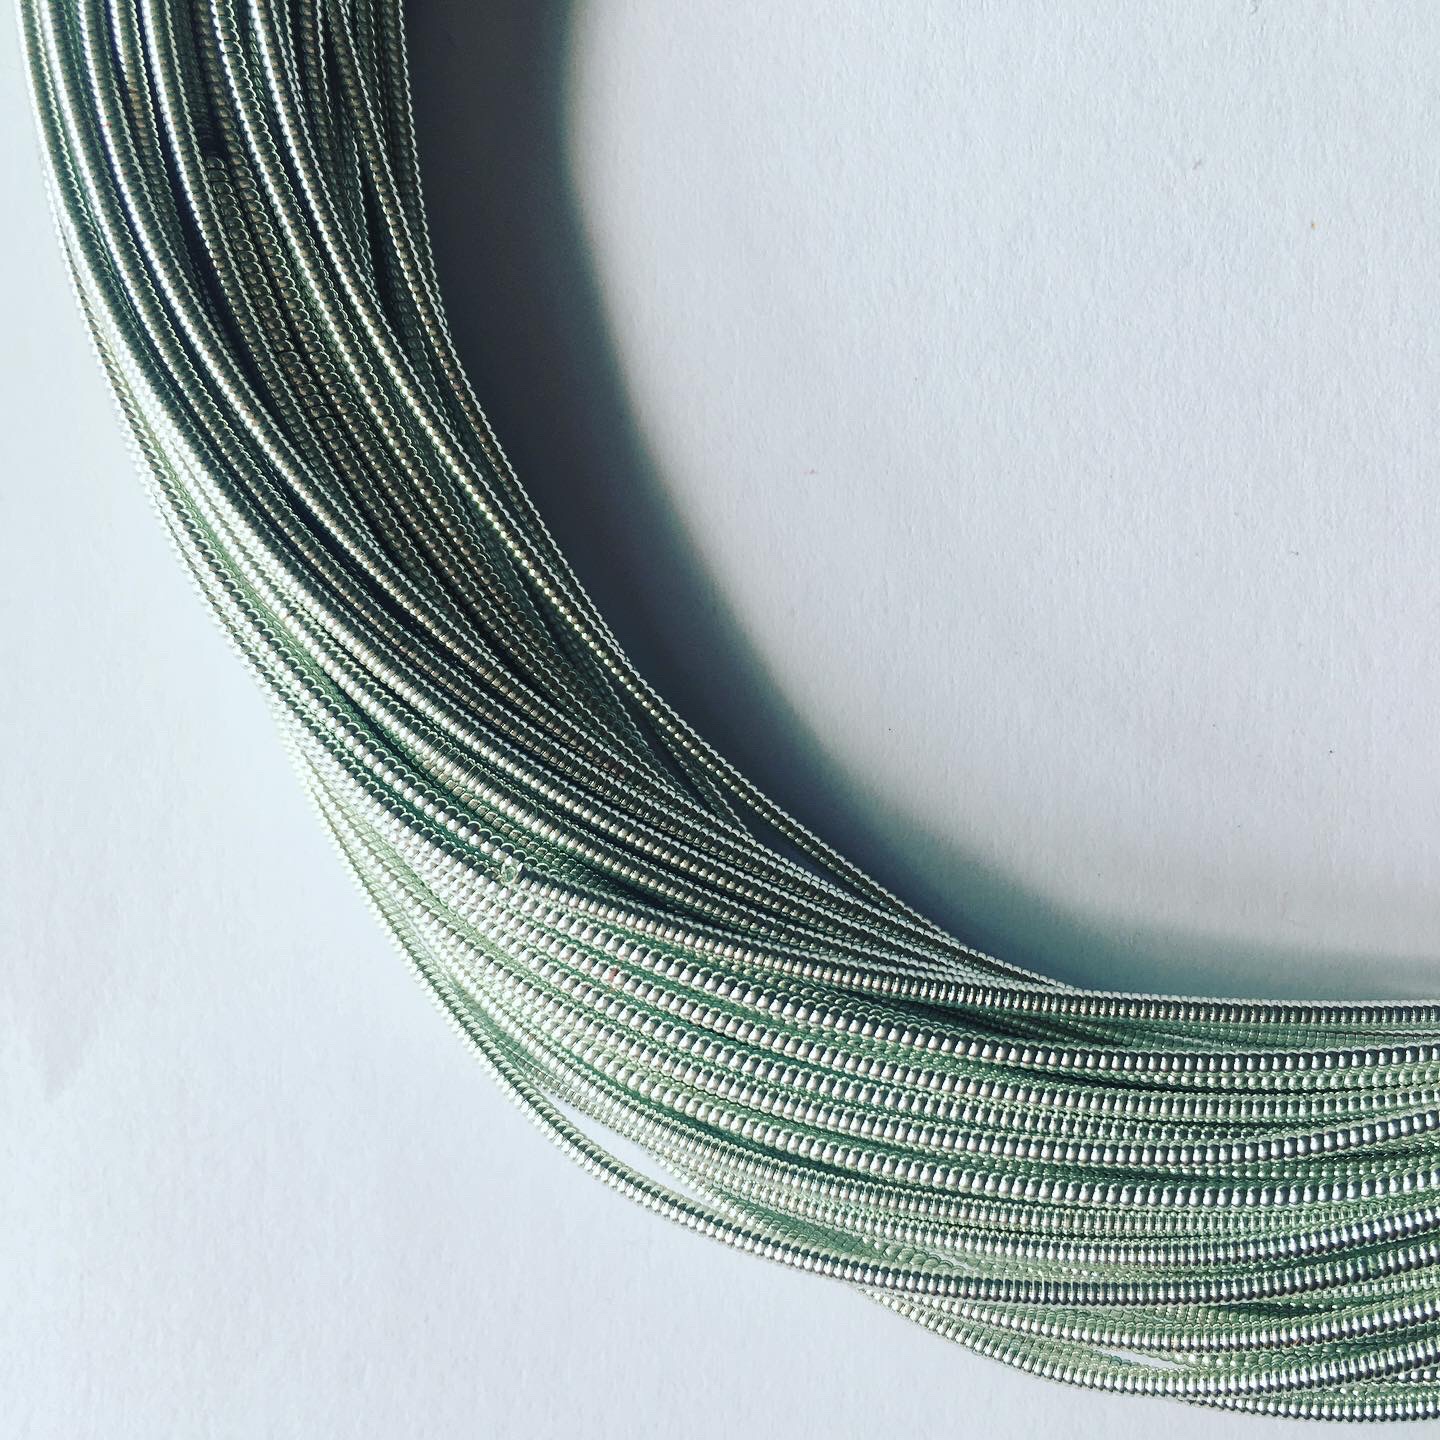
If you’re already a member and wanting to try making Jelly, then I have the Pearl Purl available in my Etsy shop, and Clare at Hope Jacare has just listed yet more beautiful ribbons, net tape and other hand dyed loveliness. Have fun!