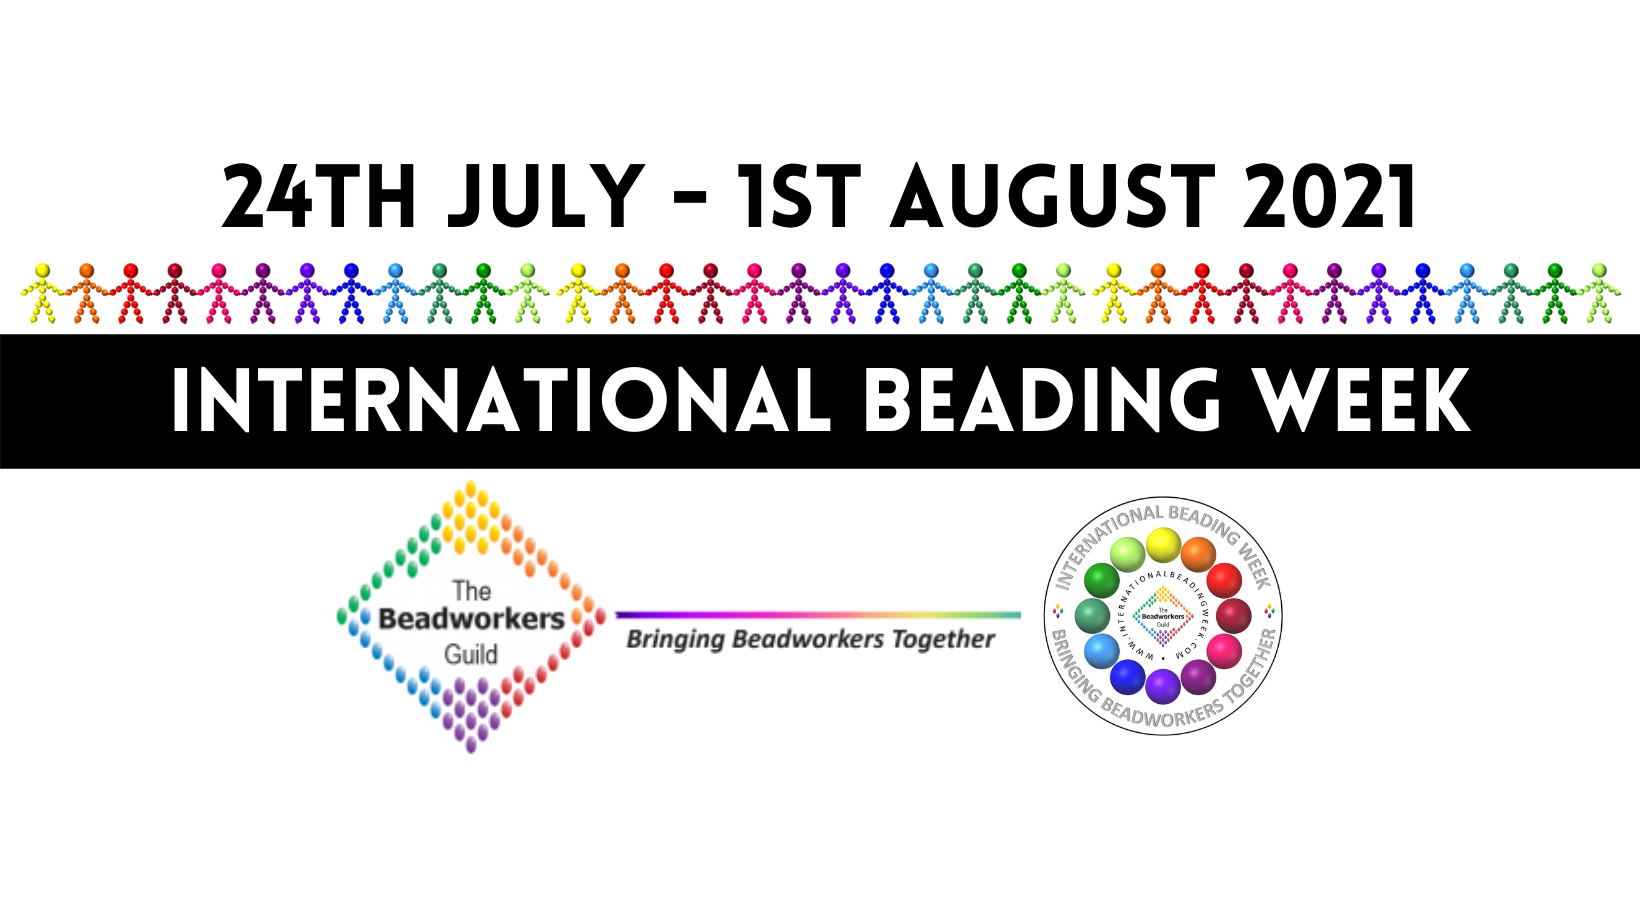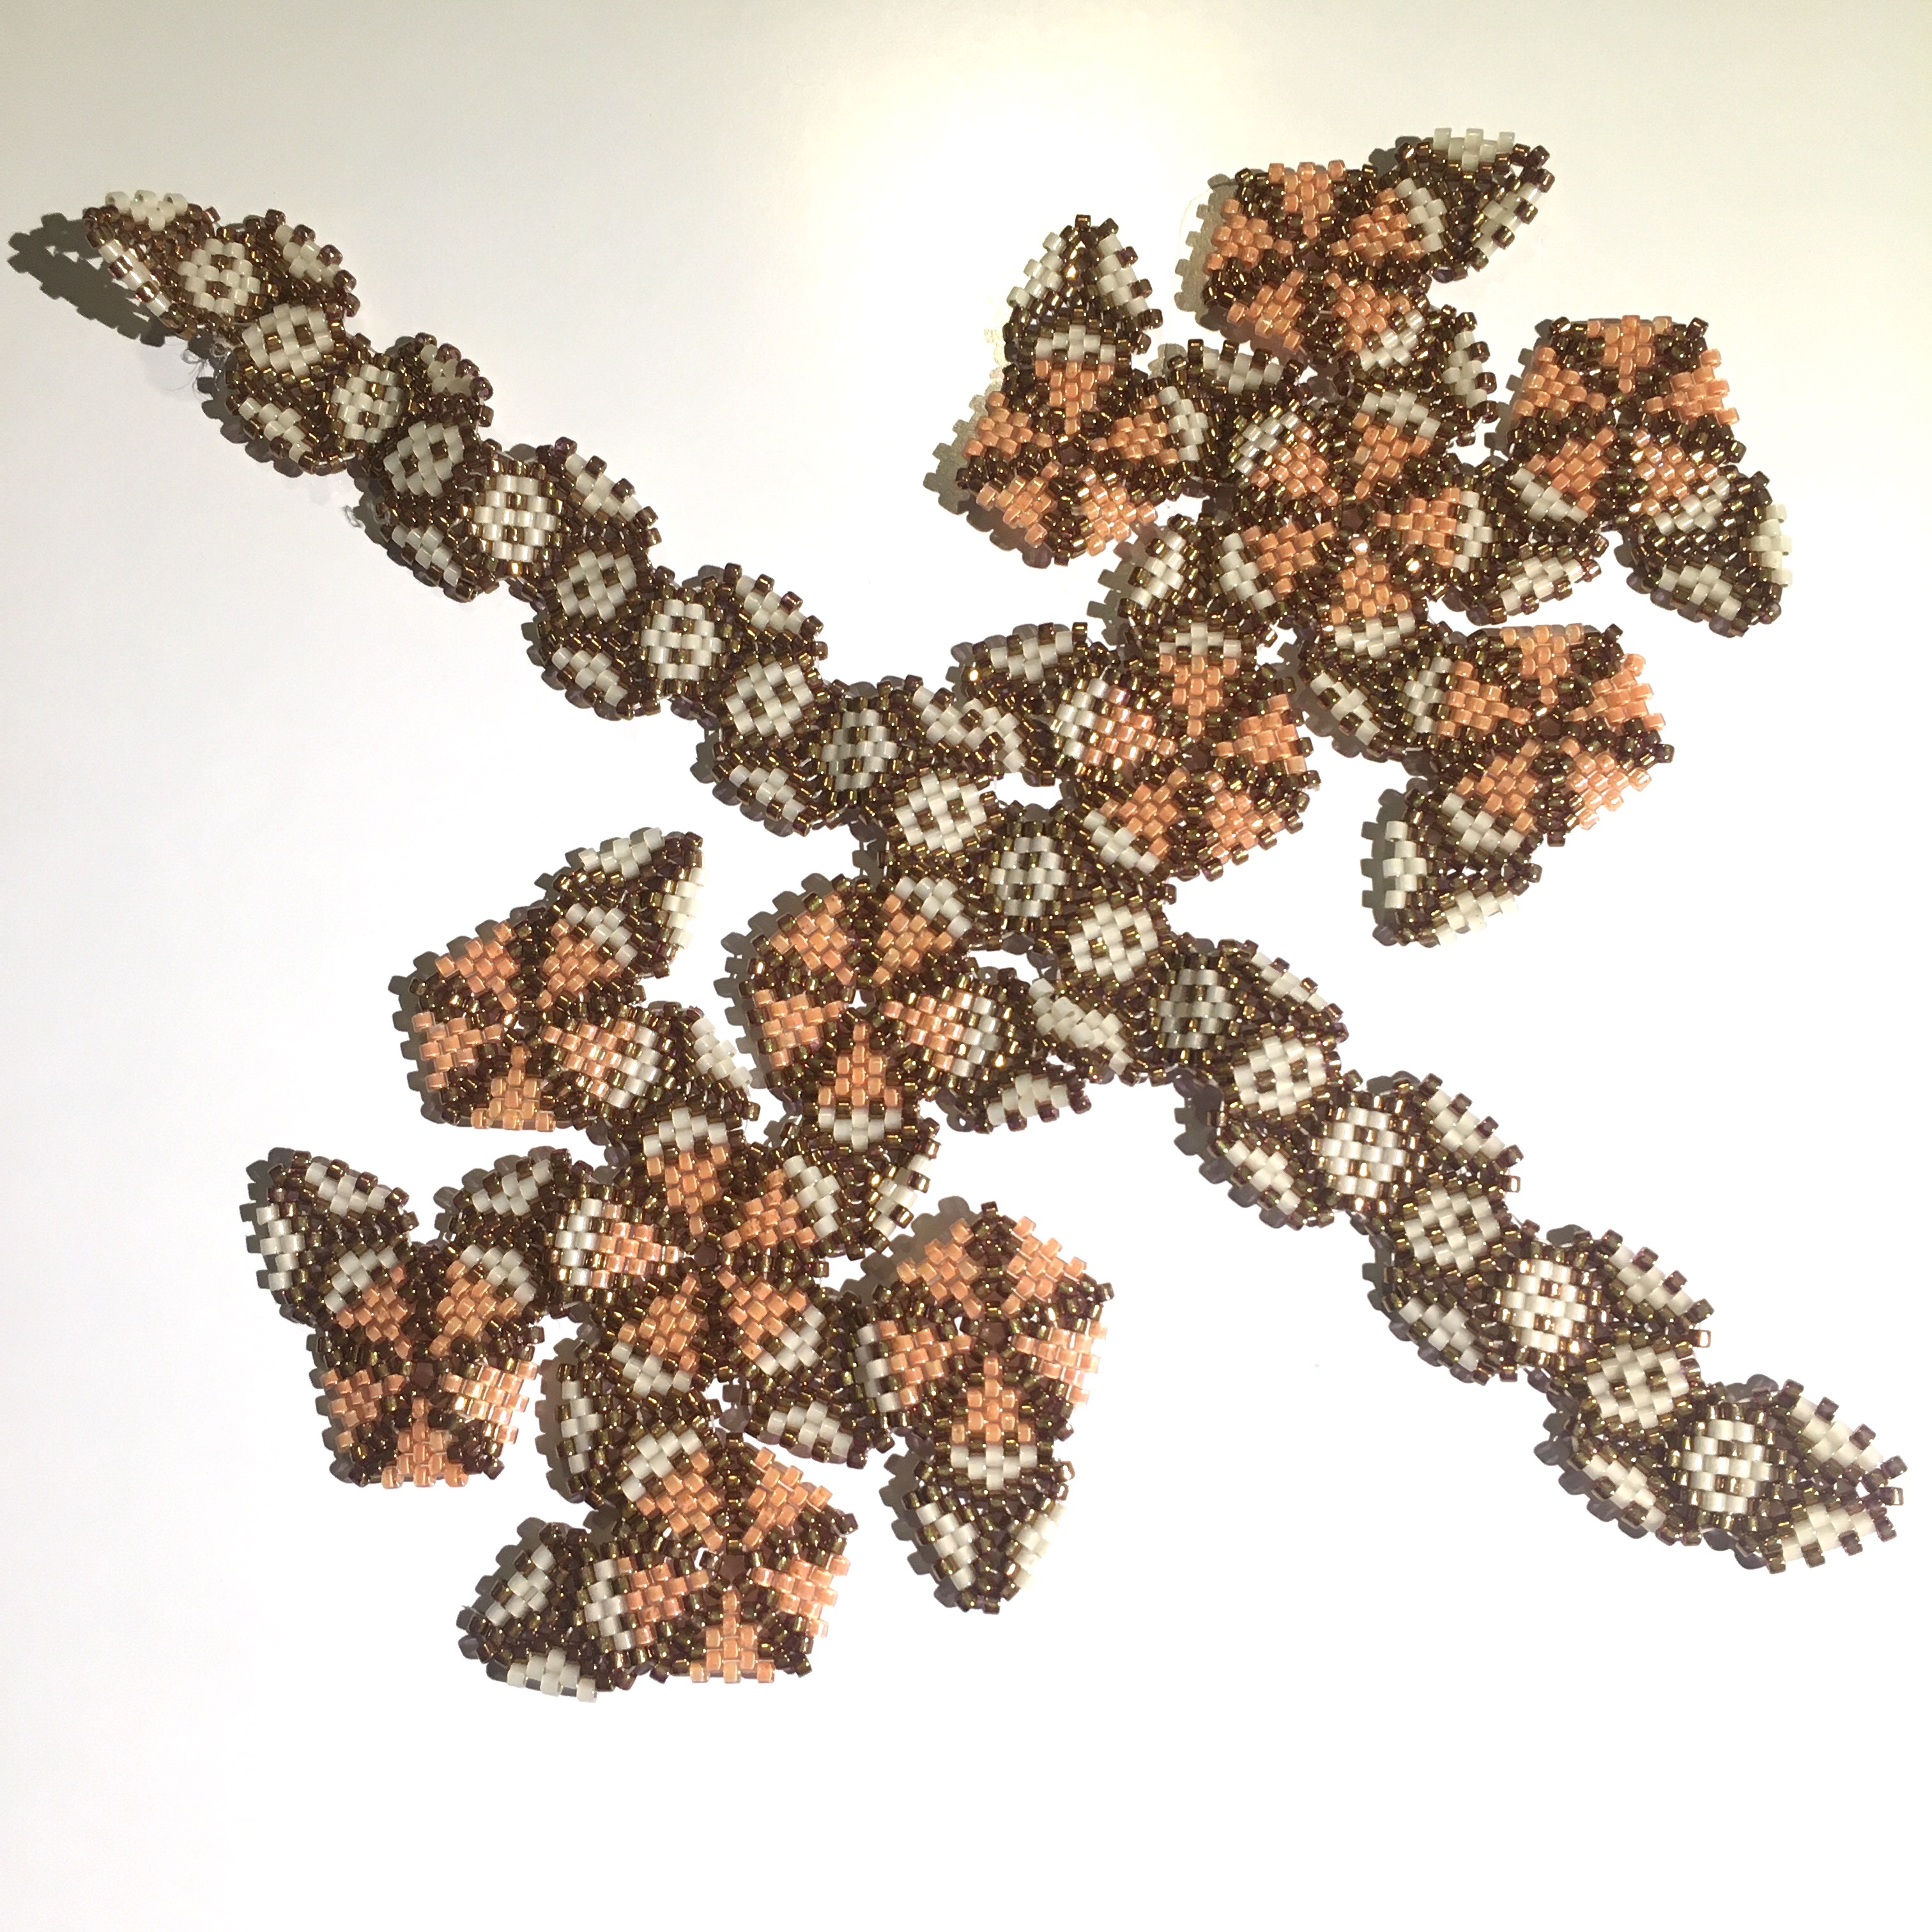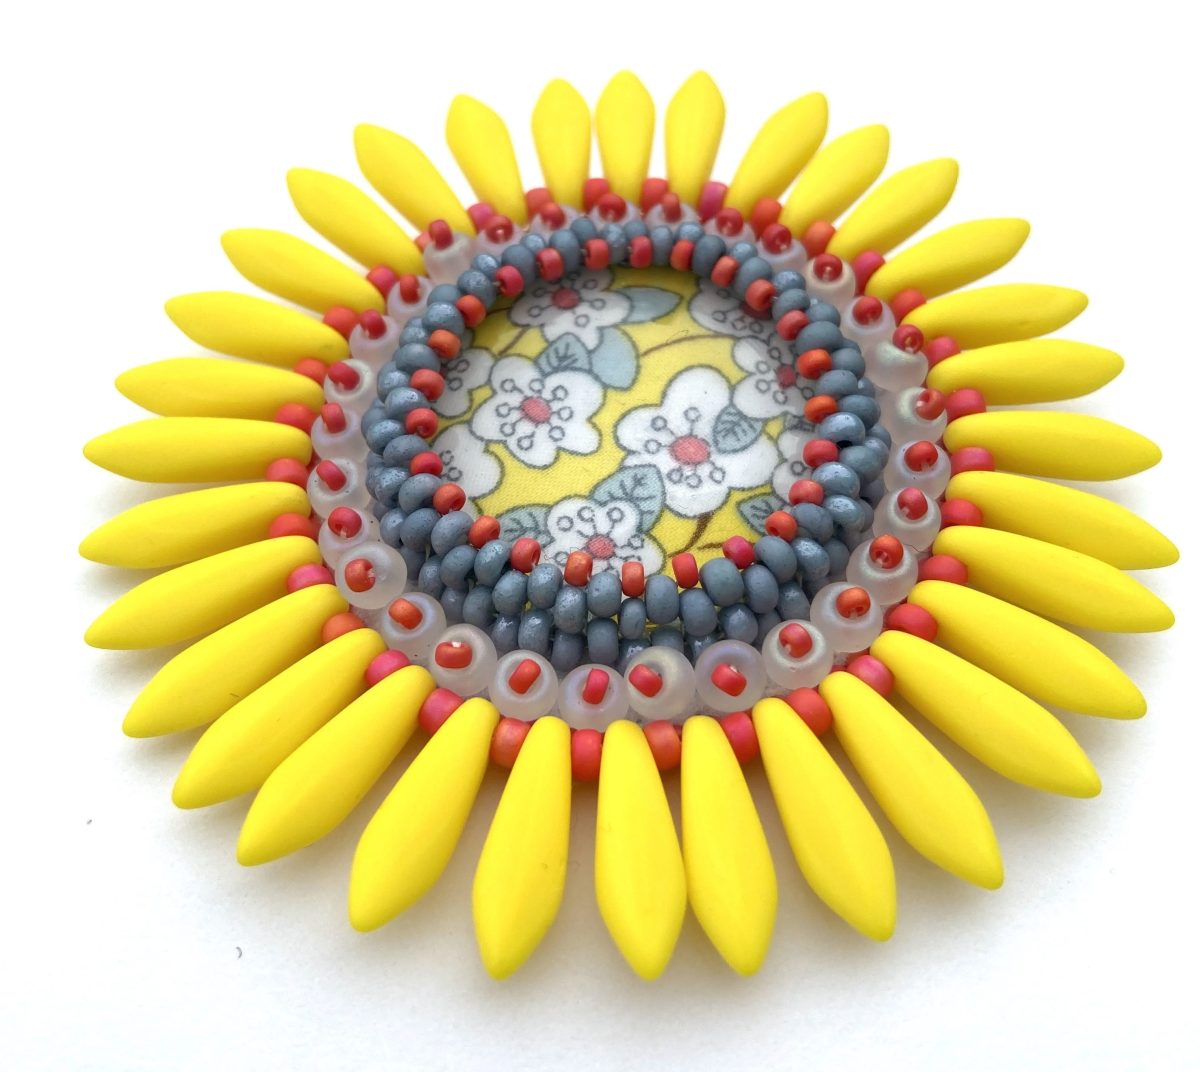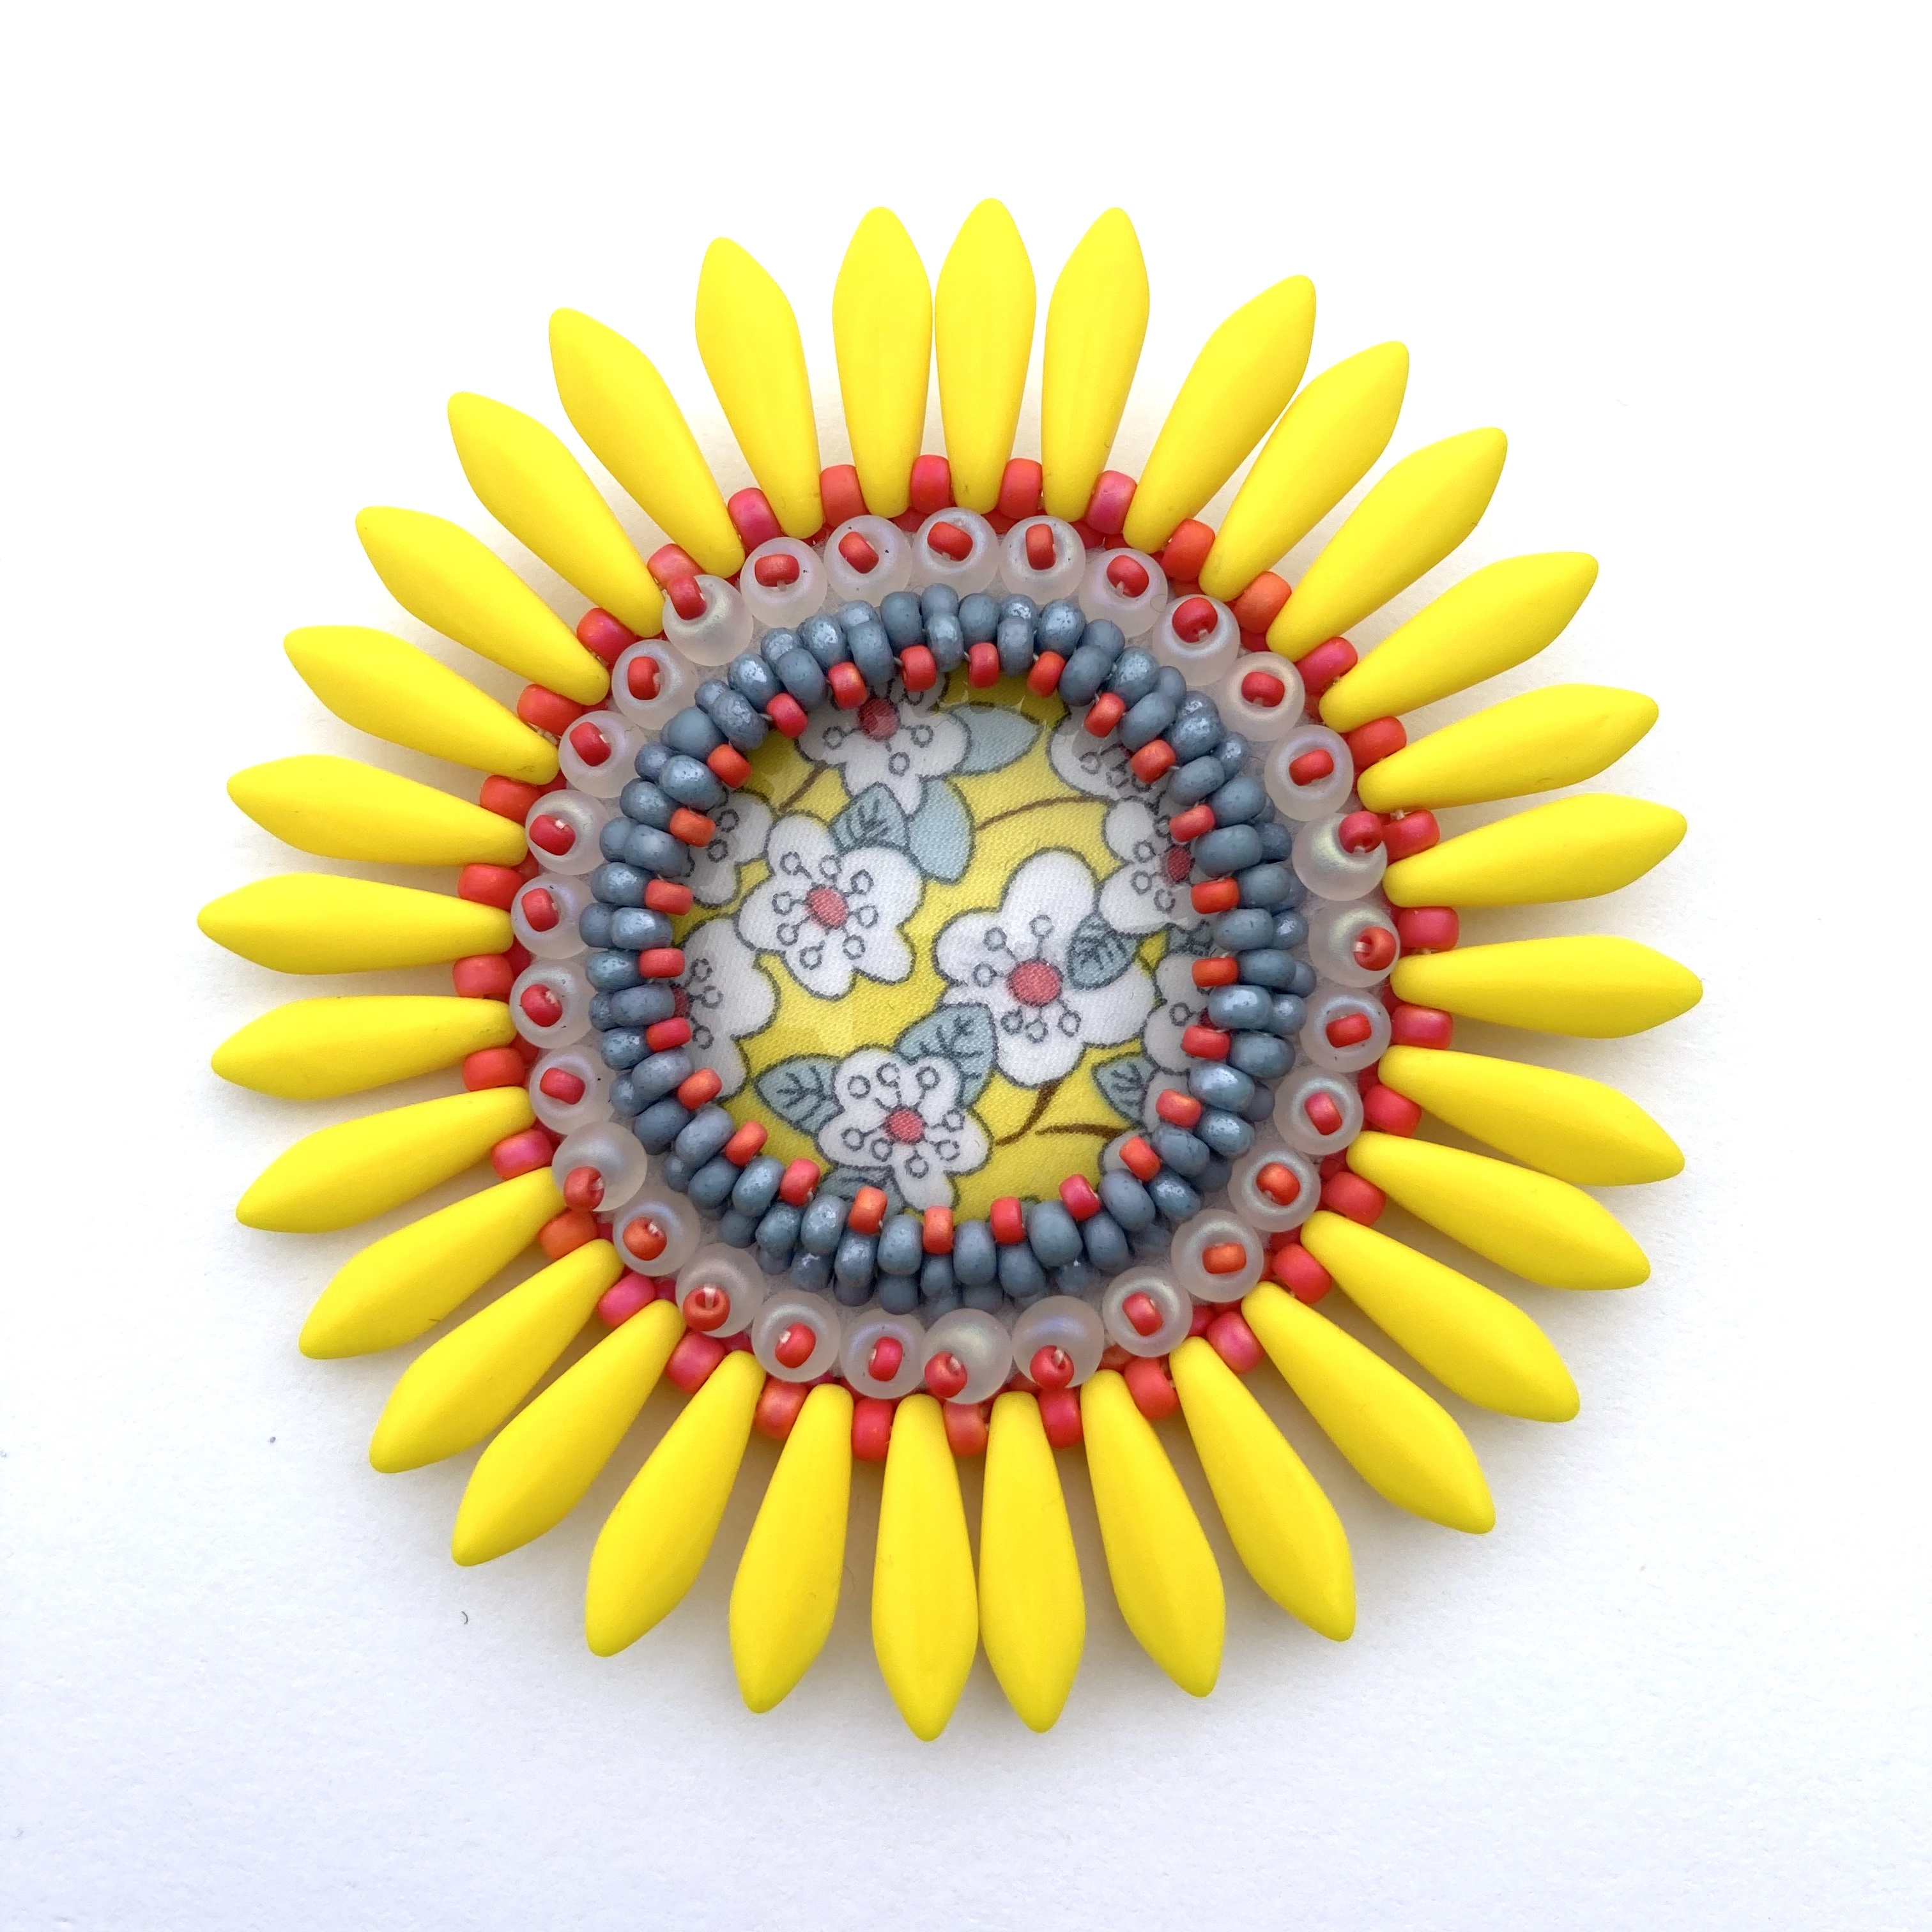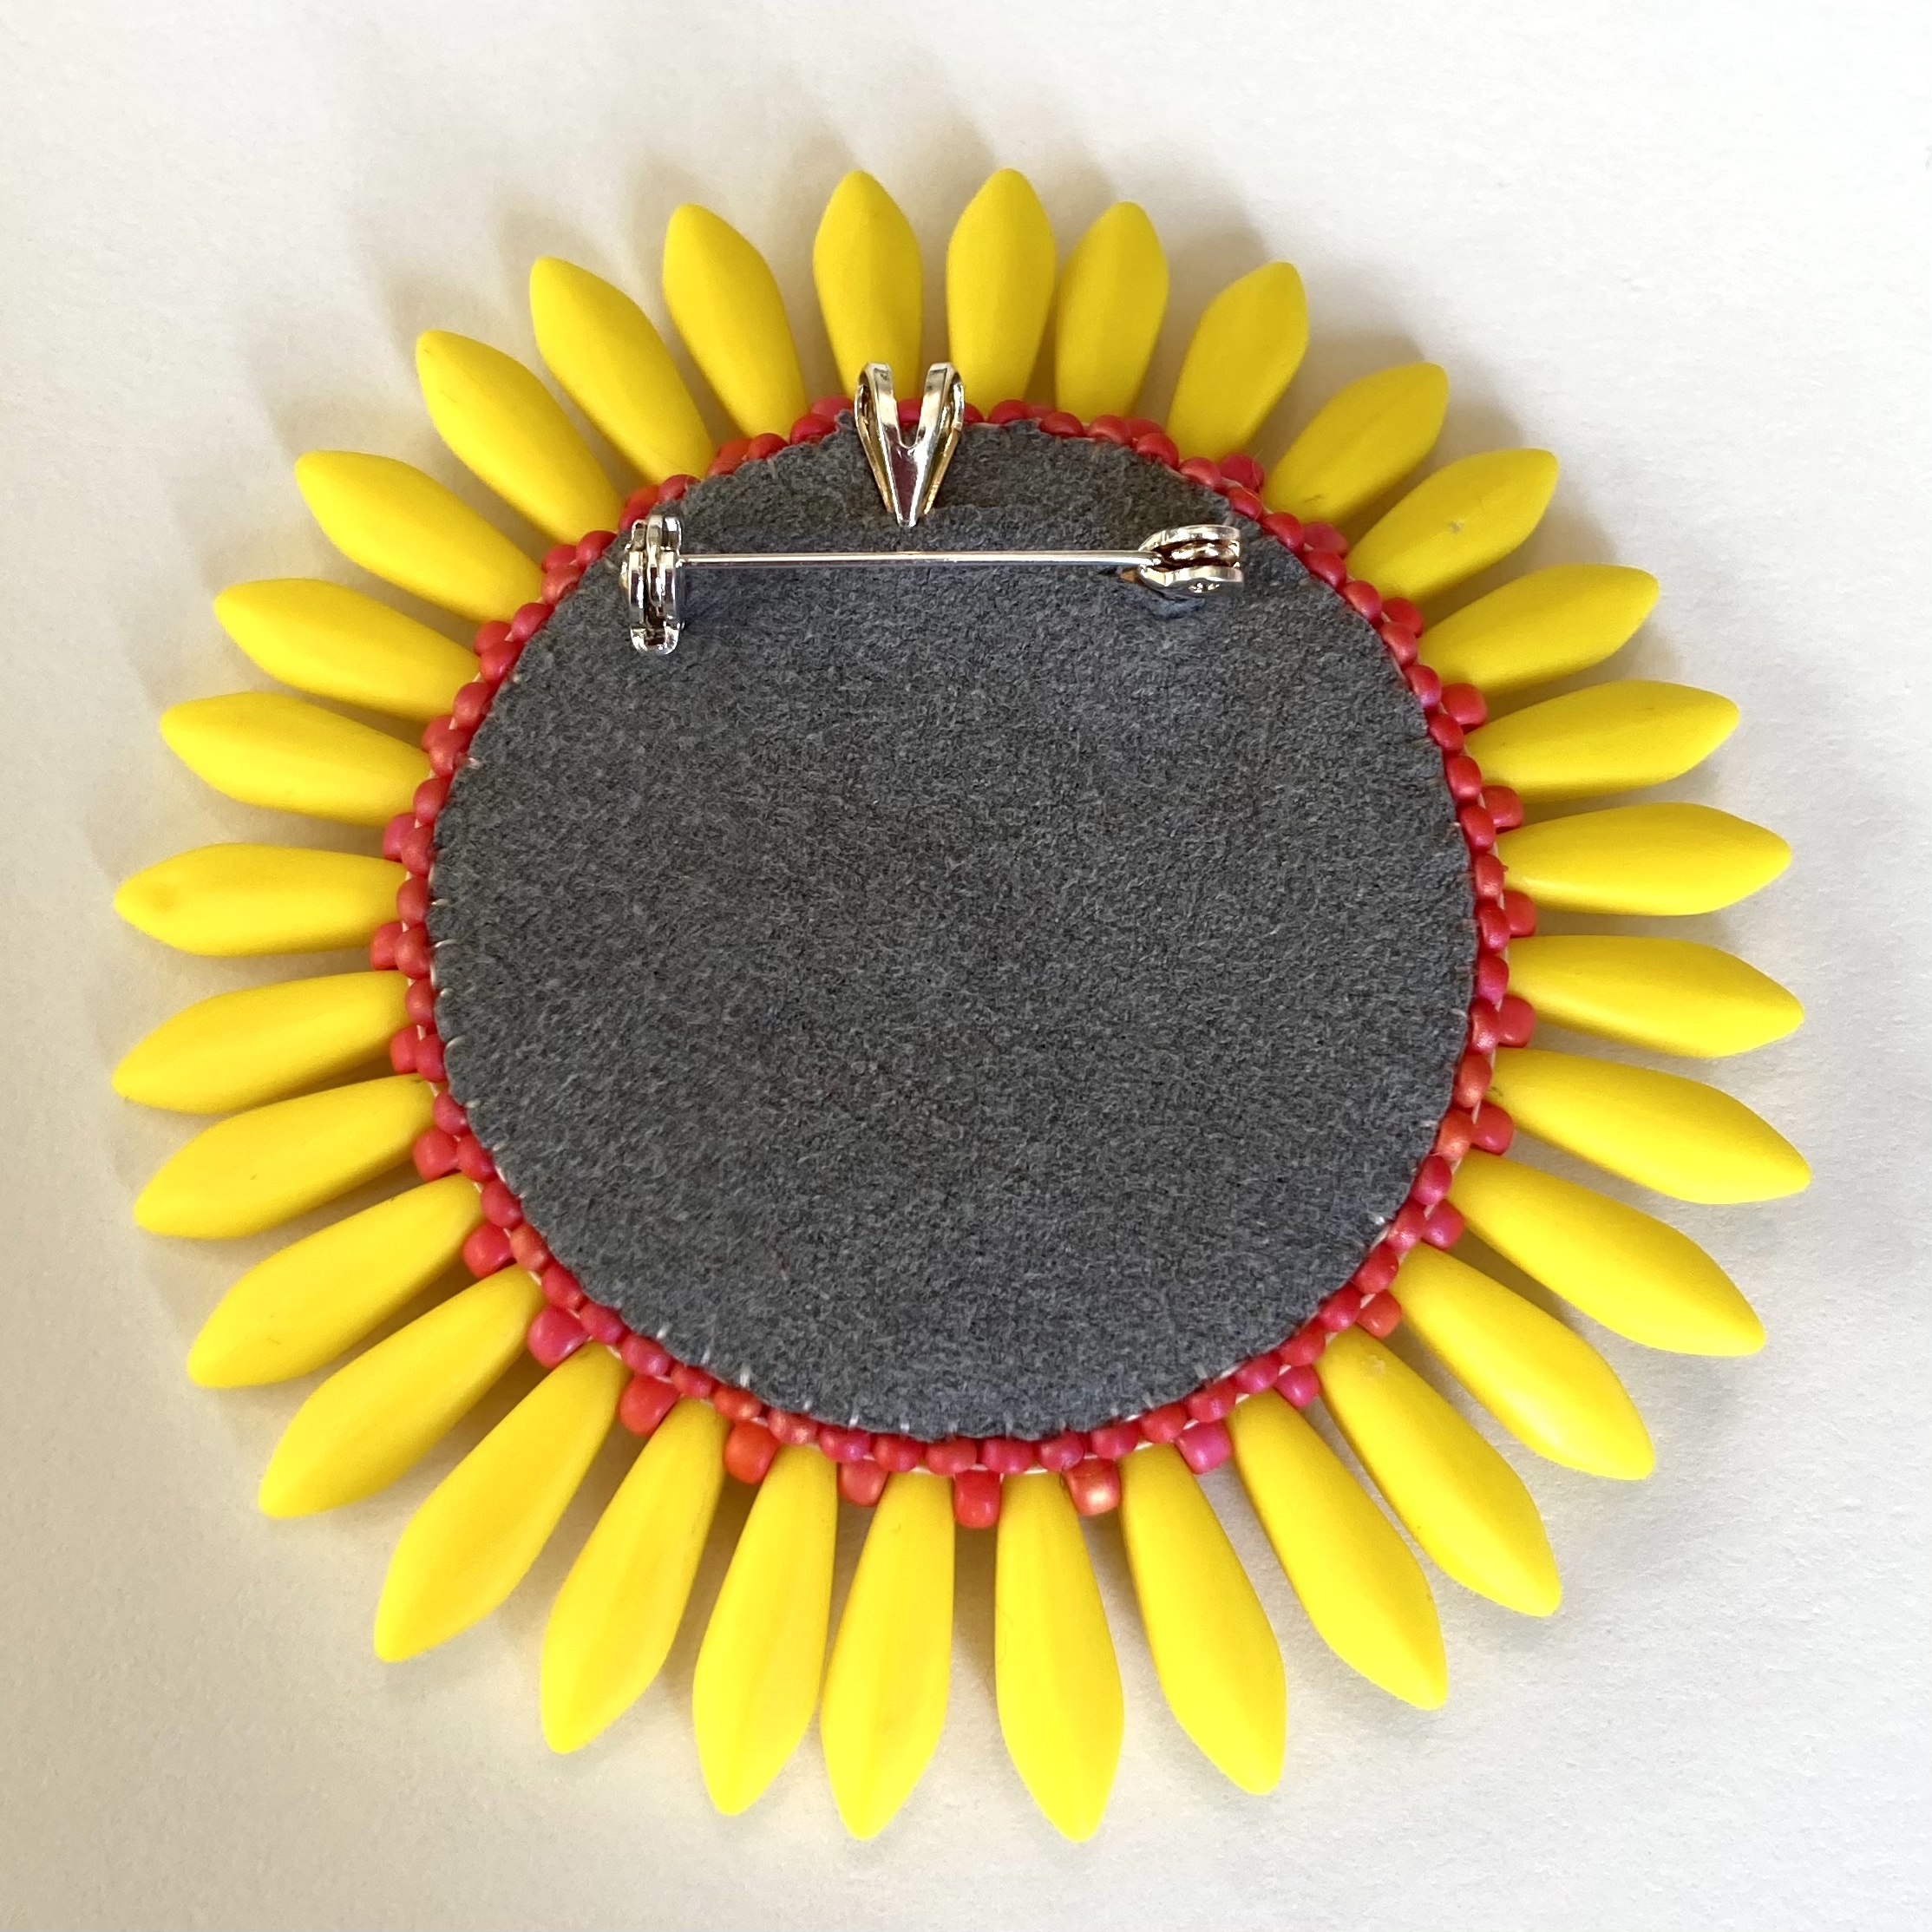
International Beading Week starts tomorrow (24th July) and runs until August 1st, and as a Guest Ambassador, member of the Beadworker’s Guild Social Media Team and all around IBW fan I’ve been busy getting ready.

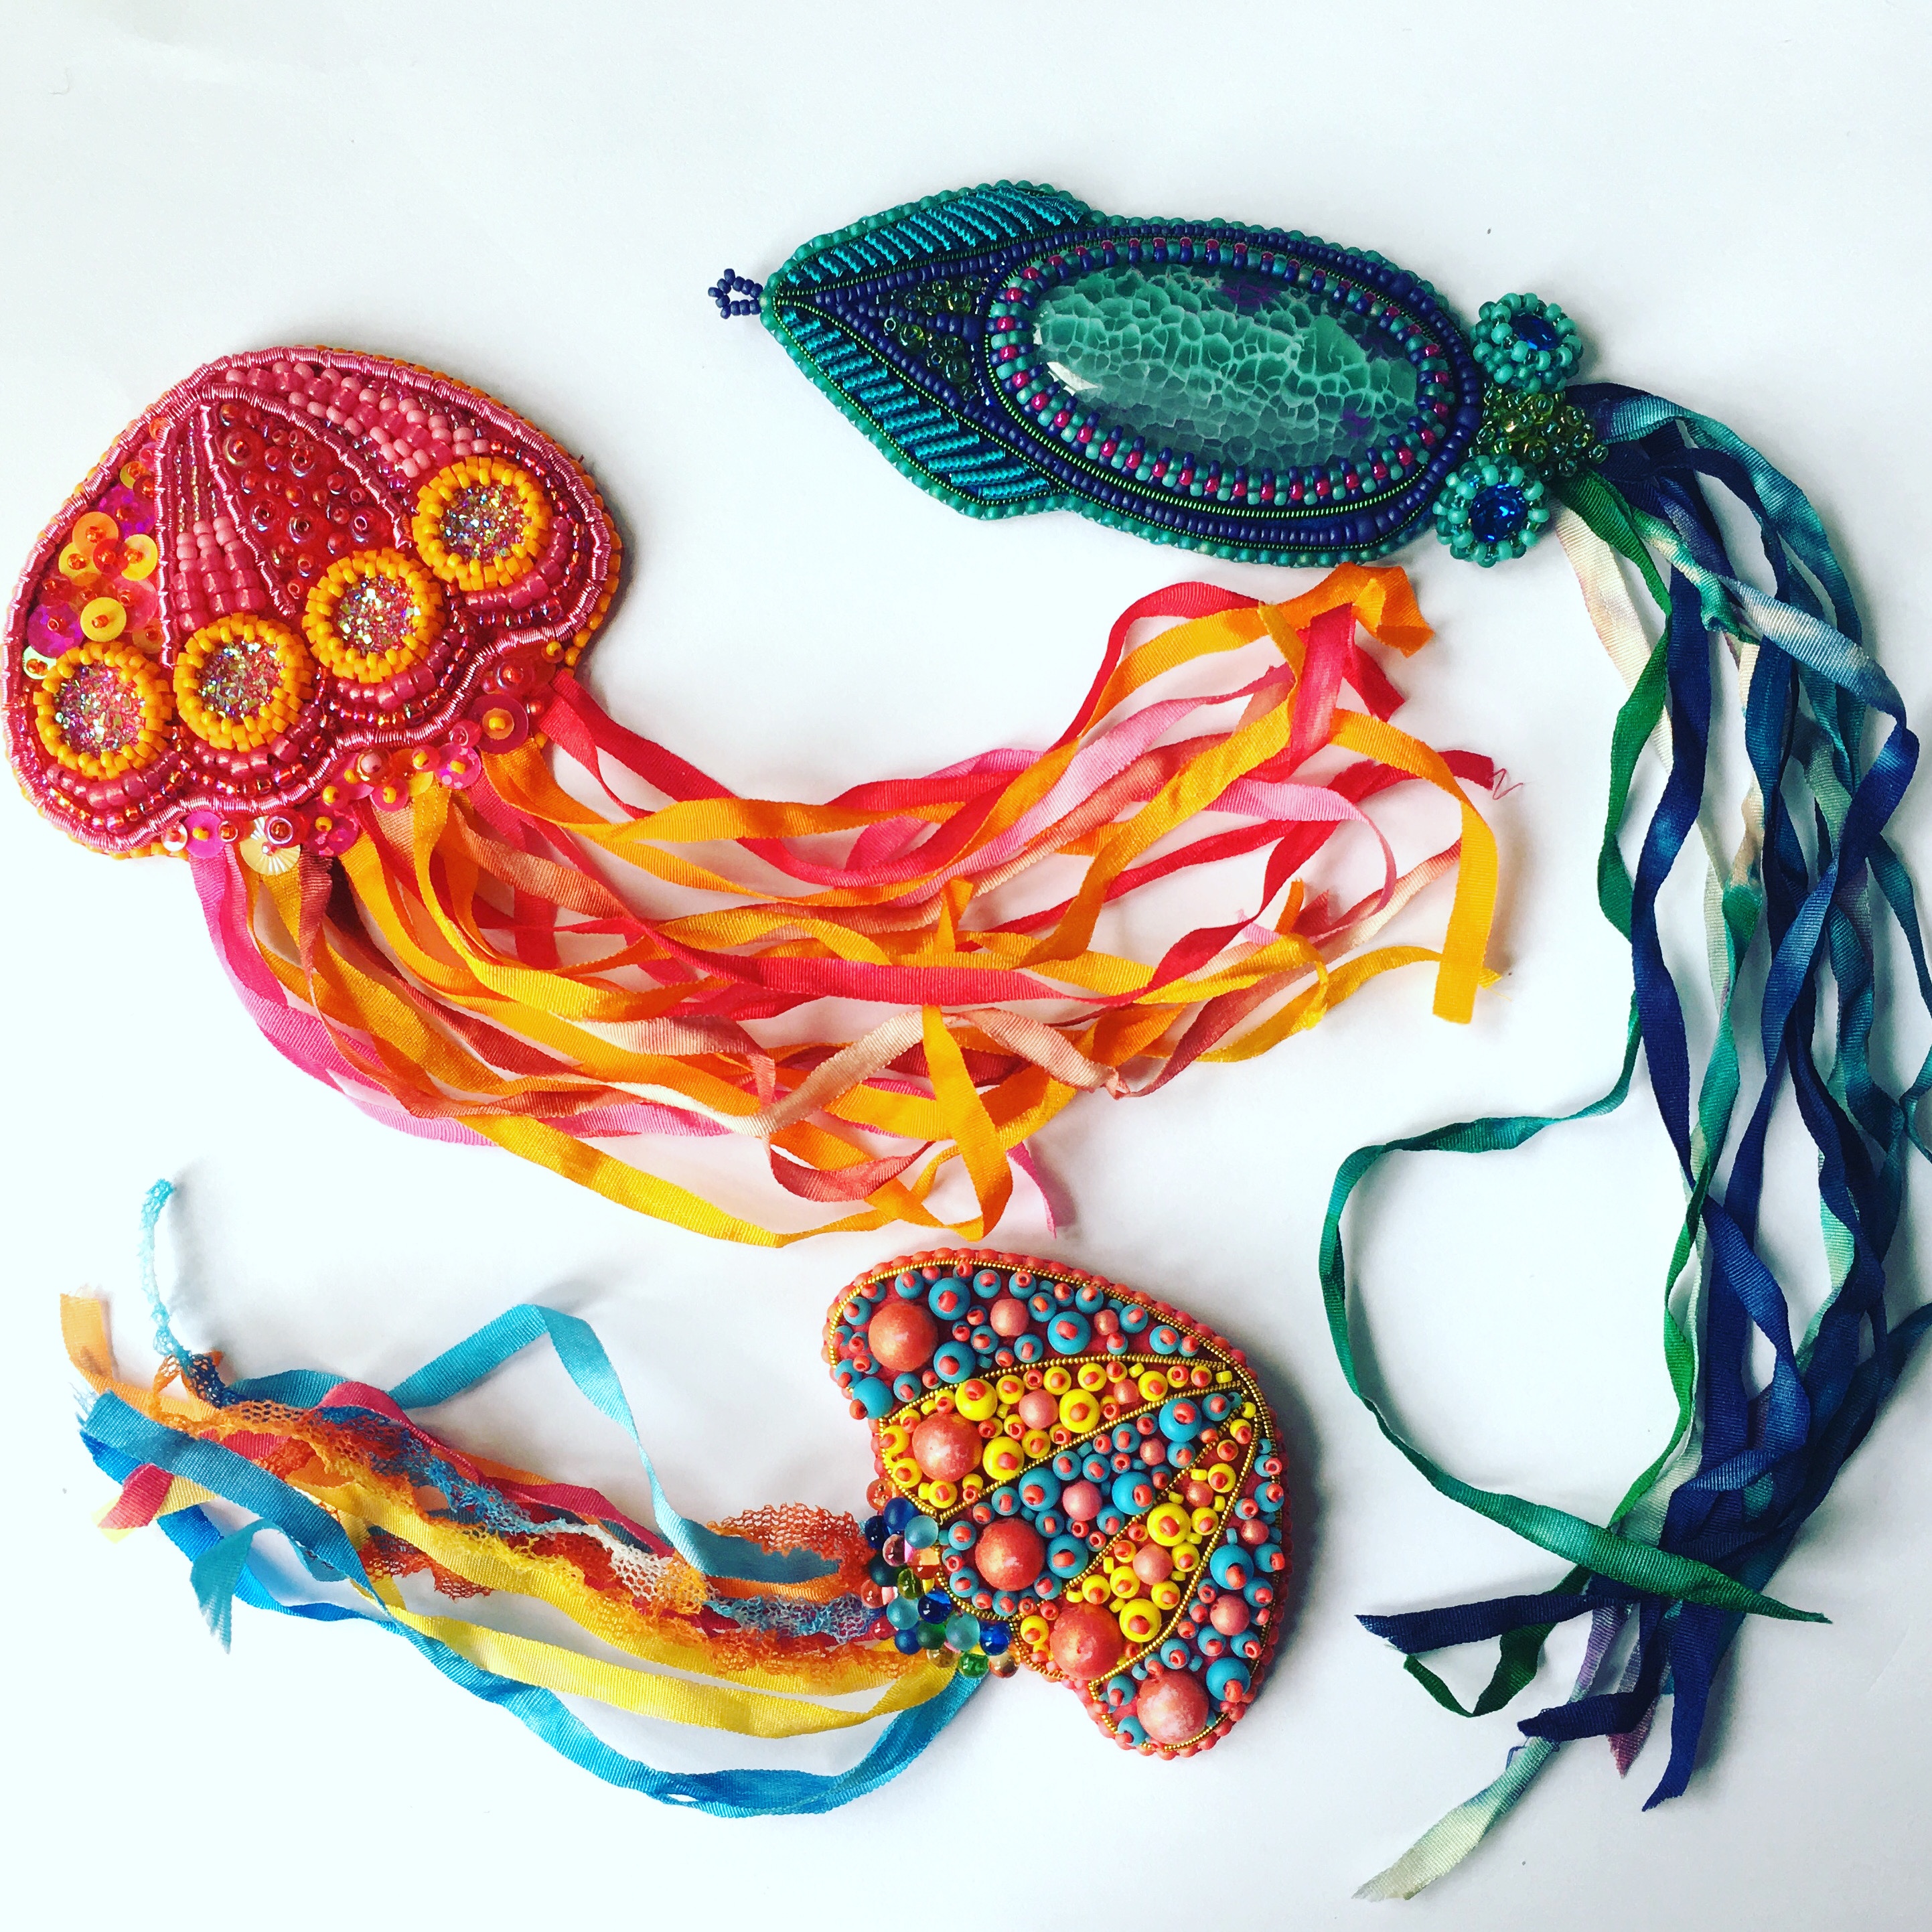
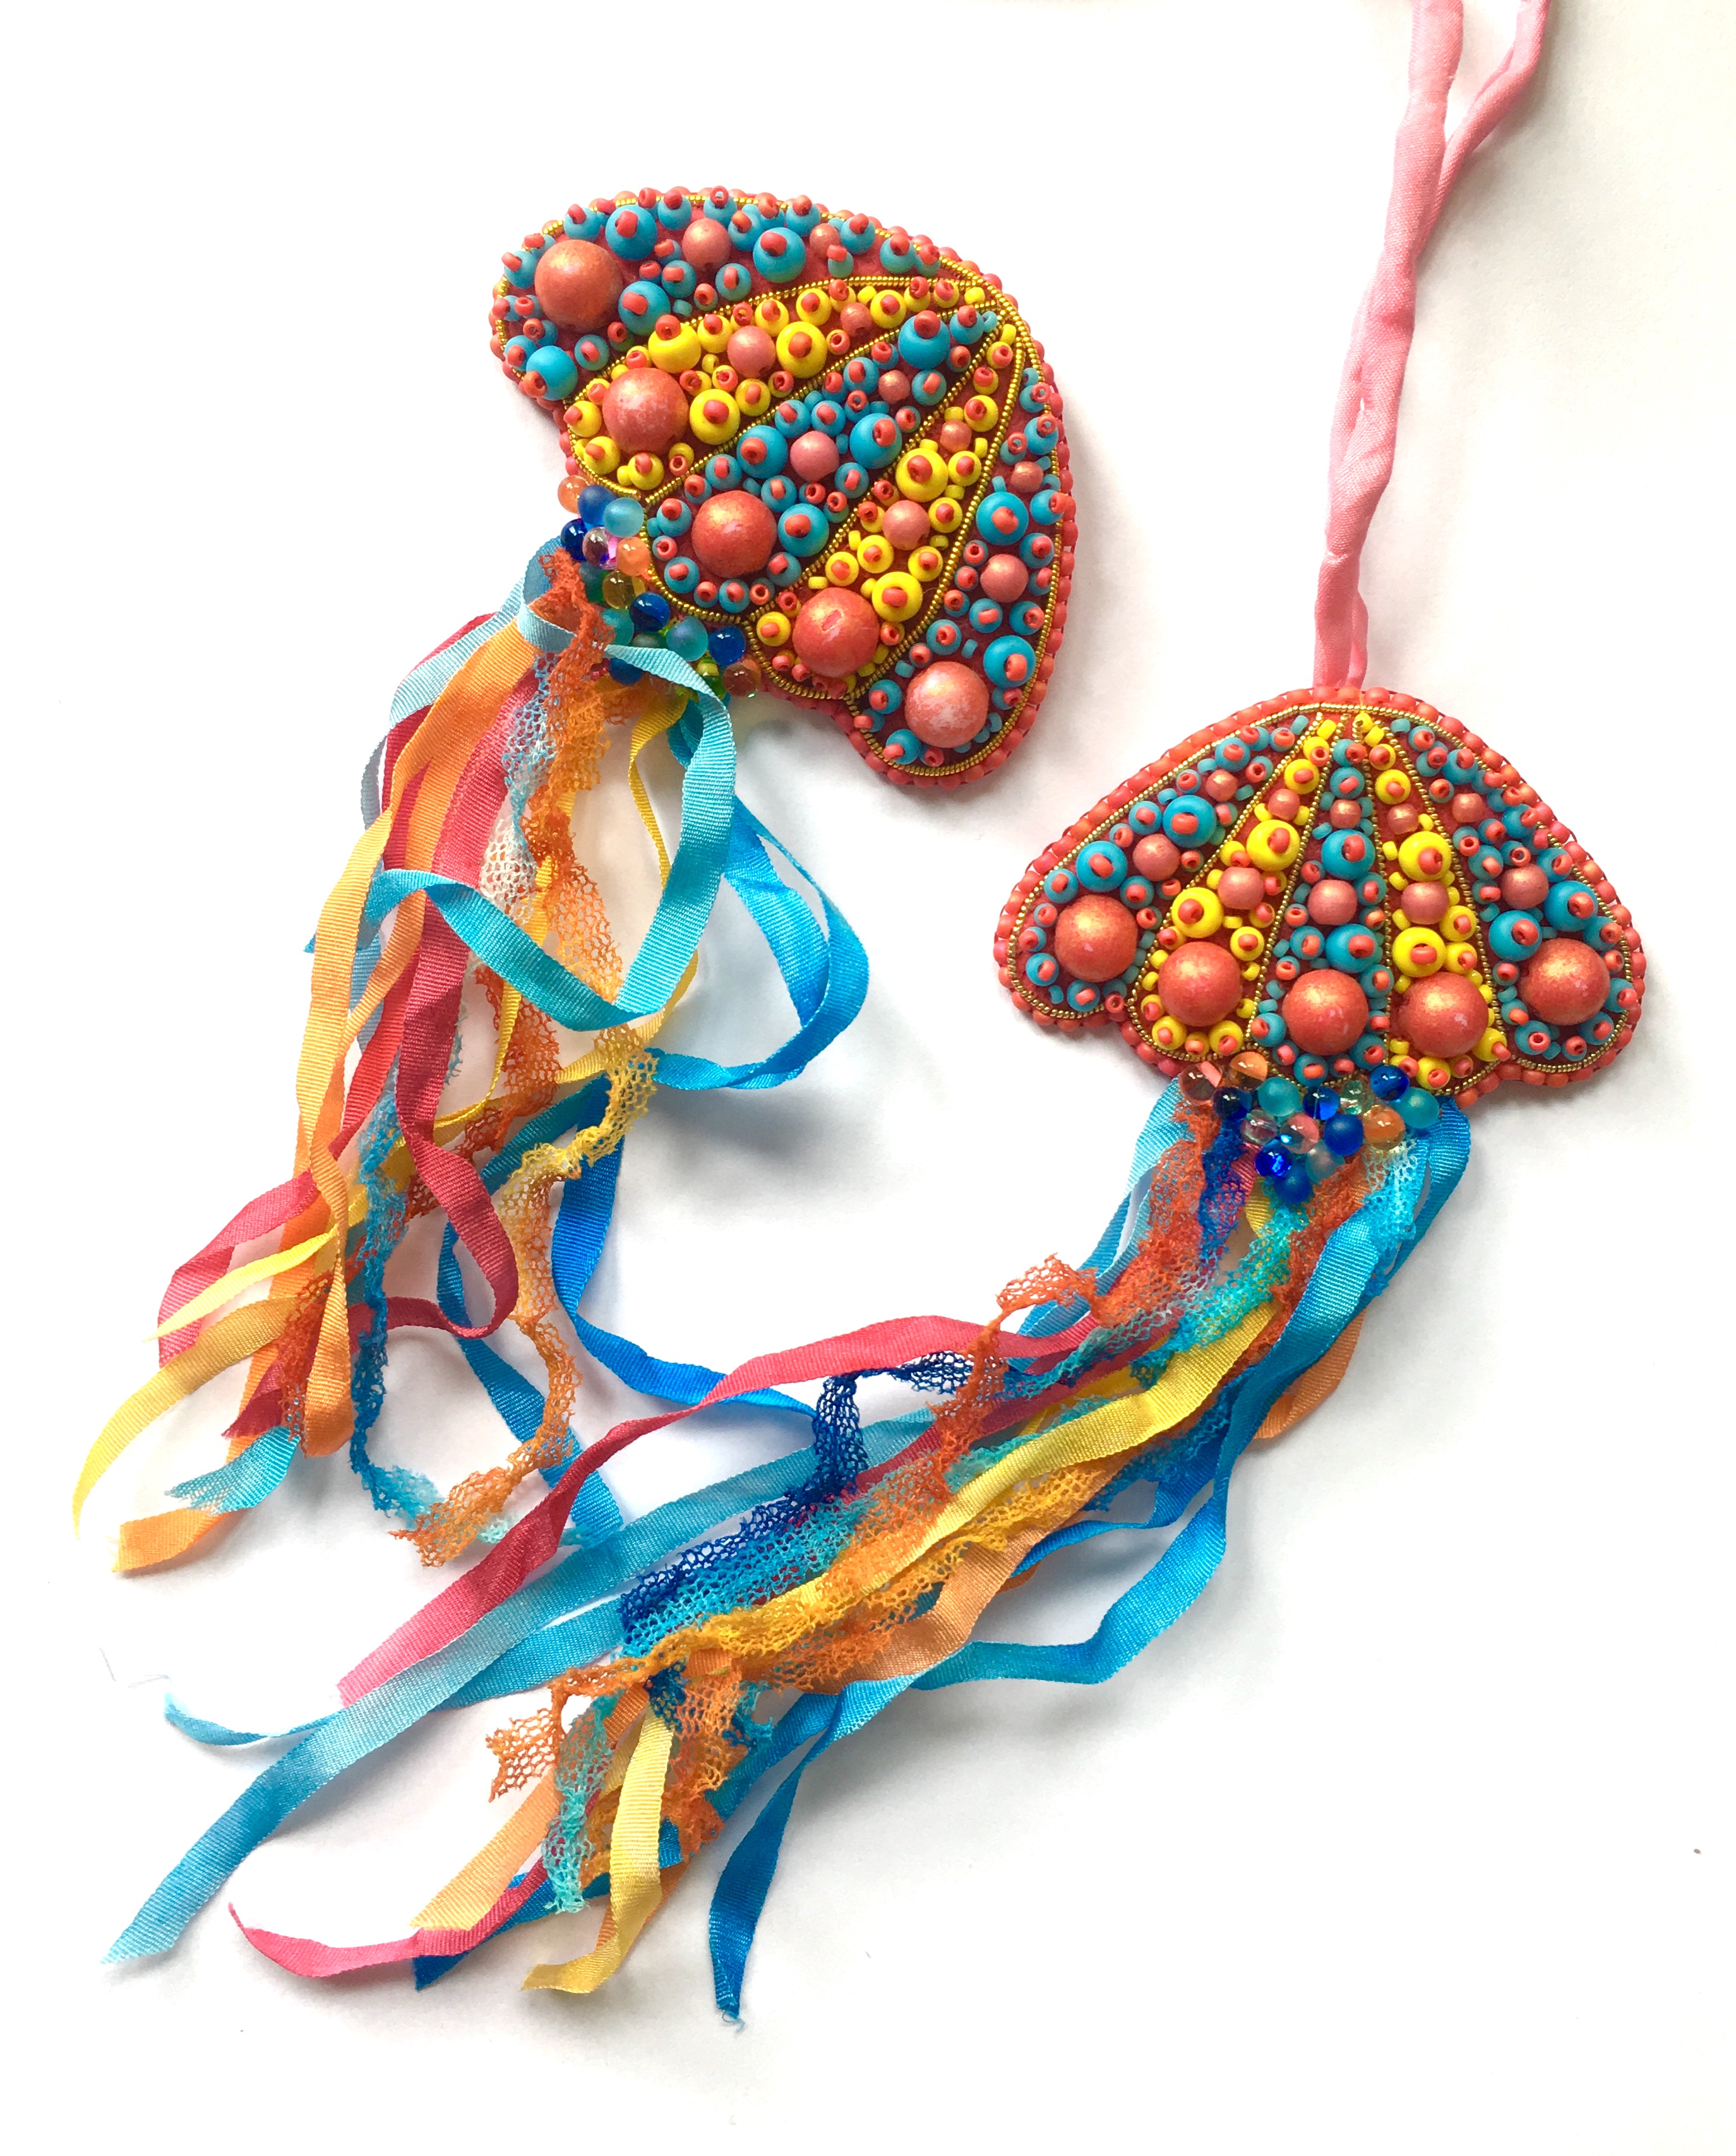
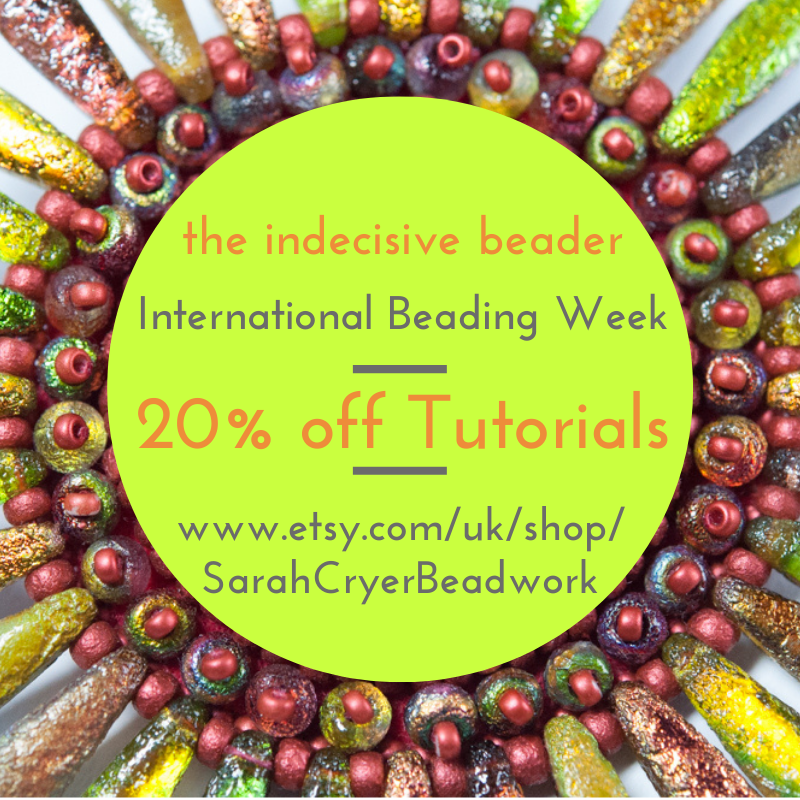
As you know I’ve donated a chart which you can find on the IBW site or in my Free Charts section, and from 25th July until 1st August I will be offering 20% off all tutorials in my Etsy shop (no code needed, tutorials only, please note that this doesn’t start until tomorrow – 24th July).
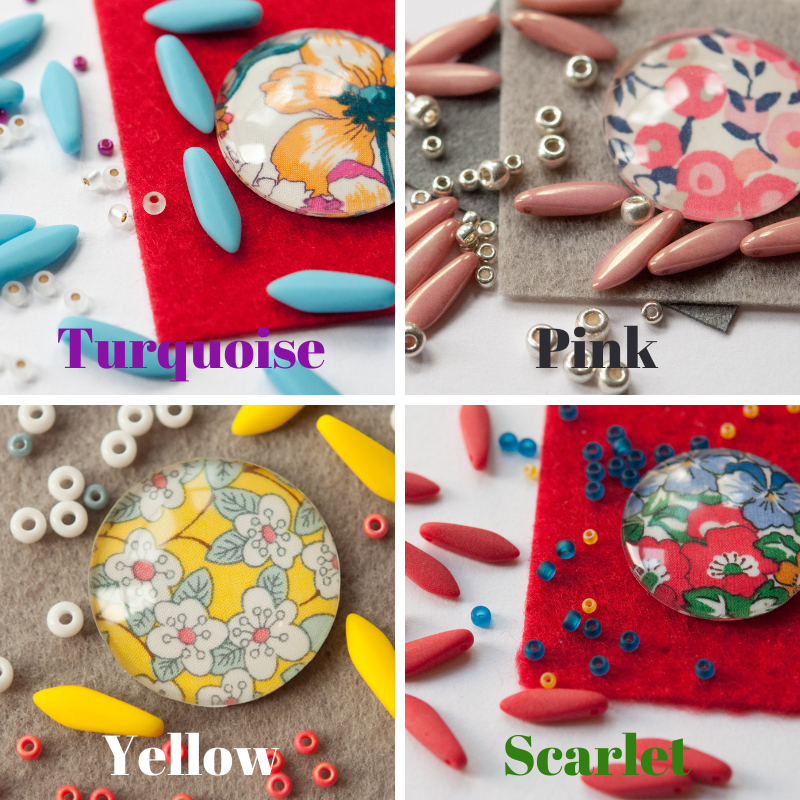
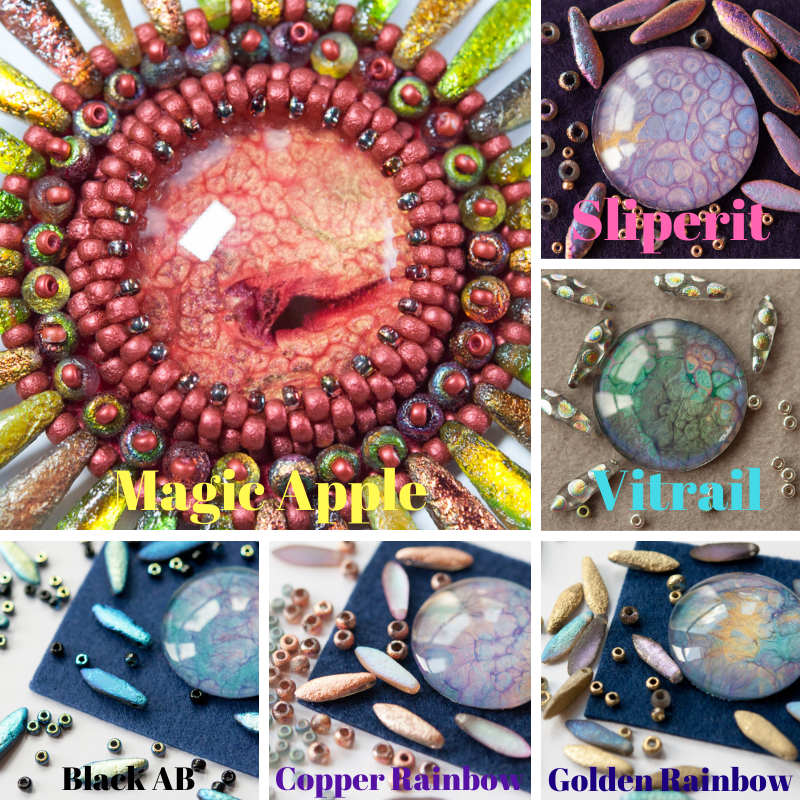
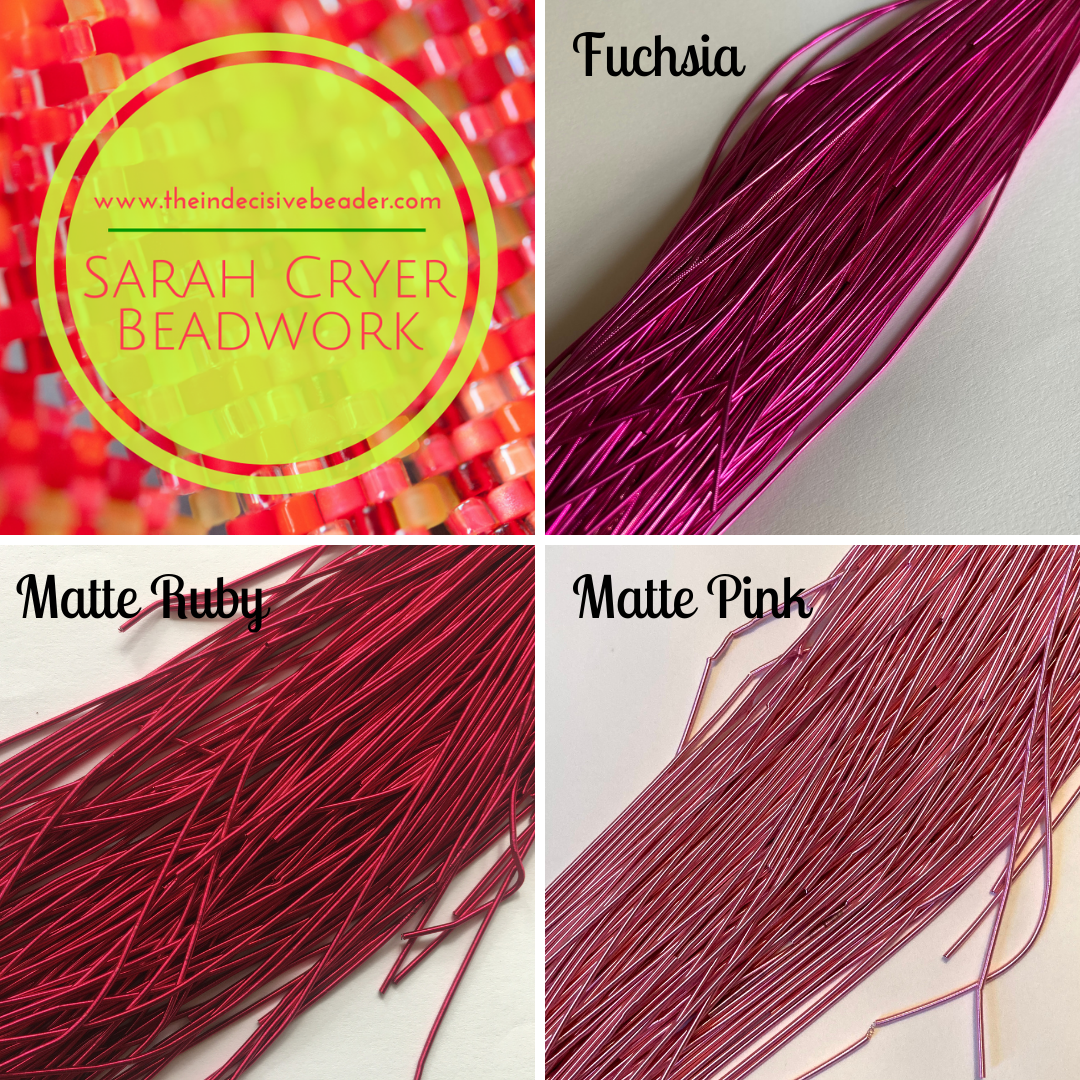
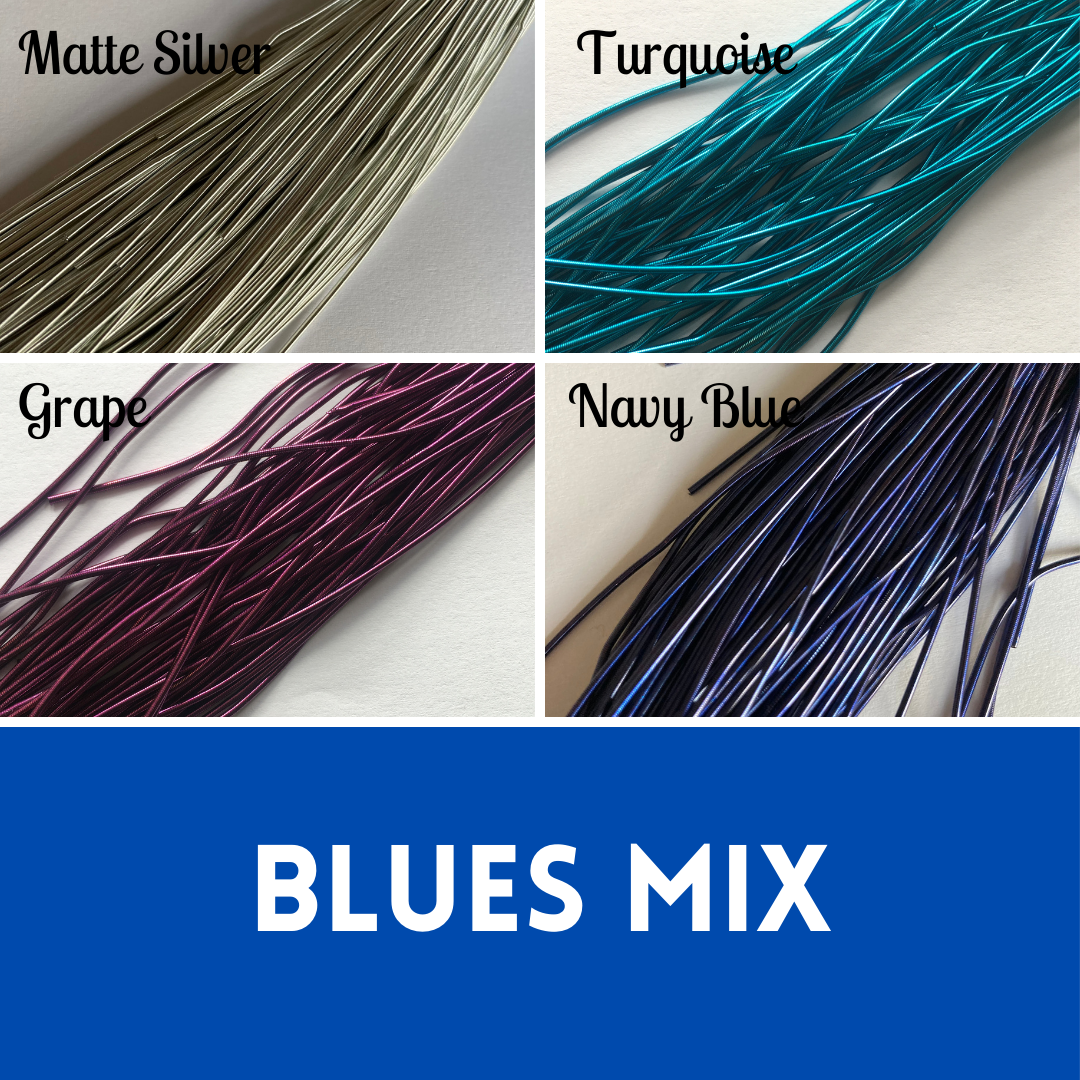
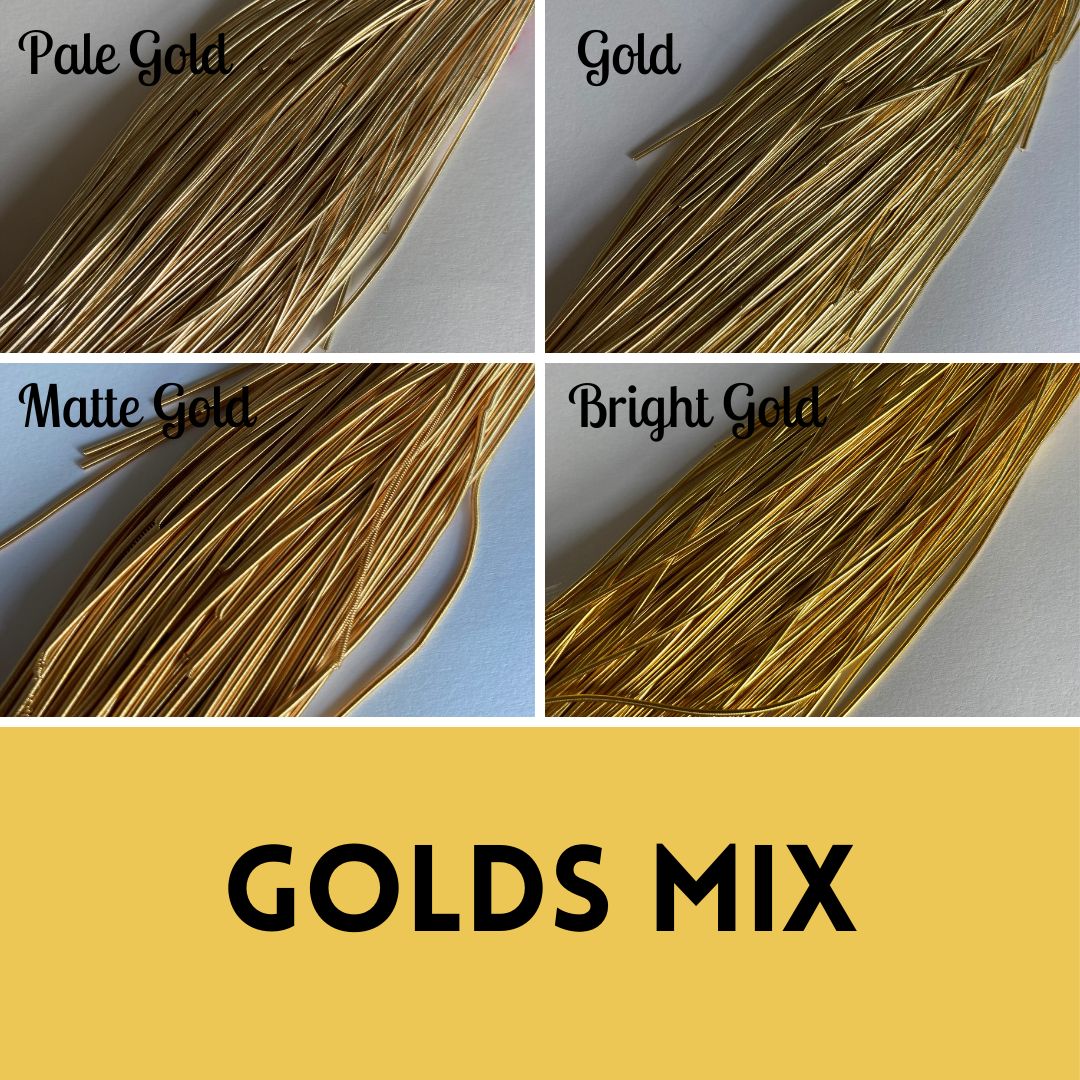
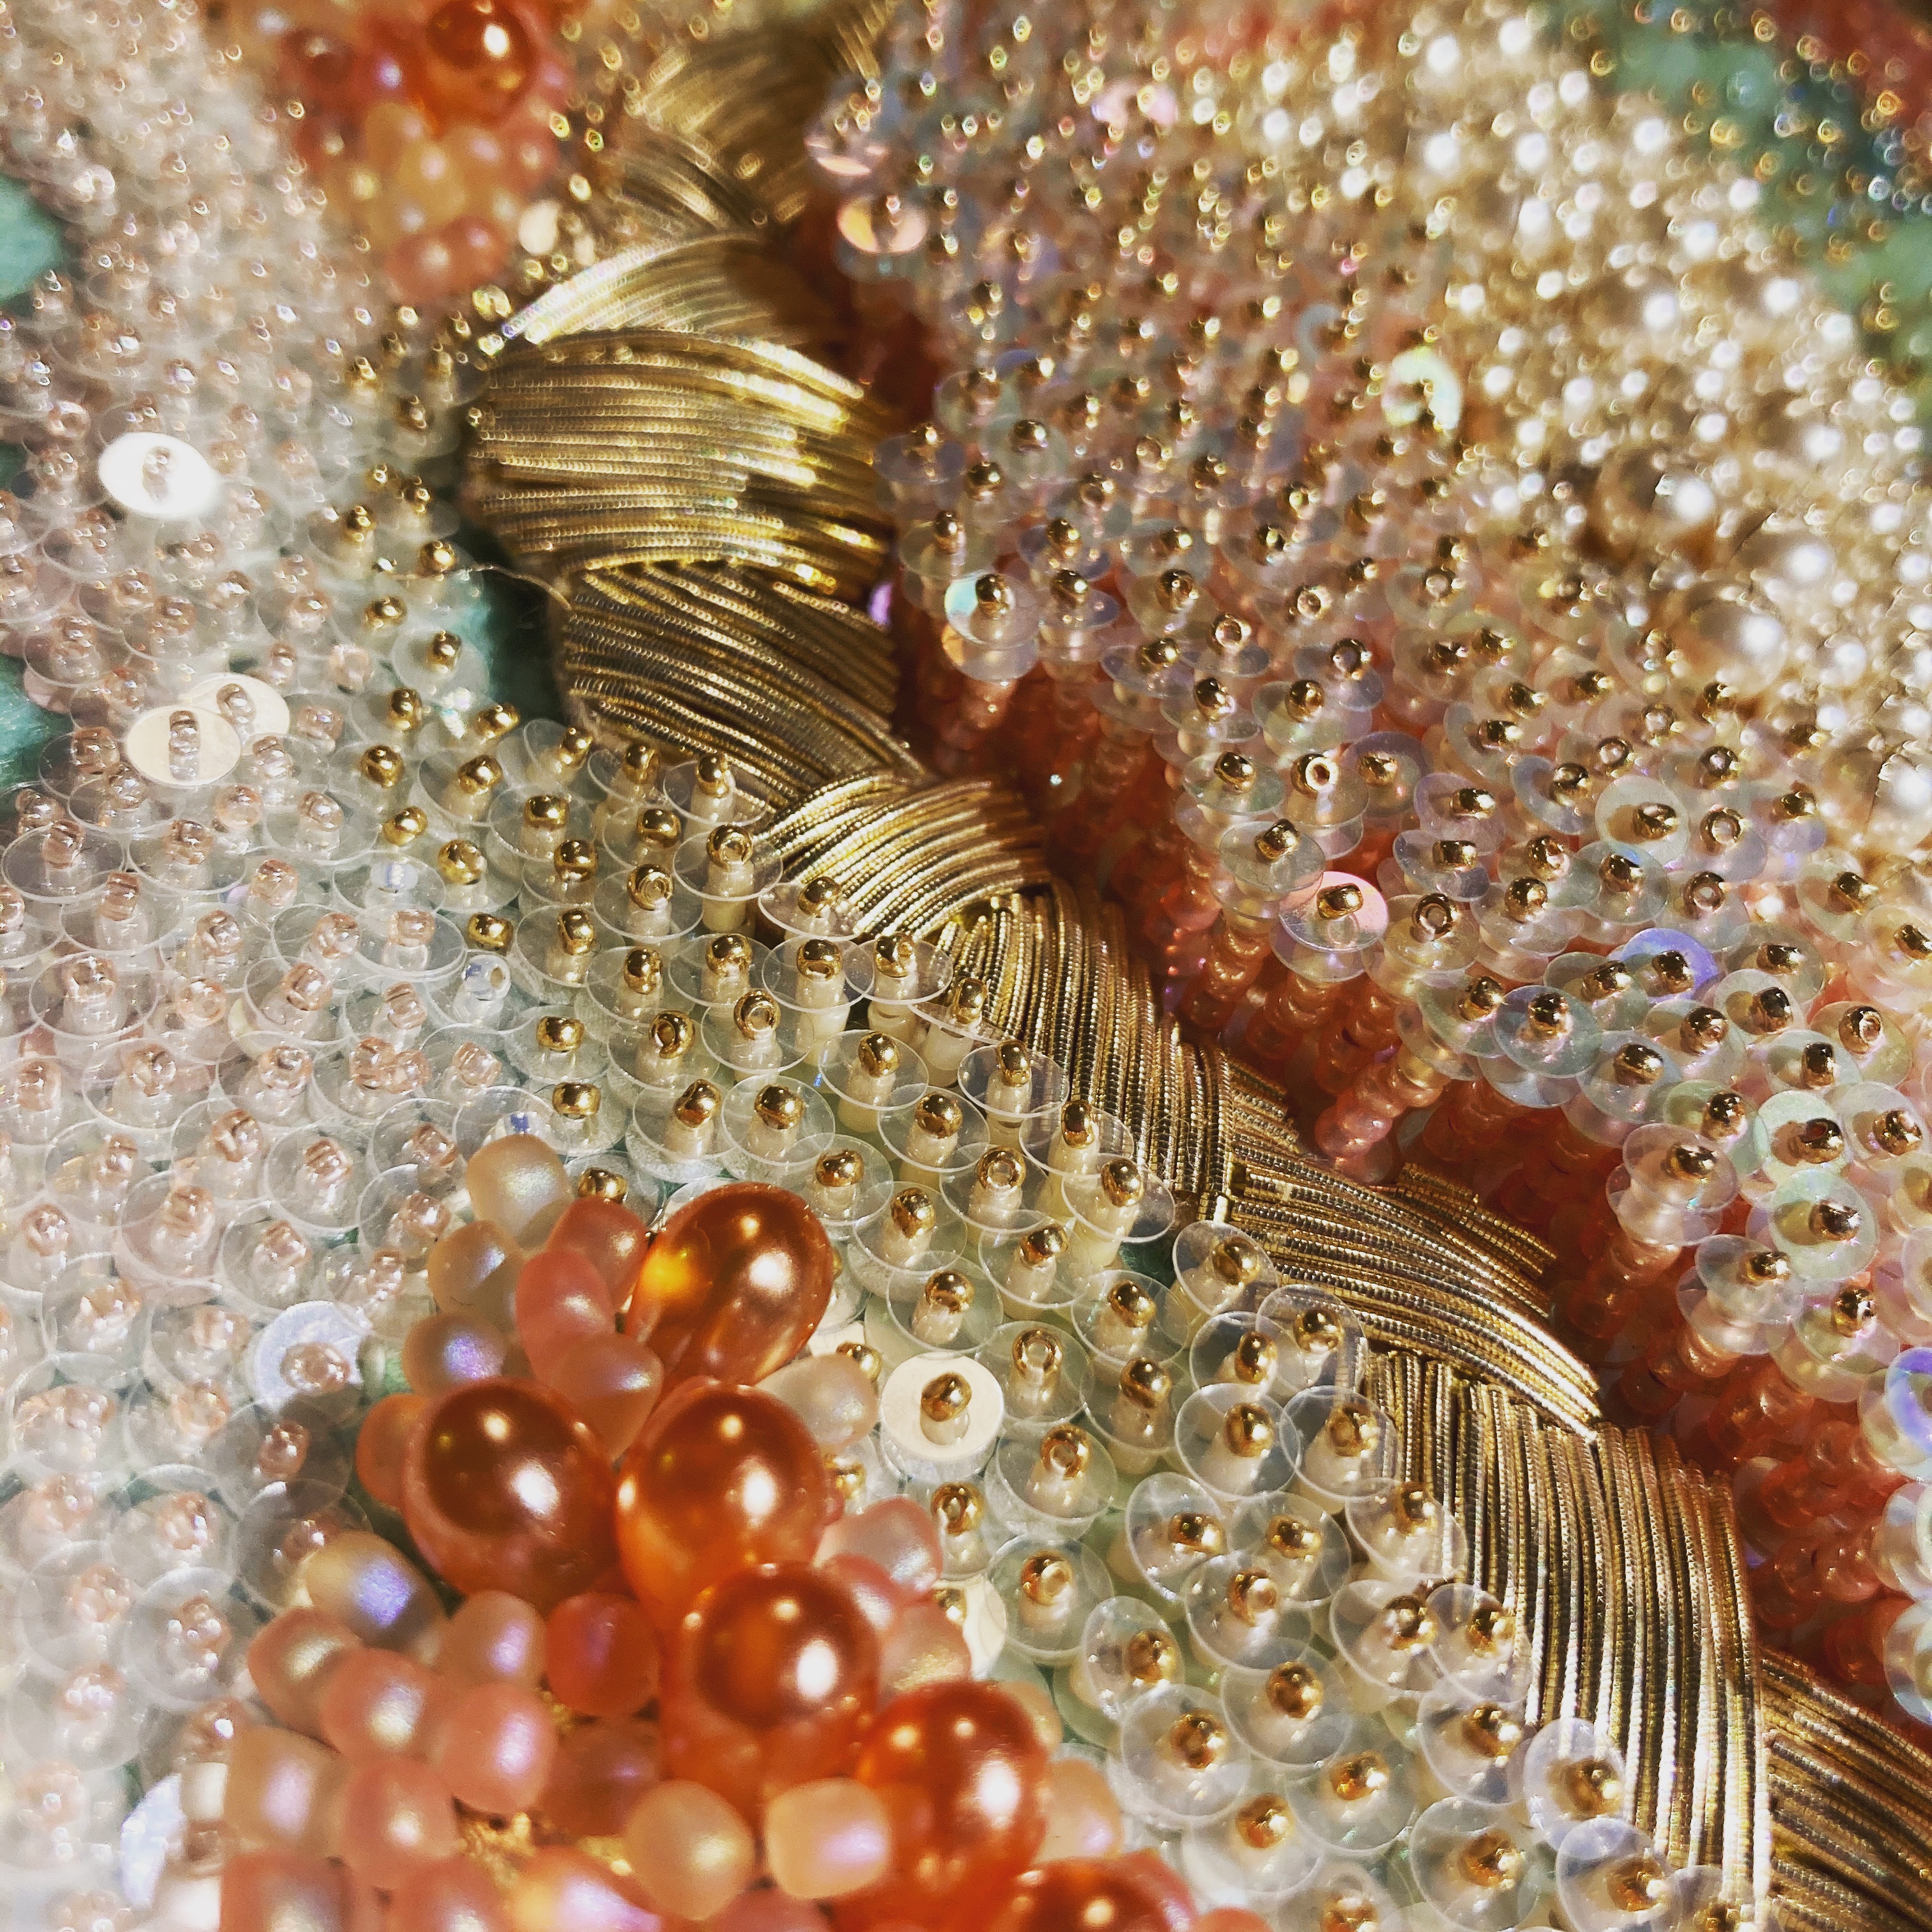
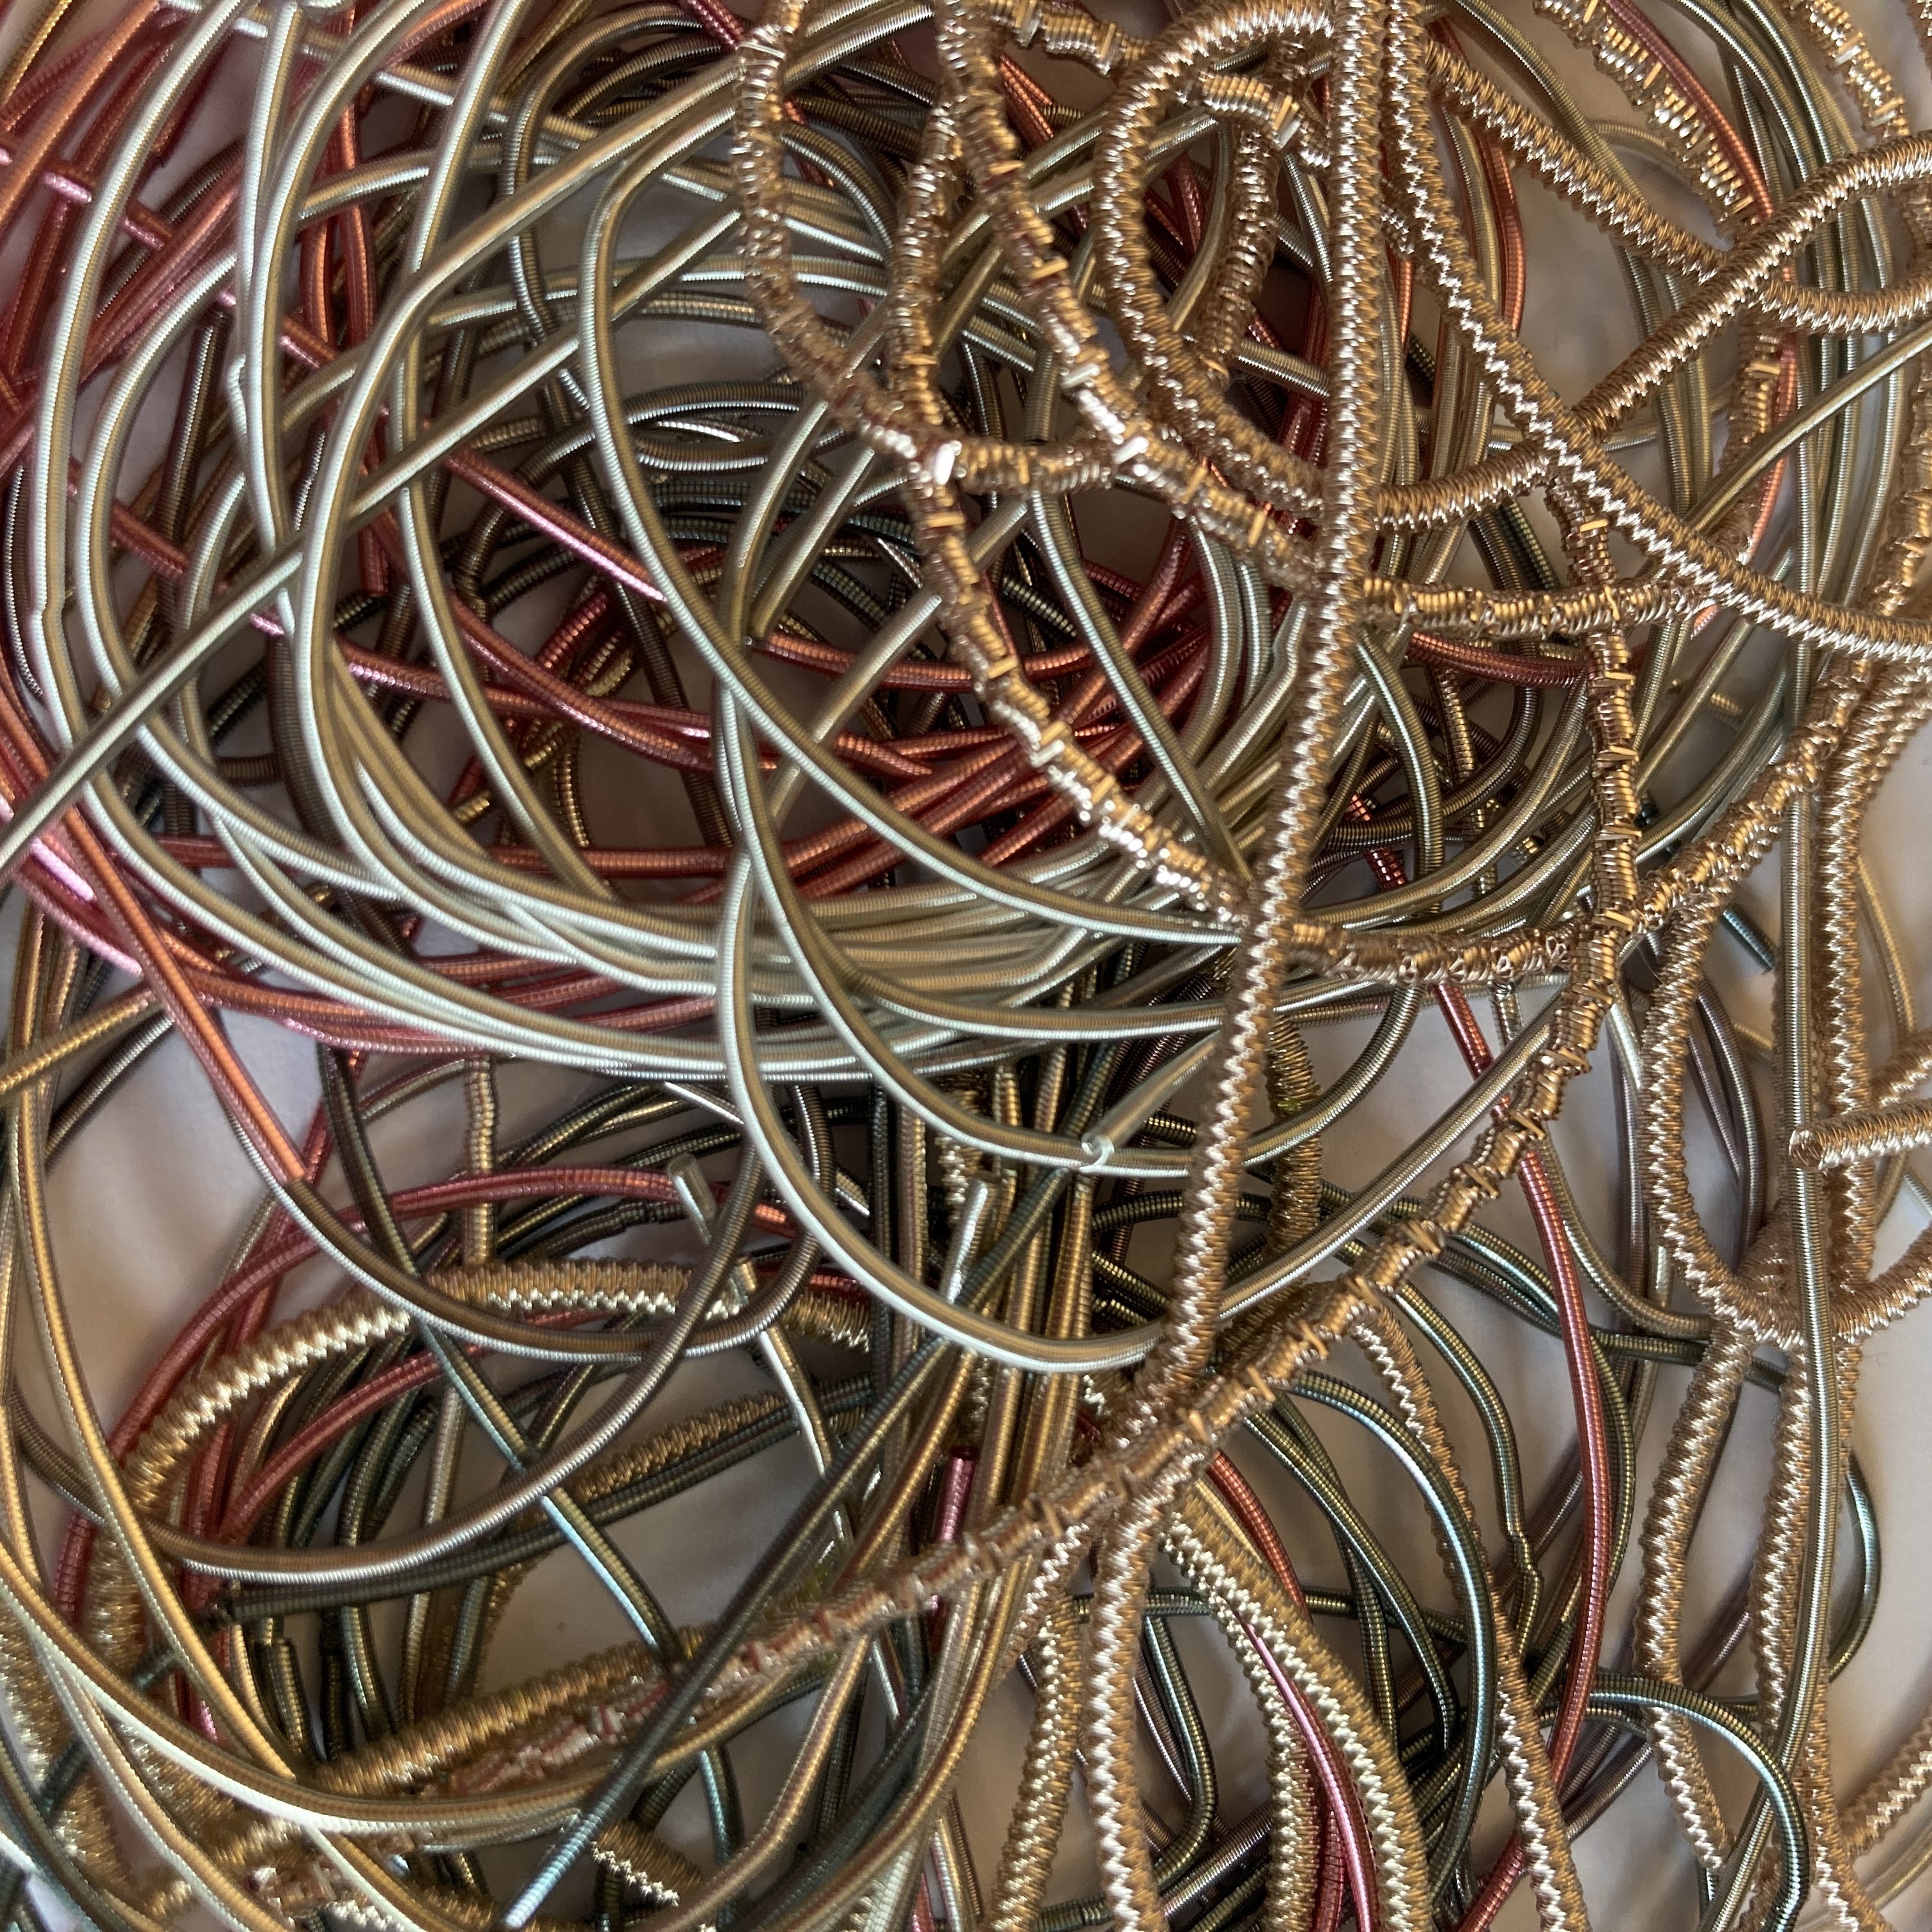
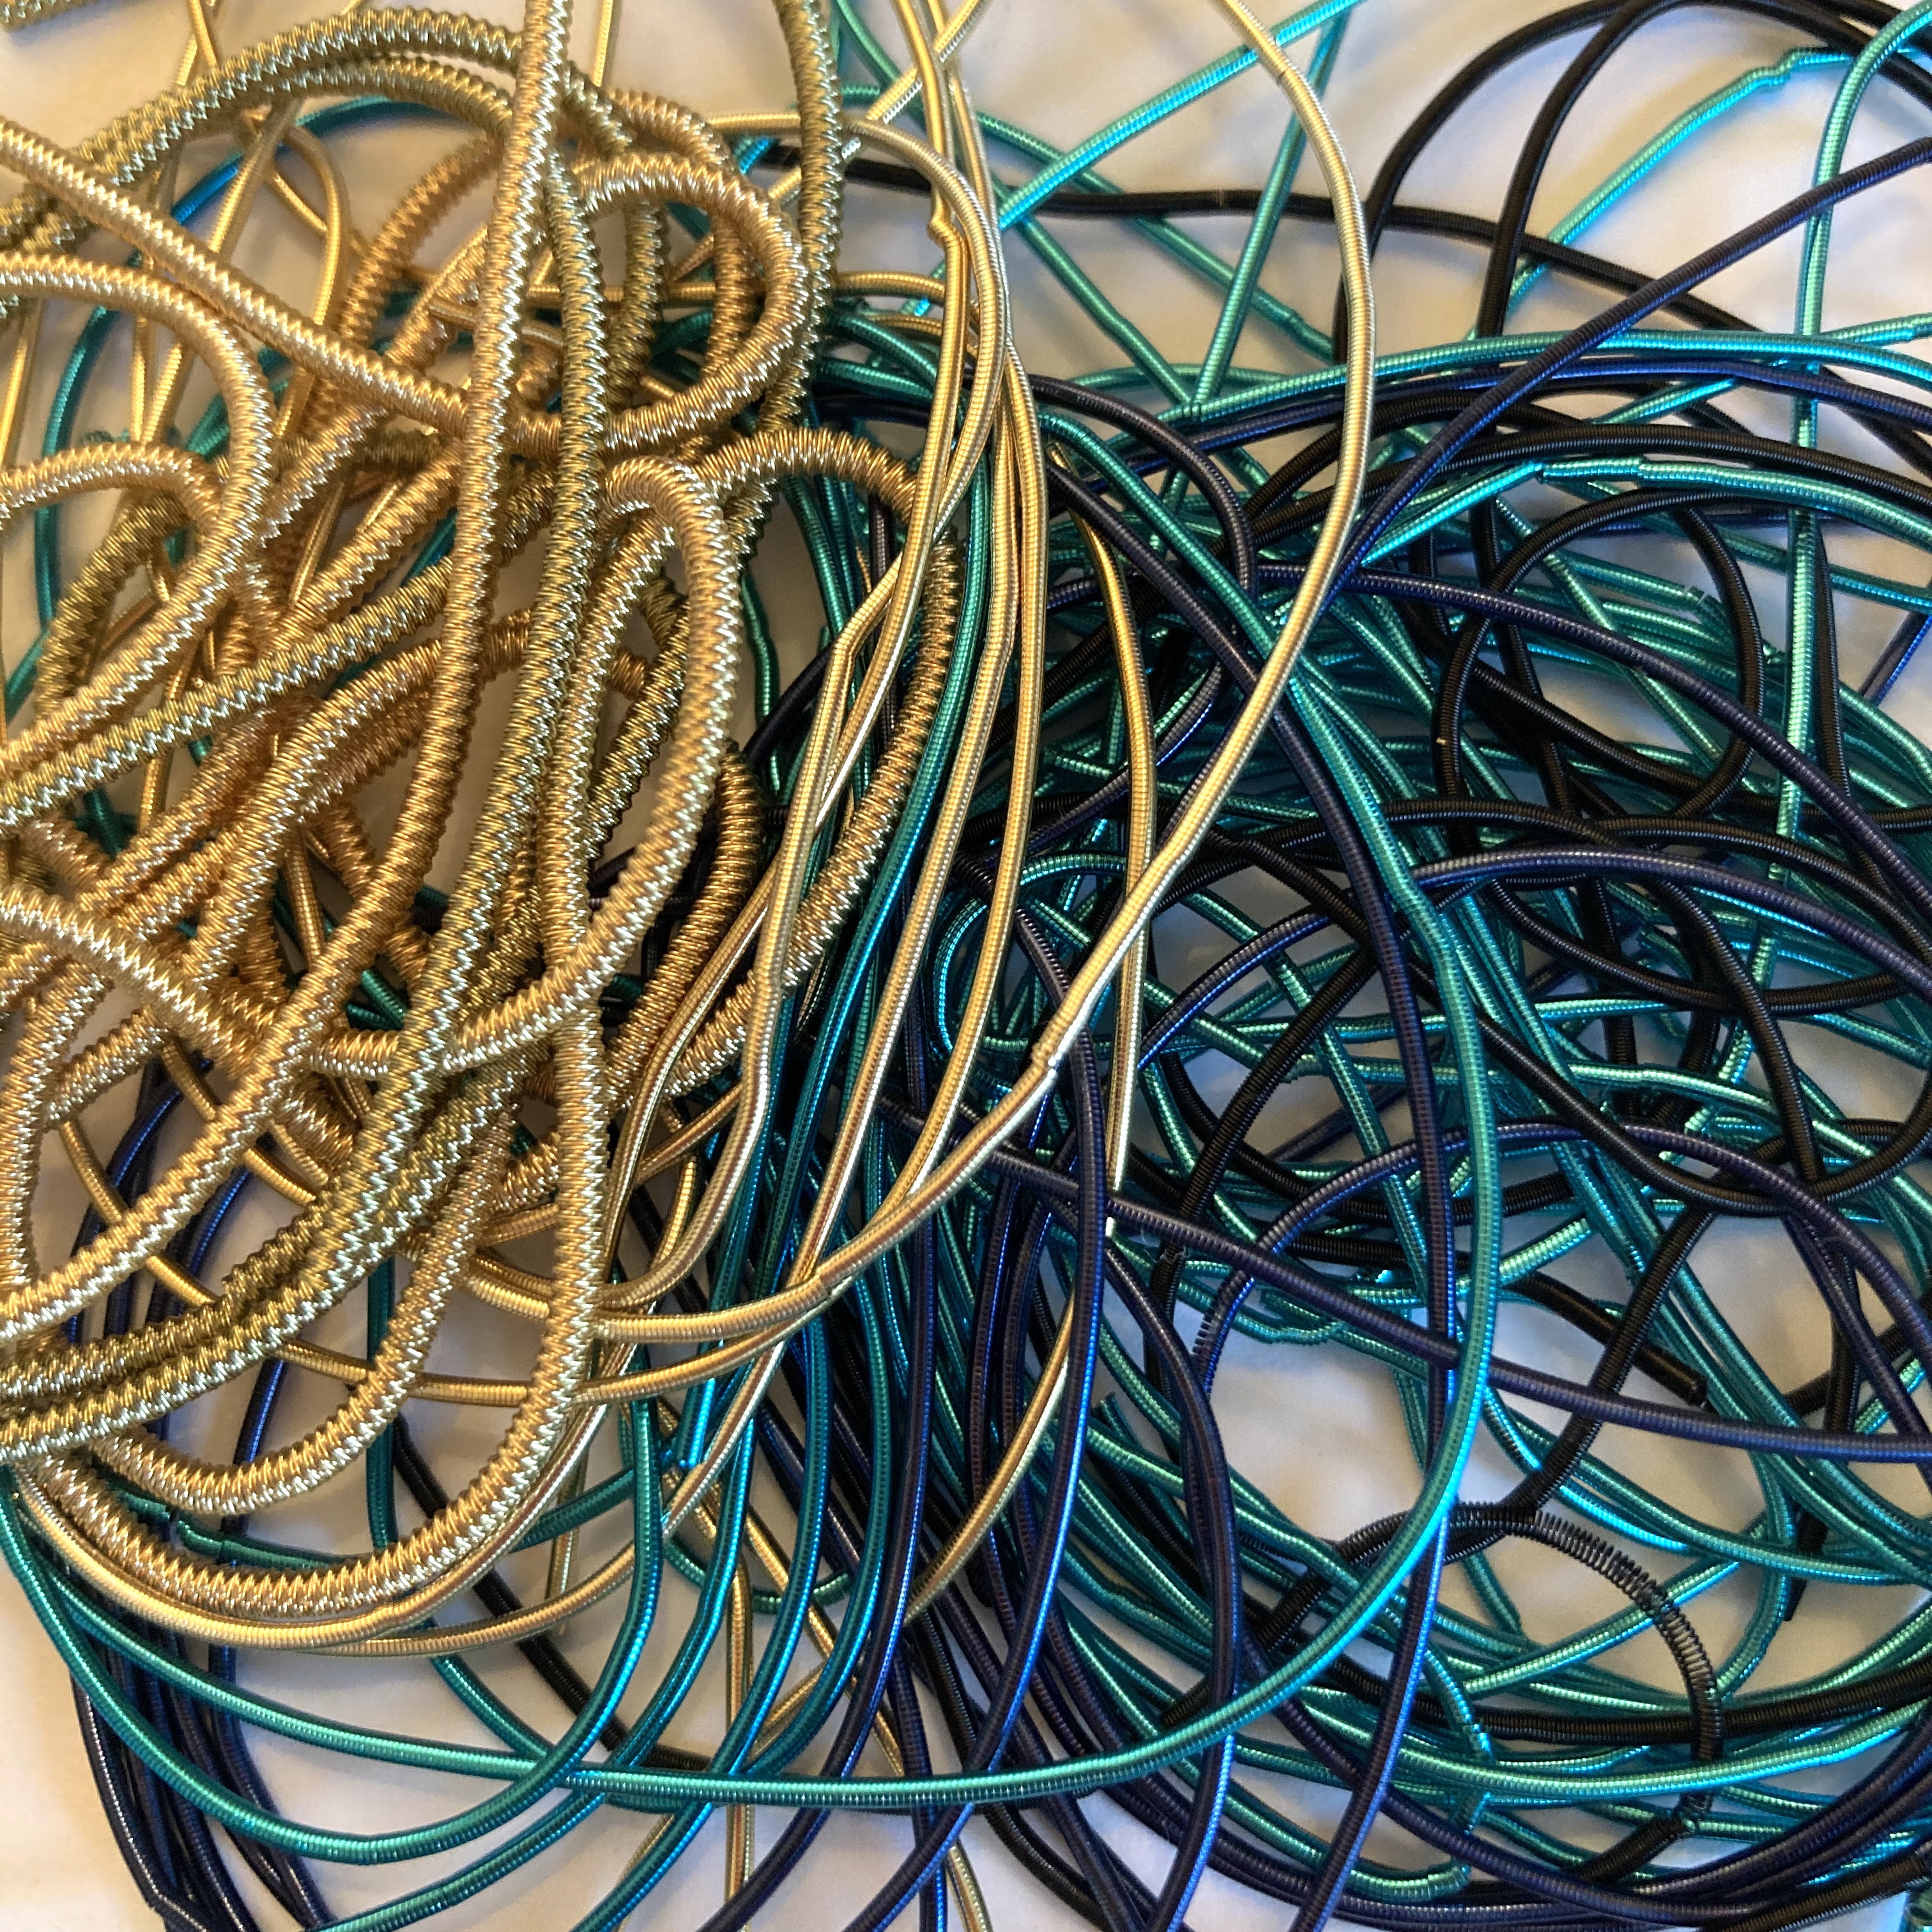
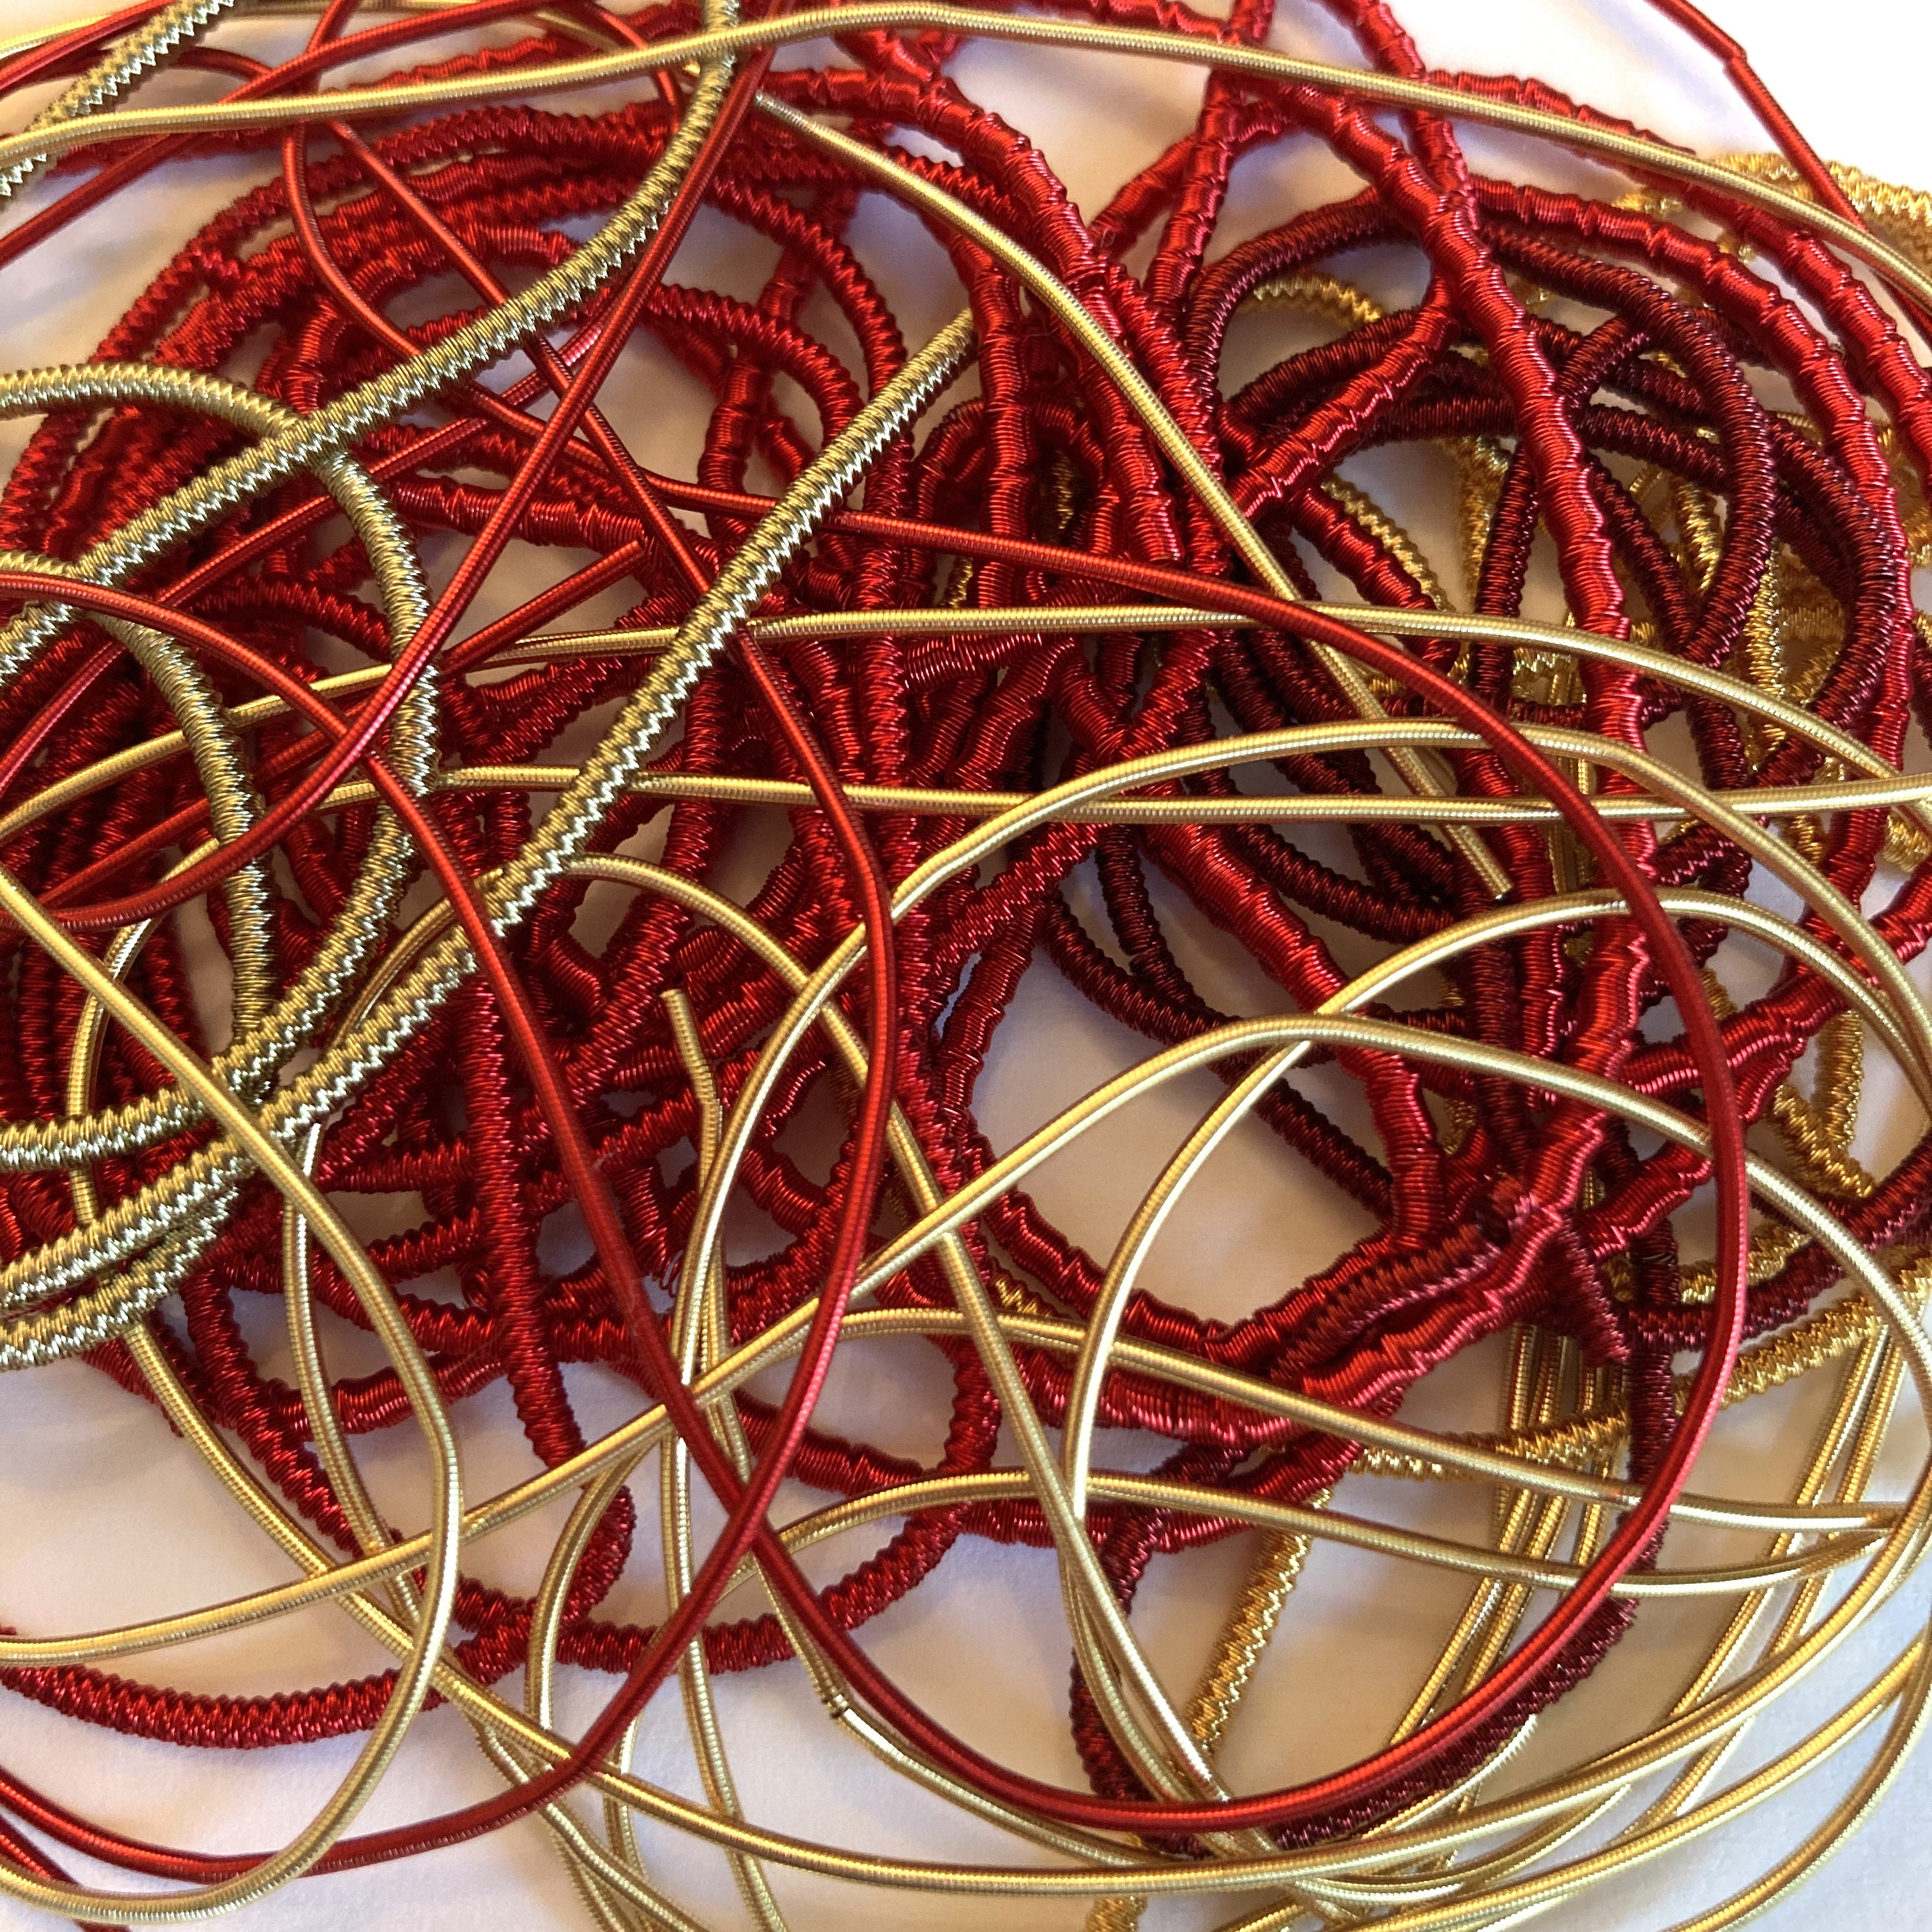
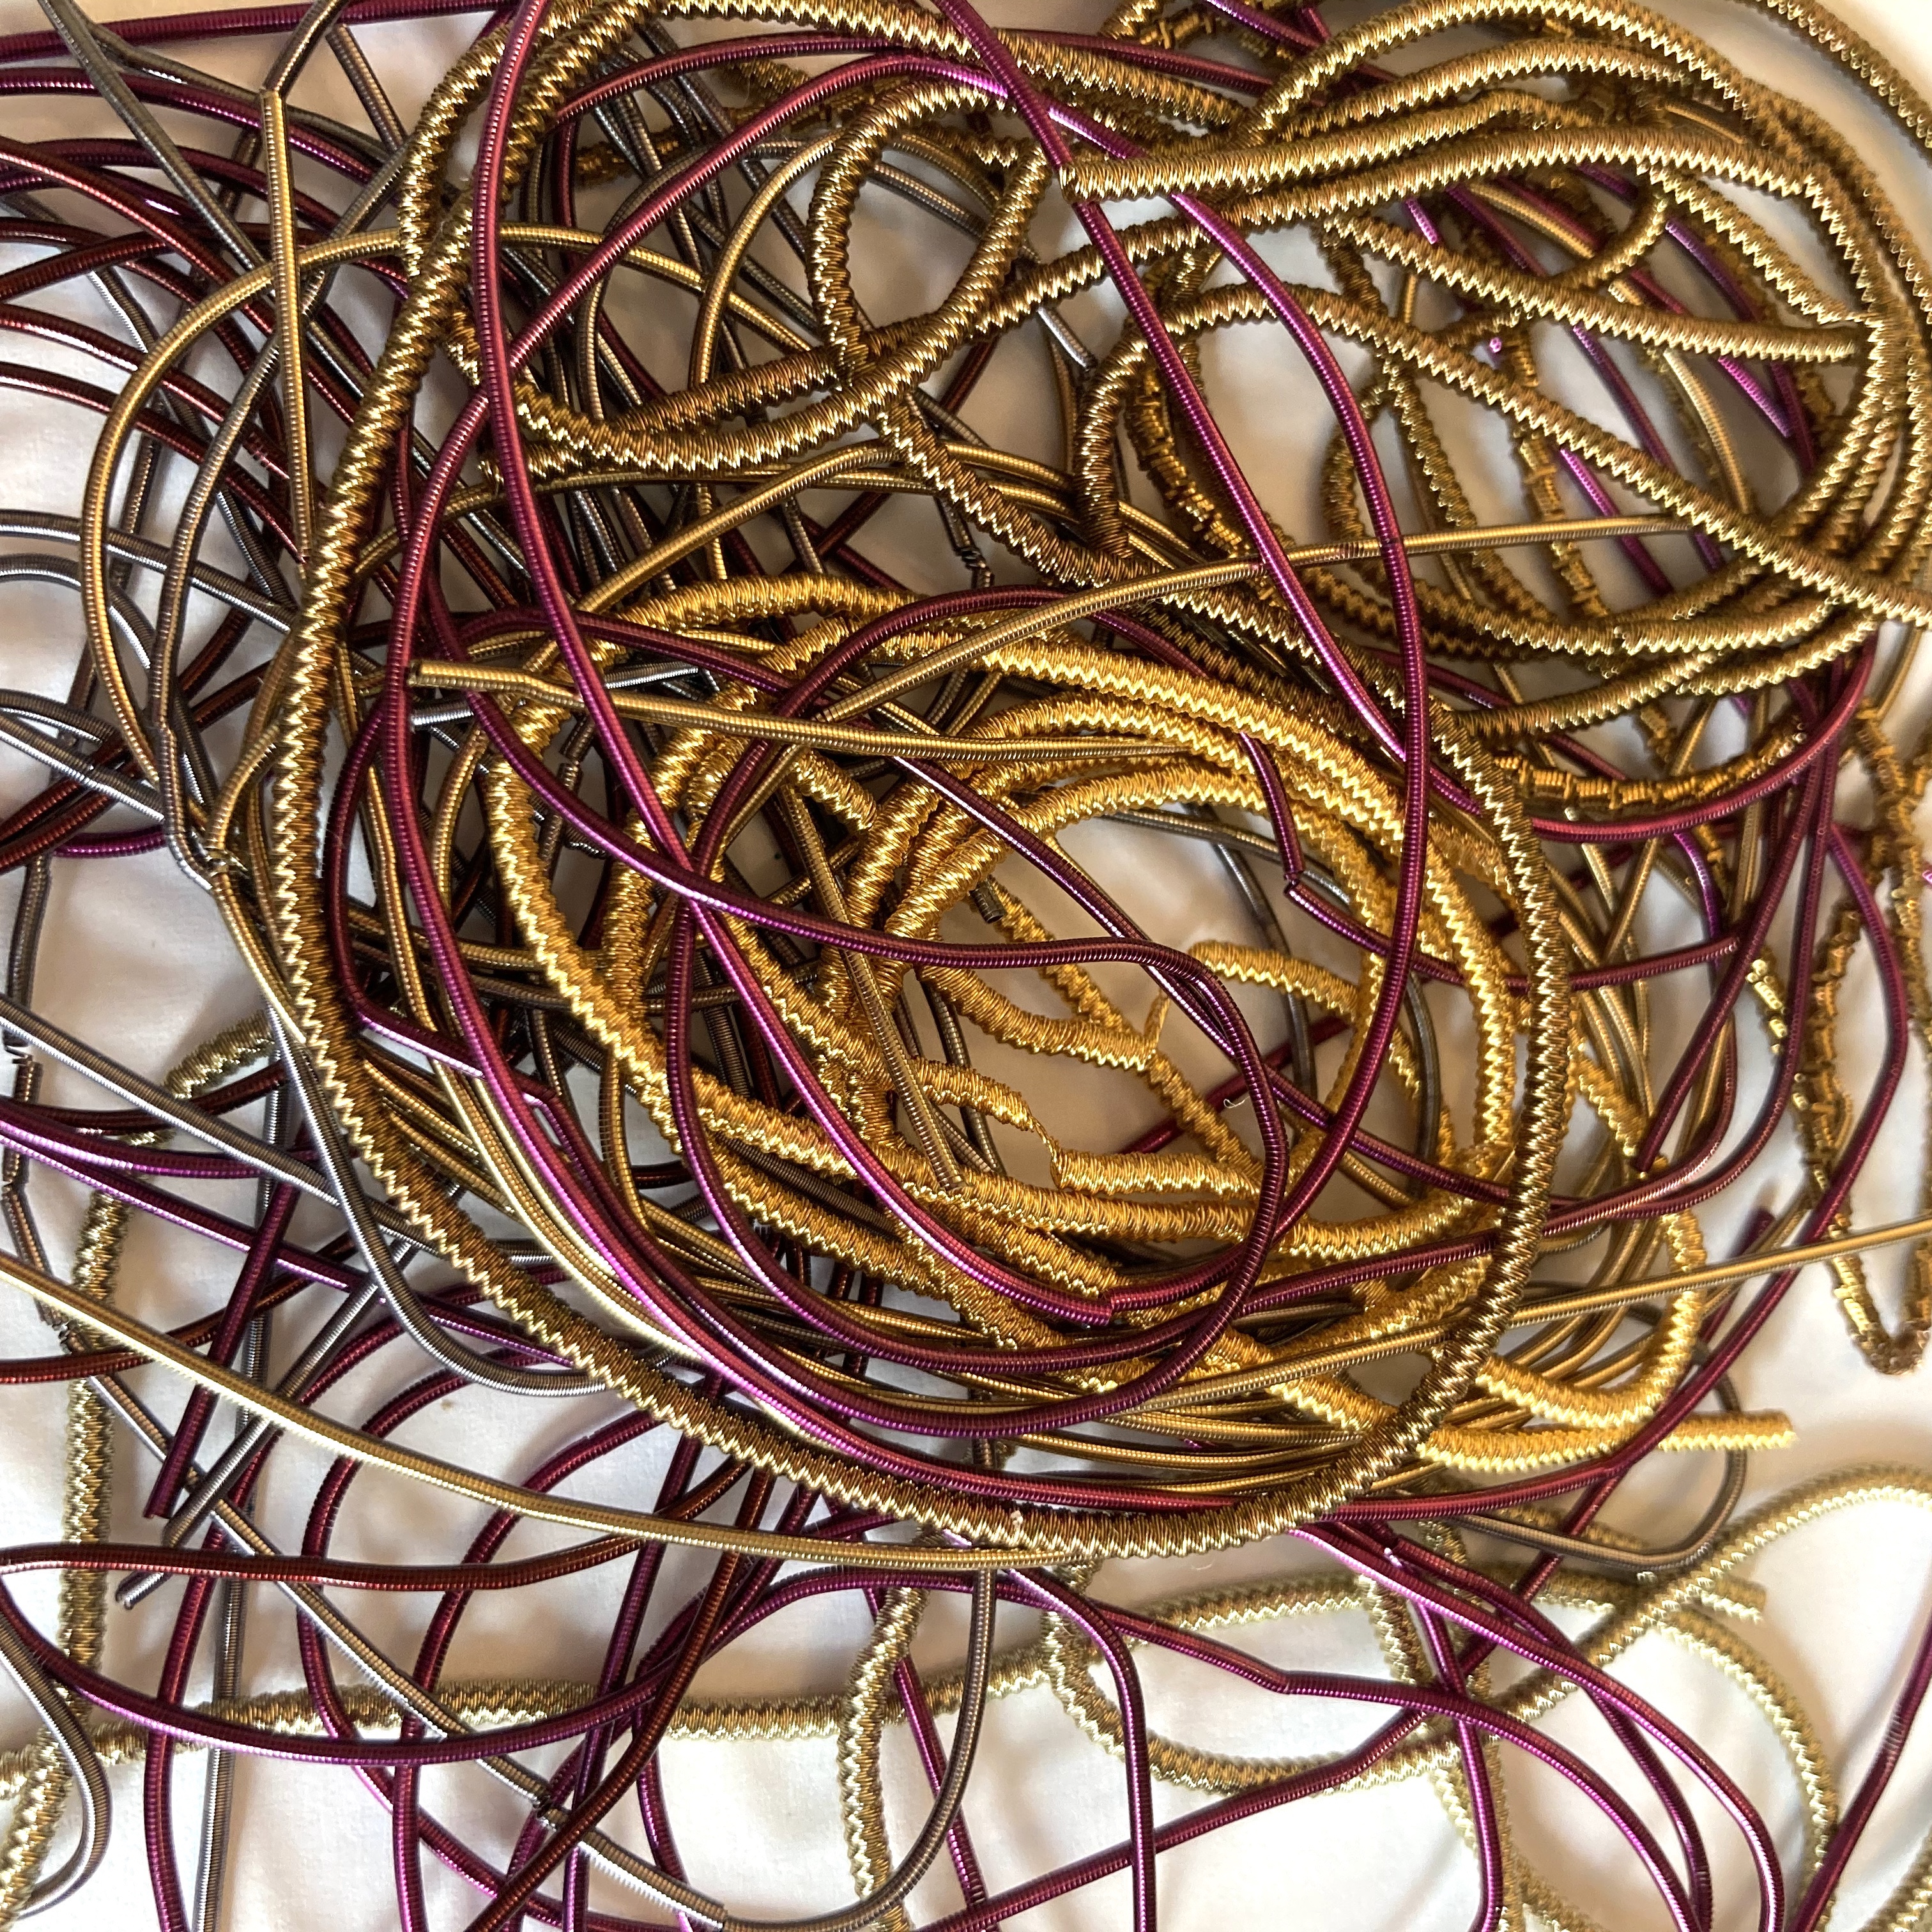
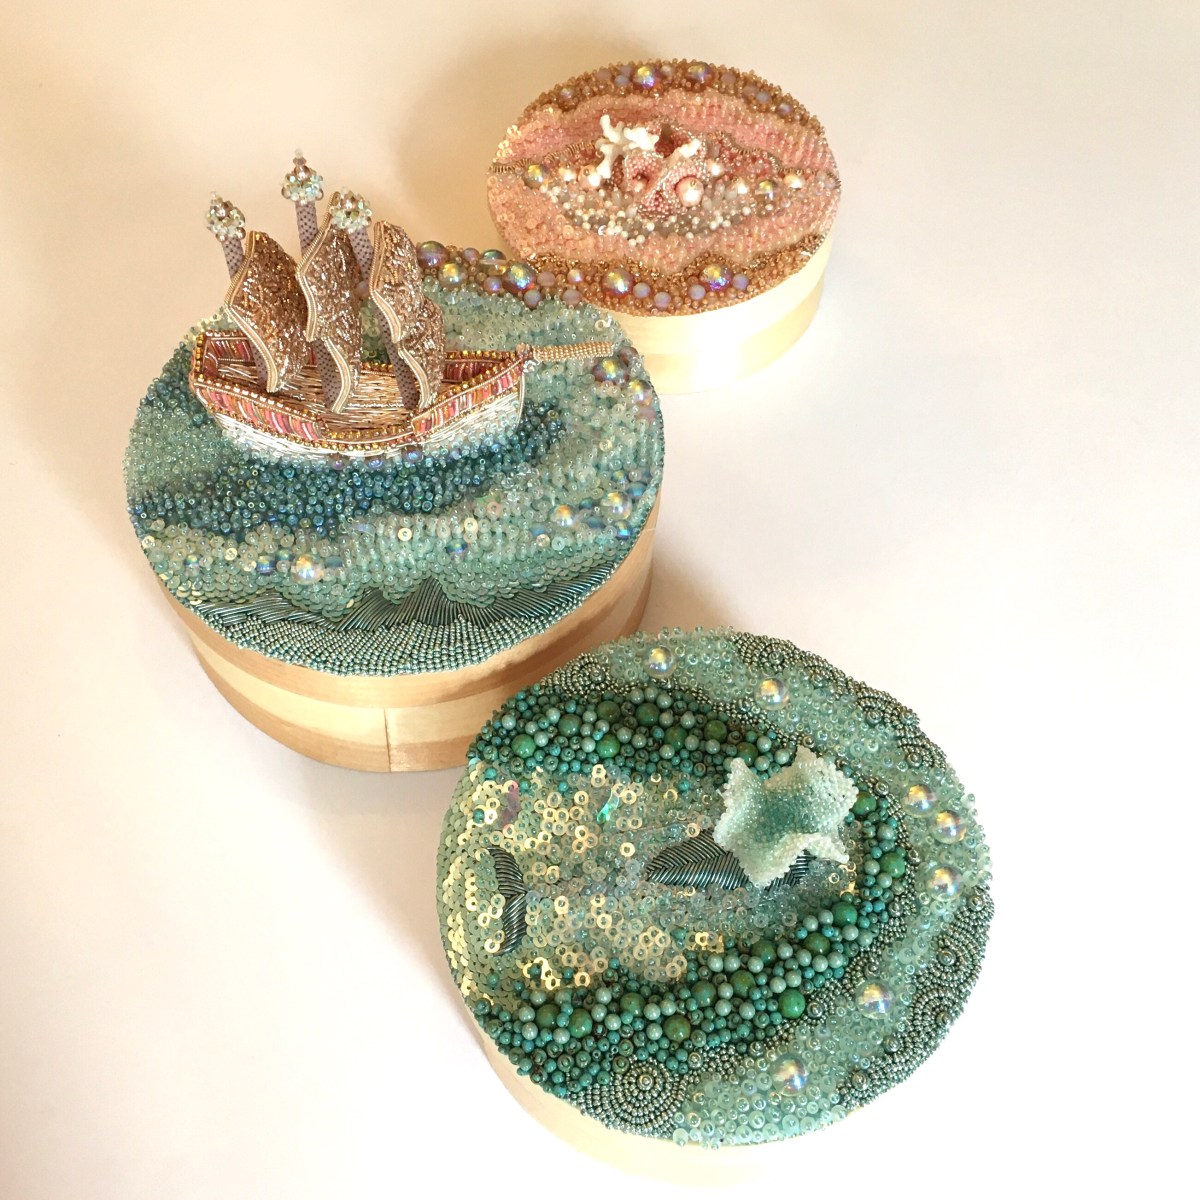
I should say now that we’ll be taking a much needed holiday though for bulk of the week, so I’ll be closing my shops for everything other than those digital download tutorials (which run happily without me needing to post stuff), but fret not, the beads, cabochons, crystals and goldwork wires will be back on August 9th. During that time I will still be beading, as it’s time for Jean Power’s Secret Beadalong, so watch my social media to see how I’m getting on.
Whilst you’re there, why not join the IBW Facebook group, or have a look at the IBW Facebook Page and the lovely Beadworker’s Guild Instagram account and see what we’ve been working so hard on behind the scenes. This year we have a theme for International Beading Week (IBW) to celebrate the positive mental health impacts that beading has with the tagline: ‘HANGING IN THERE’. We will have daily prompts to help you get involved on social media and throughout the week we will be sharing tips, ideas, free patterns and beaders’ stories on our channels – and we would love to read your stories too!
Please help us spread the word about beading by tagging the Beadworkers Guild in all of your social media posts and use the hashtag #beadingweek.