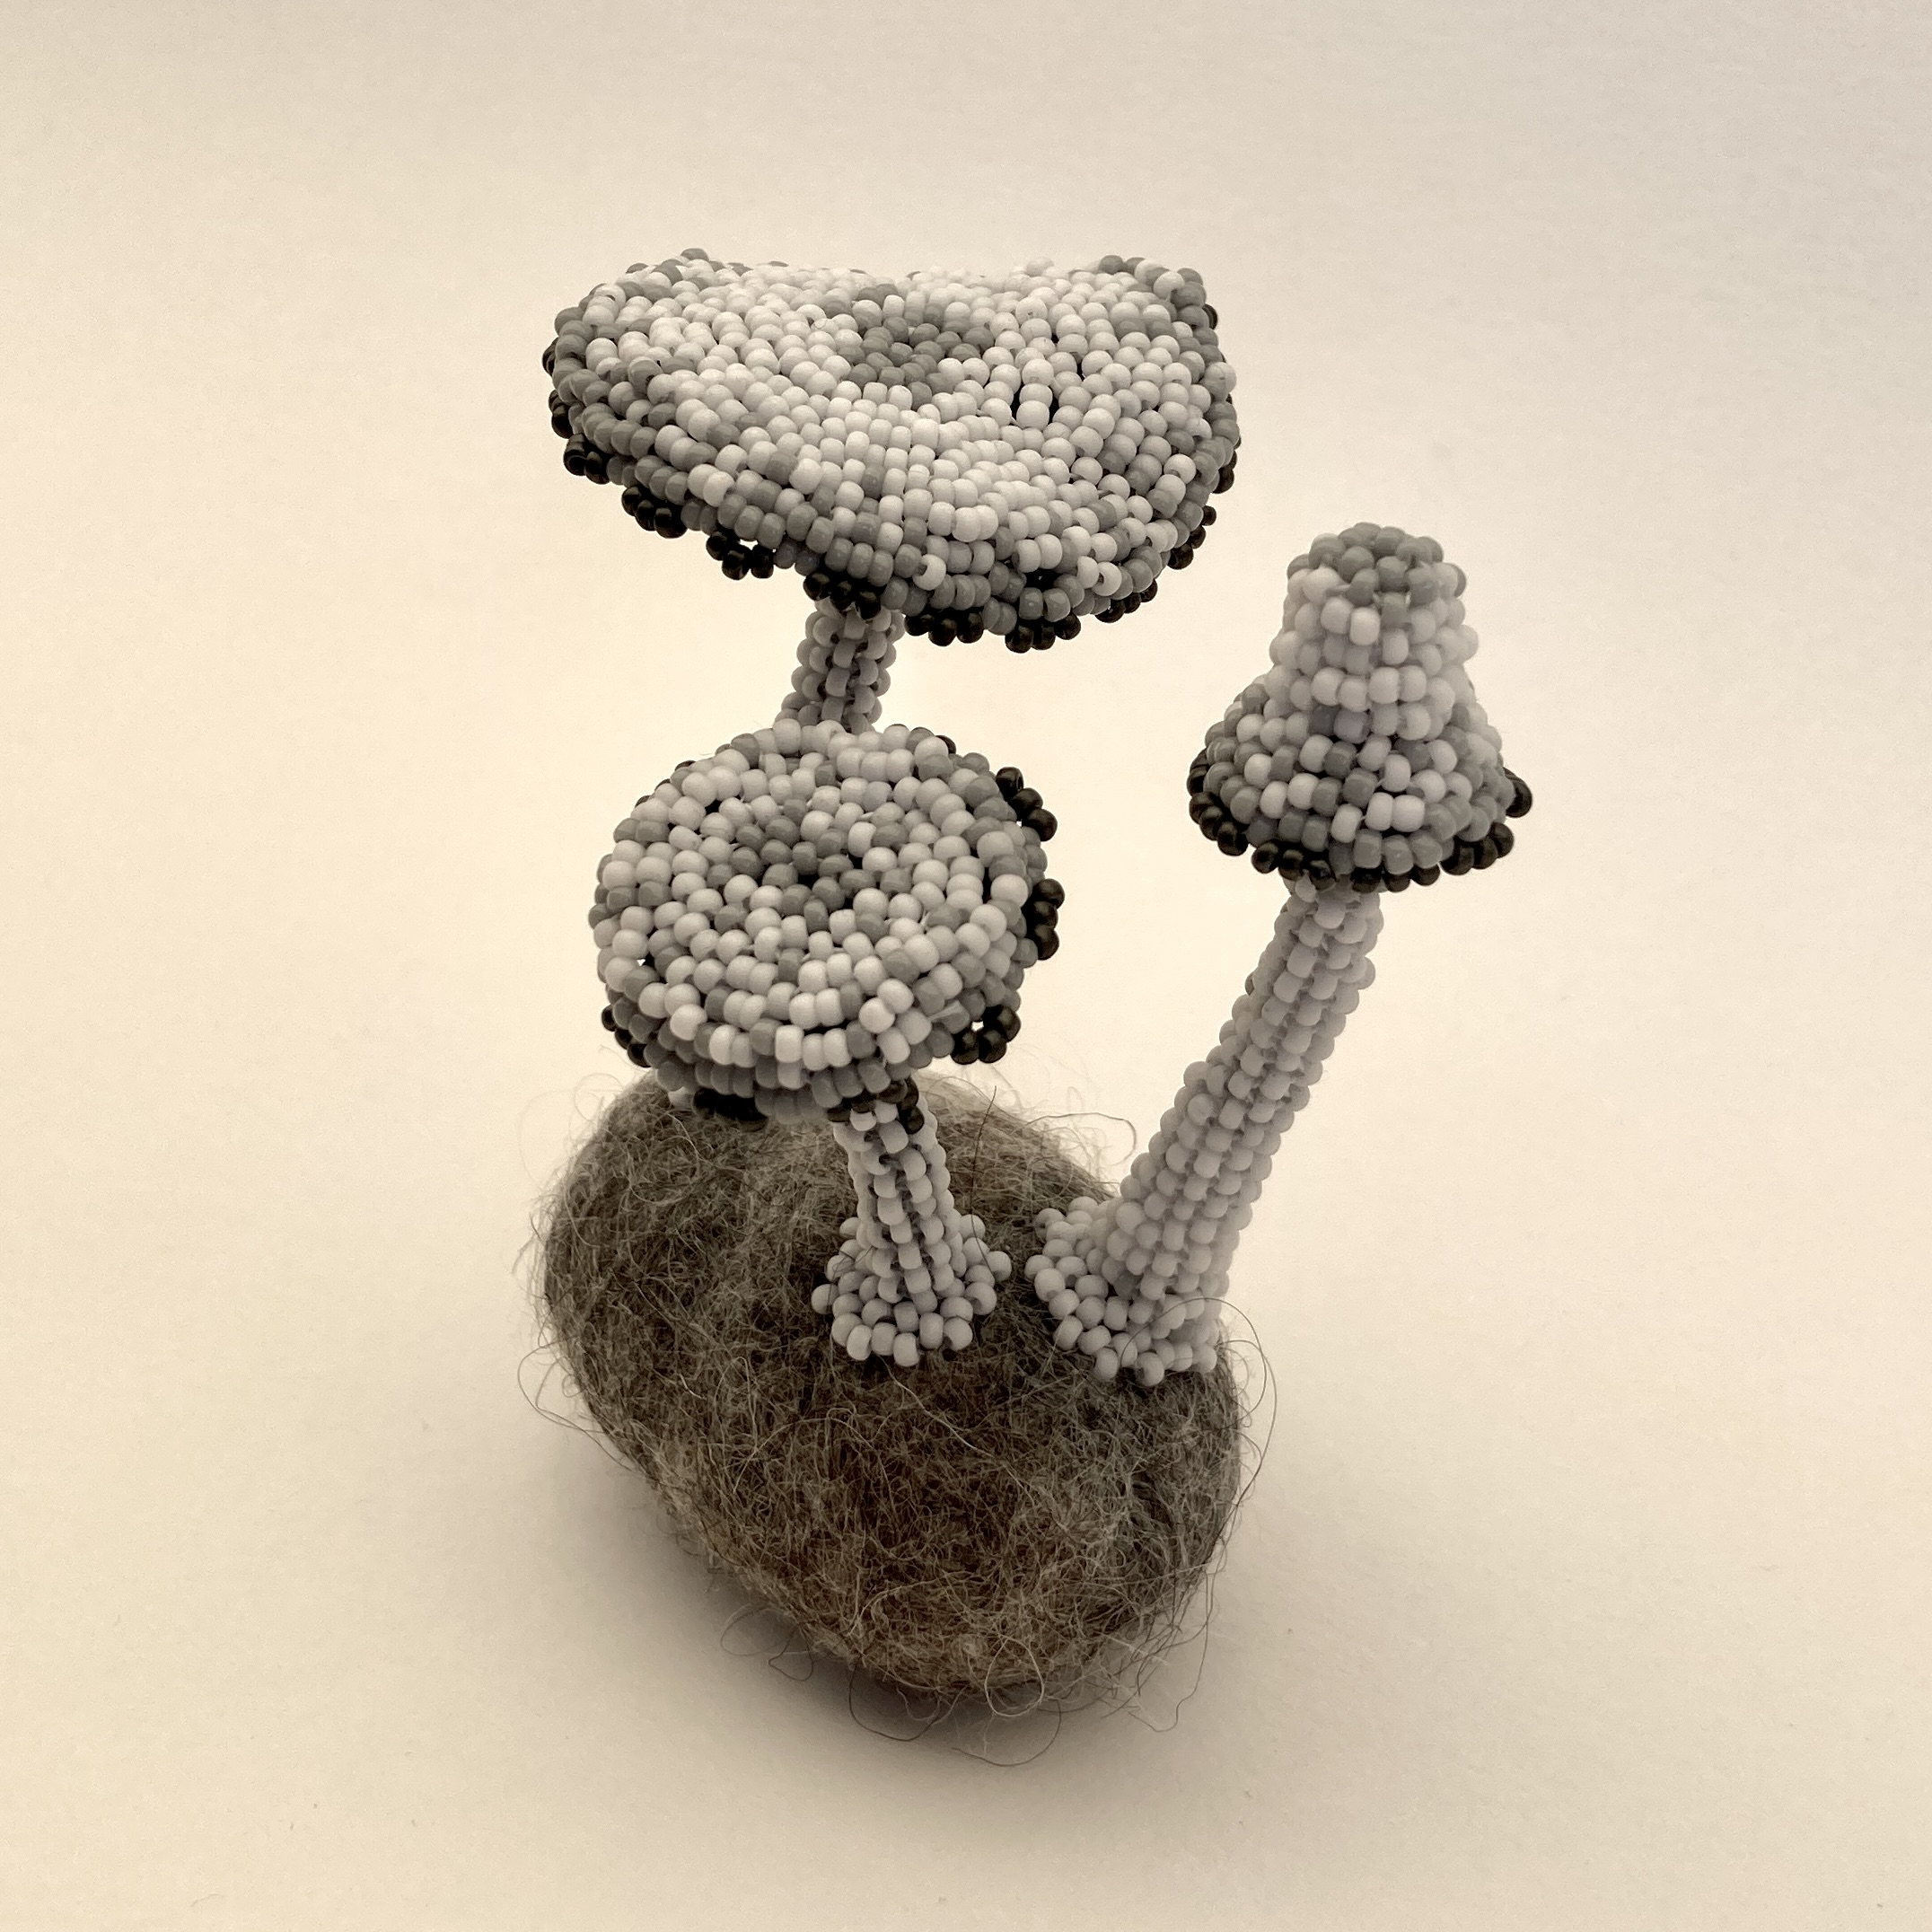
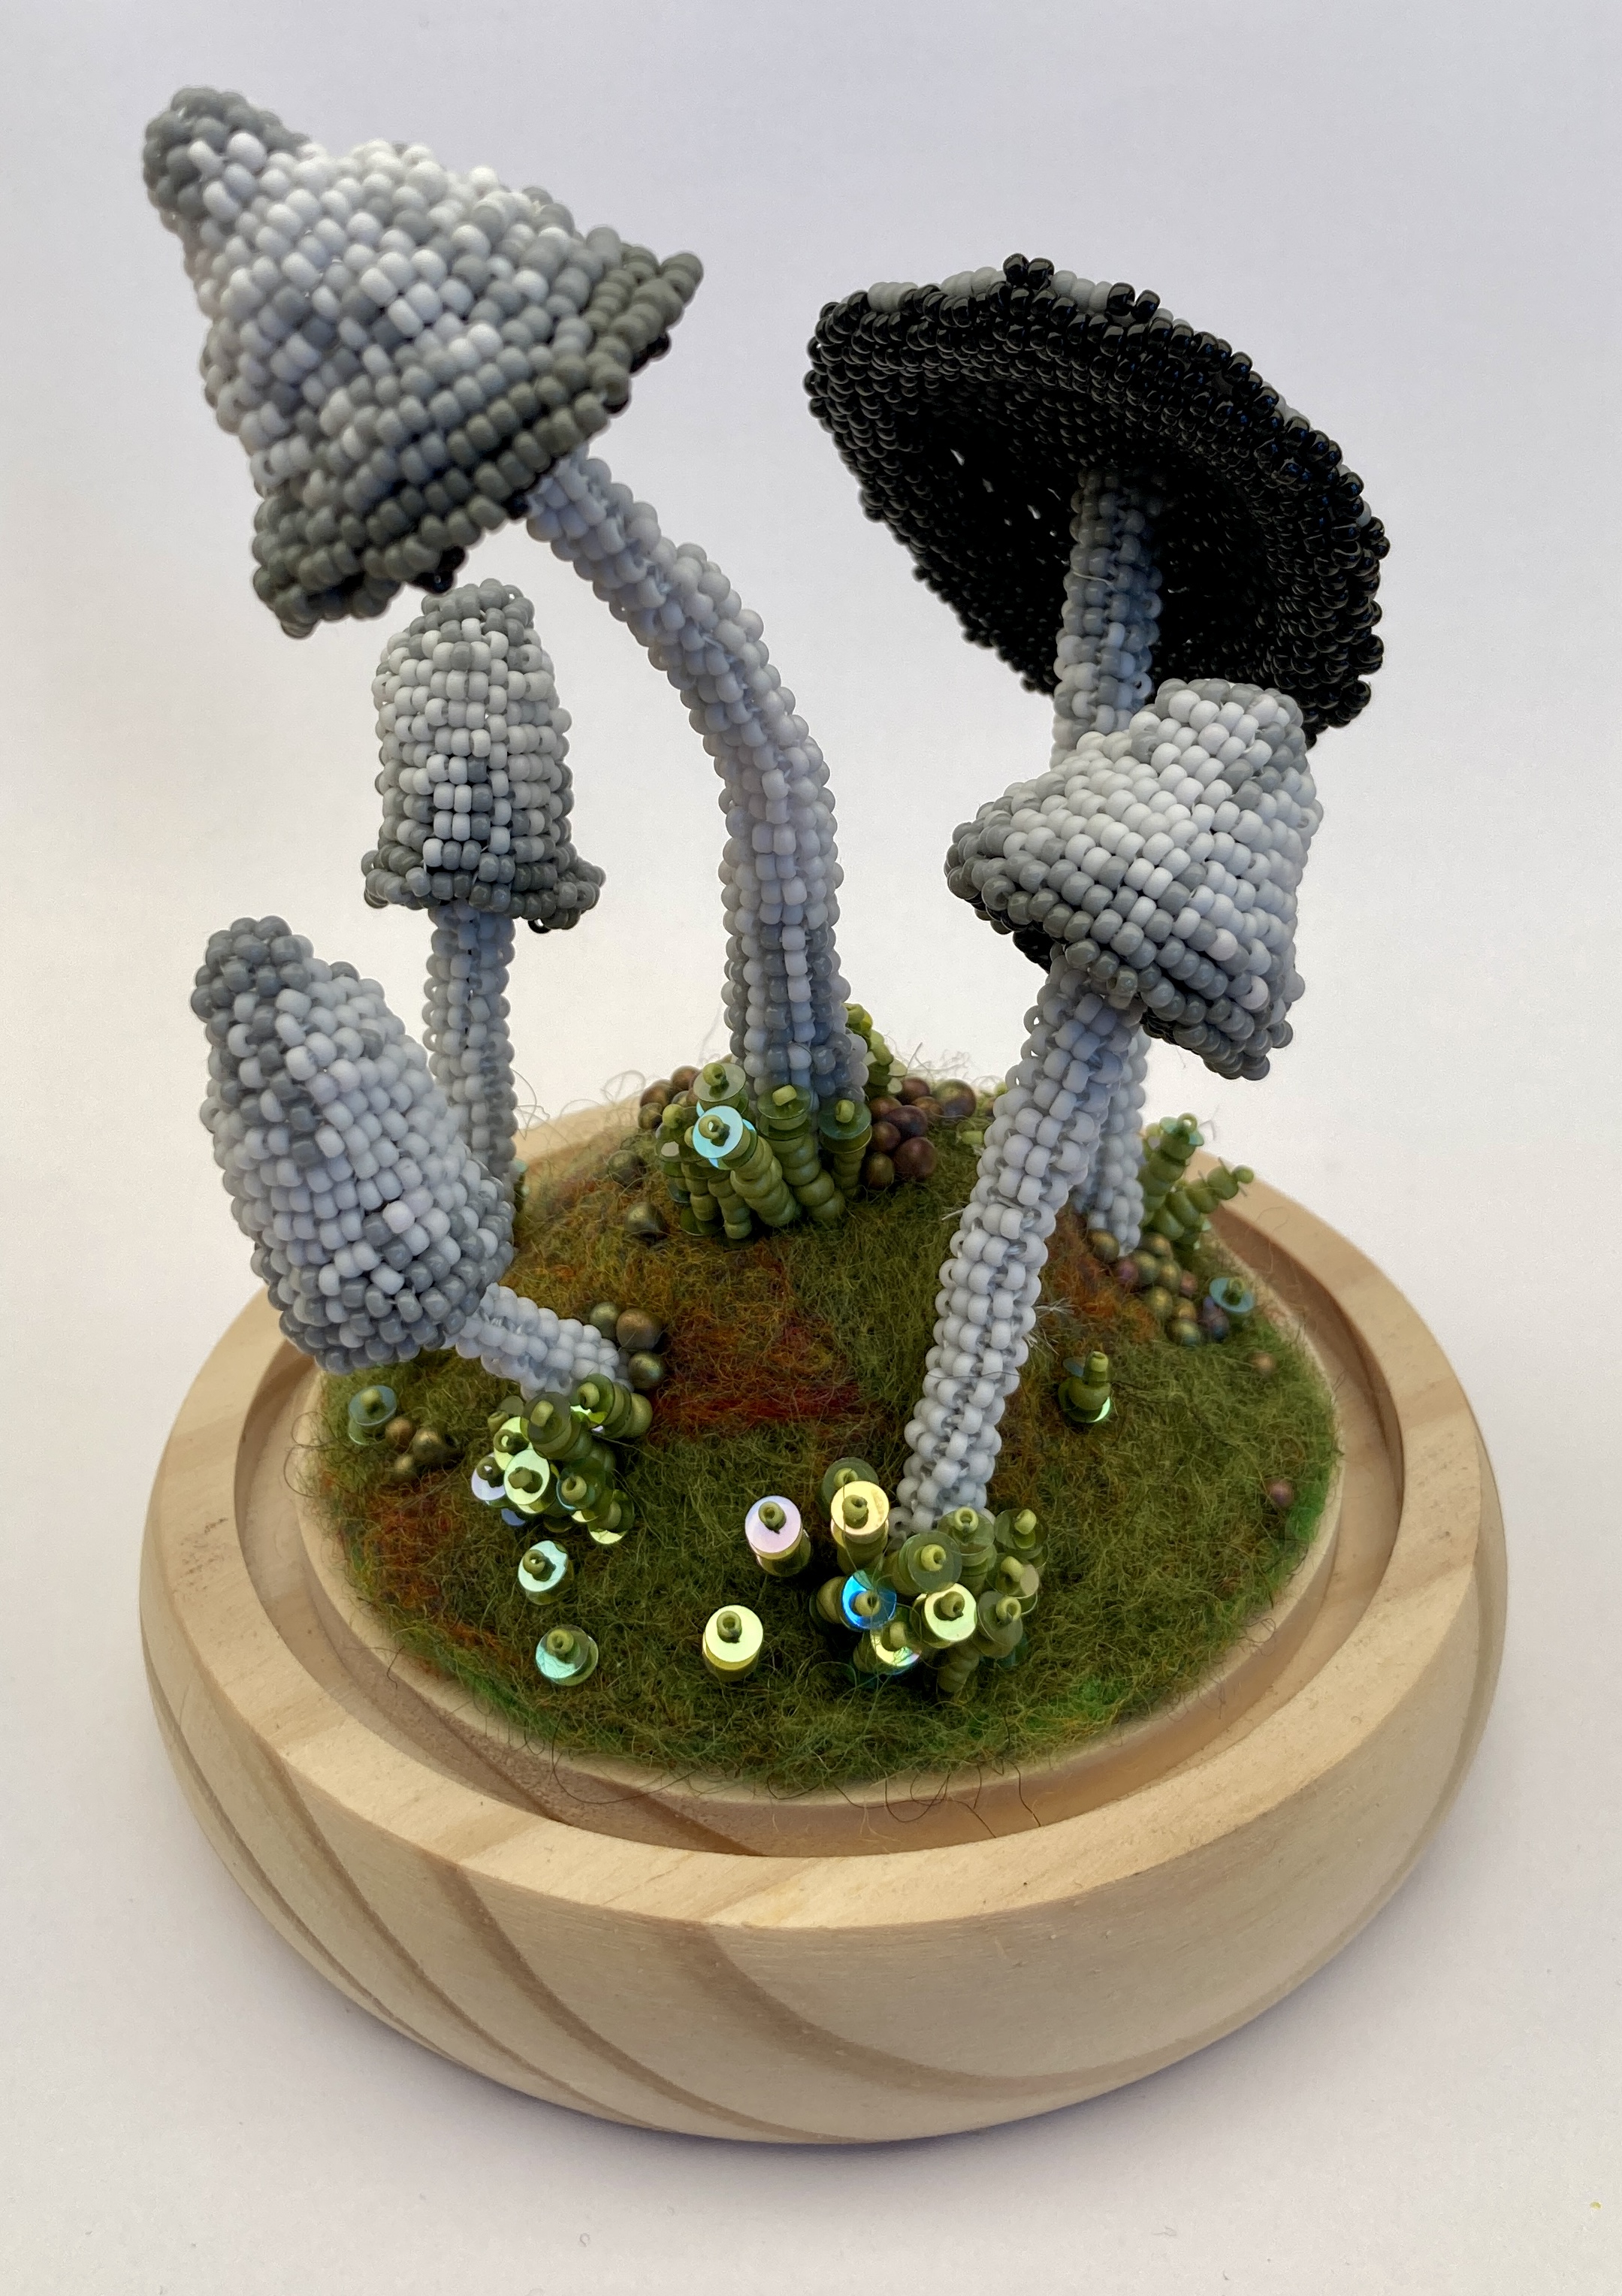
Last time I posted I mentioned that I was making some Sulphur Tuft mushrooms, and that I was putting bends into the stalks so they could be mounted vertically, as if they were growing from the surface of some cut, rotting wood. Well here they are, complete with a mossy/woody background.
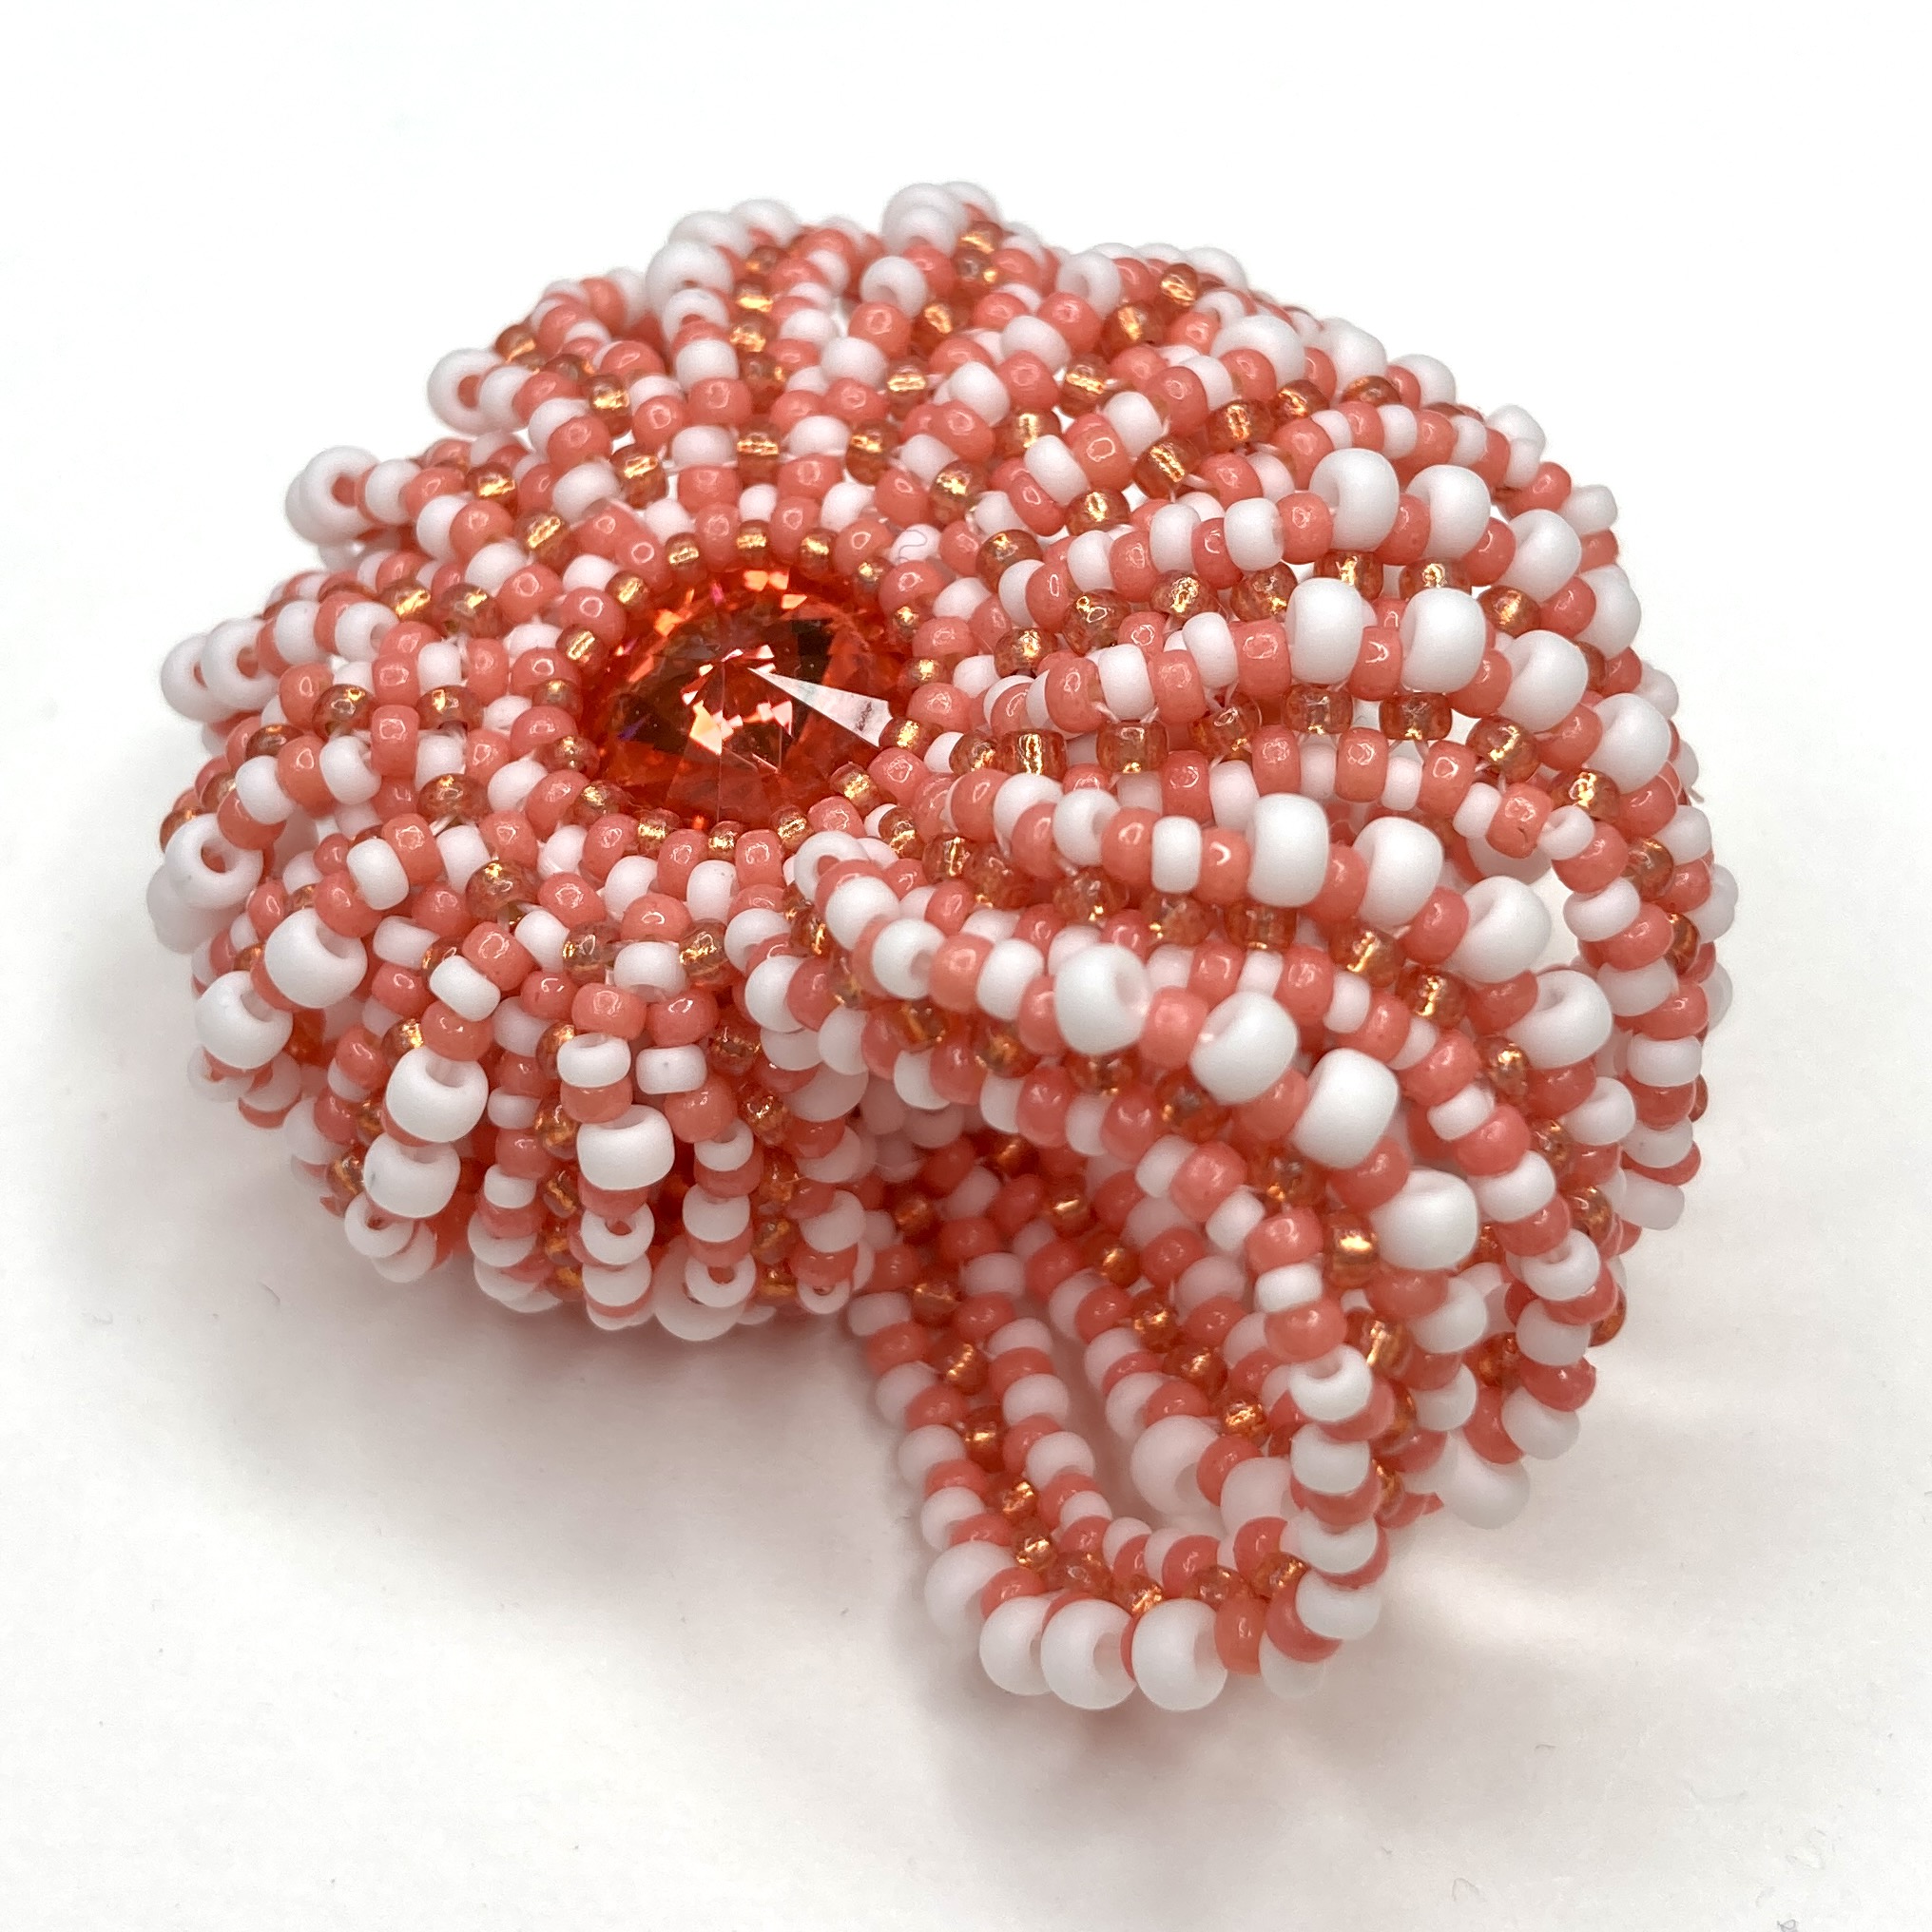
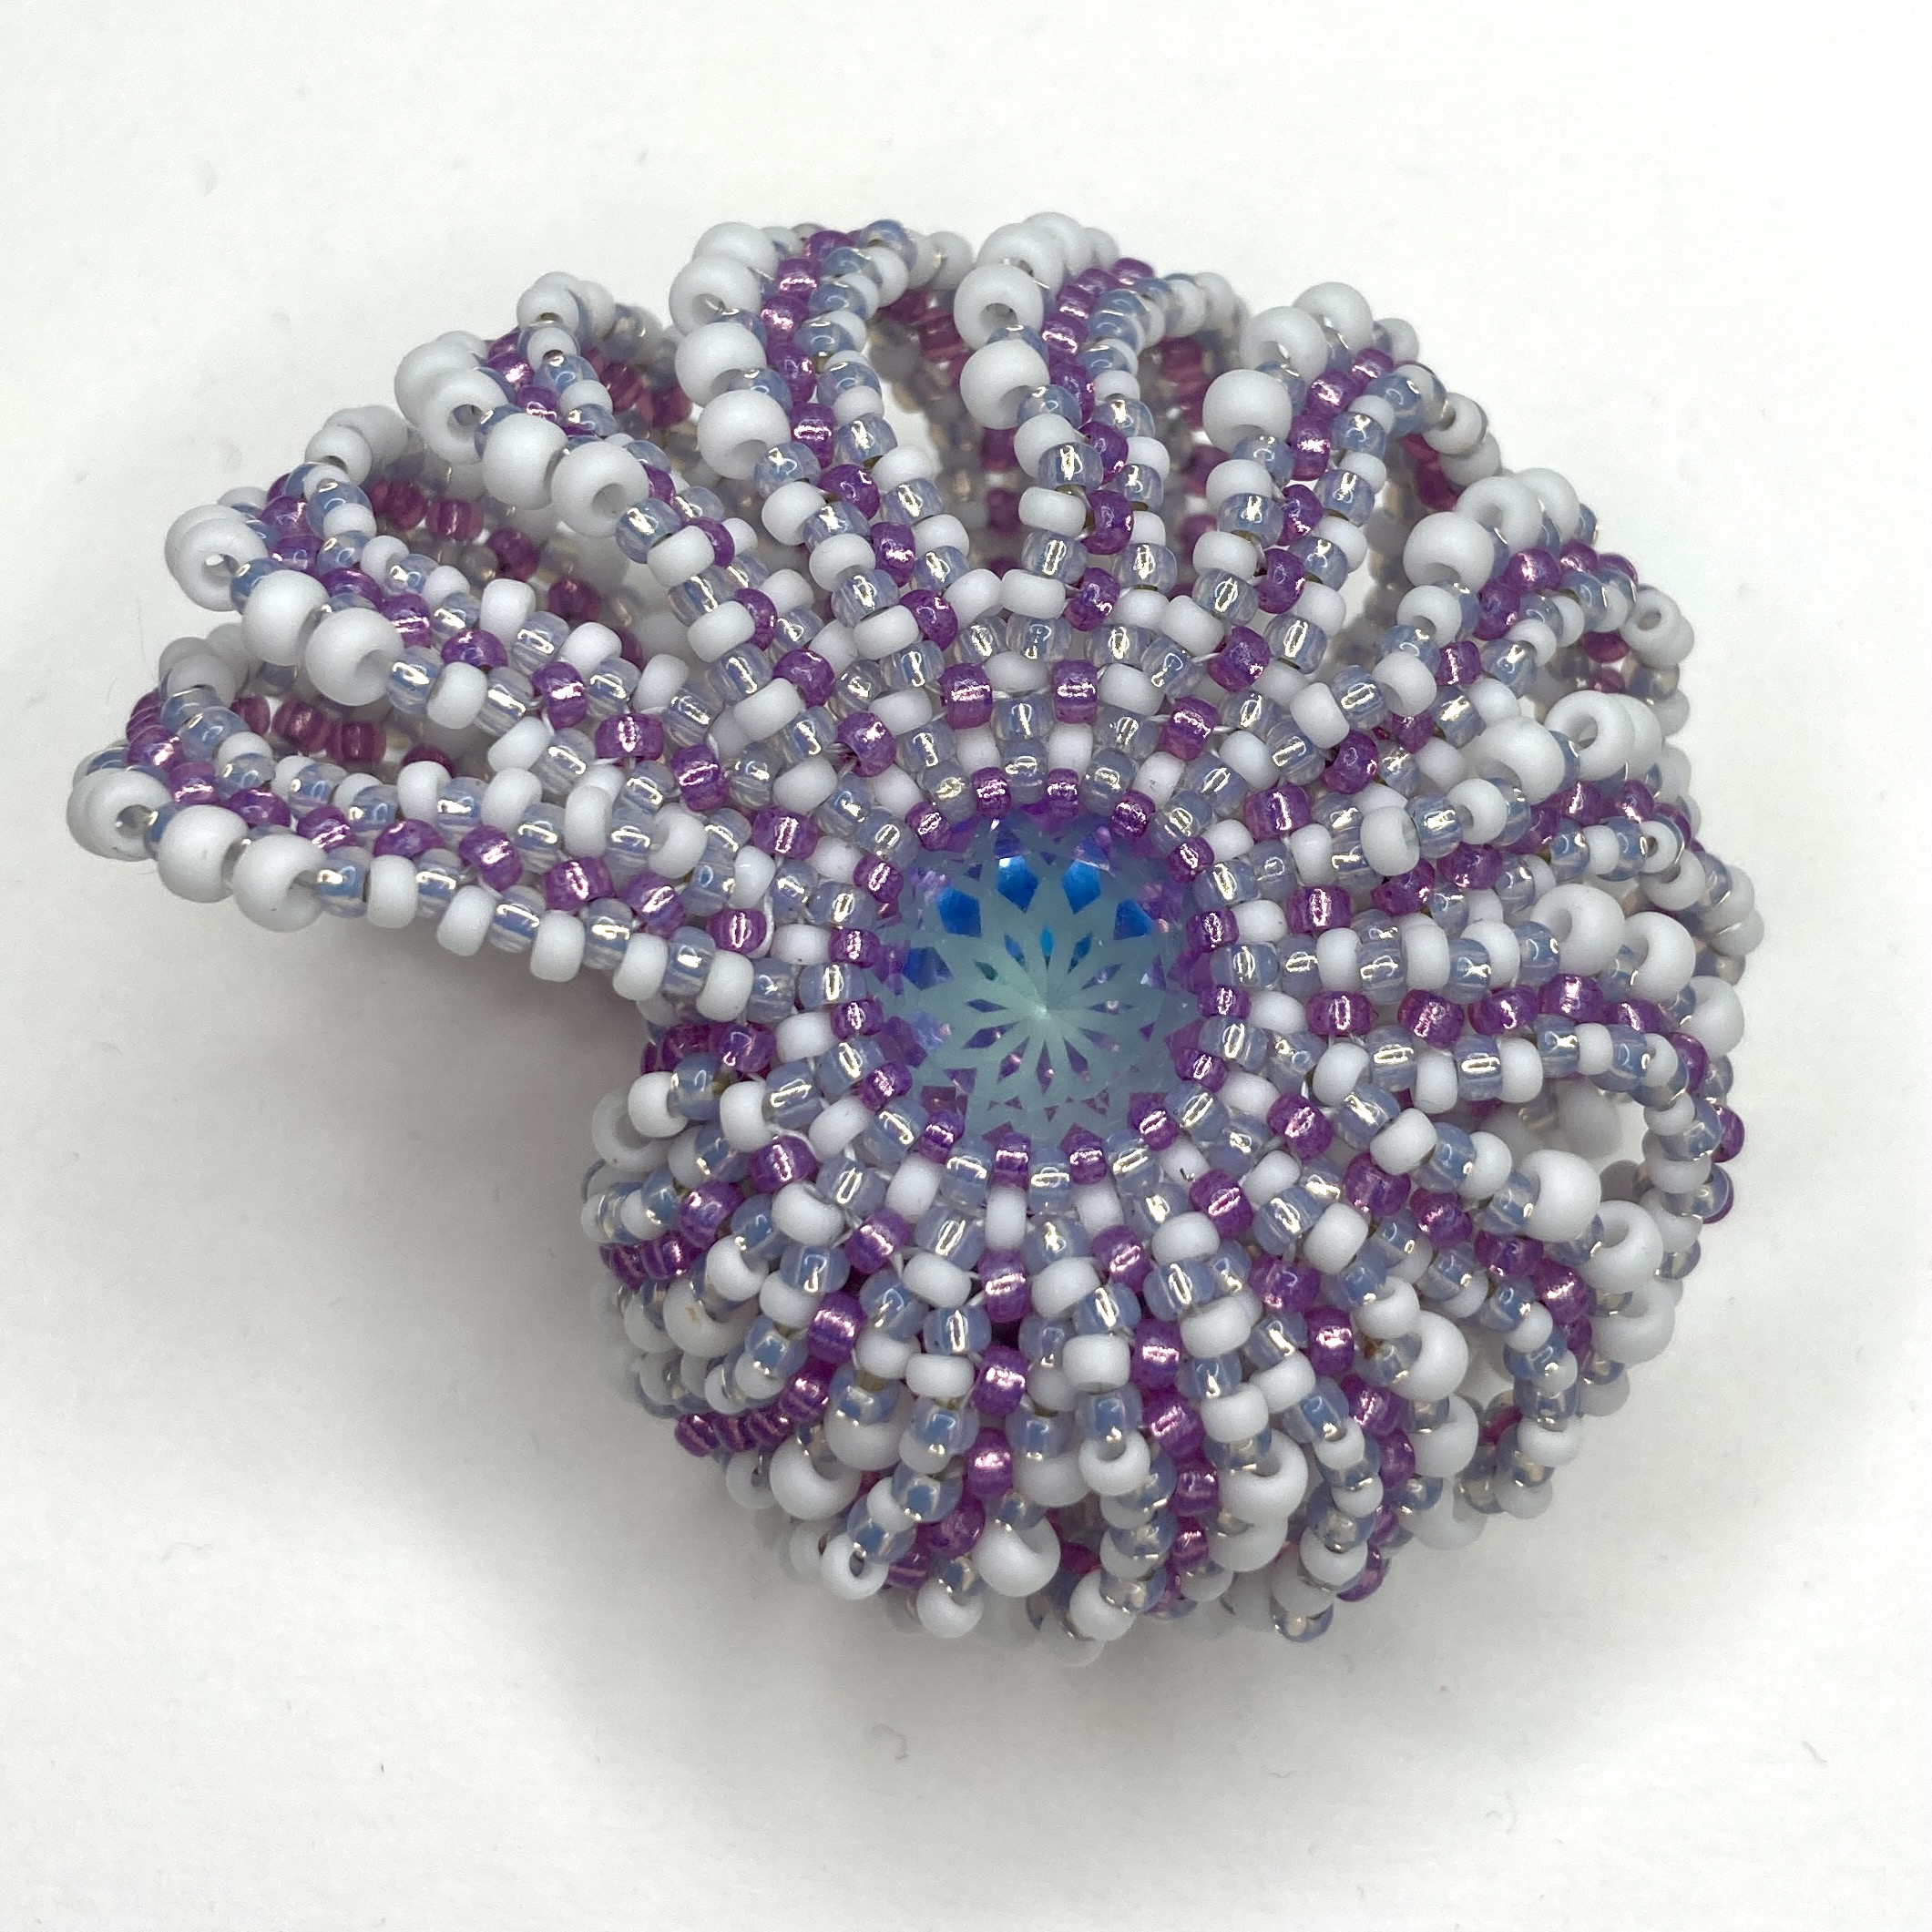
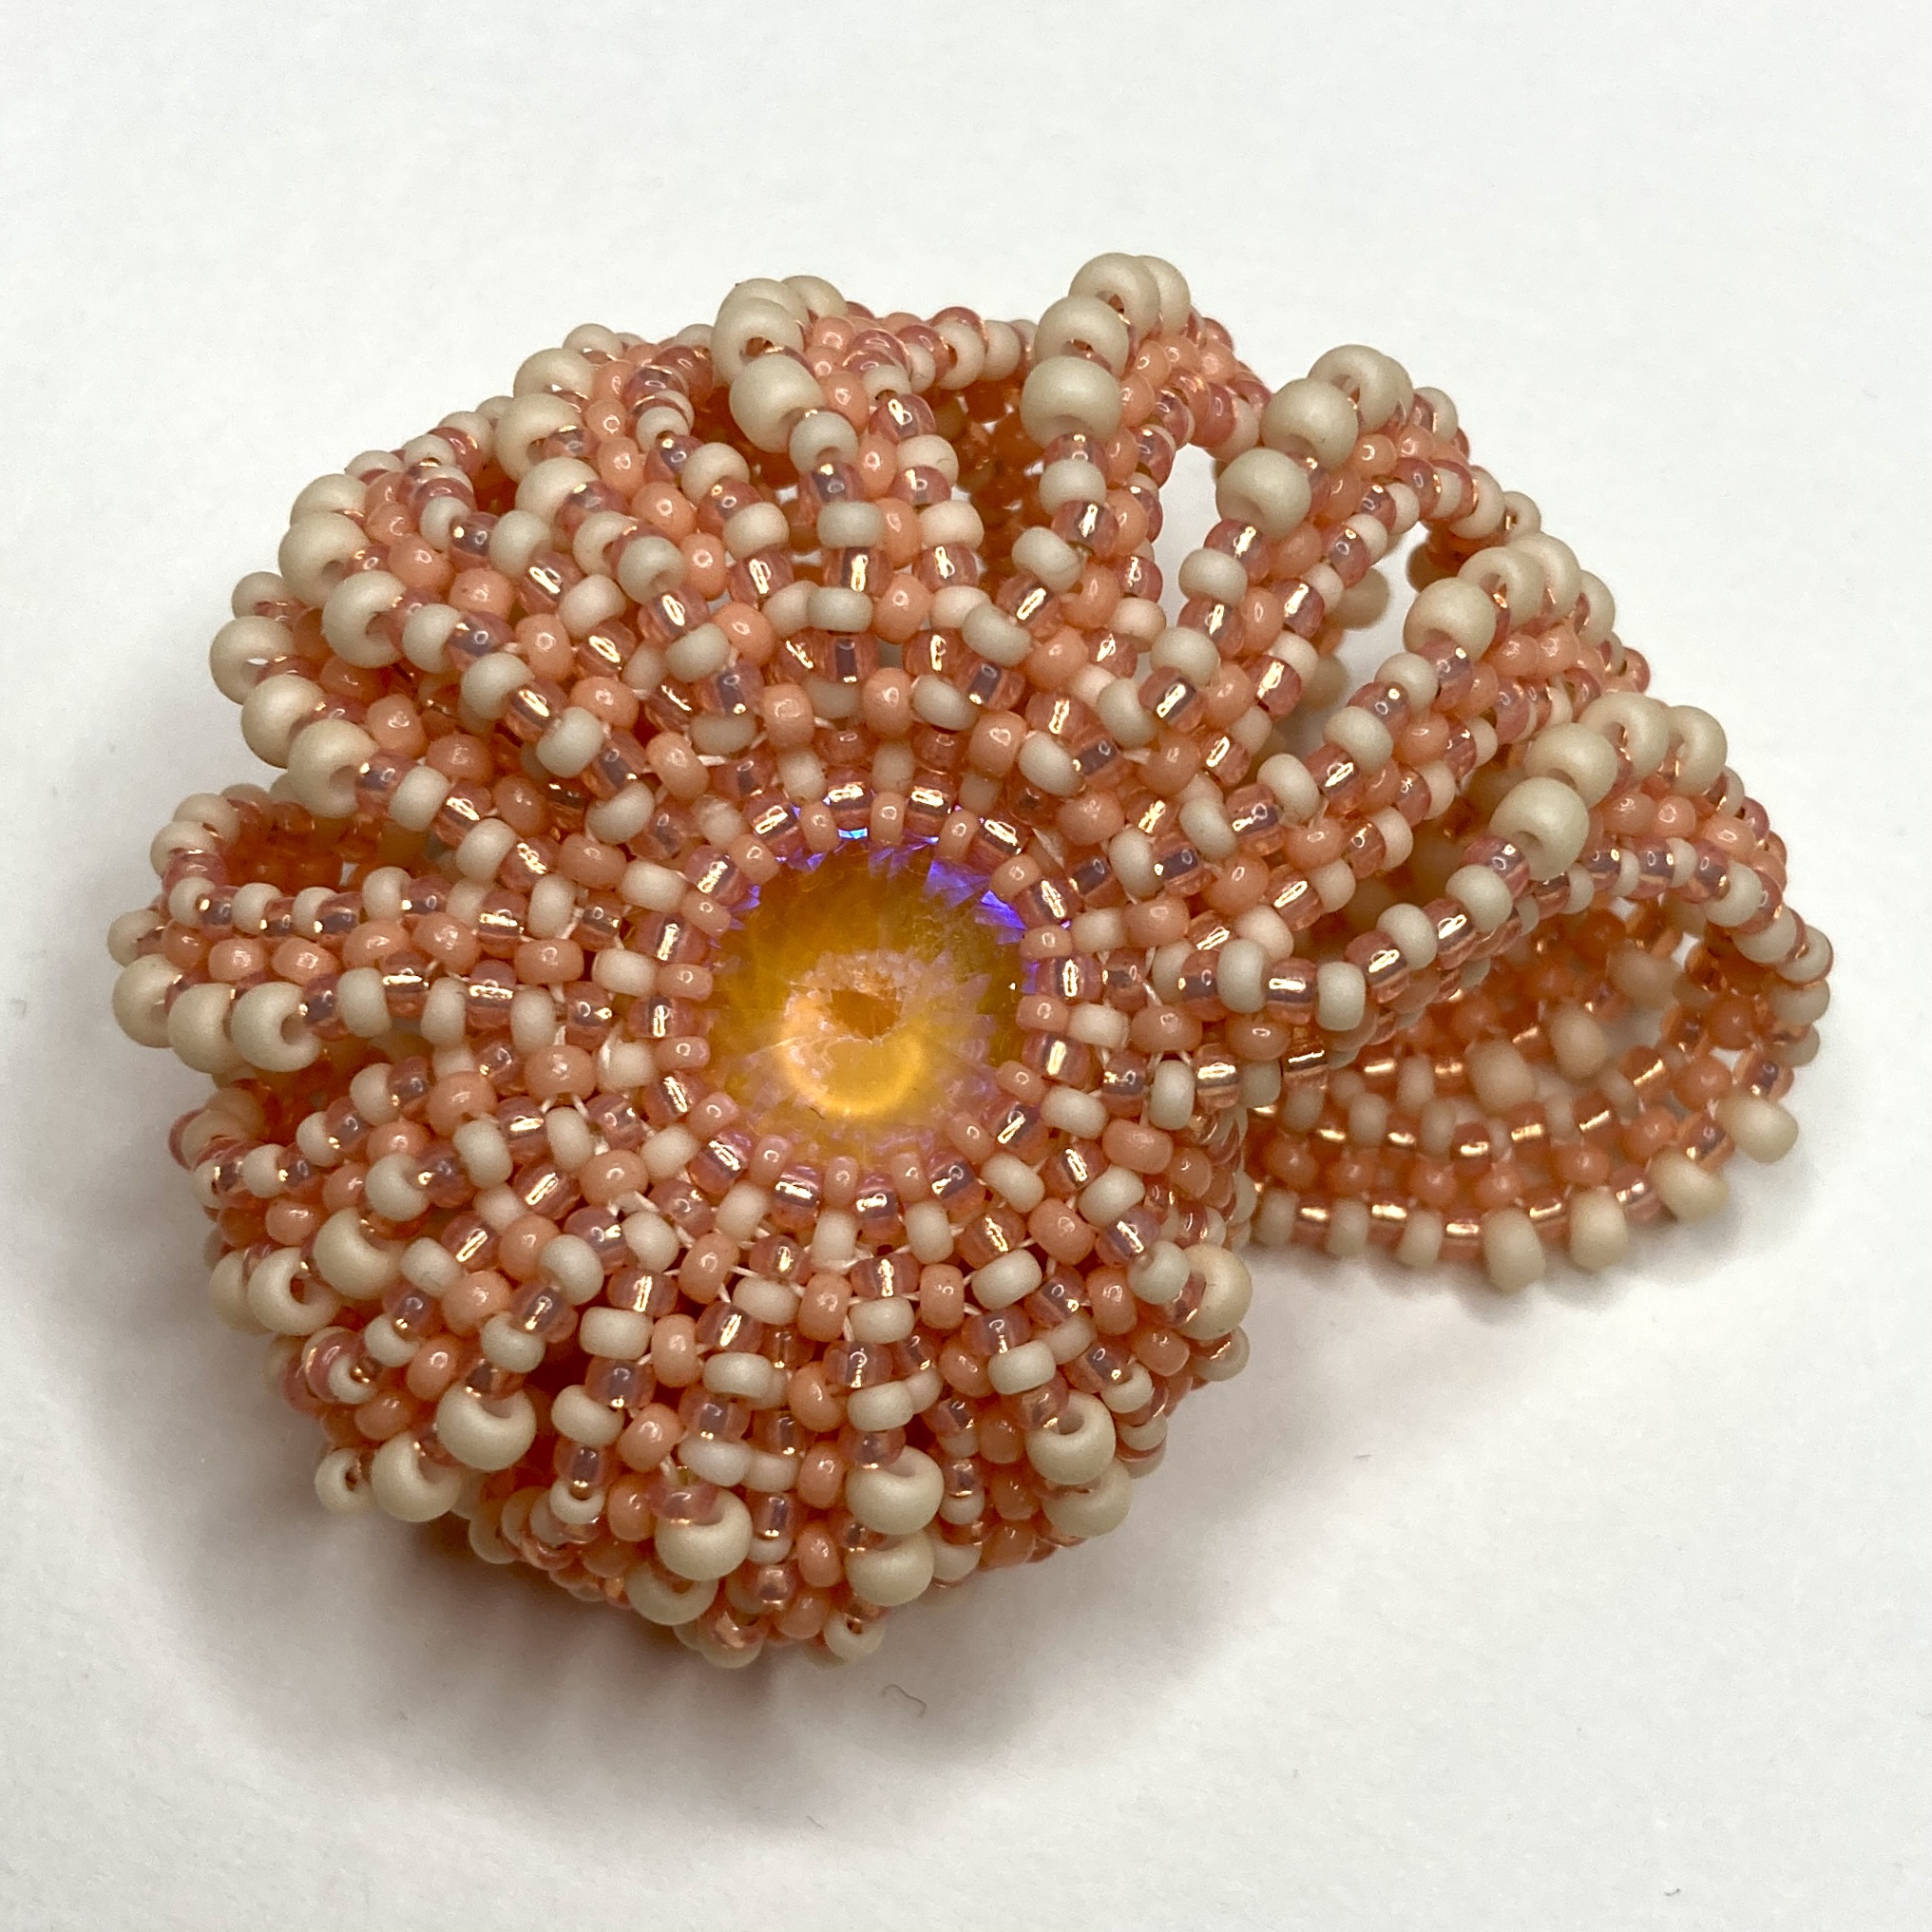
The fungi themselves use my Fungi tutorial, with the tops using (left to right) options from the tutorial:
C with 4 segments, A with 4 segments, the start of a C and then less increases, a B exactly as the tutorial, another C with 4 segments.
You can find out more about adapting the basic shapes by changing the repeats on page 45 of the tutorial.
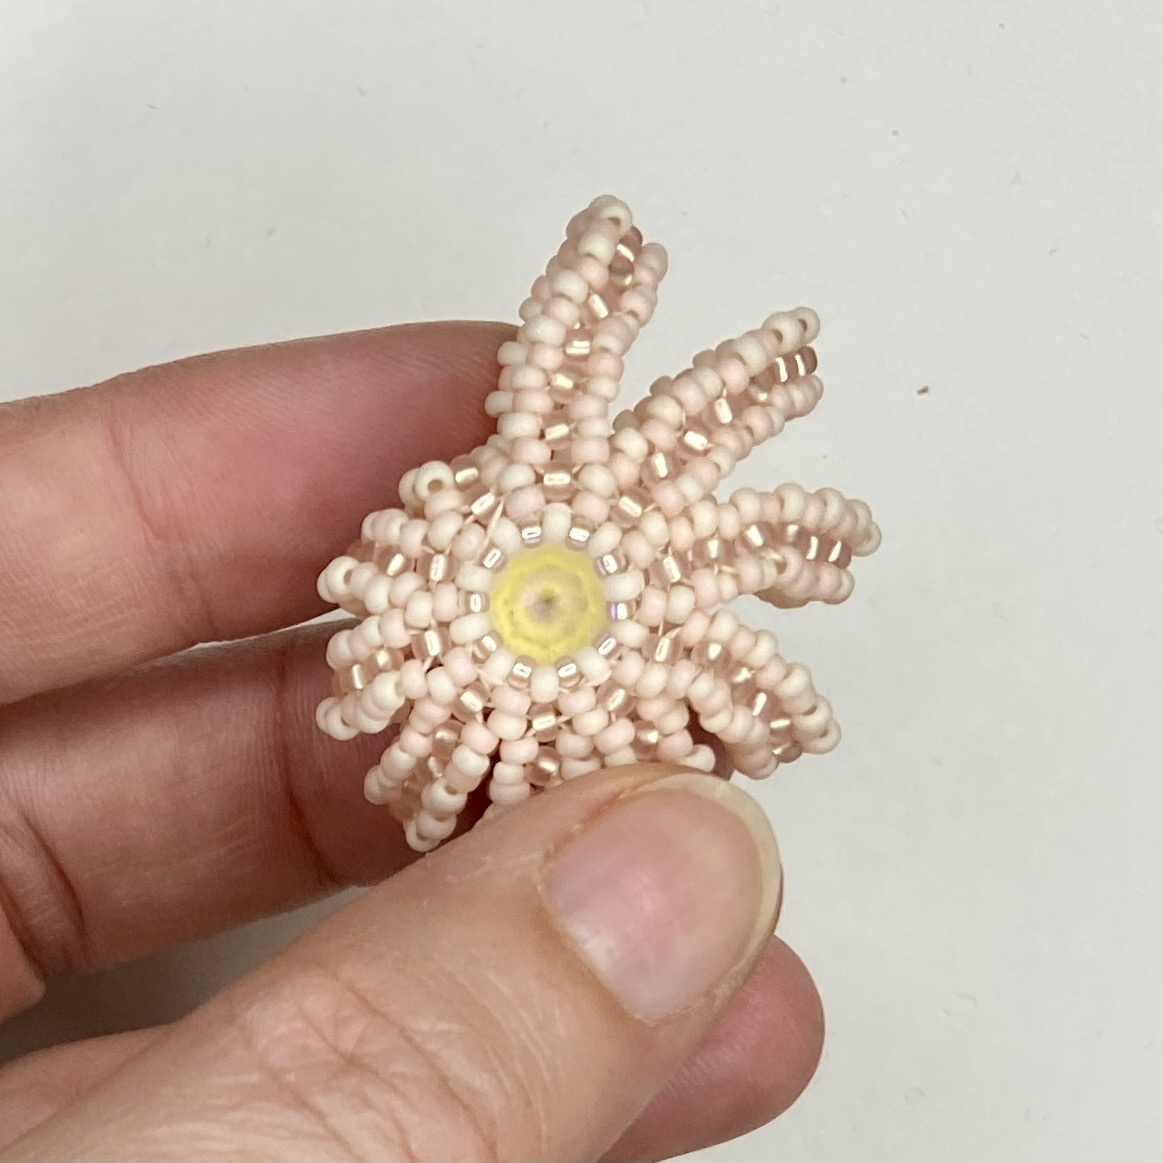
All of the stalks are based off stalk B in terms of size, but are improvised. I’ve done rather fiddly/irritating finagling to achieve the 90 degree bends and then frilled out the bases for attachments – I have an alternative idea as to how to do this next time which I’ll report back on.

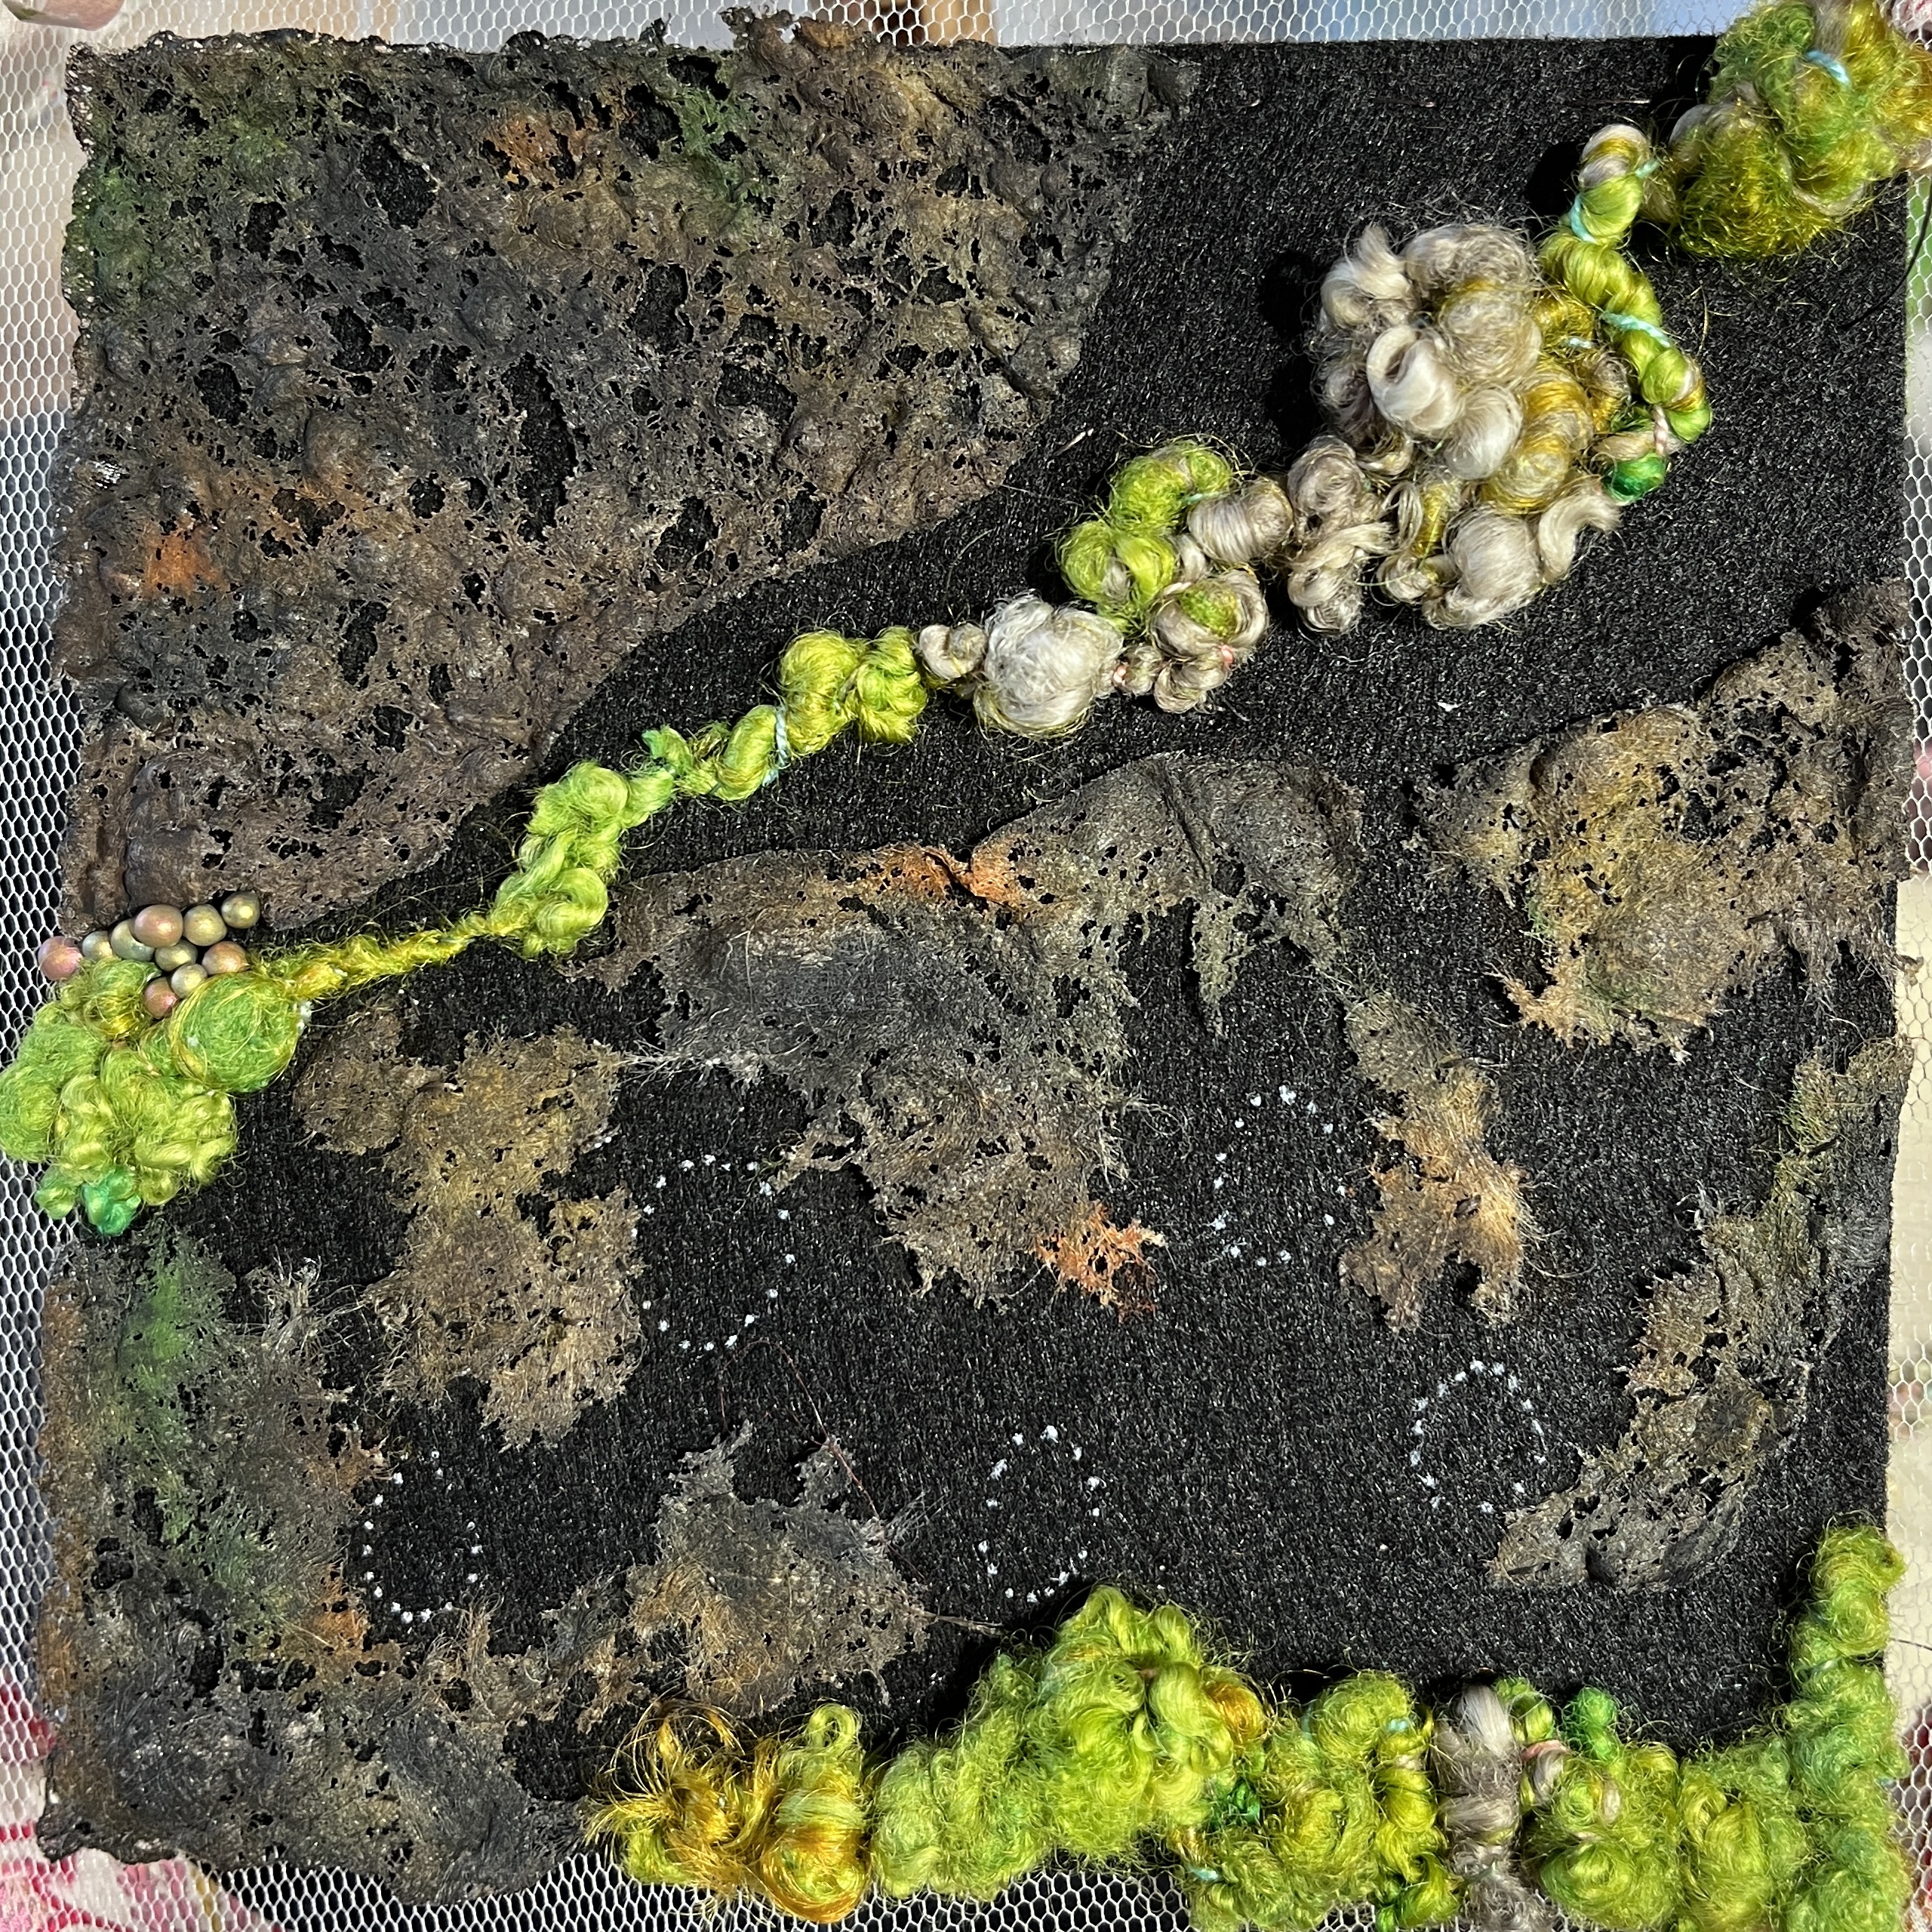
The background is built up in layers – first I sketched out the finished layout and traced it onto a hard felt sheet, and marked on where would be moss, where wood and where the stalks would attach (the white marks).

Then I made the bark using hand painted lutrador, and used a heat gun to manipulate the finished fabric. The heat effectively melts the fibres, forming holes and textured areas – the paint didn’t take well so you’ll notice it gets darker between initial layout and stitching on – I painted it a second time to make it more saturated. I also made some green tyvek bubbly bits for the moss at this point but decided not to include them in the final piece – they were a bit too dominant (but I’ll use them in an alternative piece later):

At this point I tacked the hard felt onto some tulle stretched over an embroidery frame – this allows me to work two handed, and better maintains tension for the embroidered sections – both really helpful for doing stitches like french knots later on. The lutrador was then stitched in place, and next the moss. I have a wonderful skein of hand spun art yarn from Hope Jacare which looks exactly like moss, so that was a very straightforward foundation, simply couched onto the base:
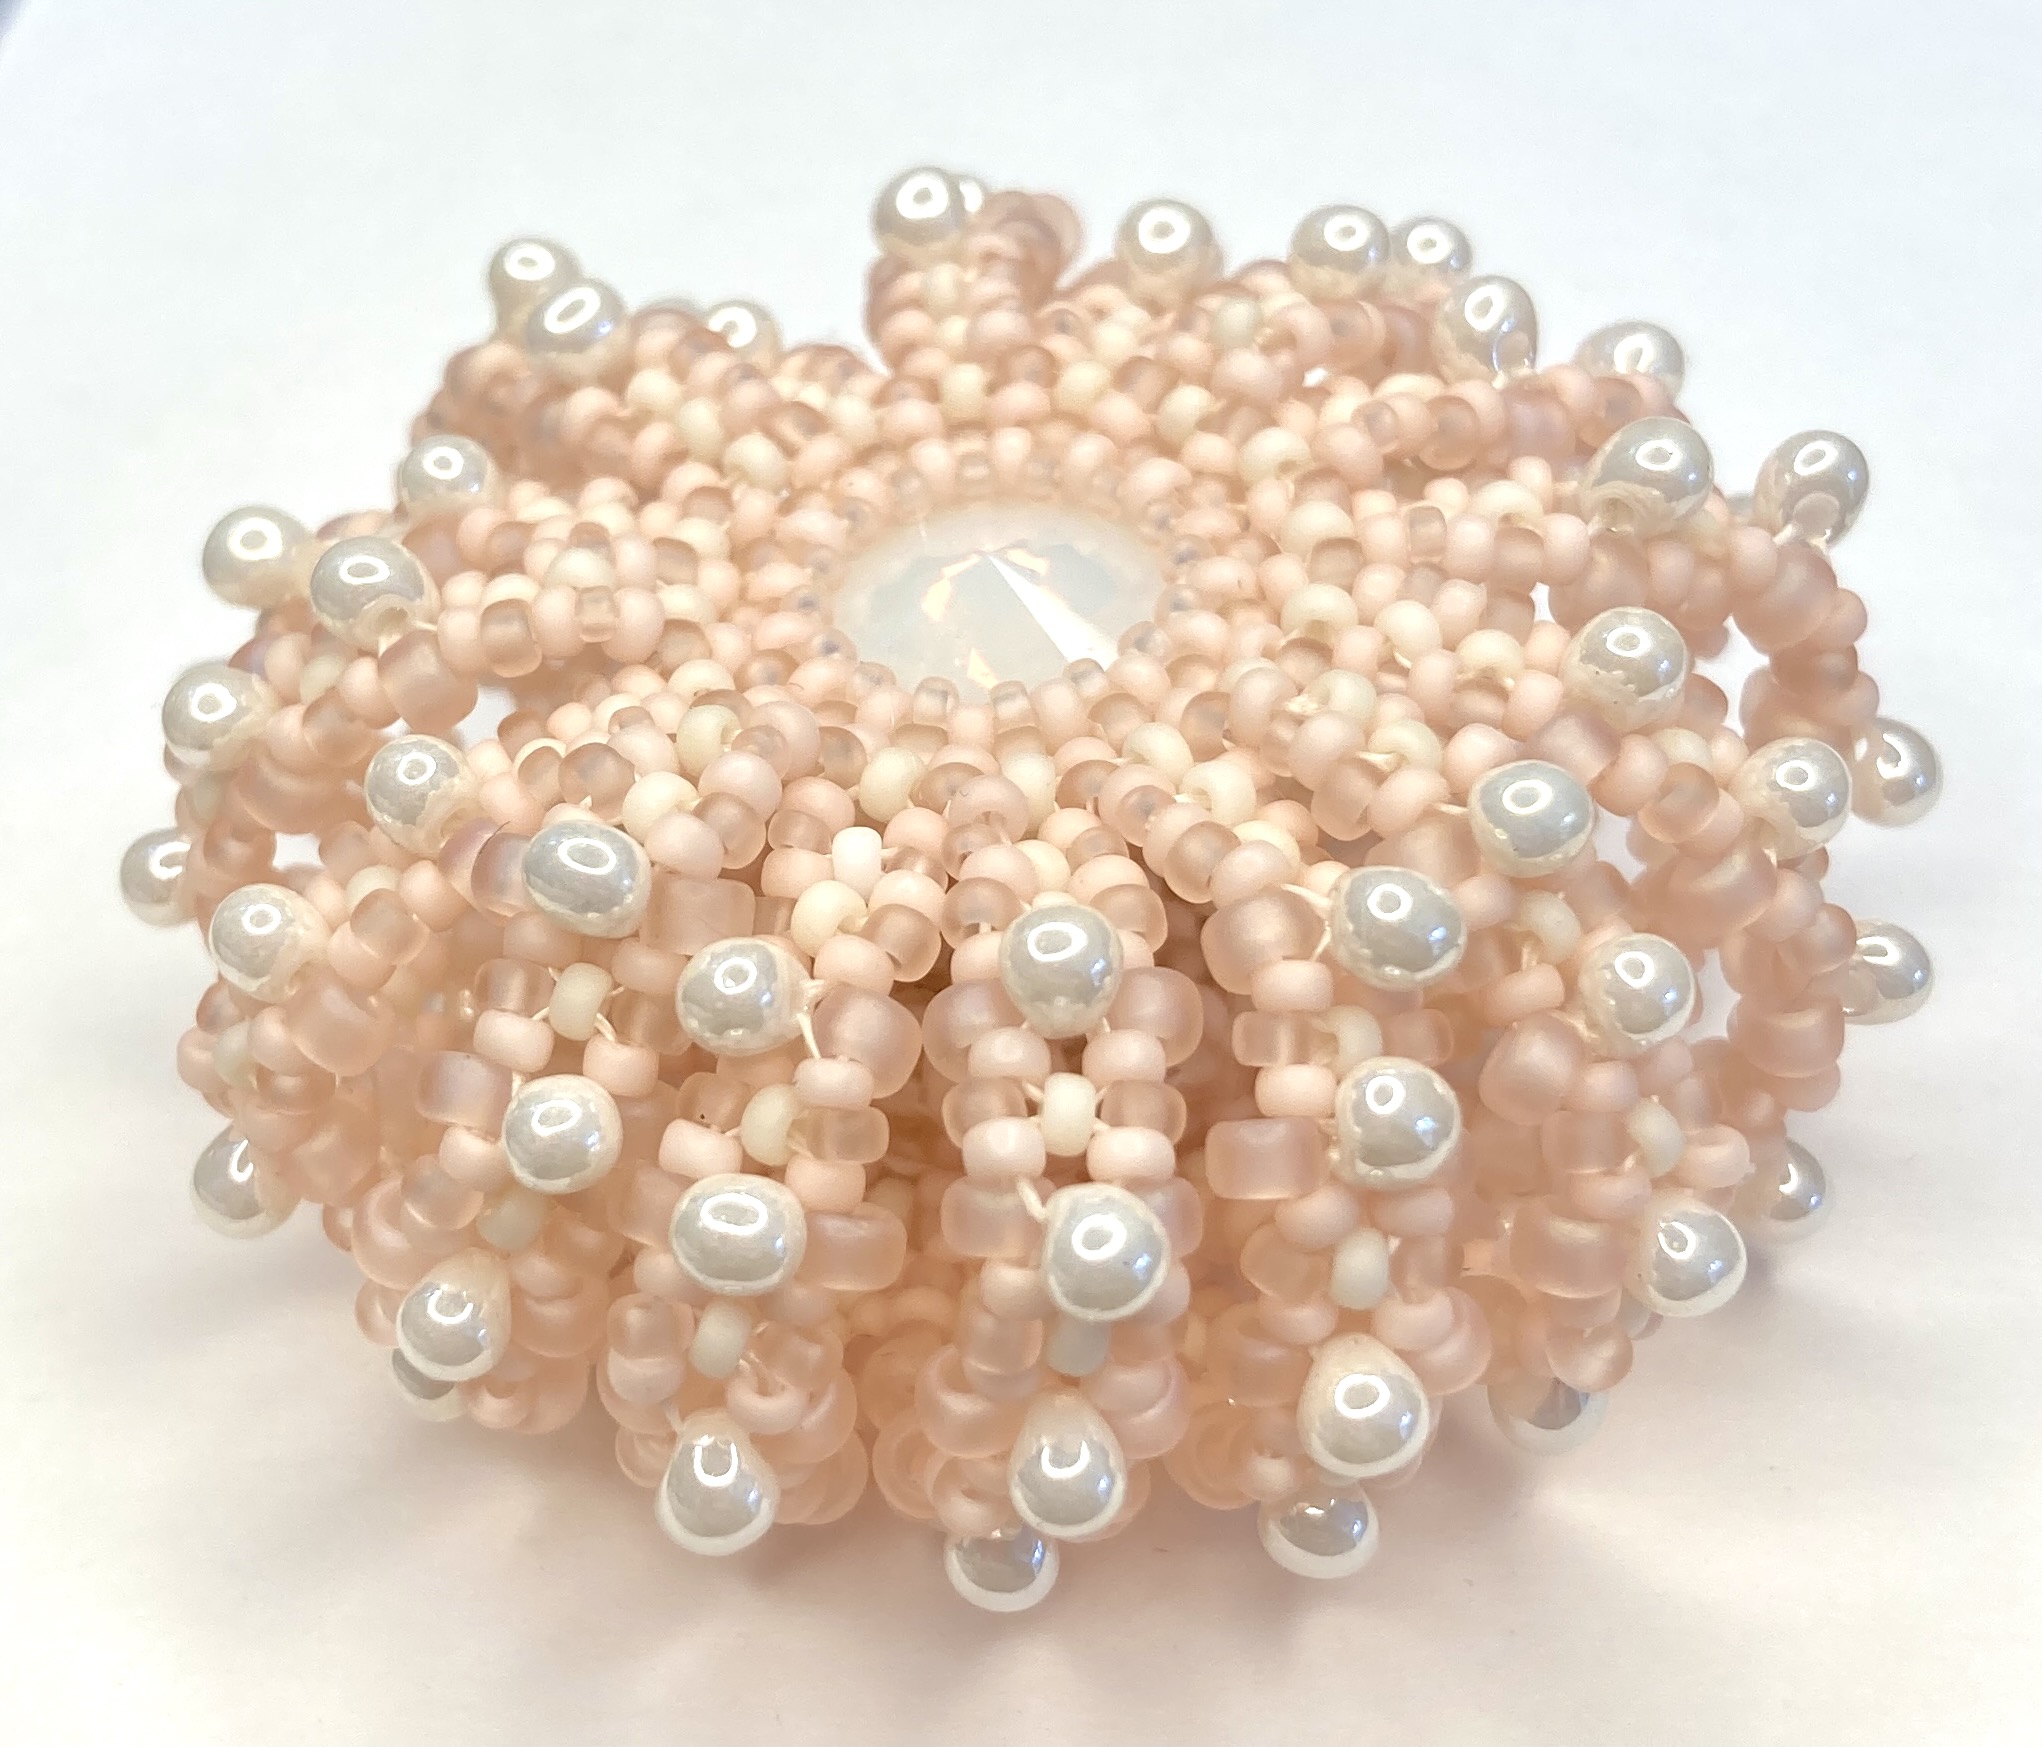
Next the bead embroidery – Miyuki drops in two sizes (2.8mm and 3.4mm) – standard go to for me in nature inspired pieces; larger drops which I bought on my Czech trip, stacked sequins & seed beads, then french knots using some silk thread (again from Hope Jacare). Finally I added more french knots using more hand dyed threads to the bark areas (I had originally planned to bead them but the scattering of french knots seemed to work better – a suggestion of lichen?):


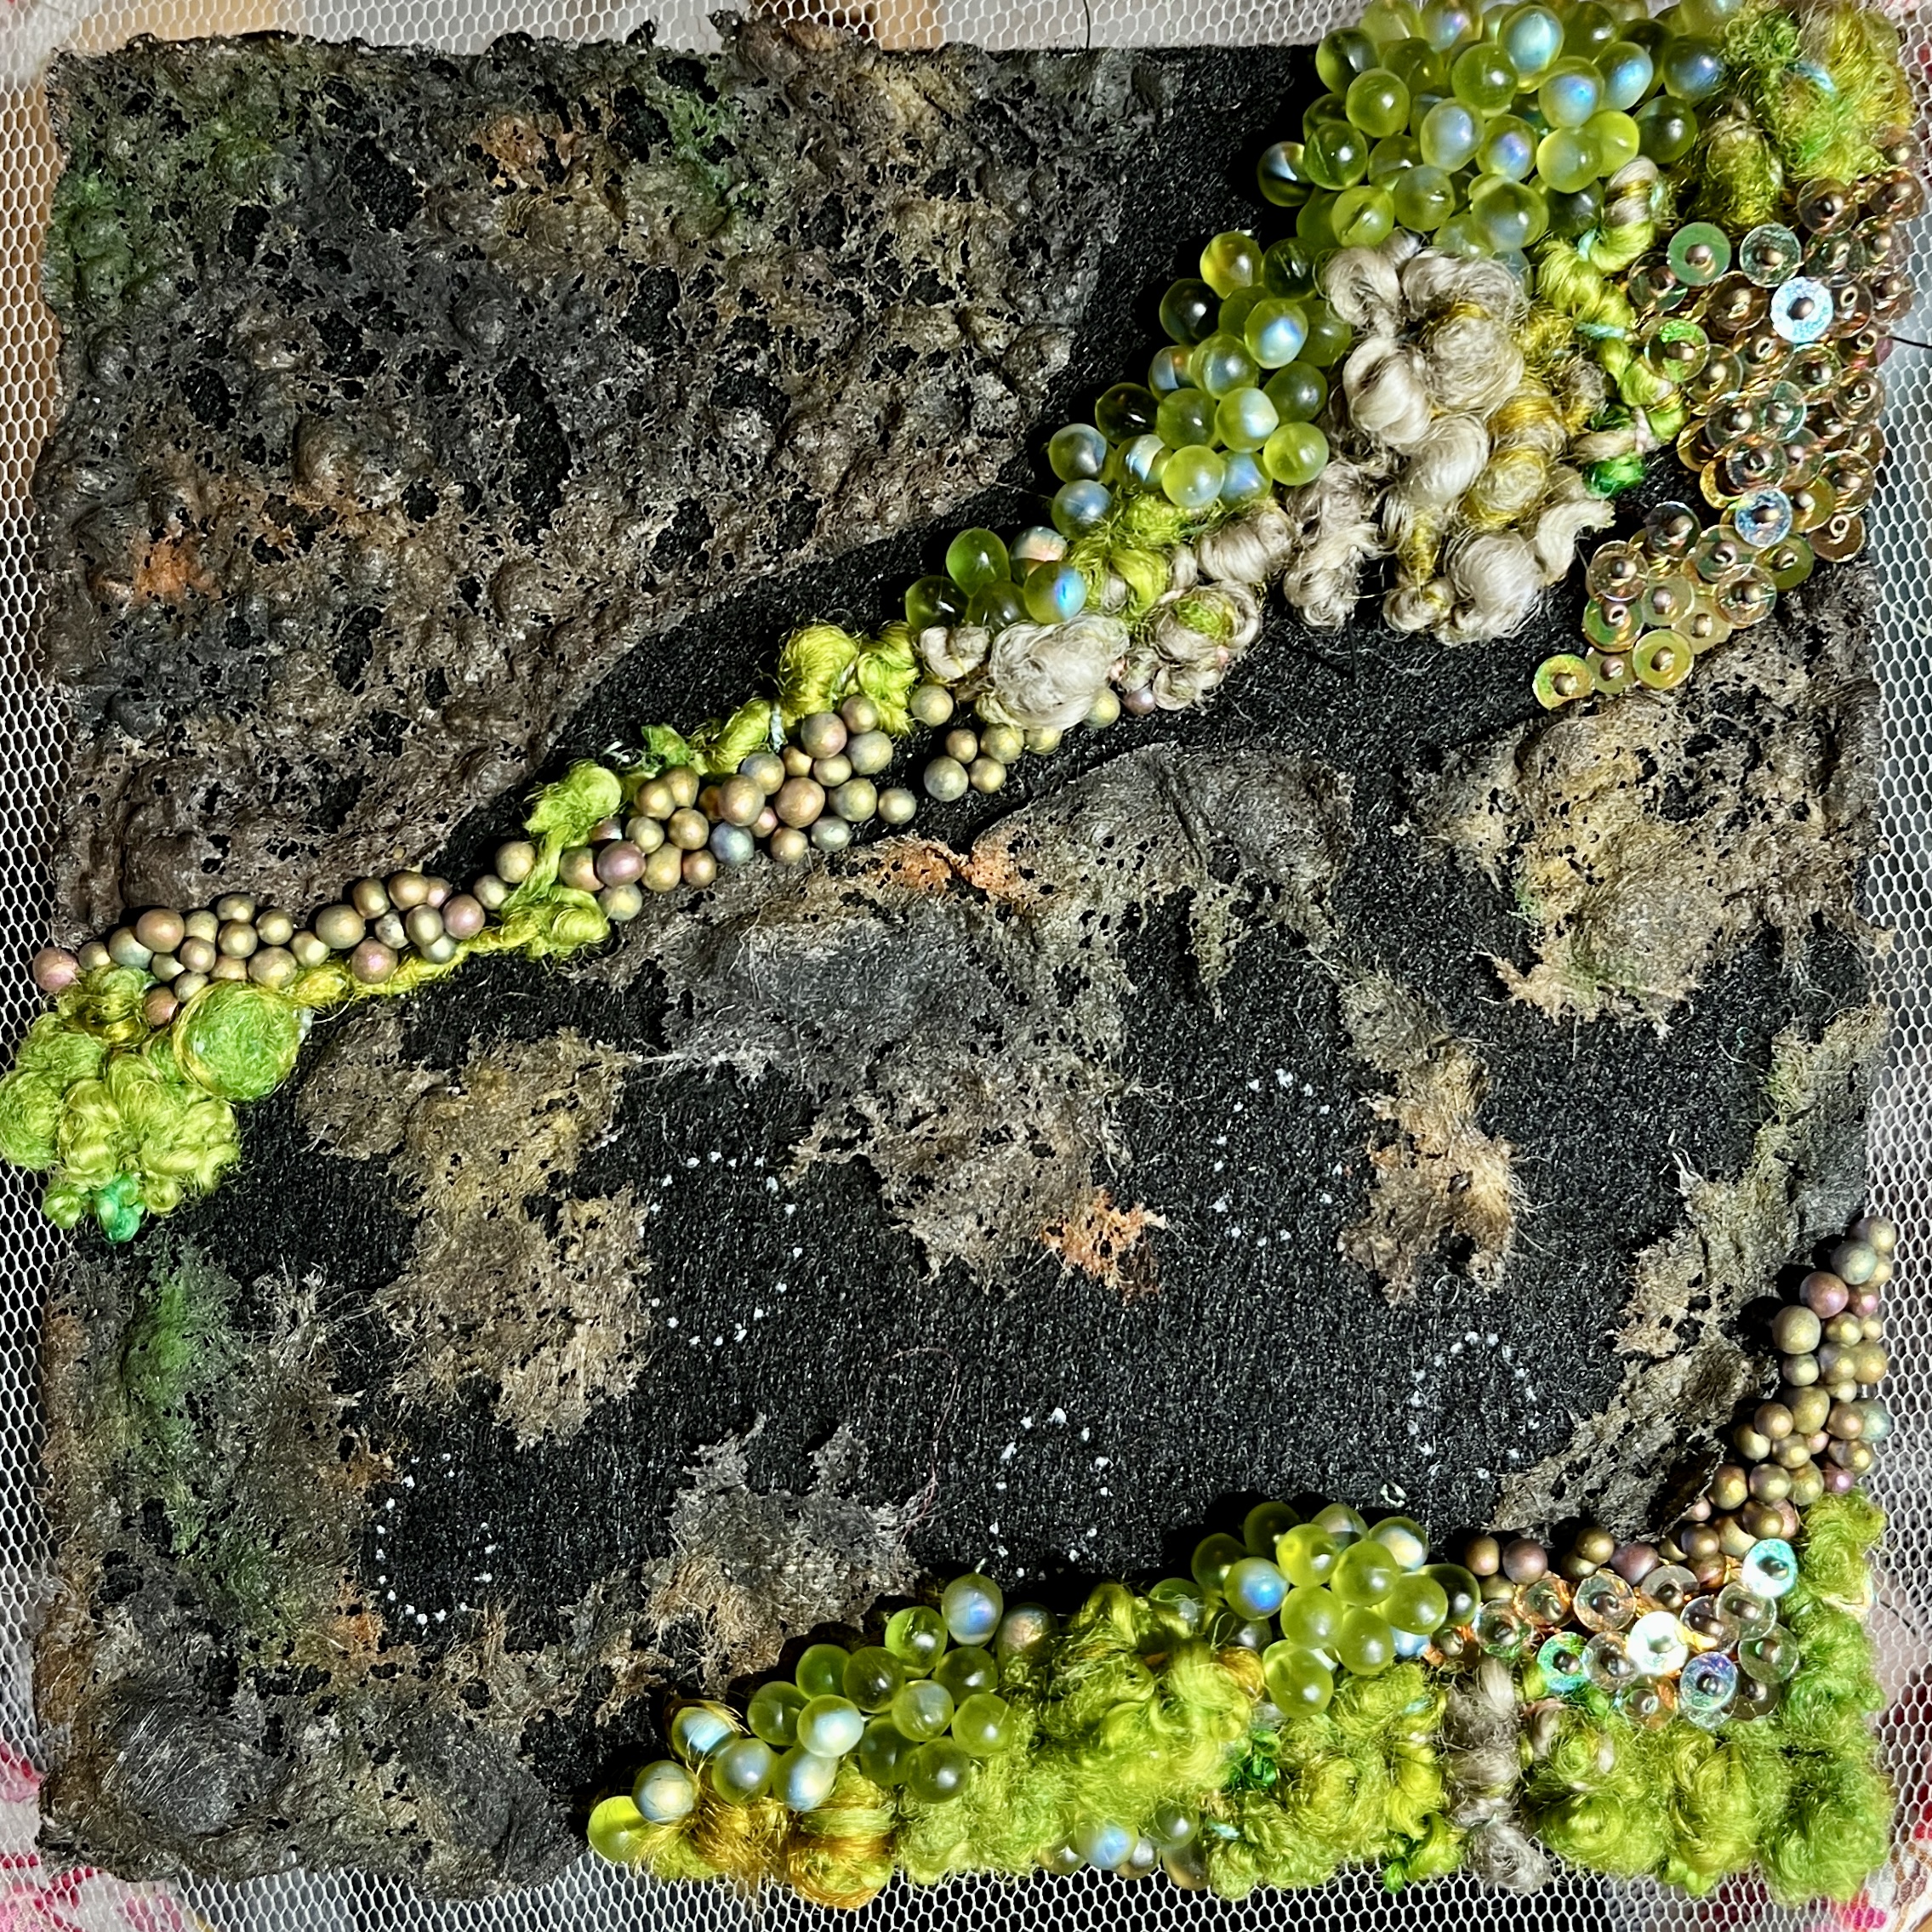
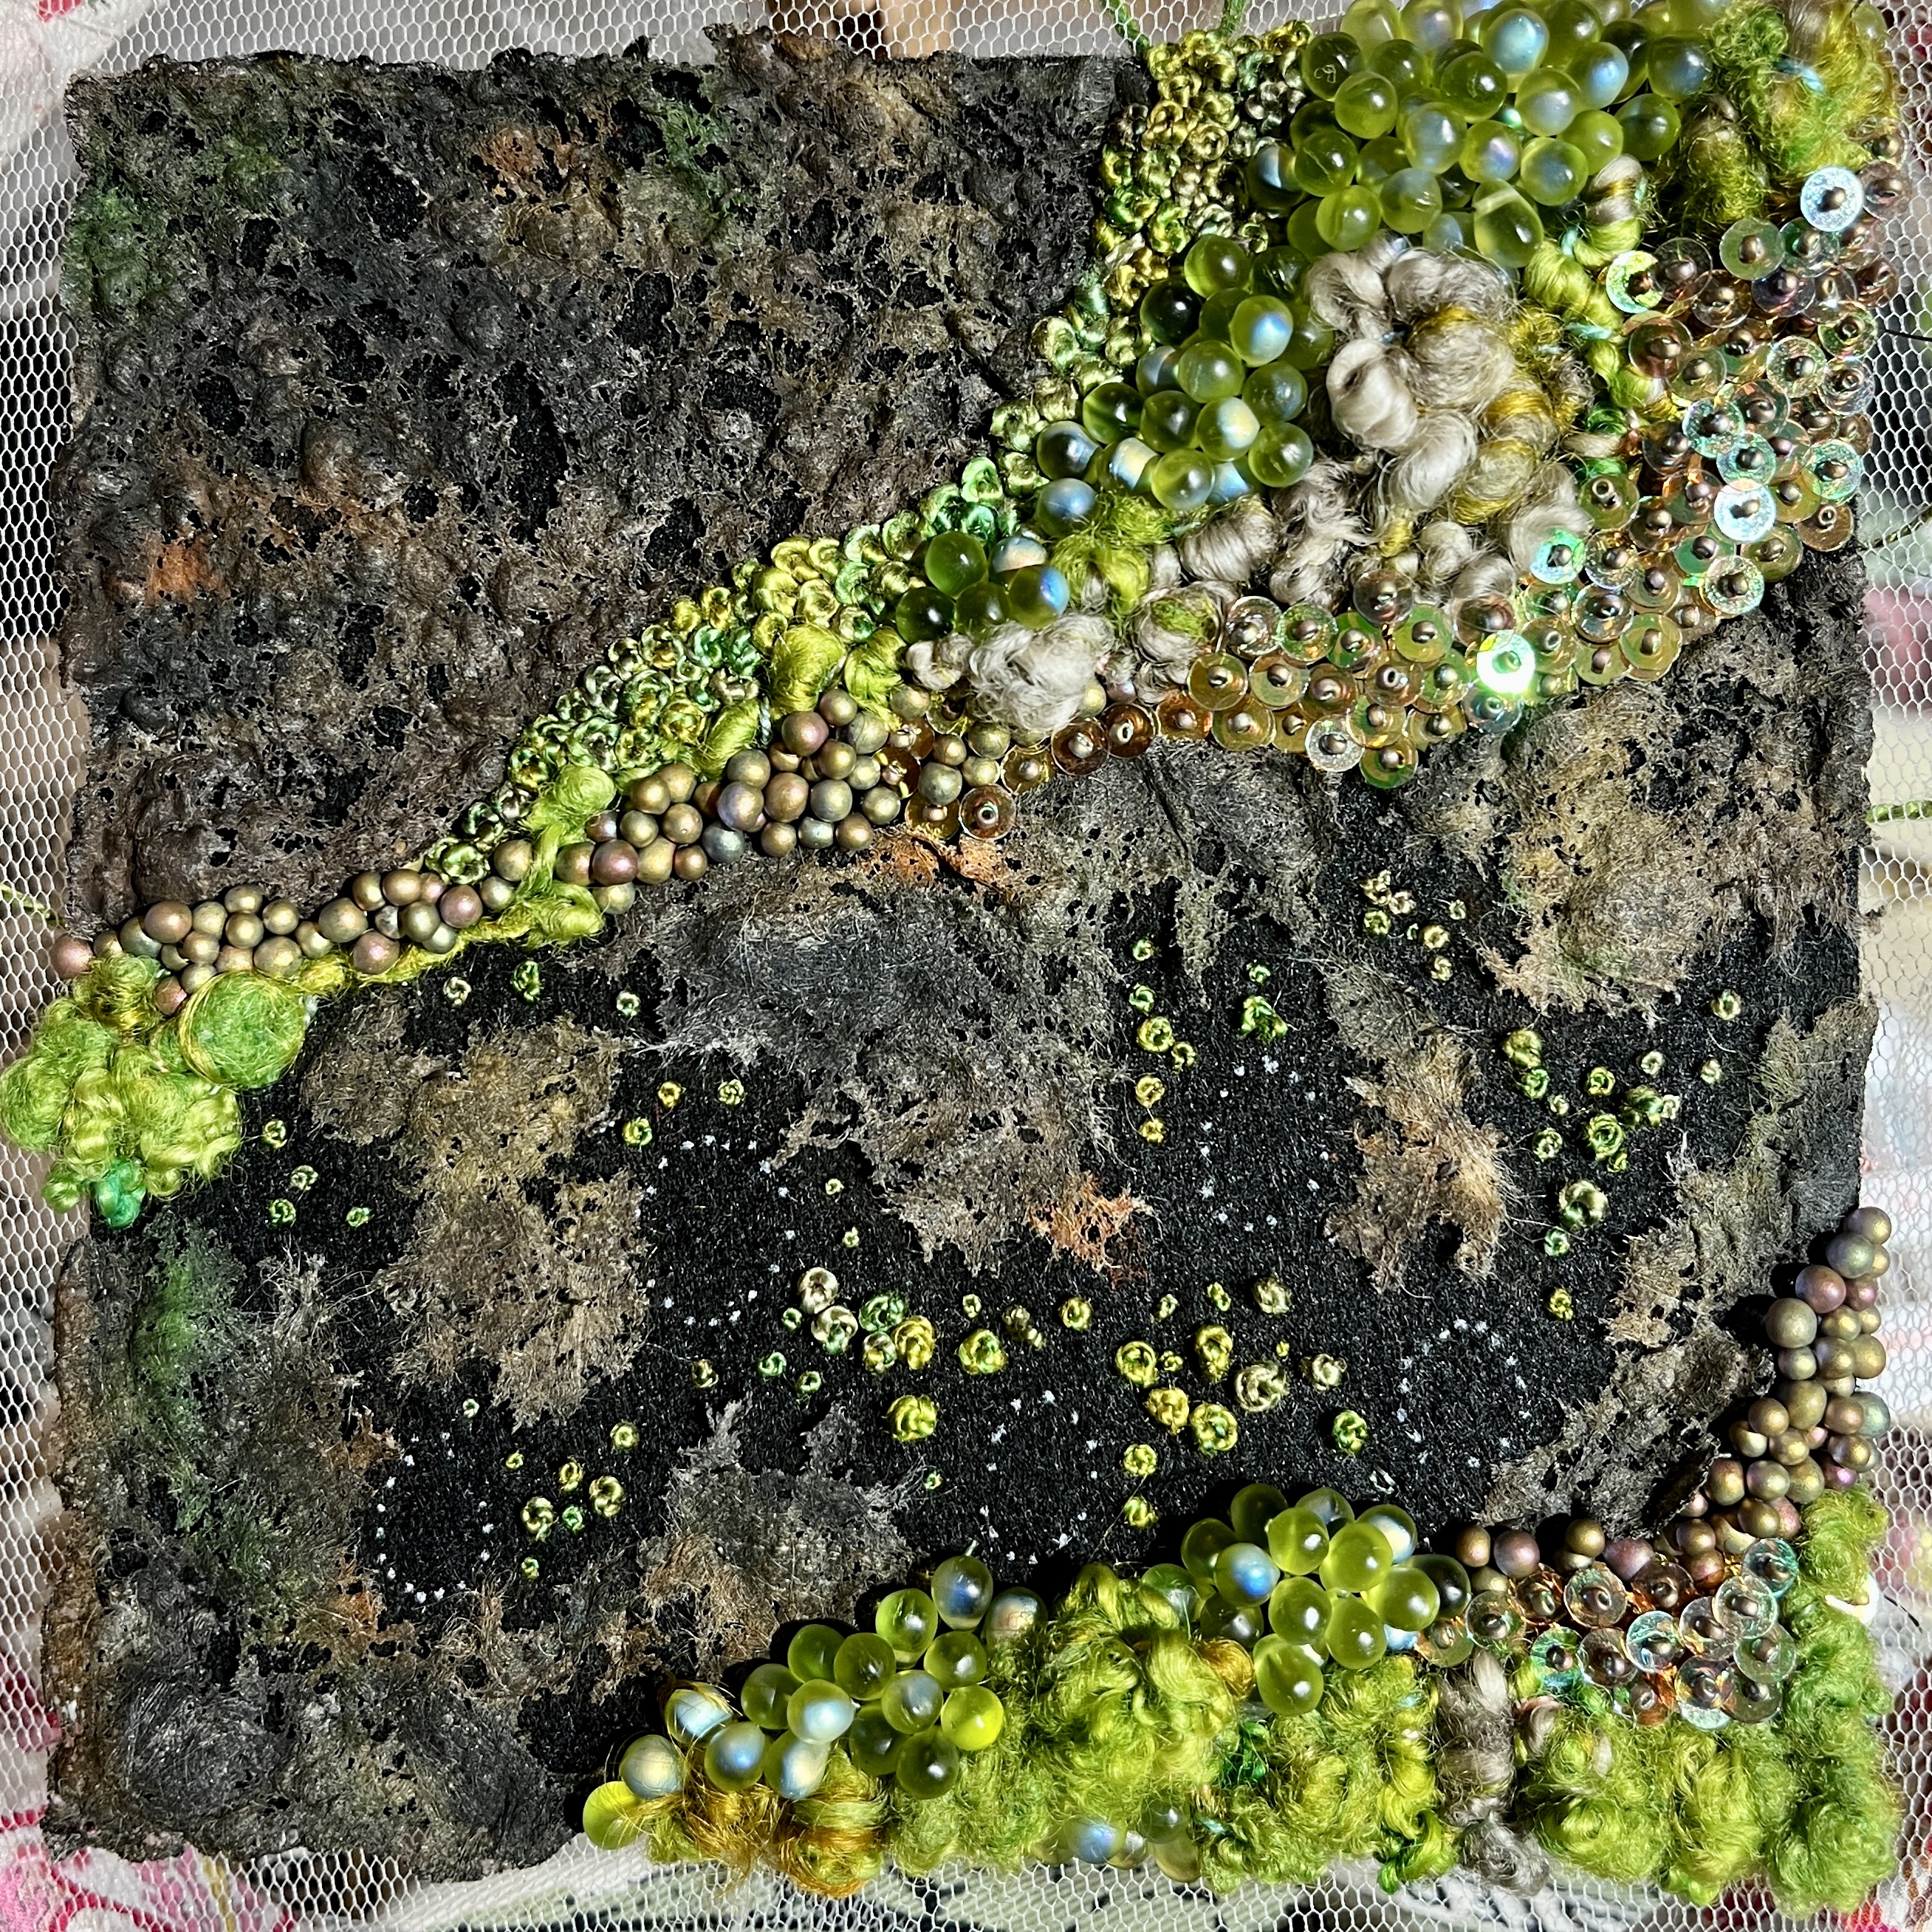

Finally each mushroom was attached by weaving through the stalk base, and the whole piece mounted on black card (I had sized this to use the white mount provided in the frame, but I got the sizing wrong and then realised that black worked best anyway). The frame is a Sanahed from Ikea – a good depth and the ‘all black’ effect is surprisingly impactful.

One tip on using the Sanahed – as it doesn’t have anti-reflective glass (it’s very shiny perspex) – pop the perspex out to take pictures as otherwise you’ll mainly see yourself!

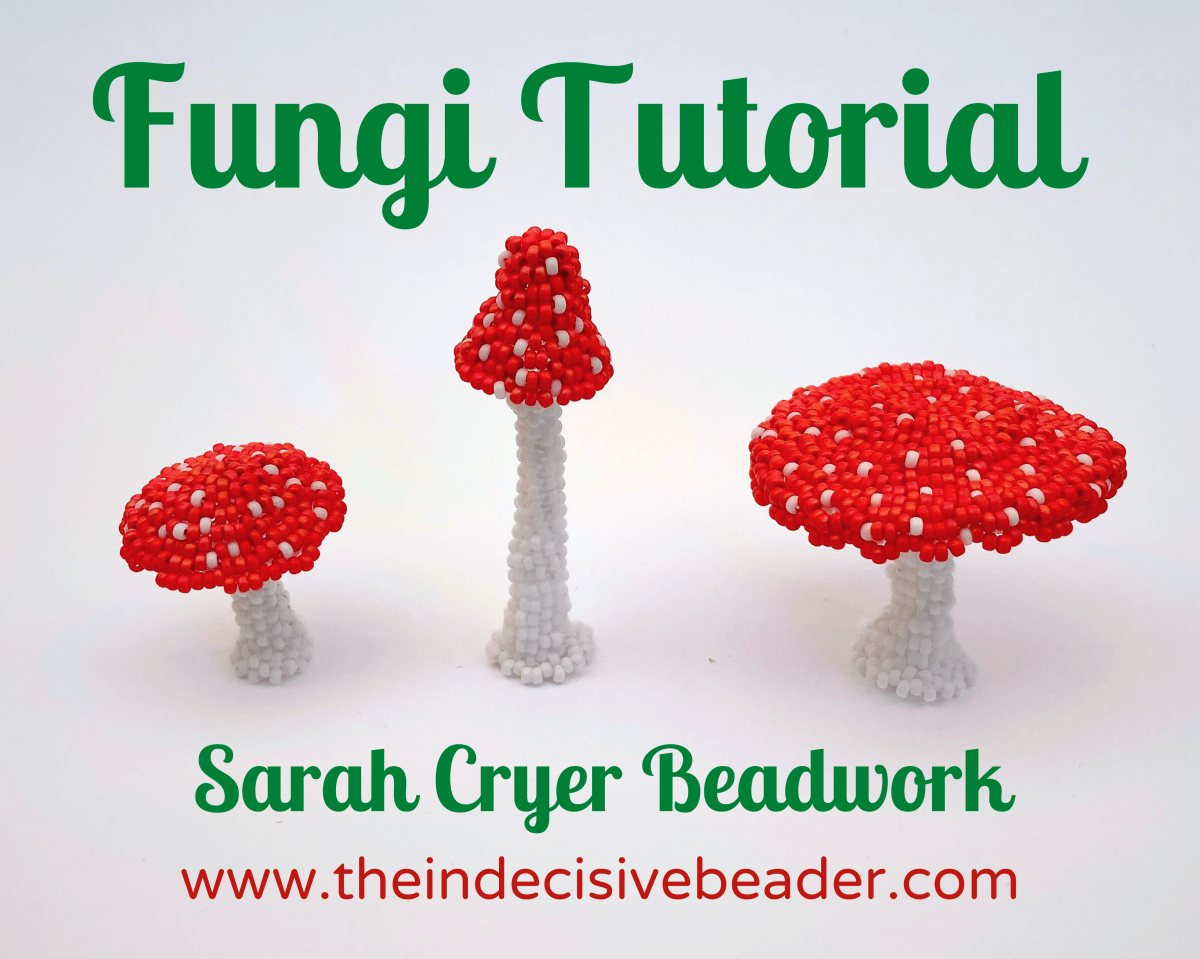
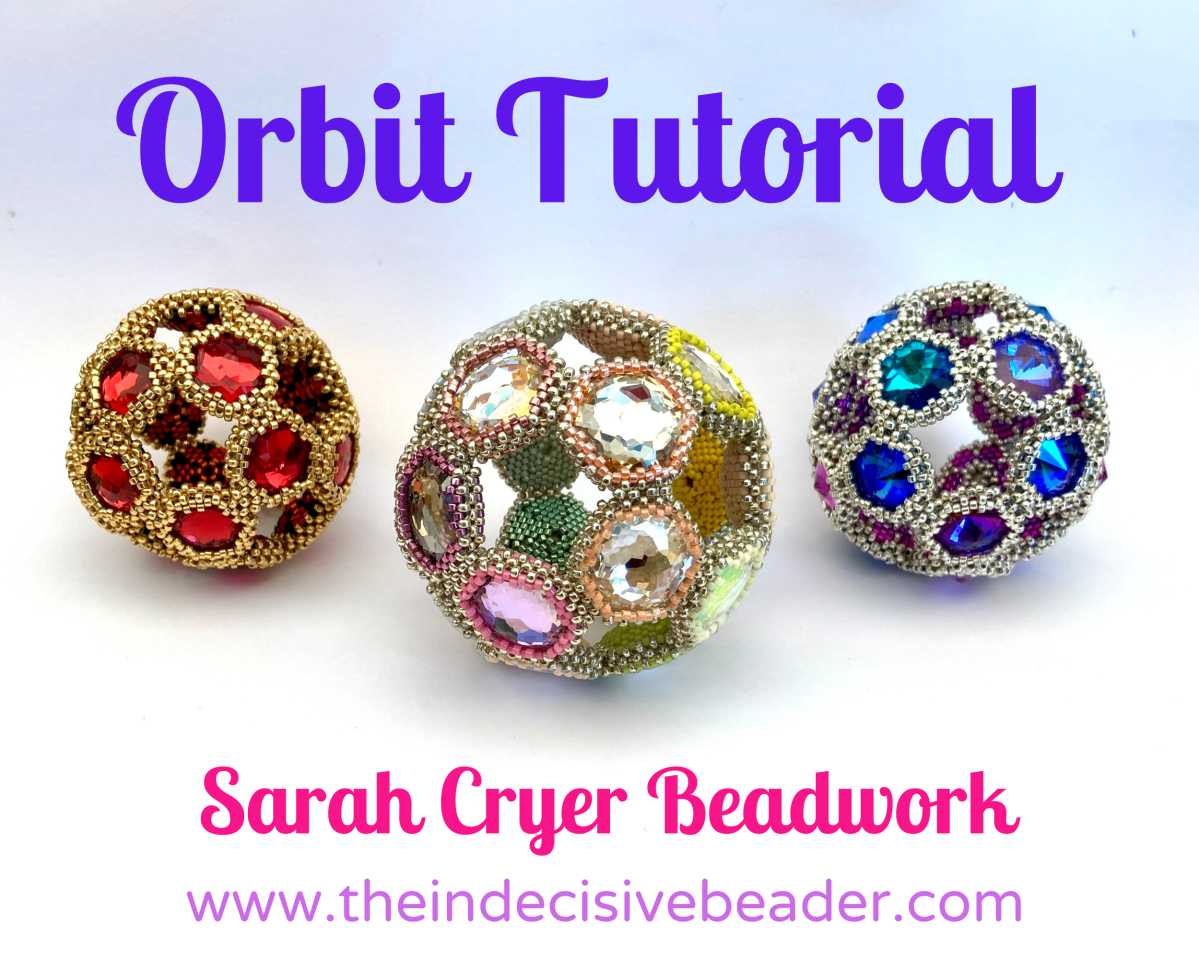
If you’d like to make your own Fungi and are an advanced beadweaver, then here are the tutorial details below. If you don’t beadweave, but would like to own some beadwoven fungi, contact me via the ‘contact us’ form in the right sidebar to see if I have any for sale.

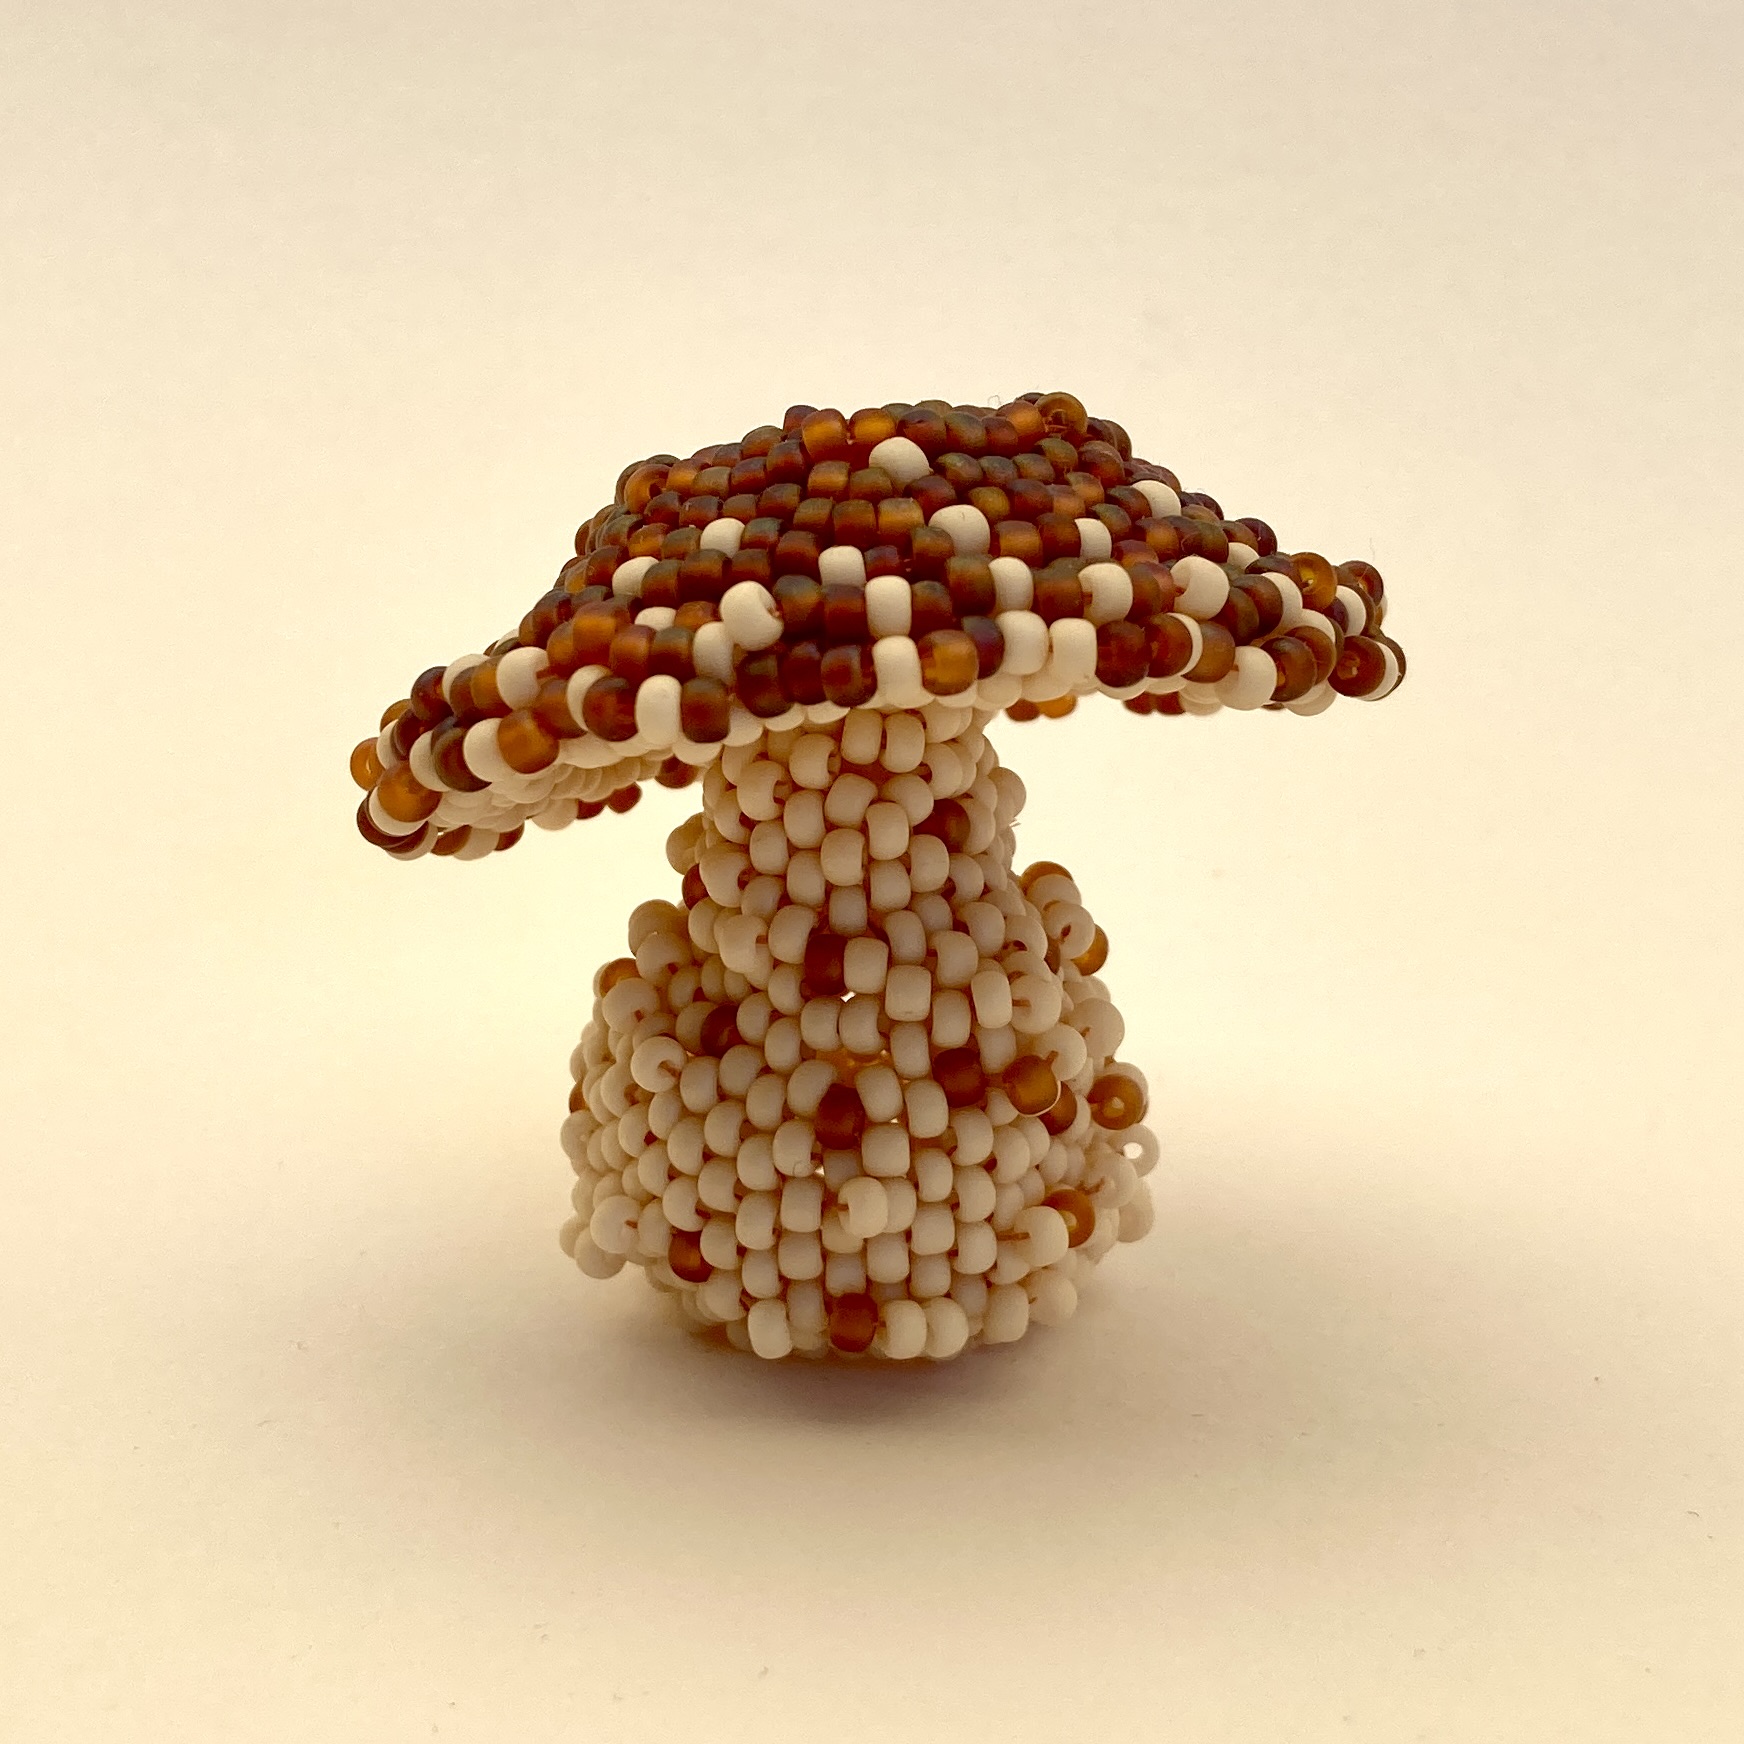
The tutorial has fully stepped out instructions for three specific mushrooms – the flat top A, the pointy B and then slightly briefer instructions for a smaller flat C.
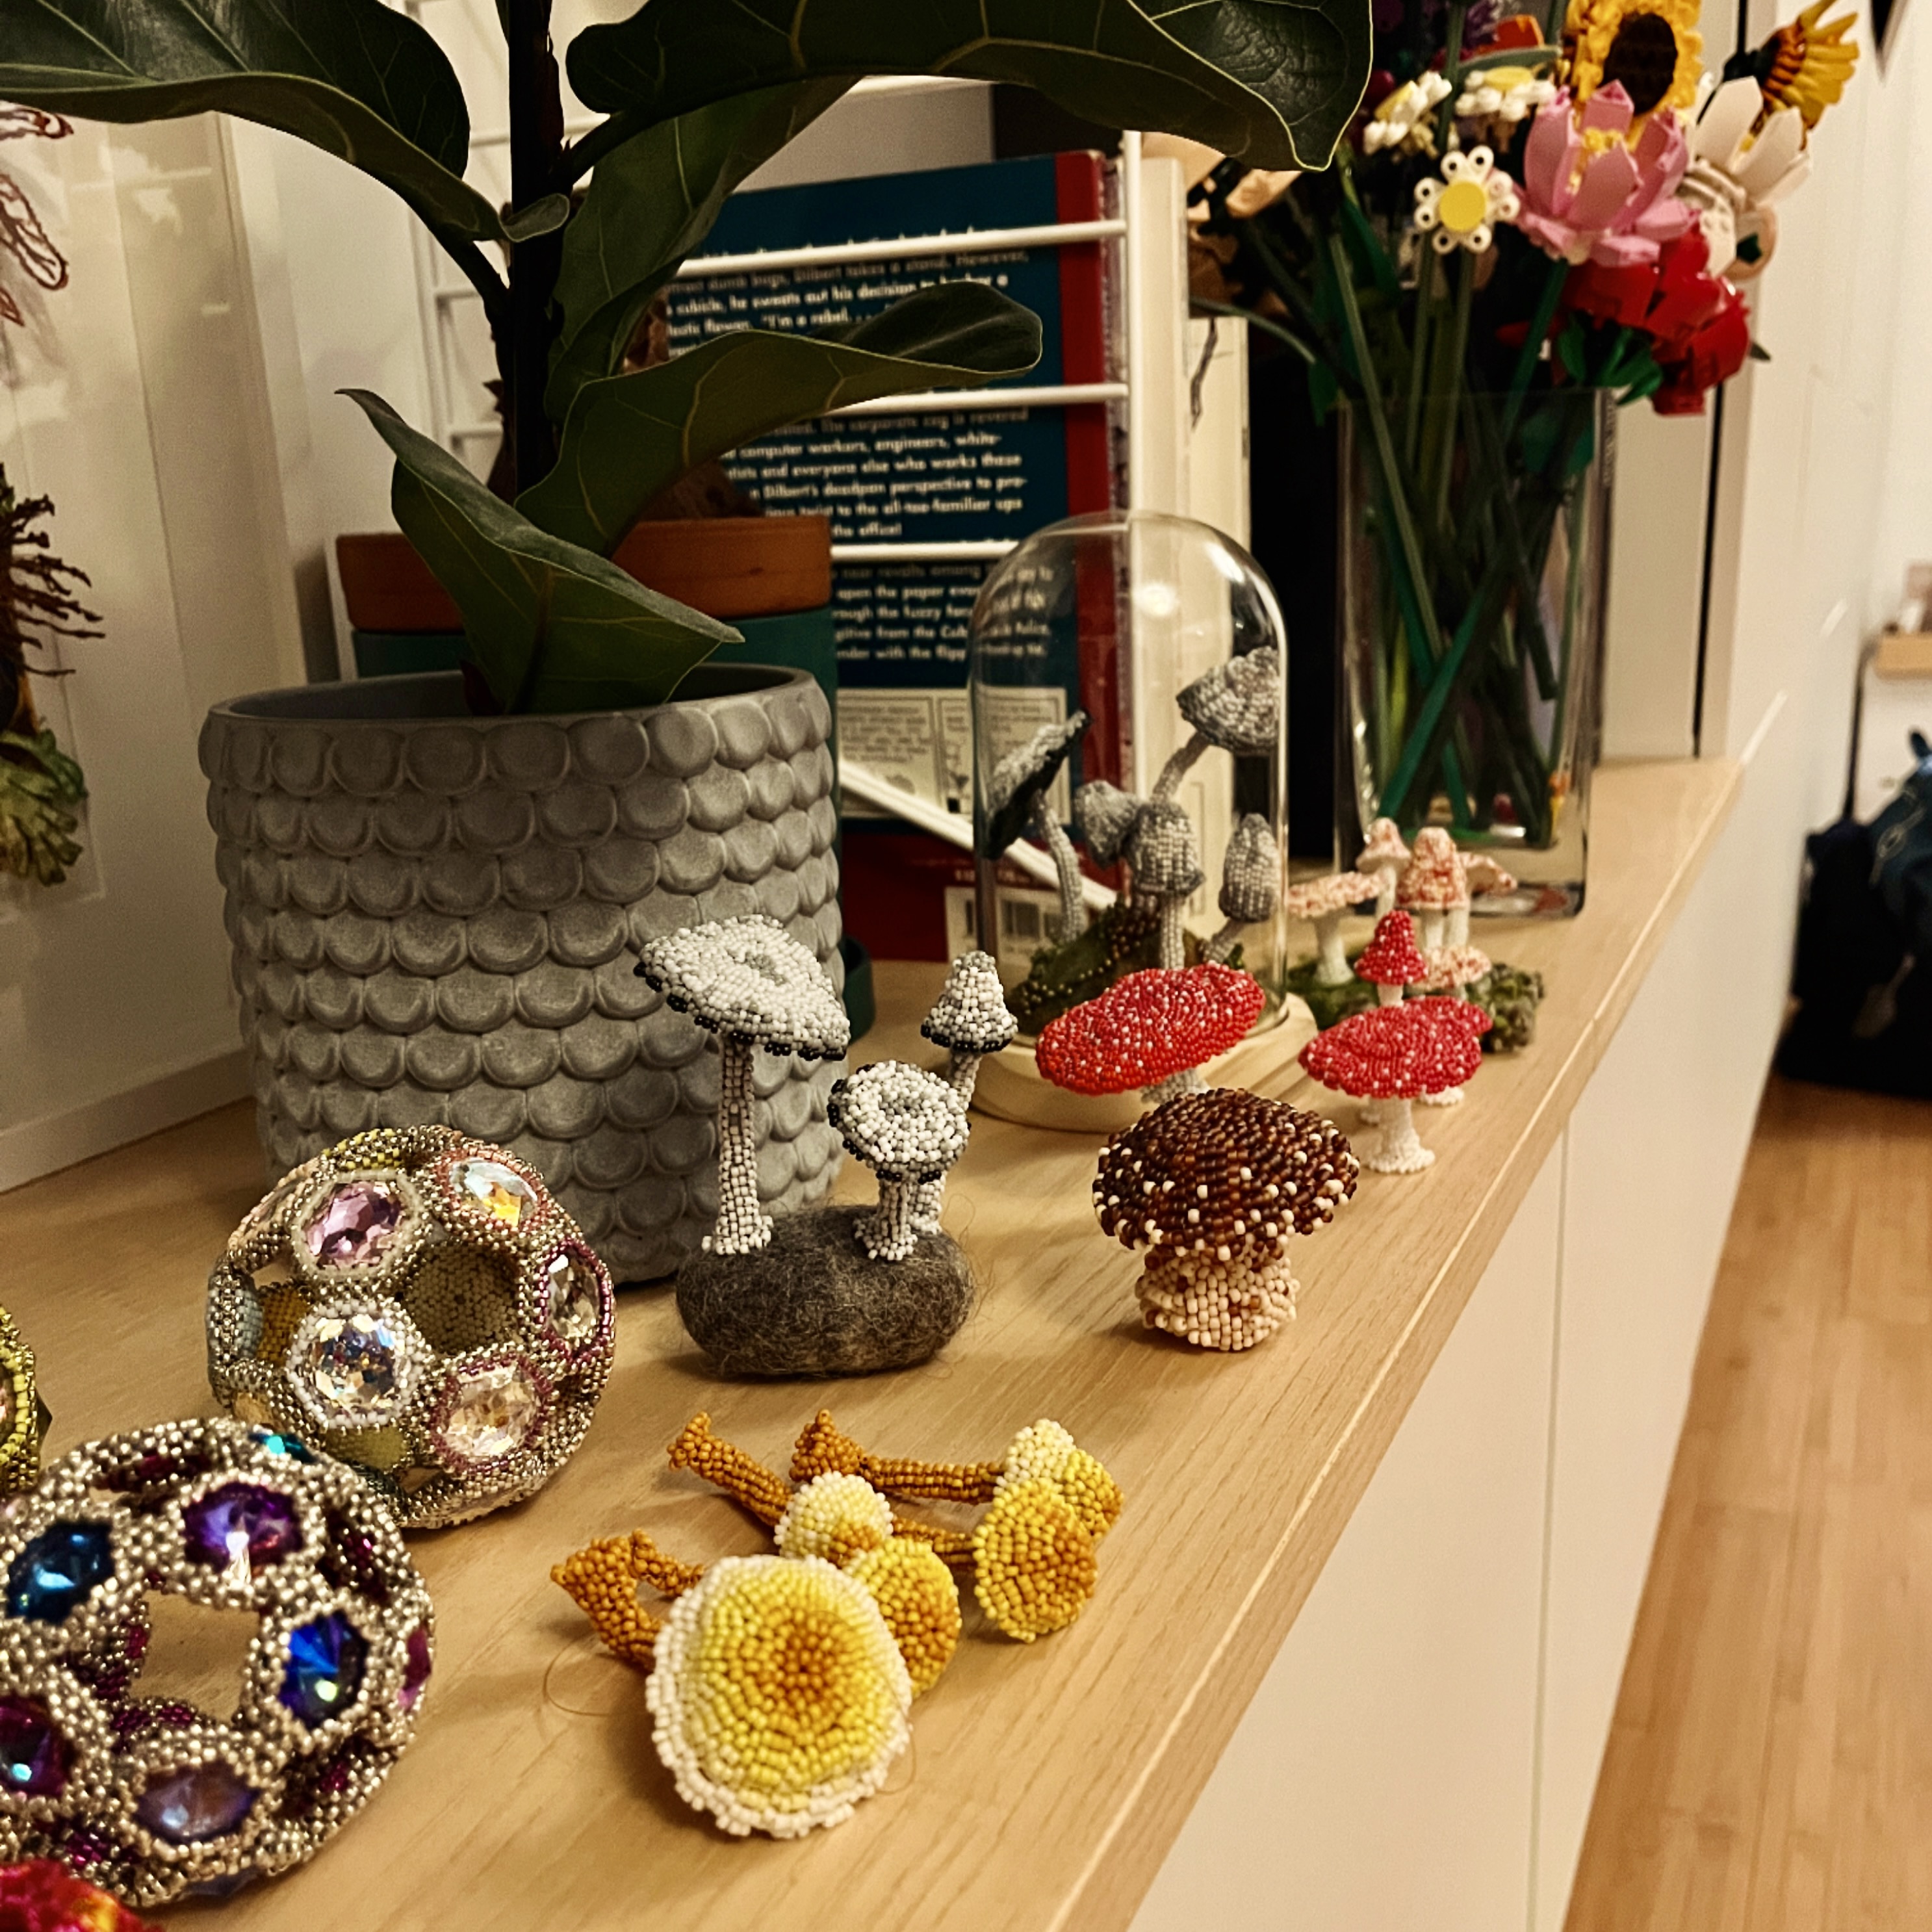
In the Variations section there are charts to convert A, B & C to fabulous shaggy Inkcaps with tips for expanding that set further, and colouring in pages with blank charts for your own patterns. There are also tips for altering key elements of the size or shape for the flat or pointy, and for changing the length or shape of the stems – these are not fully stepped out, instead they are guidelines so you can understand how to create your own unique, naturalistic forms, aided by the Gallery section which shows all of my versions plus some larger and more complex related pieces.