So here we are again – next on the list some pieces which I’ve started the tutorials for:
Oscar’s Bauble
This is a variant on Oscar’s Rattle, which was my winter piece for the 2014 Stitch N Craft Challenge, and I think I’d started work on the instructions in late 2014 but abandoned them as it got too close to Christmas, thinking I’d get them done ready to launch in Sept 2015. I didn’t, so it would be nice to get this done in time for Christmas 2016.

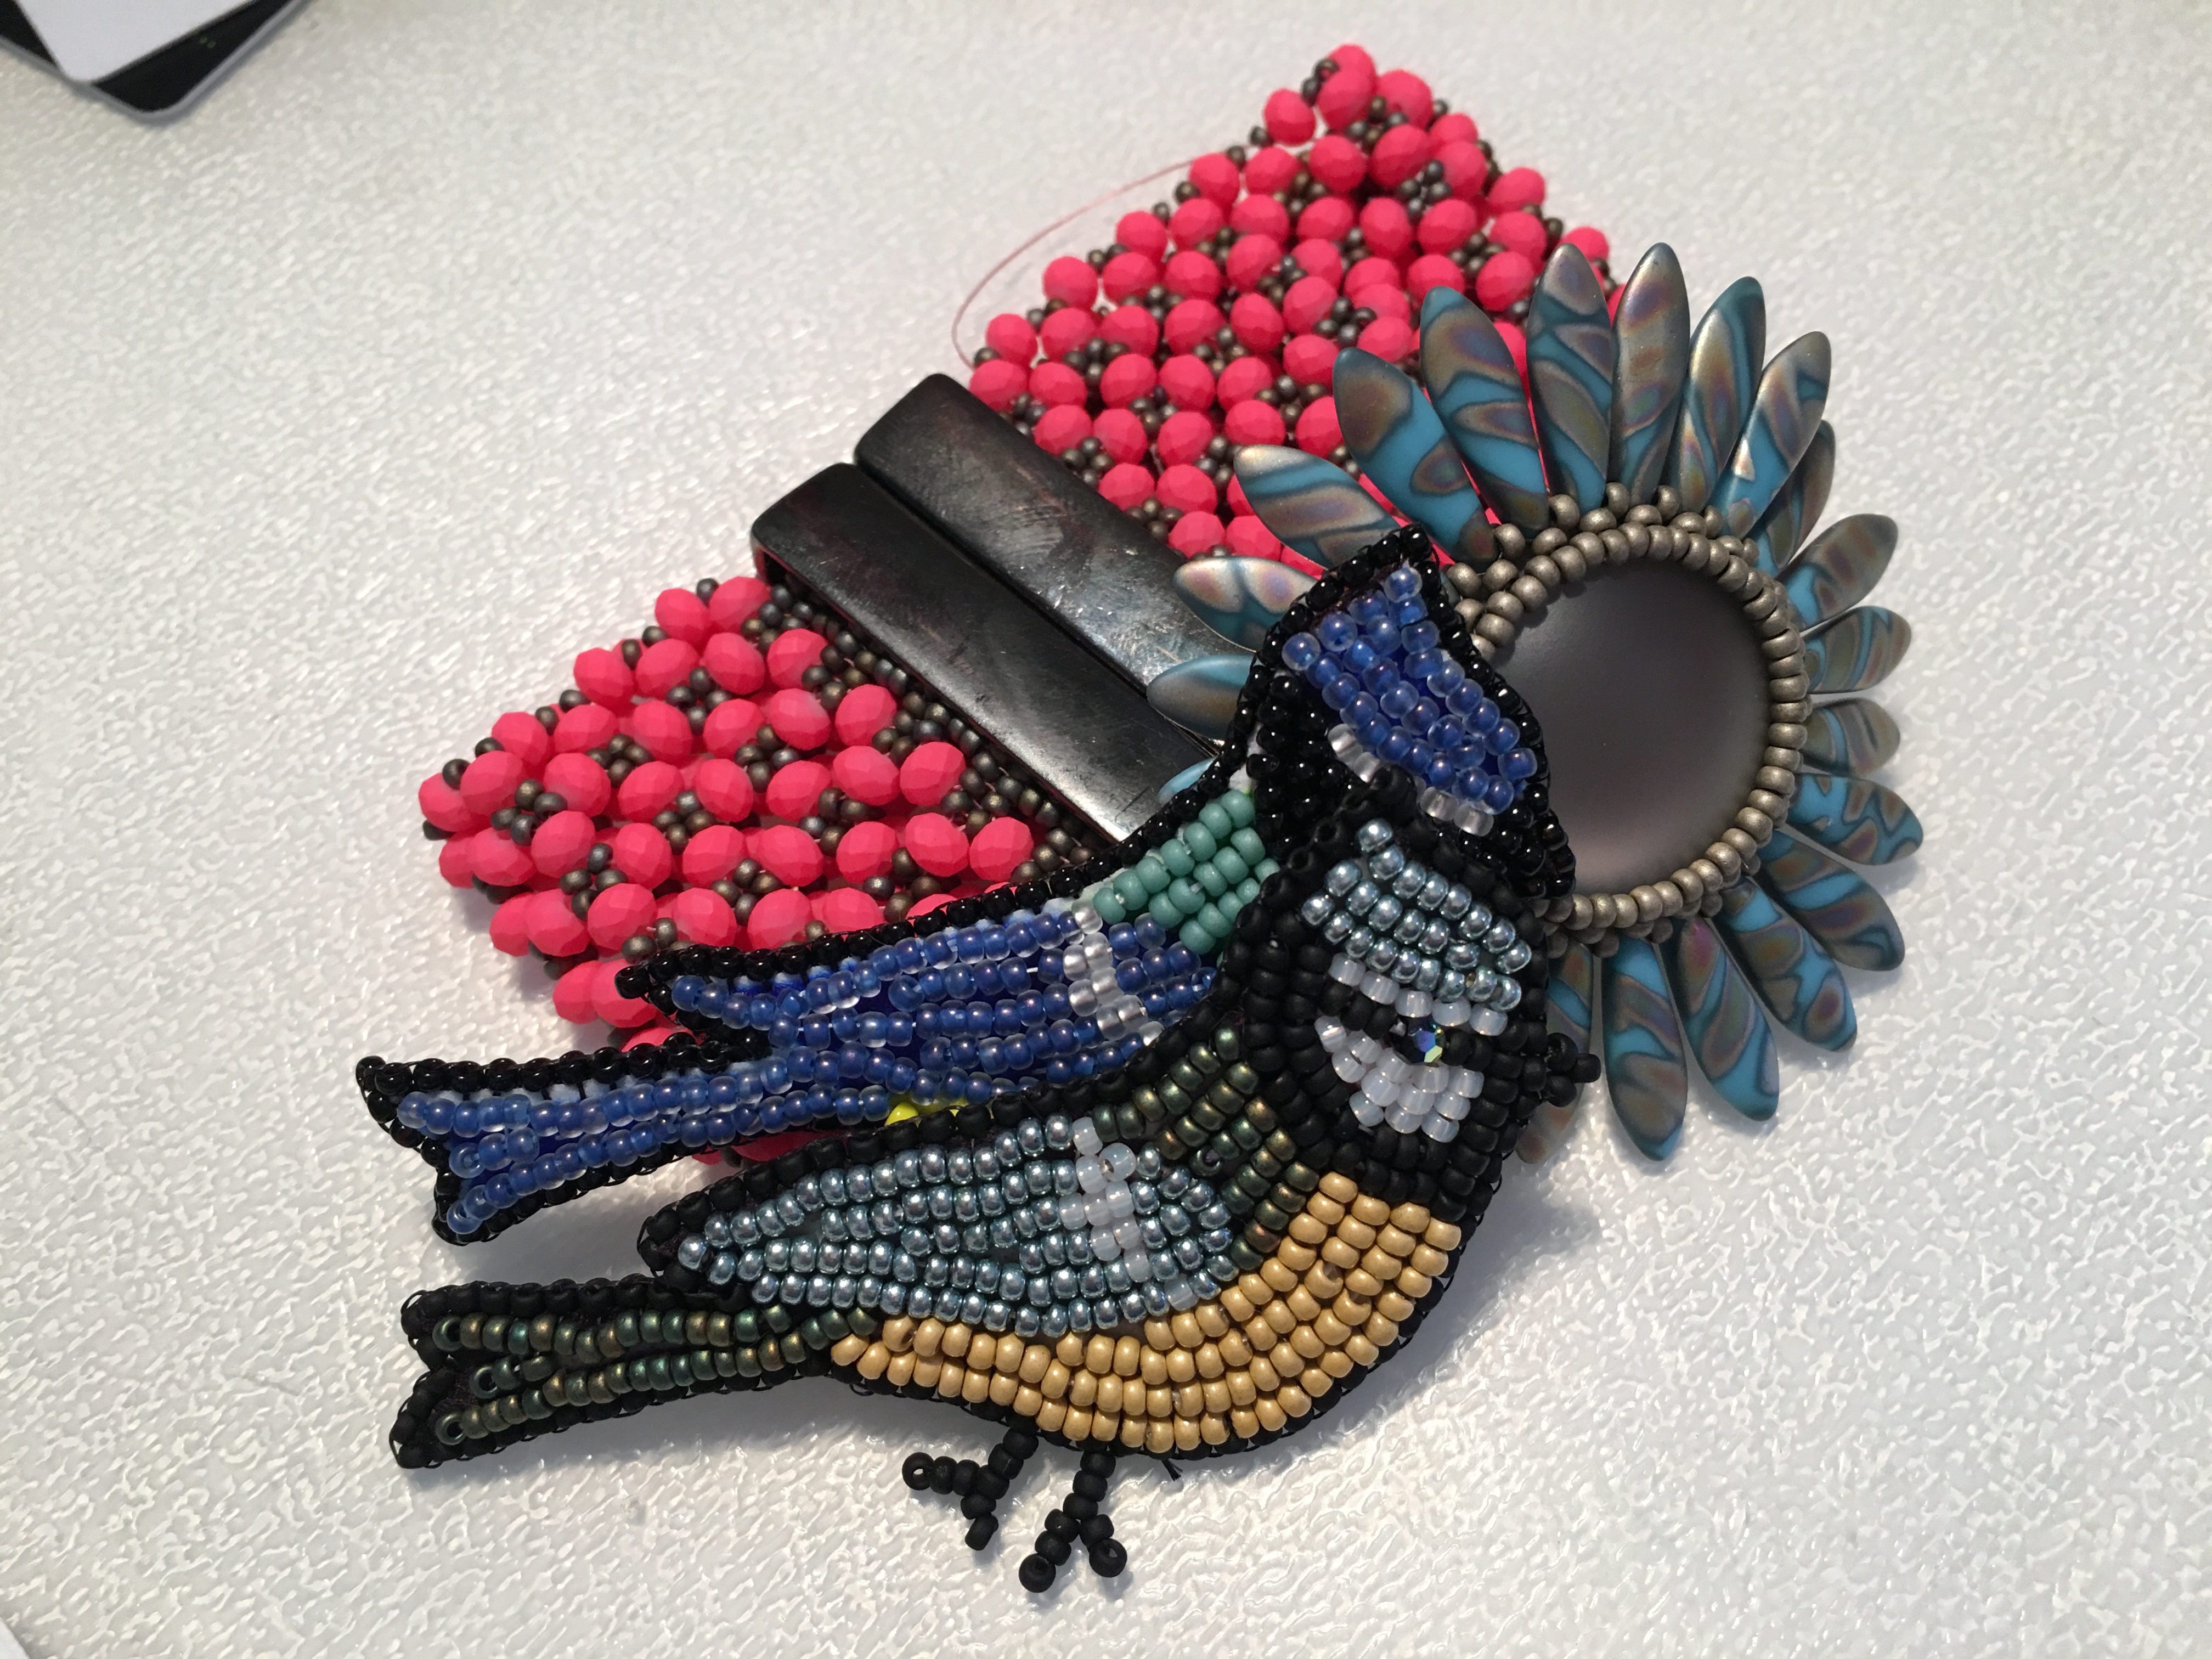
Art Deco Needle Case
From my 2013 Stitch n Craft Challenge Chatelaine. I think I even started buying supplies for the materials packs for this one! This is the one I’m going to publish next, and the aim is to do it by the end of Feb.

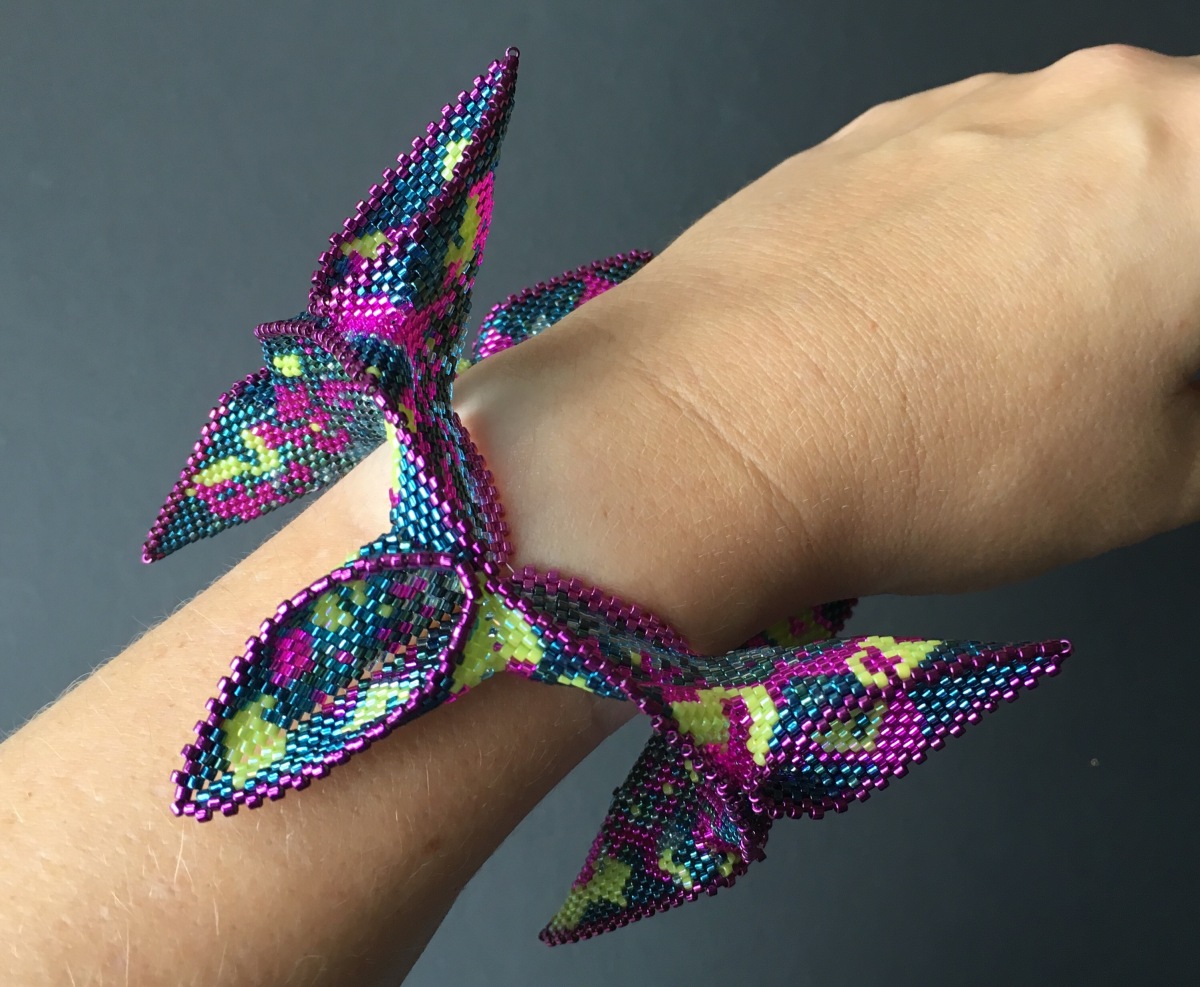
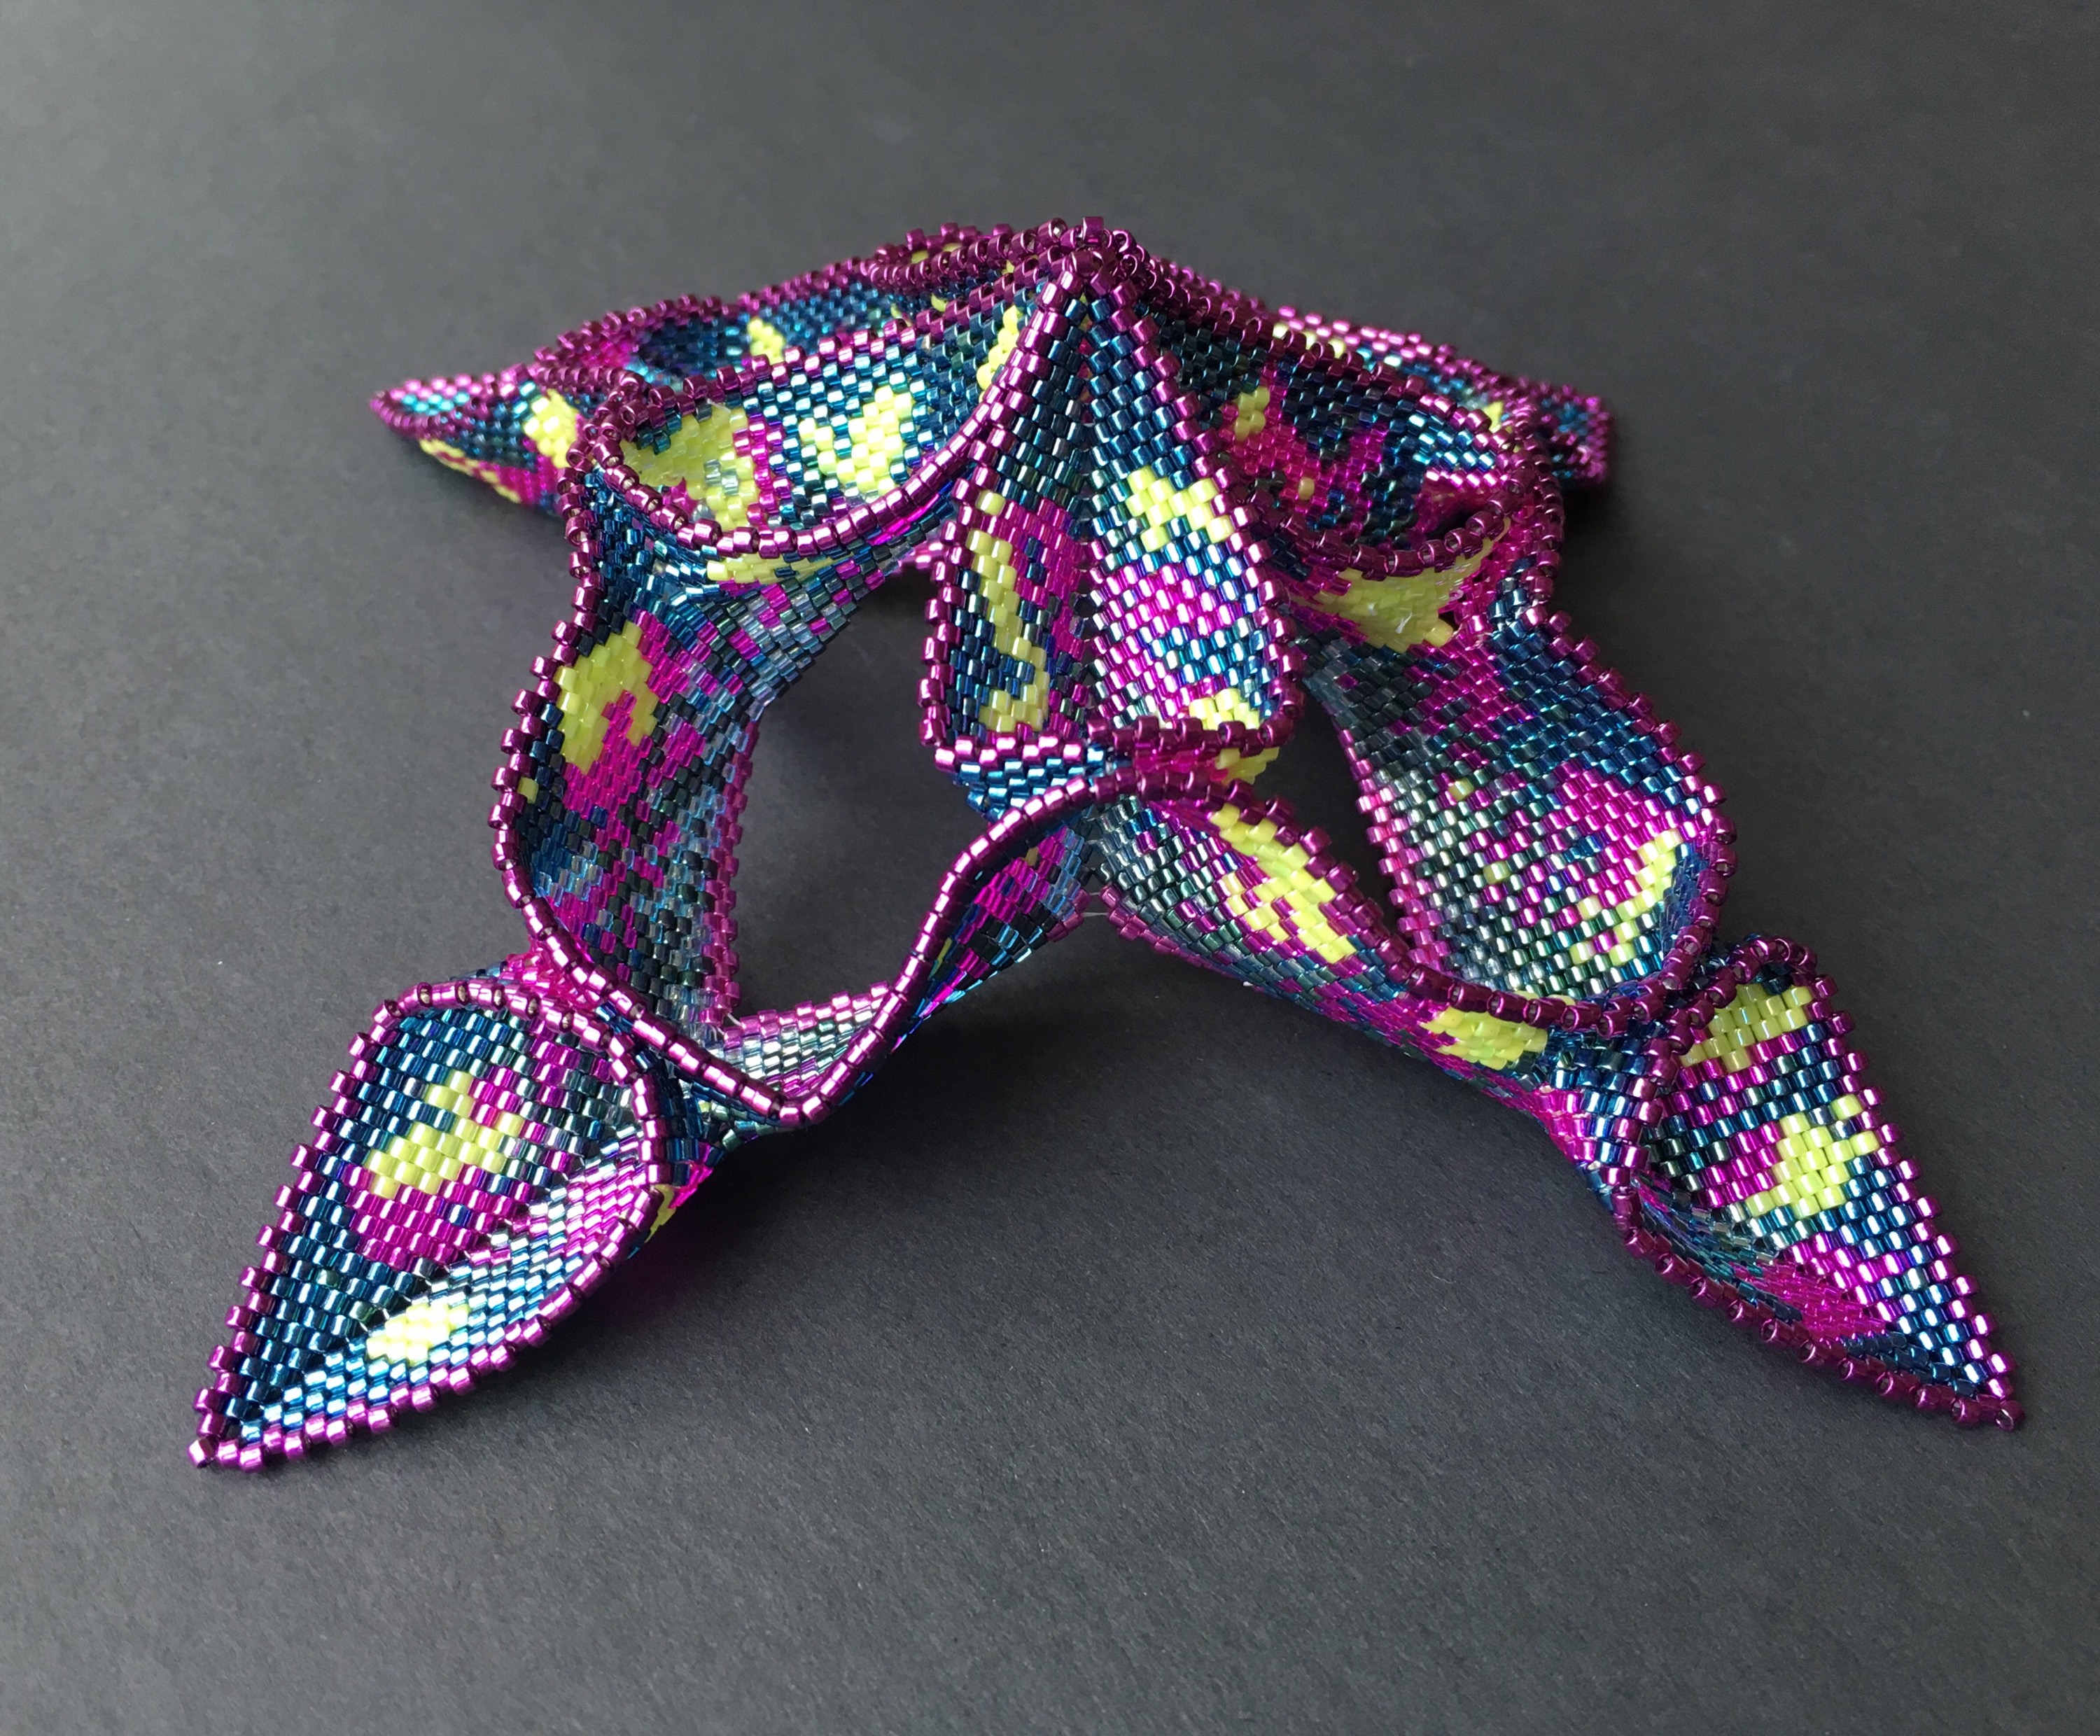
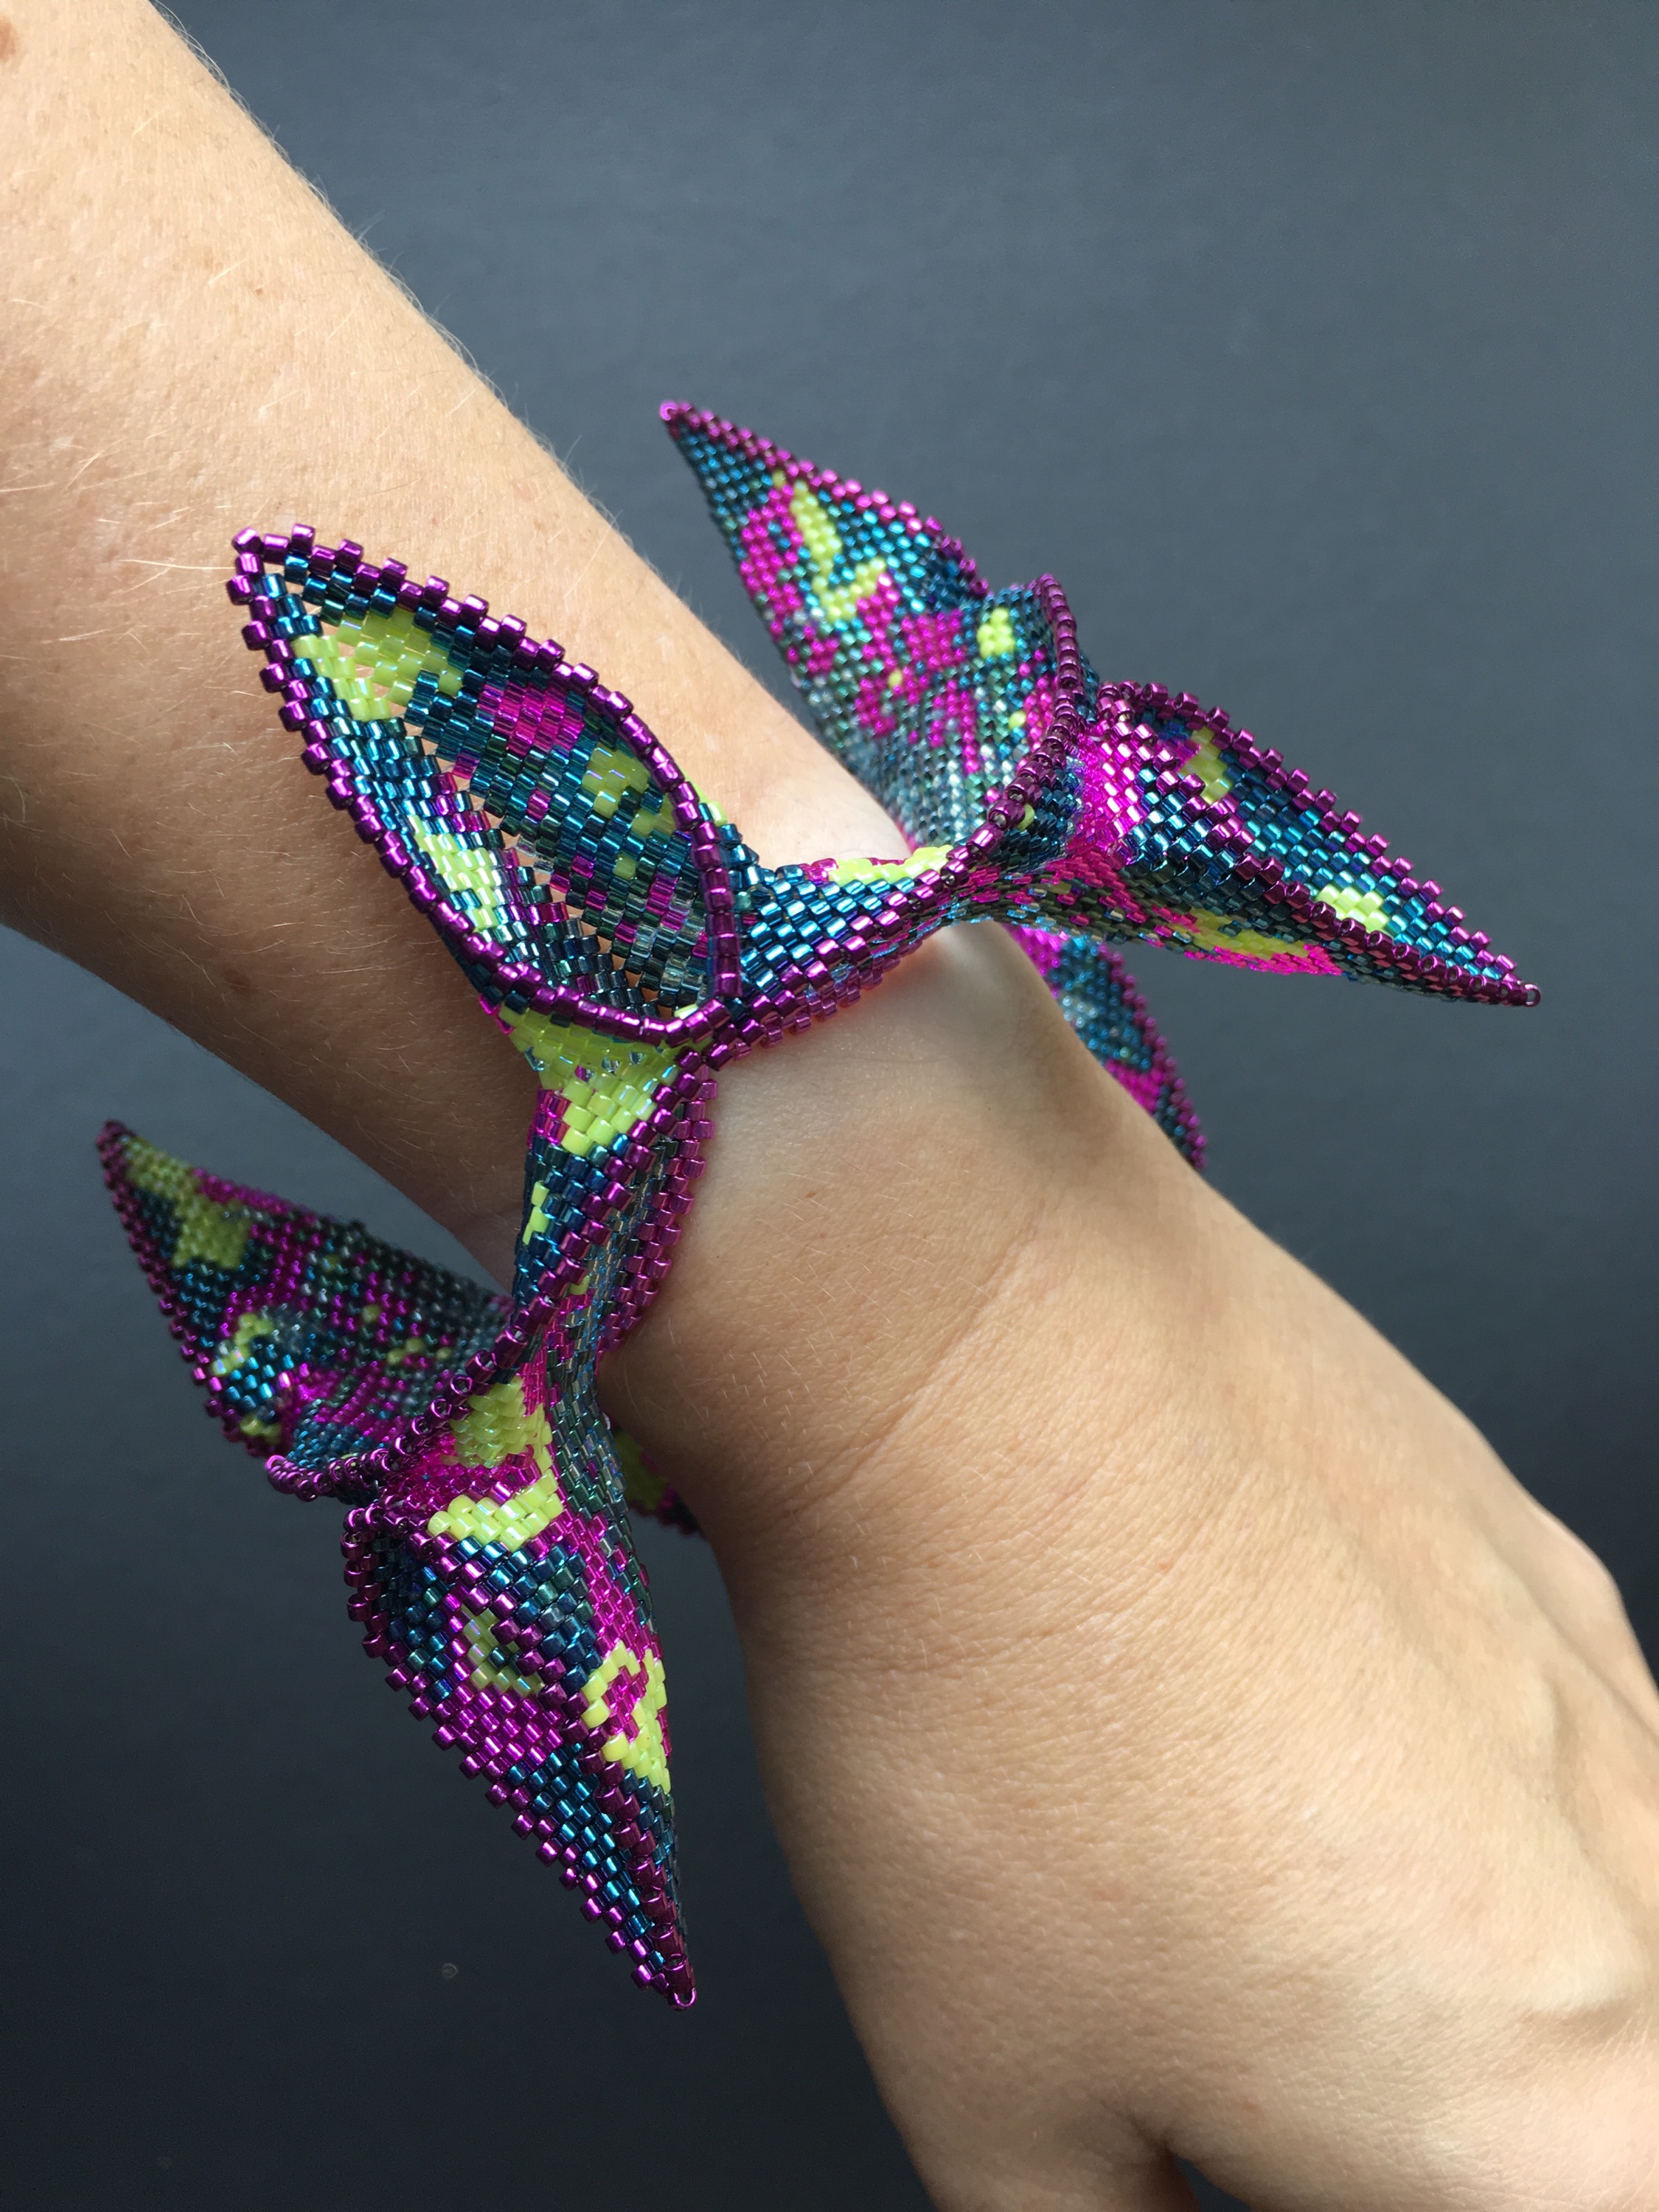
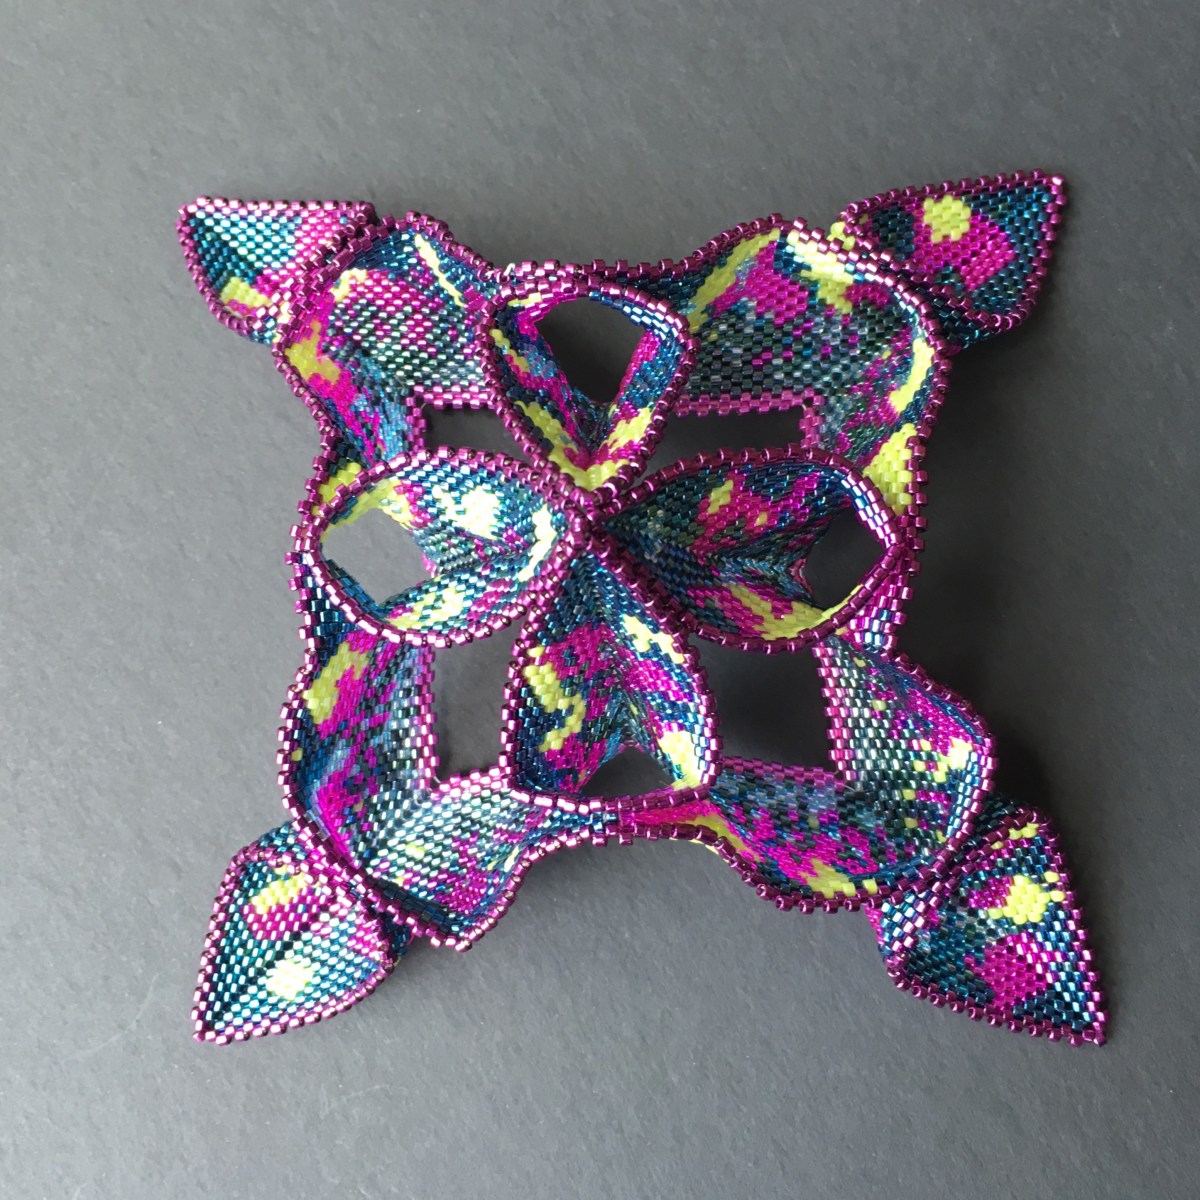
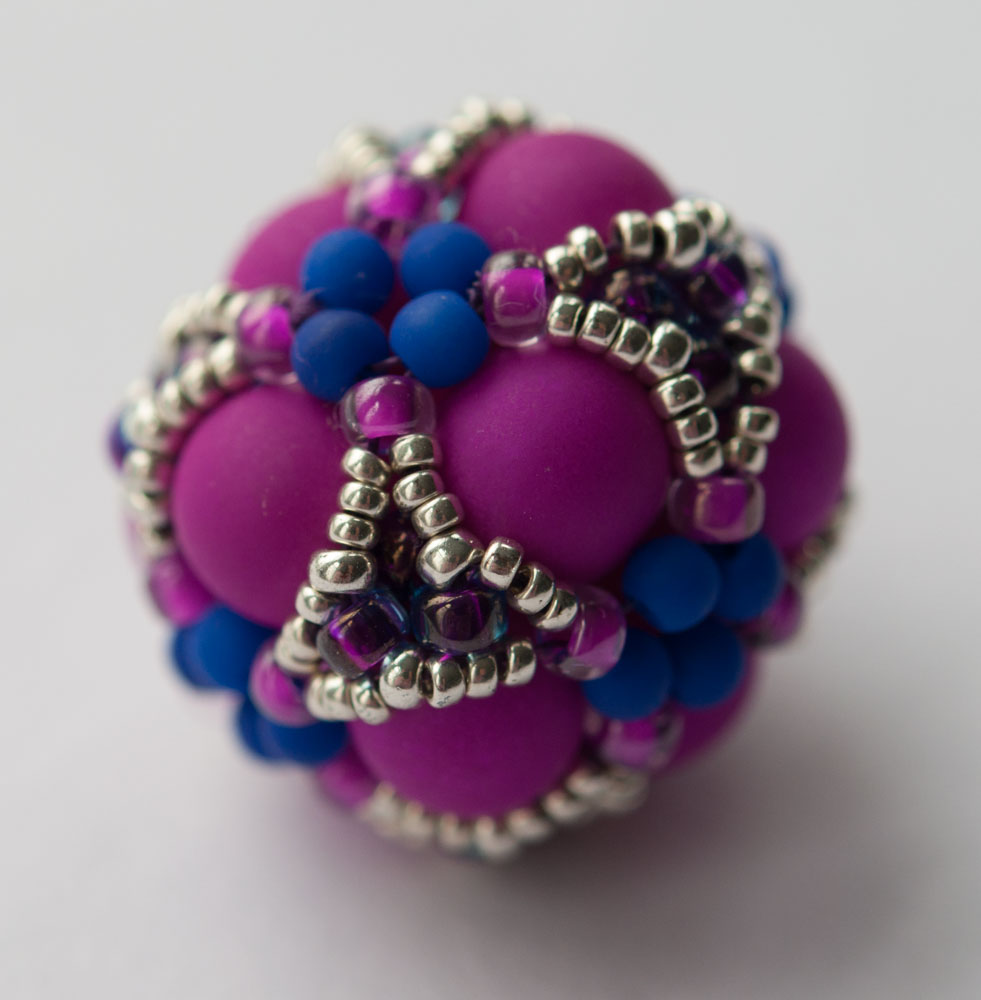
Triangles Bracelet
Not so sure about this one, it has many features that I’m proud of (such as the counter sunk catches in the second version), and I love the rounded spars of the hollow triangles. I think this one may be changed to become part of a series of hollow geometrics, as I made a whole series of shapes a long while back which I’d like to write up and publish – to be honest the 3D ones maybe more interesting and unusual than this one?

And another pieces which I think would work as a tutorial with a bit of tweaking:
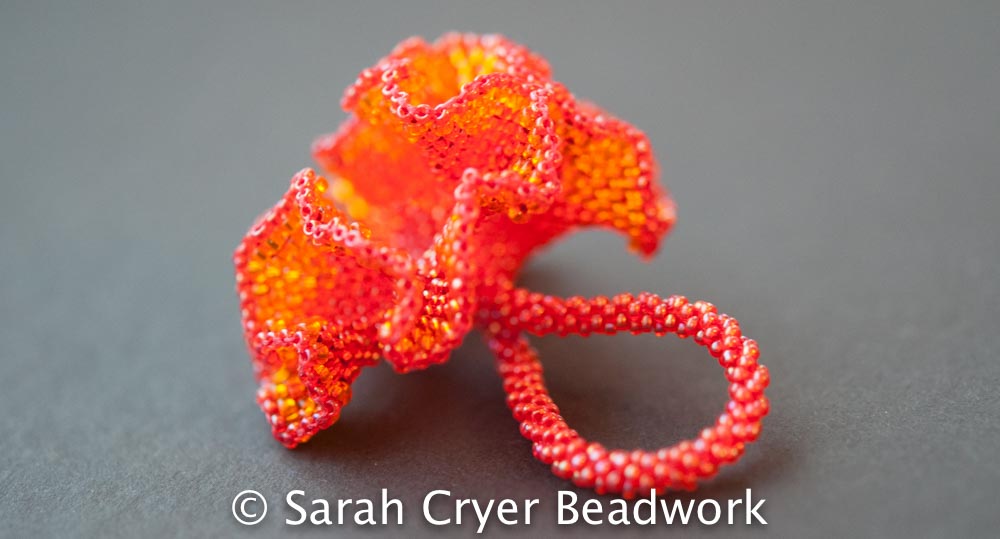
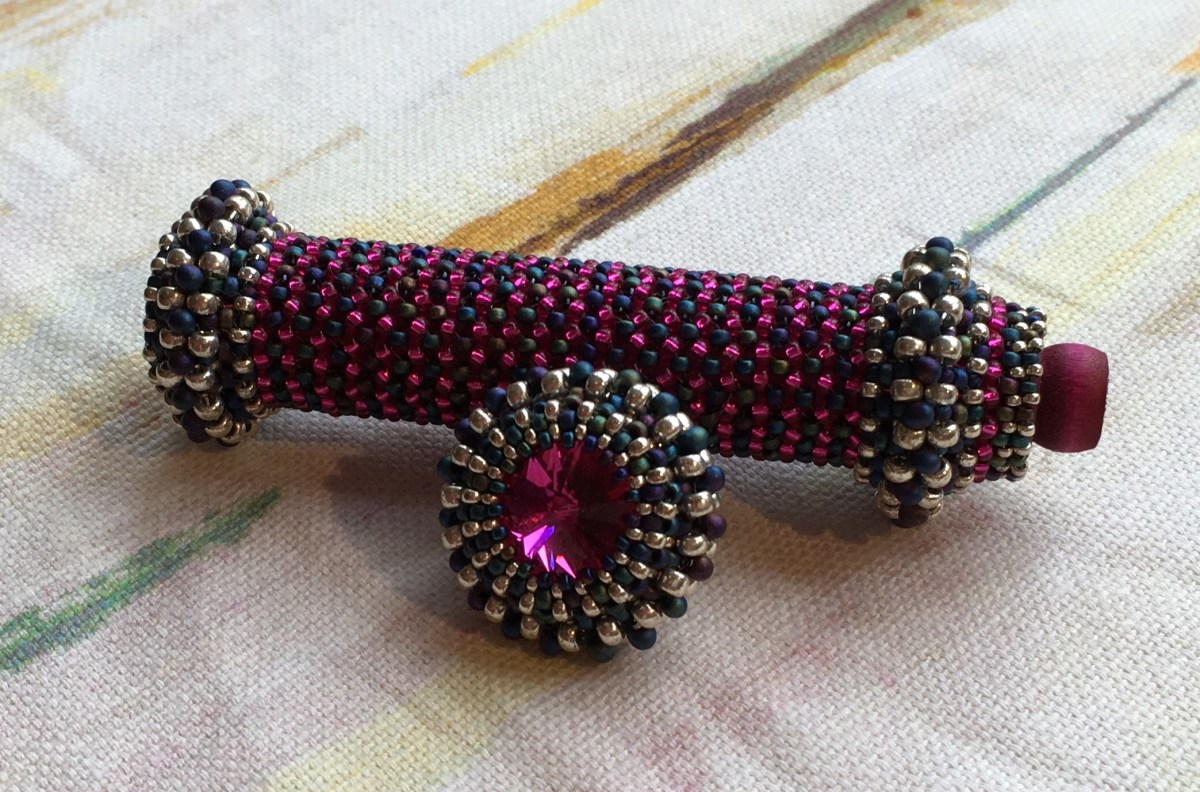
CRAW Ring
This was initially started for an Etsy Beadweavers Challenge with the theme ‘Game of Thrones’, but wasn’t done in time, and although I’m pleased with the design, the execution was flawed (mainly because I used too light a thread) so it wasn’t suitable for sale in this incarnation. It’s all 15 seeds, so not for the faint hearted but will I think evolve into a tutorial as it’s a nice wearable piece and useful for those looking to improve their CRAW and add some new CRAW shapes. It includes slightly tricky steps (such as splitting the CRAW), but I think if I work on them a bit more I can come up with some teachable thread paths. Perhaps I’ll do my working out in 8s rather than 15s though……


")