I don’t know about you, but I always feel like I don’t have enough time – enough time to work, clean, play with the boys, rest, relax, and above all, I don’t feel like I spend enough time beading in a productive way. When I’m at my day job, I start a task, move through it, maybe edit my outputs a bit, but generally I can just get on with it. And at home, I can just get on with things, albeit with the distractions of two small children to contend with.

But when I’m beading, even after years of practise, I still seem to spend more time unpicking than creating, and this bothers me. But why – as I unpick and redo endlessly surely I’m learning something, making my design repeatable for others (rather than bodging to make it work once), improving my own knowledge and technique? So why do I find it so frustrating? At this point I should say, if you’re reading this hoping for the answer to avoiding re-work, or learning from your mistakes, I don’t have it – I’m just putting the question out there for now.
Some things I do know though which can help with this:
- If you bead tired you will mess up. I always bead tired as I only get to bead in the evenings once the boys are asleep and I’ve cleaned up, cooked dinner and faffed around for a bit deciding what to do. This could be why I always mess up.
- Get a good light. Then you won’t get quite so tired.
- Don’t bead in front of University Challenge – you will either get an embarrassing number of questions wrong, or mess up your beading.
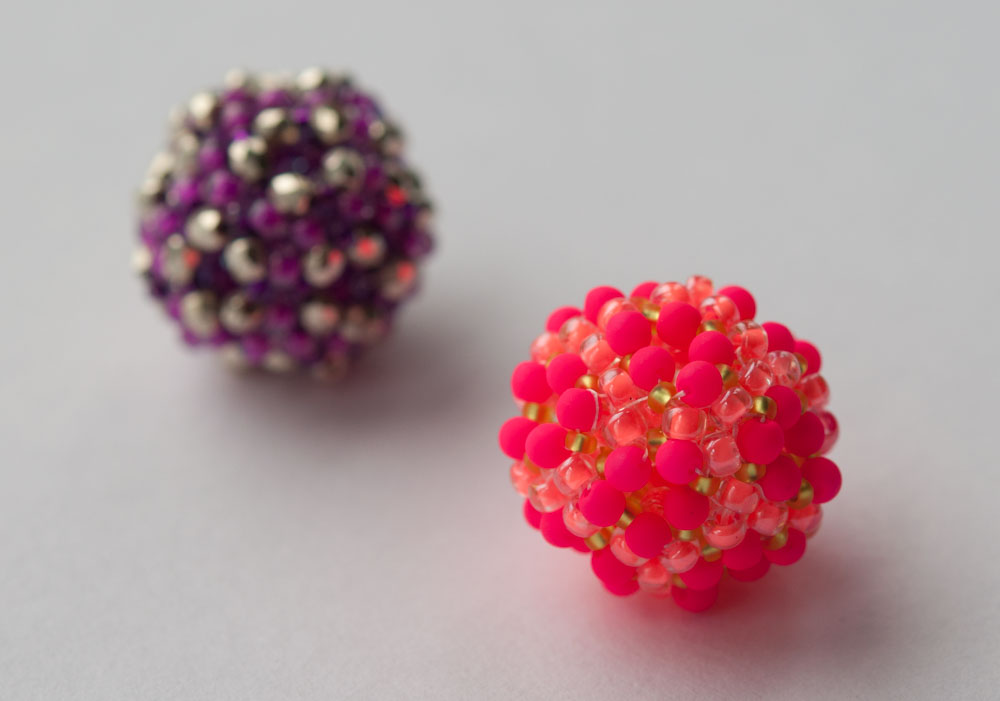
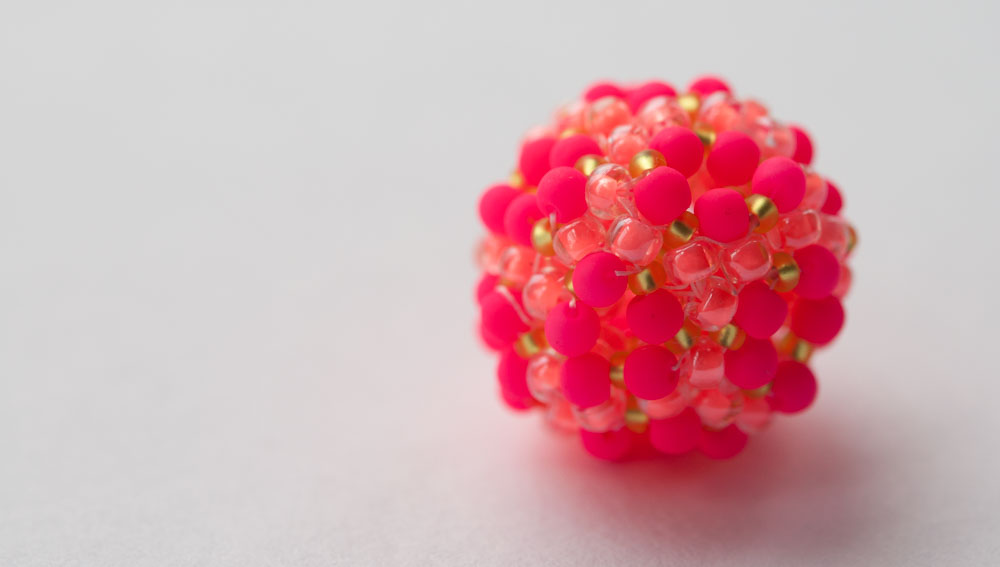
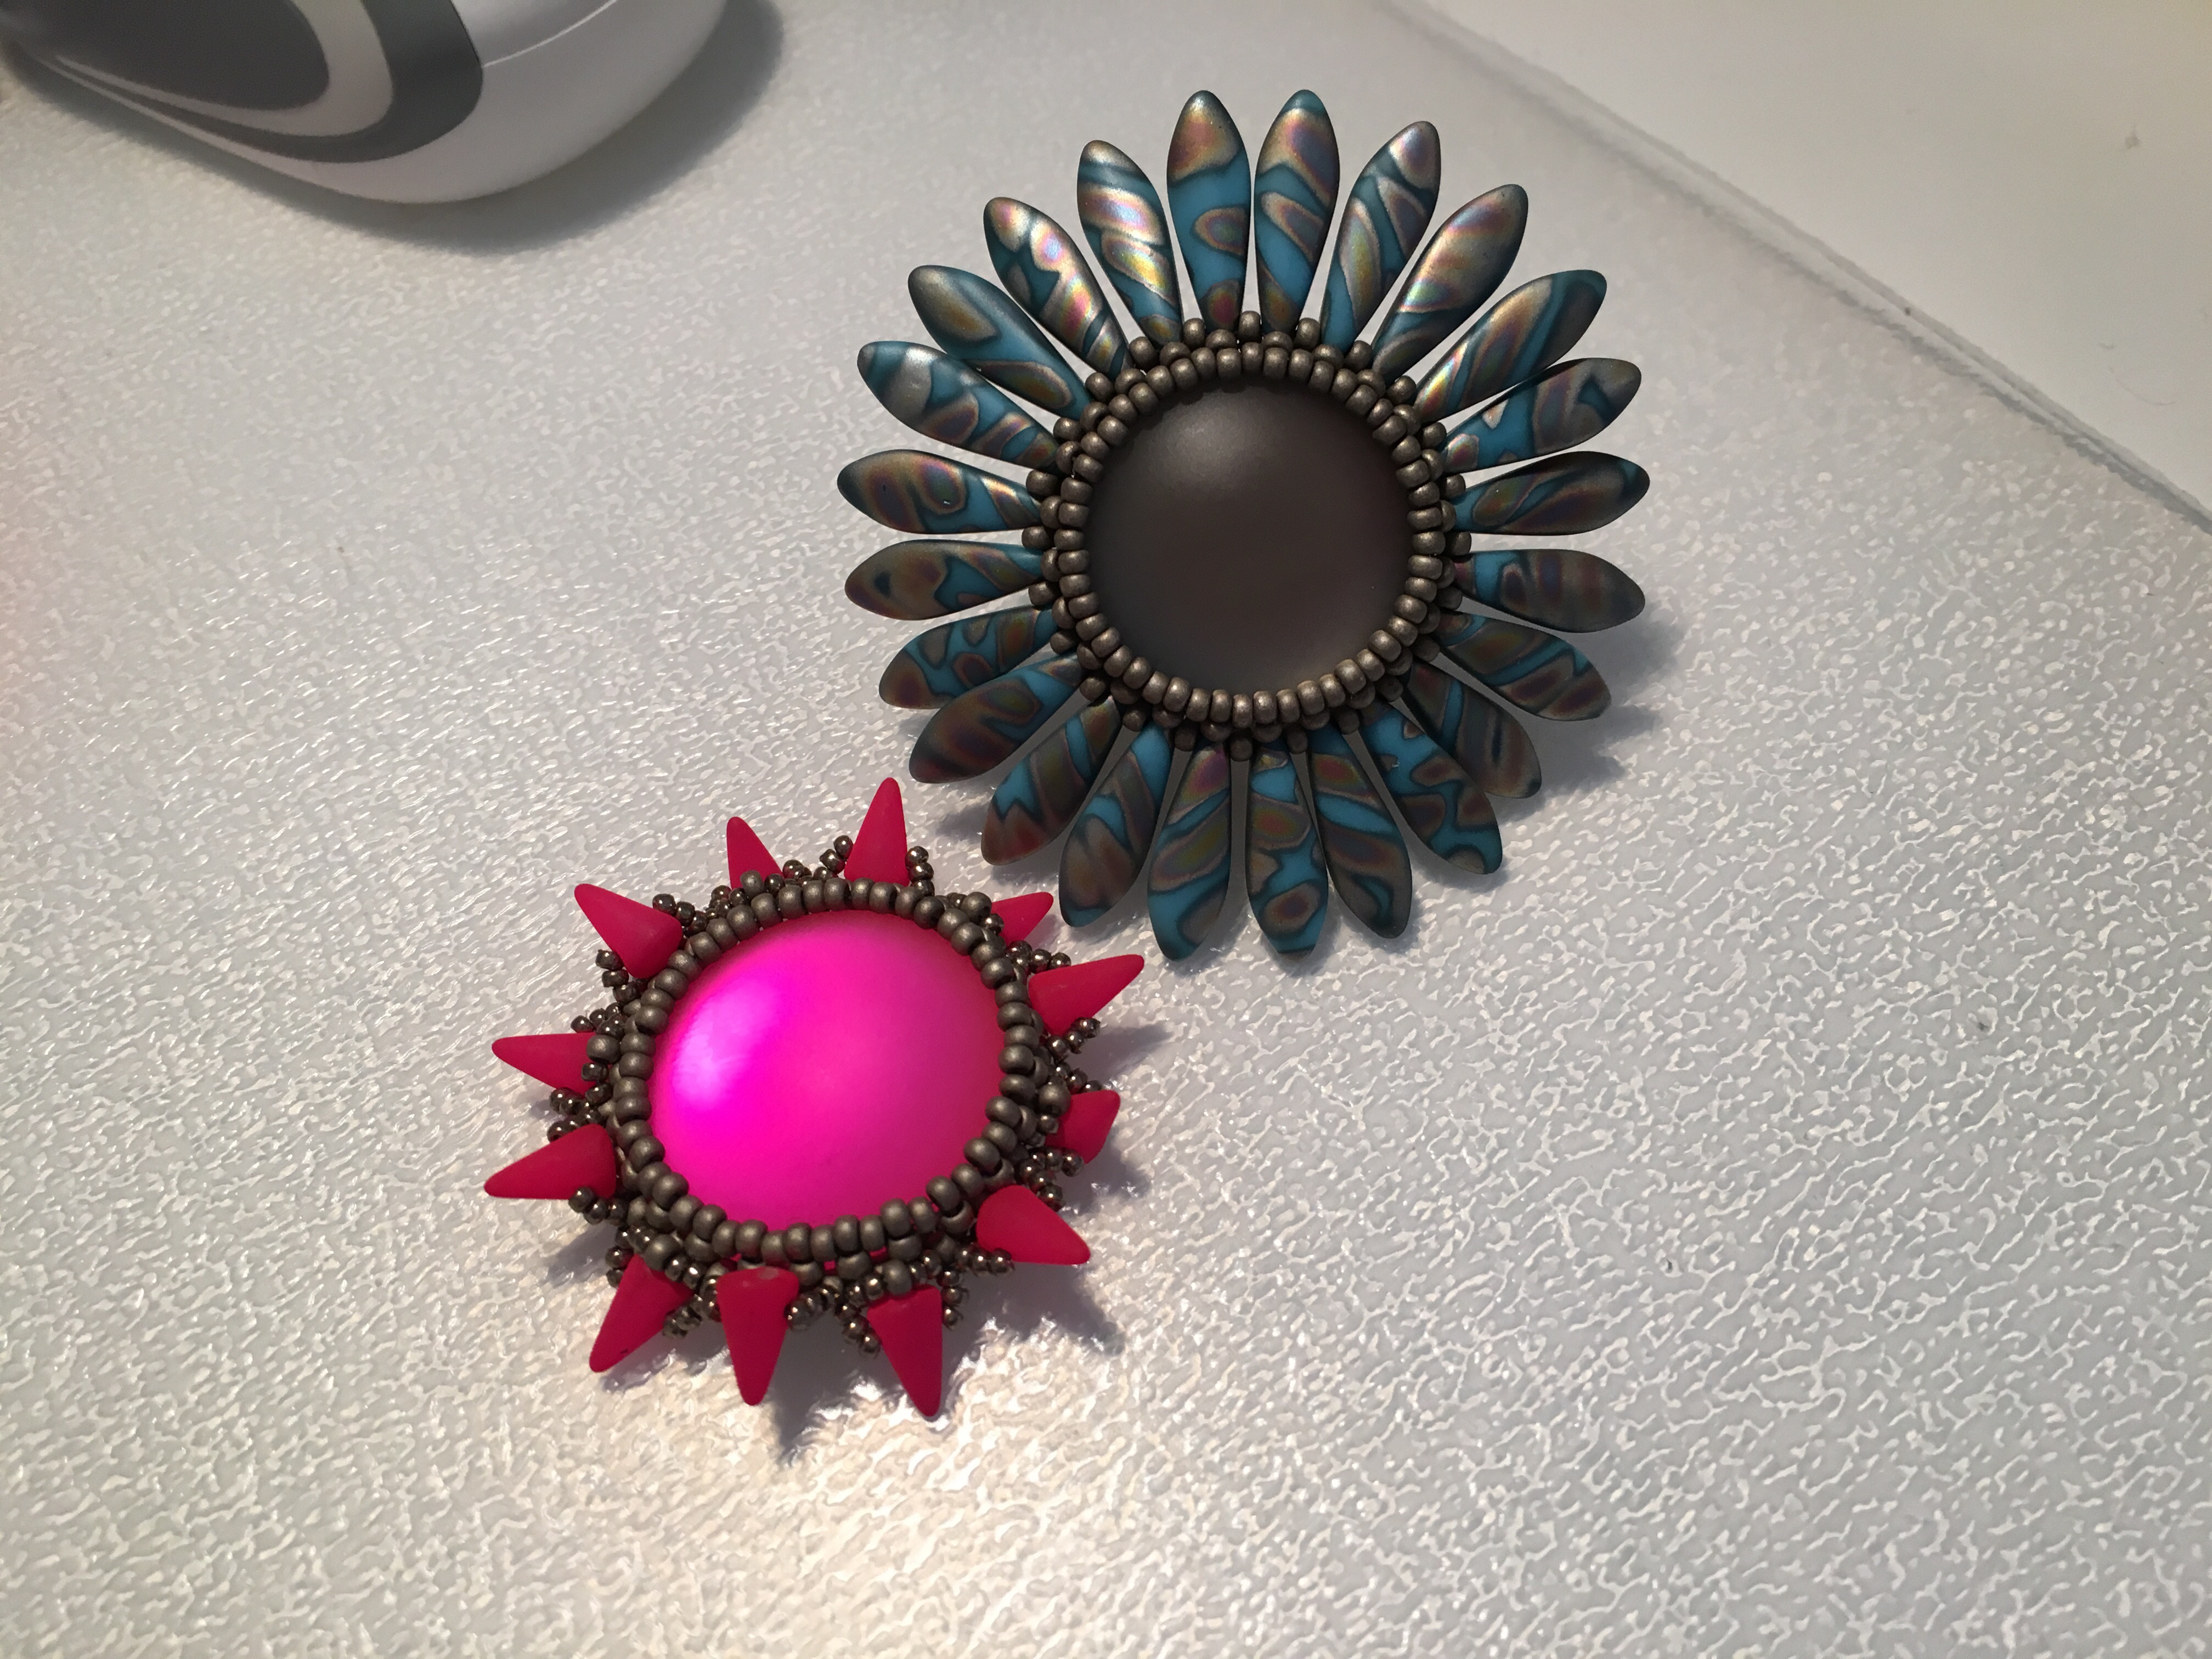
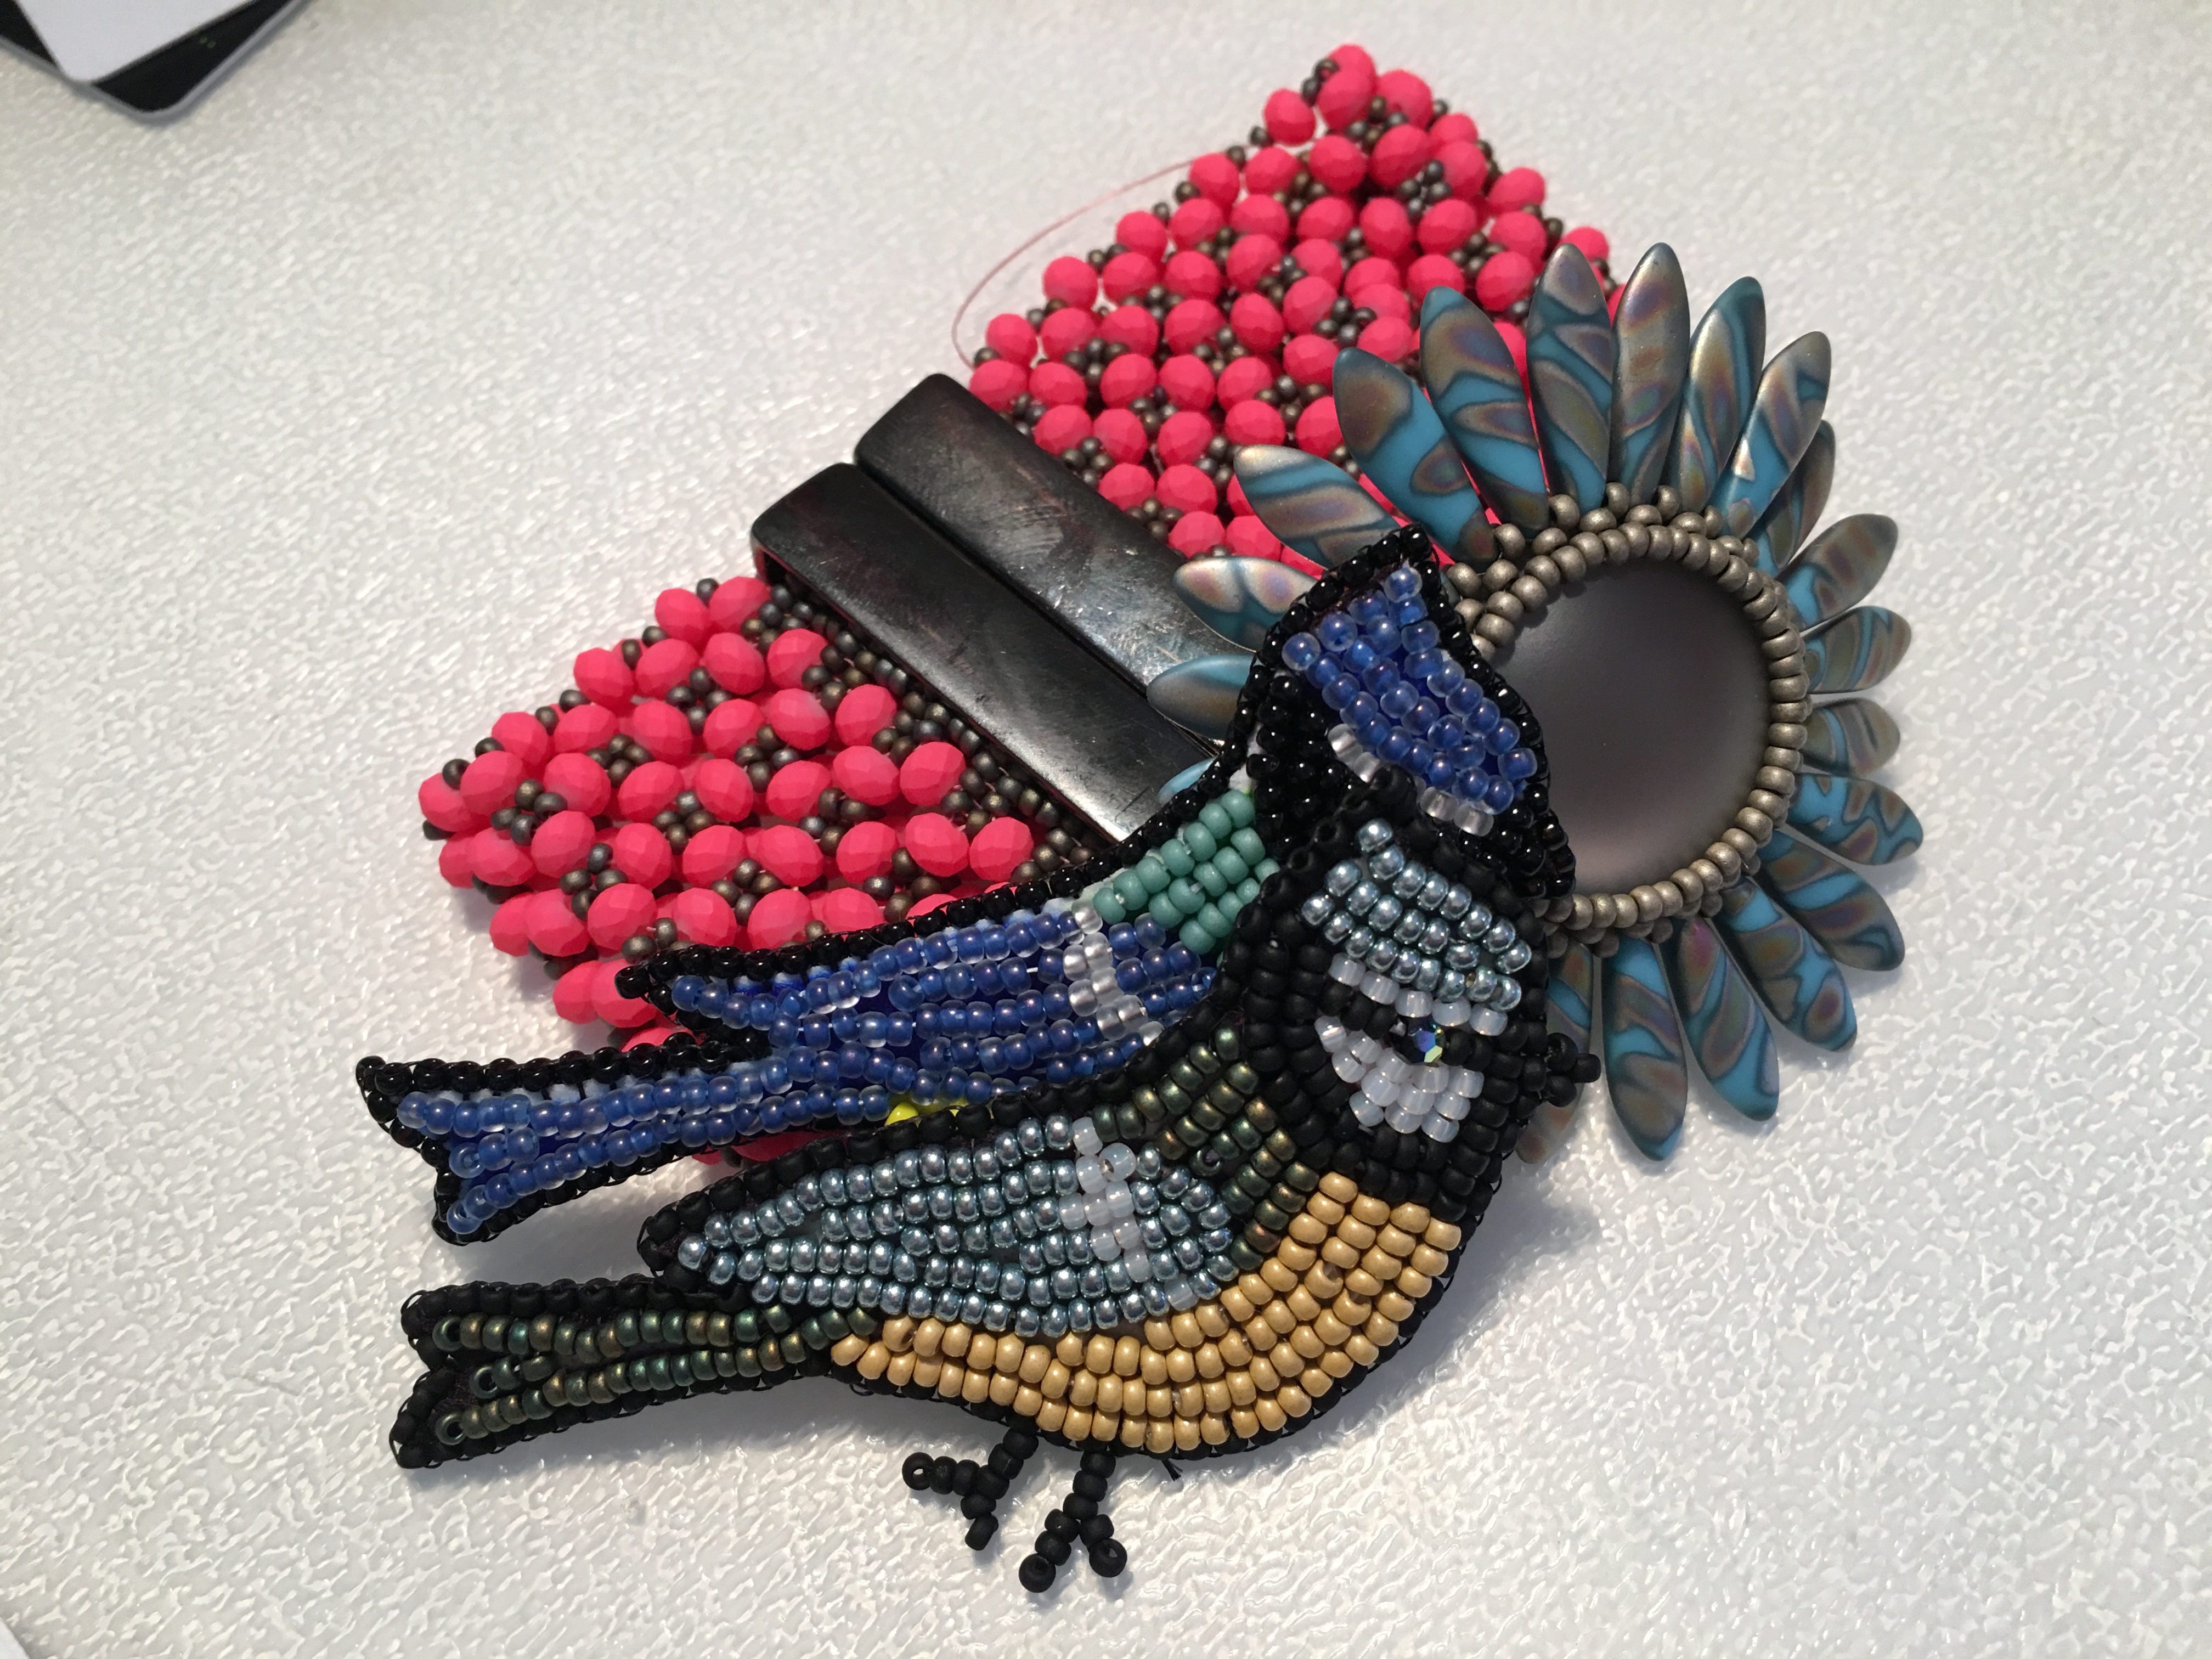
- Don’t expect every piece to turn into a repeatable unit – I made a lovely bezel base for a neon pink Lunasoft cab last weekend. I then used that base to make a ring using gorgeous daggers and another Lunasoft cab, and it went together like a dream. When I returned to the original pink cab ready to add some dinky spikes to my oh so clever bezel I realised that they wouldn’t fit. After an evening going backwards and forwards I finally finished with a pretty clever arrangement only to realise that the spikes are far too small for the cab. I have of course learnt from this experience, and will no doubt dig out a smaller cab but how annoying, and don’t I wish now I’d gone to bed an hour earlier?
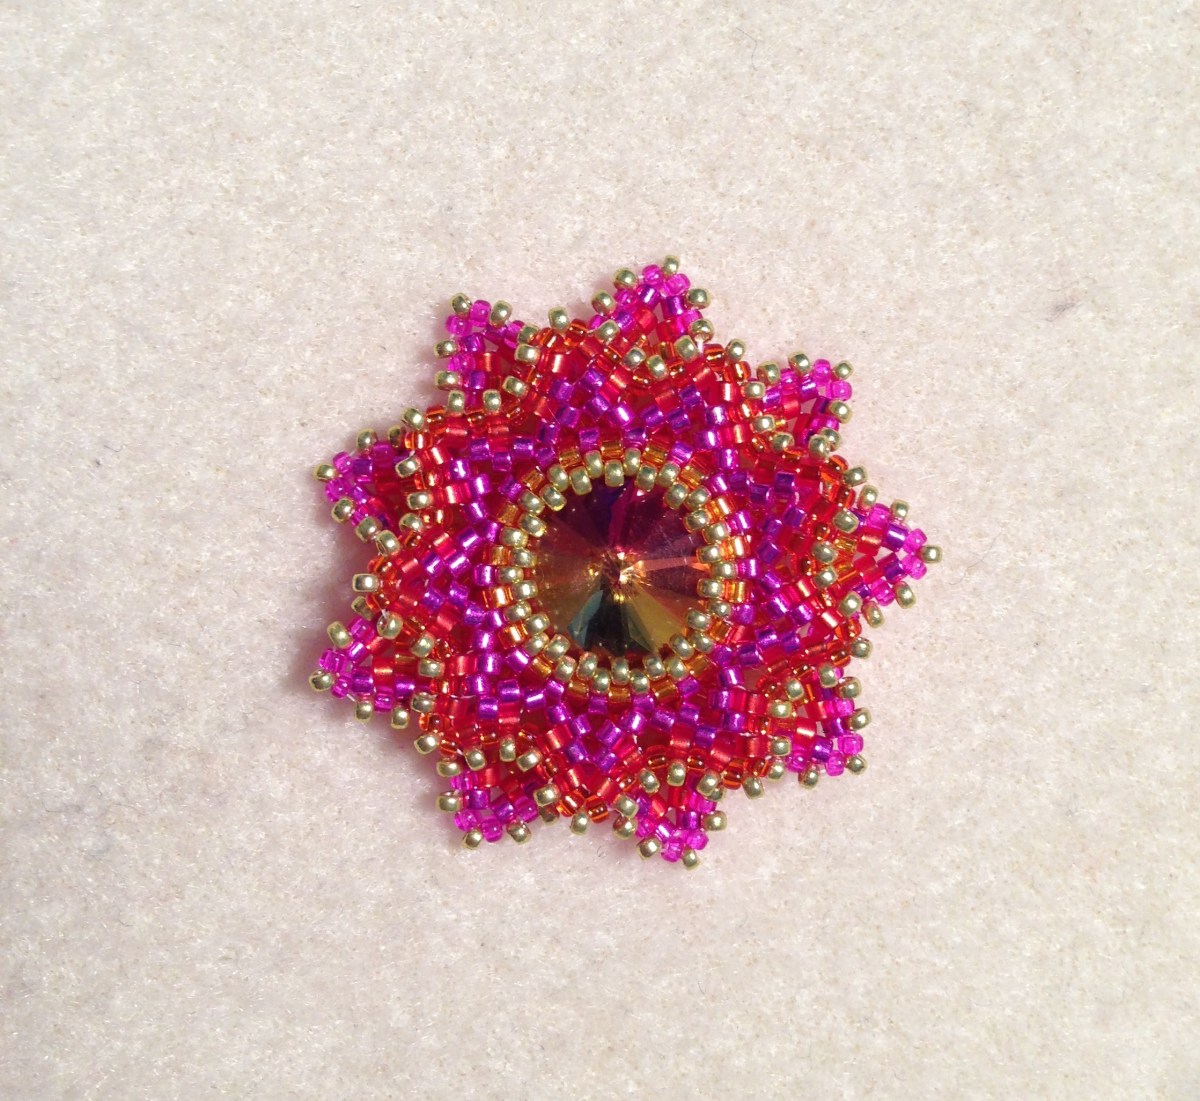
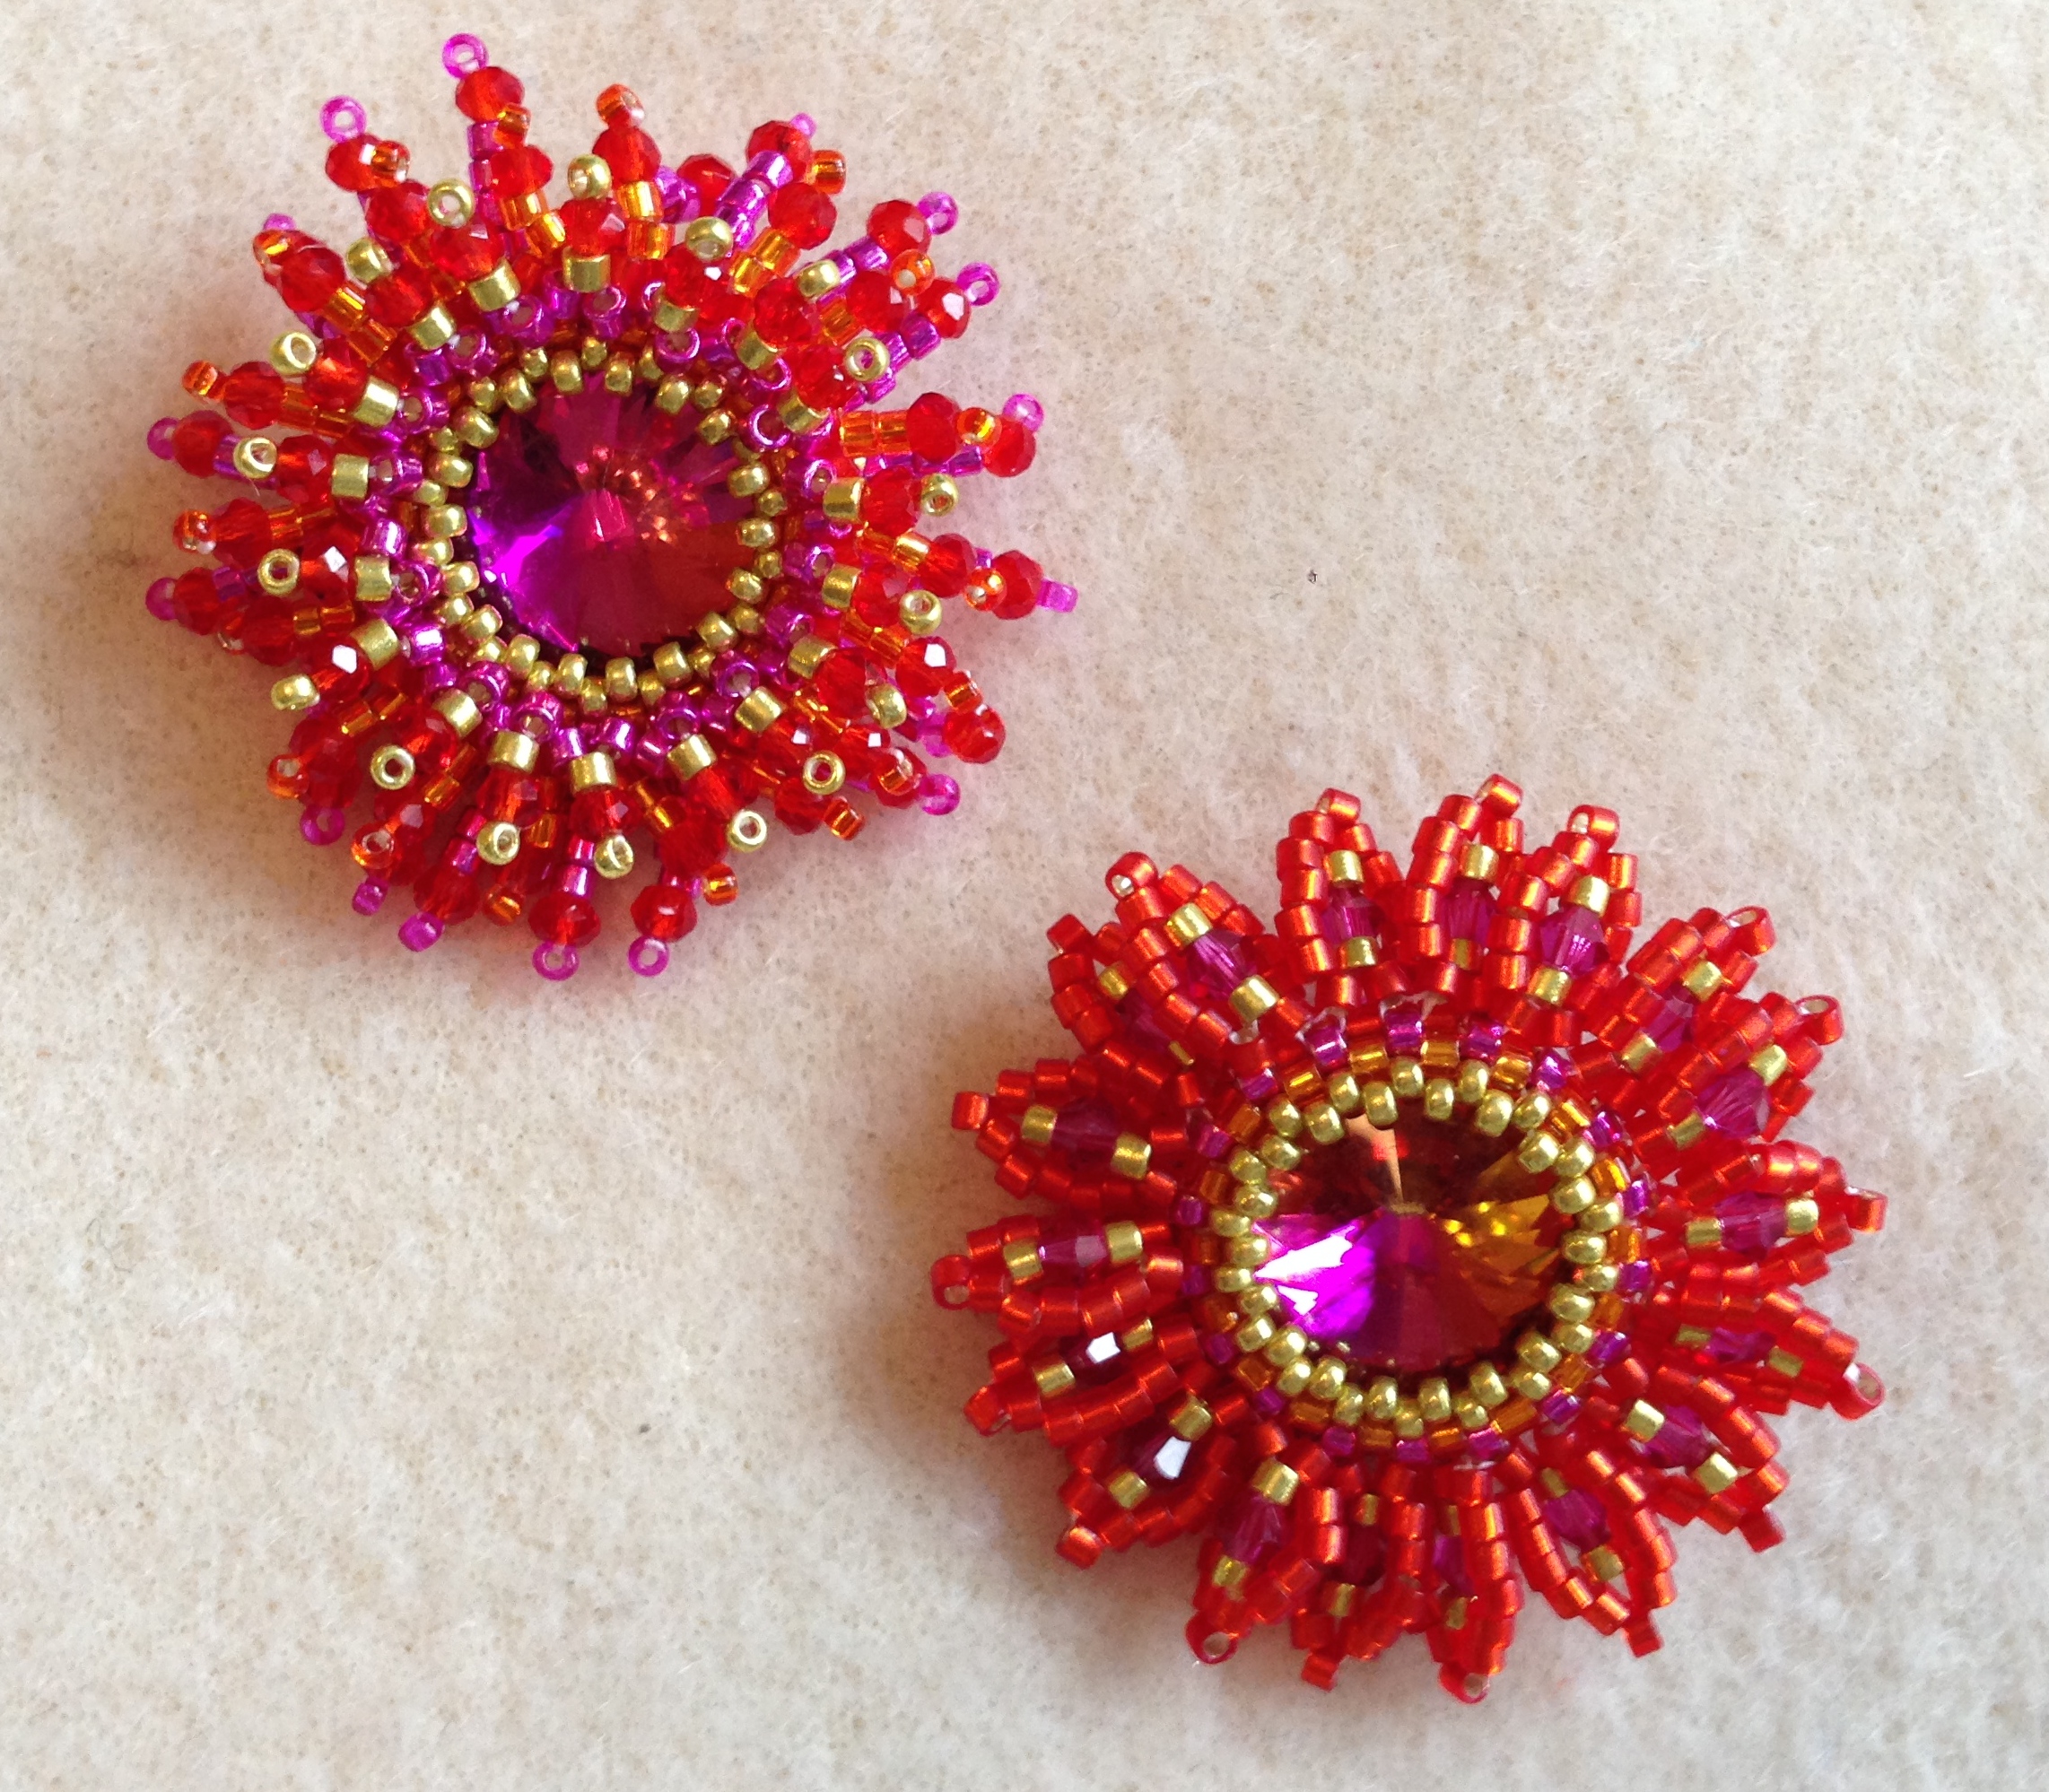
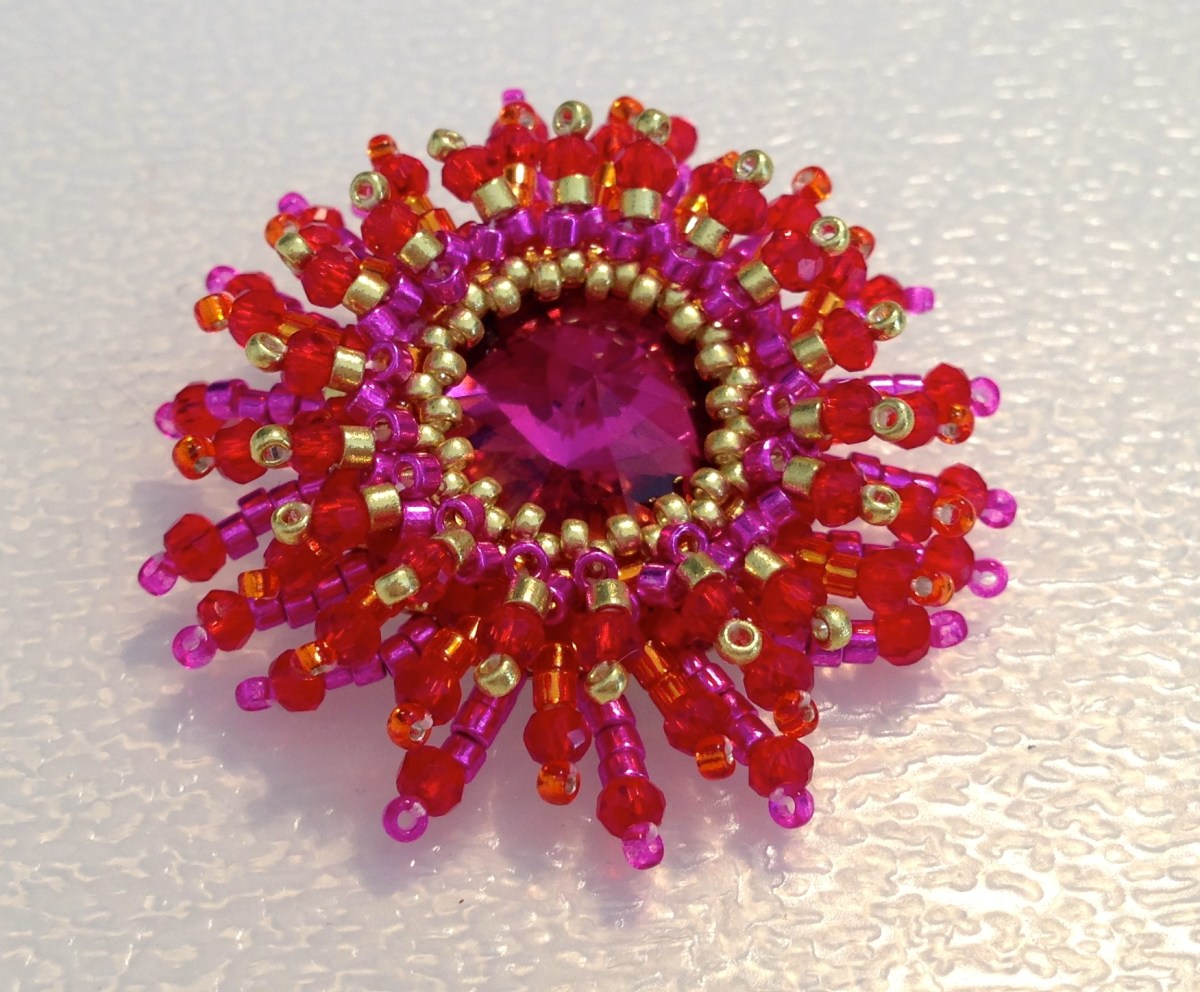
- Have a place to keep nearly finished pieces – the brooches waiting for a brooch back, the components looking for an inspired construction. Then when you have a quick 30 minutes you can batch finish several – yesterday I remembered where I had put the glue and completed two brooches, a bracelet and a ring! OK, I finished the actual beadwork on them ages ago, but the real sense of achievement kicks in once they are done (and not sitting at the back of your mind nagging you).
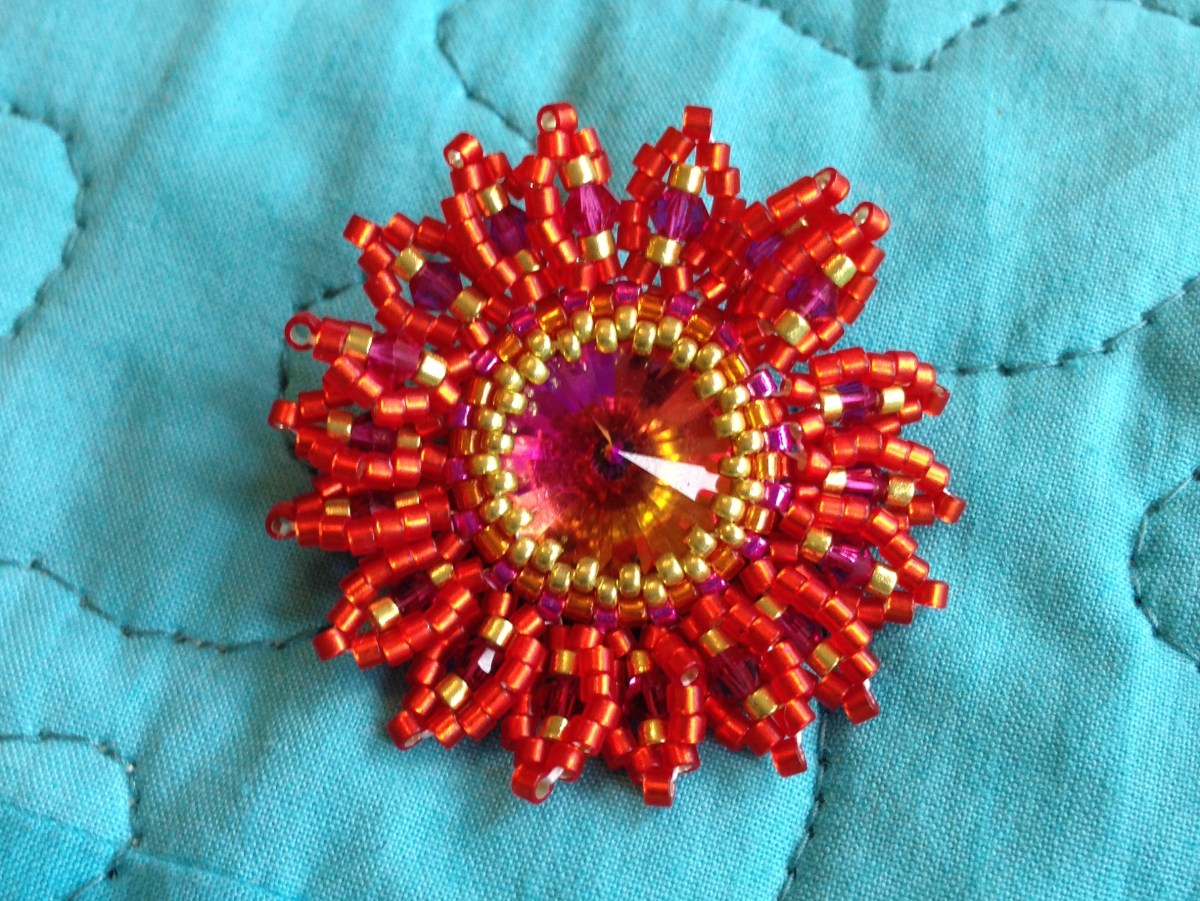
- If you feel like you’re not getting stuff done, keep track. This morning I grabbed all of my recently finished pieces and .was very pleasantly surprised. OK many of them were started many months ago, but they are done now so I can move on.

- If it’s not working, stop, go to bed. Yes it may be better to carry on straight away if you can see a possible solution, but then again it might not, so you may as well get some sleep and try again fresh tomorrow. Or indeed try again next month.
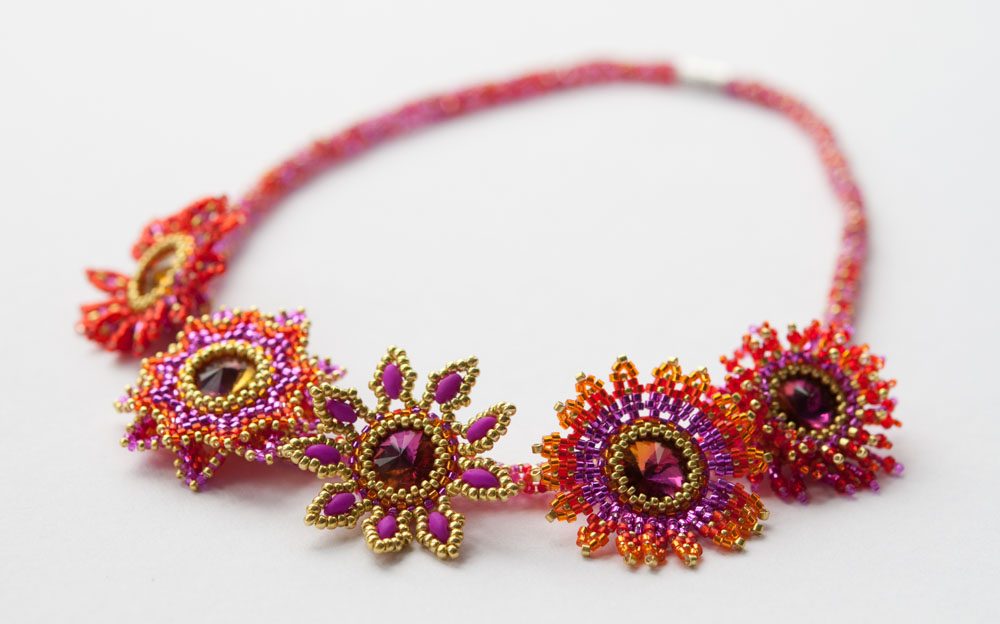
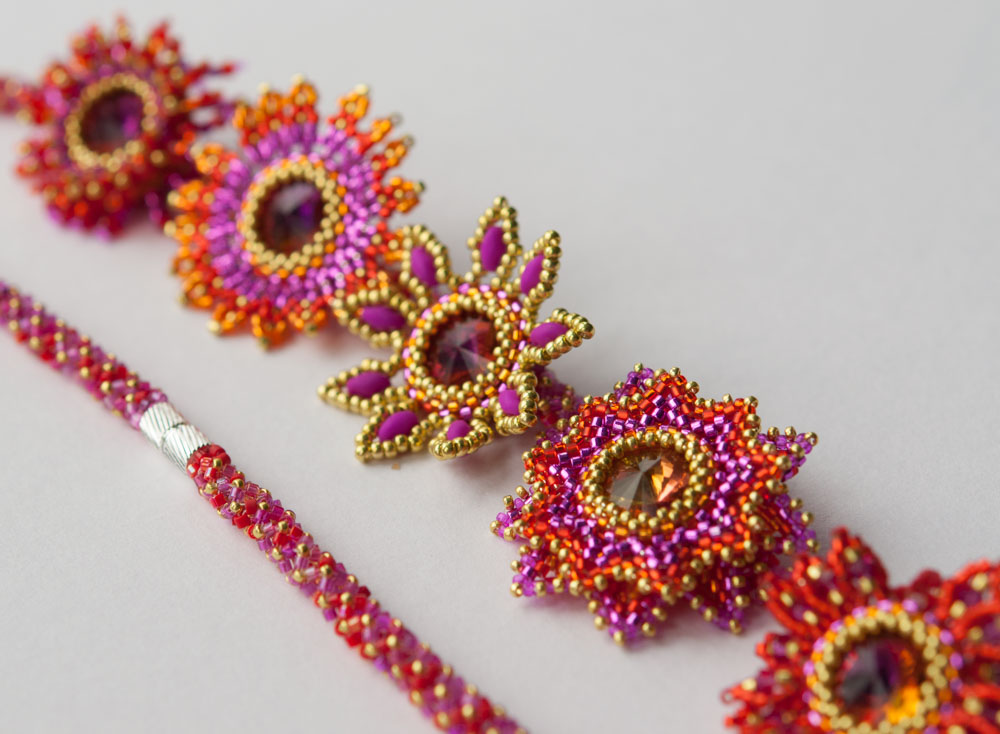
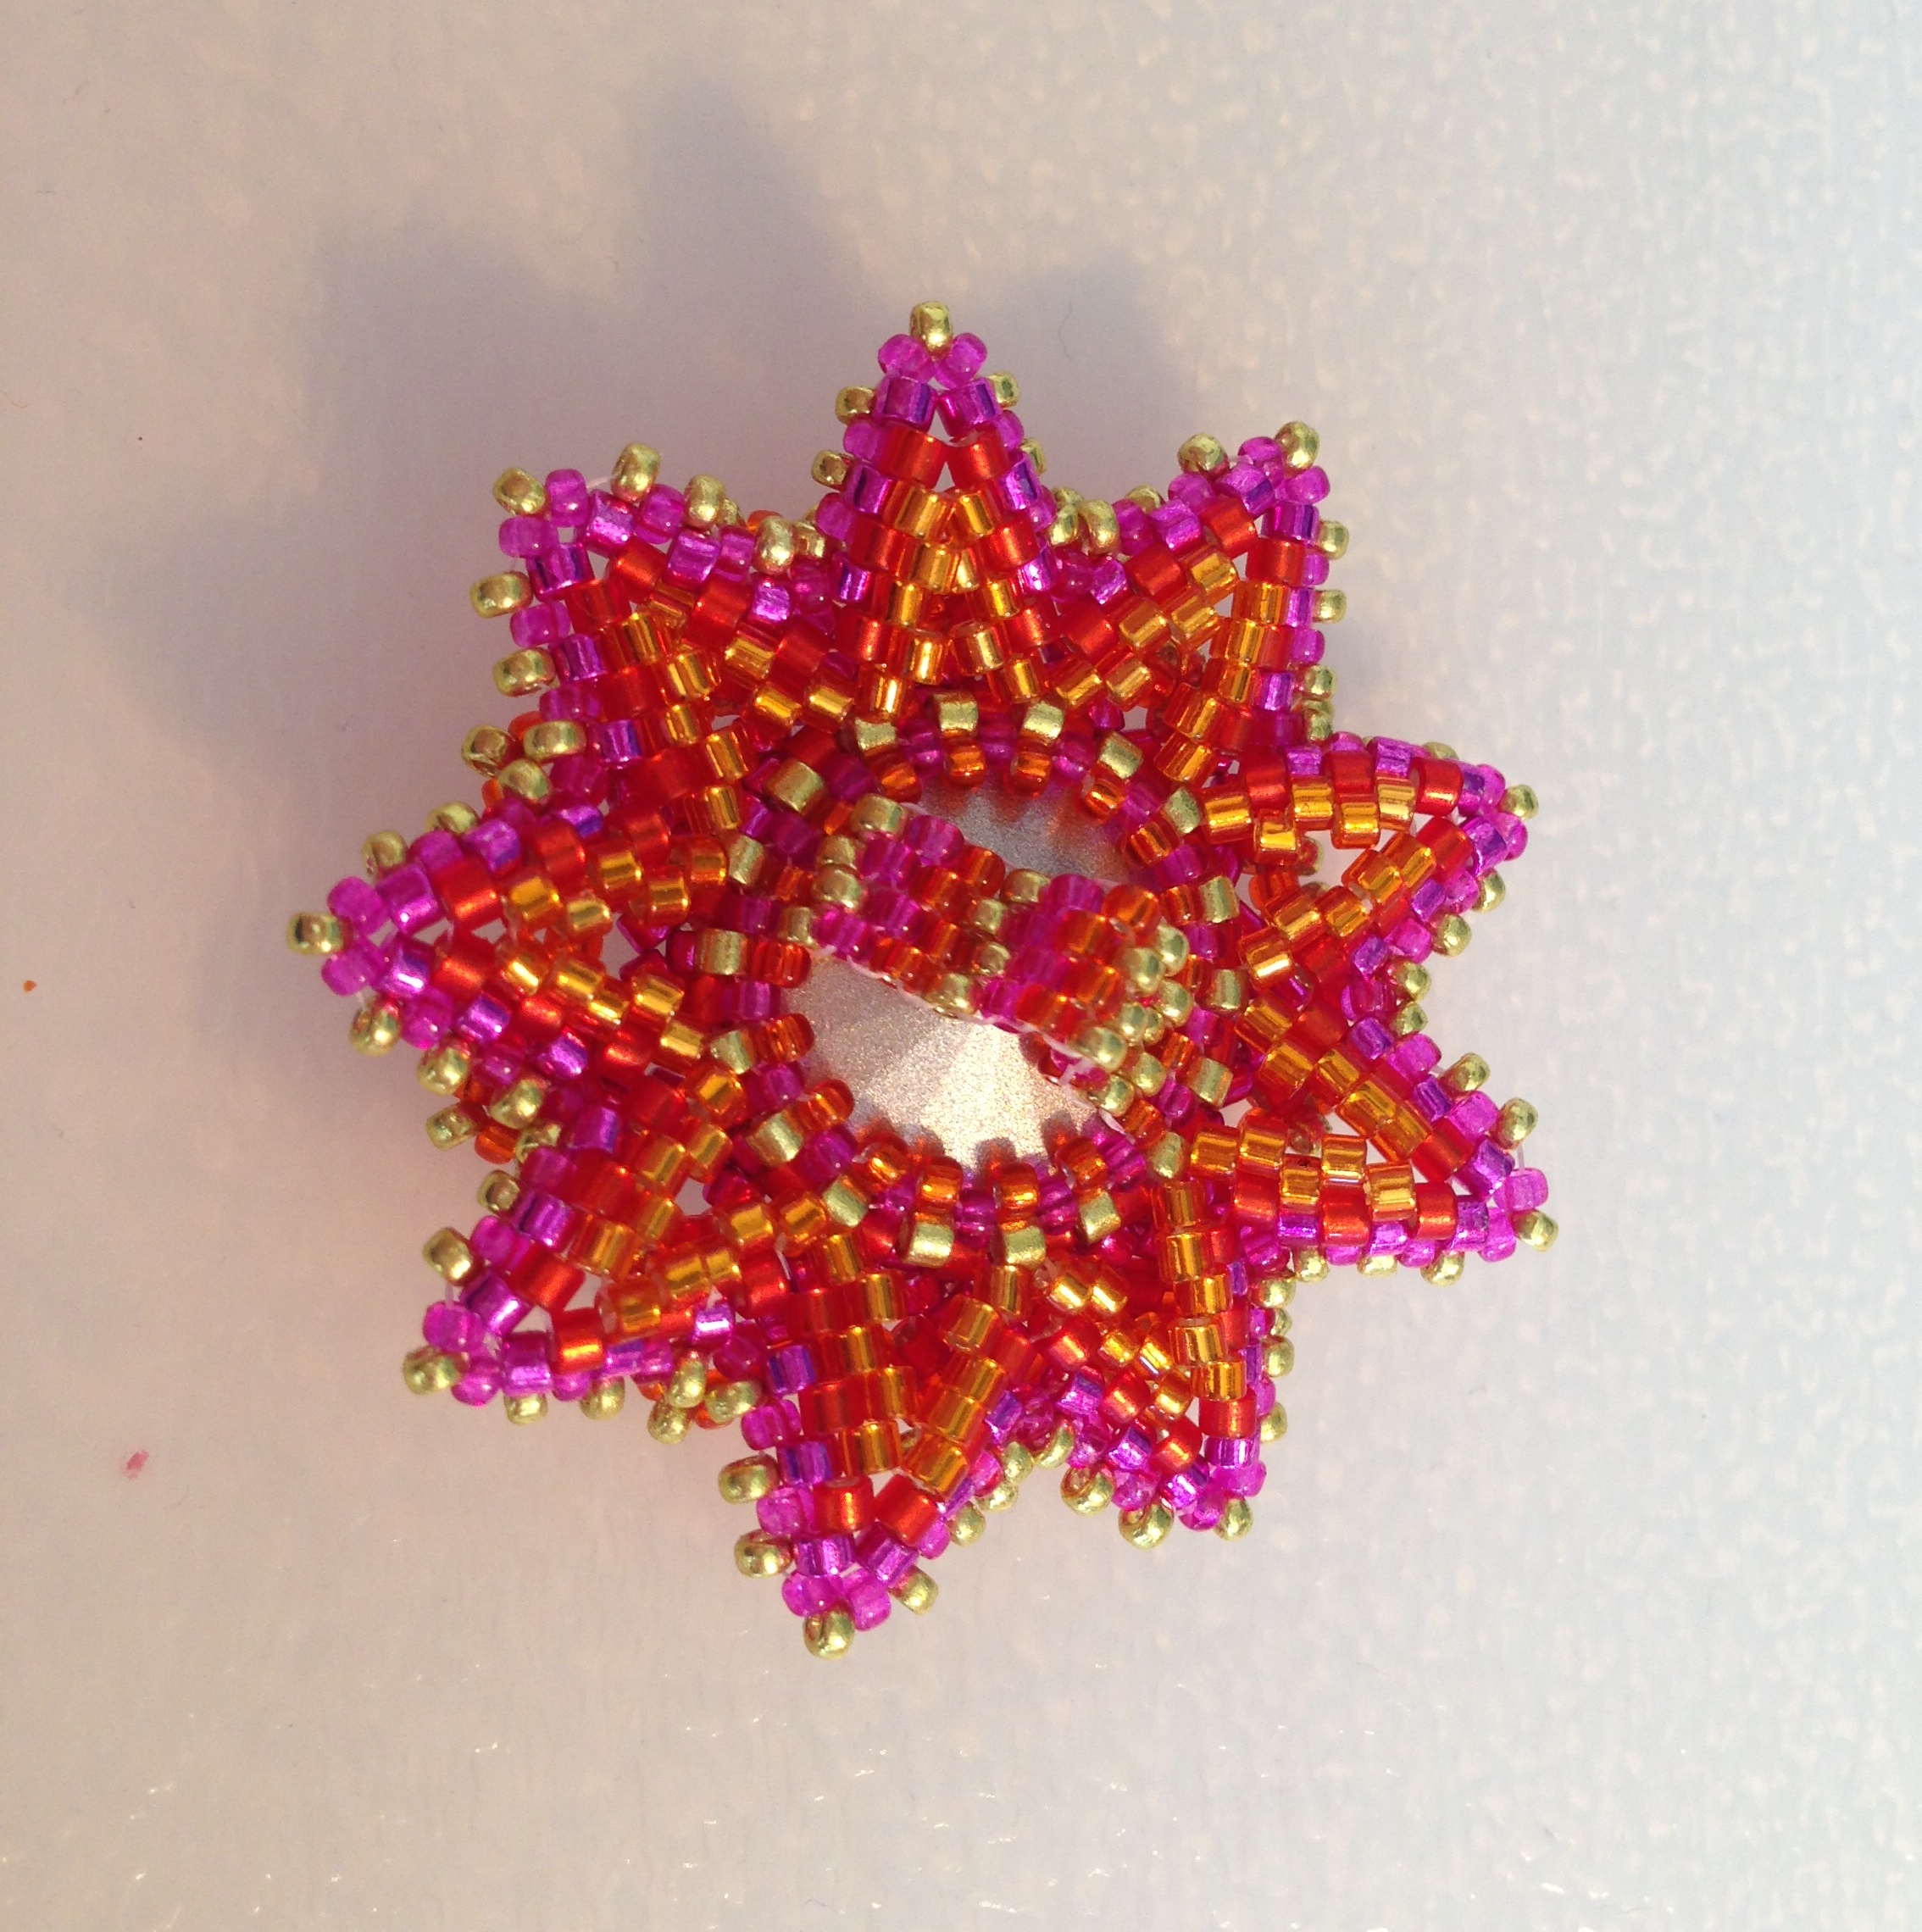
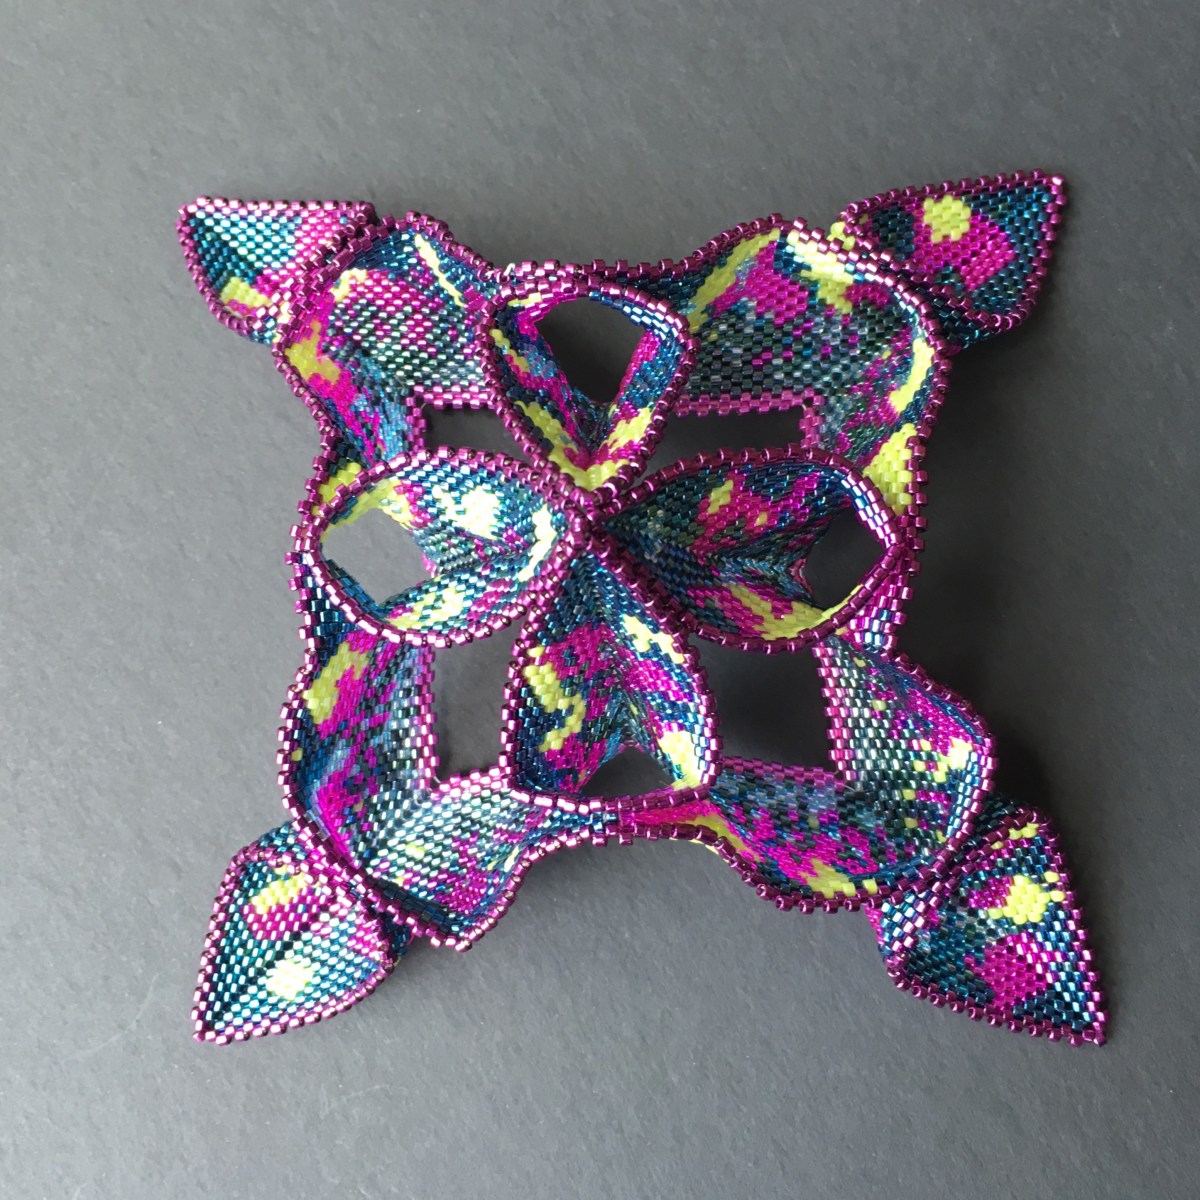
- And finally, unpicking is OK. Beading is way too slow a process to put up with something you aren’t happy with, particularly in the big pieces. I started my latest CGB work with a MRAW band which then didn’t work as the piece started to fold, and really started to vex me. So I finished the outside of the piece, put it away for a bit and then when I felt strong enough, took a deep breath and unpicked the beginning. I then added a new inside which also then began to annoy me, so I put that away for a bit longer, got it out again yesterday, unpicked it again, tried something slightly different (and a lot less clever) and now at last the damm thing is finished. Third time lucky – hopefully the luck will hold out as it’s my entry for the Etsy Beadweaver’s Team October Challenge! You can see more pictures in the Etsy listing (click on the image below).

Of course the test of all this is going to be whether I can take my own advice. Reading it through again I’d have to say it seems unlikely……