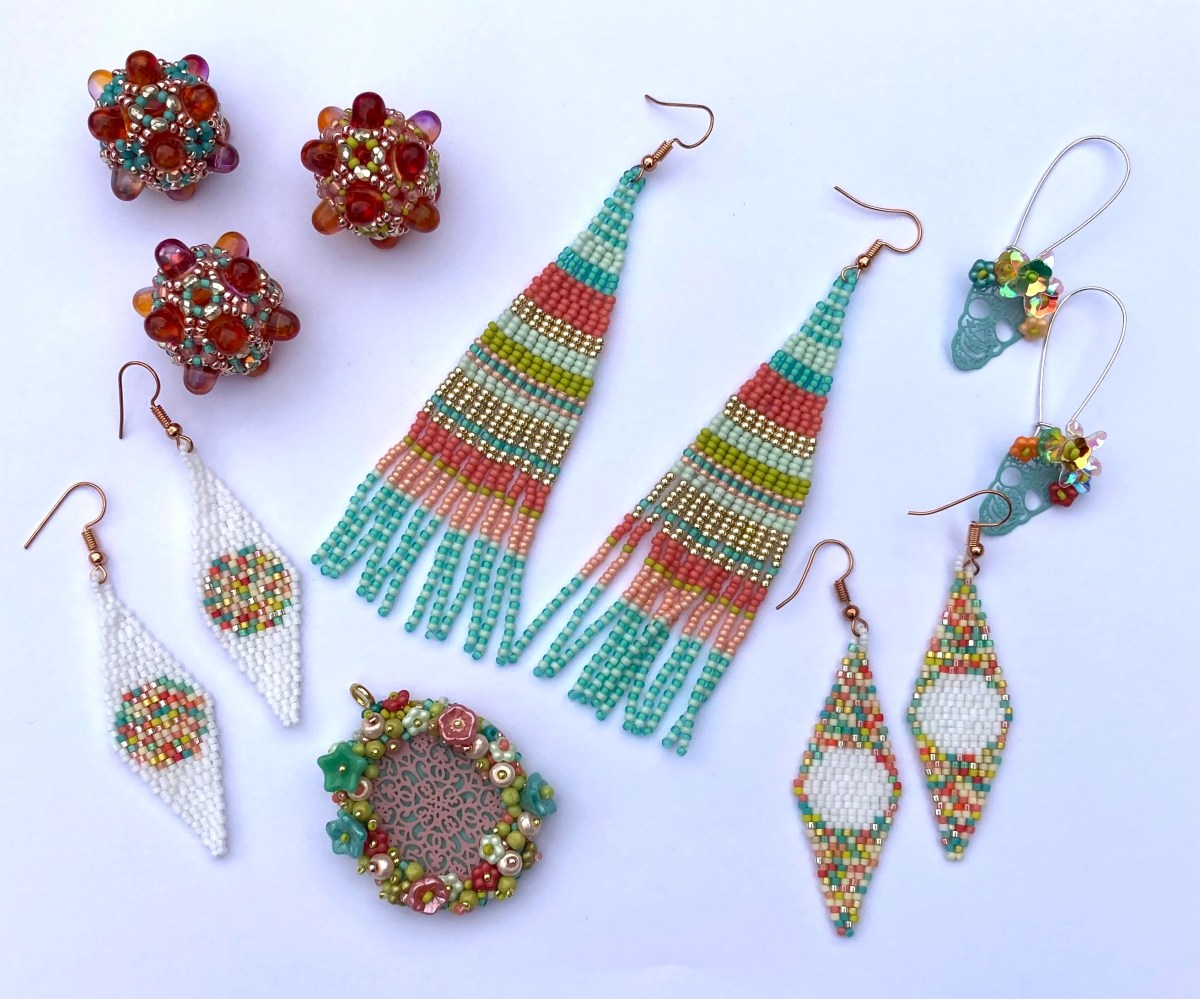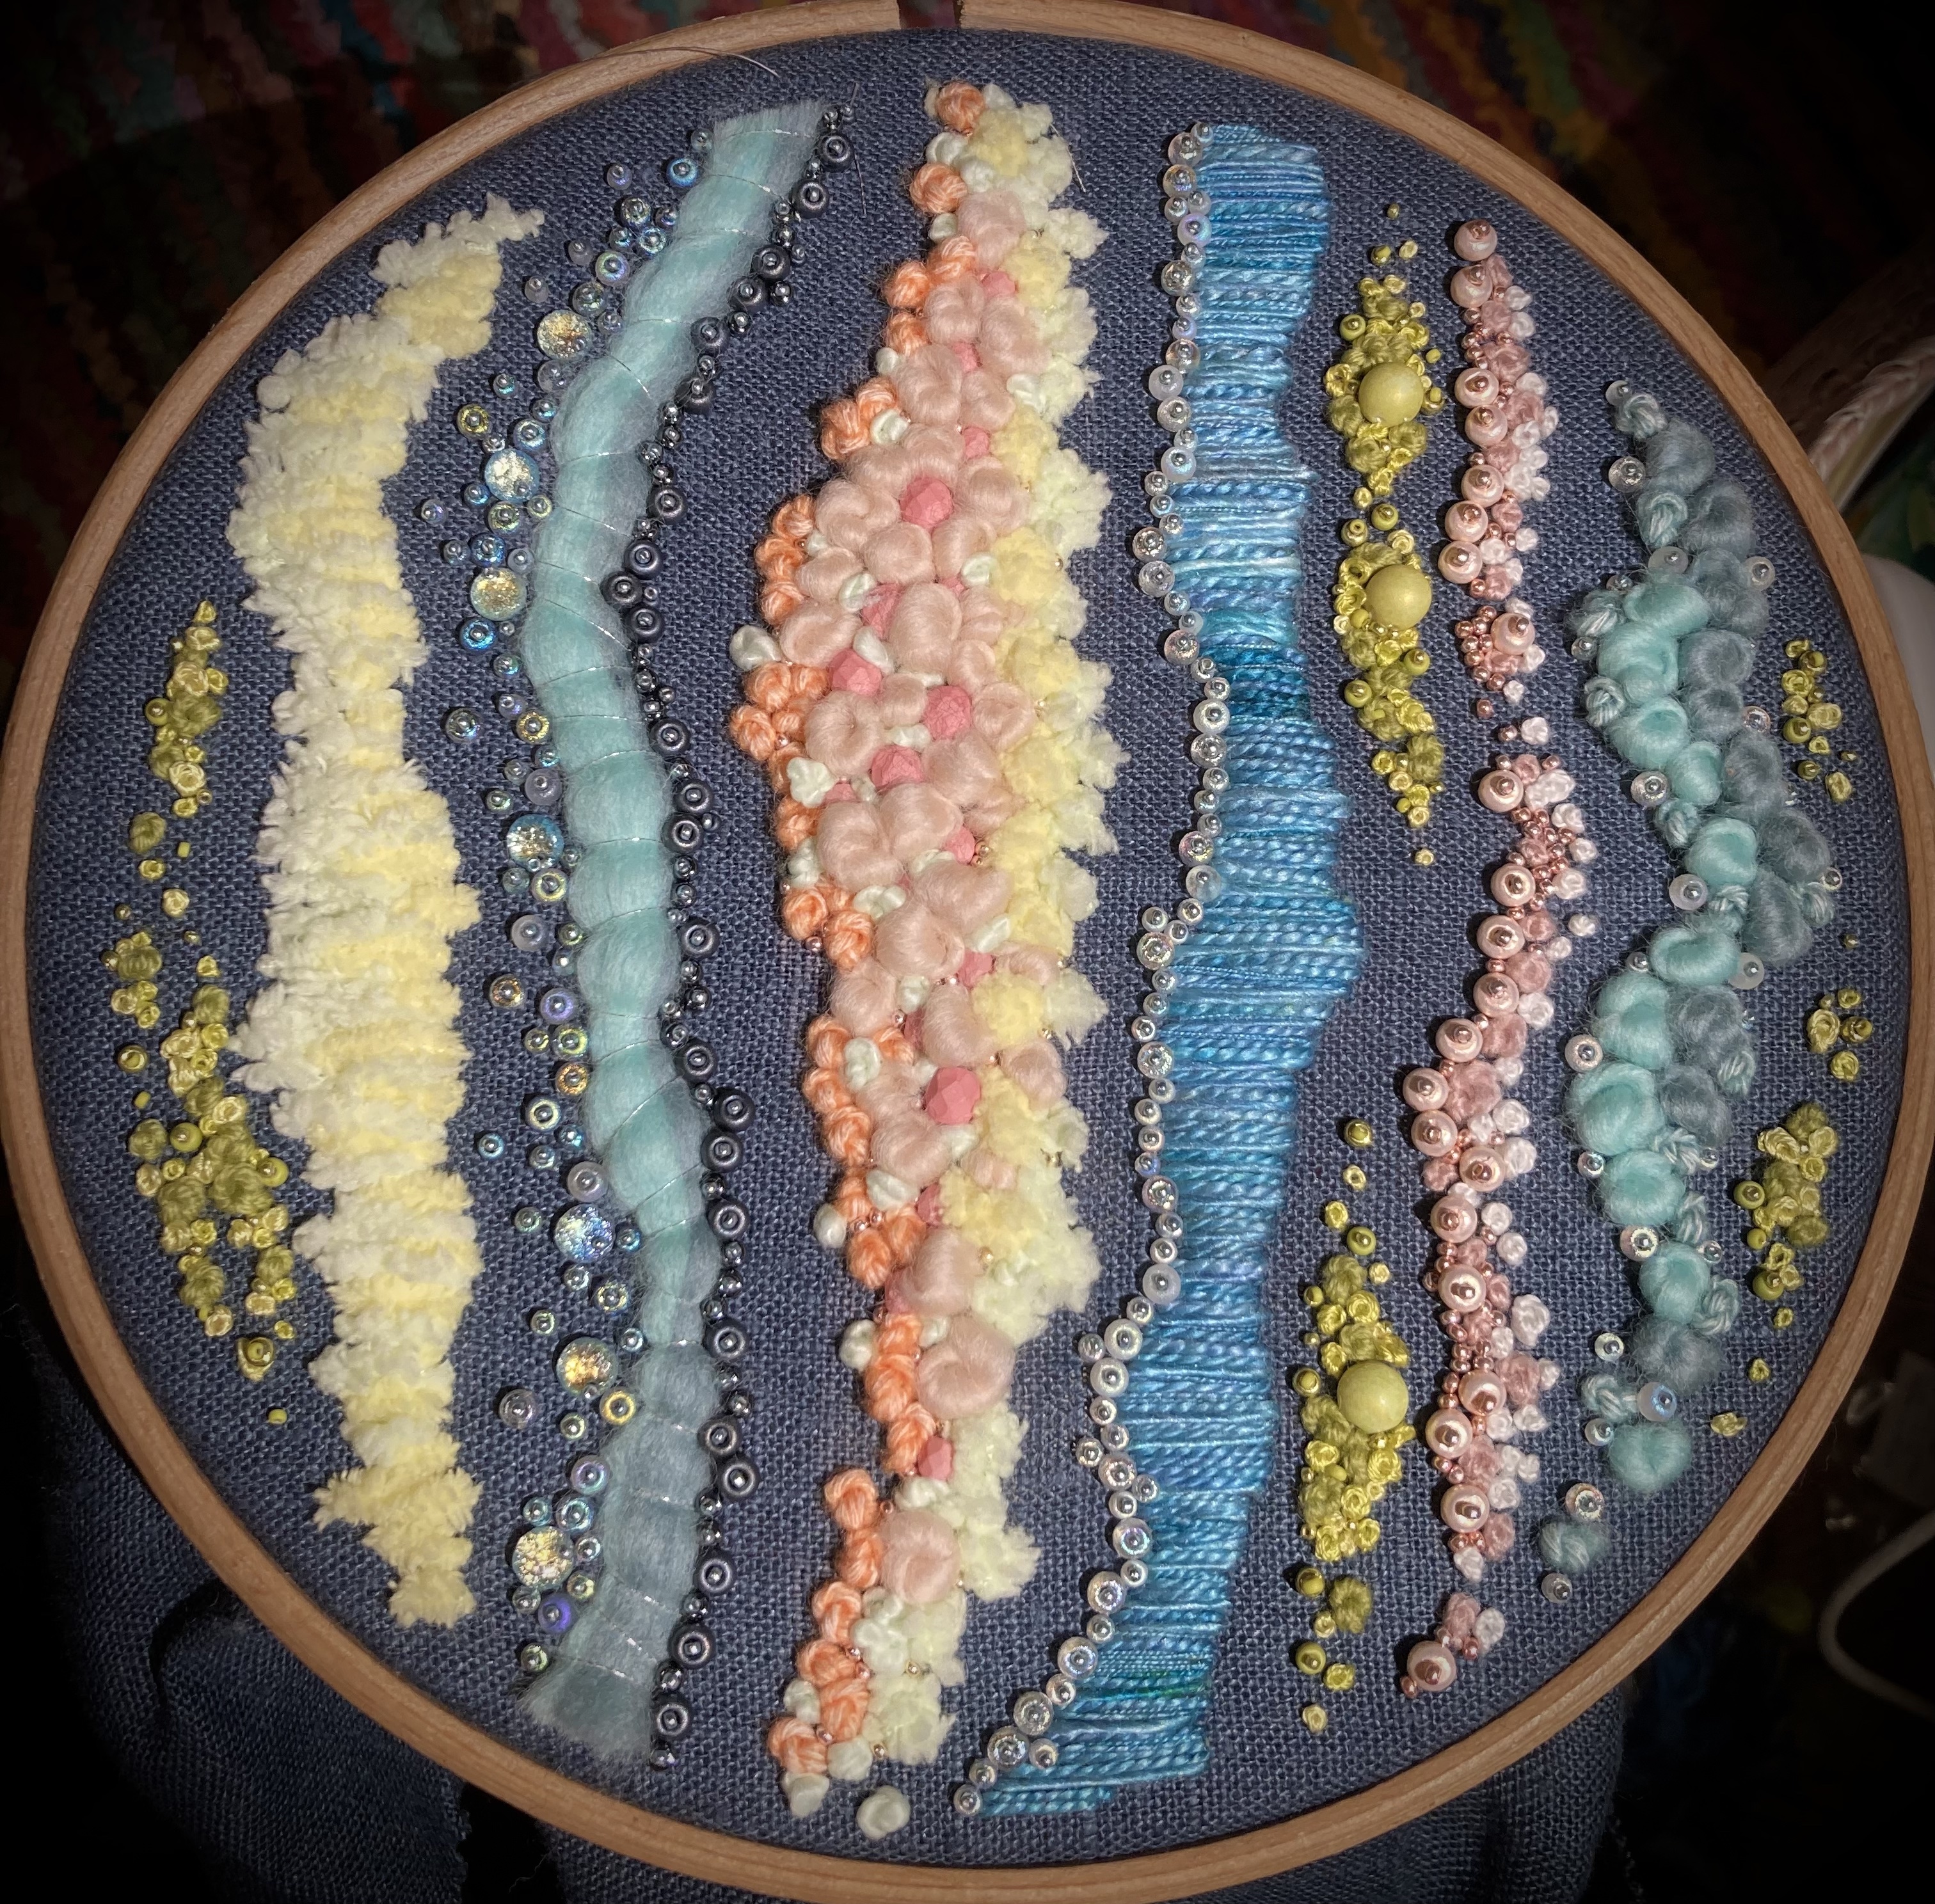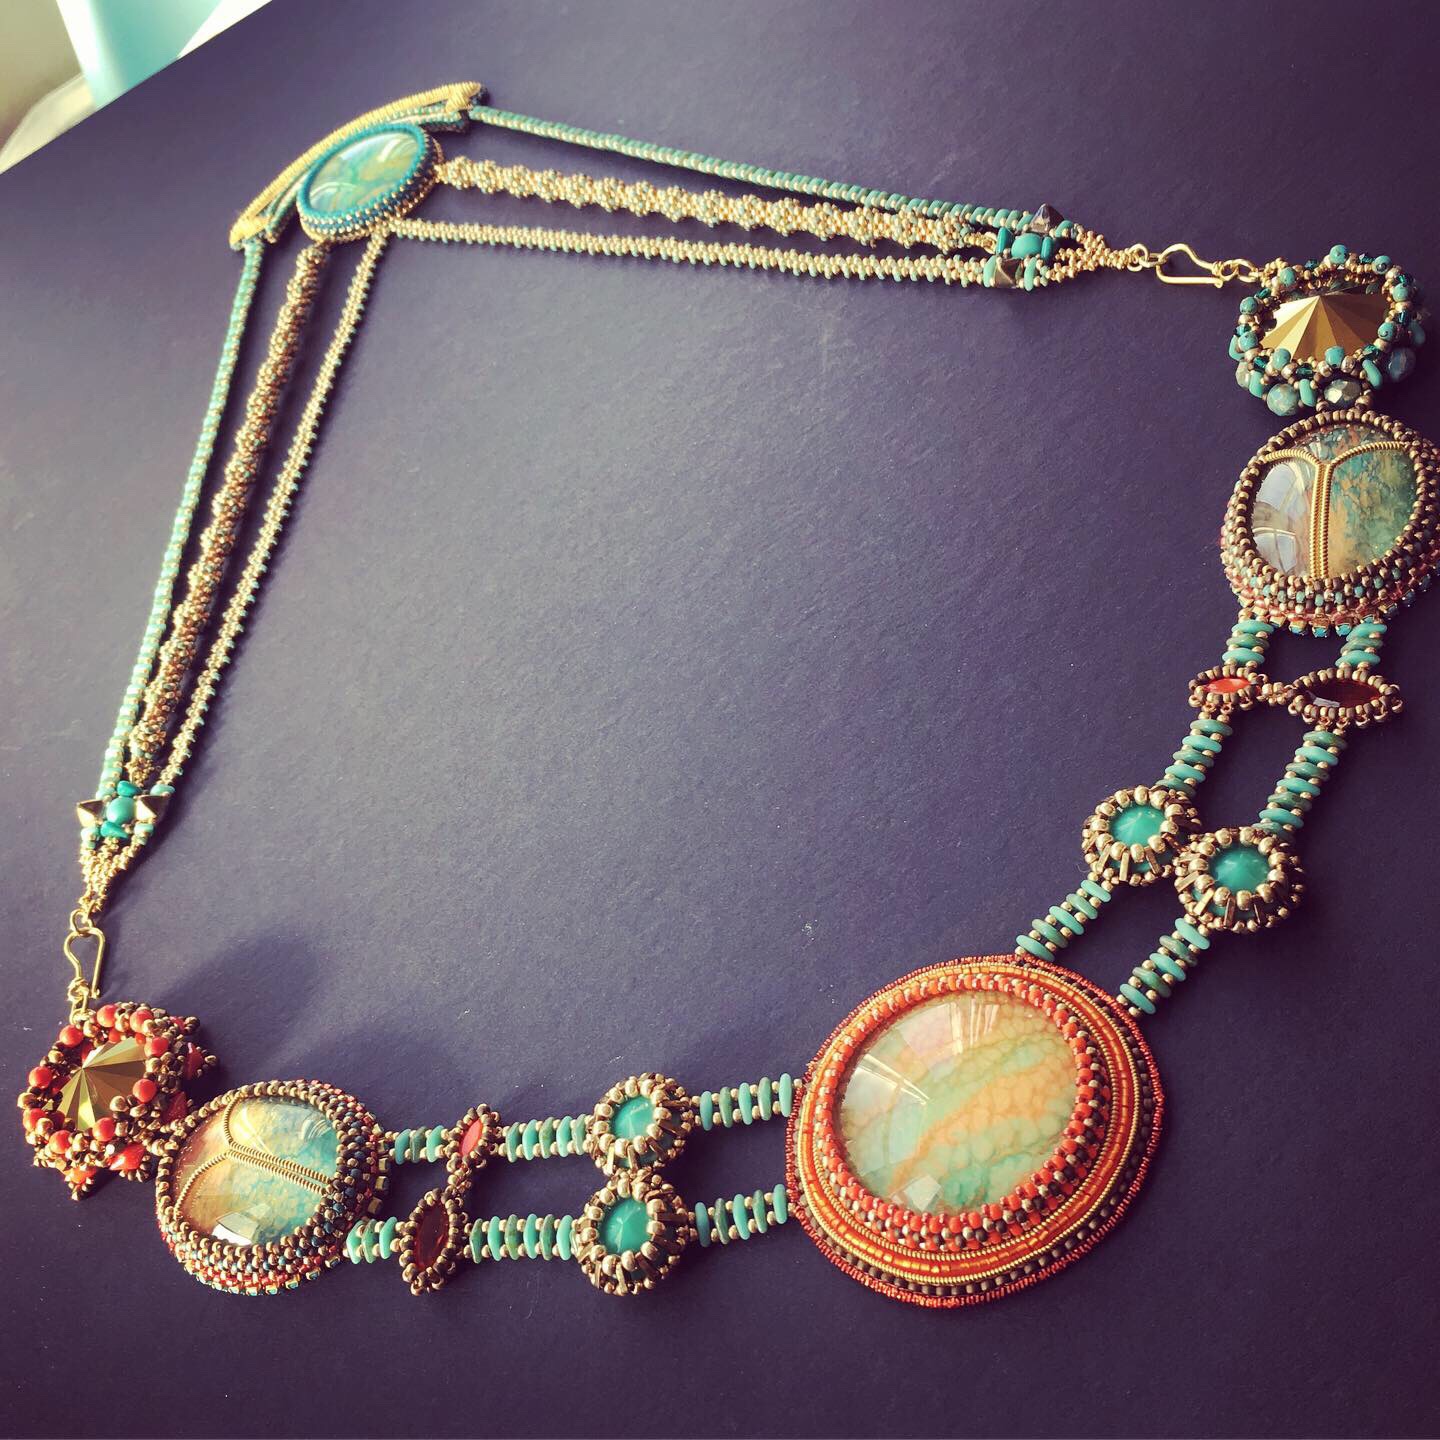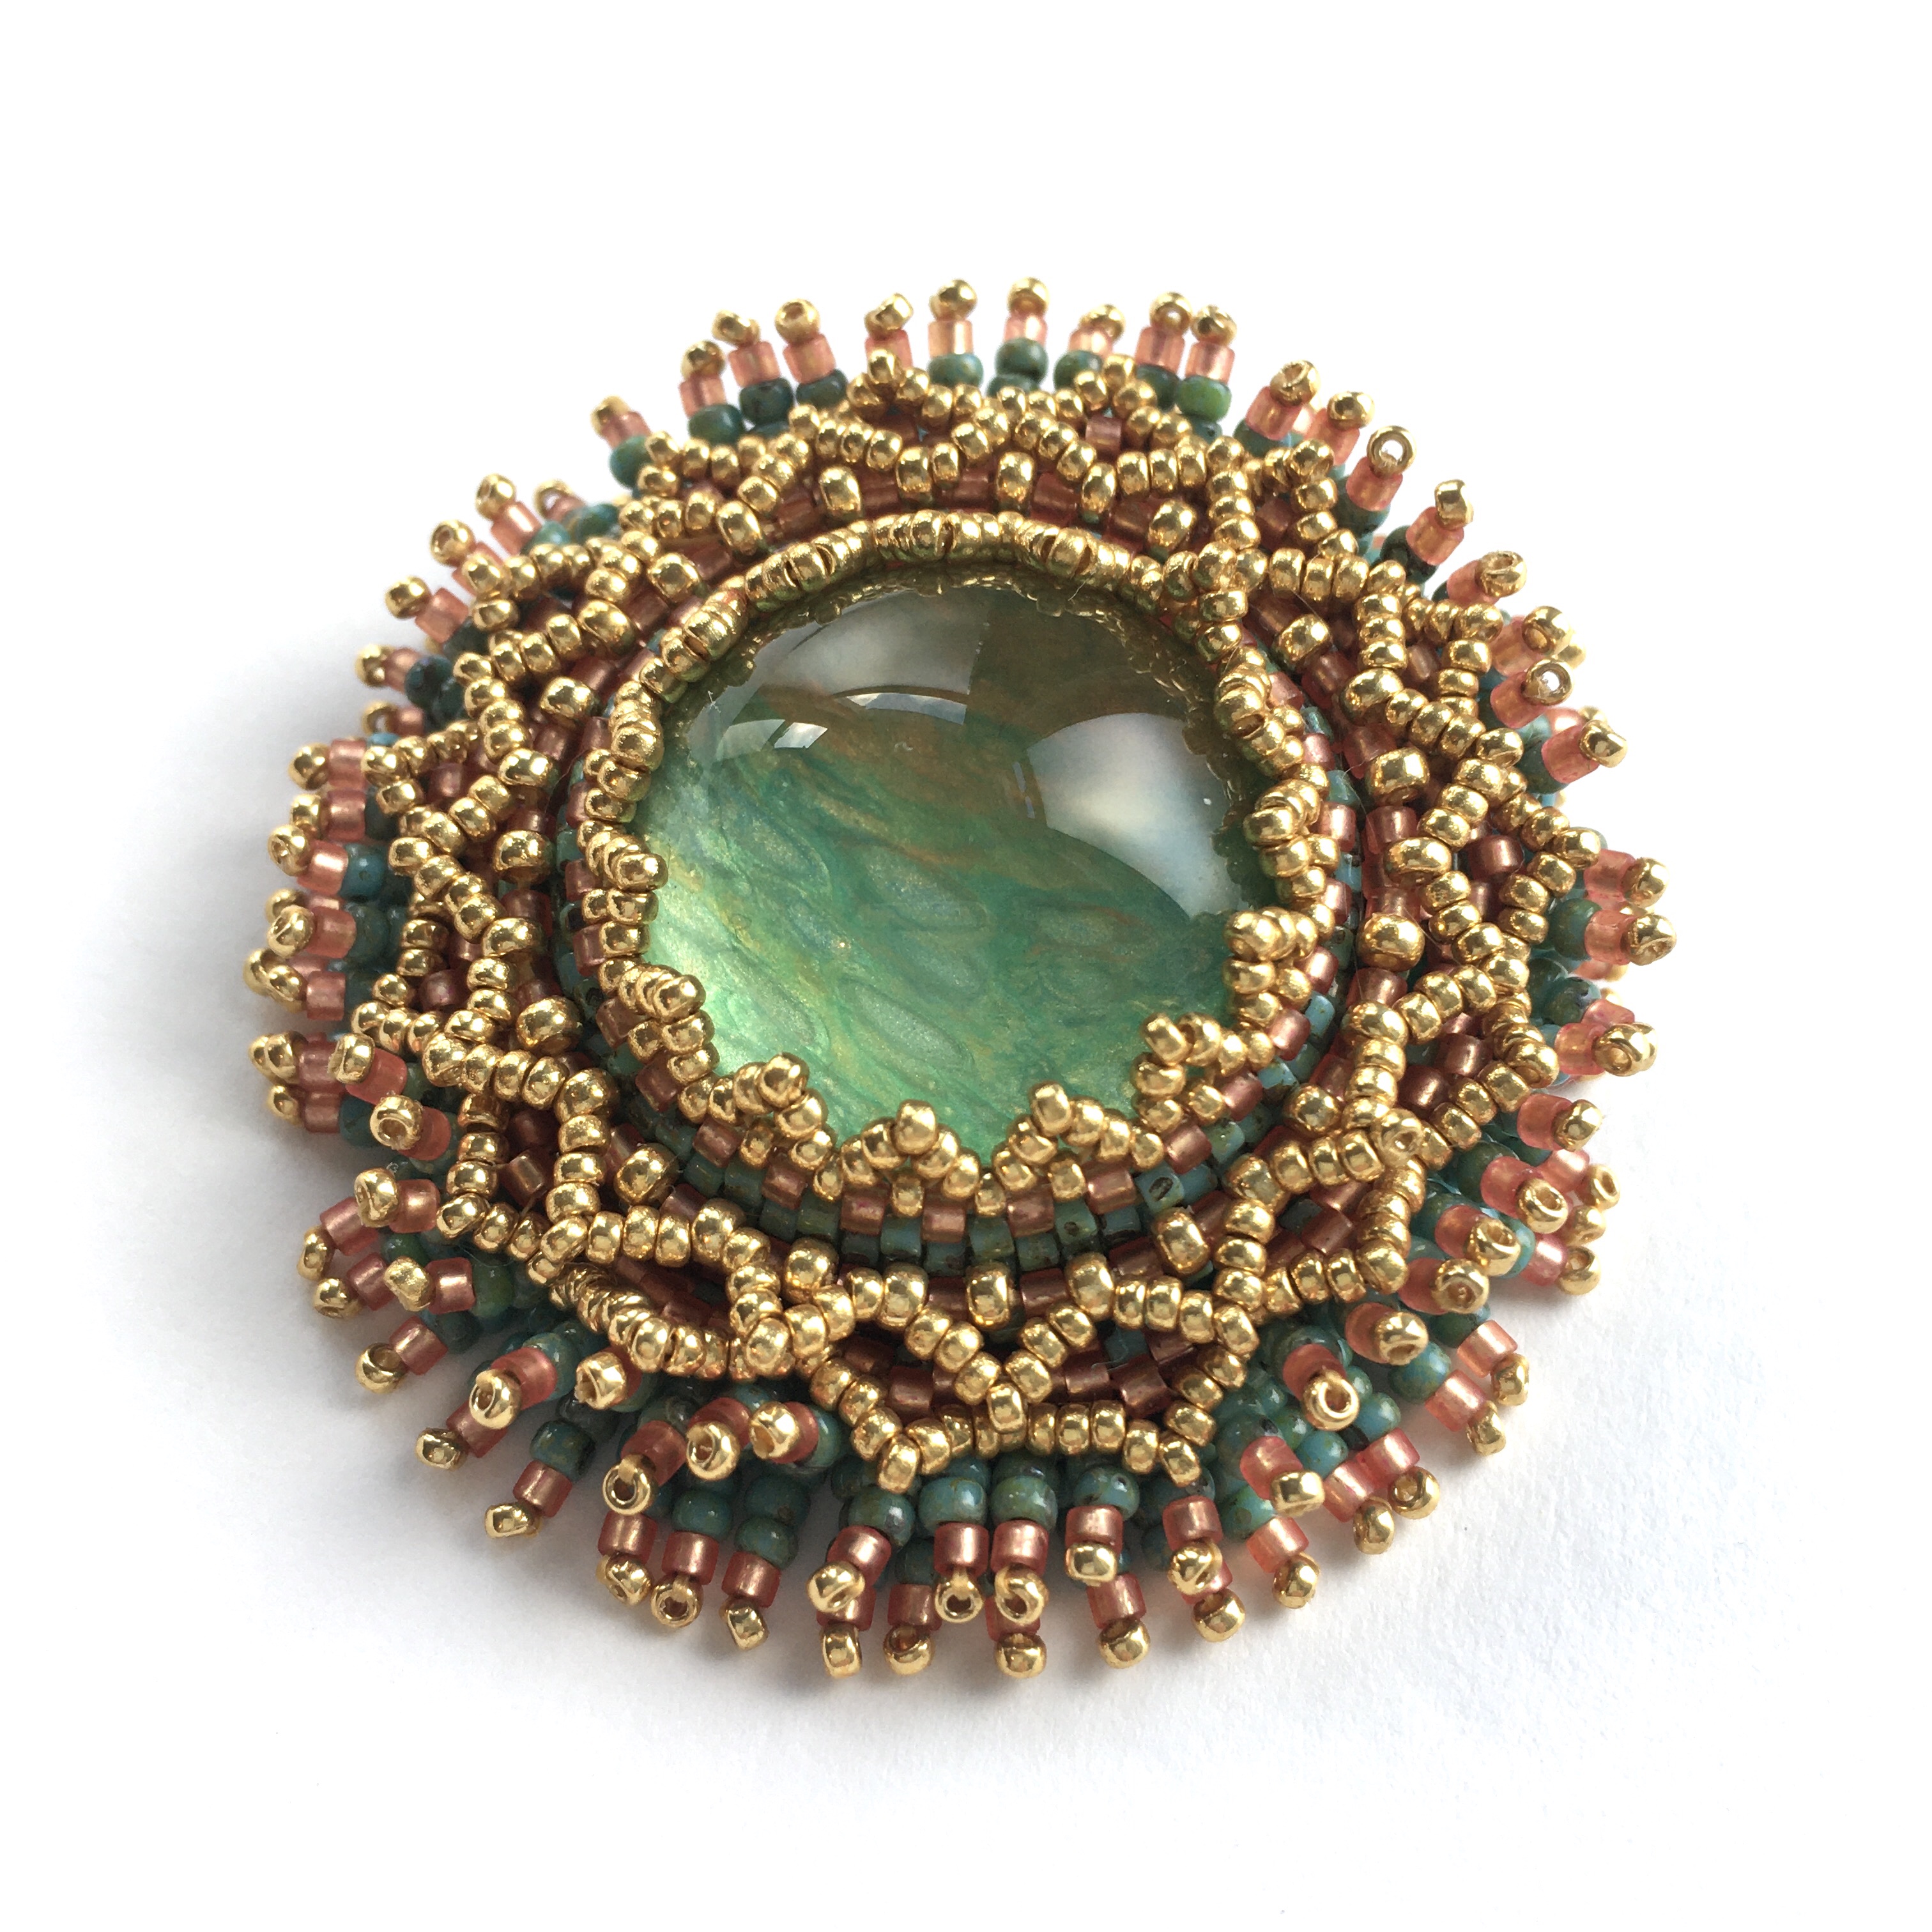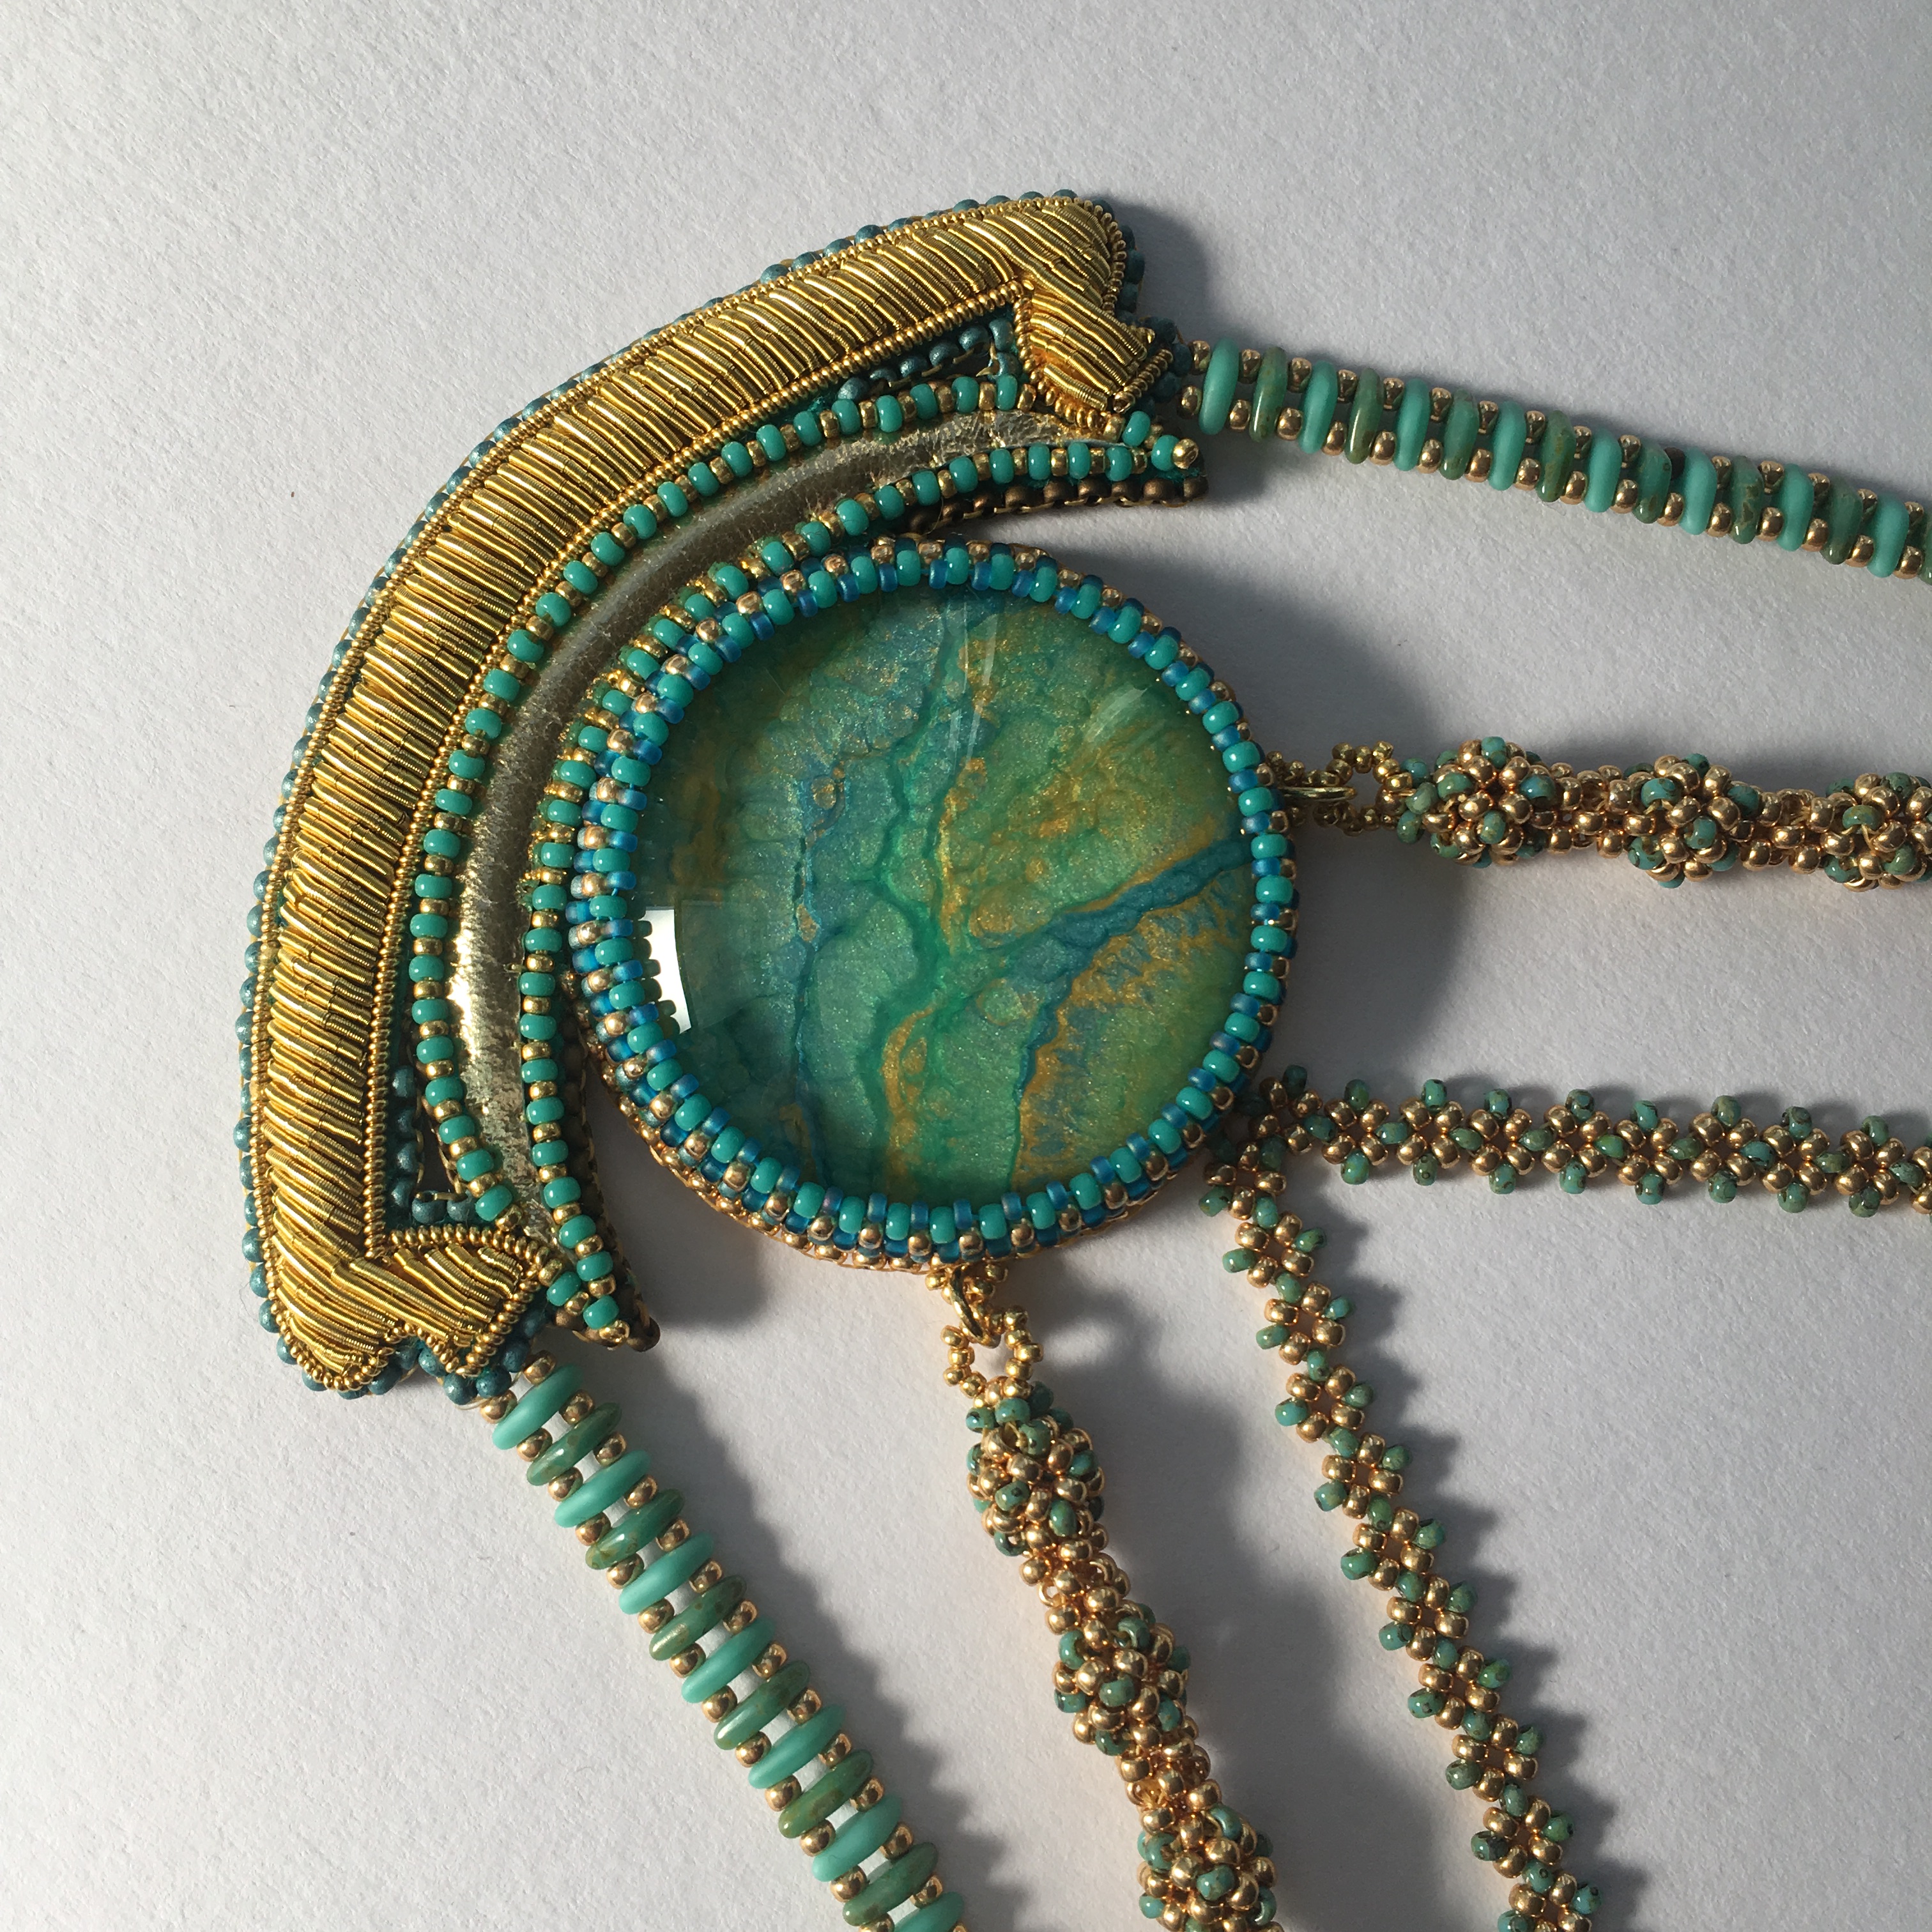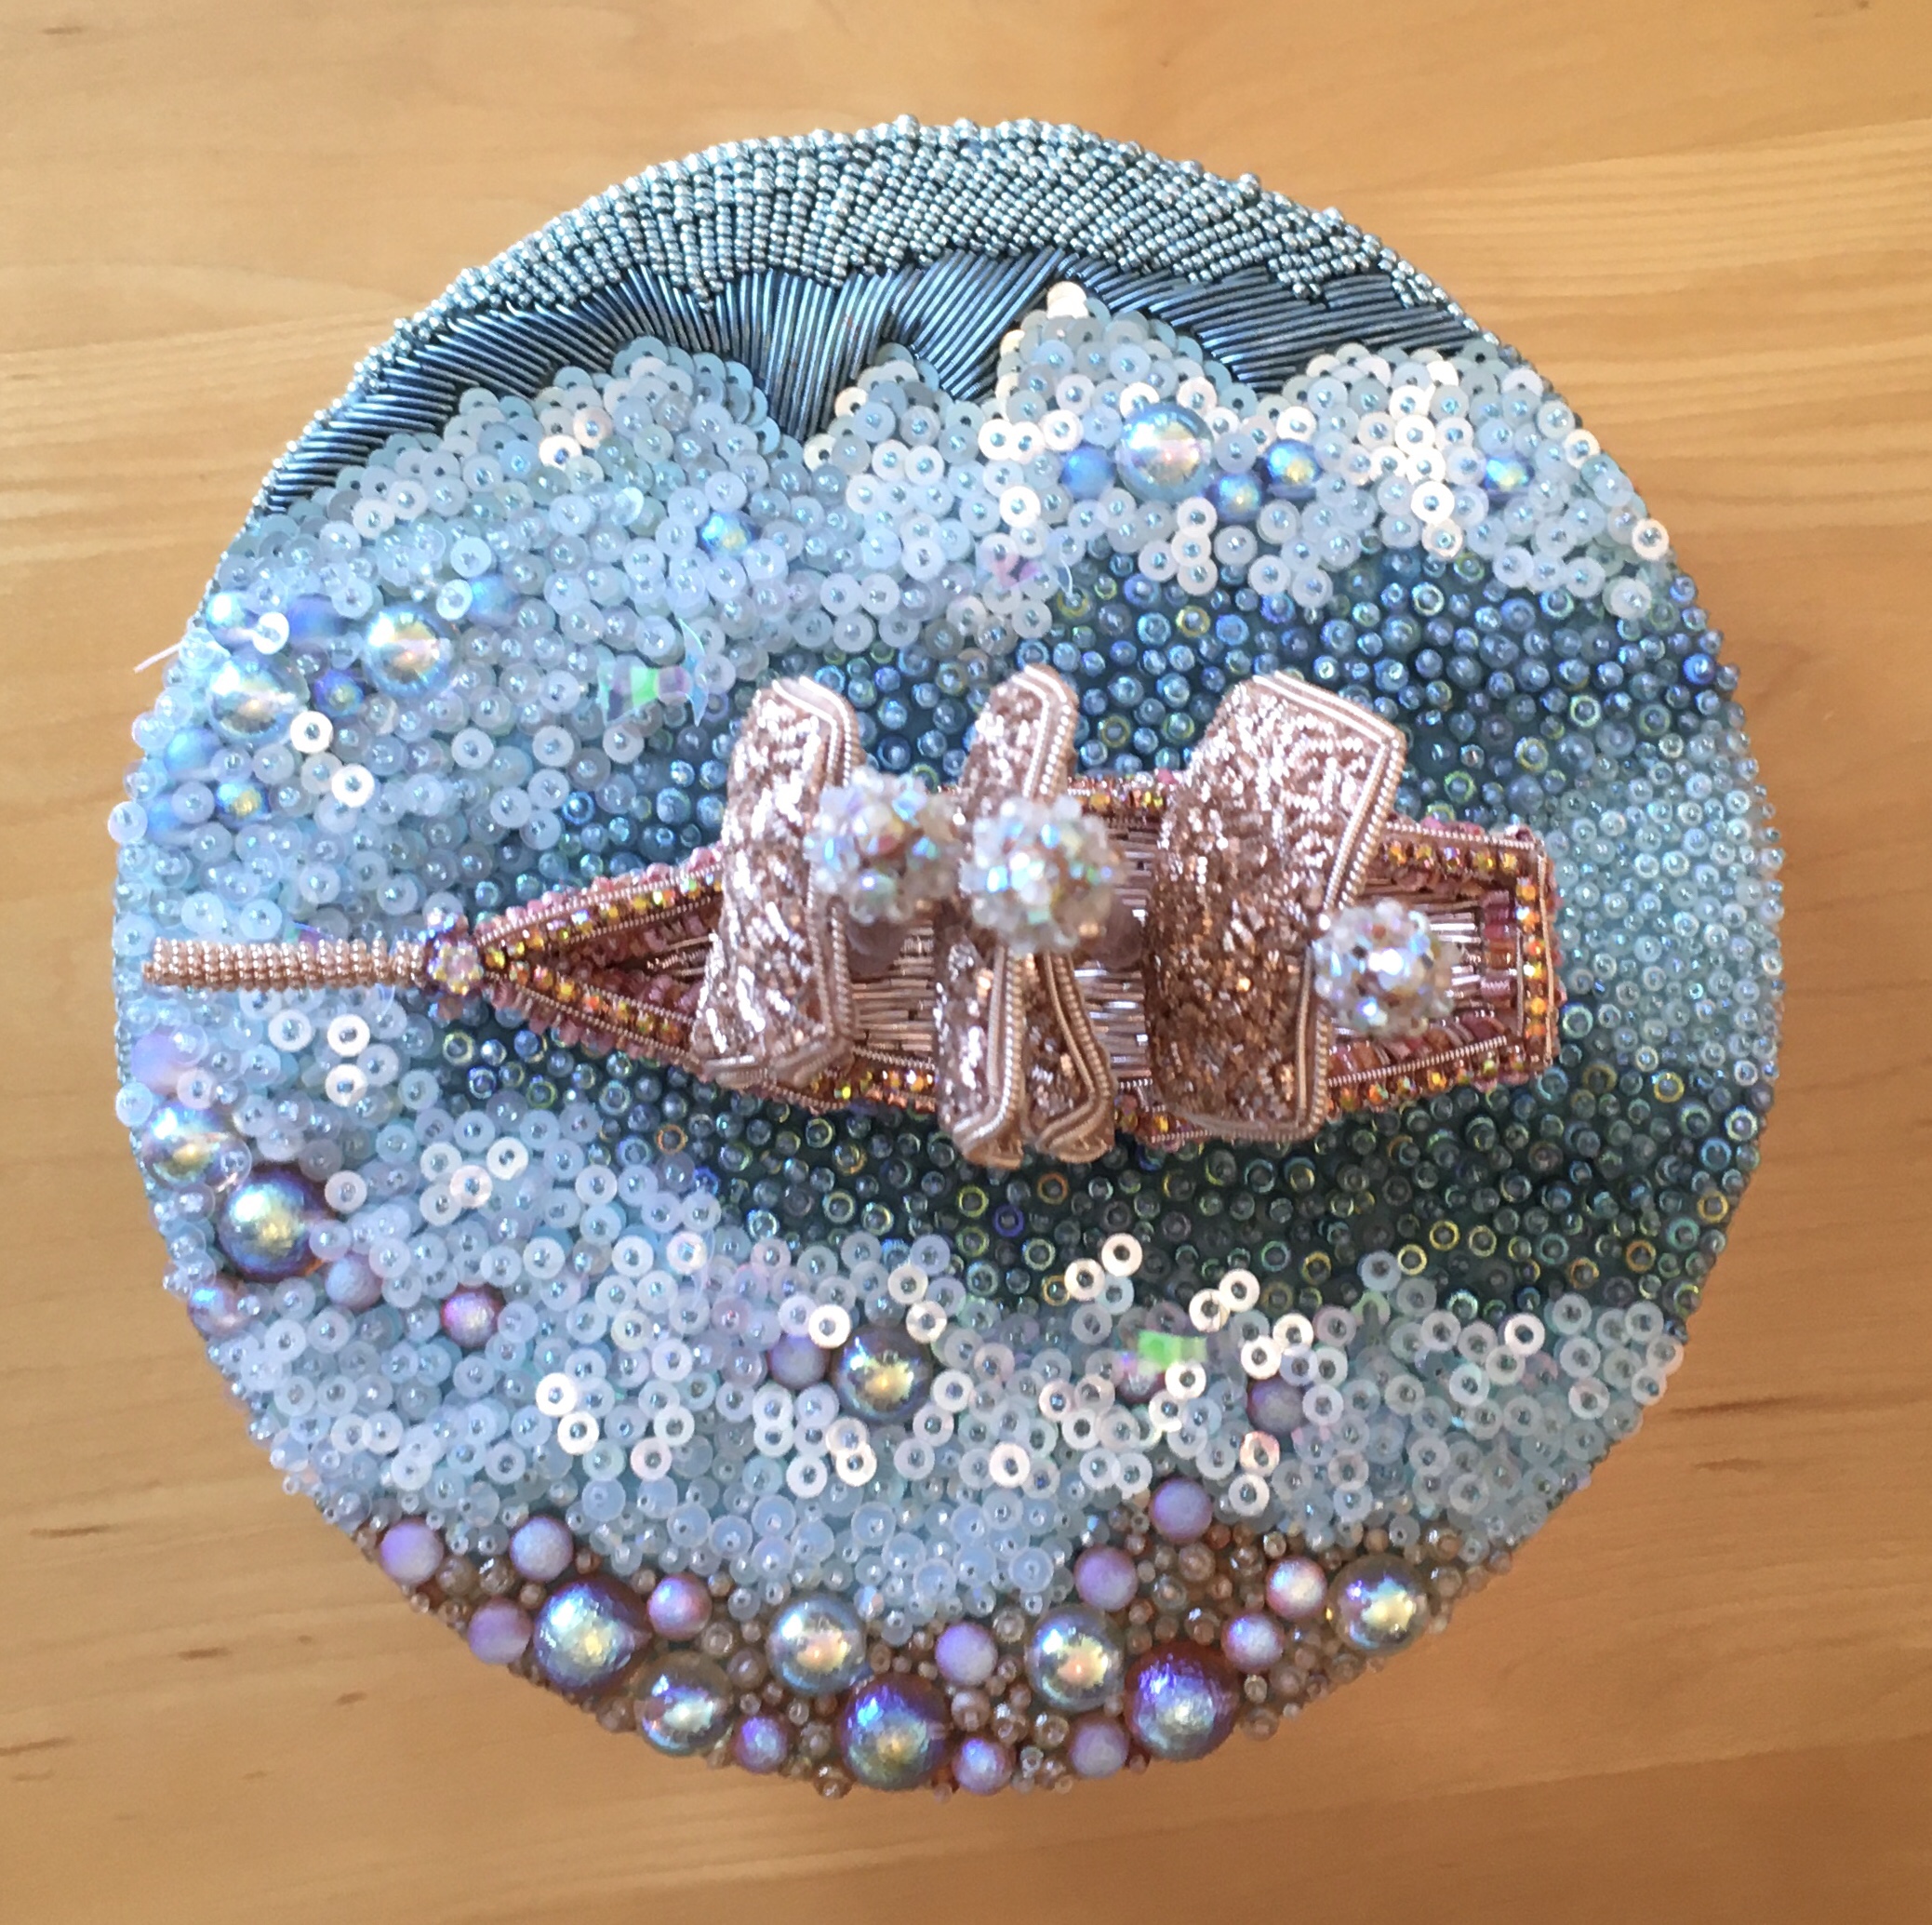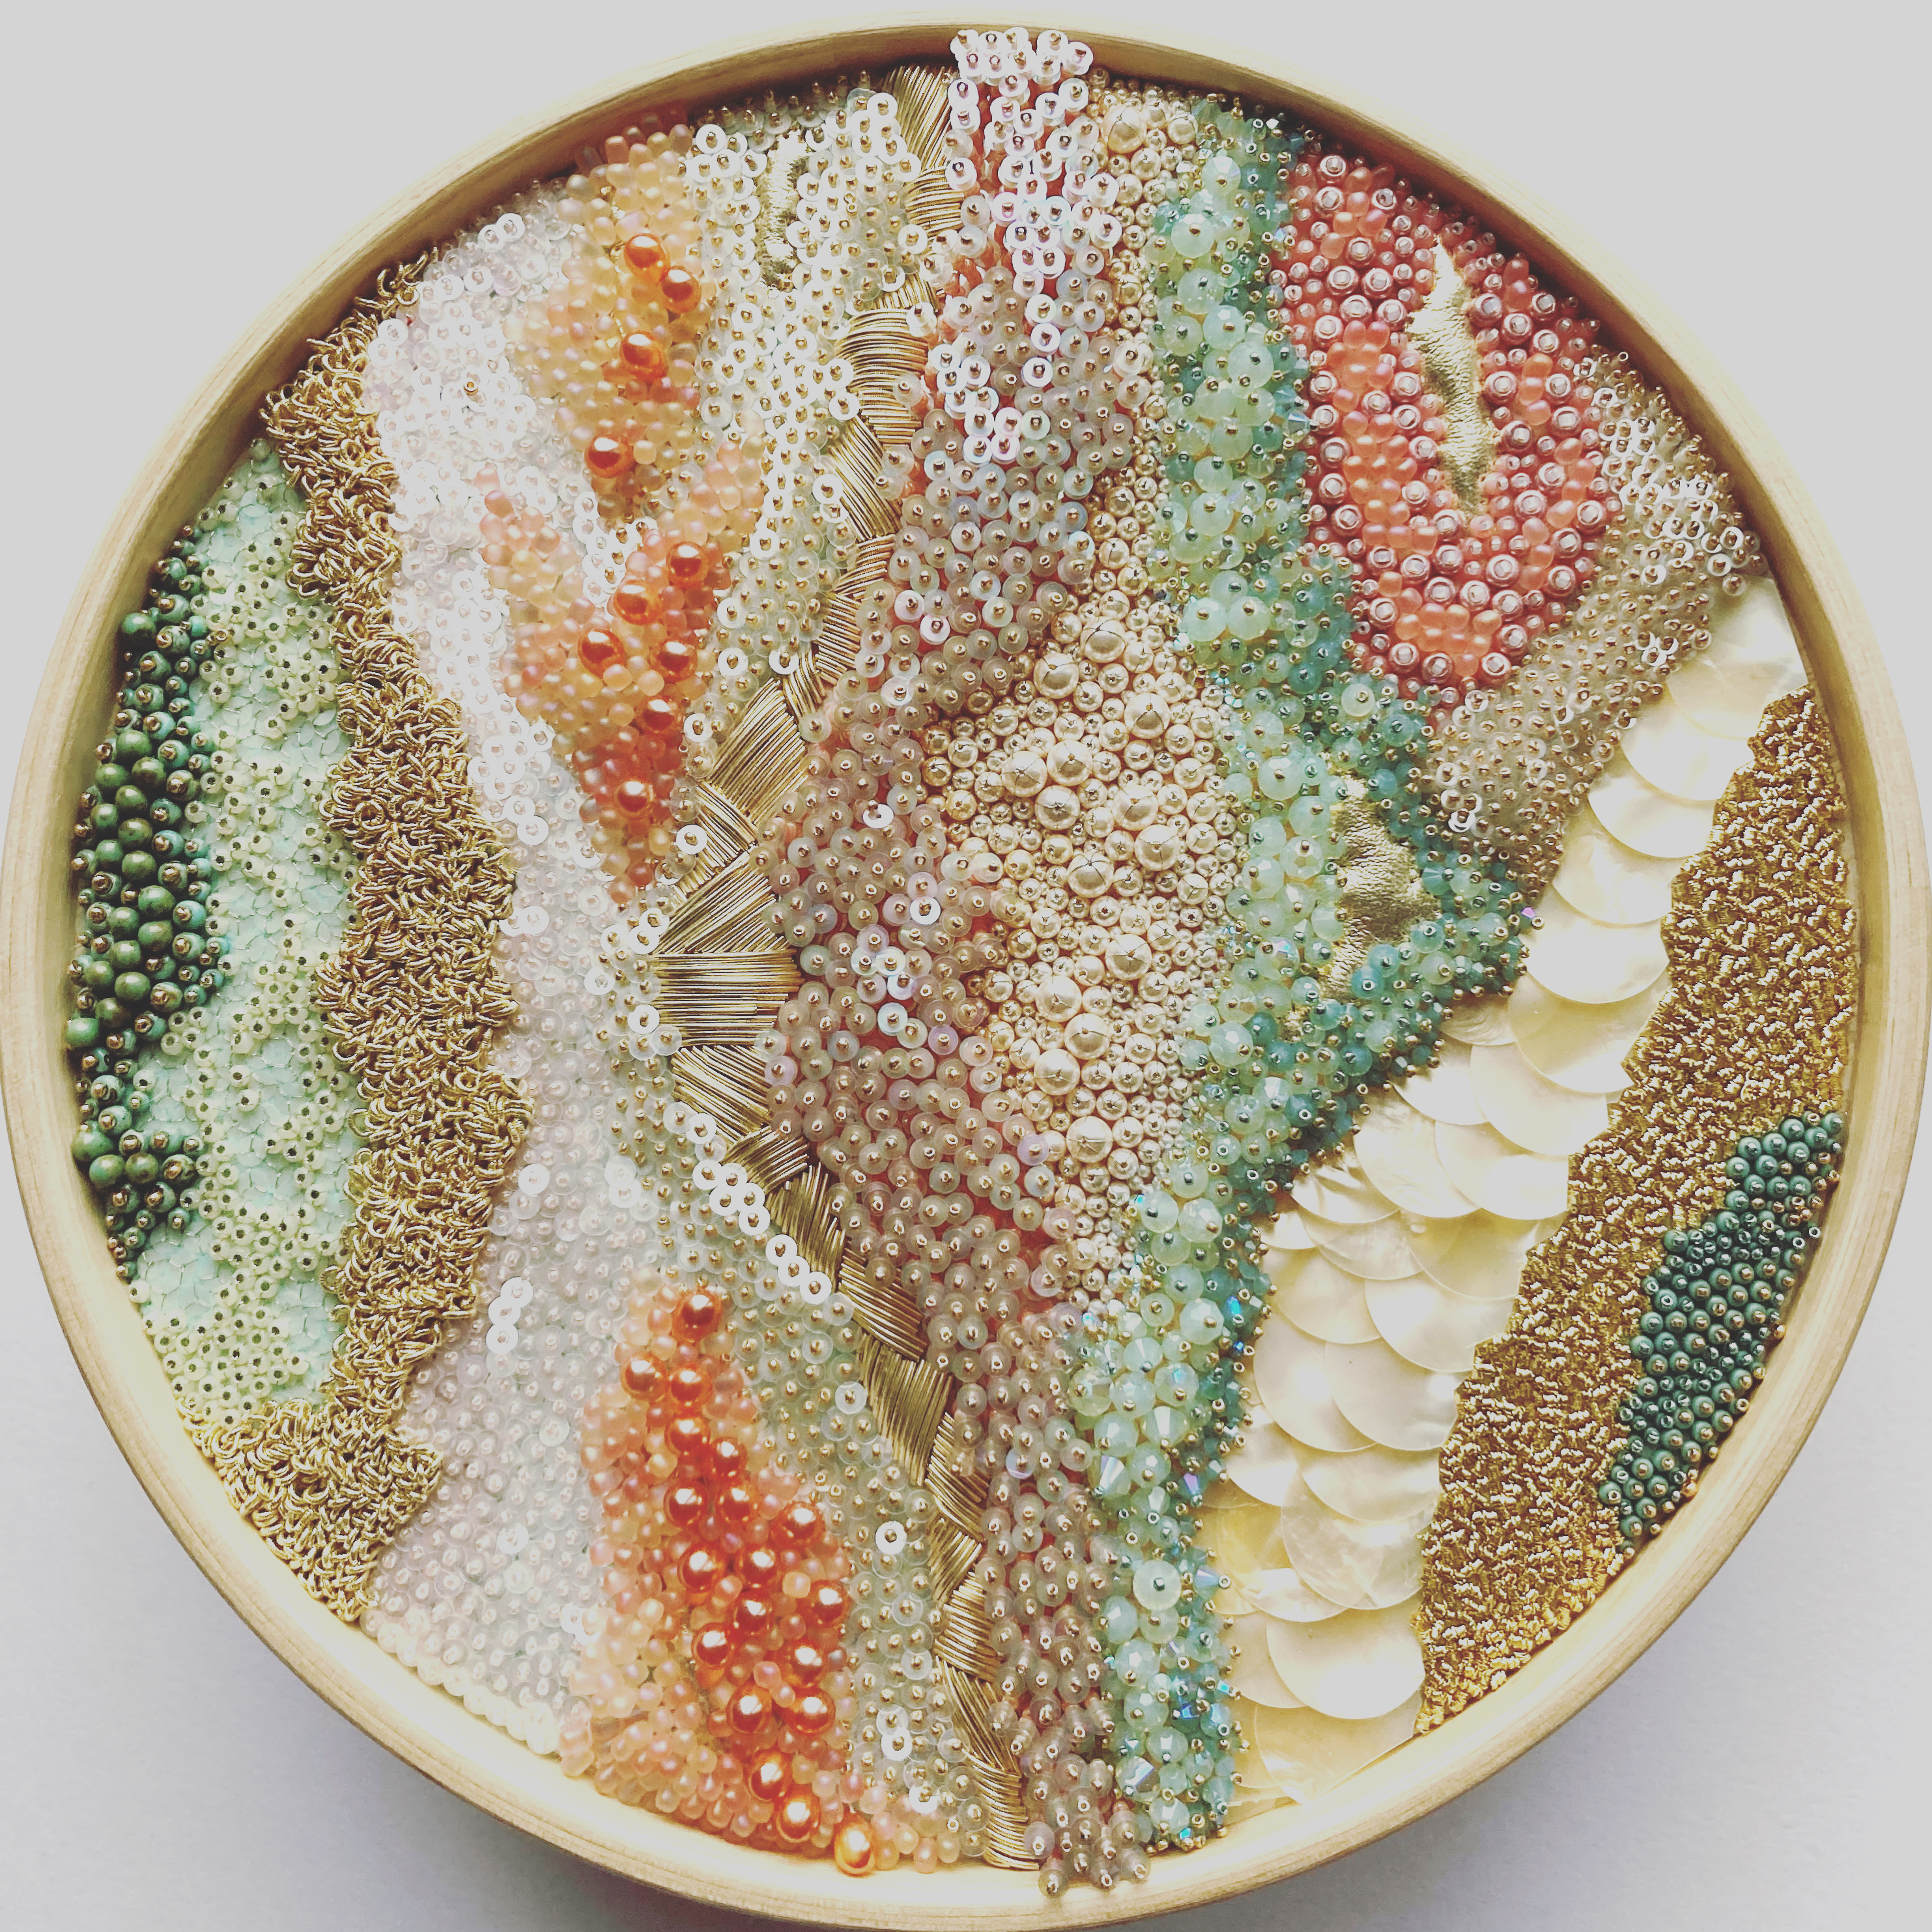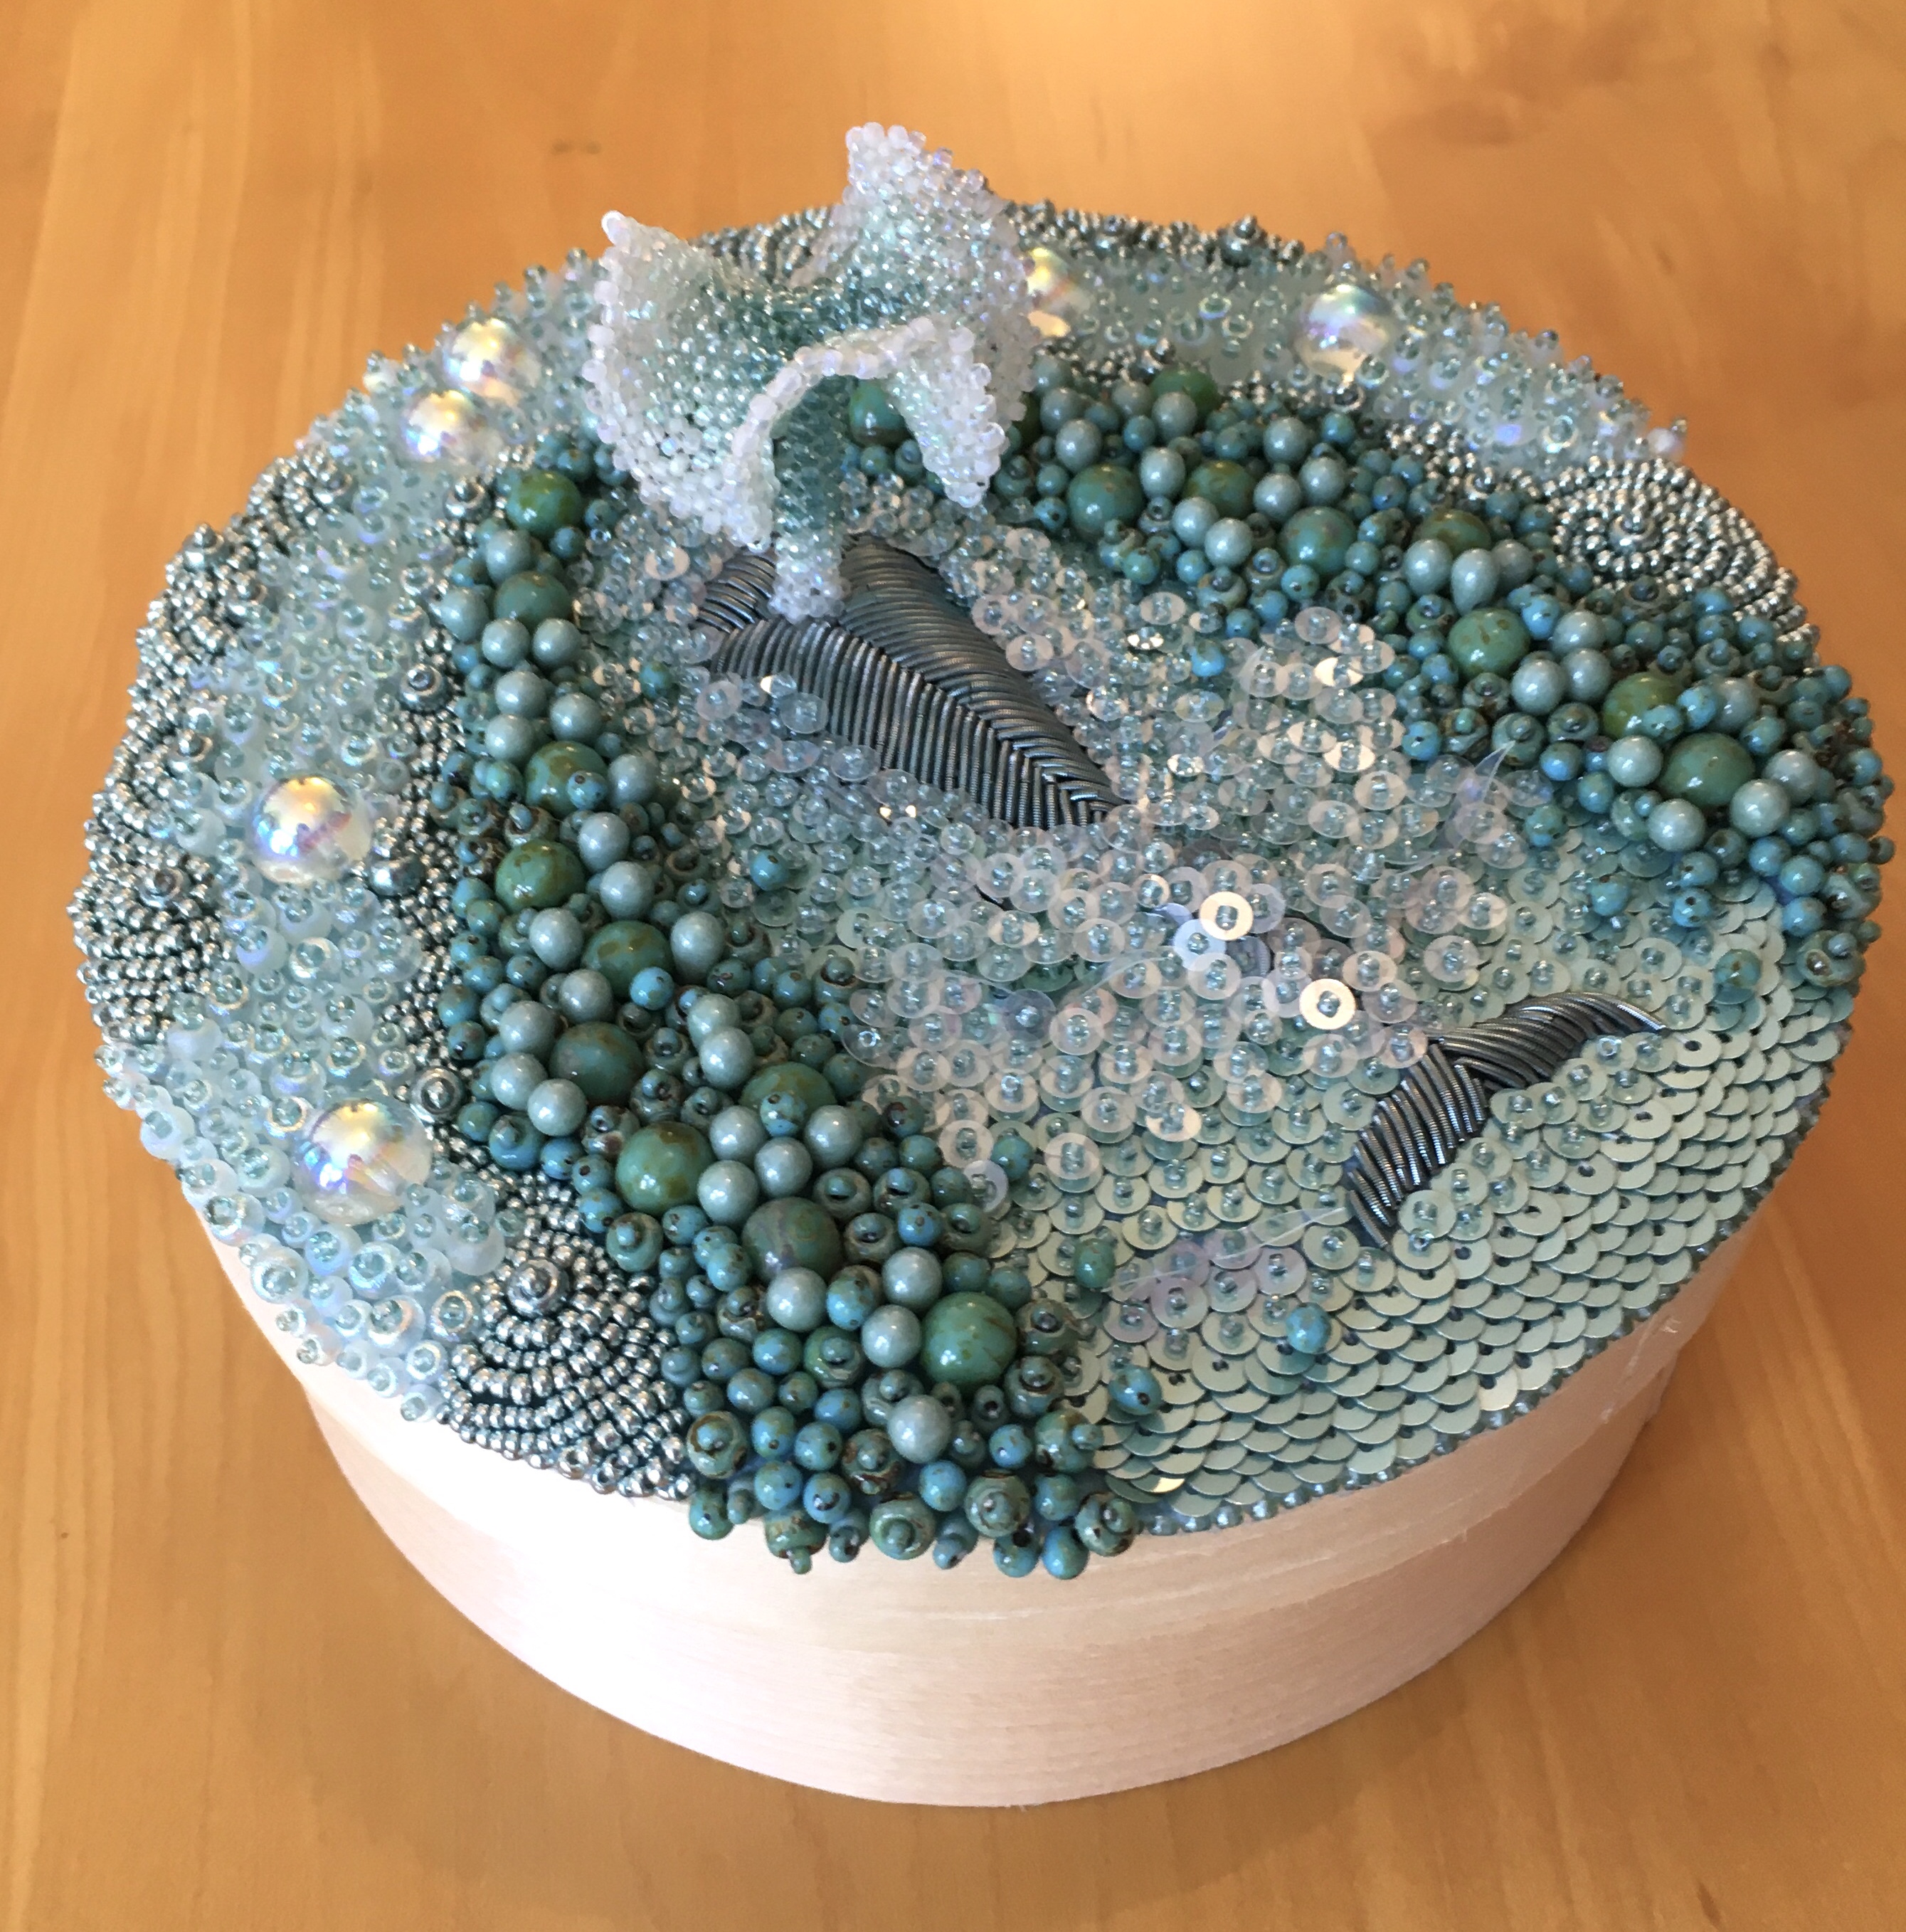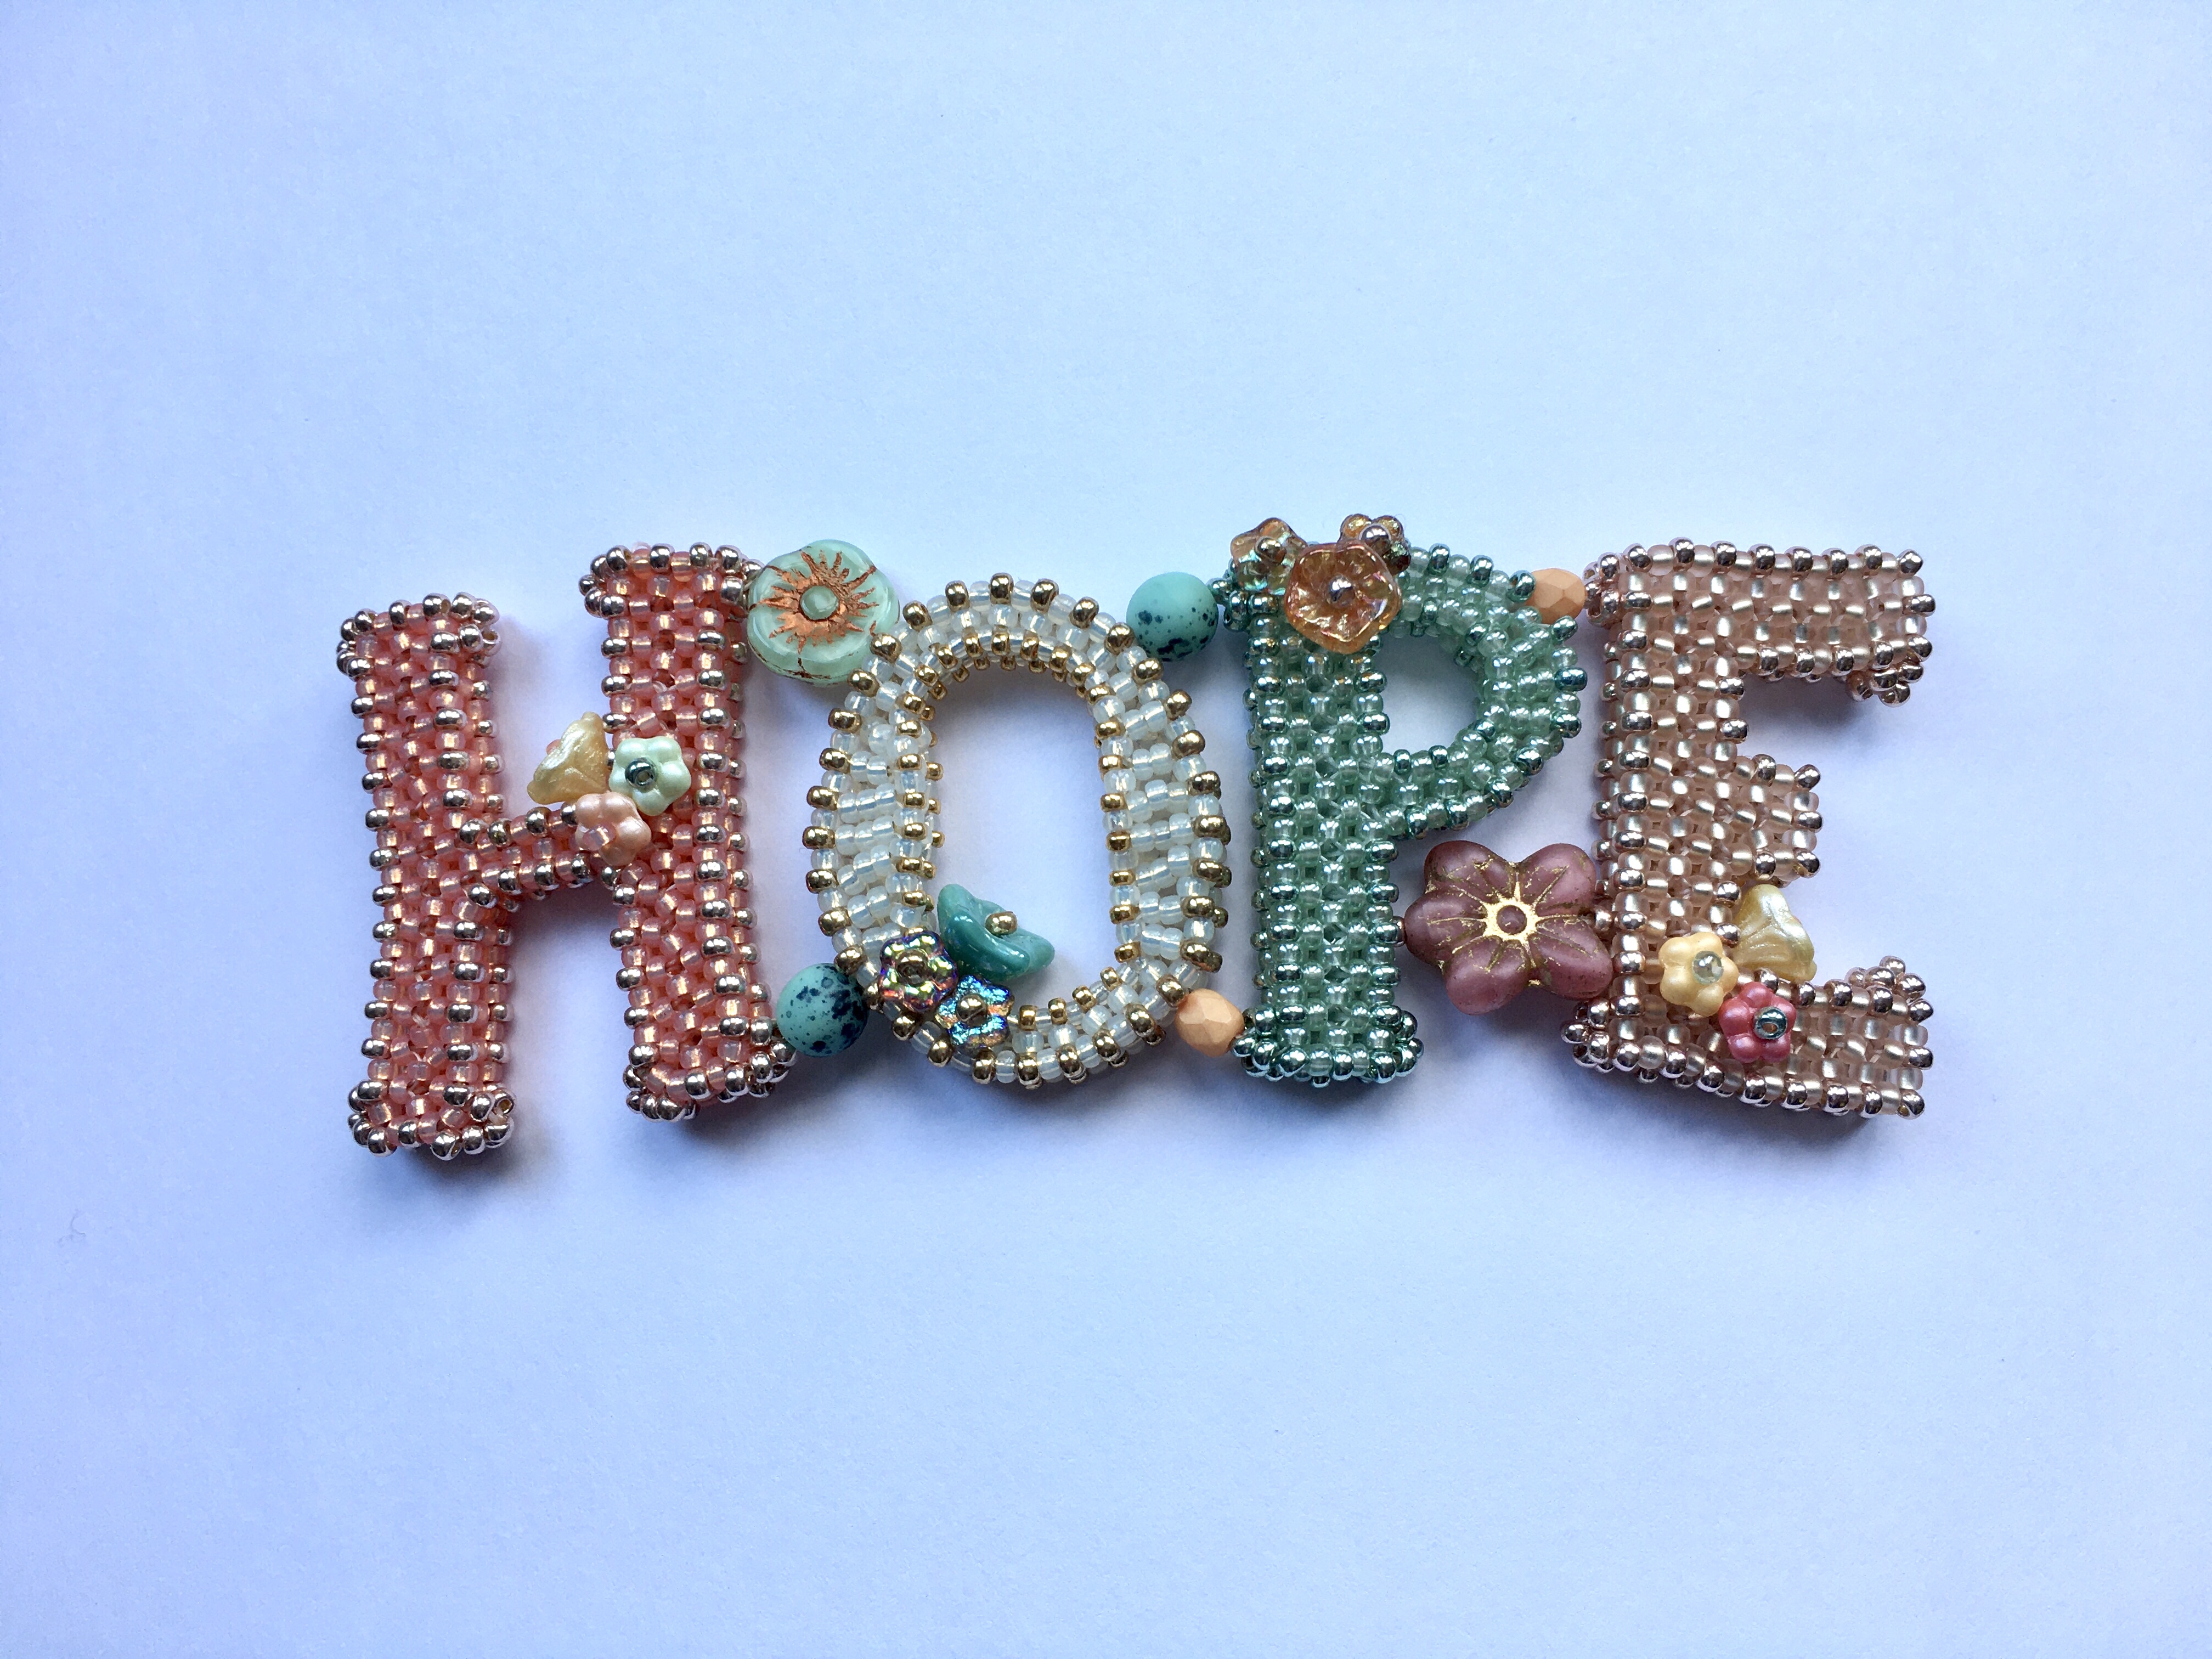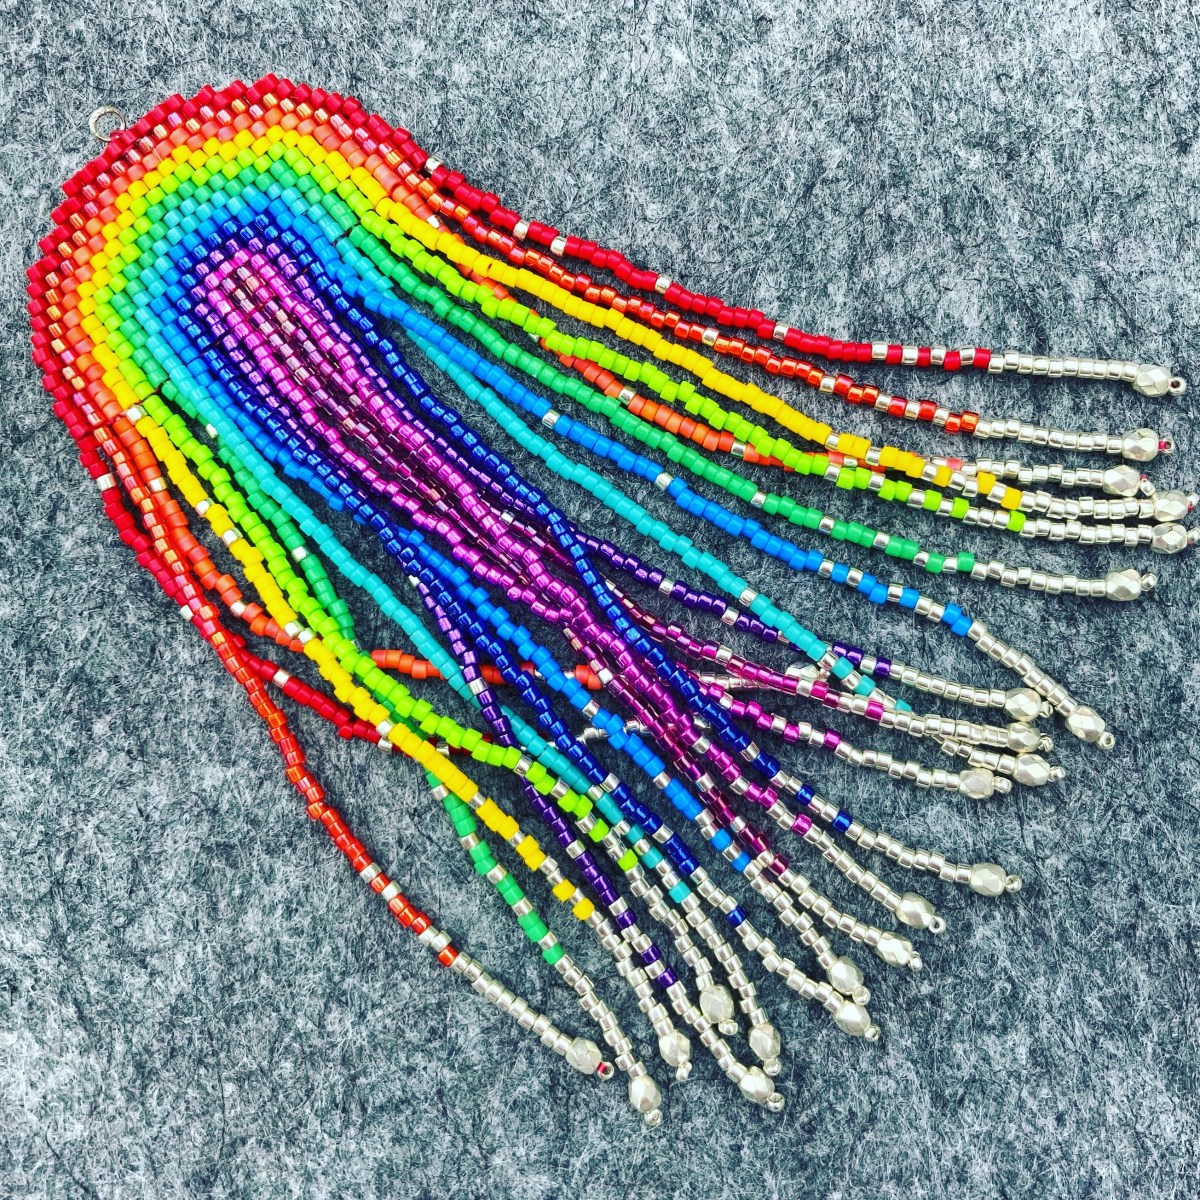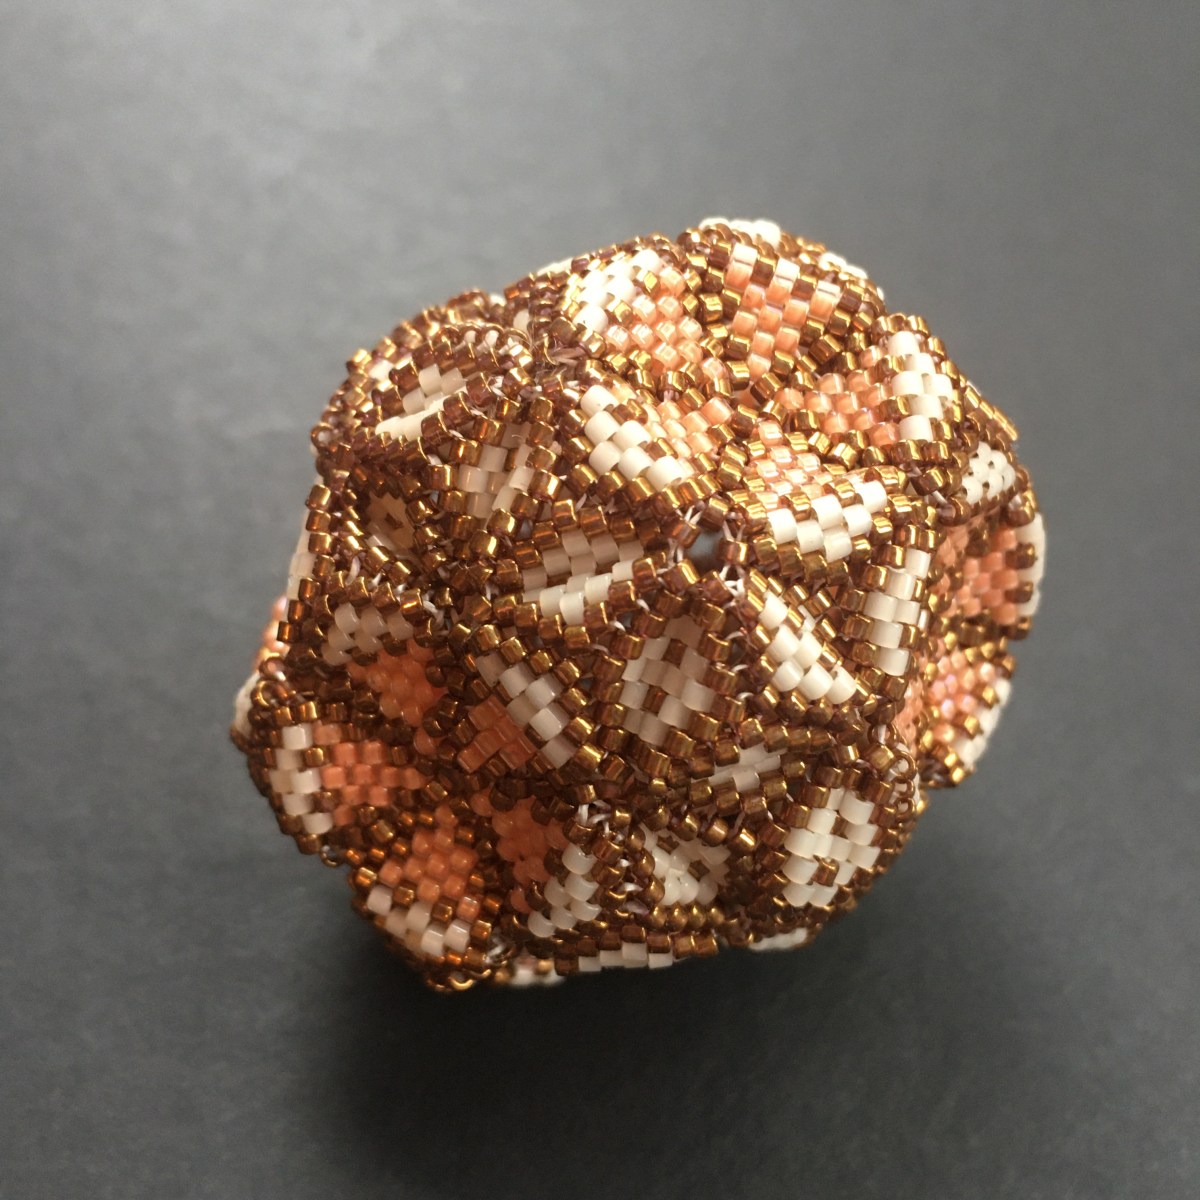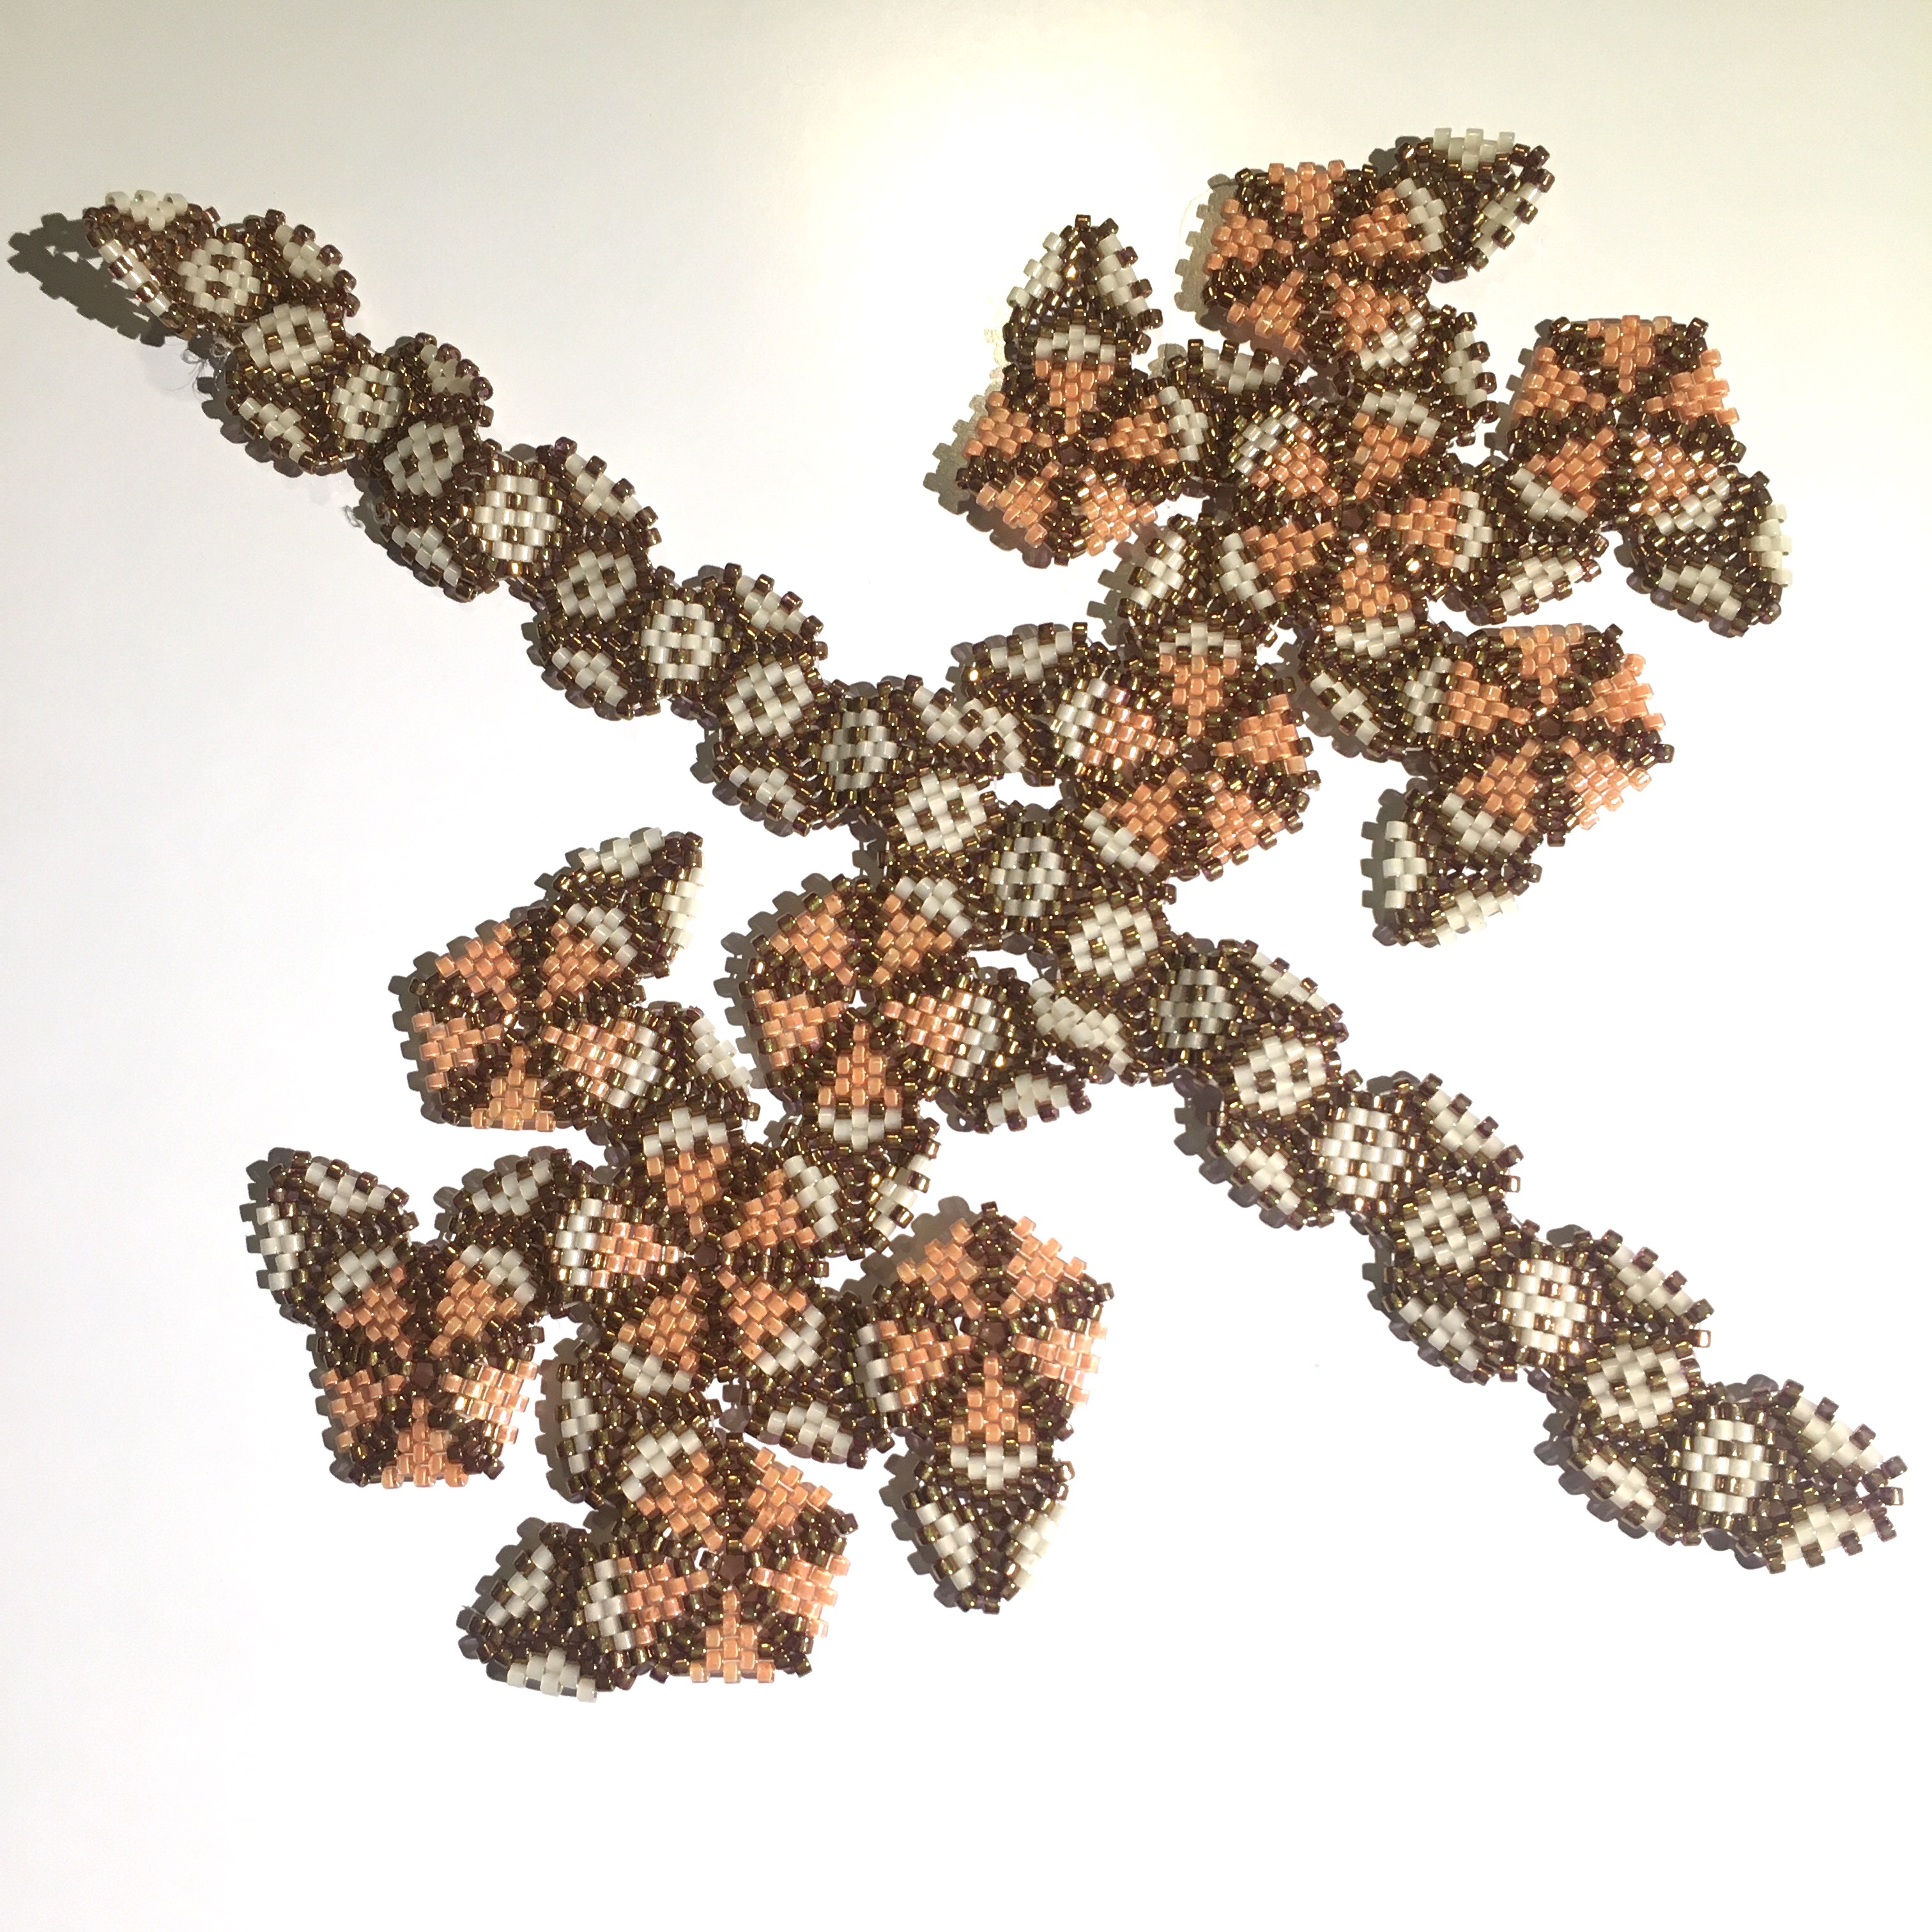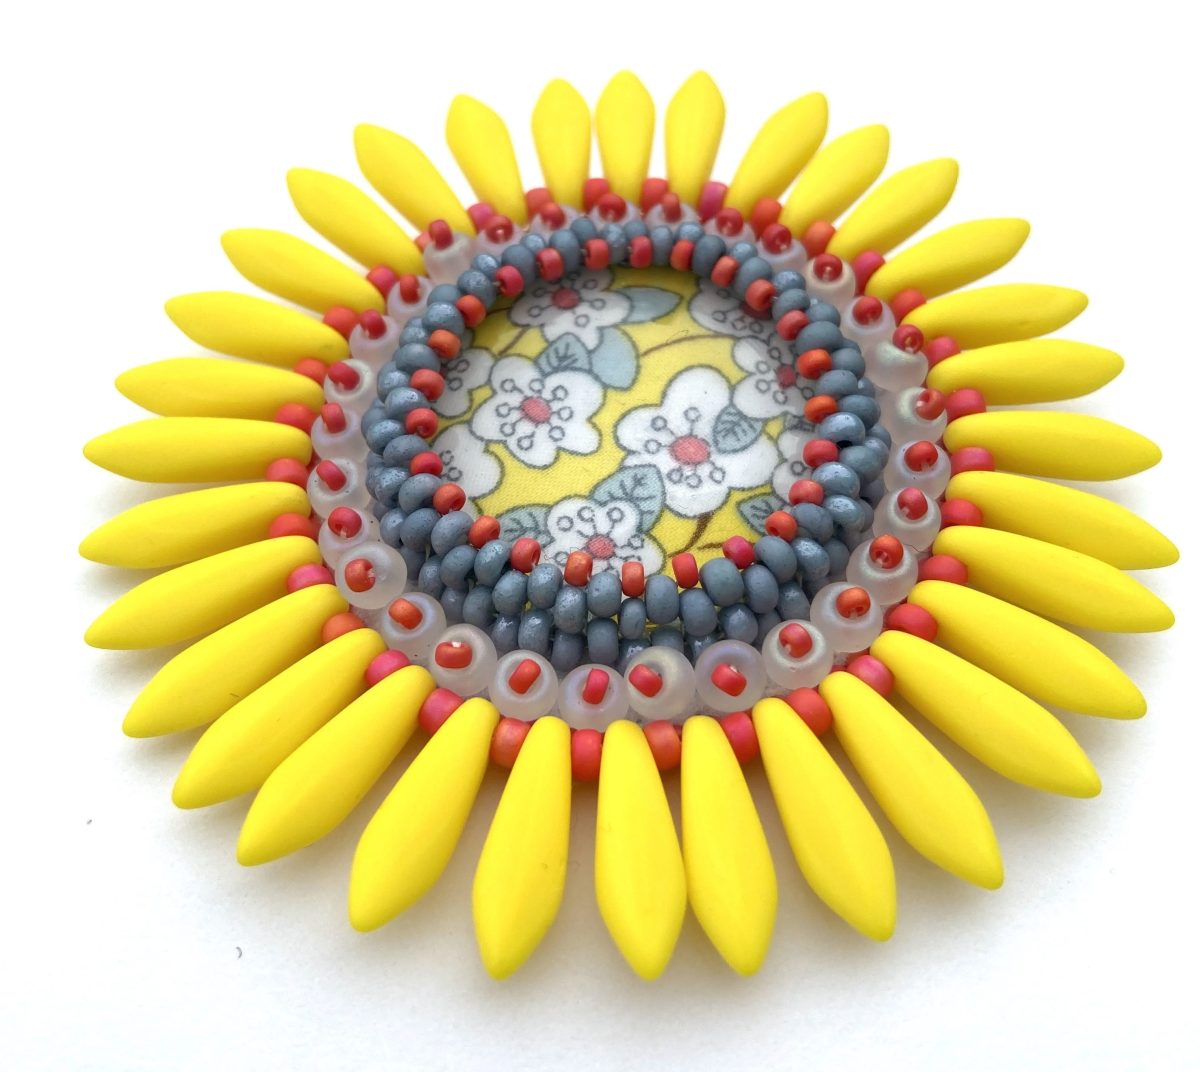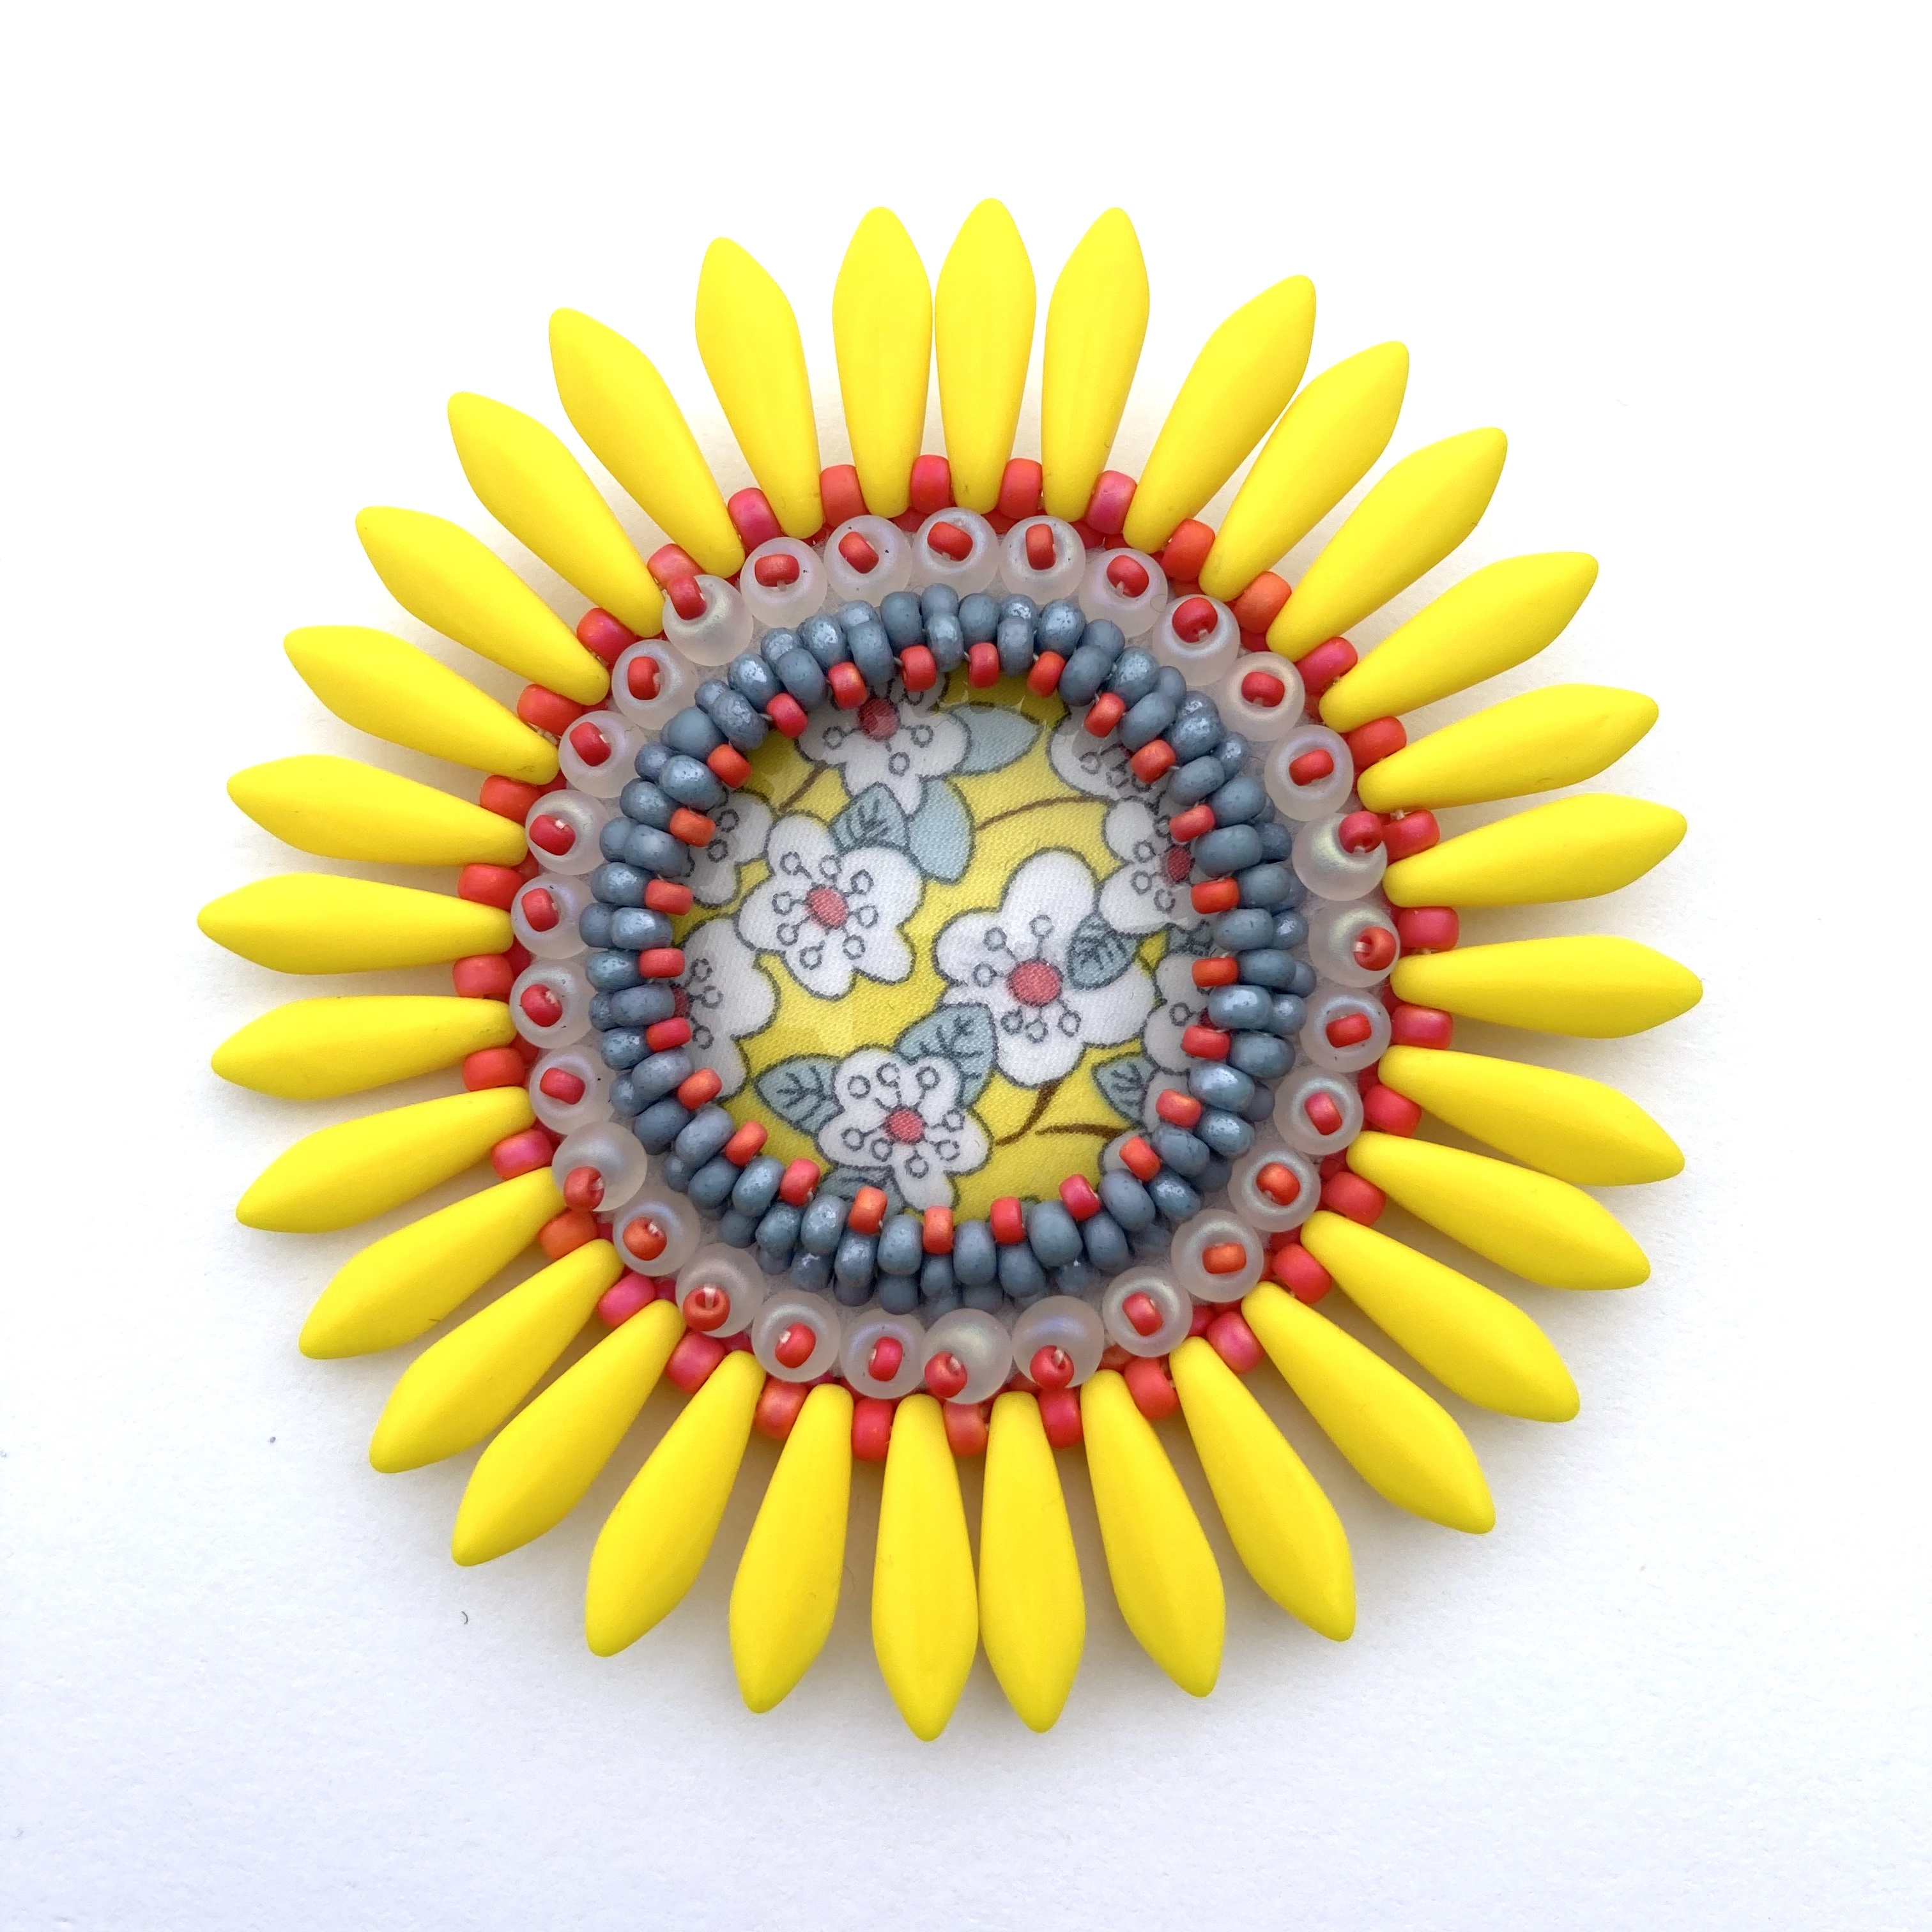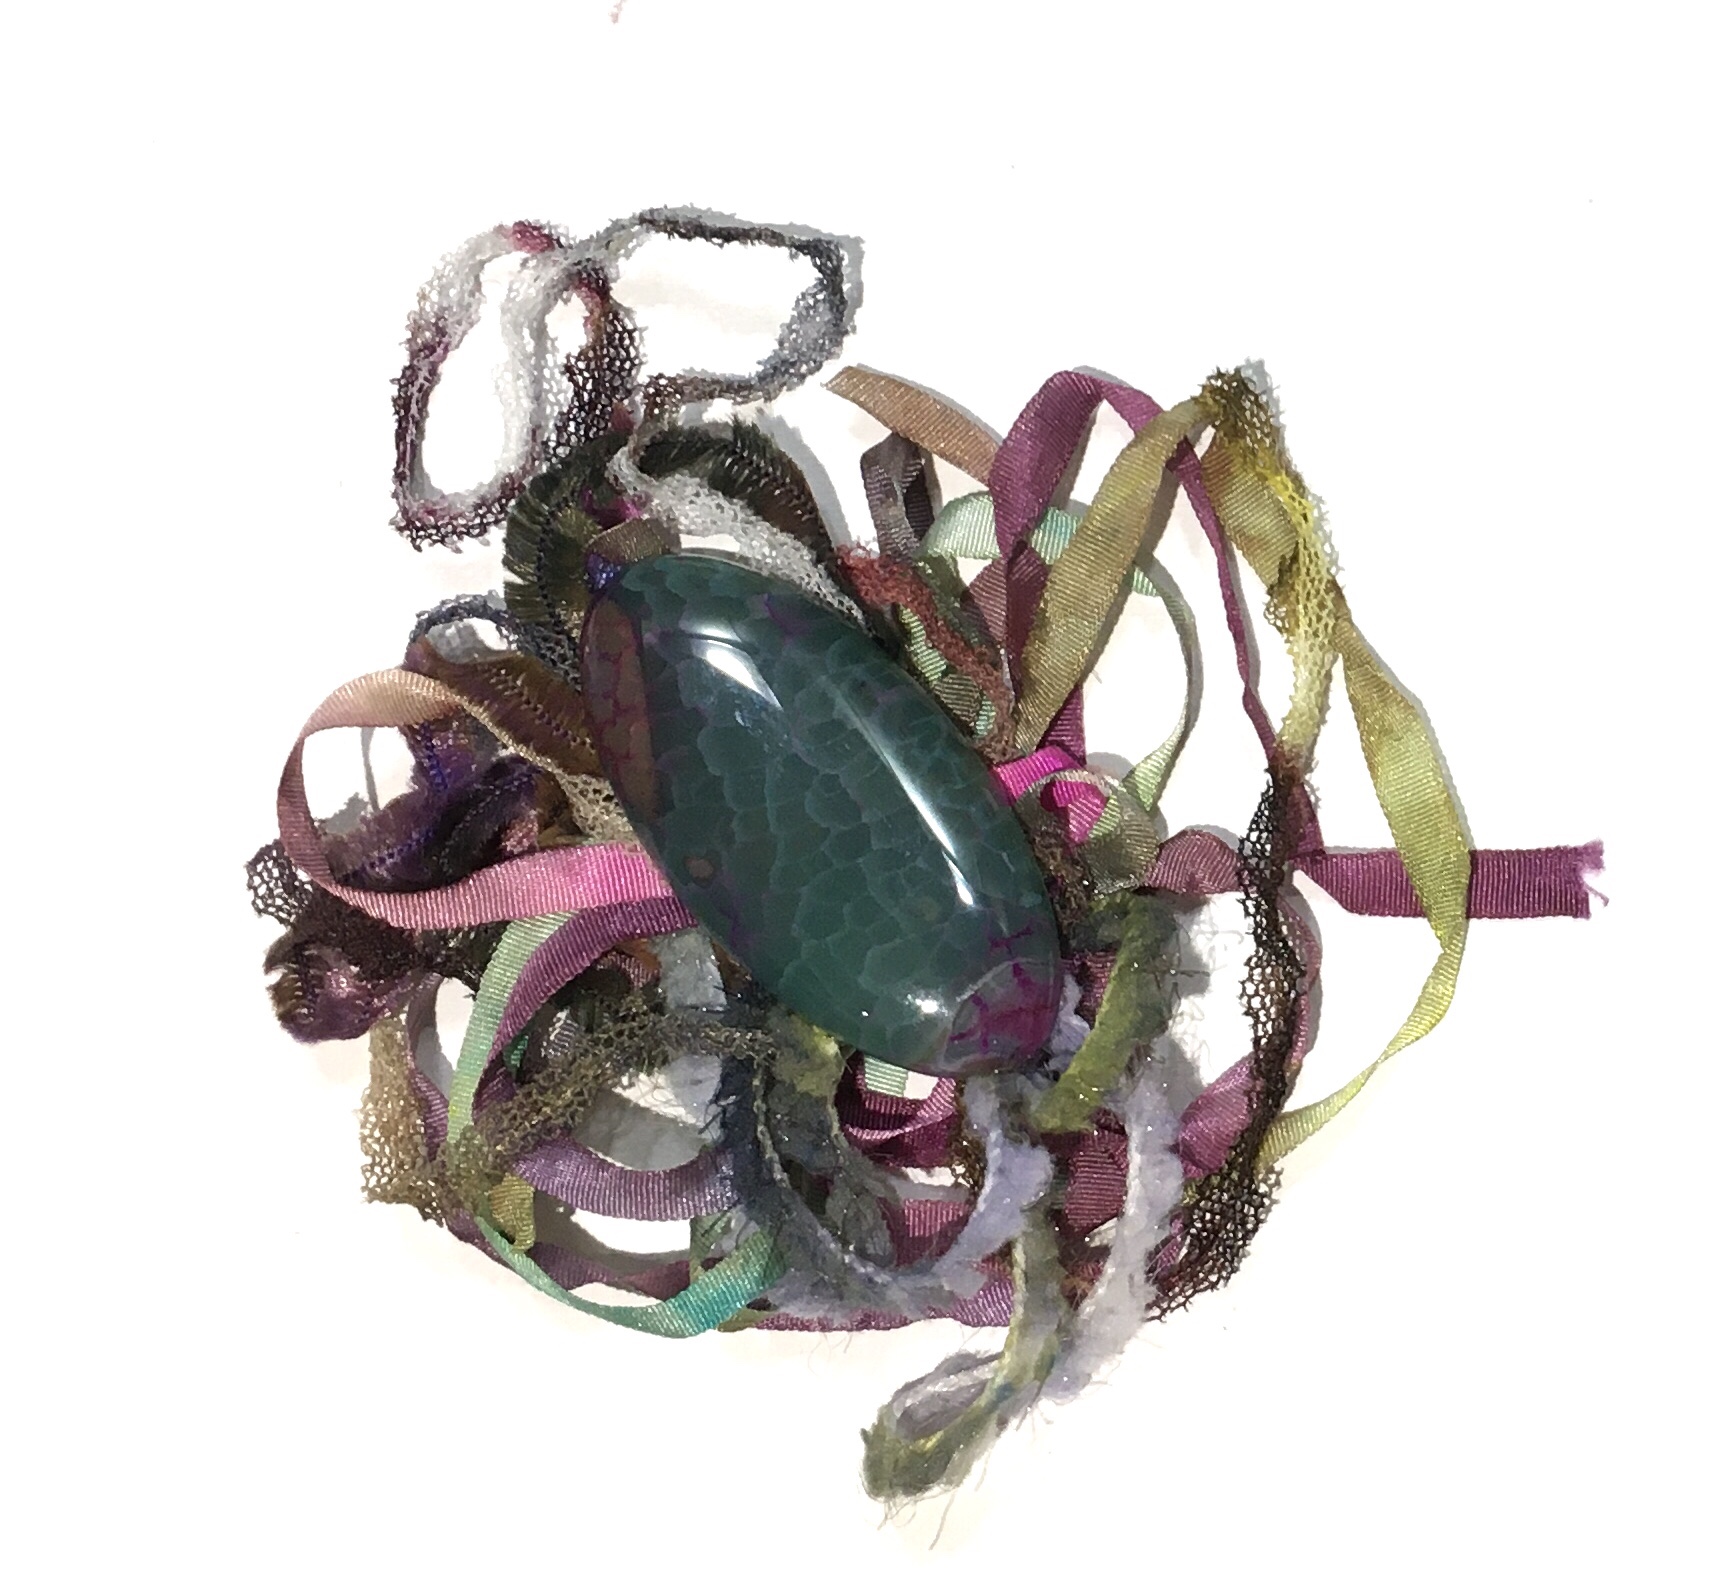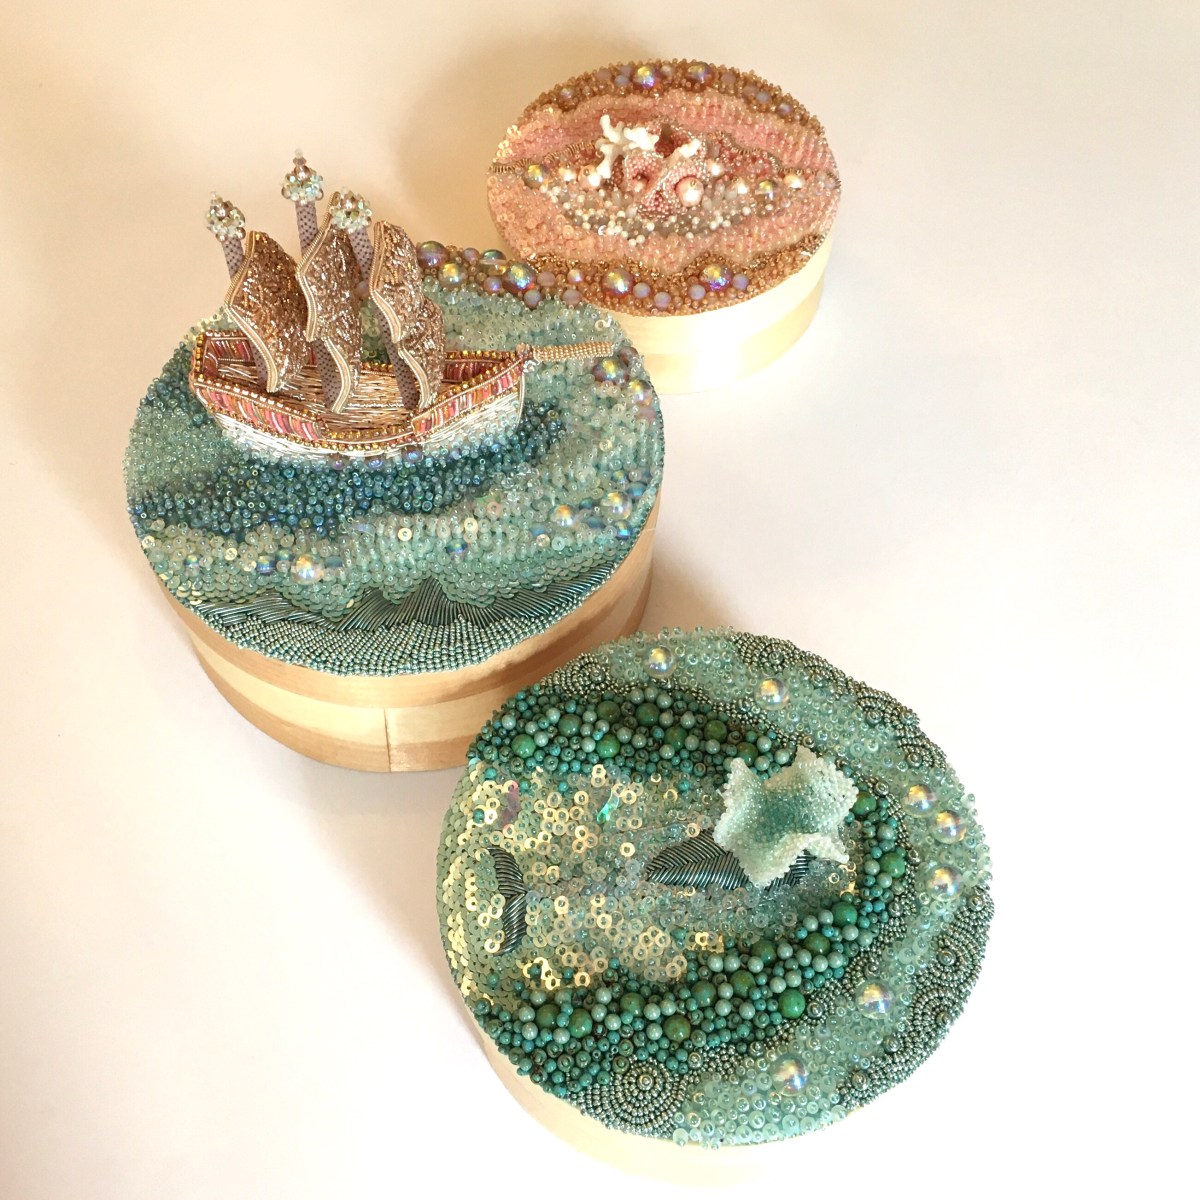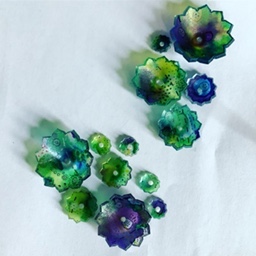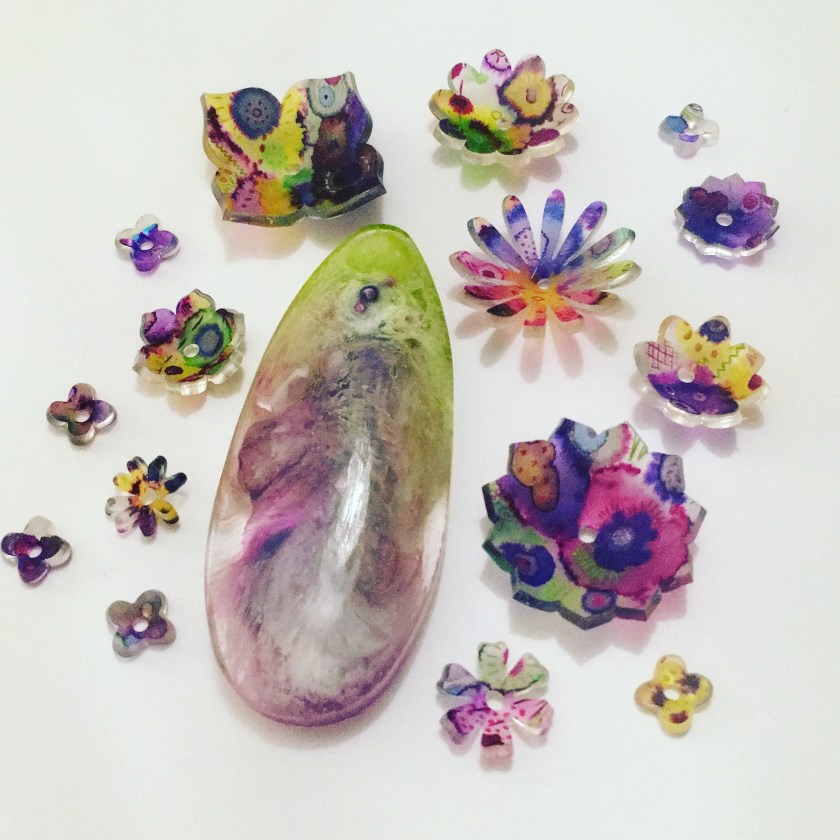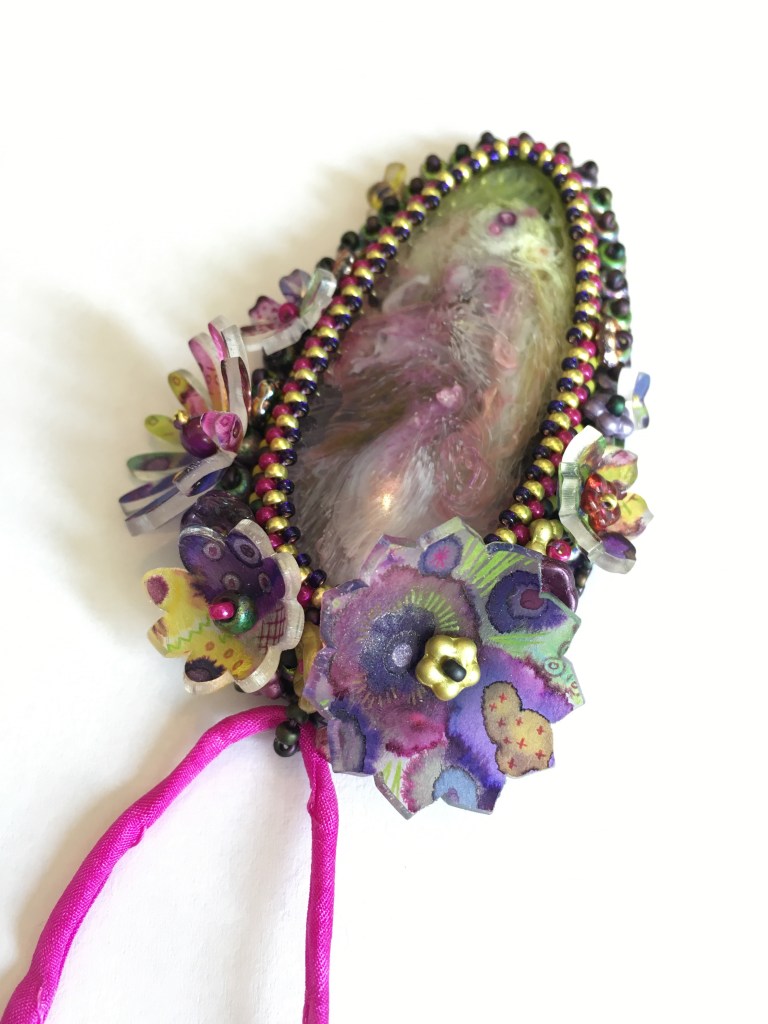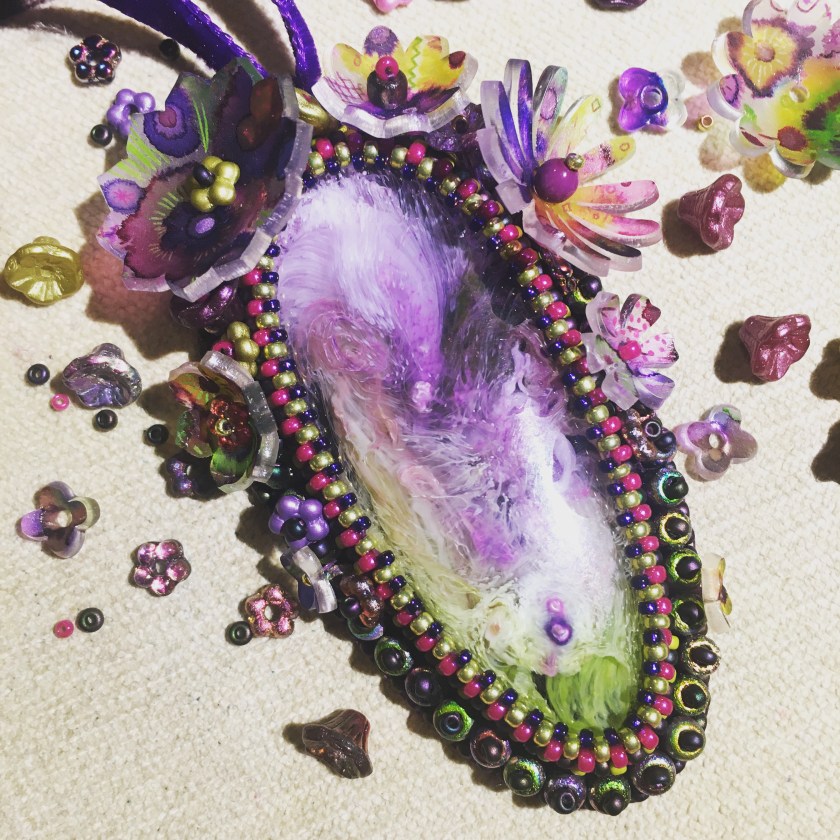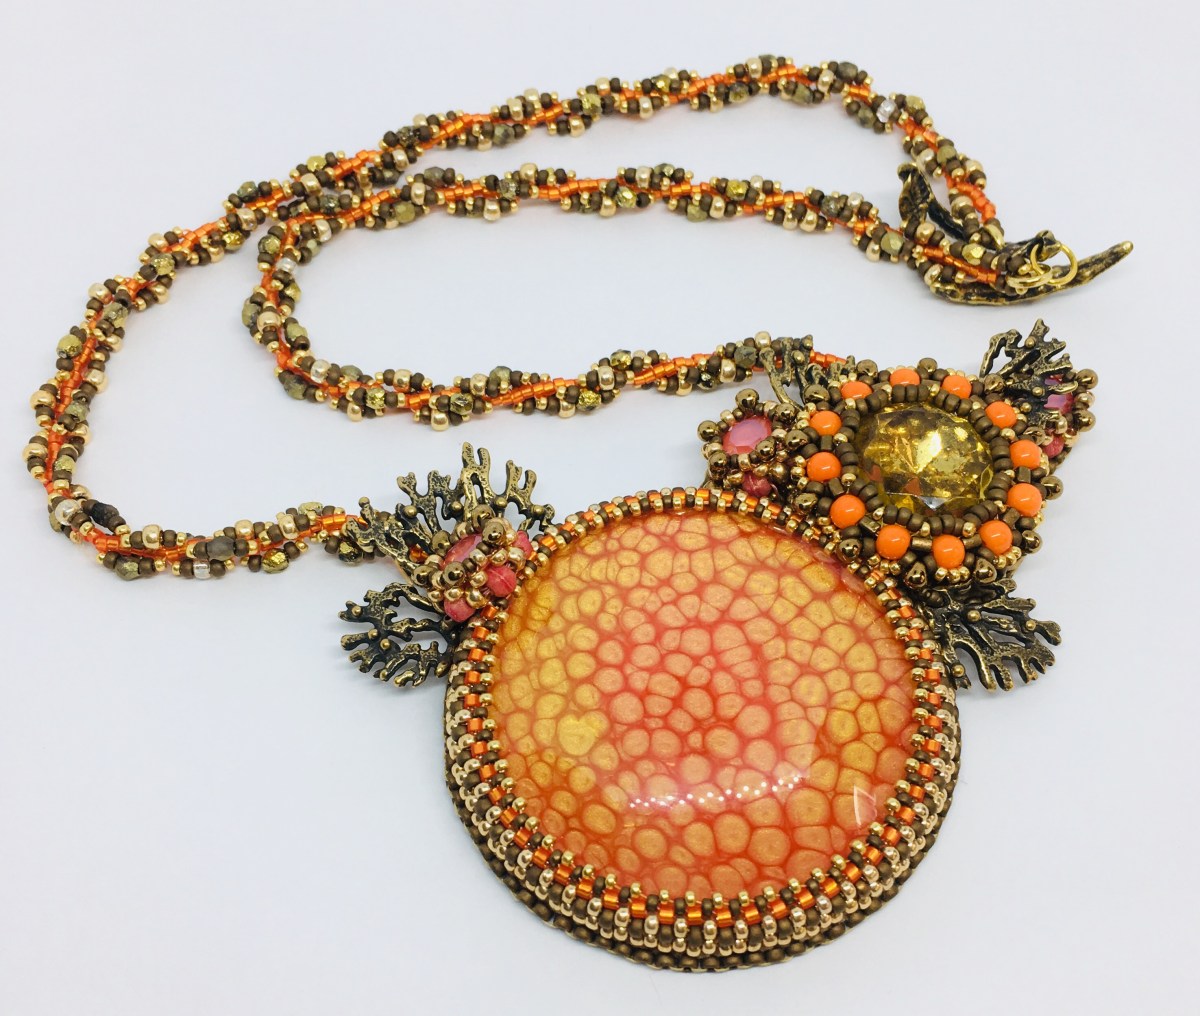
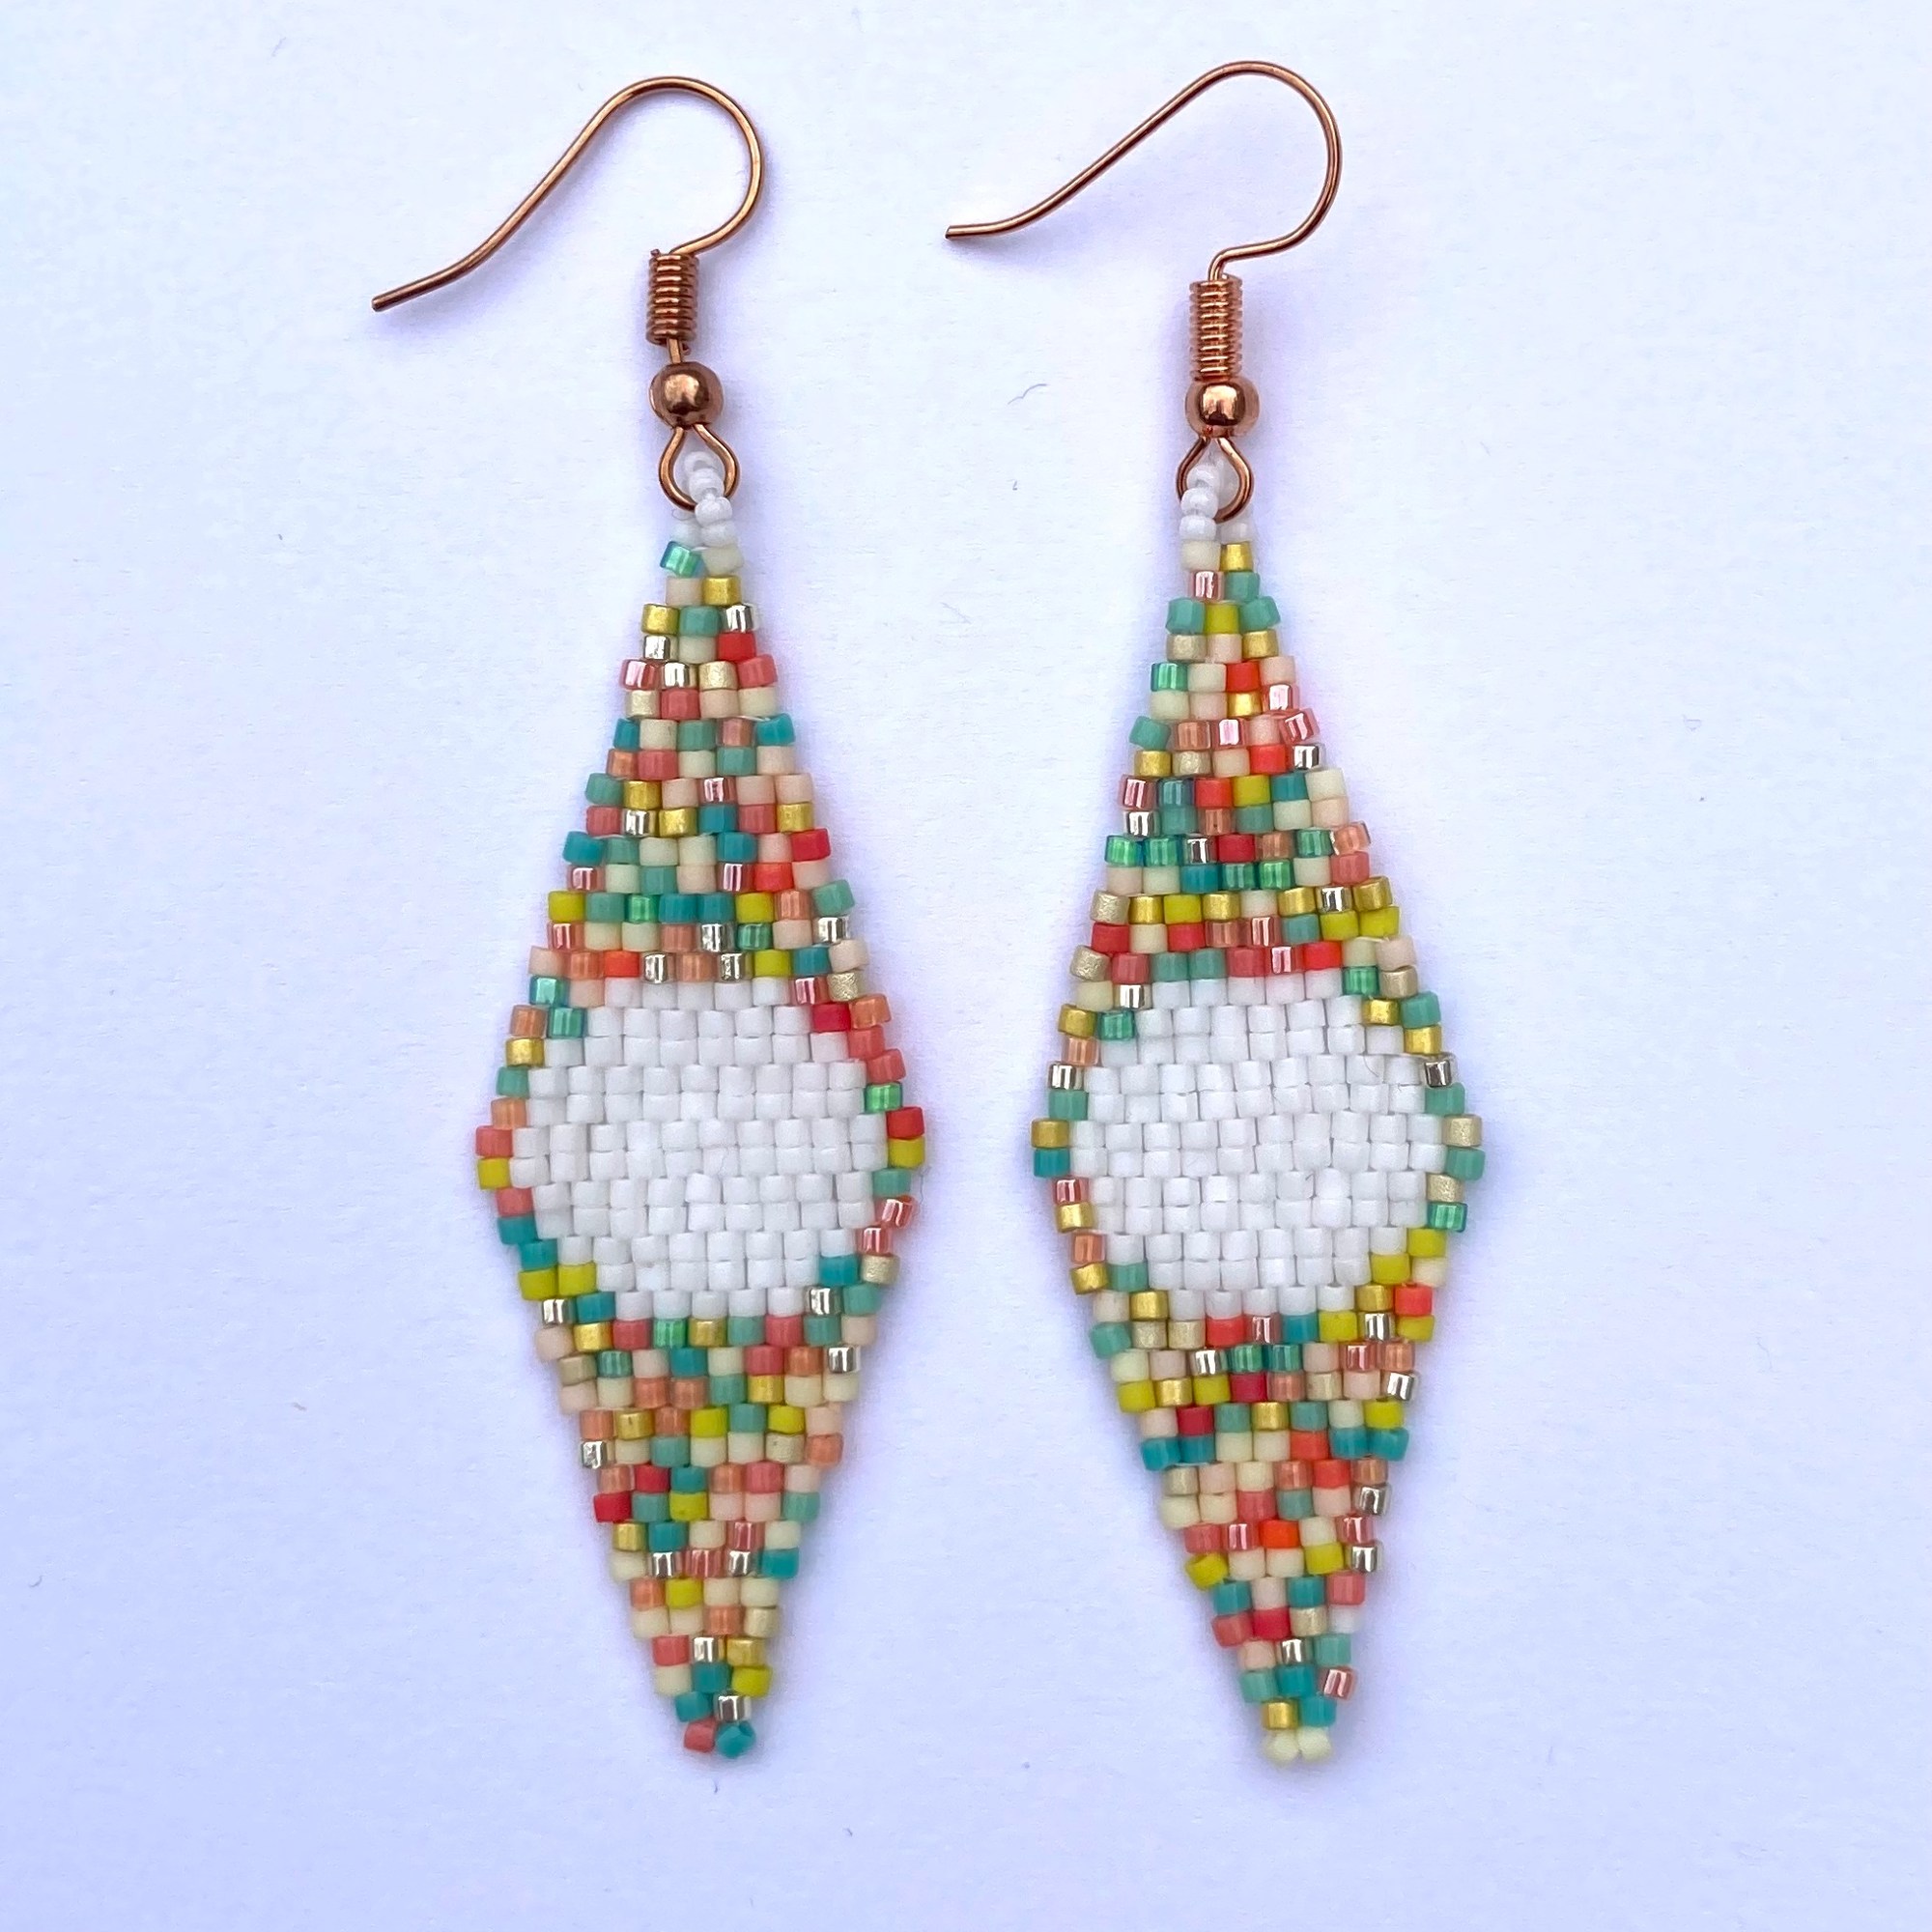
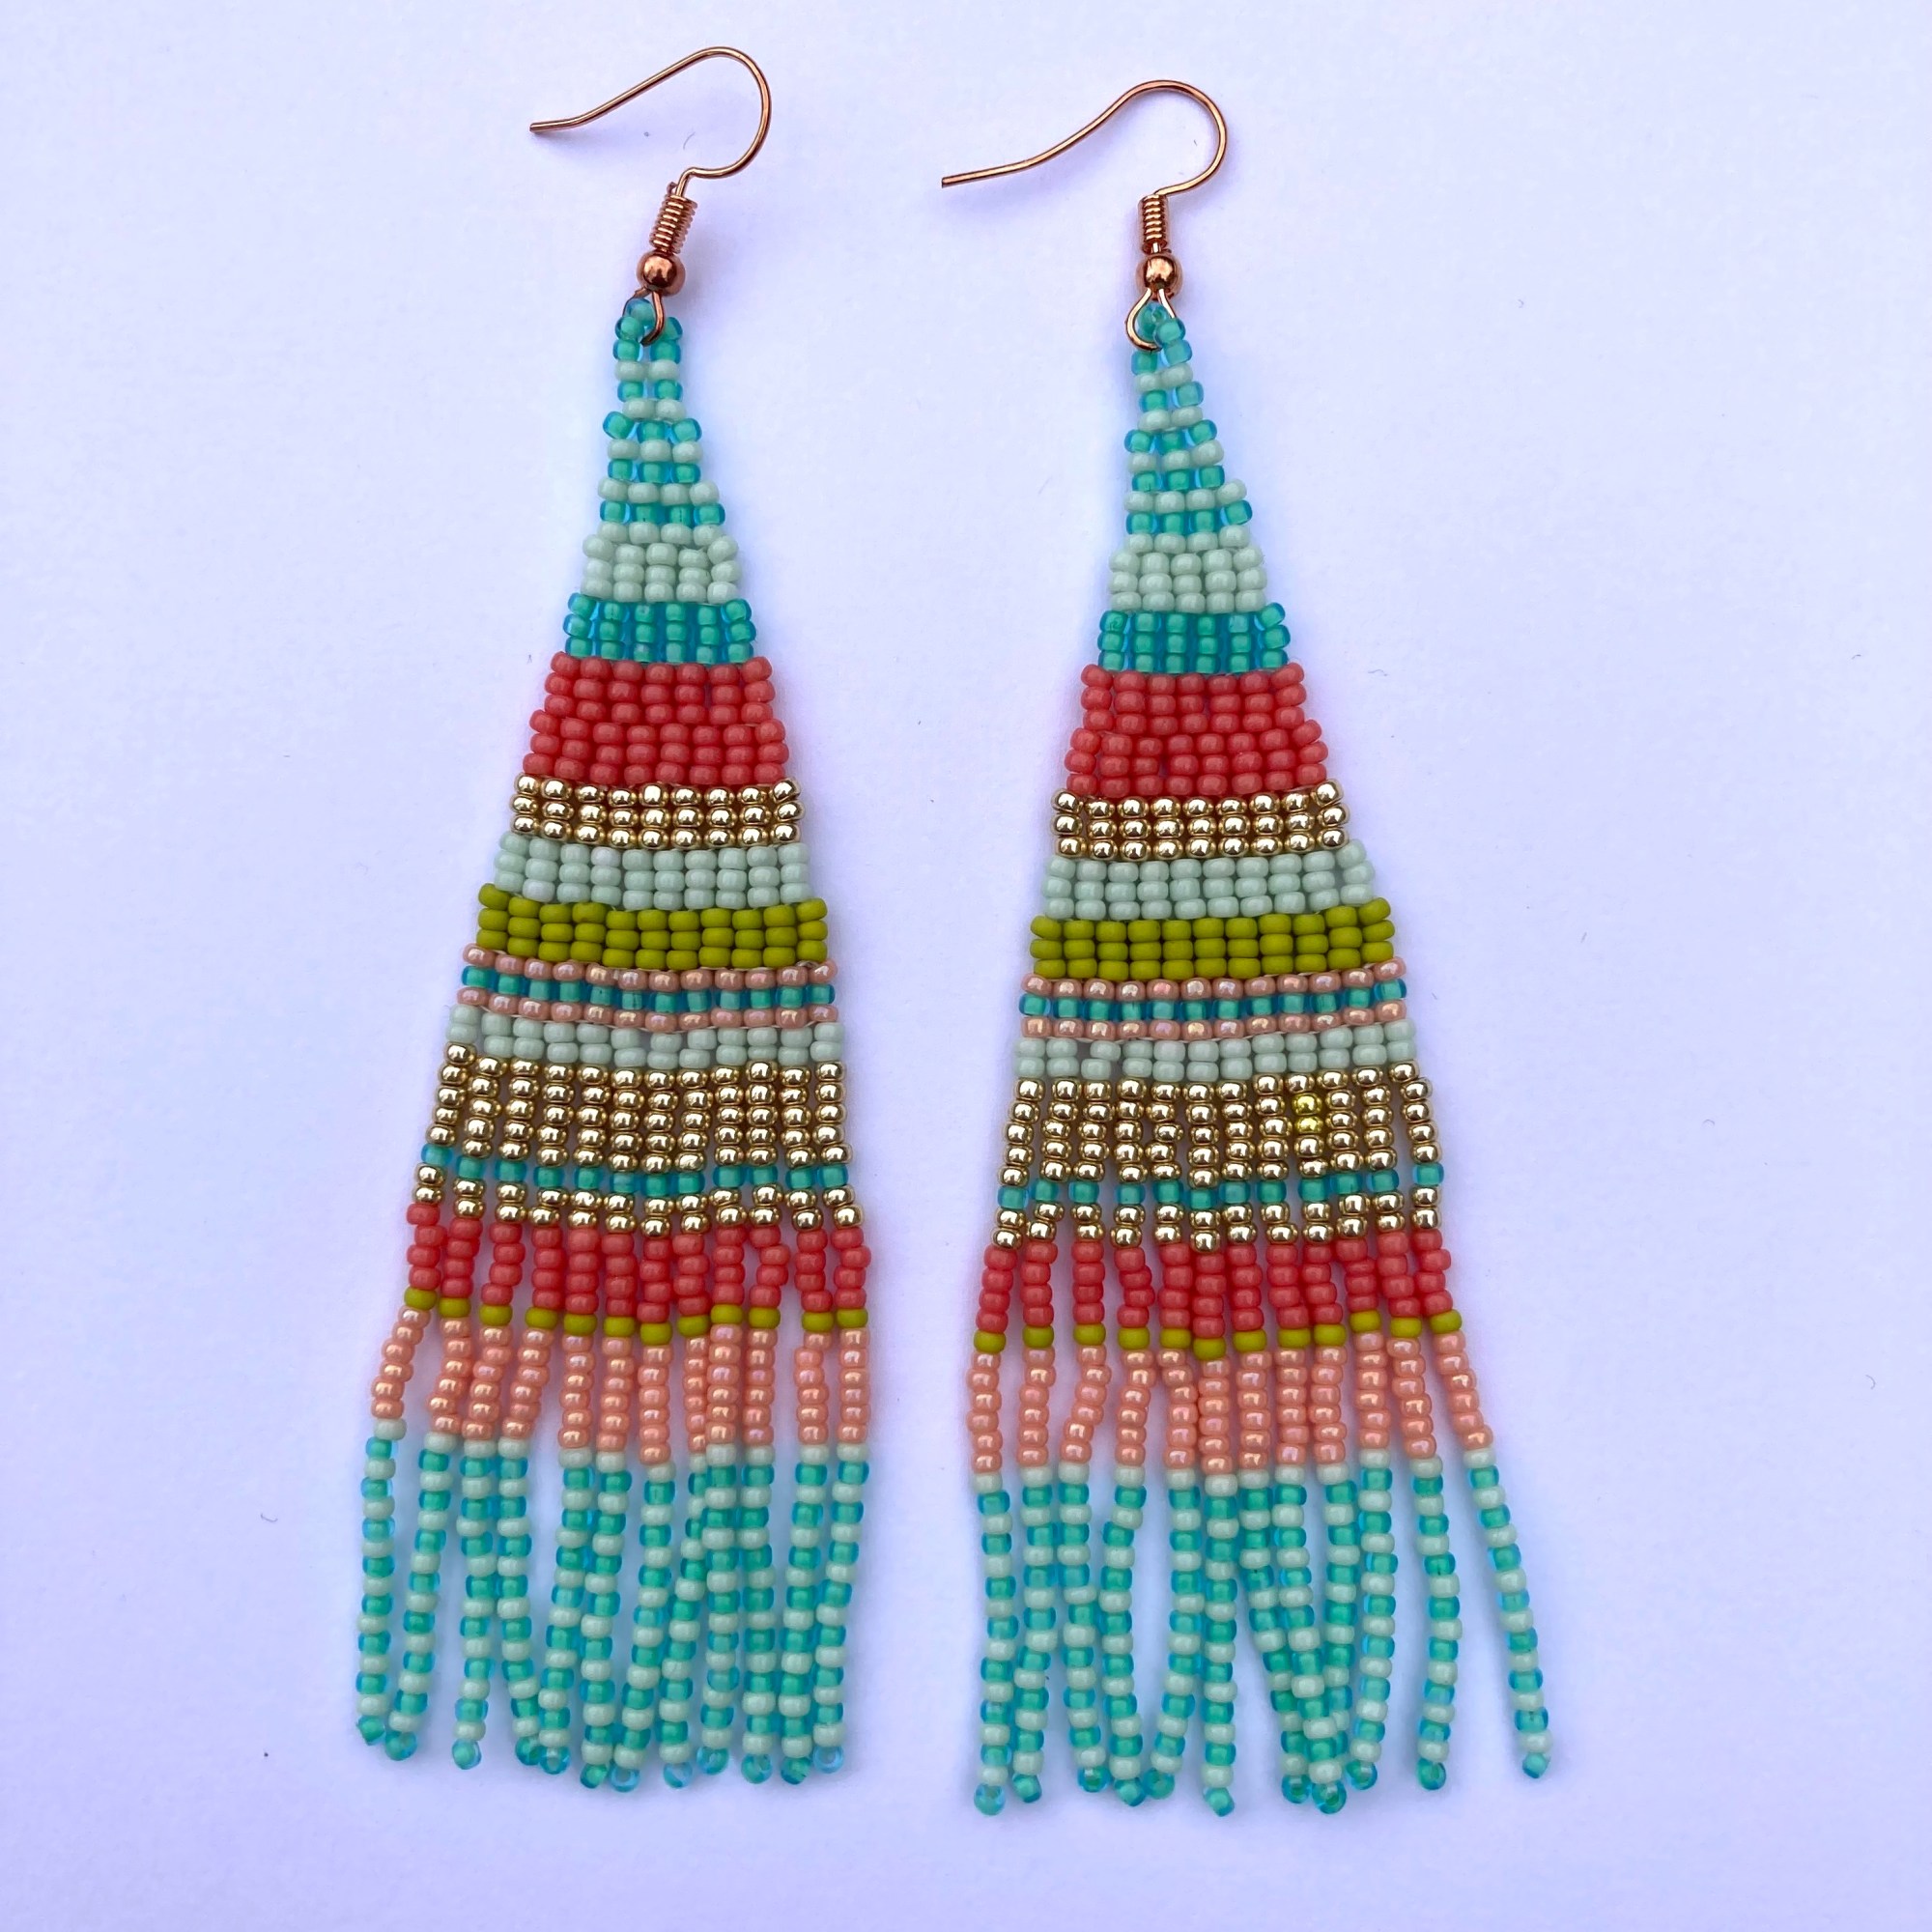
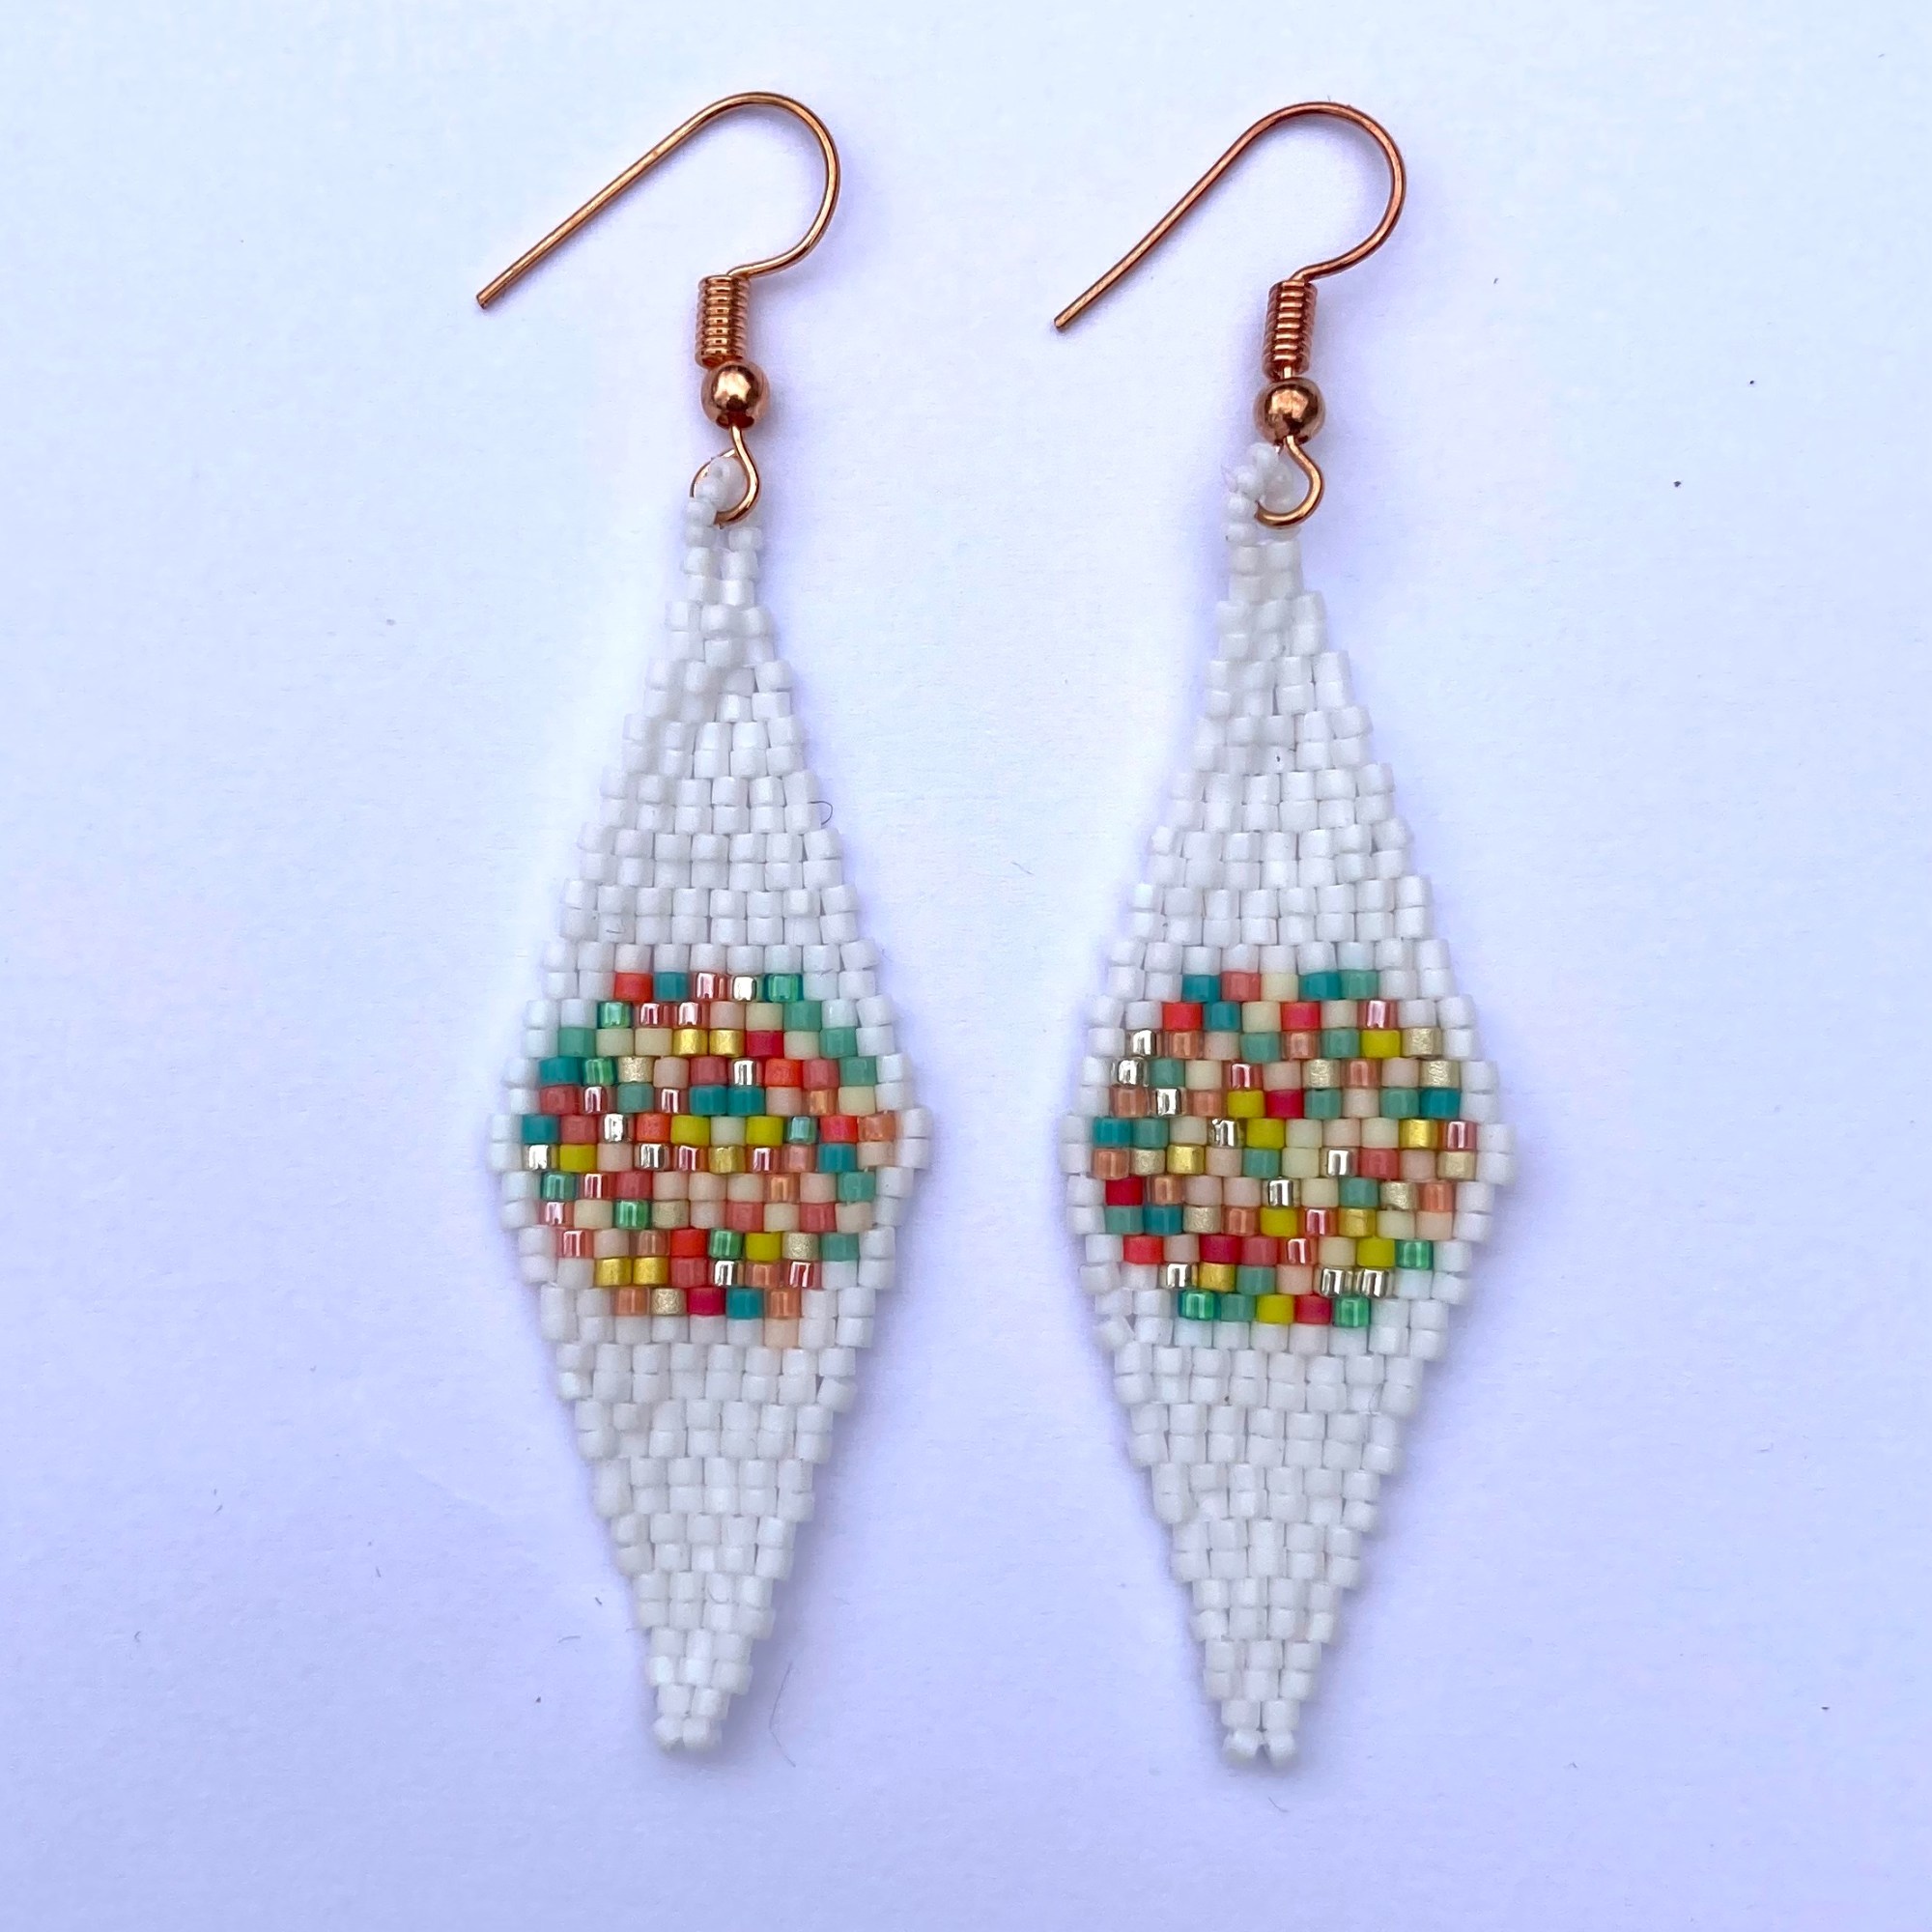
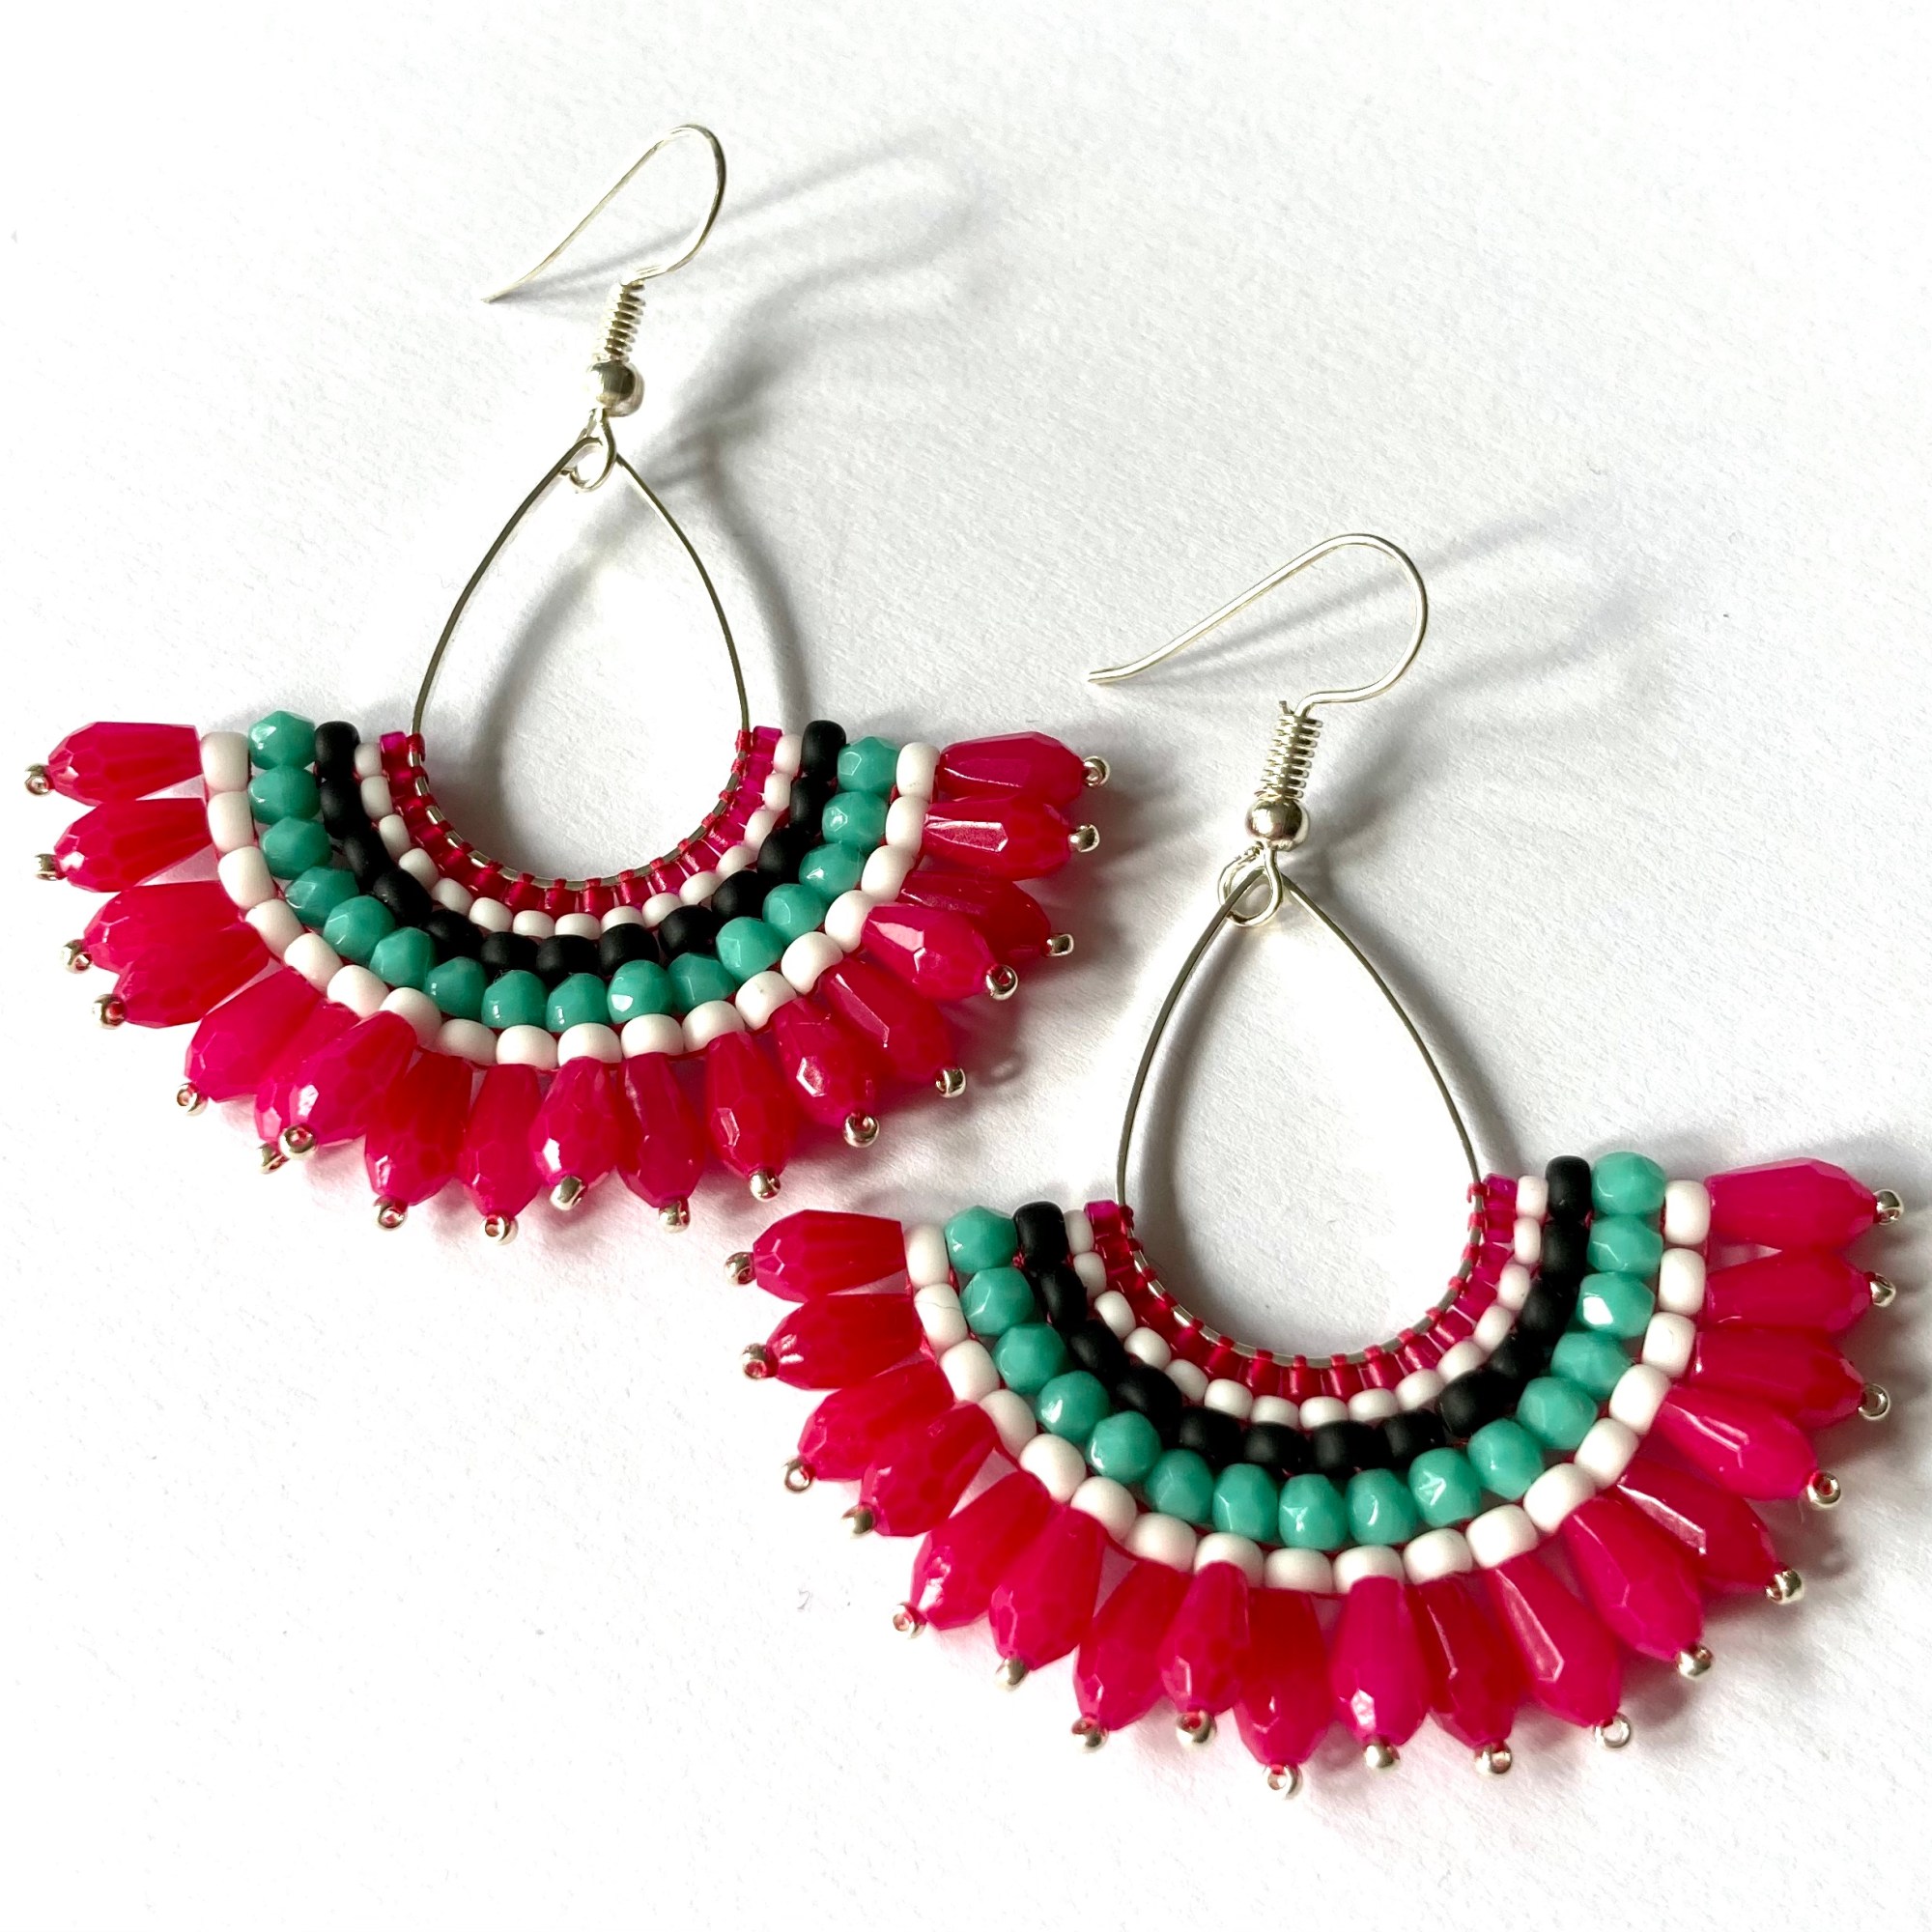
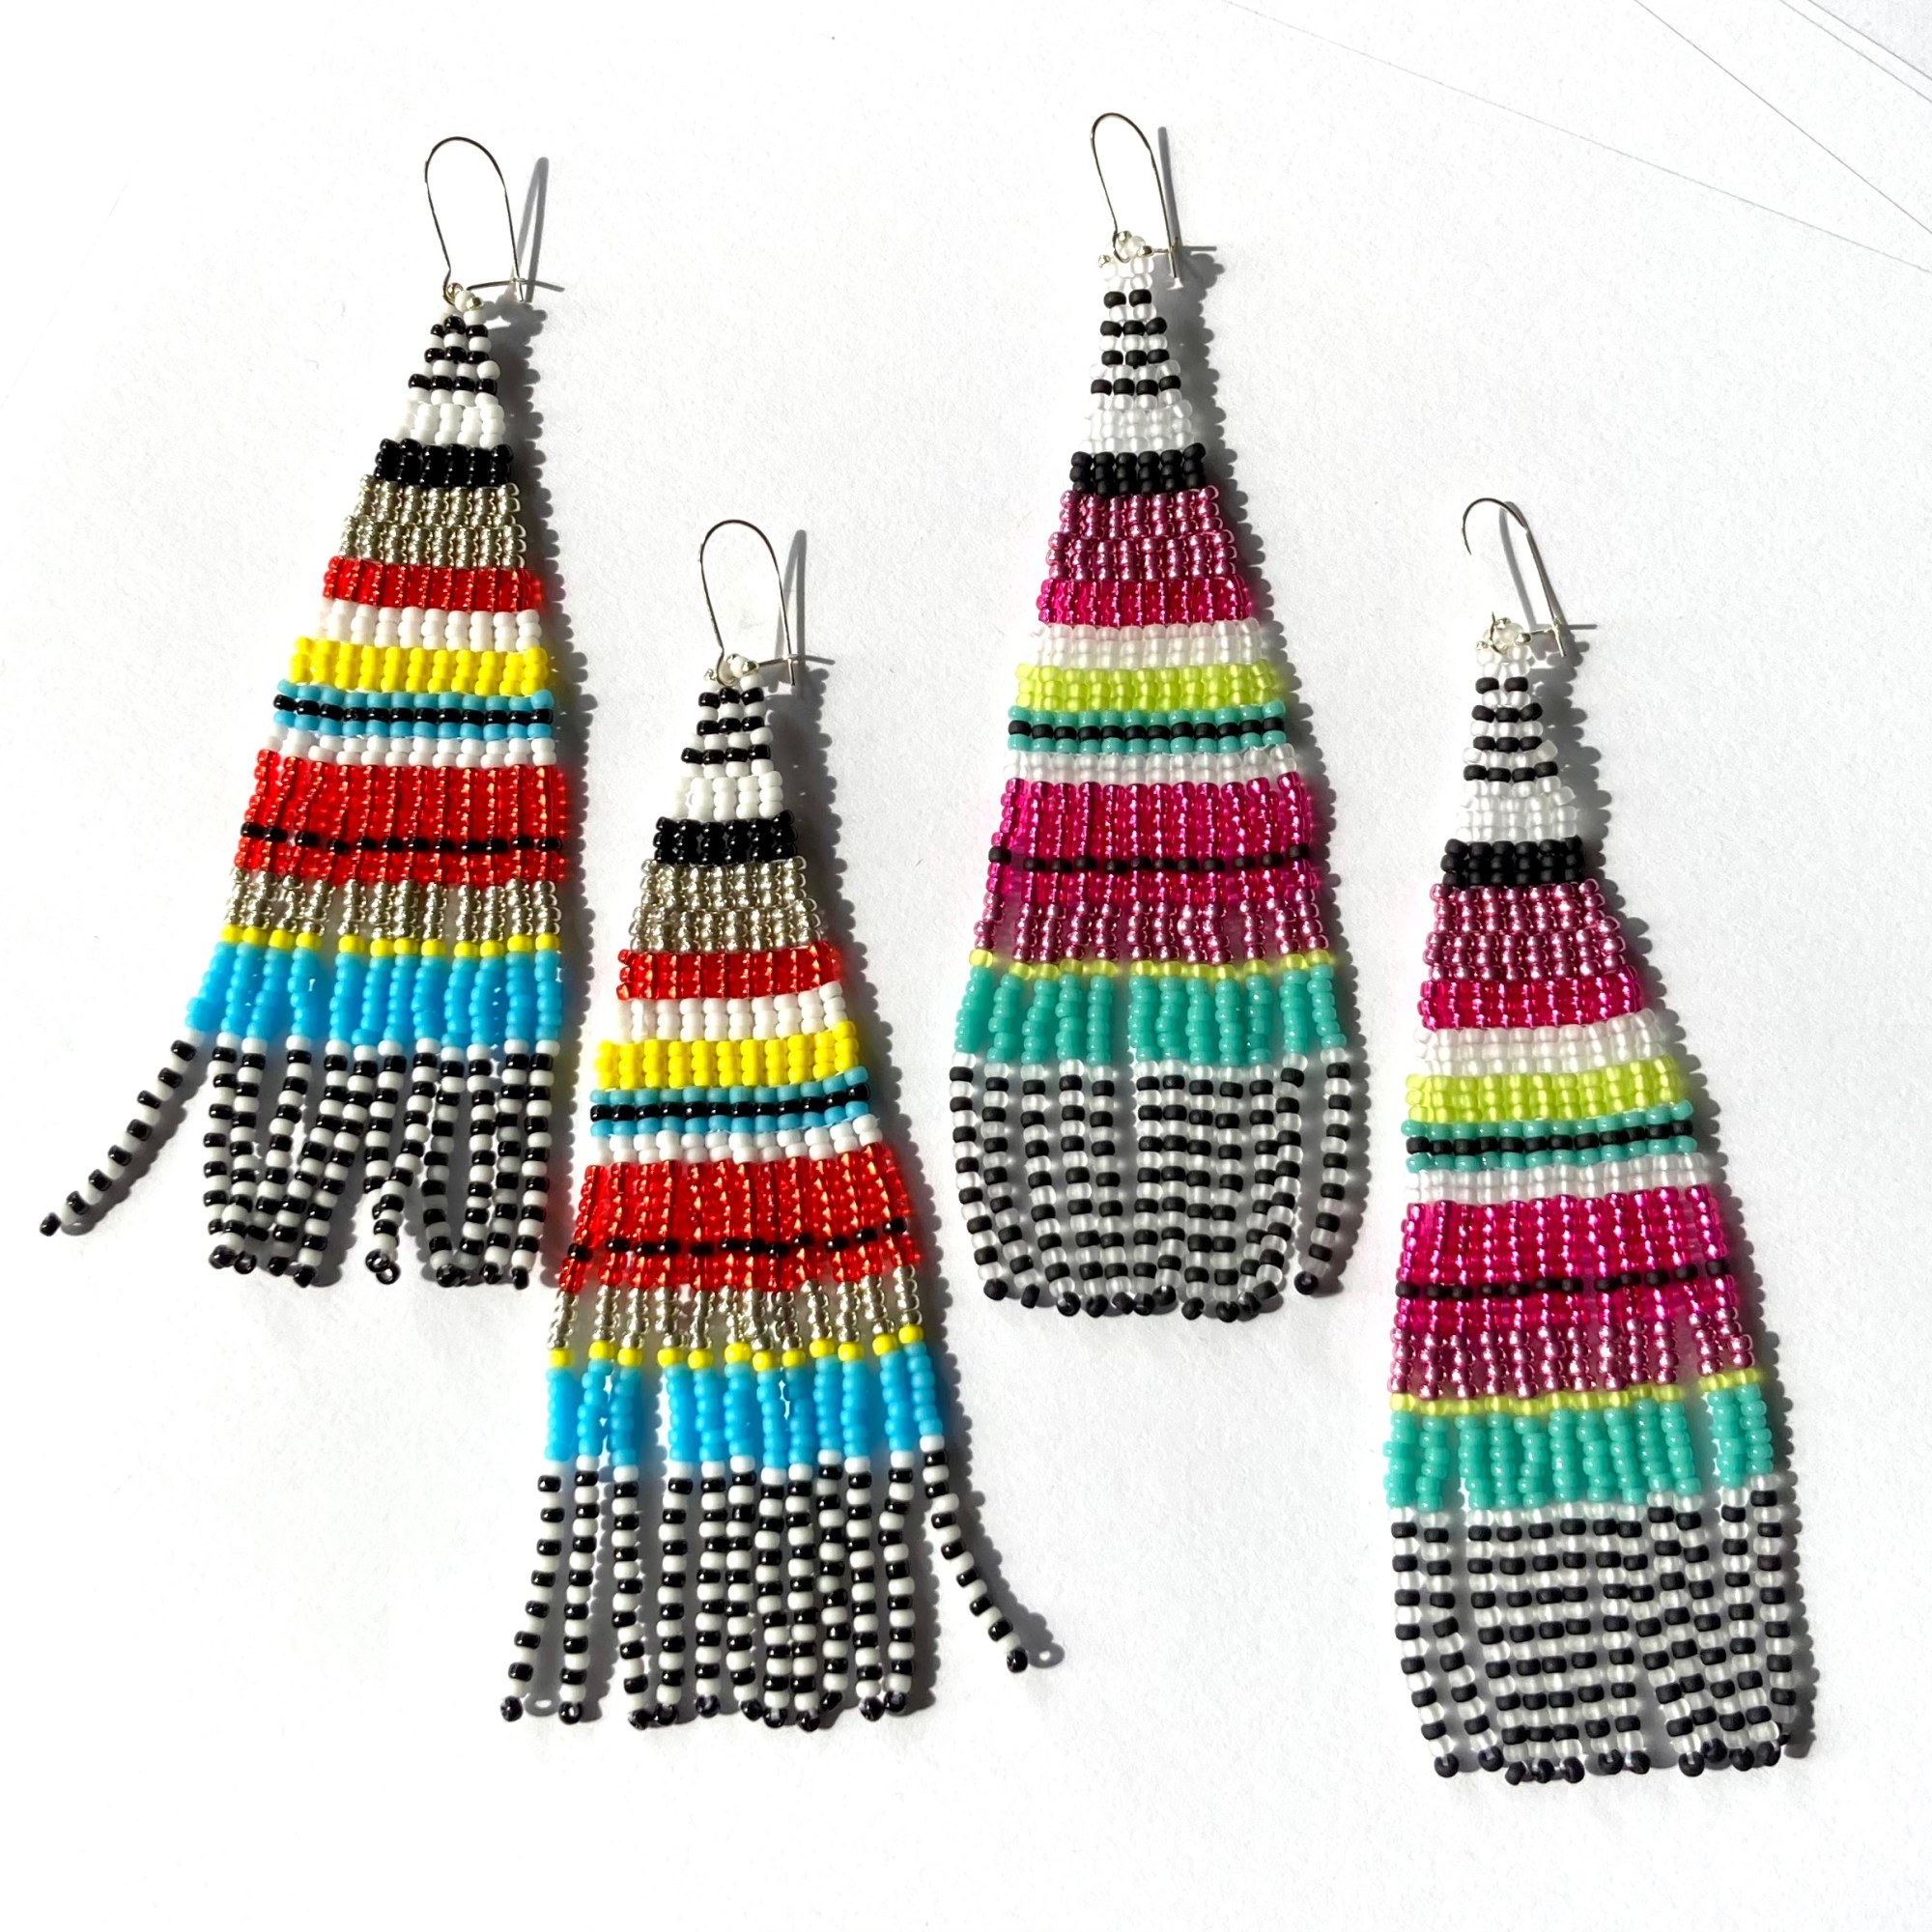
Did you know that I actually sell some of my finished beadwork and embroideries?

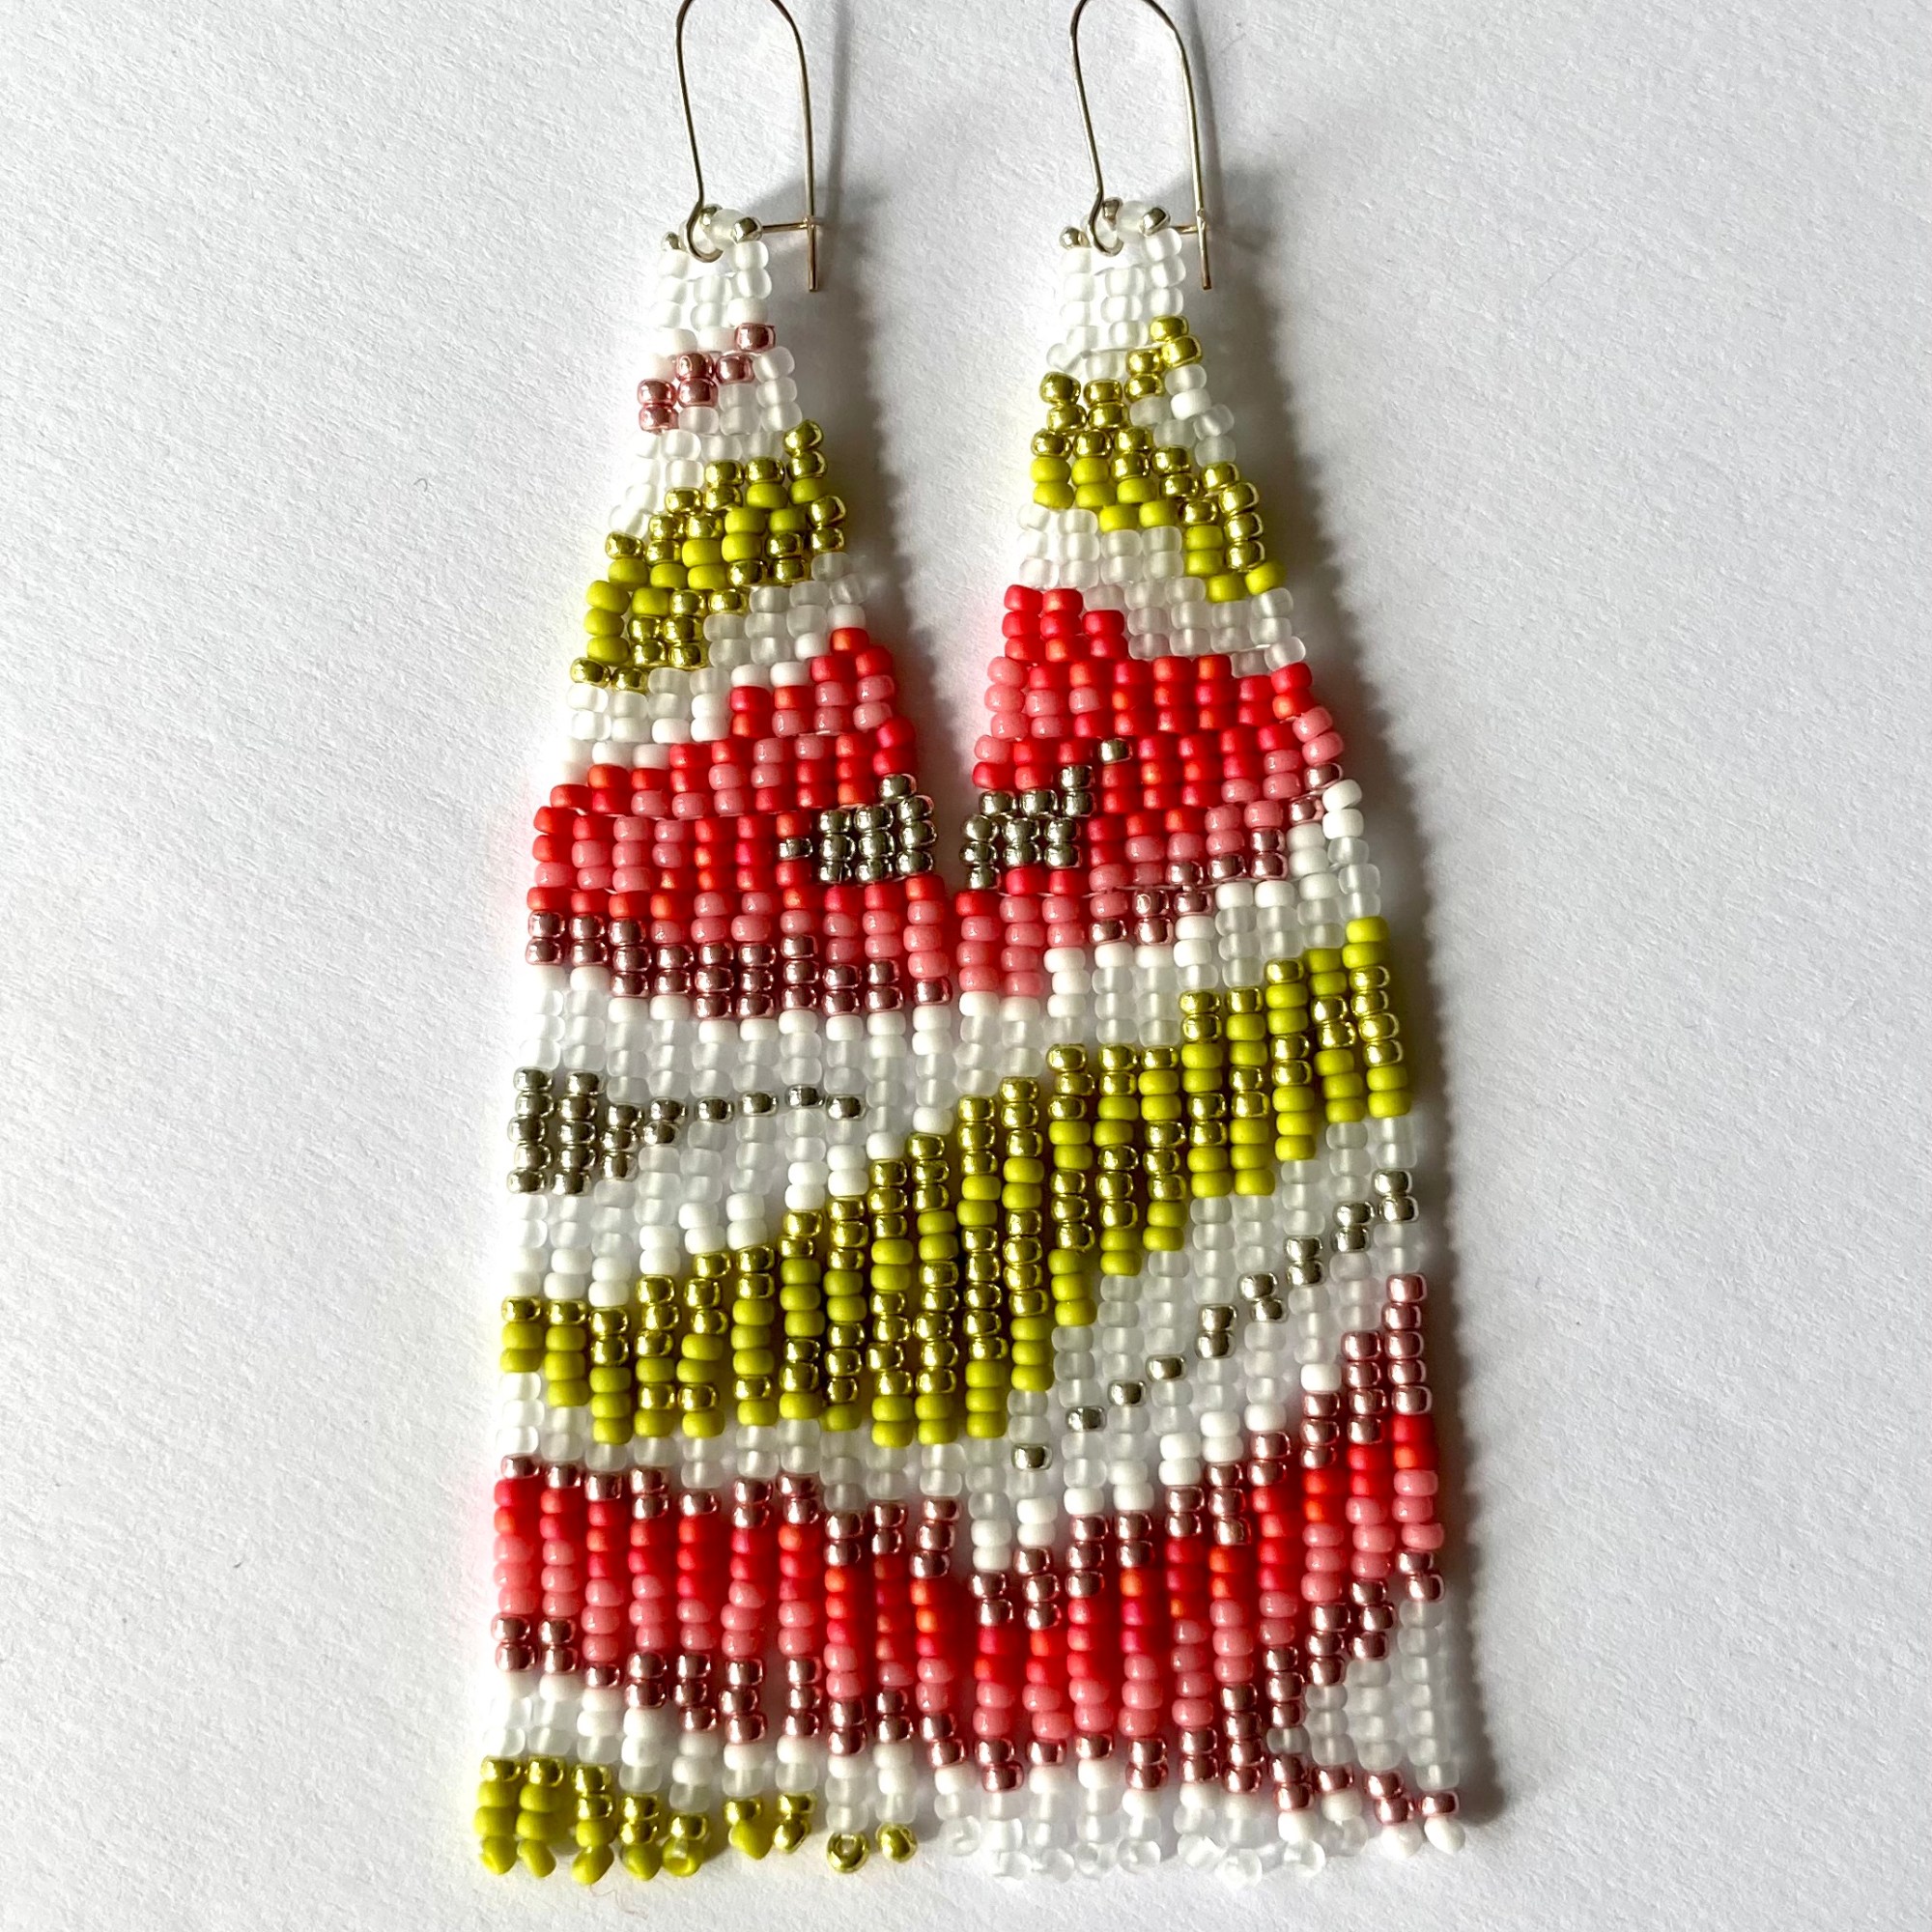
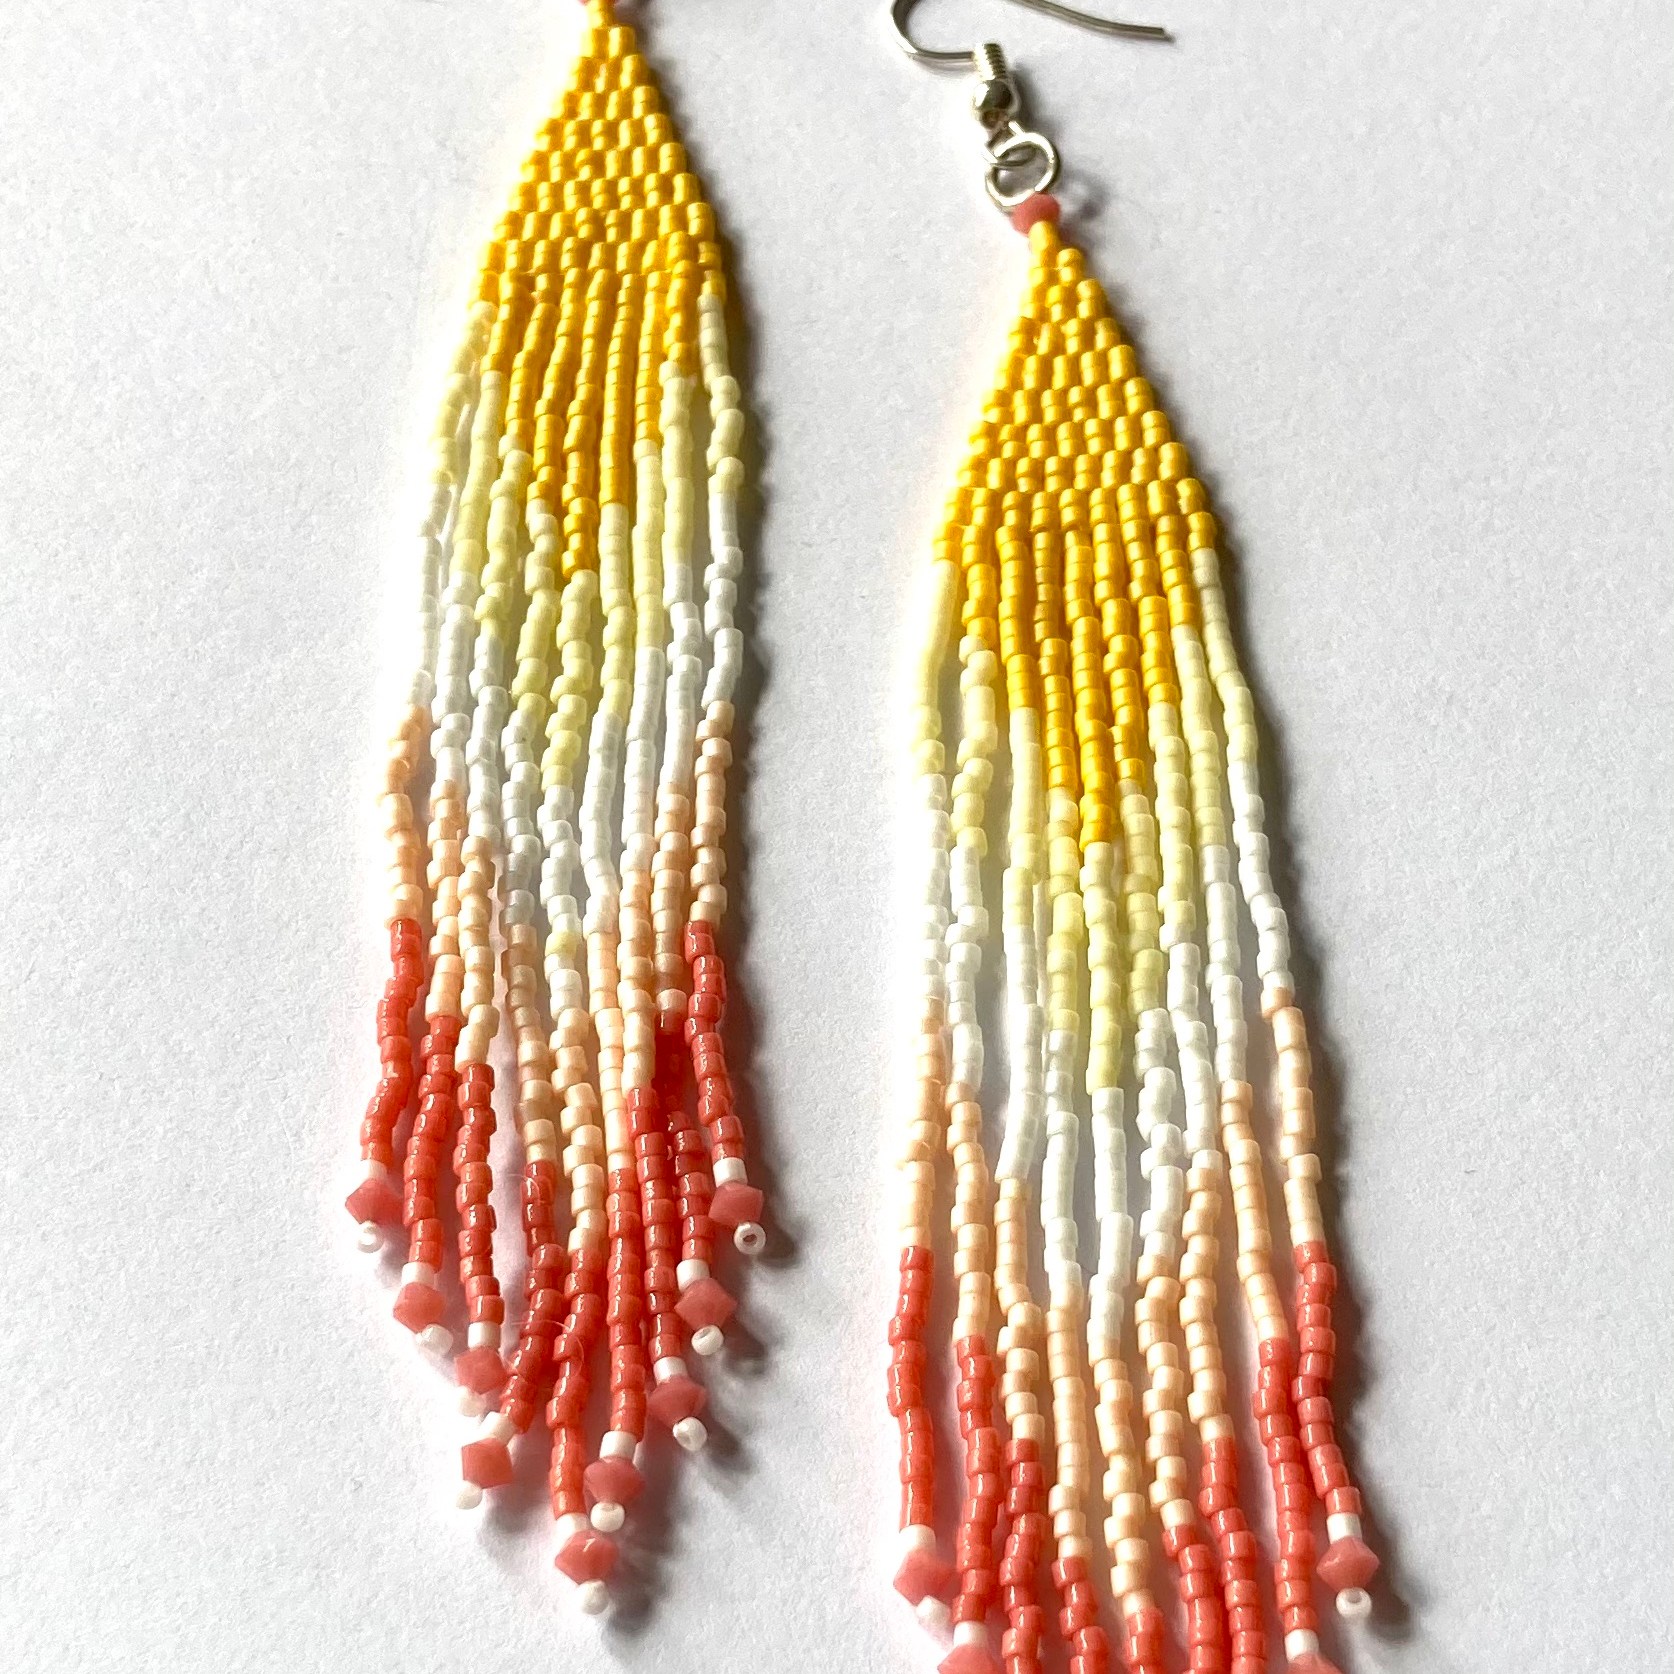
I have a little shop on the UK site Folksy with earrings, a couple of necklaces and some of my embroidered mini hoops – you can view it here. The range is deliberately small to keep it fresh and current, but I also run commissioned work through Folksy, so if you see something you like there or on my social media do feel free to contact me and request custom colours etc.
Folksy is a bit like Etsy but much smaller. They’re deliberately fussier about handmade only and it’s a sensible, easy to browse size as it is just for UK makers (although I can of course still ship worldwide from there). Best of all it has a small, caring, supportive and innovative management team and has a wonderful community of friendly makers which I love. That community take an active interest in promoting the site, spotting non-handmade shops and supporting other sellers with advice and help through the forums and Facebook group. The management team support makers with advice and help, and consult about improvements – Doug the IT guy is legend, and Camilla and her colleagues are experienced makers themselves who constantly feed us useful advice about selling and running our handmade businesses. They actively curate really lovely gift guides, themes of the day and highlight interesting pieces, and run a fascinating blog with ‘makers of the week’ (I was one back in 2014 – read the posts here – very out of date but fun to look back at where I came from).

I’ve been selling there for more years than I care to mention and it’s a lovely place to sell and shop for beautiful handmade items. I’ll probably always have my Etsy shop for supplies and tutorials but it’s very hard to be seen as a maker rather than a supplier there as it’s simply so huge and geographically diverse, so I find Folksy suits me really well for finished items.
Pop over and have a look at my works there using the link below, and do take time to browse some of the other lovely shops too. I’ve listed a few of my favourites below:

Susie West – stunning ‘travel posters’ – we have three of these already and are trying to collect one for everywhere we have lived (we have a little way to go!).
Claire Gent – amazing aluminium and silver jewellery. I’ve lusted after Claire’s work for years!
Holme & Moss – I’ve got one of their classic hairbands in my basket at the moment.
Eynonymous – I have a beautiful yellow silk hairband from Eddie which I wear a lot – she designs and prints beautiful textiles.
Clare Lloyd – modern polymer clay and silver jewellery.
Tanith Rouse – eye-catching contemporary coloured aluminium jewellery.
Jenny Newall – gorgeous stained glass birds and super cute egg earrings.
Sue Trevor – contemporary machine embroidery and fabric sculptures – I’ve bought lots of Sue’s work as gifts for the textile lovers in my family.
The Whimsical Marbler – lovely marbled papers, some in great bright colours for a more modern take.
Clare Buchanan – really eye-catching bright wovens.