Blog

Completion

I’m not great at finishing things – as well as the usual UFO box of failed projects I even have a box full of nearly finished projects. Brooches needing brooch pins, pendants needing only a jump ring, and of course tutorial pieces needing writing up.
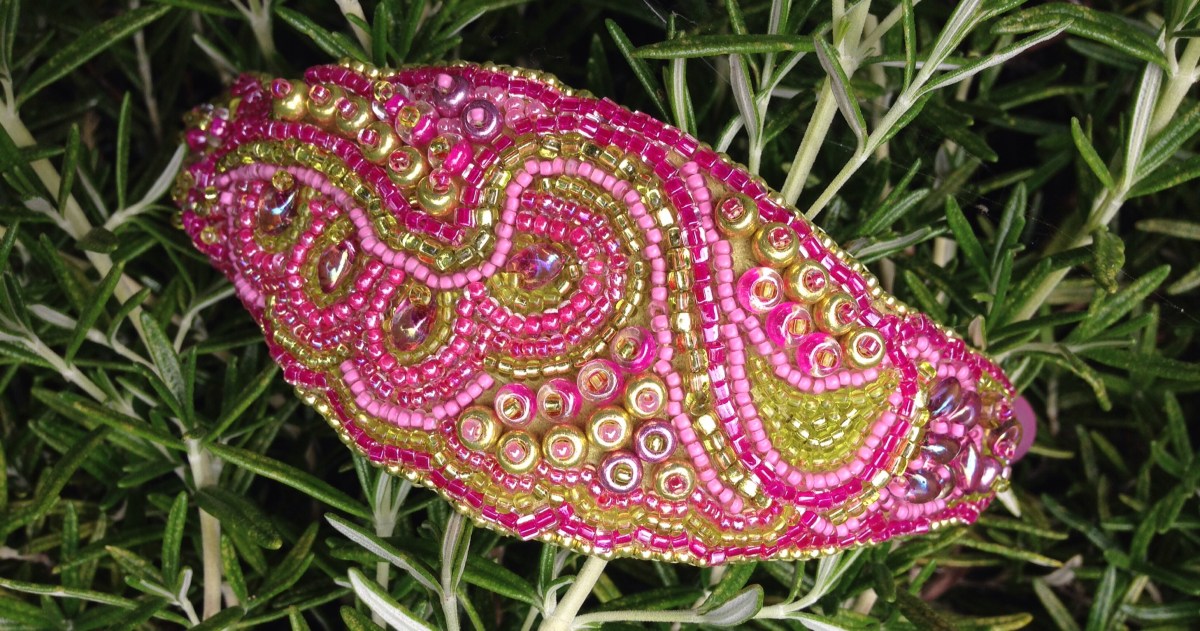
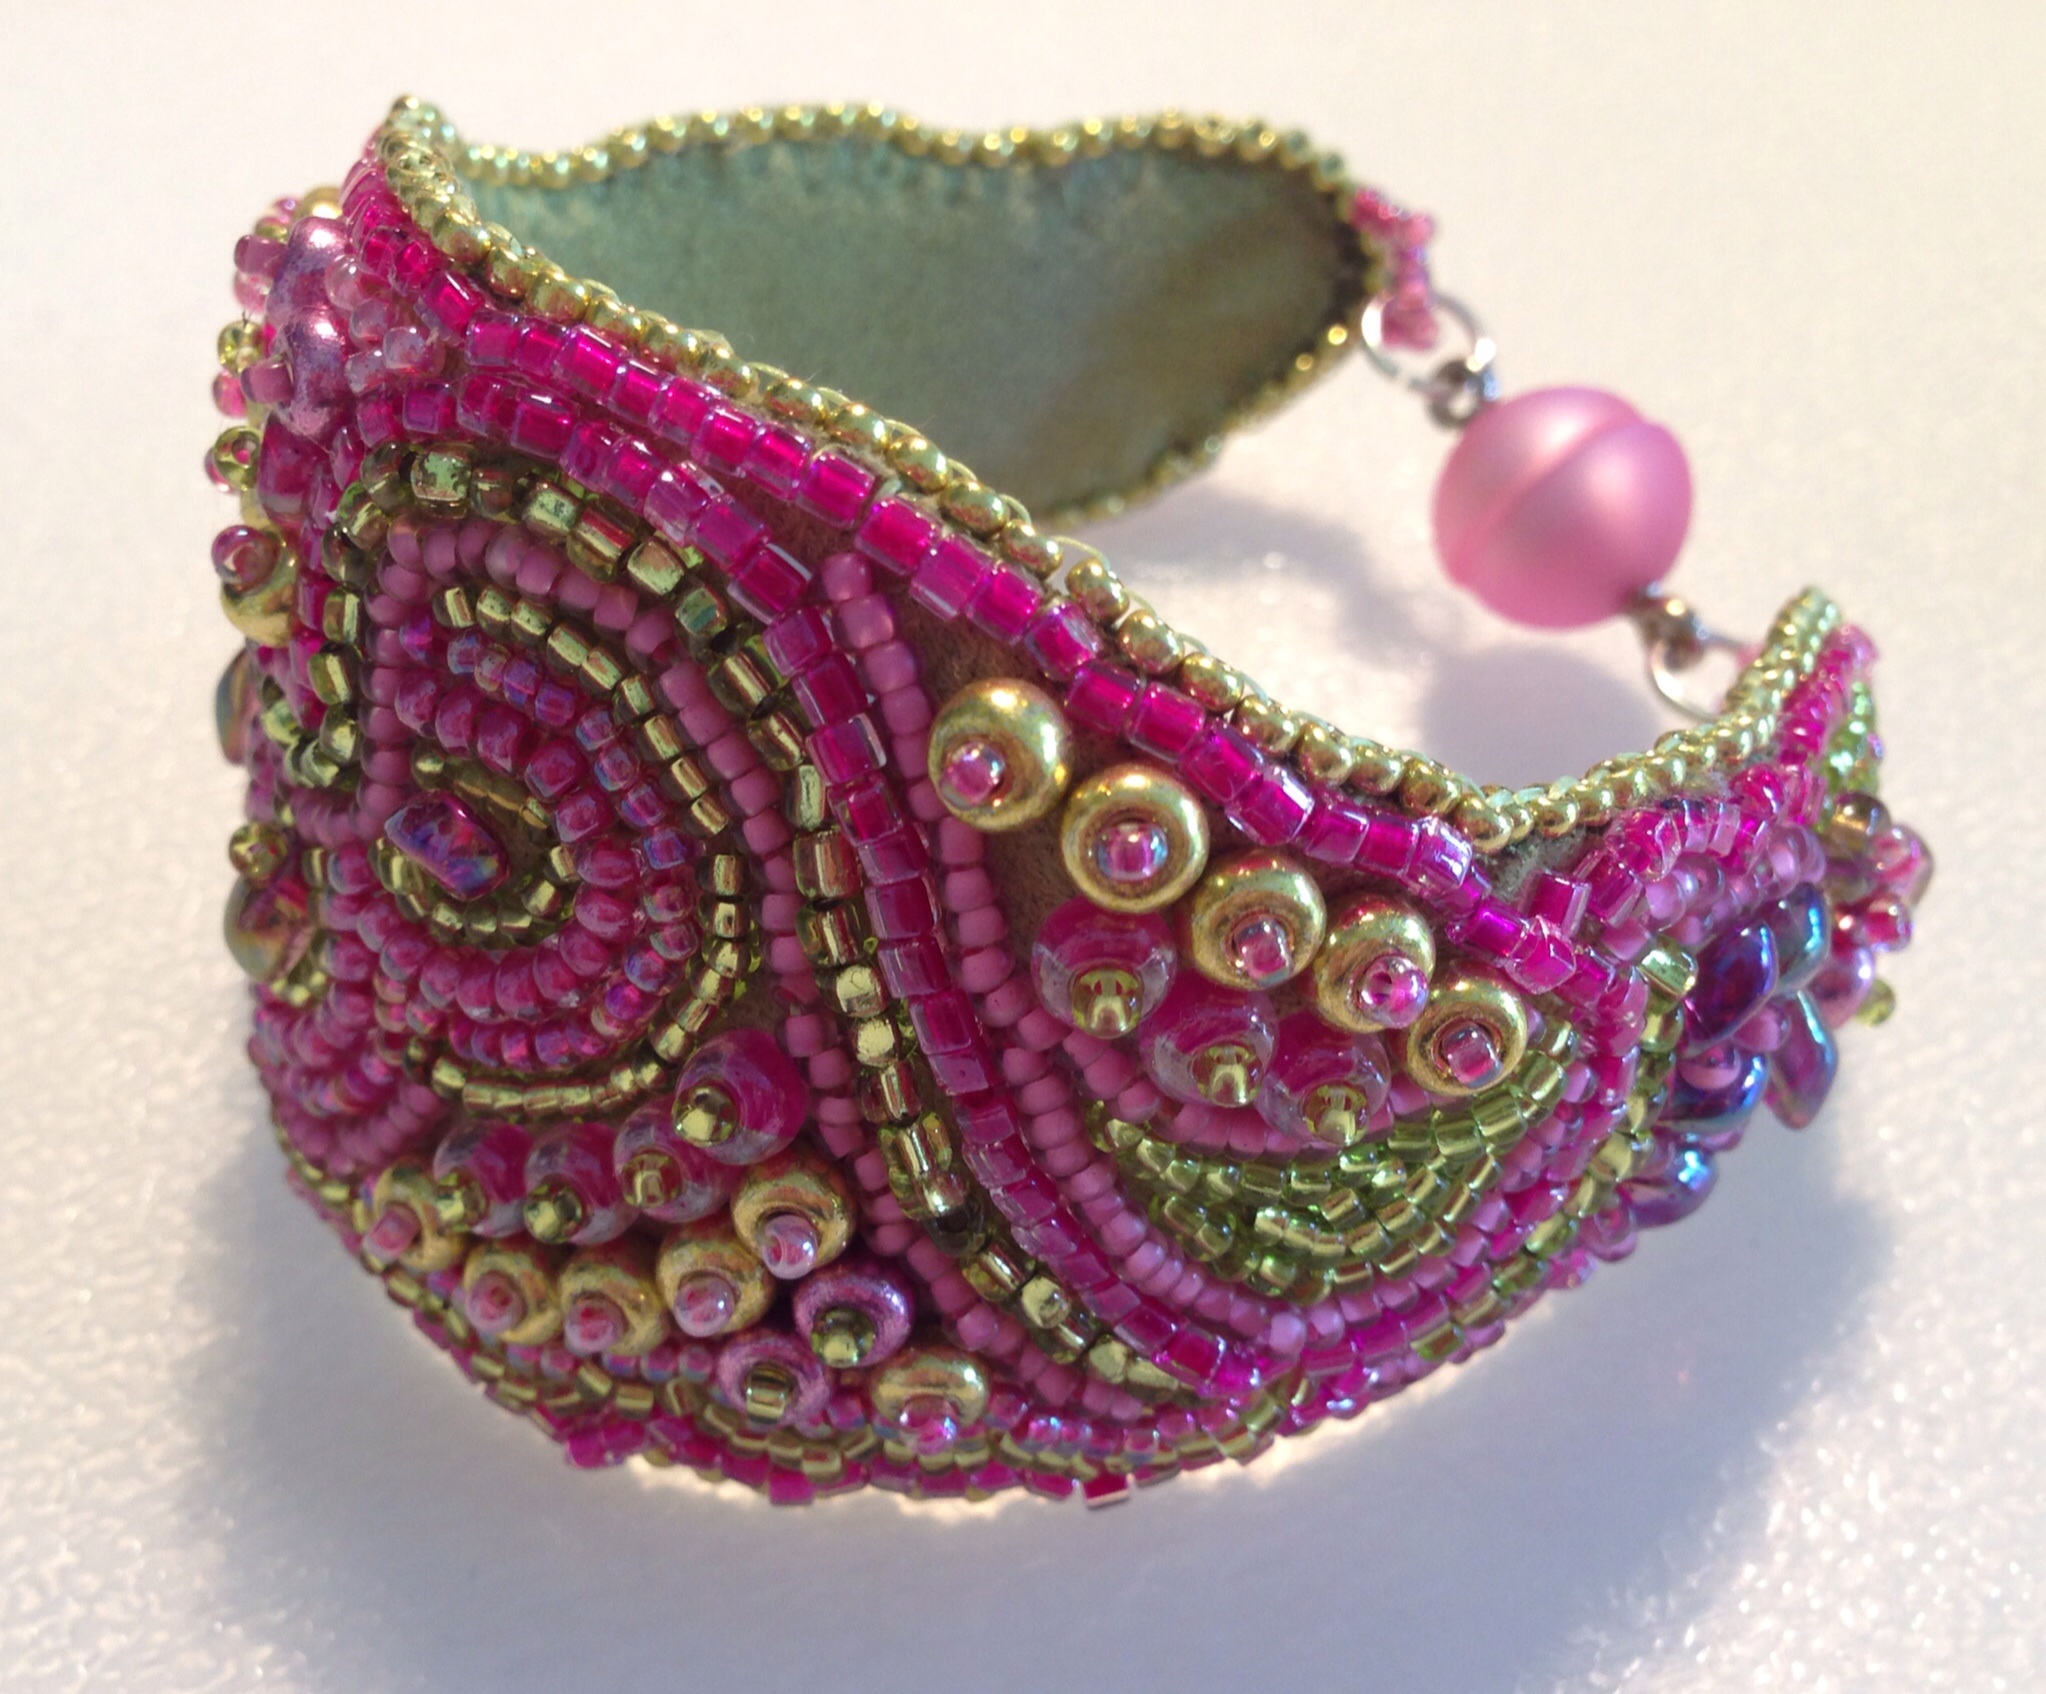
Seeing so much bead embroidery in the Battle of the Beadsmith reminded me that about 3 years ago I had a go at it, and had an almost finished piece cluttering up my beading cupboard. So I girded my loins, dug out my bead embroidery book (Jamie Cloud Eakin’s dimensional Bead Embroidery) and worked out how to finish it. And finish it I have.

I’m quite pleased with it, but made a couple of errors which mean it will be staying with me rather than going into the shop………….

  • I made a booboo when I was cutting out the backing, forgetting the remnants of a sticky label.  Which doesn’t look great.
  • I looked at the big roll of heavy interfacing in my sewing drawer and said ‘ I can use that, not this ridiculously expensive beading stiffener’.  This might have worked for a flat piece, but didn’t work for a bracelet as the interfacing has folded slightly, so I don’t have a smooth curve.

On the bright side, the faux suede upholstery fabric I used (I started this so long ago I hadn’t heard of ultrasuede) does seem to be fine – it’s nice to work with and hasn’t frayed at all.  Since it’s one of a large wad of samples I bought at a fabric sale I’m quite pleased since I now have a huge range of colours of backing to choose from.
image

So here it is, my first completed bead embroidery piece – beads from my stash, a polaris clasp from Stitch N Craft and backing from my overstuffed fabric drawer.  I’ve enjoyed the process more than I thought I would – I have always perhaps slightly looked down on bead embroidery, feeling it doesn’t have the engineering and construction challenges of the 3D beadweaving I’m more used to, but it does give an opportunity to paint with beads, and really make the most of the finishes and colours.  Since finishing this I’ve made two more pieces, more about them soon (once they make it out of the nearly finished box!).
Secret Bead Along

The utterly fabulous Jean Power is holding a Secret Bead Along for National Beading Week.  It’s £5 to participate, or if you either subscribe to her newsletter (recommended – always interesting, you hear first about new designs and usually get a discount code for patterns) or are a member of the Beadworker’s Guild its’ FREE.   I have my instructions for the pre-work, and am currently faffing about what colours to use (normal for me I know, but worsened by not knowing what I’m actually working towards)!  Hopefully my sister Susie Hoad will also be participating – we are off on holiday together towards the end of that week and it would be great fun to finish off together.  I don’t get to bead with other beaders in person very often, so I love the idea that so many of us will all be beading together around the country (or perhaps the world), and even if we’re not in the same room it will be supercool to see what everyone produces.

Above is a picture of one of Jean’s designs (beaded my me) so you can see just how exciting her work is!

Bye bye baby

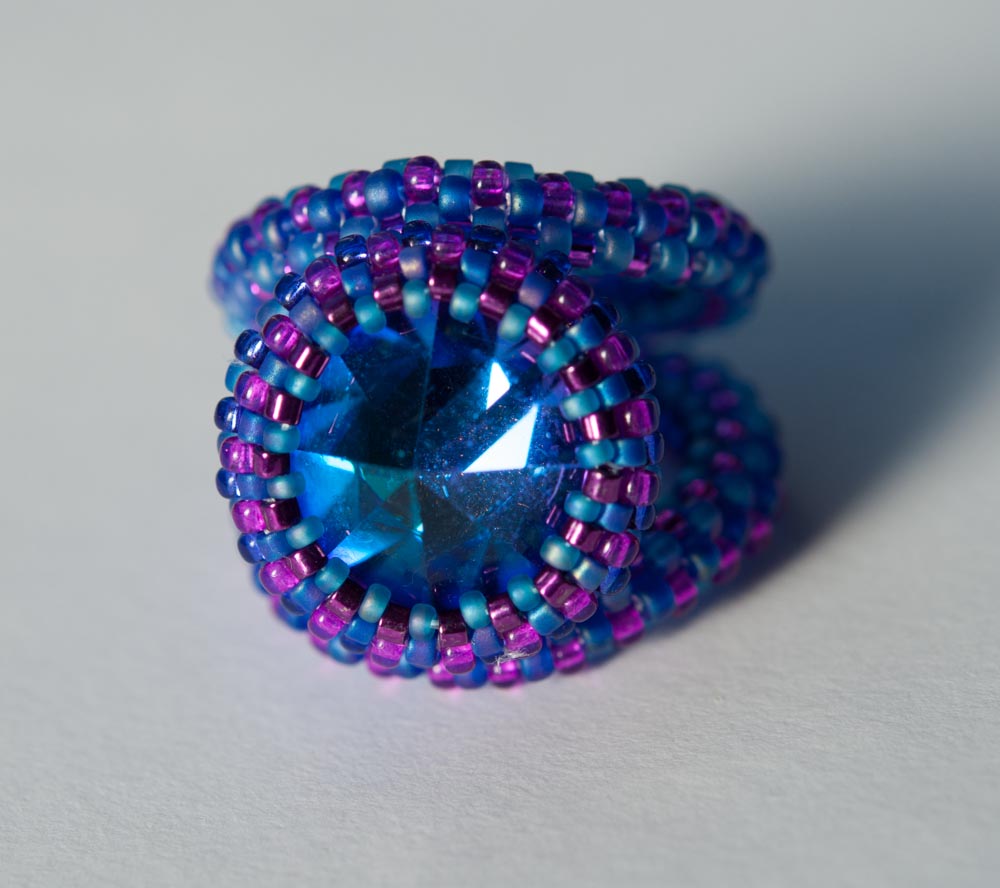
Normally I’m pleased when I sell something, but to be honest I felt quite sad this week when a lovely customer bought my favourite Heliotrope Cocktail Ring.  When I made it I thought hard about listing it, as it is very me, but given that I never get to wear most of the things I make for myself (and I was on maternity leave at the time, so even less likely to wear it) I photographed and listed it on Folksy.  The form is a simple one – three peyote circles – two forming exaggerated ring bands and the third bezelling a big vintage Swarovski flat back from Robin’s Beads.  The colour of the crystal is totally fab (deep blue with turquoise and magenta highlights) and it’s a discontinued finish, so hard to get at all let alone a nice big one like this.  Hopefully Robin’s Beads will have some more crystals left, as now it is gone I can’t help wanting another one for myself…….

Success

Well my very first attempt at an Etsy Beadweavers Team Challenge was a success – the Nasturtium Ring came joint first!  Even more amazing was realising that the two other winners are really very good, serious beaders – Chris Maj (Etsy Shop here) and Hannah Rosner (Etsy Shop here).  So good, that they are both so busy with their Battle of the Beadsmith entries that they asked me to suggest the next challenge theme on my own.  Yes, that’s right, real Battlers and me, corresponding and beading!  What’s really lovely is that I’ve been feeling a bit stuck beading wise lately – I don’t really have  enough time or energy to tackle as much new original work as I’d like, so to sit down and bead an entirely new piece in one weekend and be so pleased with it is great.

Anyway, I’ve chosen ‘Architecture’ as the next challenge theme – participants have until July 5th to list their pieces on Etsy, so keep an eye on the EBW blog to see what everyone comes up with.  I have a feeling that it will produce a good wide ranging set of pieces, which will be very interesting.  As for myself, I’ve been pinning away here but haven’t quite decided what to do yet –  I do have some amazing beads which I ordered before I knew I’d won which look just like the ‘Gherkin’ (the Swiss Re Tower here in London), so maybe something London themed…….then again I also bought a darling little Eiffel Tower from the same seller so who knows?

May the 4th be with you……

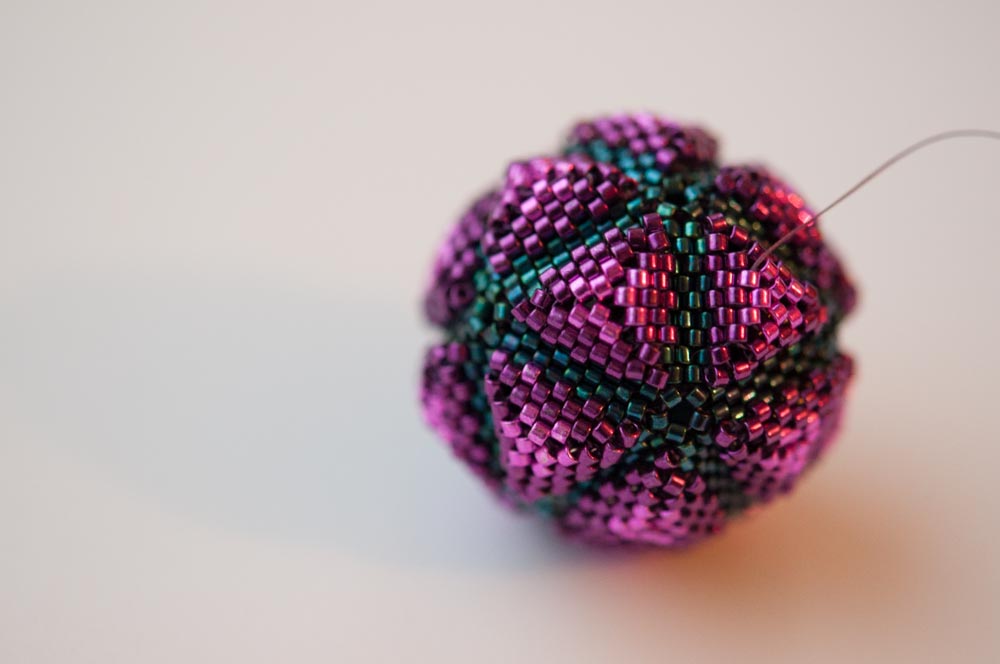
Ok, so it probably won’t still be May 4th by the time I post this, and to be honest I’m not really a big Star Wars fan.   I mean why does Yoda keep saying ‘you are wise young Jedi’ to Anekin – he’s clearly not even slightly wise, since he got his girlfriend pregnant and changed the fate of the universe – use contraception you twit?  That said, DH is a fan, I do like the concept of Star Wars day, and I have this awesome Icos pendant by Jean Power to tell you about which reminds me of the Death Star.

As usual it was a lovely design to work, there’s one tricky bit at the corners of the outer puffs, but once you’ve cracked that it goes together very nicely.  I would really really love to do one with crystals – it will look fab and be even quicker, but for now I’m really pleased with this one.  I don’t have anything to mount it from yet – I’m undecided as to whether to bead a loop.  Jean uses a wire loop on what I assume is a headpin, but since I didn’t plan ahead and put it in before I zipped up the final seam I will need to either come up with an alternative or unpick a bit.  I’m going to wear it with a purple tunic I live in at work during the winter, so I have a while to decide, now the weather has improved at last.

Recipe

Jean Power’s Icos pendant tutorial

10g of Miyuki delicas:

1005 Metallic Purple Gold Iridescent (C1 & C2)

463 Galvanised Dark Magenta (rows 1-3 of C3)

422 Galvanised Fuchsia (rows 4&5 of C3)

Tips

If I had been more organised I would have used a cheaper finish delica for the inner rows of the base triangle (Jean does point out that these rows won’t be visible and labels them C1, but I was away and only had the three colours with me).

What’s next

My next version might be in 15s – using 11s makes a nice bold pendant, with a finished diameter of 35mm, but using 15s will make something quite exquisite.  I will save that for some daylight beading though as teeny beads hurt my eyes – so perhaps first I will do a crystal version.  Jean still has some crystal sets, and Perles and Co have stock in a few colours (Swarovski seem to have discontinued this shape).  Alternatively I’m feeling quite bold at the moment and have some new yellow sandals, so perhaps I’ll get Jean’s yellow plastic stones and work up a vintage colourway…………

Orange ruffles

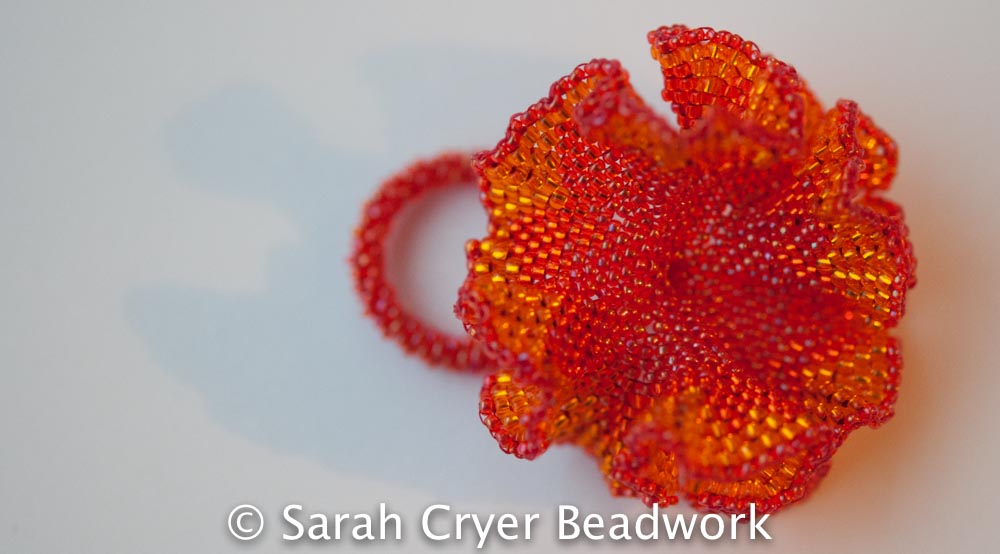
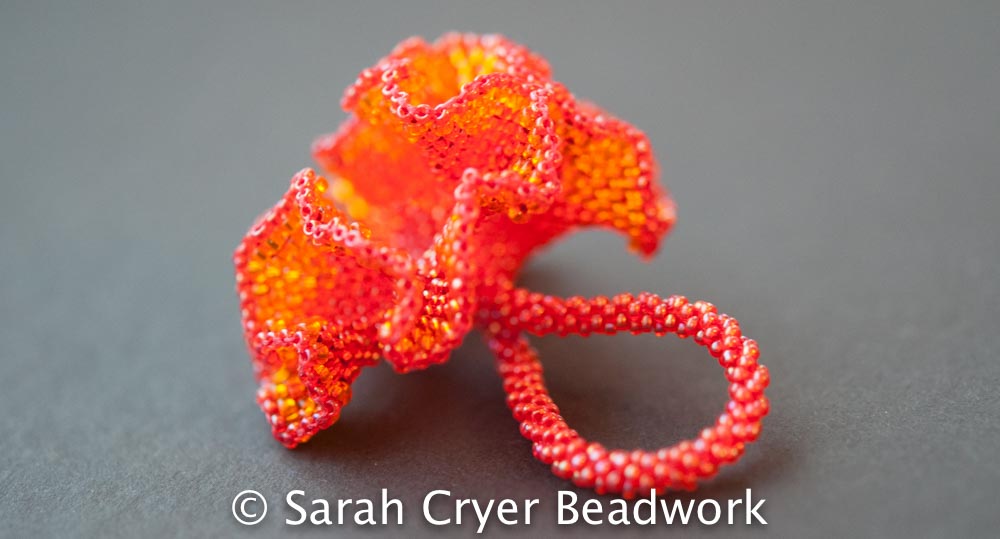
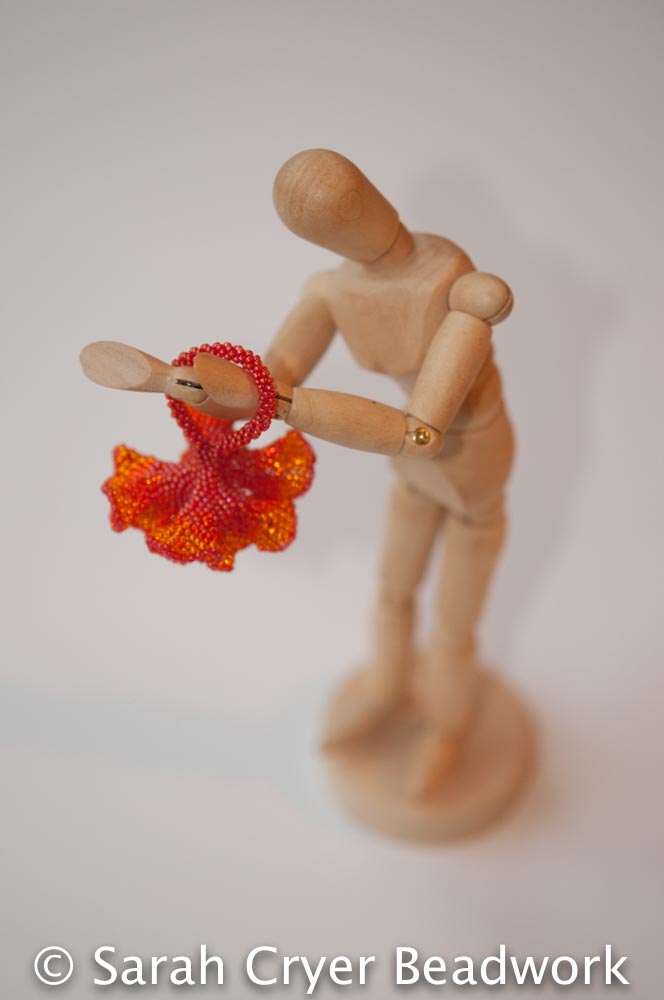
Just a very short post to say that my latest piece ‘Nasturtium Ring’ is currently featured in the Etsy Beadweaving Team’s May Challenge.  It’s a continuous brickwork piece, with a teeny size 15 seed bead ring band that merges, then expands with huge numbers of increases (and some help from some 11s near the edge) to form a ruffled disc.  It is most certainly a statement piece, not something for everyday (unless your days involve less washing up, cleaning and coping with small children than mine).

Nasturtium Ring by SarahCryerBeadwork -  EBW May 2015 challenge entry
Nasturtium Ring by SarahCryerBeadwork – EBW May 2015 challenge entry
You can see the other entries on the blog here, and even vote for your favourite.  Or search ‘EBWC’ on Etsy and they will all pop up there (apart from any that have already sold), and you can read about what aspects of Chihuly’s work inspired us all.  Enjoy, & happy beading!

Finding friends

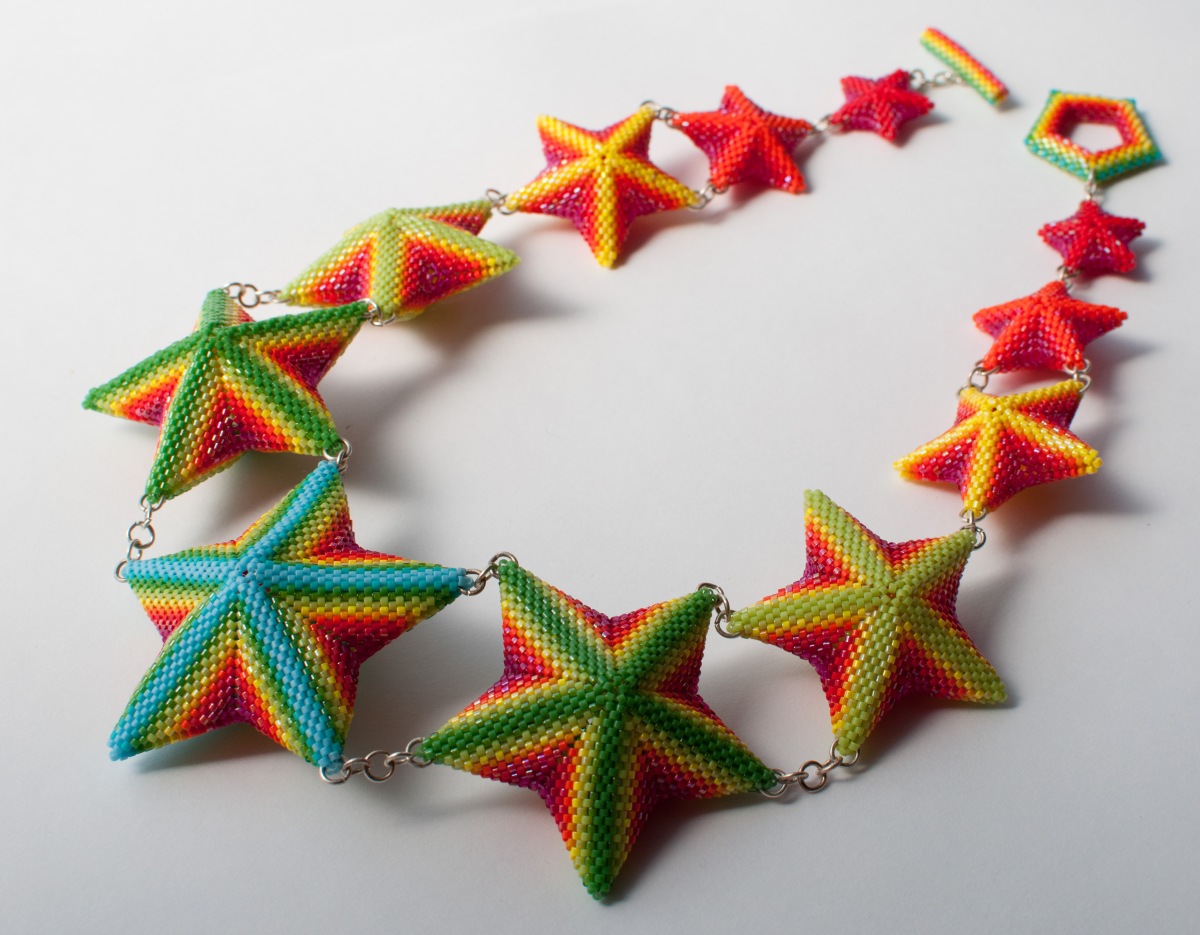
It’s an odd thing really, to group together with your competitors to engage in promotion – but one of the things I find so lovely about the beading world is how incredibly friendly and helpful other beaders are.  Maybe it’s because like many crafters and artists we tend to work alone, or maybe it’s because most people don’t really understand what we do so we are just really happy to find other people who do, but as a lone beader I have really benefitted from mentions by others, and have really enjoyed interacting albeit virtually with beaders from around the world.  The image above of my version of Jean Power’s ‘Geometric Stars’ got me noticed by Folksy and and led to me being featured shop there last year – and the support and beady friendship Jean’s given me since then has transferred into real sales as well as being a great boost to my confidence, and other beaders big and small have bought and shared and just generally been really nice.  In the so-called ‘real world’ – by which I guess I mean the world of big businesses (which I work in 3 days a week!), this degree of collaboration is almost unheard of – perhaps MDs are members of the same business association, or attend the same awards ceremonies, but they would never, ever recommend or highlight the work of a direct competitor, much less go out of their way to help & encourage them.  I should stress here that I don’t think of myself as in direct competition with Jean, she is a beading megastar and I a tiny size 15 charlotte minnow………

So it’s with a degree of joy in the way that my fellow beaders work together to promote the craft they love, regardless of commercial considerations, that I’ve applied to and been accepted by the Etsy Beadweavers Team.  They are a lovely group of beaders who quietly promote each other’s work through their blog, facebook and on Etsy itself.  They have strict criteria for joining, which I will have to keep on my toes to fulfill, but this enables them to be confident that members will contribute and enhance the group.  And they even have monthly challenges, where members make and list for sale items inspired by a theme, which are then promoted and voted on by the team and public, which will be a useful push to create some exciting, original work and is always very diverse and interesting.  I’ve missed the boat time wise for the next challenge which is a real blow as it is ‘inspired by Chihully’ – an all time favourite artist ever since he exhibited at Kew Gardens when I was living round the corner, but I can’t wait to see what my new ‘colleagues’ will come up with……..

So, if you’d like to see what they all get up to pop over to their blog, or search ‘EBW team‘ (for finished beadwork) or ‘EBW team tutorial‘ (for kits and tutorials) on Etsy.  Or even better ‘like’ the team’s Facebook page and you’ll be gently fed beautiful, unusual and downright fab pieces to wash away the annoyance of endless cat videos and adverts.

Anenenenemones

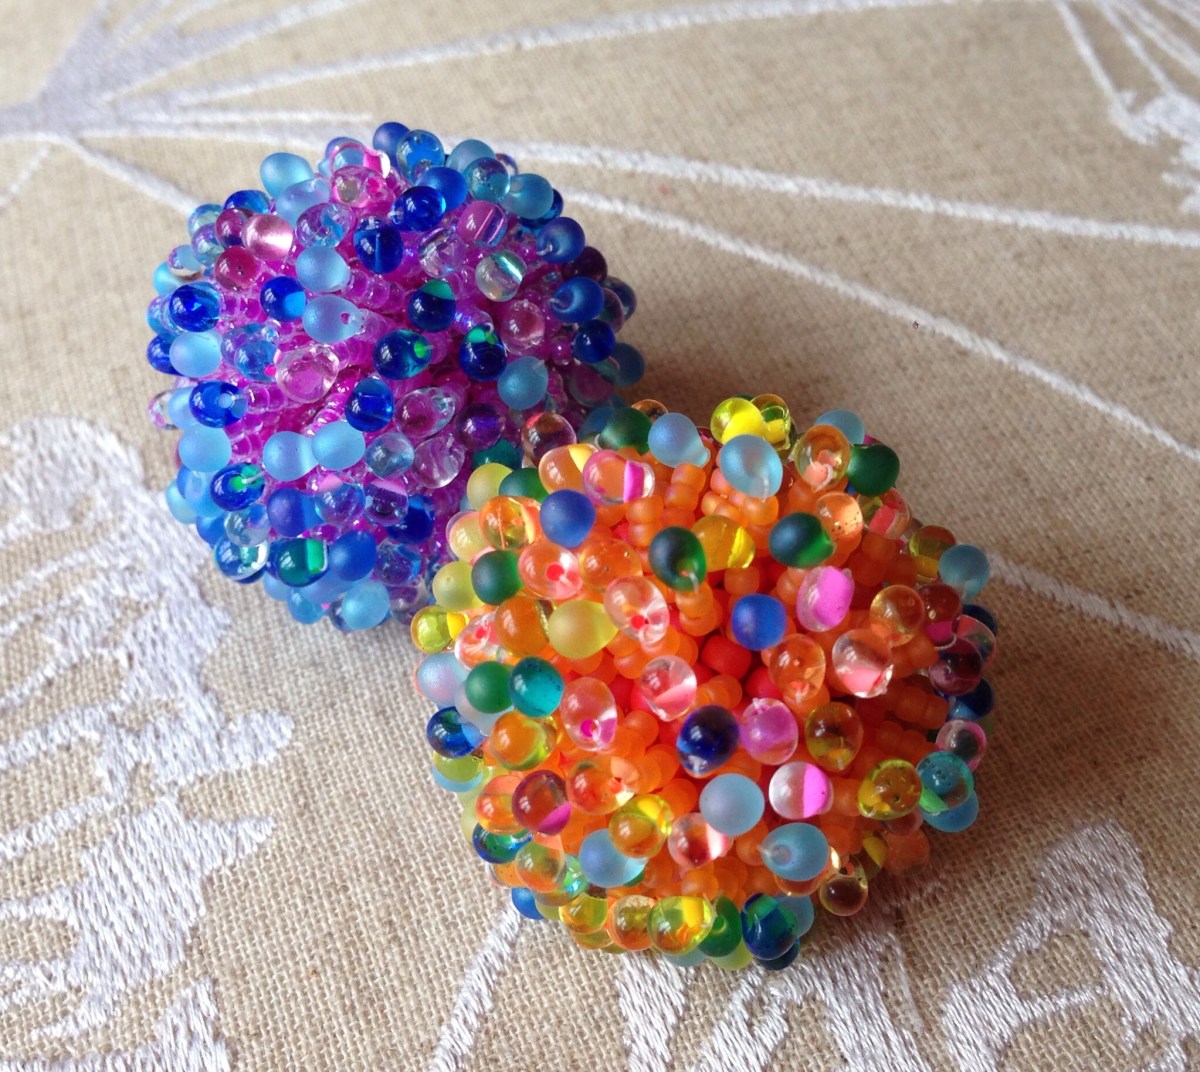
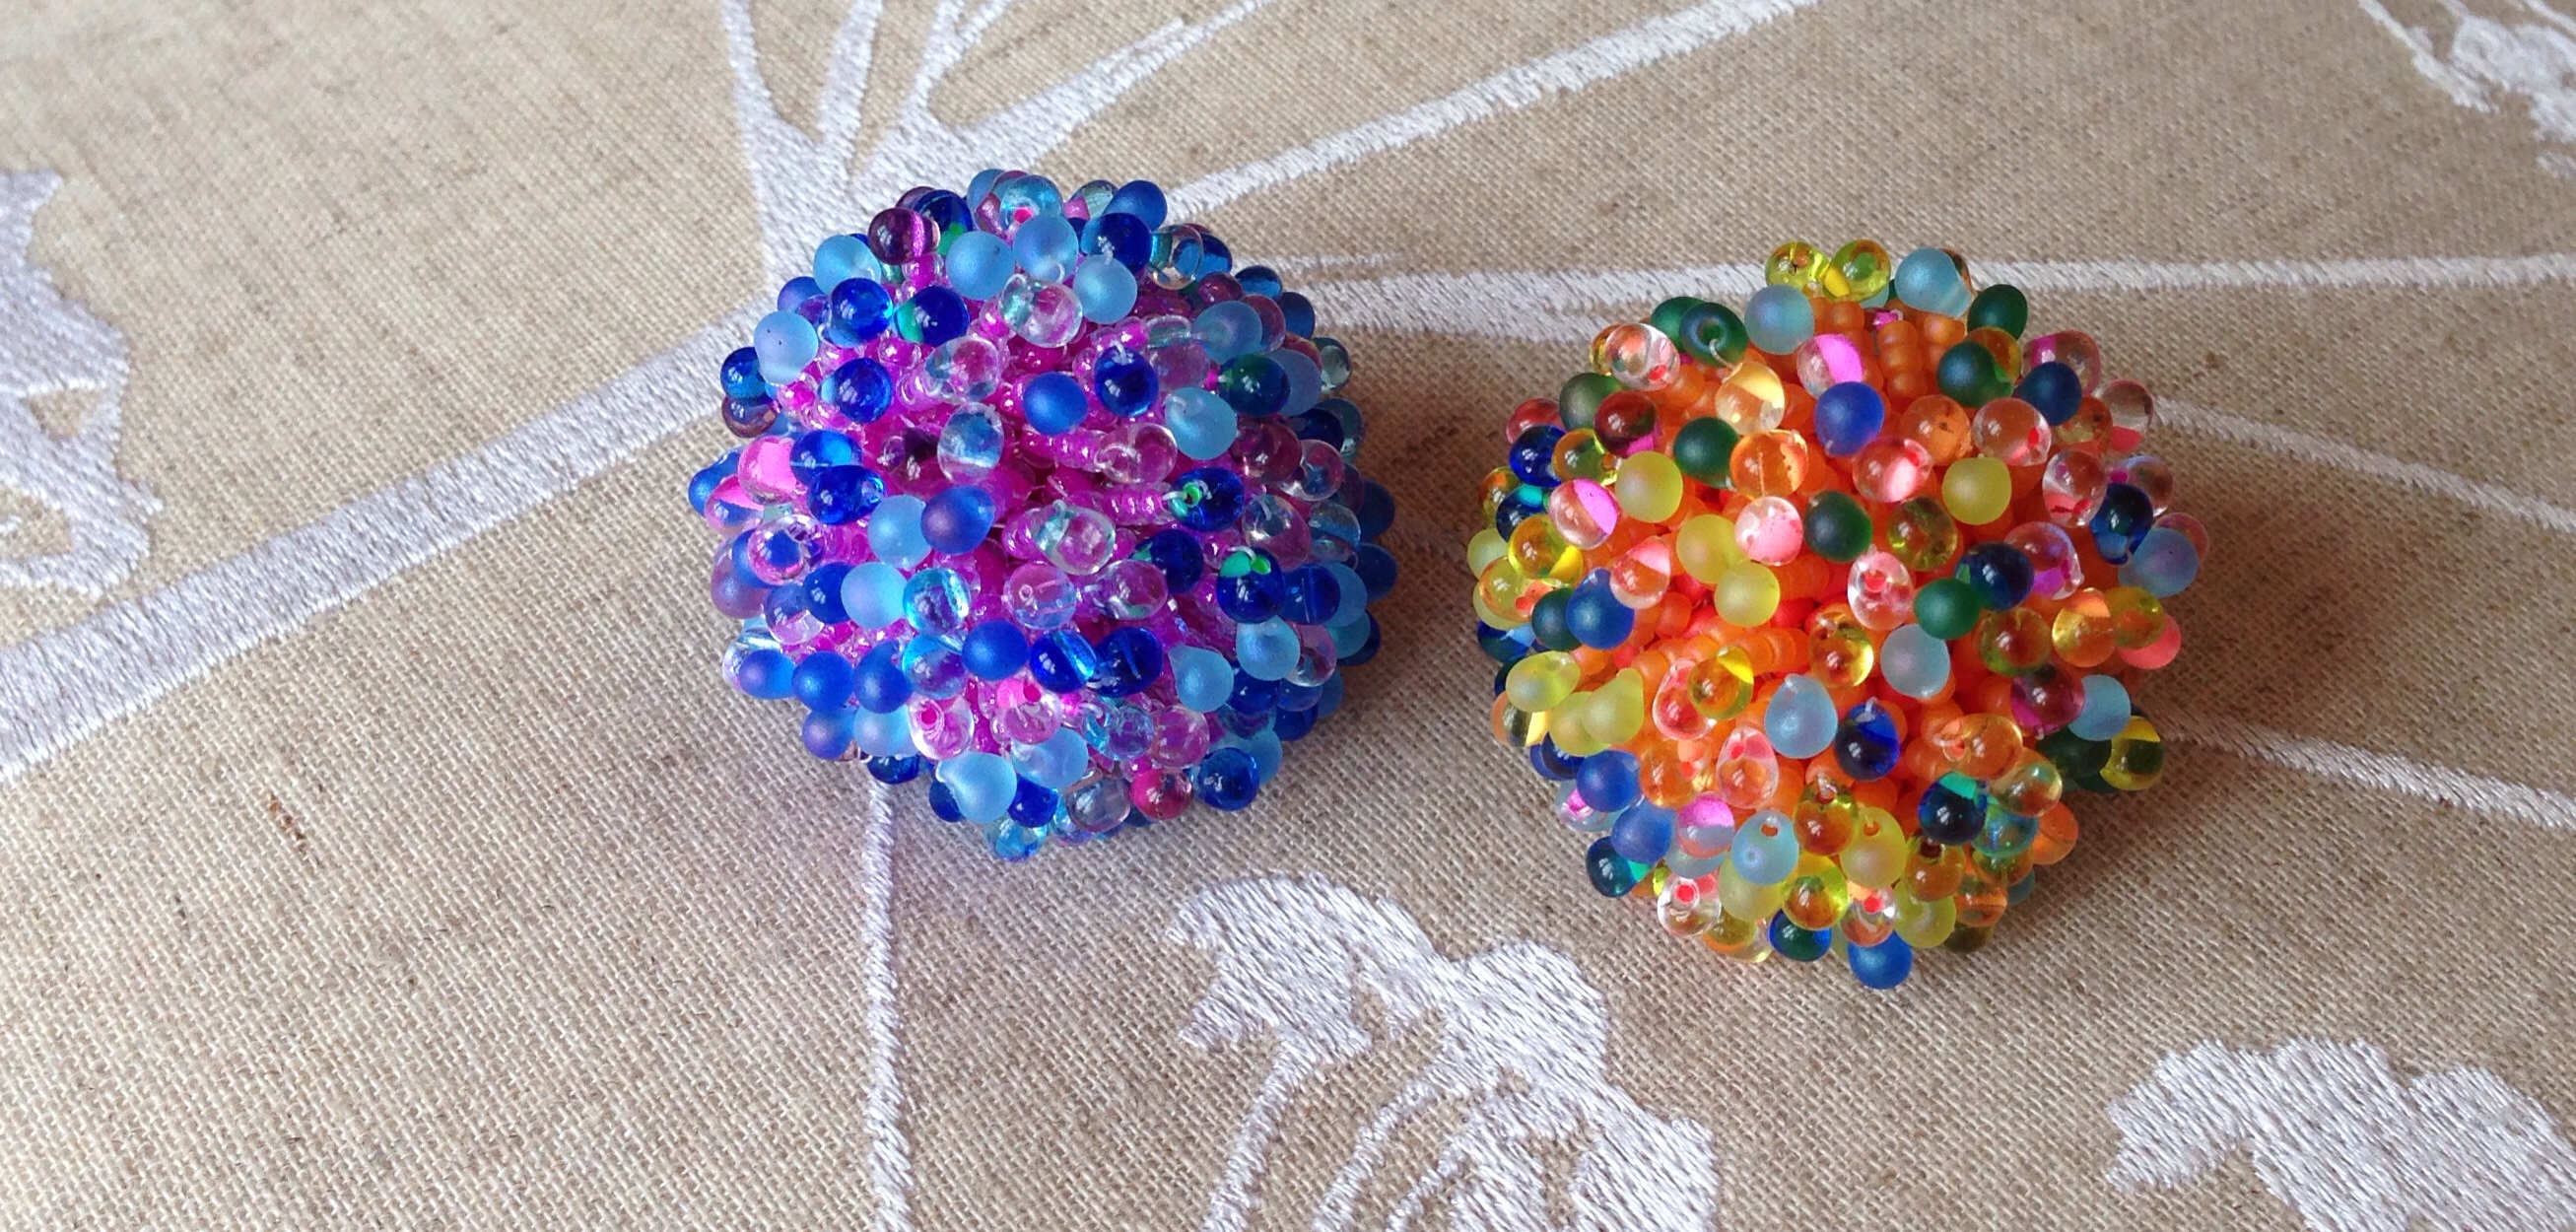
We’ve all been a bit peaky recently, so favourite films have been deployed.  I was managing to do a bit of beading, but kept getting stuck, so I thought I’d do some quick beaded beads as they are always useful.  We were watching Finding Nemo at the time, and before I knew it I’d fringed over the peyote base to make a lovely anemone for Marlin and Nemo.

However the colour was not deemed suitable for an anemone, so a second one with colours chosen by Boy 1 (who has quite garish taste, even compared to me) is now finished.

Fun, relatively quick, and if my previous fringed beaded bead is anything to go on, will be much commented on.

image

Recipe

  • Large base bead of your choice – I used a 20mm diameter.  The size 8s plus the fringing make it much bigger – the finished size is more like 40mm diameter.
  • Enough size 8 seeds to cover the base bead – probably around 1-2 g (apologies, forgot to weigh them).
  • At least 4g of size 11 seeds.
  • And around 4g of 3.4mm Miyuki drops or similar.

Method

  • Using circular peyote (I favour a 5 bead start), cover the base bead with an even, firm peyote layer.  This layer will barely be visible, so don’t worry too much about gaps.  Leave holes for later threading onto a neckwire or chain.
  • Then, working from one of the holes, go through a size 8, pick up 3 11s and one drop.  Go back through the 3 11s and then into the ext 8.  Repeat ad nauseum until you have a fringe coming from every 8.  That’s it really.

Tips

  • If you’ve not peyoted onto a base bead before then have a hunt around for a tutorial.  Having tried and failed to do them in the past without a tutorial, a while back I invested in a few different sizes from The Crimson Moon, and having made a few of each size am now comfortable enough with the technique to just go for it.  Sadly Liz isn’t selling her patterns any more, but have a look around Etsy and similar sites and see what you can find – post some recommendations here if you find a good one.   If you can find a tutorial using 8s, even better, as you can use them as a basis for an Anemone beaded – those inevitable gaps and threads in your first few attempts will be hidden by the fringe!
  • As with any fringing, you have to watch the working thread like a hawk to ensure it doesn’t get caught.  Work methodically around the bead, rather than darting around, as as things fill up you will find it hard to spot the gaps and even harder to fill them in without getting in a tangle.

Enjoy!

Busy bee

Apologies if things have been a bit quiet here – the usual endless winter cold cycles have come to a head recently with some pretty nasty temperatures for both the boys, so energy and time for beading has been severely limited.  Plus as usual I have been inspired by the Great Britsh Sewing Bee to sew instead.  As well as a very quick and simple transformation of a pirate costume into a Cat Pirate for World Book Day I’ve now also made a completely amazing Triceratops head and tail for the bigger boy (although I do rather wish it was for me).  They came from a Simplicity pattern (1765), with some adaptations – the tail is mounted on a belt rather than sewn to their suit as I definitely don’t have time for entire outfit, and I used poplin rather than fleece which may have made things trickier, but the end result will be wearable year round.  

Greater love has no mother than to give up part of her precious Kaffe Fassett fabric stash to make a small dinosaur……..

Adapting

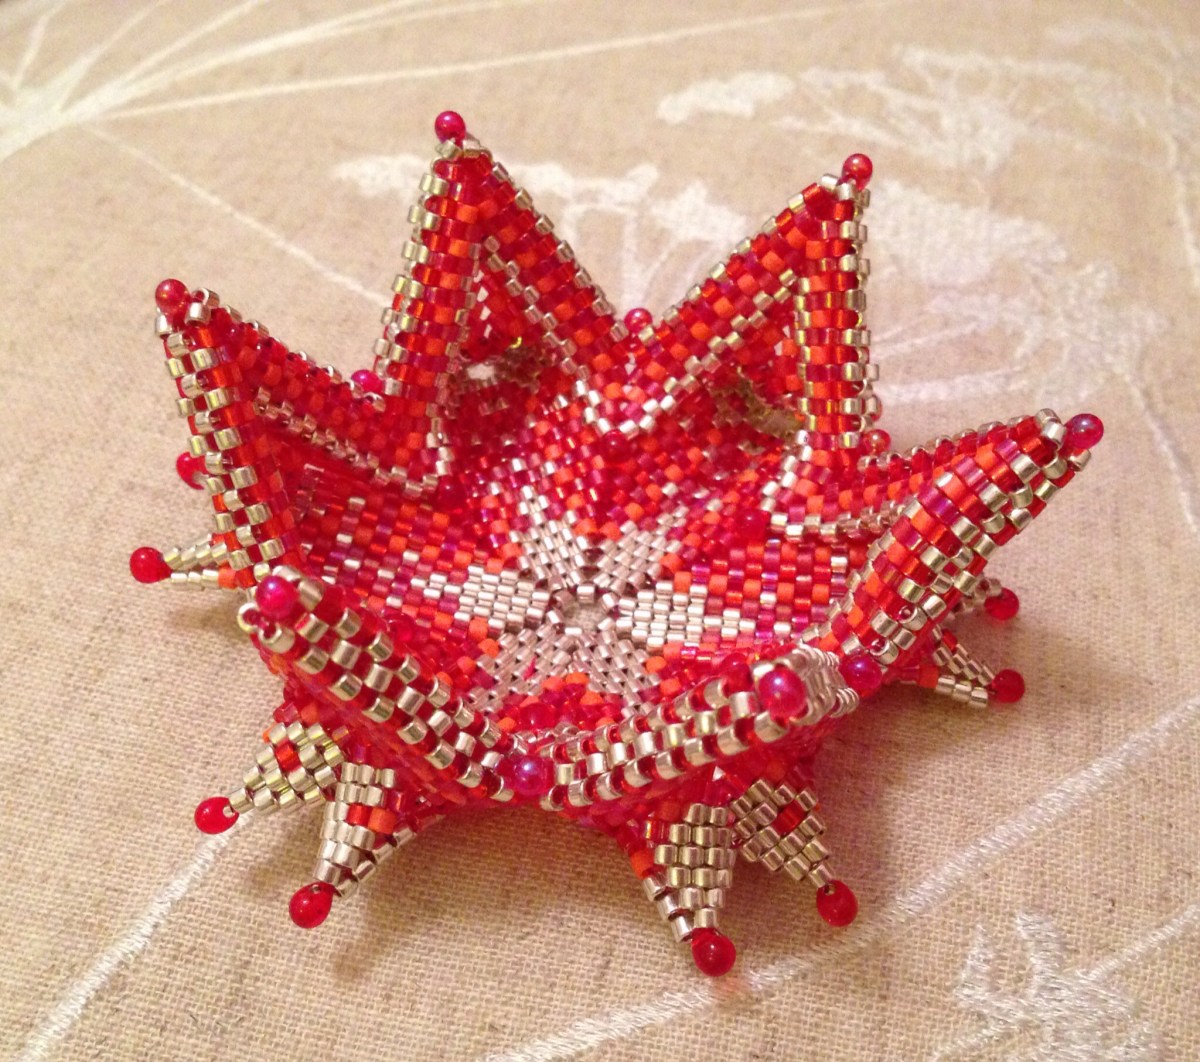
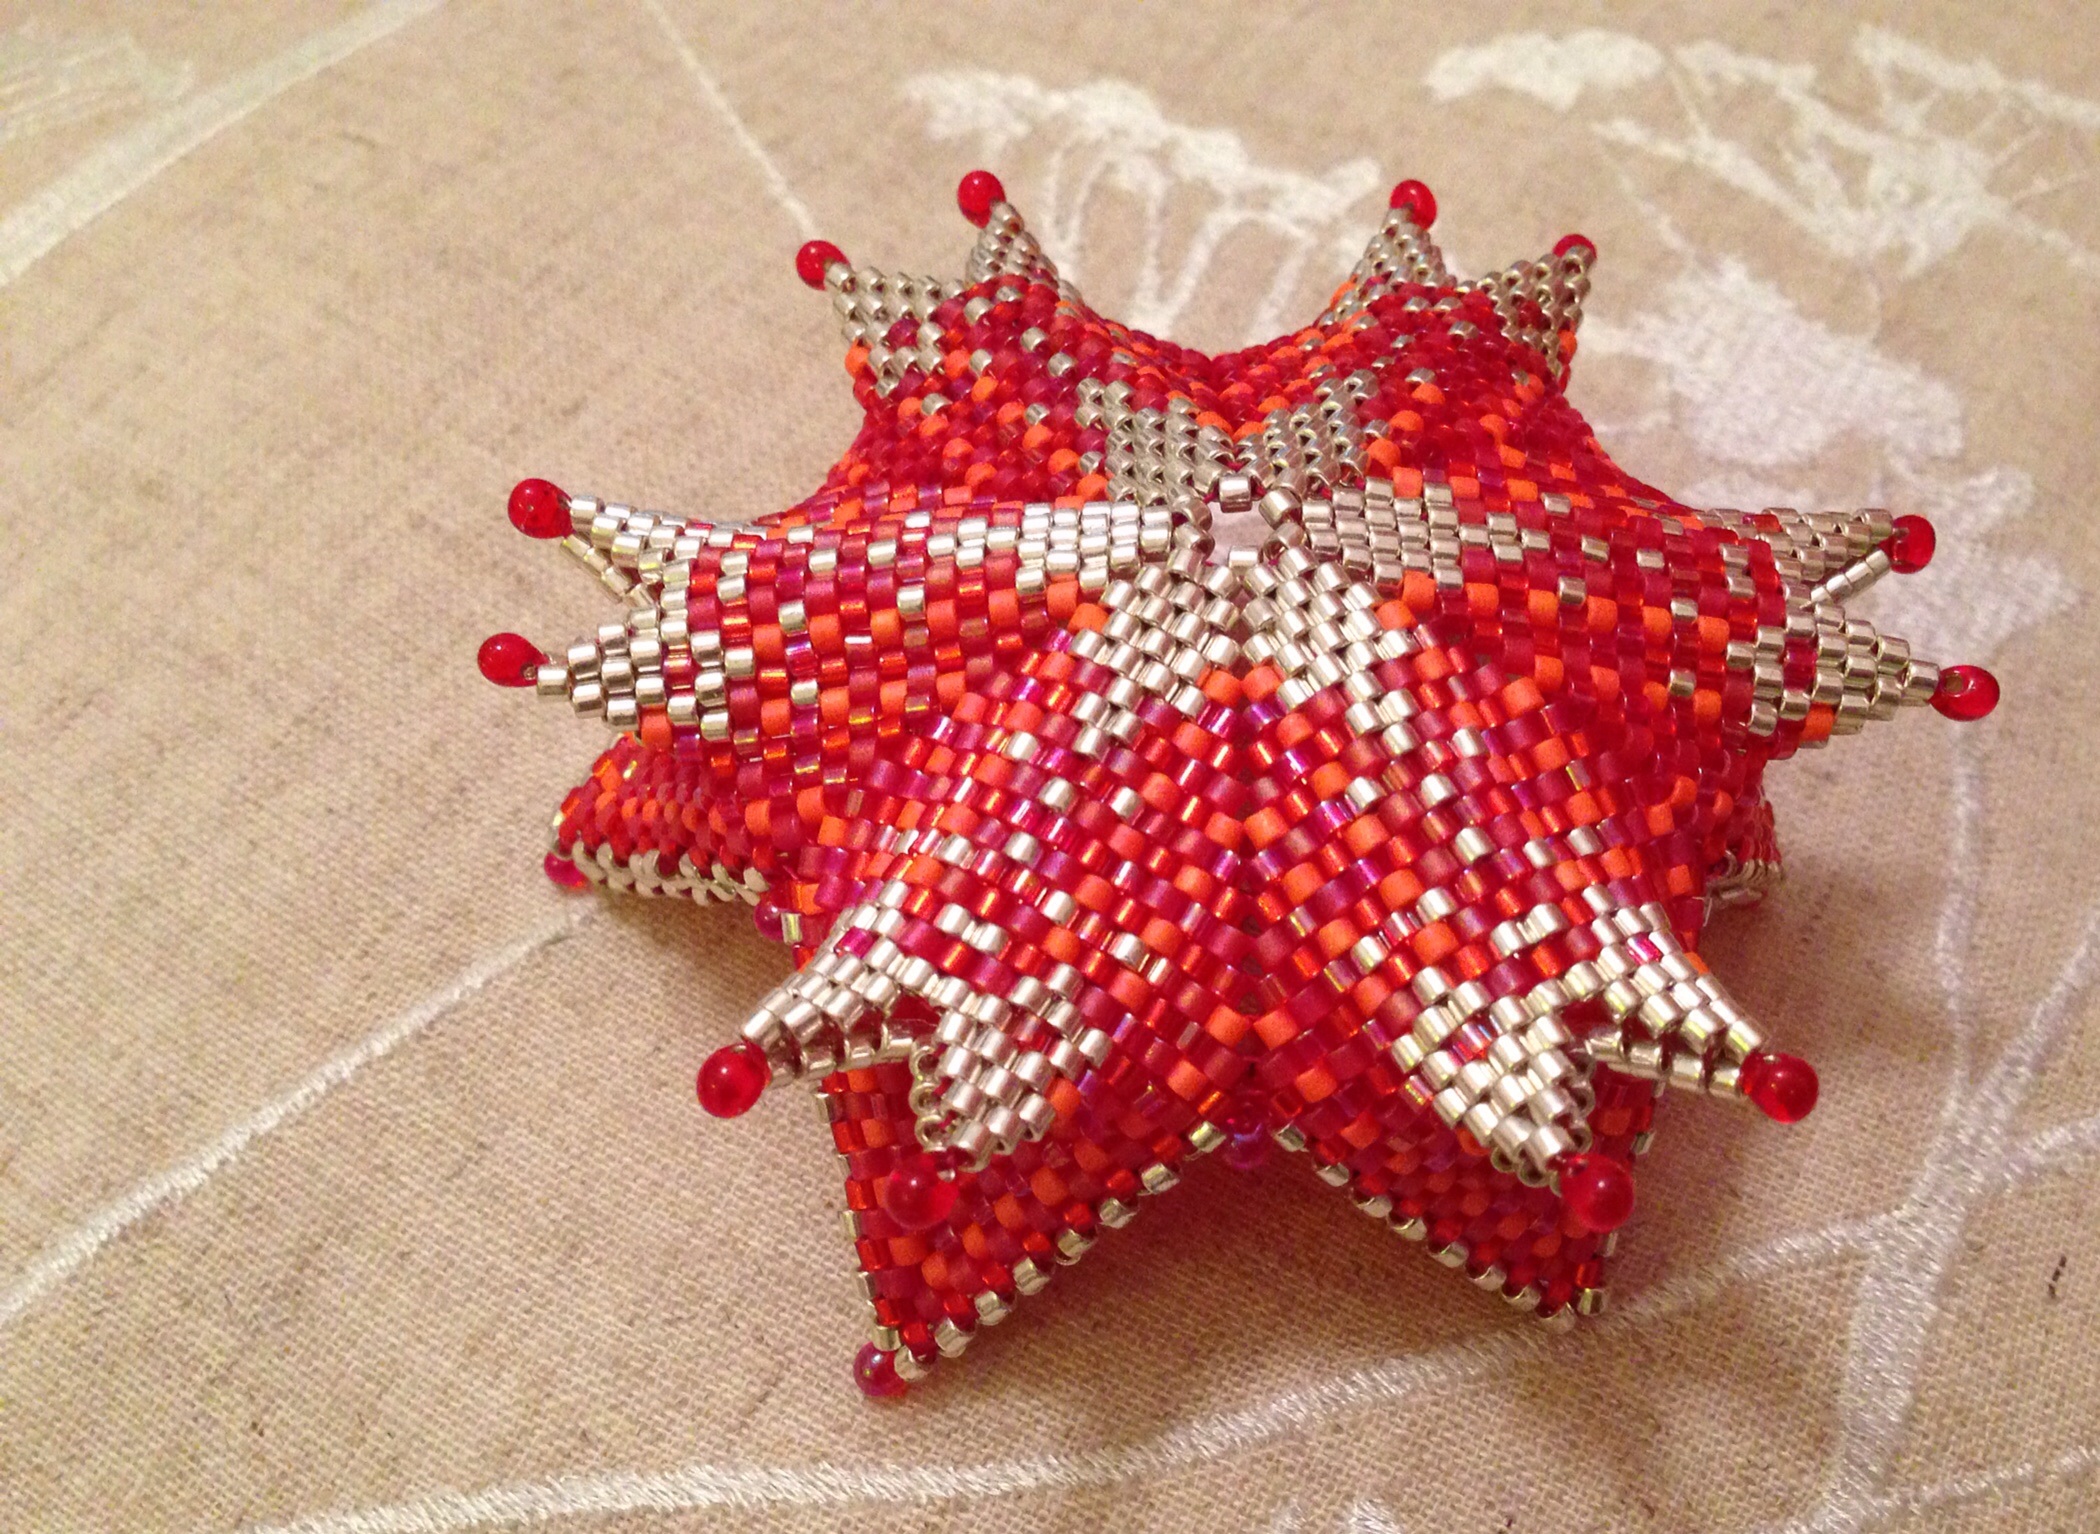
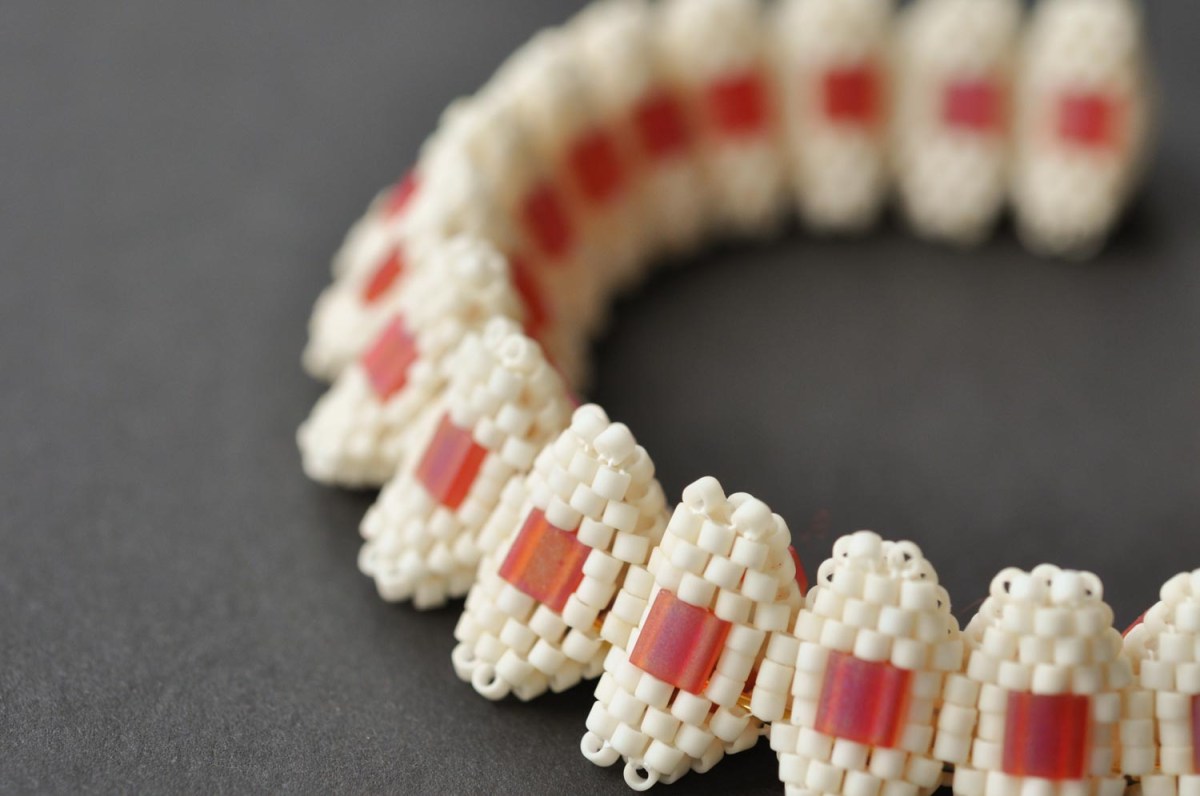
I’ve been making another Fortuneteller, but this time with size 10 delicas.  I used my previous one as a template, measuring the various distances as I beaded along and at first it went well.  However, as it grew it became clear that the bigger beads meant that the thickness of the MRAW band made the inner layer significantly smaller than the original, and finishing the joins between the small horns was definitely going to make it unwearable by me at least.  So rather than hoping for a tiny handed customer, or giving it to one of the boys (boy 2 is very keen on bangles) I’ve made it into a rather splendid bowl and I like it.  Which is just as well…………

image


Recipe

  • Size 10 delicas in three shades of red, one orange and silver, 26g in total.
  • Size 3.4 drop beads.

Tips

  • Unless you actually want to make a bowl, I’d suggest a starter MRAW band which contains six repeated ‘Vs’ with 9 units on each side of the V (not the 8 units I used).
  • To get the colour effect I used, start the MRAW band with the silver, using one of the reds as the fill bead.  Add a drop bead as one of the inner beads on any increases or decreases (you may want to miss them on the decreases – I chose to leave them in as I like the look of the drop nestling in the V.  Then change red/orange every row.  As you approach the horns, start adding the odd silver in, then more each row until you are just using silver.  I chose a random pattern, mirrored on each pair of horns, but kept it identical for each round so that the graduation was even across all the horns.  Then gently fade the reds back in, and finally as you approach the final tips work the silver back in again.
  • Size 10 delicas are still quite hard to get hold of in the UK.  Stitch n Craft are expanding their range gradually, and as usual offer probably the most competitive pricing (assuming you spend enough to qualify for free postage, which I never fail to do), although their colour range is still quite limited.  Charisma have a good range of colours, as do Fine Lines.
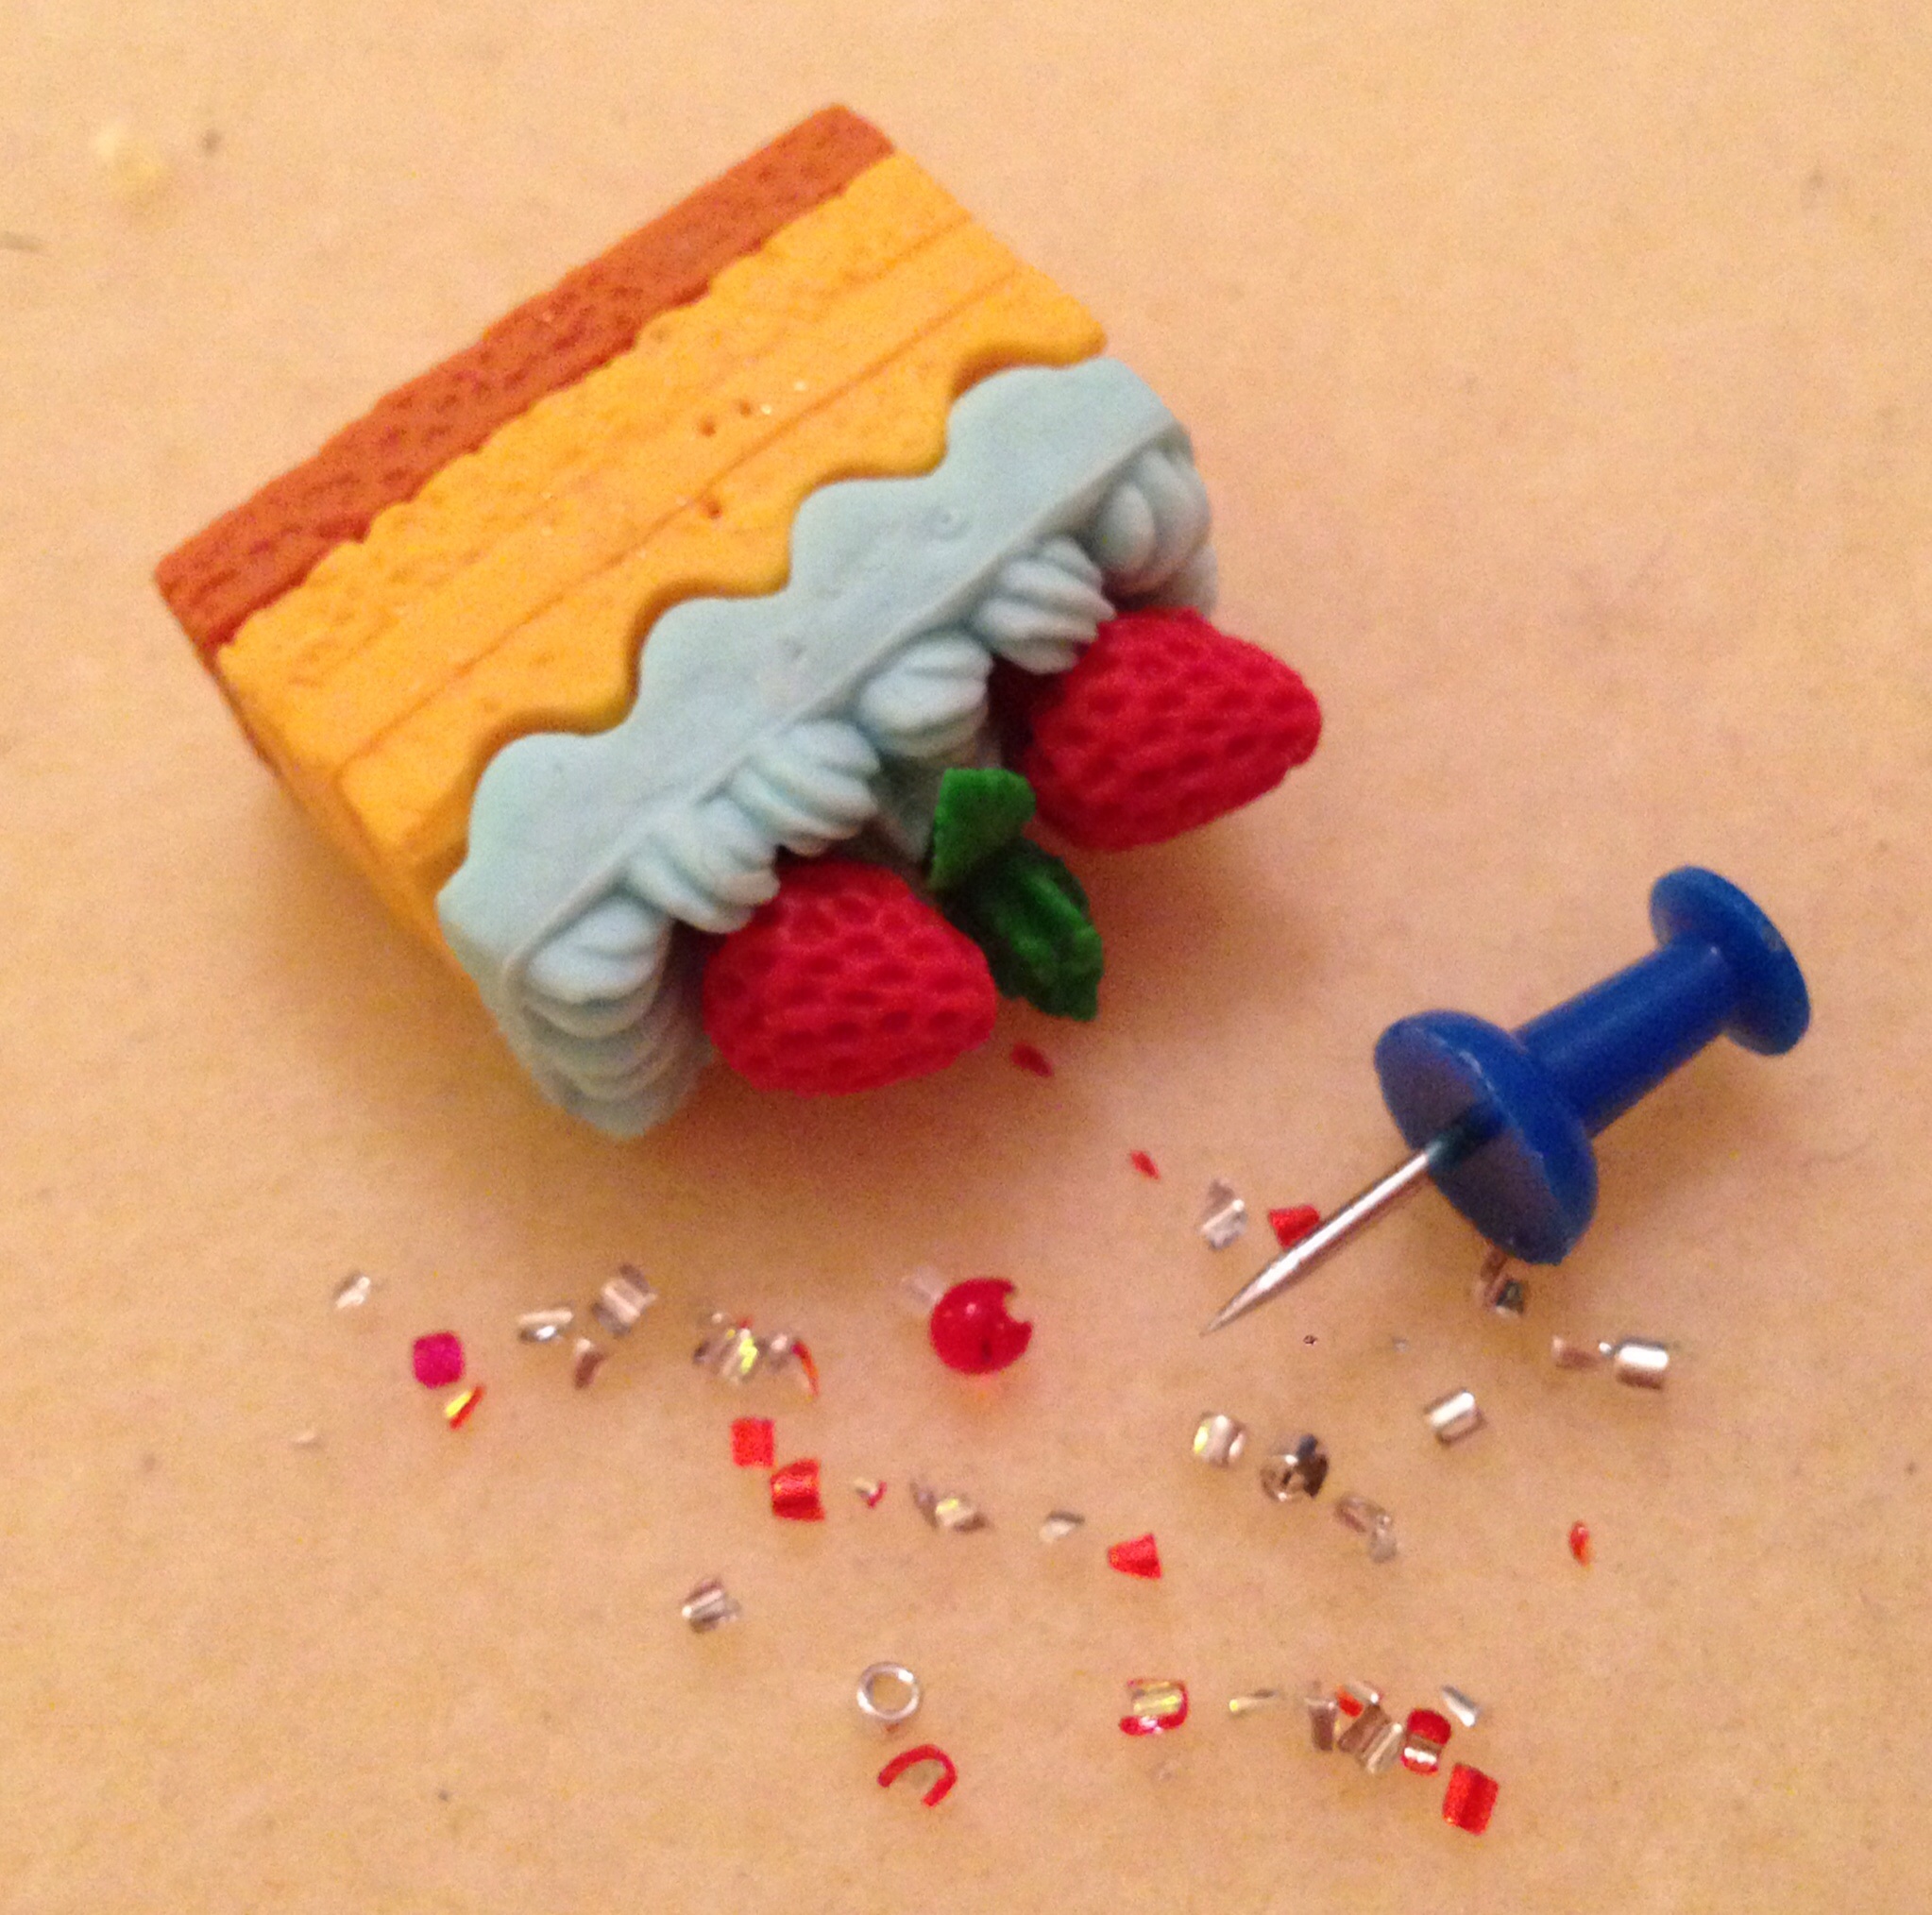
  • Finally, with this kind of work, especially with larger beads, you really can’t make any mistakes as they will be very obvious on the finished piece.  I made quite a few as I was very tired, and the lovely push pin and eraser combo I was sent by the lovely Jean Power with my copy of Geometric Beadwork 1 was worked quite hard.  I can’t remember having to break out this many beads for ages.

image

Other than my general incompetence it worked really well with the size 10s, and in many ways it’s the best use of these for geometric beadwork that I’ve tried before.  I will have a go at an actual bangle once I’ve got all the other things on my beading list moving along.