During last year’s UK Beadworker’s Guild’s ‘National Beading Week’, along with thousands of beaders from around the world, I participated in Jean Power’s fabulous 2015 Secret Beadalong. As the 2016 NBW approaches I’m getting ready to take part again, and I really can’t wait. The materials list is very intriguing – lots of ‘you can use 1 or 3 or 5 or 15 colours’ which obviously appeals to me, as I am unable to commit to just one; and Jean has used some of the new ever so dinky mini duos (quite a lot of them judging by the weight required). On top of that a mix of feature beads in different sizes, and lots of seeds. Unusually for Jean, no delicas (I have checked the list three times as this is not like her at all!!).

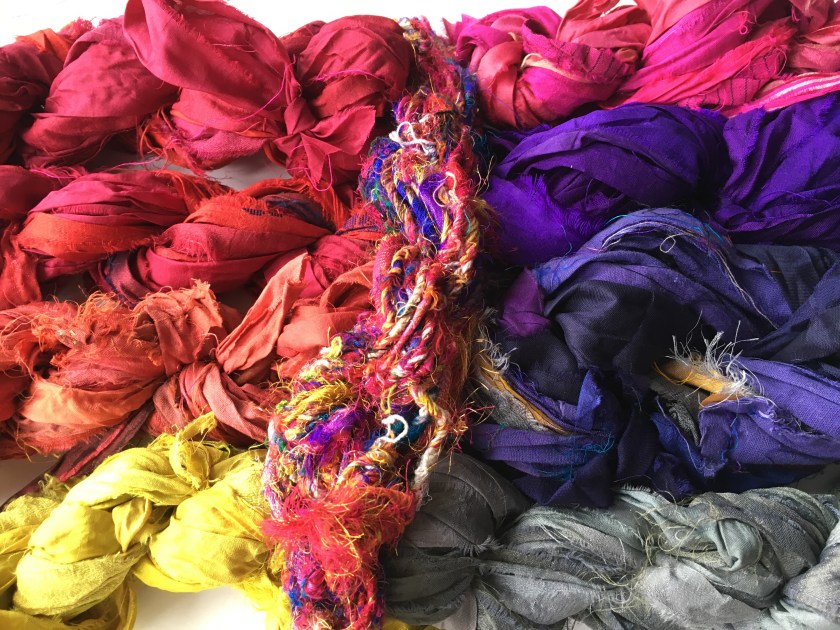
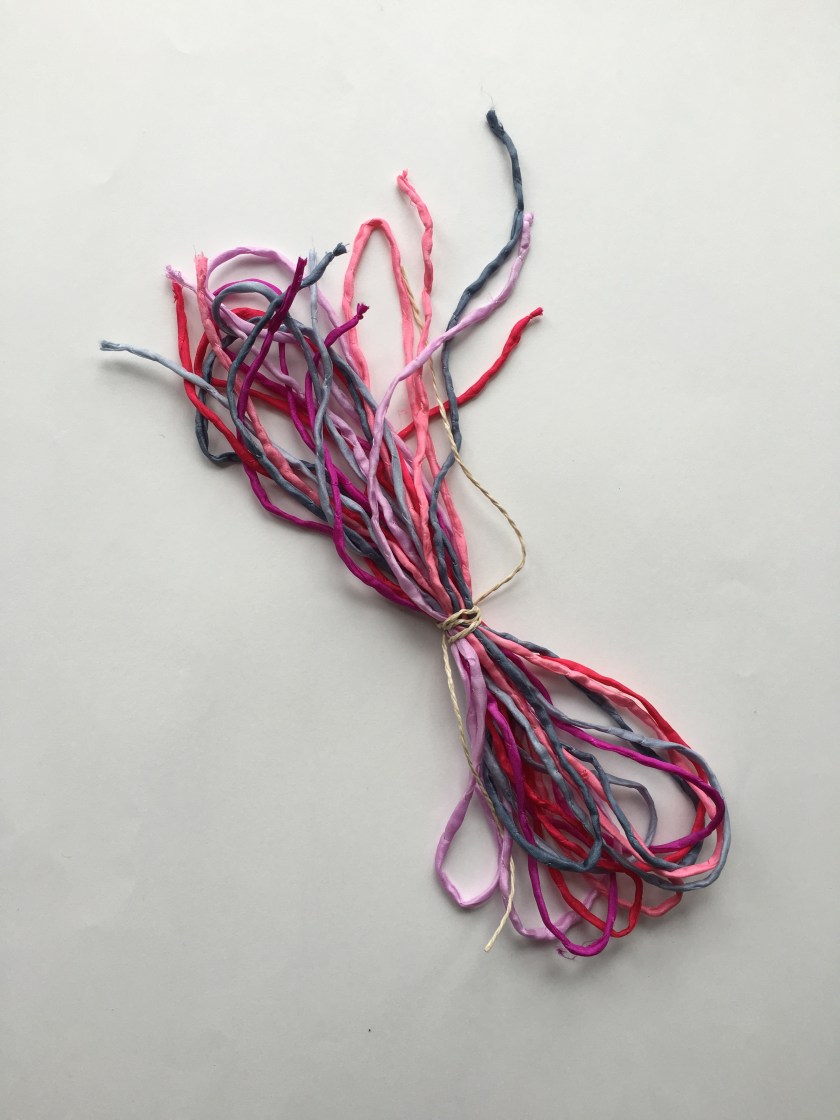
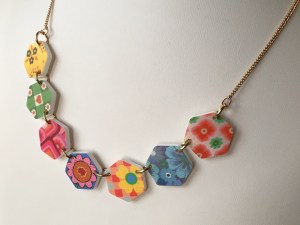
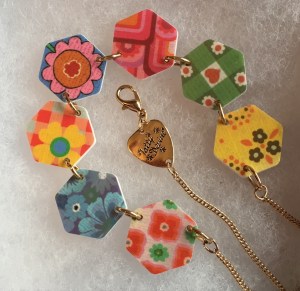
As you can see from the picture above, and the blog posts I did through the week, last year, my colours were pretty loud – don’t get me wrong, I loved them and I love the finished piece, but I’ve not actually worn it. And as the interim photos came through on the Facebook pages, I found myself wishing I was better at putting together more subtle colourways – I get lots of compliments on my bright work, but there are some lovely muted metallics out there that I’d like to try. So with that in mind, earlier this week I sat down with my beads to pull a selection.

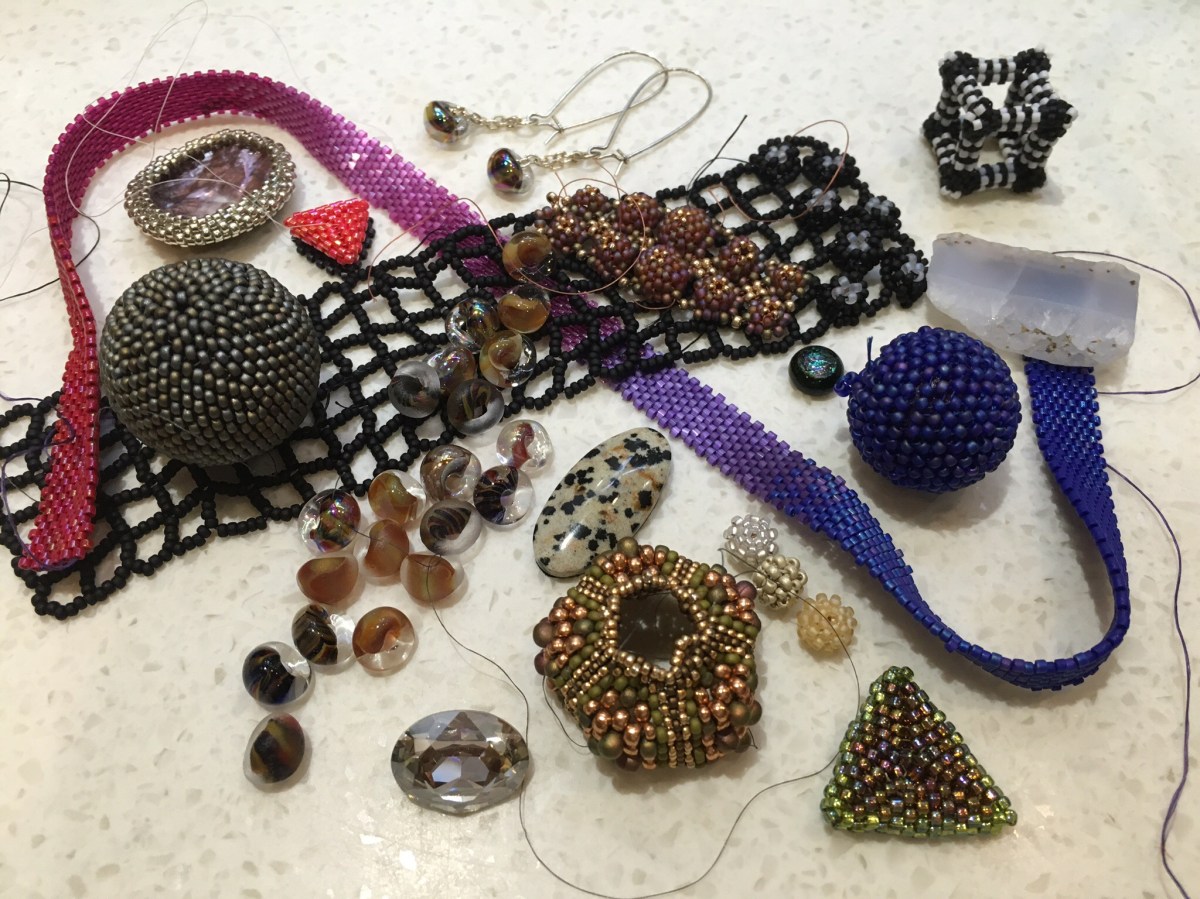
If you’ve signed up already, you’ll know from Jean’s list that there are far more bead packets here than there are listed. This is partly because she’s said it’s OK to use multiple colours in one type, and given the prep I’m guessing at a component based design with the opportunity to swap across repeated components. It’s also because I find it really tricky to commit to a colour or finish when I don’t know how it will sit in the design – for example I wouldn’t want the Magenta firepolished sat next to the Violet Neon minduos – visually too much and they are not exactly the same shade of magenta anyway. And finally its because I am very indecisive about choosing beads – for most projects, whether I’m building them from scratch or following my own or another beader’s design, I will always pull more colours/finishes than I end up using, so the design/execution can evolve without me getting up from the sofa to root around in my stash.
Anyway, the colourway as it stands goes something like this:
- Magenta – for highlights only, I’m going to try and restrain my use of this. I’ve got some Violet Neon, some straight magentas, and some fuchsia crystals (which may not make the cut as in daylight they are too red compared to the others, but we’ll see how they sit). So one ‘colour’ only. Sort of……
- Sliperit – both etched crystal and non-etched jet – wanton extravagance, and not really needed but I think used sparingly these will bridge the gap between the darker metallics and the magenta. This finish is gorgeous, showing magenta, purple & copper, and I’ve got a range of sizes/shapes in my stash to play with. I will though need to be careful with the Etched Seeds, as they are Czech made rather than Miyuki with an after factory Czech coating, which means the sizes are different, and the etching process which makes them look so amazing can impact the sizing even more. And if I use them a lot I will have to reinforce the thread or use Fireline (which I used to love but have gone off) as they can have sharp edges inside………..
- And then the base colours – mainly Miyuki 2002 which is a matte metallic dark silver with hints of bronze; but with some black picasso mixed in for fun.
- And a spare packet of vitrail bicones, in case the fuchsias don’t work. And some tarnished silver mini duos because I had them and it might all be a bit dark. And whatever else I find between now and beading it!
So all in all not the subtle colourway I was planning, something much darker and more dramatic, but hey ho, the beads have spoken. Watch this space as I start the prep work, and don’t forget to sign up here and take part! If you subscribe to Jean’s mailing list (highly recommended – it’s only one mail a month but she usually includes a lovely discount code as well as news about classes, patterns and kits), or are in the UK and a member of the Beadworker’s Guild, you get a discount. And whether you’re beading along with us or not, follow the dedicated Facebook page to see what we are all up to.