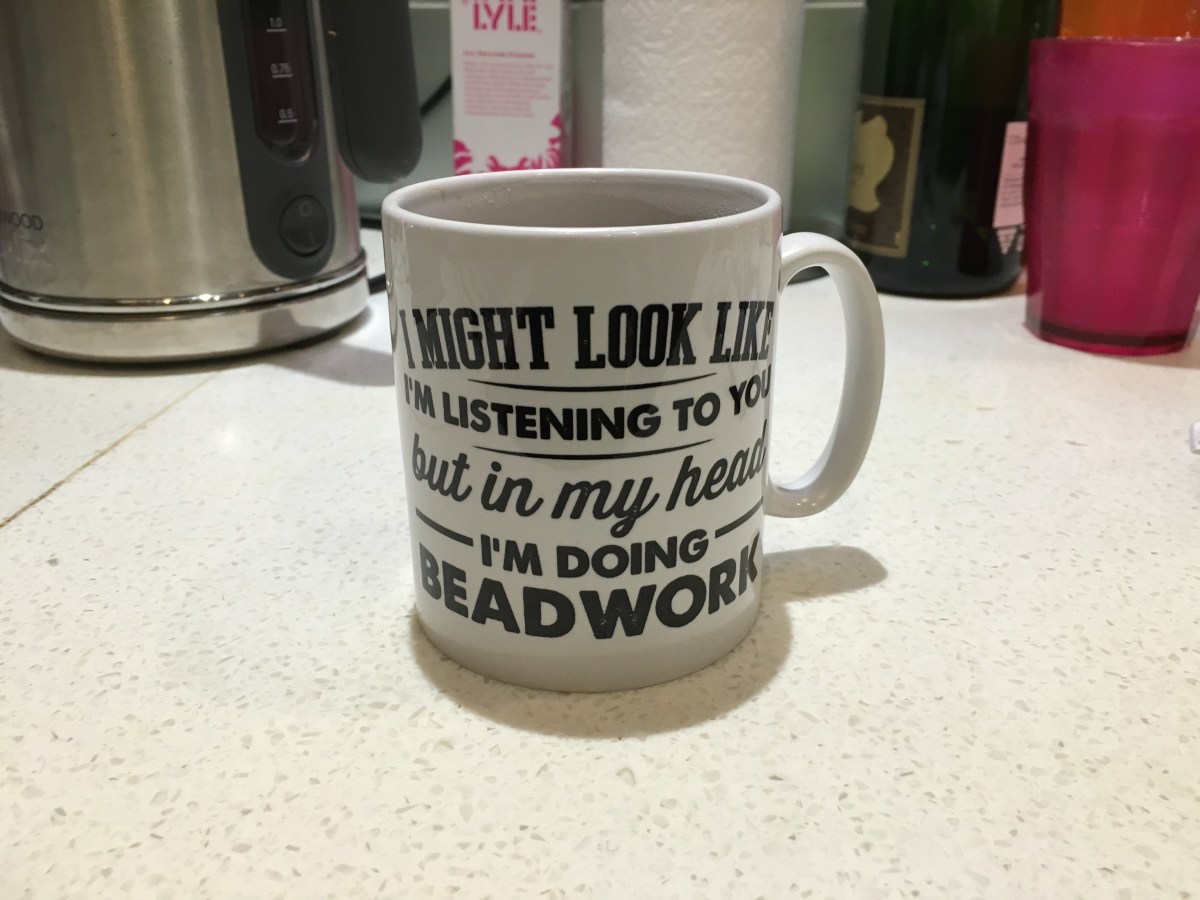
After my obligatory blogger’s 2015 review, here’s my equally obligatory 2016 look ahead! Thank you to my sister Susie for the apposite mug – it is sadly true as I spend a worrying amount of time thinking about what I want to bead. This is probably because I have so little time to actually bead, so this year I want to make a plan and sort of stick to it, so I can always have something on hand ready to work on (rather than sitting around waiting for inspiration to strike because I’ve forgotten that really good idea I had three months ago).
So to begin, the projects I started in 2014 and didn’t touch in 2015 – the dreaded ‘unfinished but not quite a UFO yet’ box.
Planned for me to wear at my friend Jane’s wedding in the smartest venue imaginable. Abandoned when I decided the dress was too short for said venue. This was going to be a series of arches to mirror the digital print of the Ted Baker dress, and I think I’ll continue trying to work it out as it’s a lovely dress. That said, when I pulled the bits so far to take a snap I wasn’t very impressed…….so for now this is back in the ‘maybe’ pile.

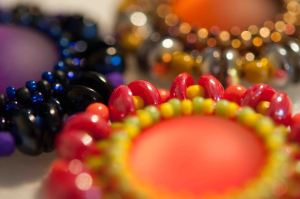
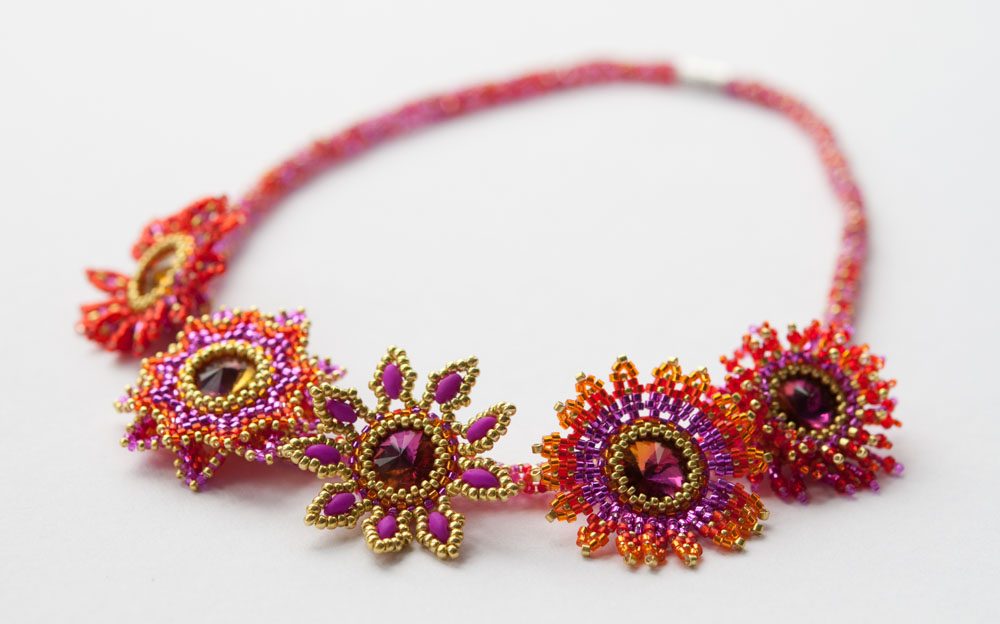
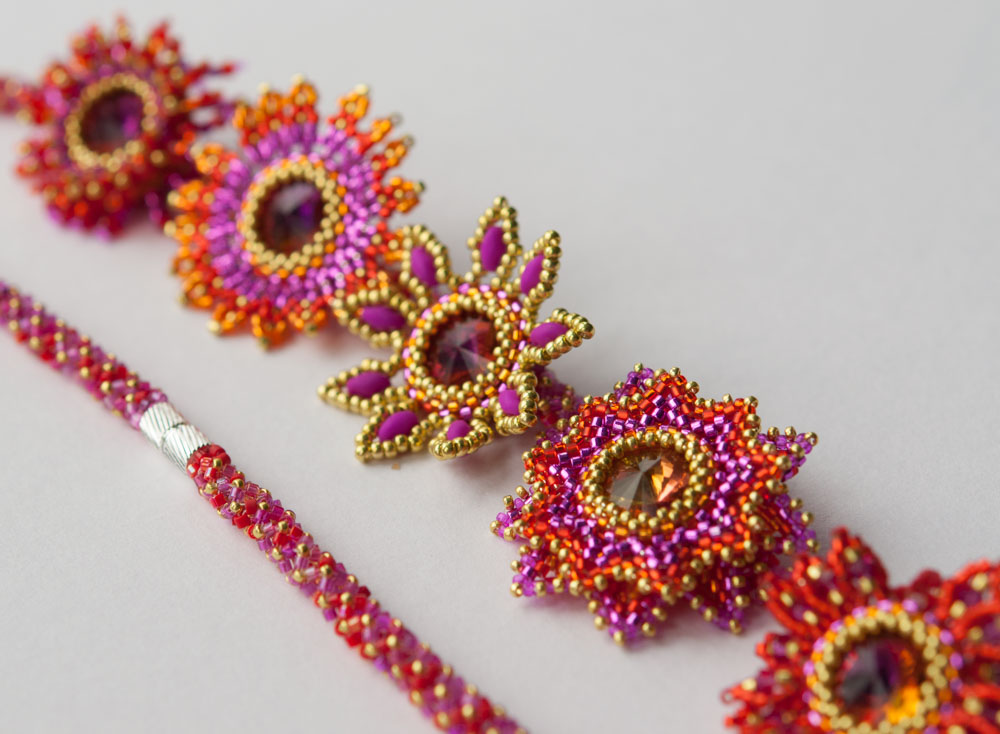
Planned for me to wear at same wedding with smarter outfit, just as a simple short necklace. Abandoned when I realised said outfit now too small. I have plans to turn this into a shoulder covering cape of bezelled stones, connected by a cobweb of antique gold 3mm fire polished beads, but it could take a while to bezel enough stones for that! The stones are a mix of vintage and new Swarovski, and were a very good exercise in working up similar bezels in lots of shapes and sizes. I’m a lot more confident in this one though, so it’s high up the list to actually do. It would be a good holiday project as I’d only need the gold beads and chatons (not my normal case full of random pulls).

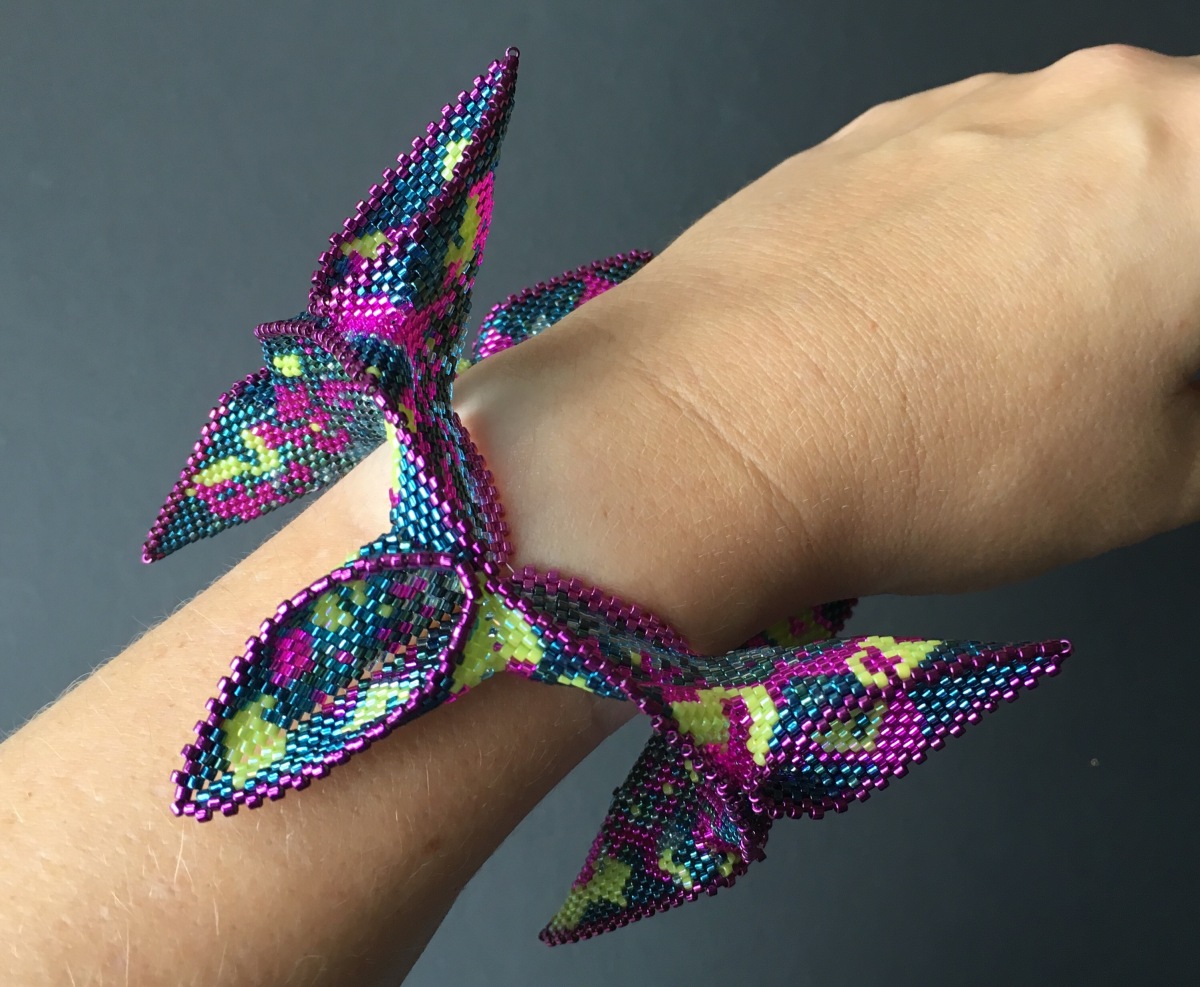
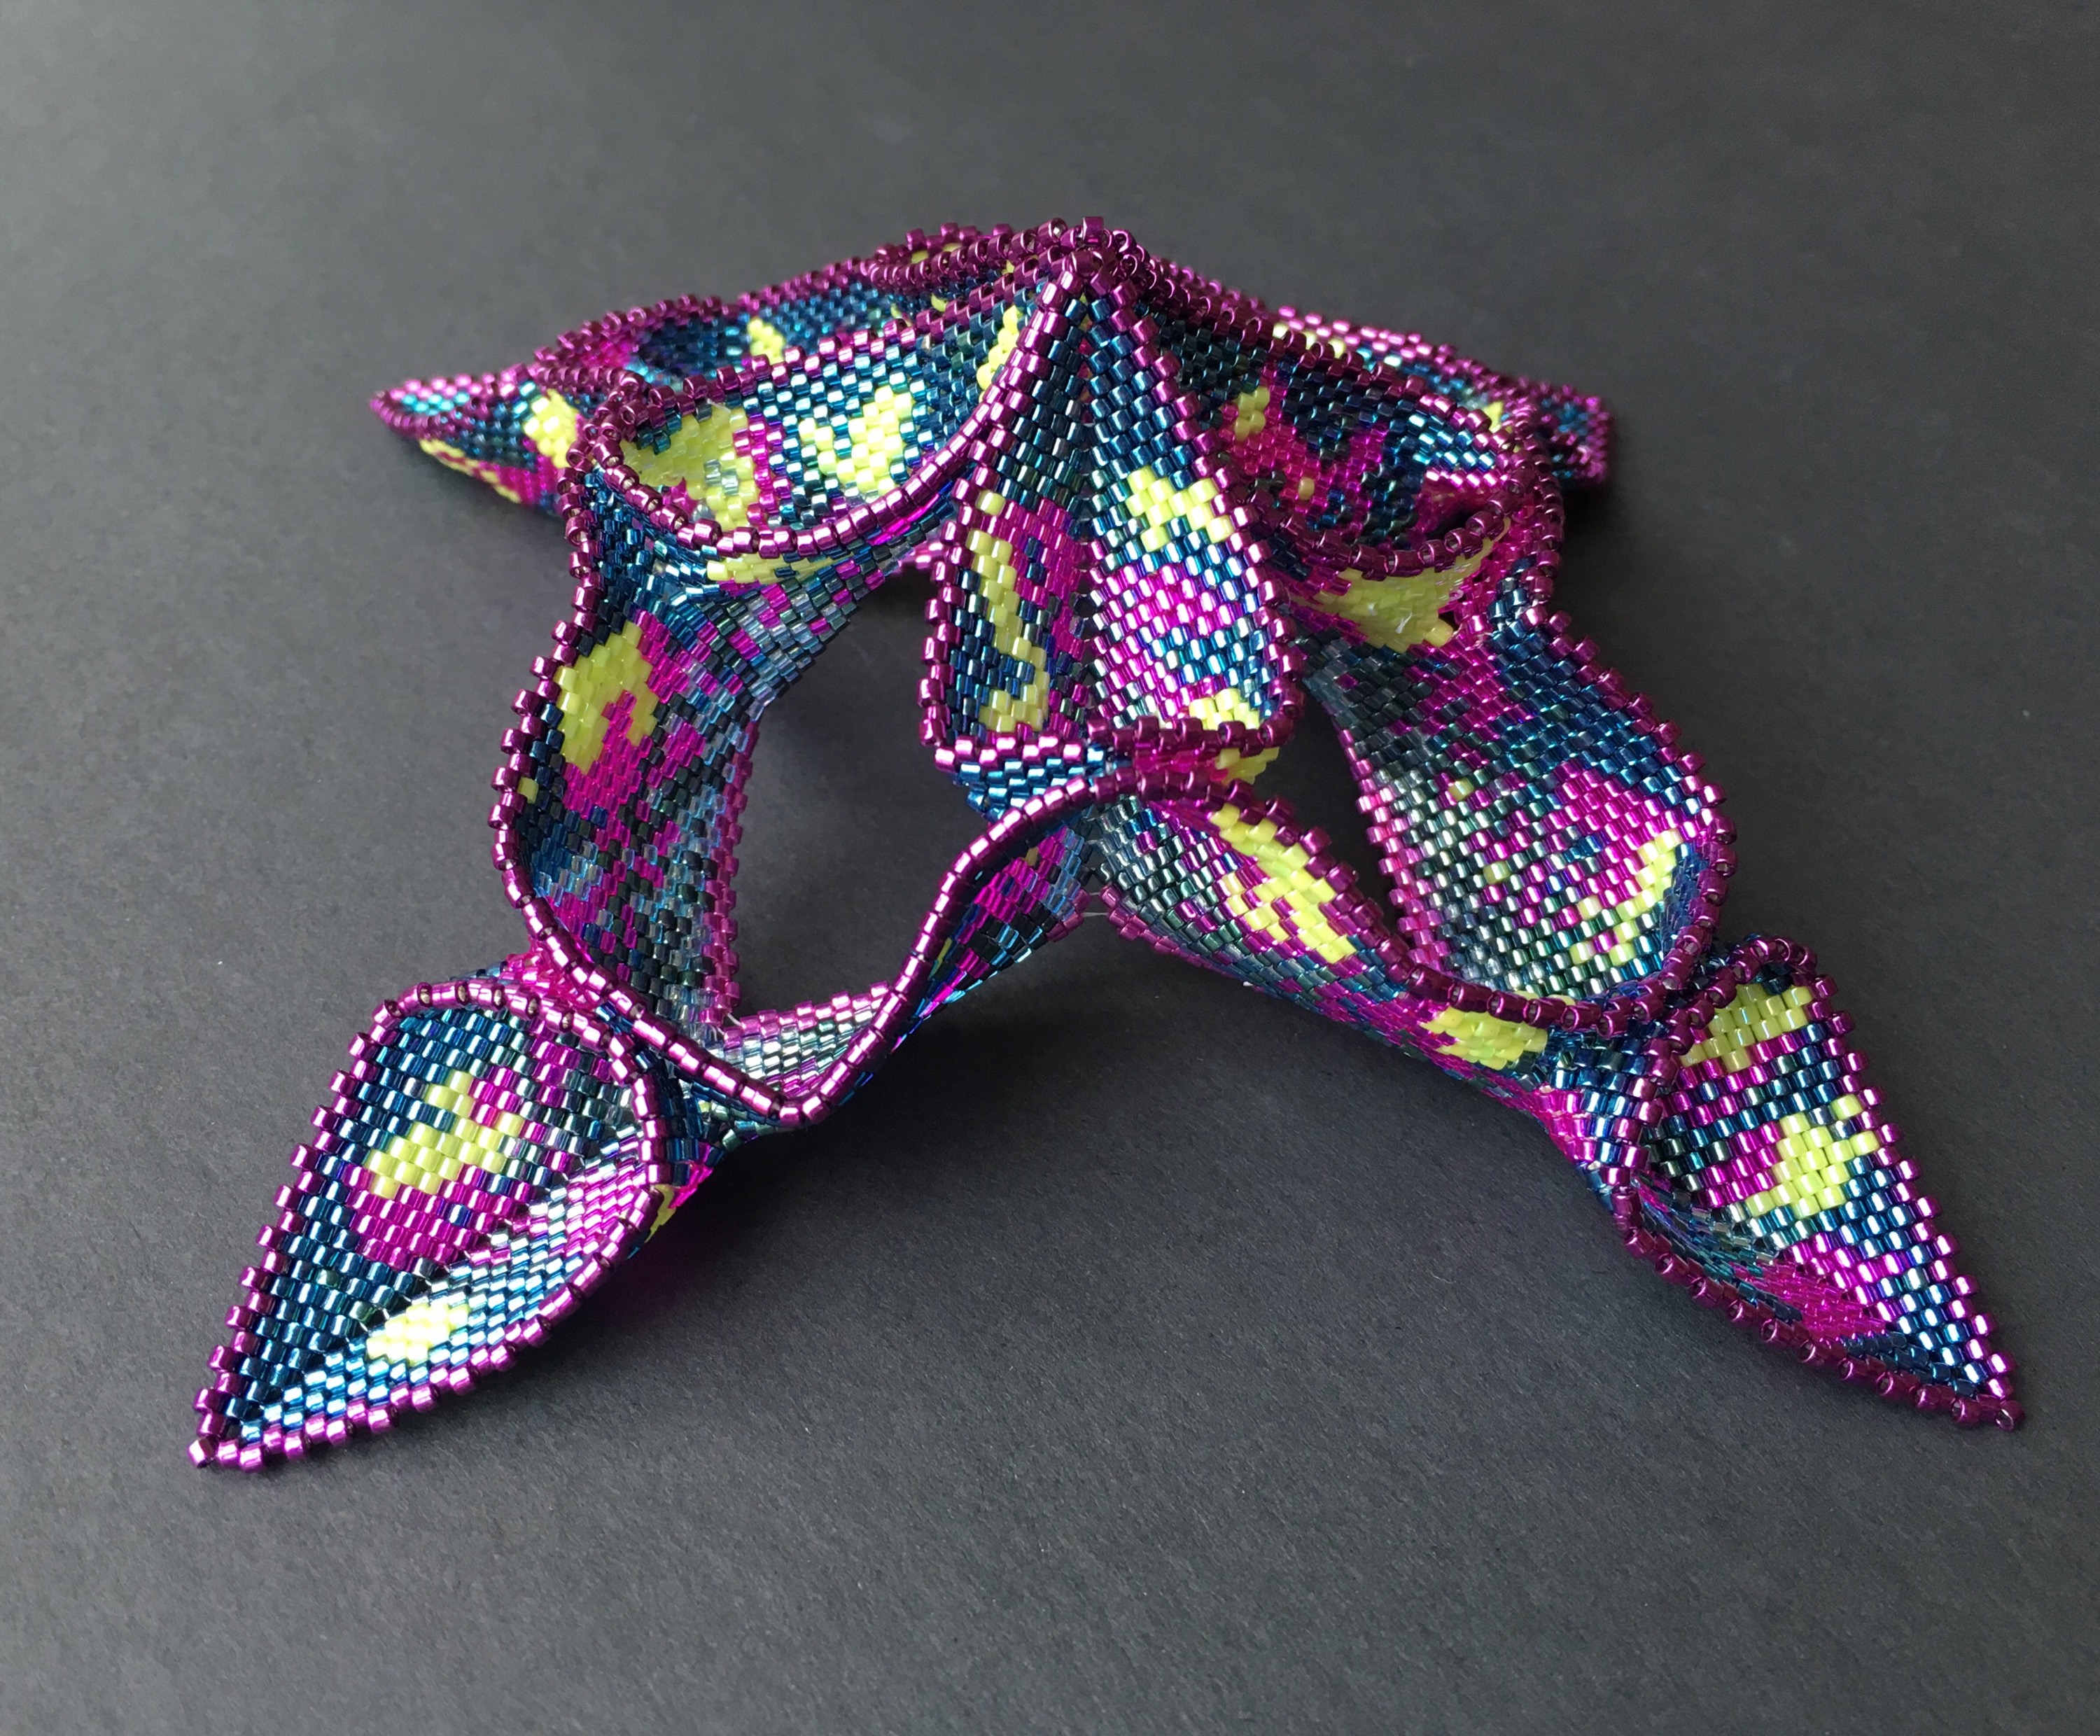
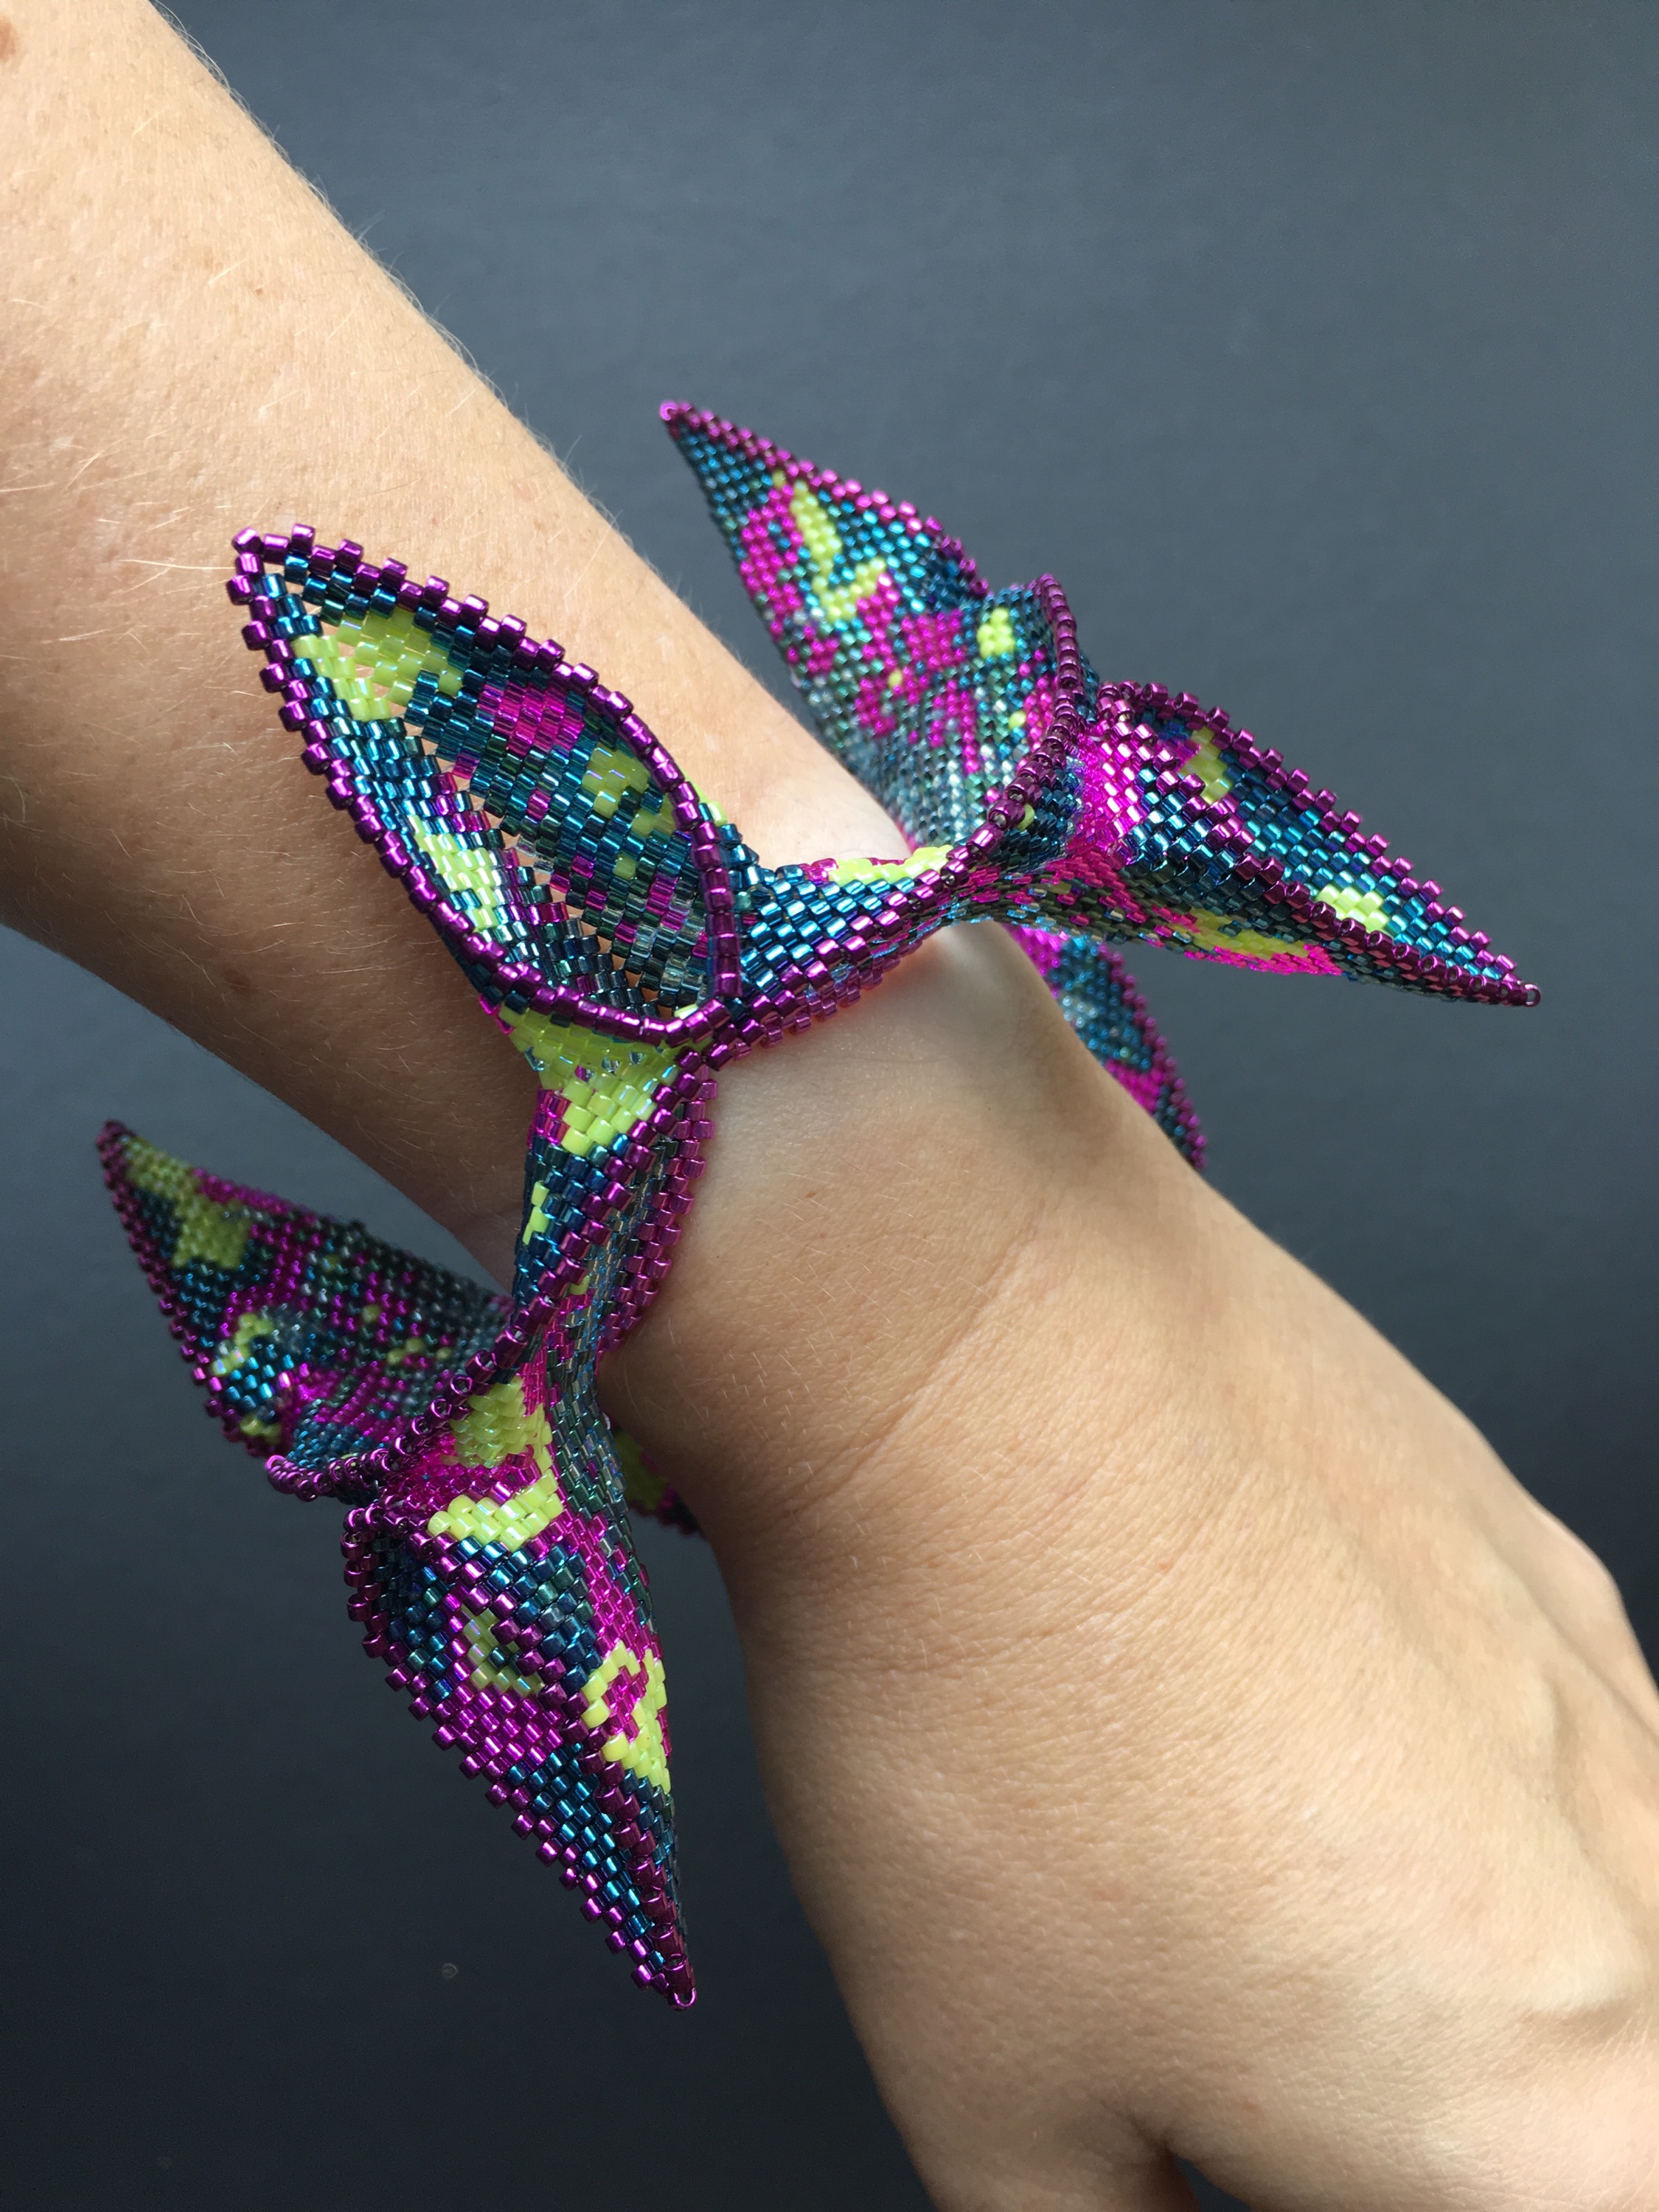
These are a variant on Jean Power’s Geometric Secret vessels – only with triangles instead of hexagons. They’re lovely shaped things, but the one in 15 delicas (at the front) is rather more succesful than the one in 11s as it holds it’s shape, but I’ve never quite known what to do with it as a triangle is not a very wearable shape – it sticks out rather. It could make a nice pendant hanging below a suitable bosom I suppose? Not sure what to do with the other one? Back on the ‘maybe’ pile.

This one may not make it – I was playing with twin beads to make a flat weave, but I’ve run out of the twins and can’t remember where I got them. Luckily I do in theory log all my purchases (so I can cost up work/kits), so I should be able to work it out. If I finish this it will have a long or box clasp and sit as a snug cuff, and I’d like to as it is my colour. I’d say there is no more than an hour’s beading left to do once I’ve sourced the beads, so stays on the ‘to do’ pile.

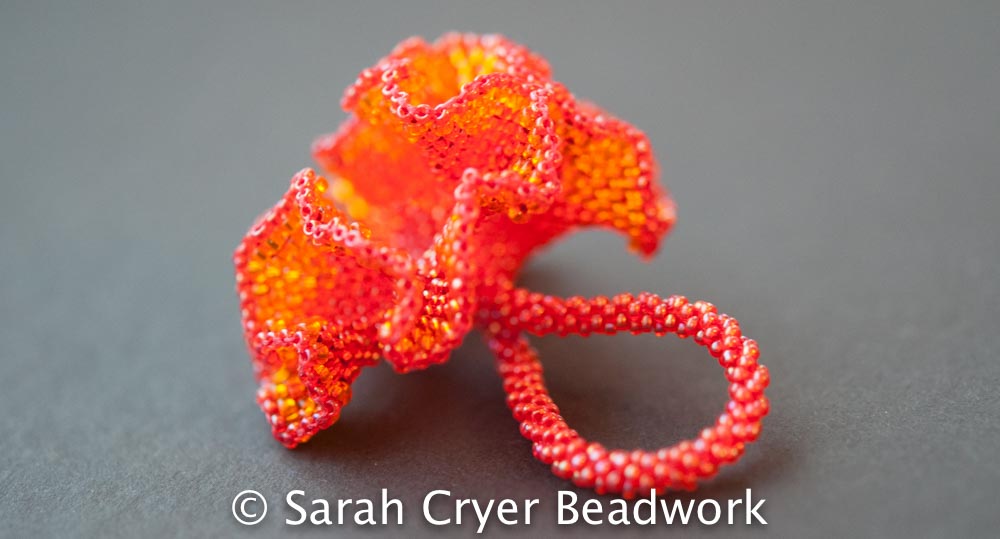
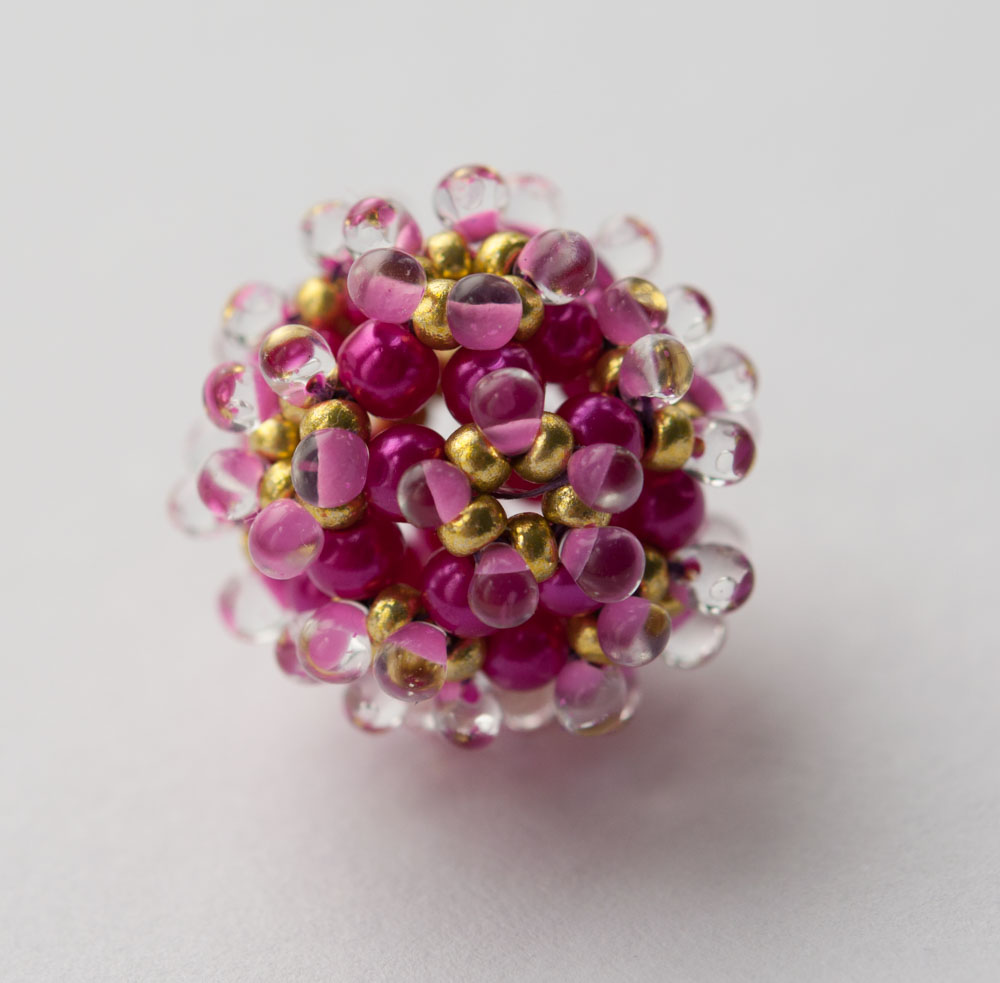
Maybe I should have included a section on ‘pieces where I’ve run out of beads’ – this one qualifies as well……..it will be a necklace once I’ve worked out how to elegantly extend it to a normal length (or tracked down some more beads). This would make a nice beginners tutorial as it is super easy, but I think there are already quite a few similar ones around. On the ‘to do’ pile.

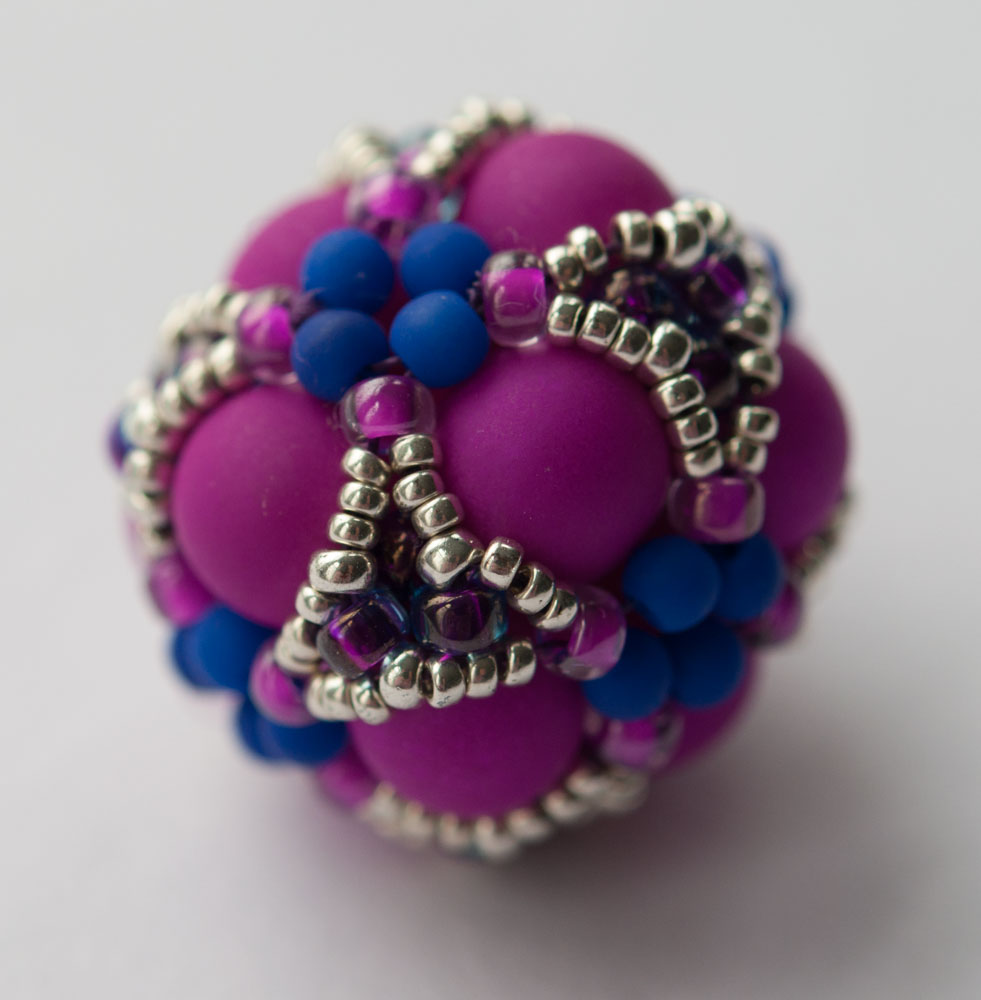
This is a barely started Jean Power Affinity Bangle – using very cool rubber coated rondelles from my now defunct local bead shop. I think I have enough to get me through it (I kept buying more in their drawn out closing sale), and I’ve made one before which was a joy, so I want to get going on this soon as the colours are more winter than summer and I think it will be lush!

So, that’s the really old stuff out of the way – just tutorials, last year’s unfinished pile, my long list of unstarted patterns and of course a ‘to try’ inspiration list to go. This could be the longest set of New Year’s resolutions I’ve written (hopefully I’ll be better at sticking to them than I normally am). Tune out if you get bored………….