Lovely sparkly petals very cleverly designed. Yummy, and less fiddly than day 1 (I find fringe a little trying).

Lovely sparkly petals very cleverly designed. Yummy, and less fiddly than day 1 (I find fringe a little trying).
I’m not great at finishing things – as well as the usual UFO box of failed projects I even have a box full of nearly finished projects. Brooches needing brooch pins, pendants needing only a jump ring, and of course tutorial pieces needing writing up.
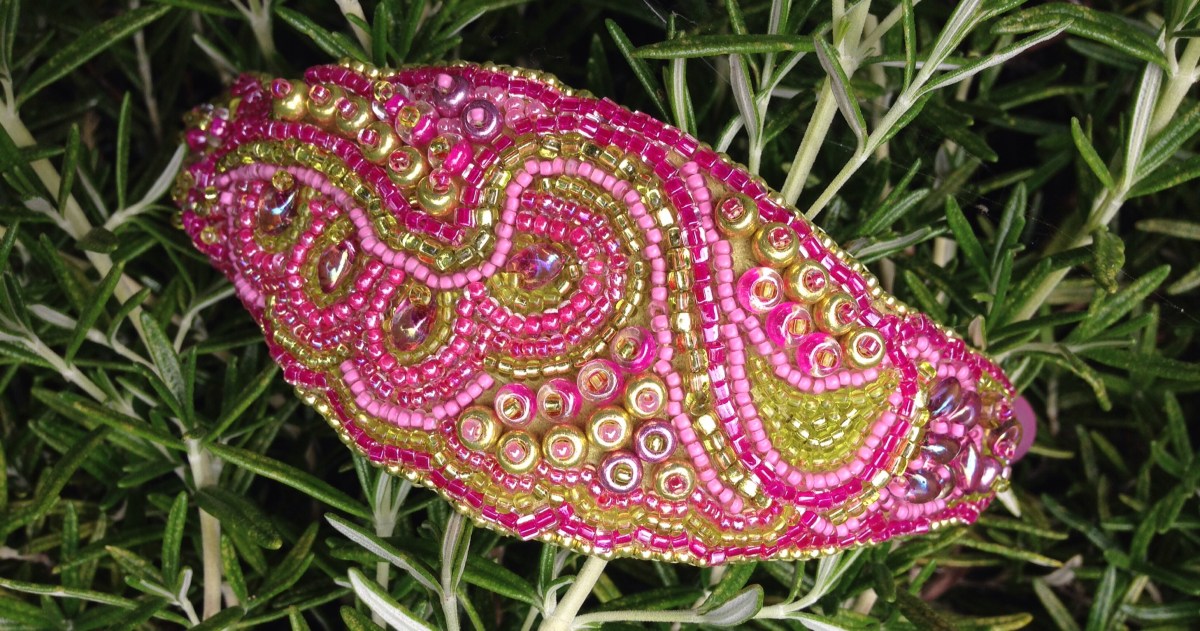
Seeing so much bead embroidery in the Battle of the Beadsmith reminded me that about 3 years ago I had a go at it, and had an almost finished piece cluttering up my beading cupboard. So I girded my loins, dug out my bead embroidery book (Jamie Cloud Eakin’s dimensional Bead Embroidery) and worked out how to finish it. And finish it I have.
I’m quite pleased with it, but made a couple of errors which mean it will be staying with me rather than going into the shop………….
On the bright side, the faux suede upholstery fabric I used (I started this so long ago I hadn’t heard of ultrasuede) does seem to be fine – it’s nice to work with and hasn’t frayed at all. Since it’s one of a large wad of samples I bought at a fabric sale I’m quite pleased since I now have a huge range of colours of backing to choose from.

So here it is, my first completed bead embroidery piece – beads from my stash, a polaris clasp from Stitch N Craft and backing from my overstuffed fabric drawer. I’ve enjoyed the process more than I thought I would – I have always perhaps slightly looked down on bead embroidery, feeling it doesn’t have the engineering and construction challenges of the 3D beadweaving I’m more used to, but it does give an opportunity to paint with beads, and really make the most of the finishes and colours. Since finishing this I’ve made two more pieces, more about them soon (once they make it out of the nearly finished box!).
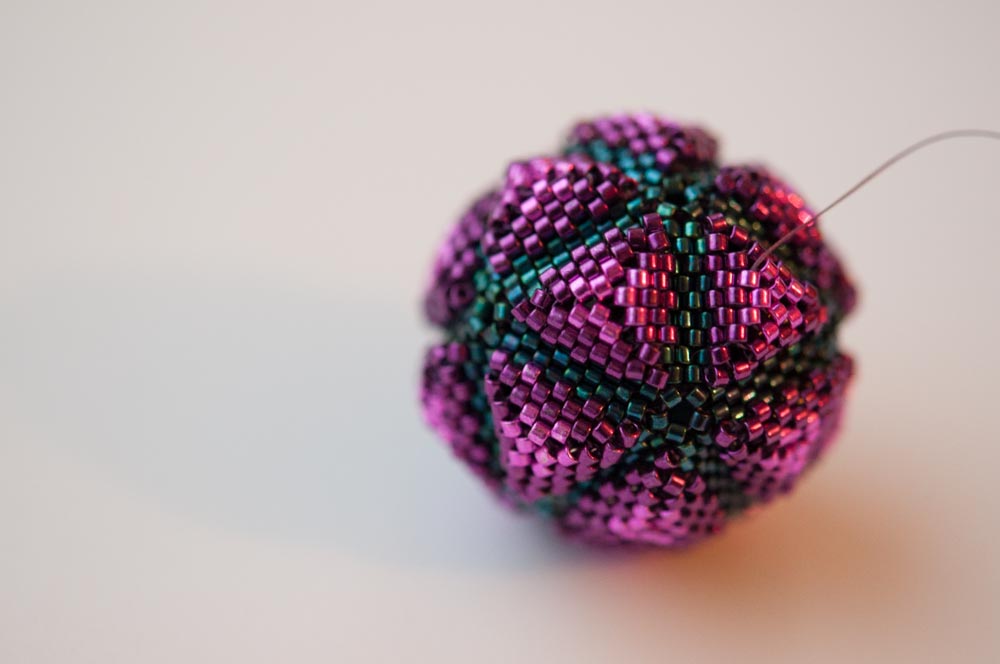
Ok, so it probably won’t still be May 4th by the time I post this, and to be honest I’m not really a big Star Wars fan. I mean why does Yoda keep saying ‘you are wise young Jedi’ to Anekin – he’s clearly not even slightly wise, since he got his girlfriend pregnant and changed the fate of the universe – use contraception you twit? That said, DH is a fan, I do like the concept of Star Wars day, and I have this awesome Icos pendant by Jean Power to tell you about which reminds me of the Death Star.
As usual it was a lovely design to work, there’s one tricky bit at the corners of the outer puffs, but once you’ve cracked that it goes together very nicely. I would really really love to do one with crystals – it will look fab and be even quicker, but for now I’m really pleased with this one. I don’t have anything to mount it from yet – I’m undecided as to whether to bead a loop. Jean uses a wire loop on what I assume is a headpin, but since I didn’t plan ahead and put it in before I zipped up the final seam I will need to either come up with an alternative or unpick a bit. I’m going to wear it with a purple tunic I live in at work during the winter, so I have a while to decide, now the weather has improved at last.
Jean Power’s Icos pendant tutorial
10g of Miyuki delicas:
1005 Metallic Purple Gold Iridescent (C1 & C2)
463 Galvanised Dark Magenta (rows 1-3 of C3)
422 Galvanised Fuchsia (rows 4&5 of C3)
If I had been more organised I would have used a cheaper finish delica for the inner rows of the base triangle (Jean does point out that these rows won’t be visible and labels them C1, but I was away and only had the three colours with me).
My next version might be in 15s – using 11s makes a nice bold pendant, with a finished diameter of 35mm, but using 15s will make something quite exquisite. I will save that for some daylight beading though as teeny beads hurt my eyes – so perhaps first I will do a crystal version. Jean still has some crystal sets, and Perles and Co have stock in a few colours (Swarovski seem to have discontinued this shape). Alternatively I’m feeling quite bold at the moment and have some new yellow sandals, so perhaps I’ll get Jean’s yellow plastic stones and work up a vintage colourway…………
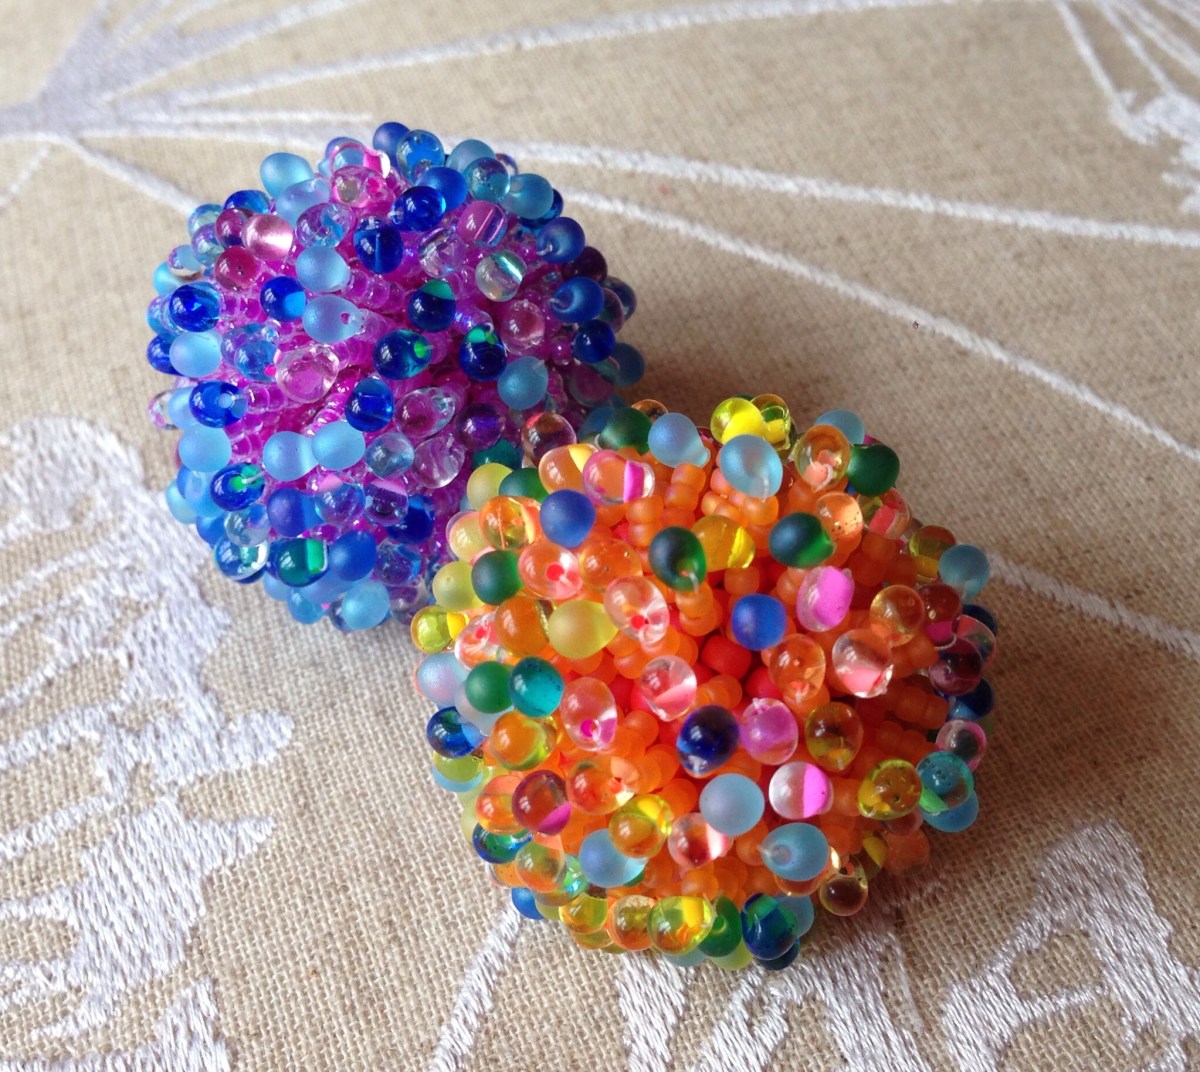
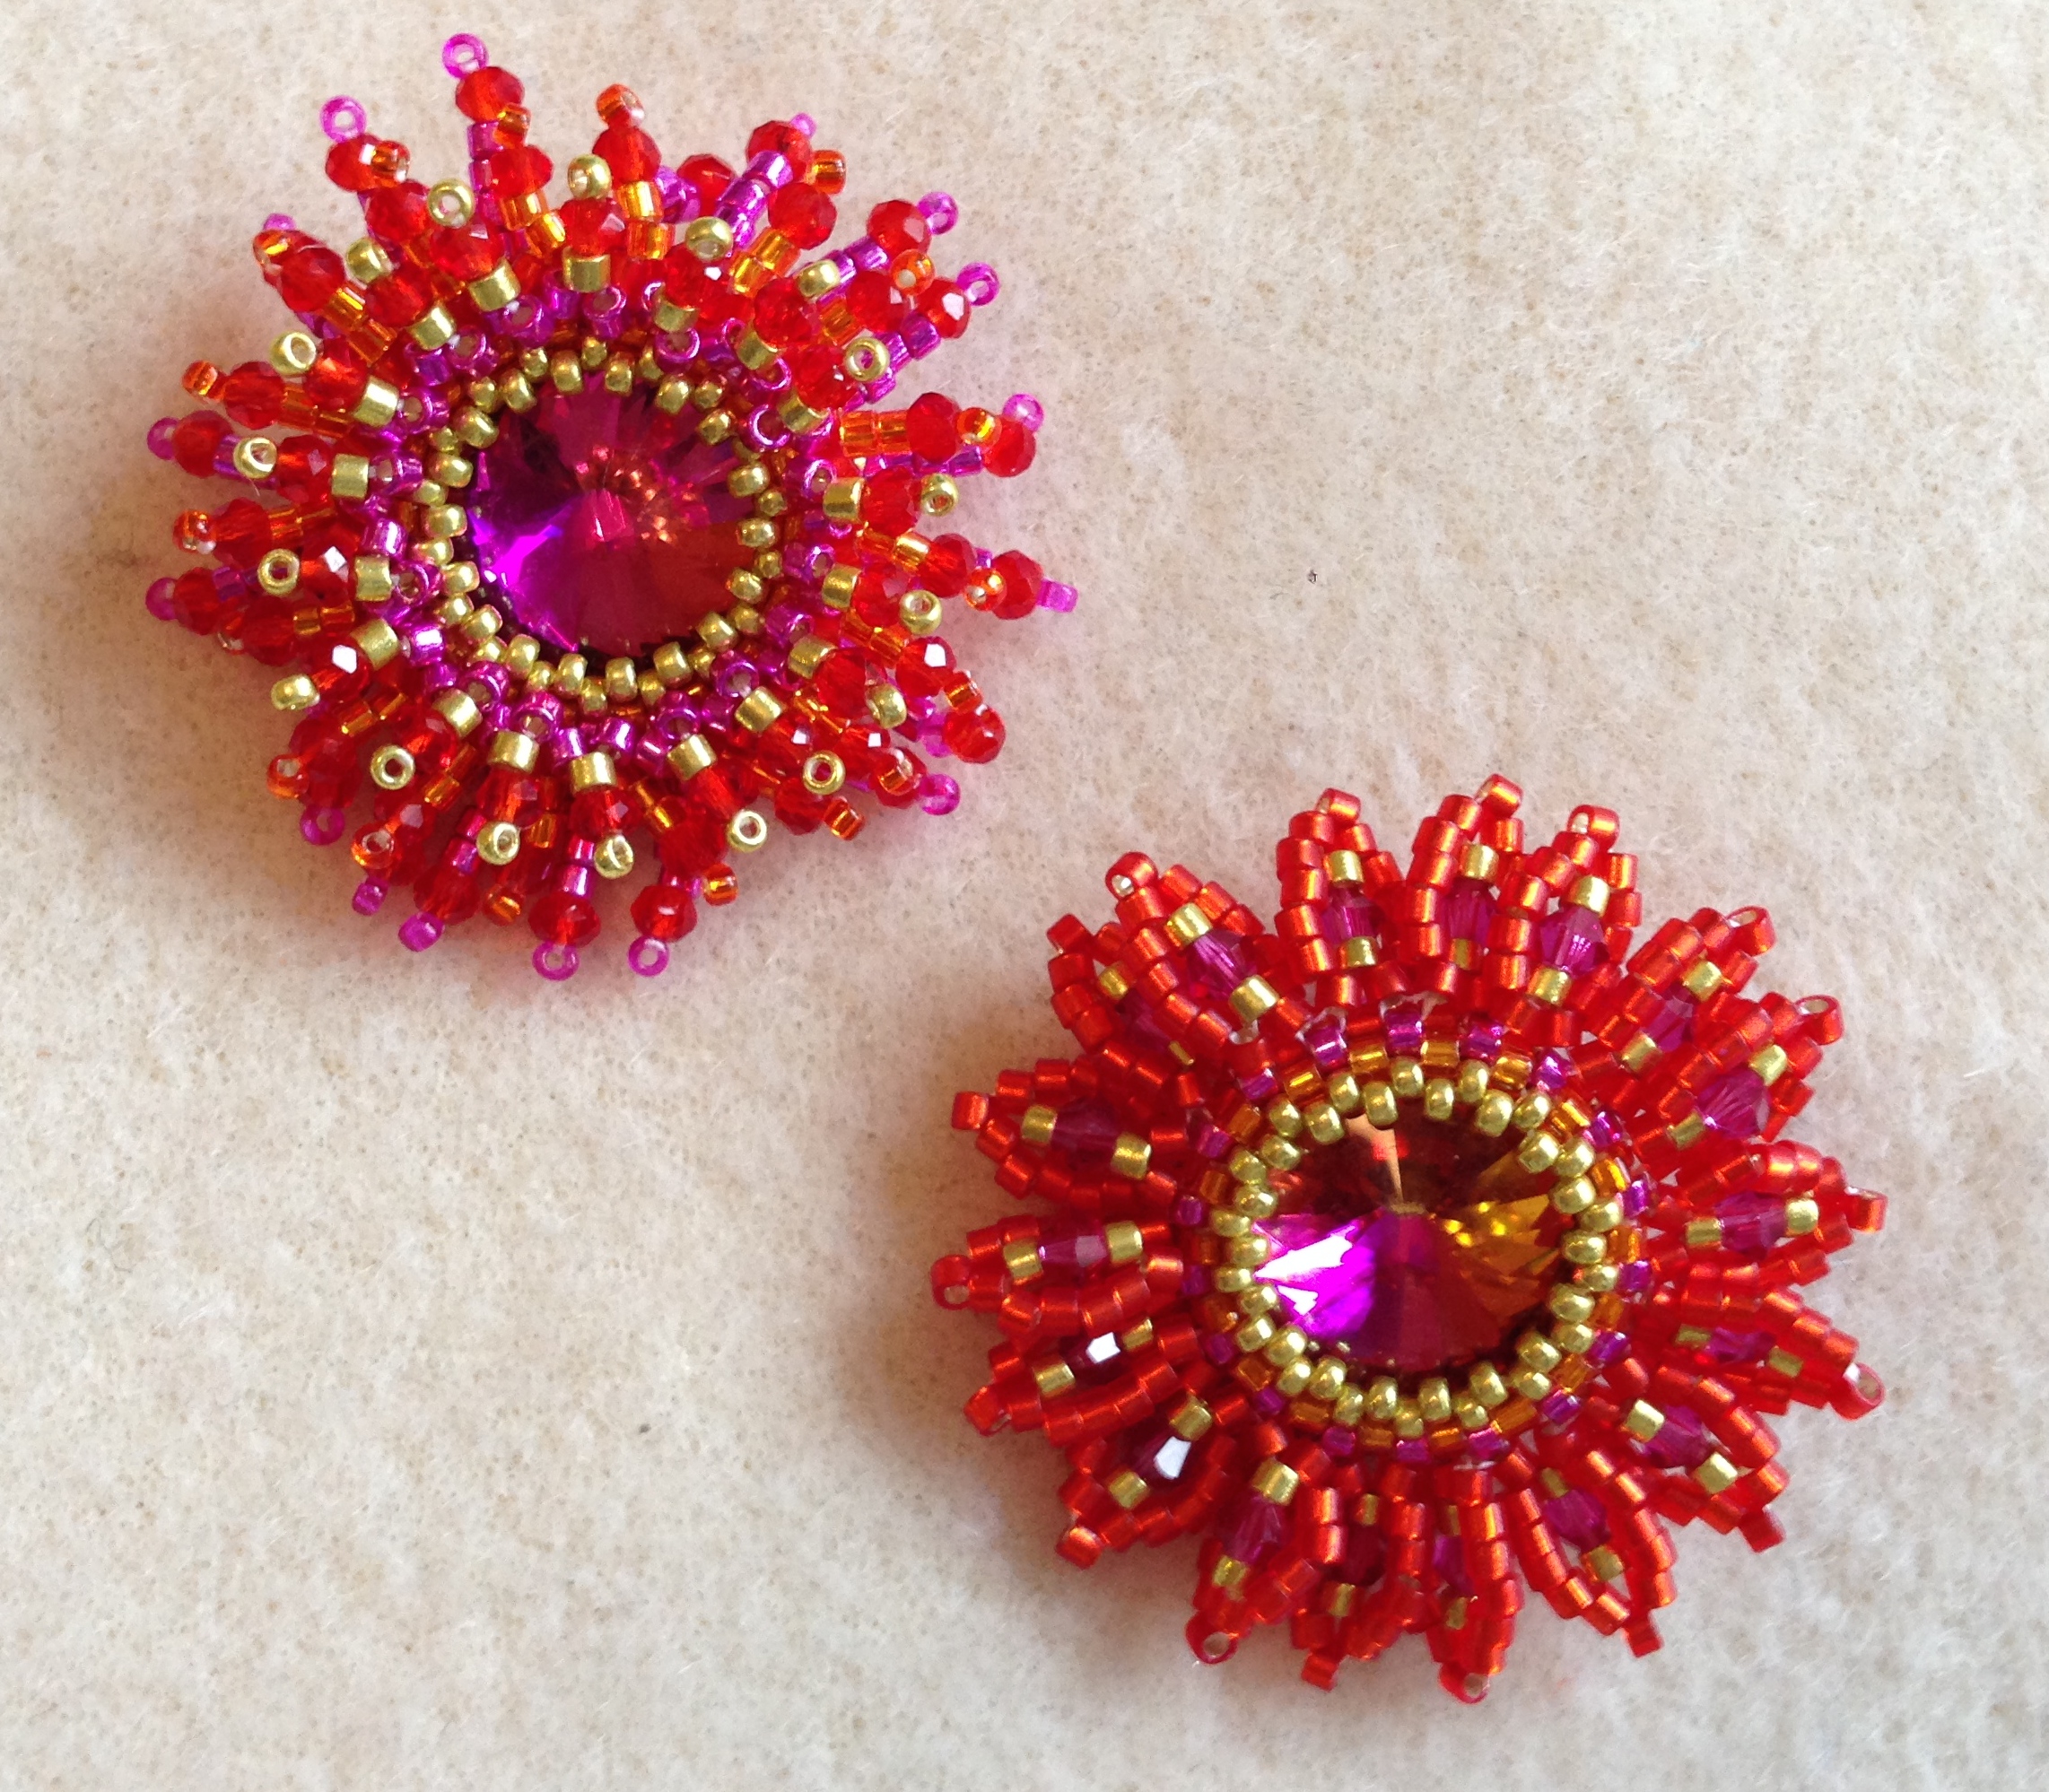
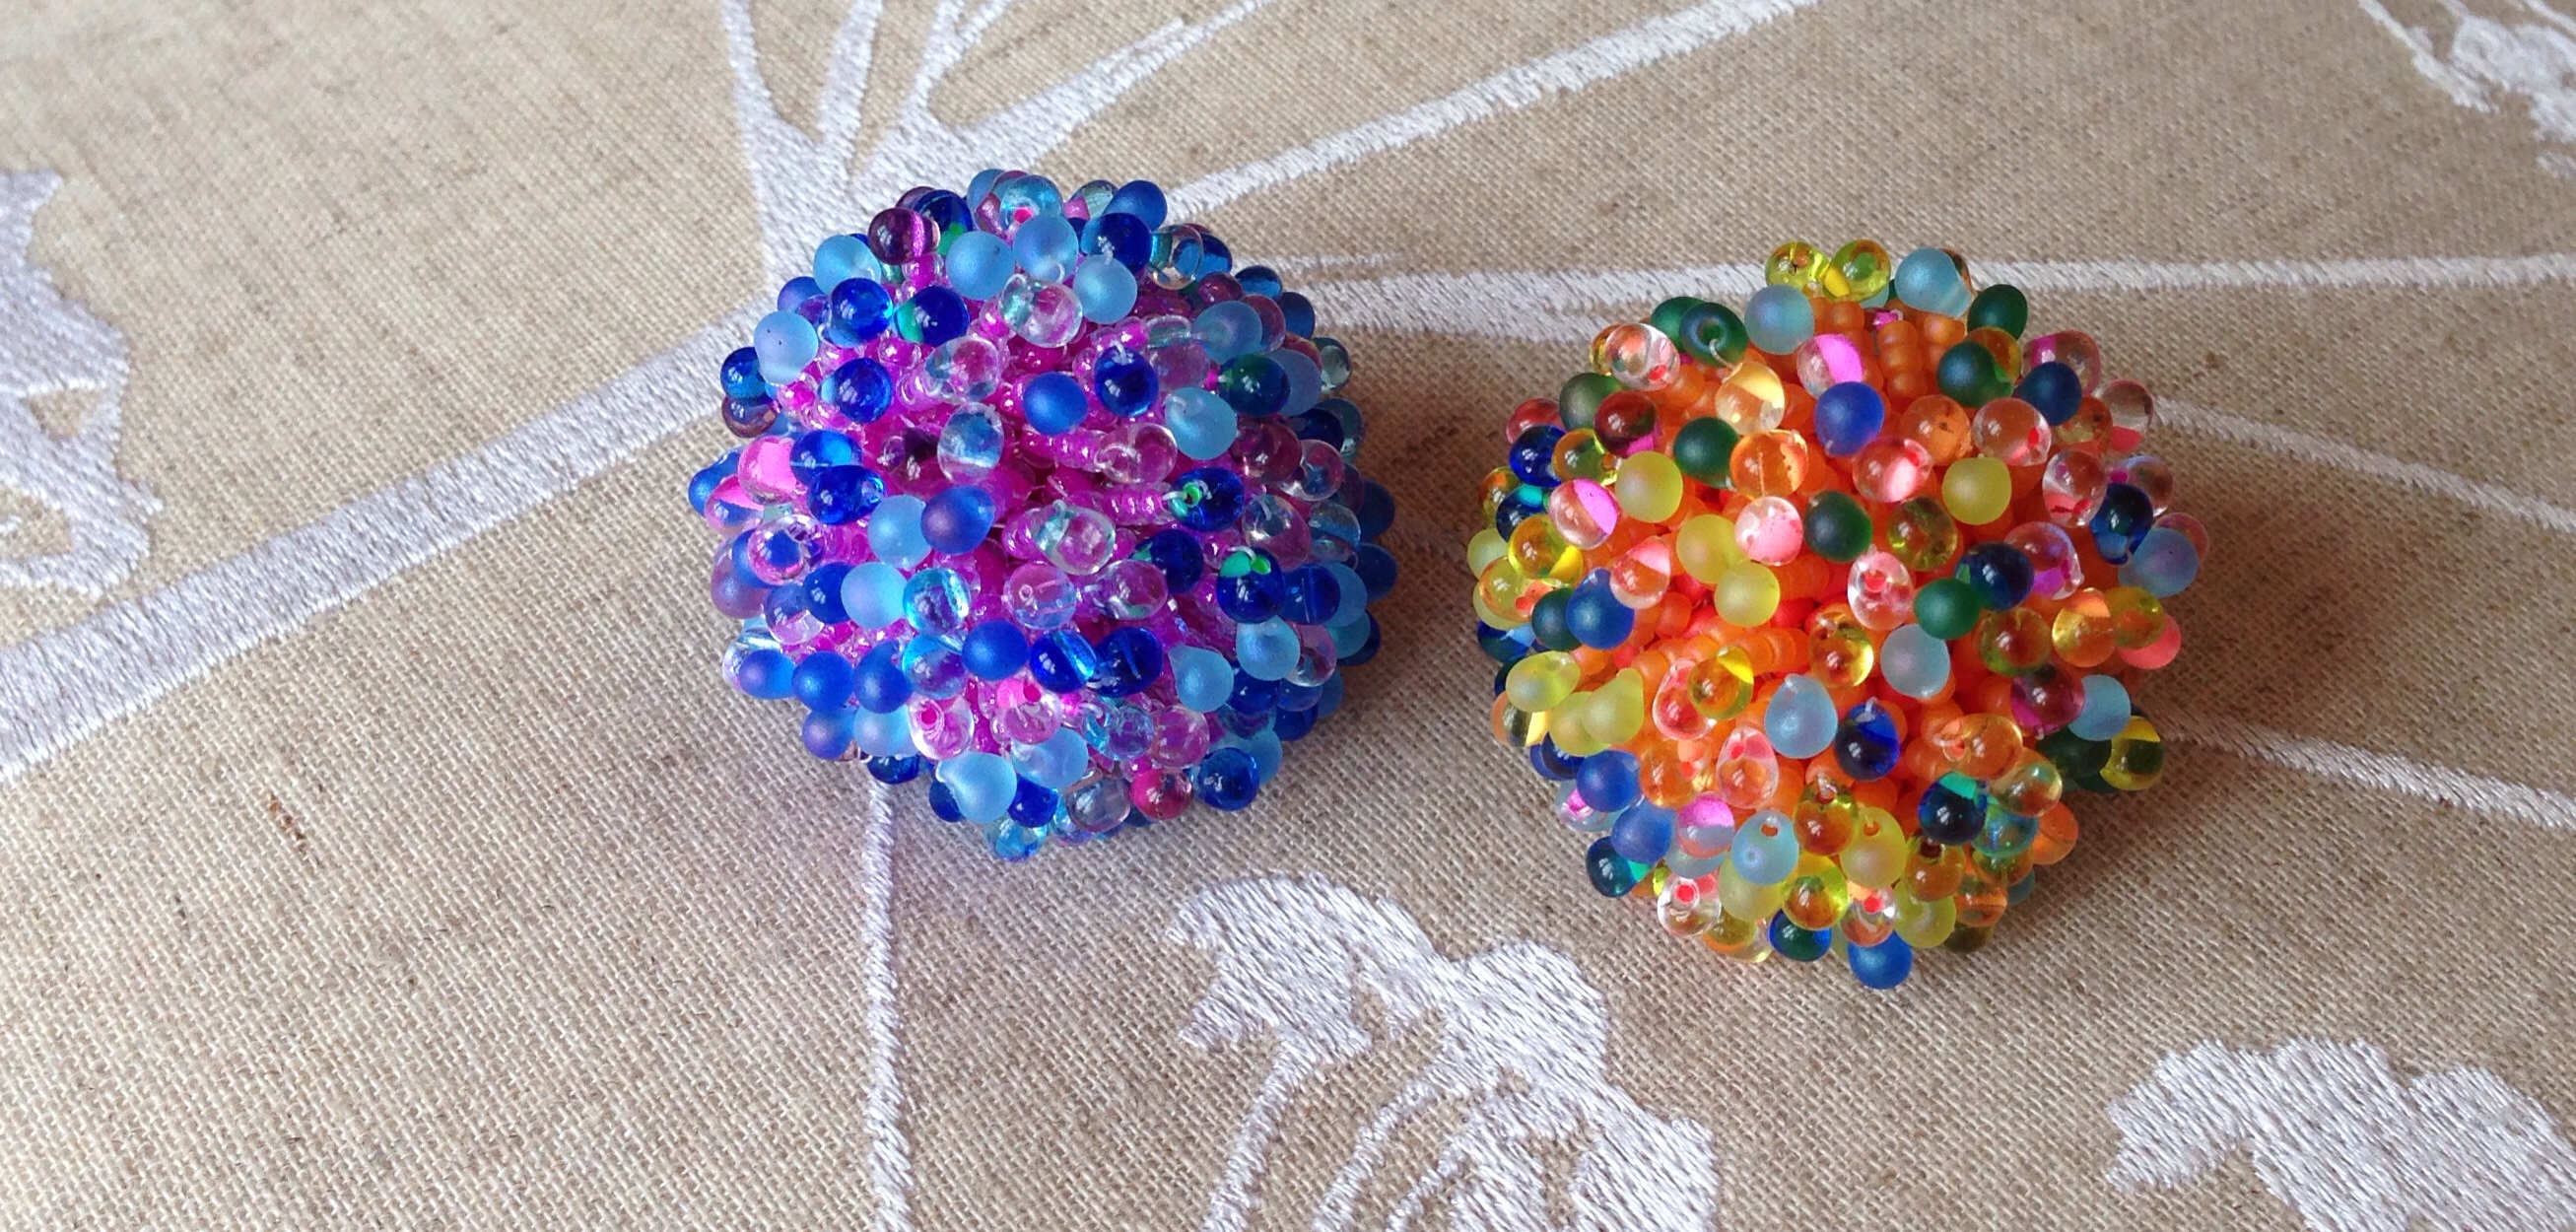
We’ve all been a bit peaky recently, so favourite films have been deployed. I was managing to do a bit of beading, but kept getting stuck, so I thought I’d do some quick beaded beads as they are always useful. We were watching Finding Nemo at the time, and before I knew it I’d fringed over the peyote base to make a lovely anemone for Marlin and Nemo.
However the colour was not deemed suitable for an anemone, so a second one with colours chosen by Boy 1 (who has quite garish taste, even compared to me) is now finished.
Fun, relatively quick, and if my previous fringed beaded bead is anything to go on, will be much commented on.
Enjoy!
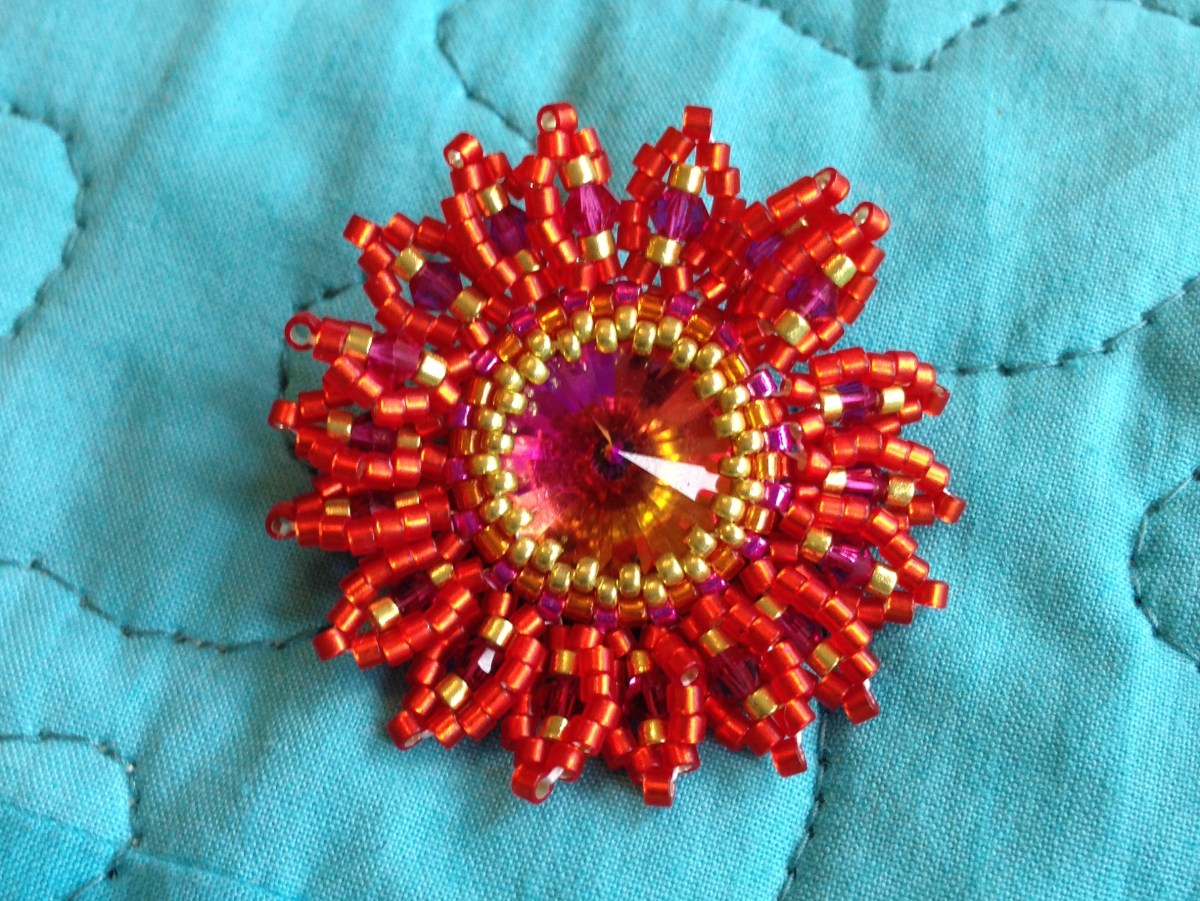
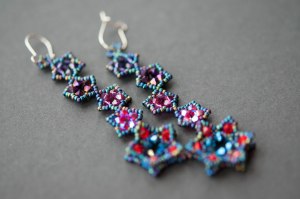
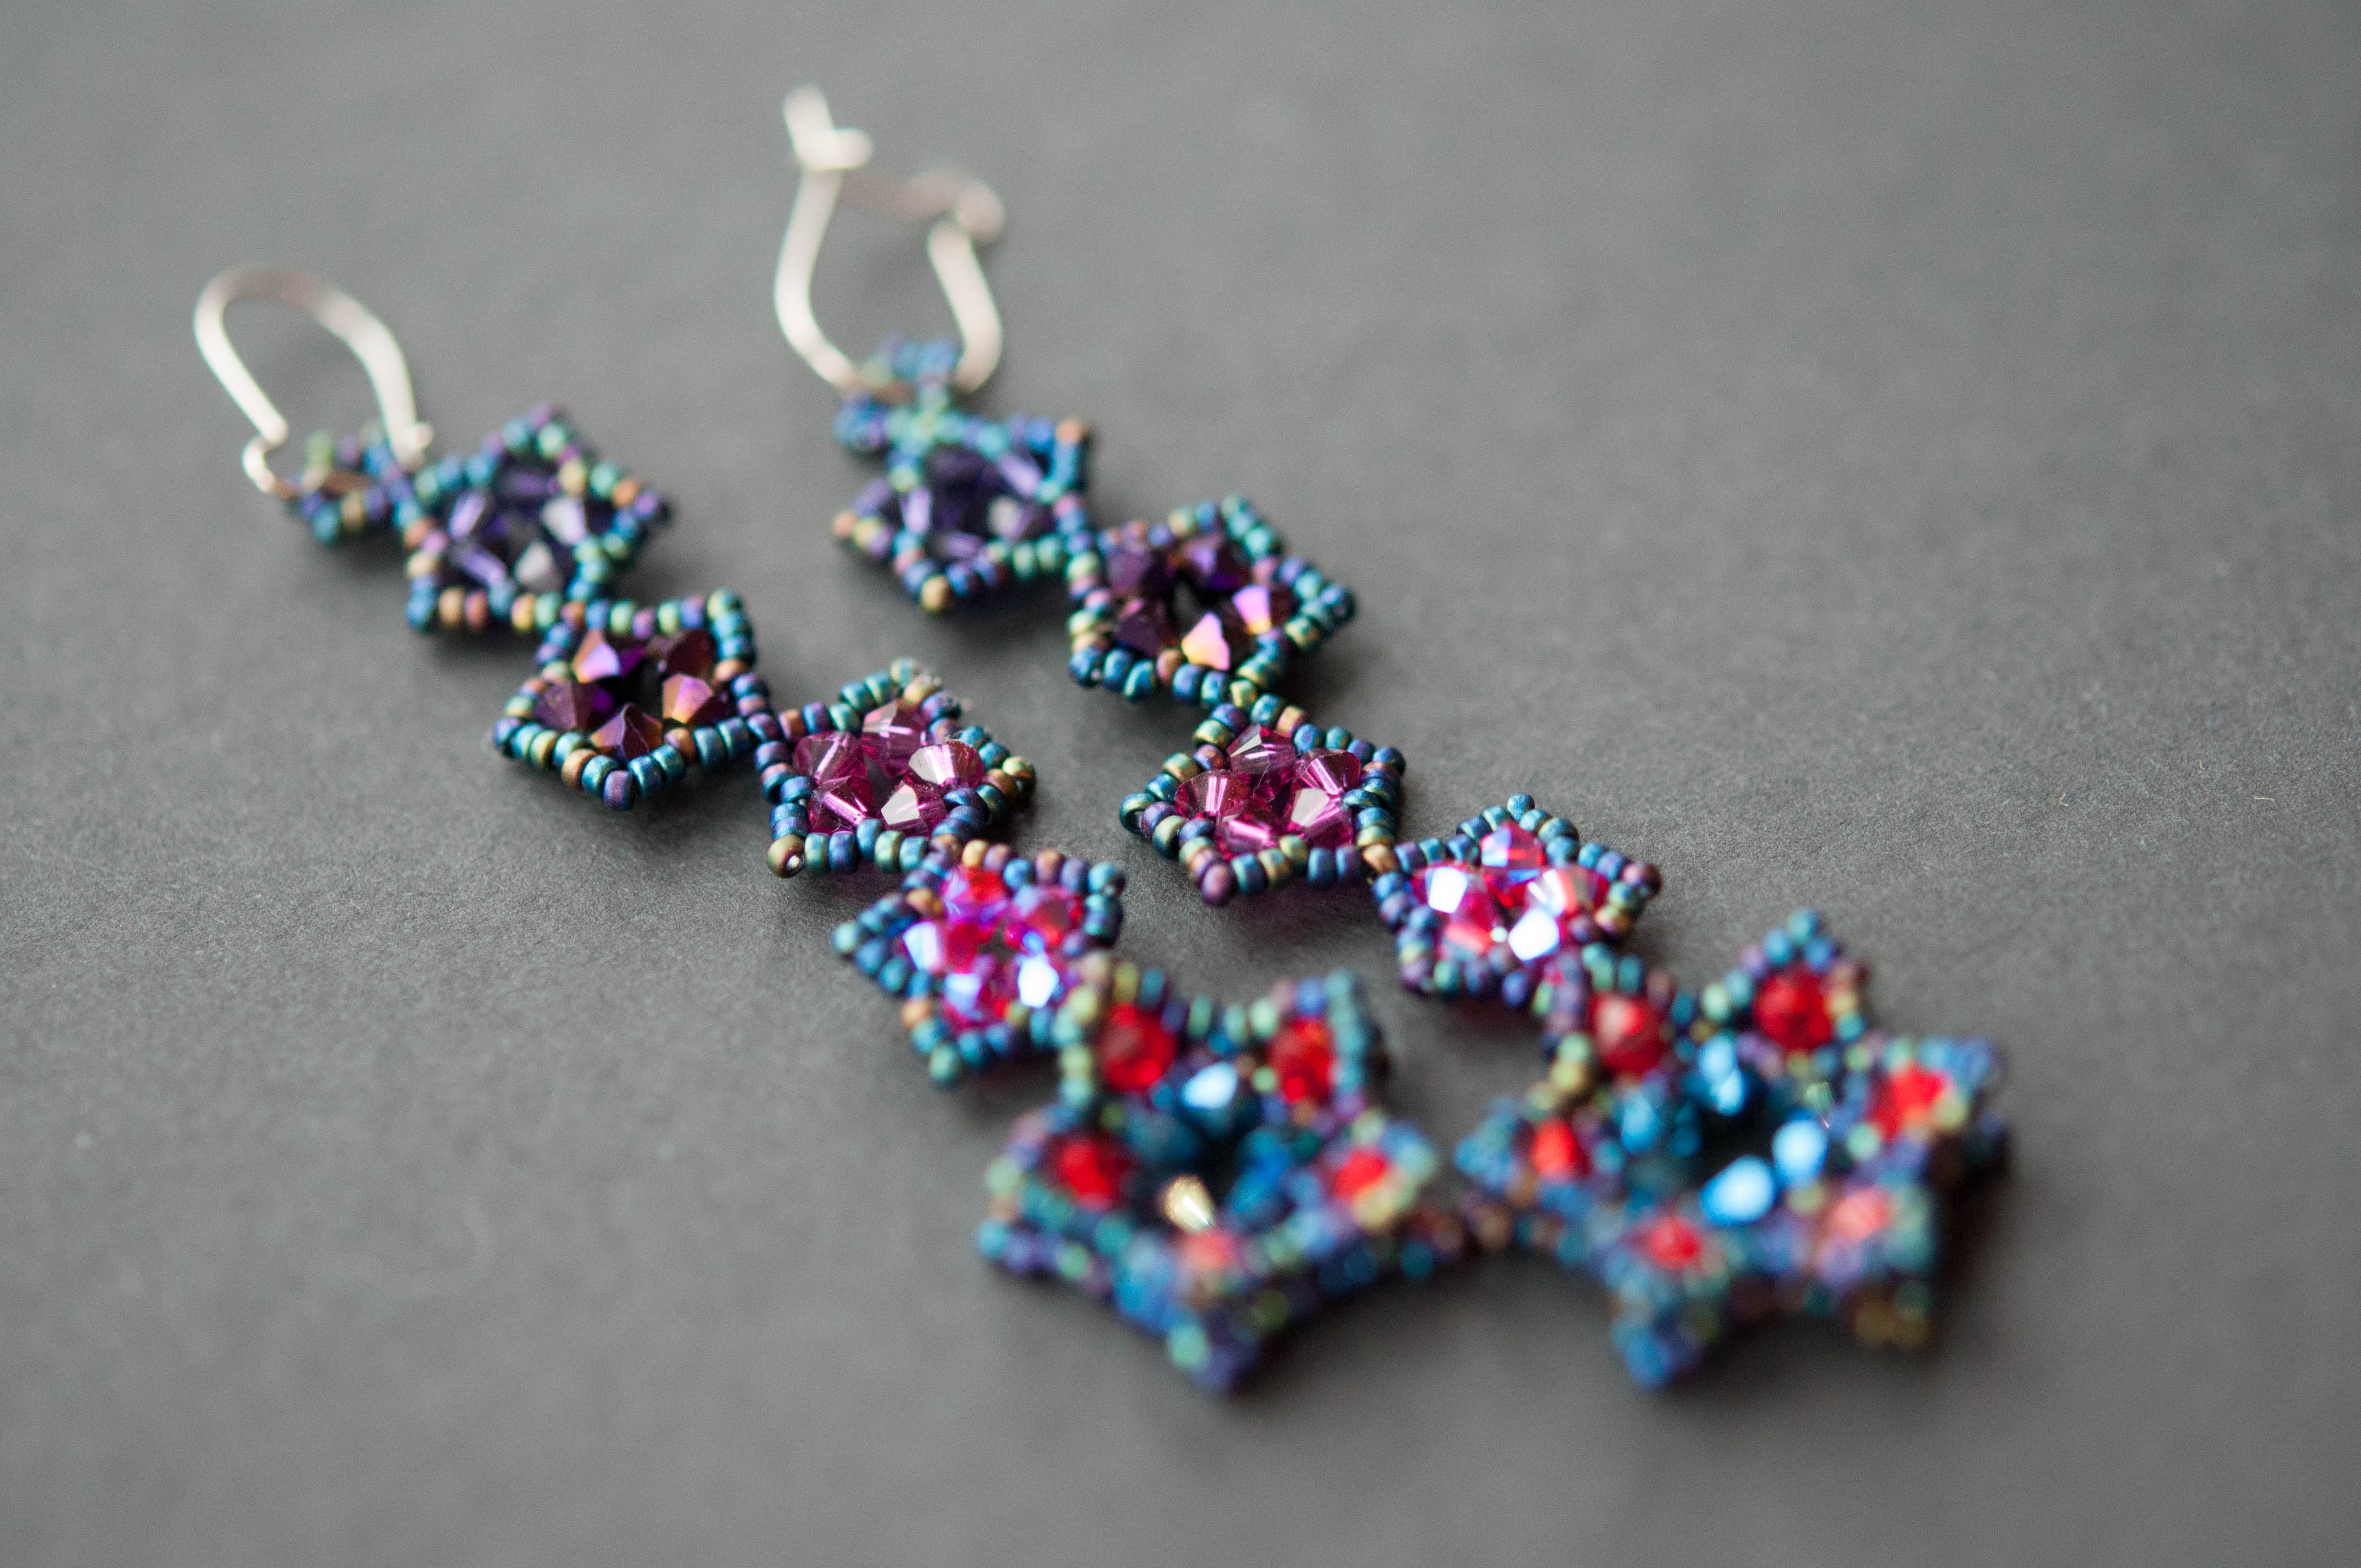
Before Christmas I beaded another project from Beadwork Evolution – ‘Stars We Are’ earrings. I wore them a couple of times (sadly dangly earrings don’t get worn much when there is a toddler in the house), but it was only when I laid them out to photograph them at the weekend that I realised I’d messed up!
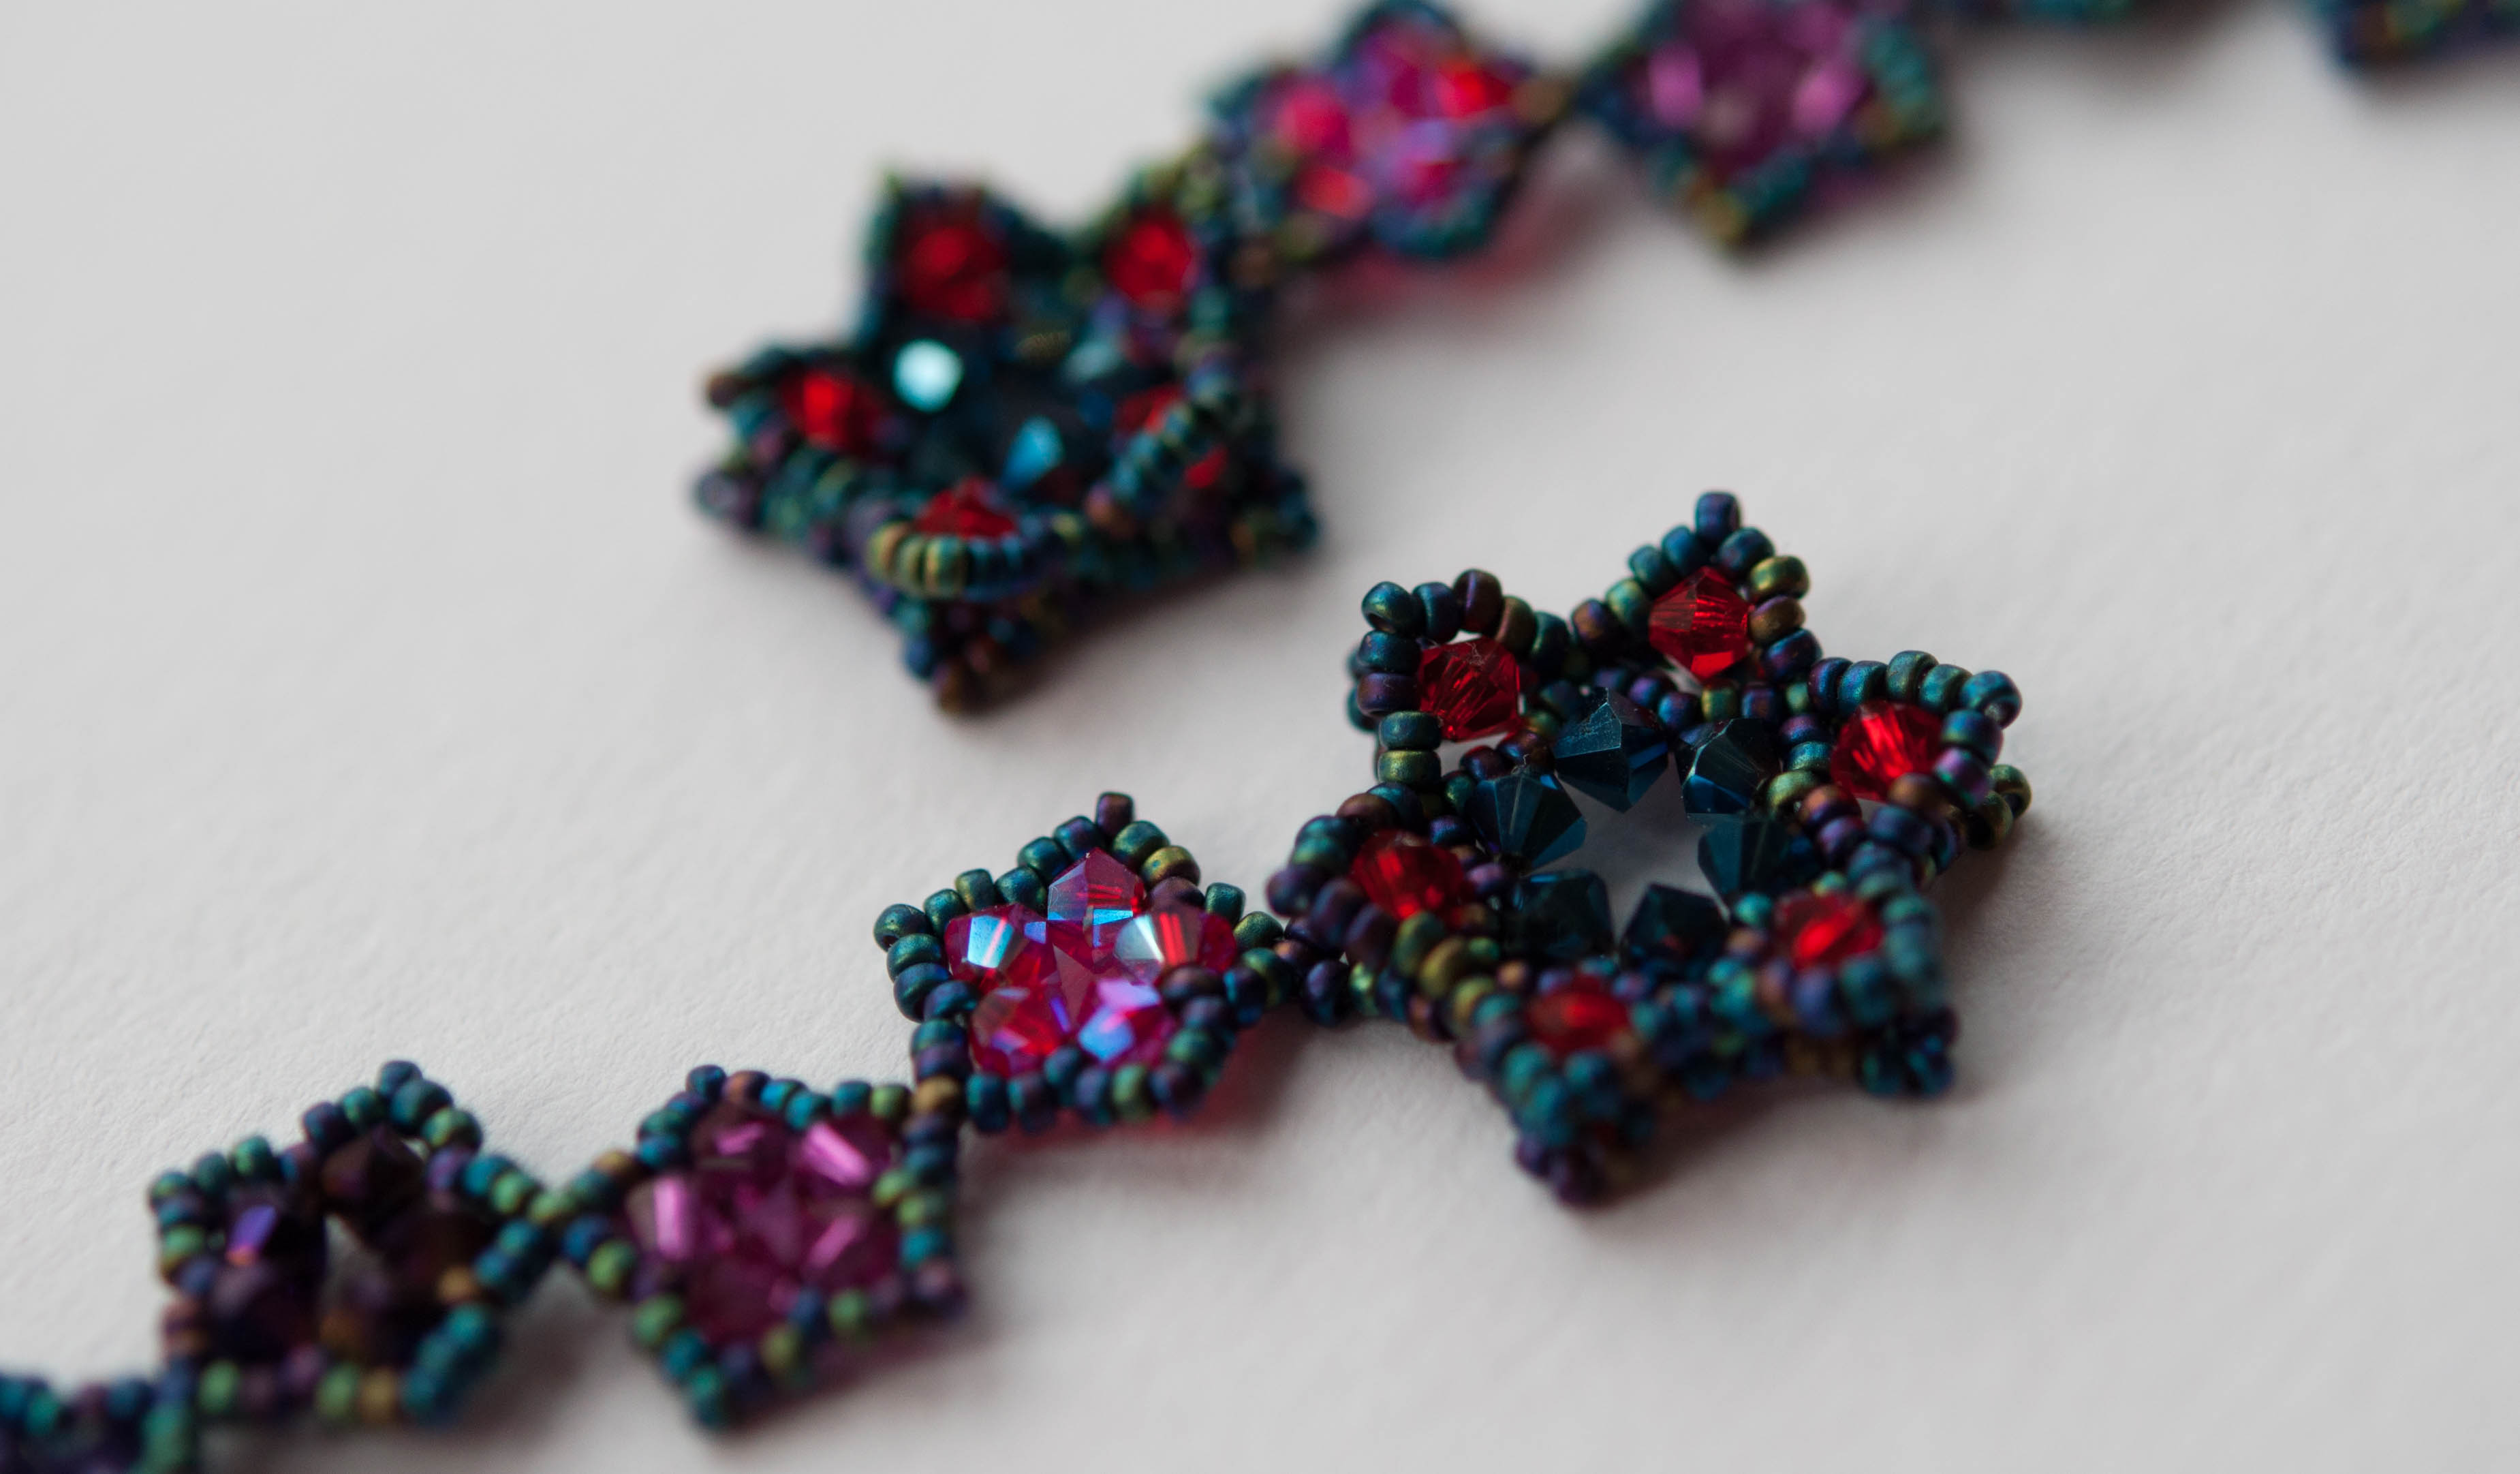
Have you spotted it? To give you a clue it’s my old problem with hexagons versus pentagons…….
So I am pleased to report that this design can be adapted to form a five sided star at the base rather than six. Ideally though one should adapt both earrings, not just one!
Recipe
Tips
Verdict
Really lovely, nice to make and fabulous to wear. It took under an hour per earring, probably less for a second go, so I’m definitely going to make again in some other colours. I’ve got some lovely opaque bicones which might make a less blingy version for the daytime as well.