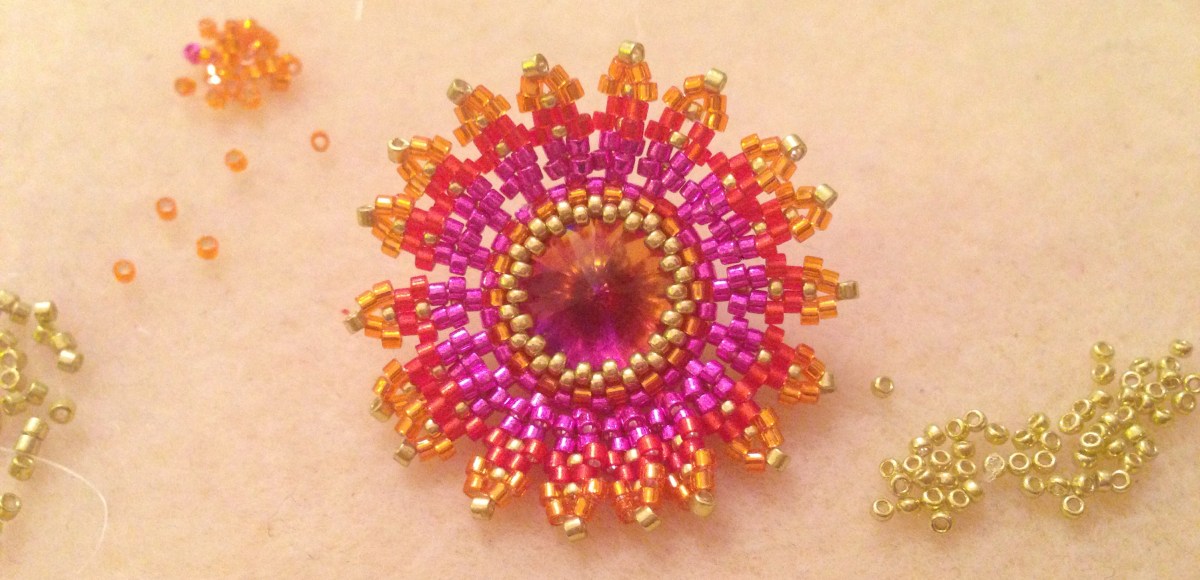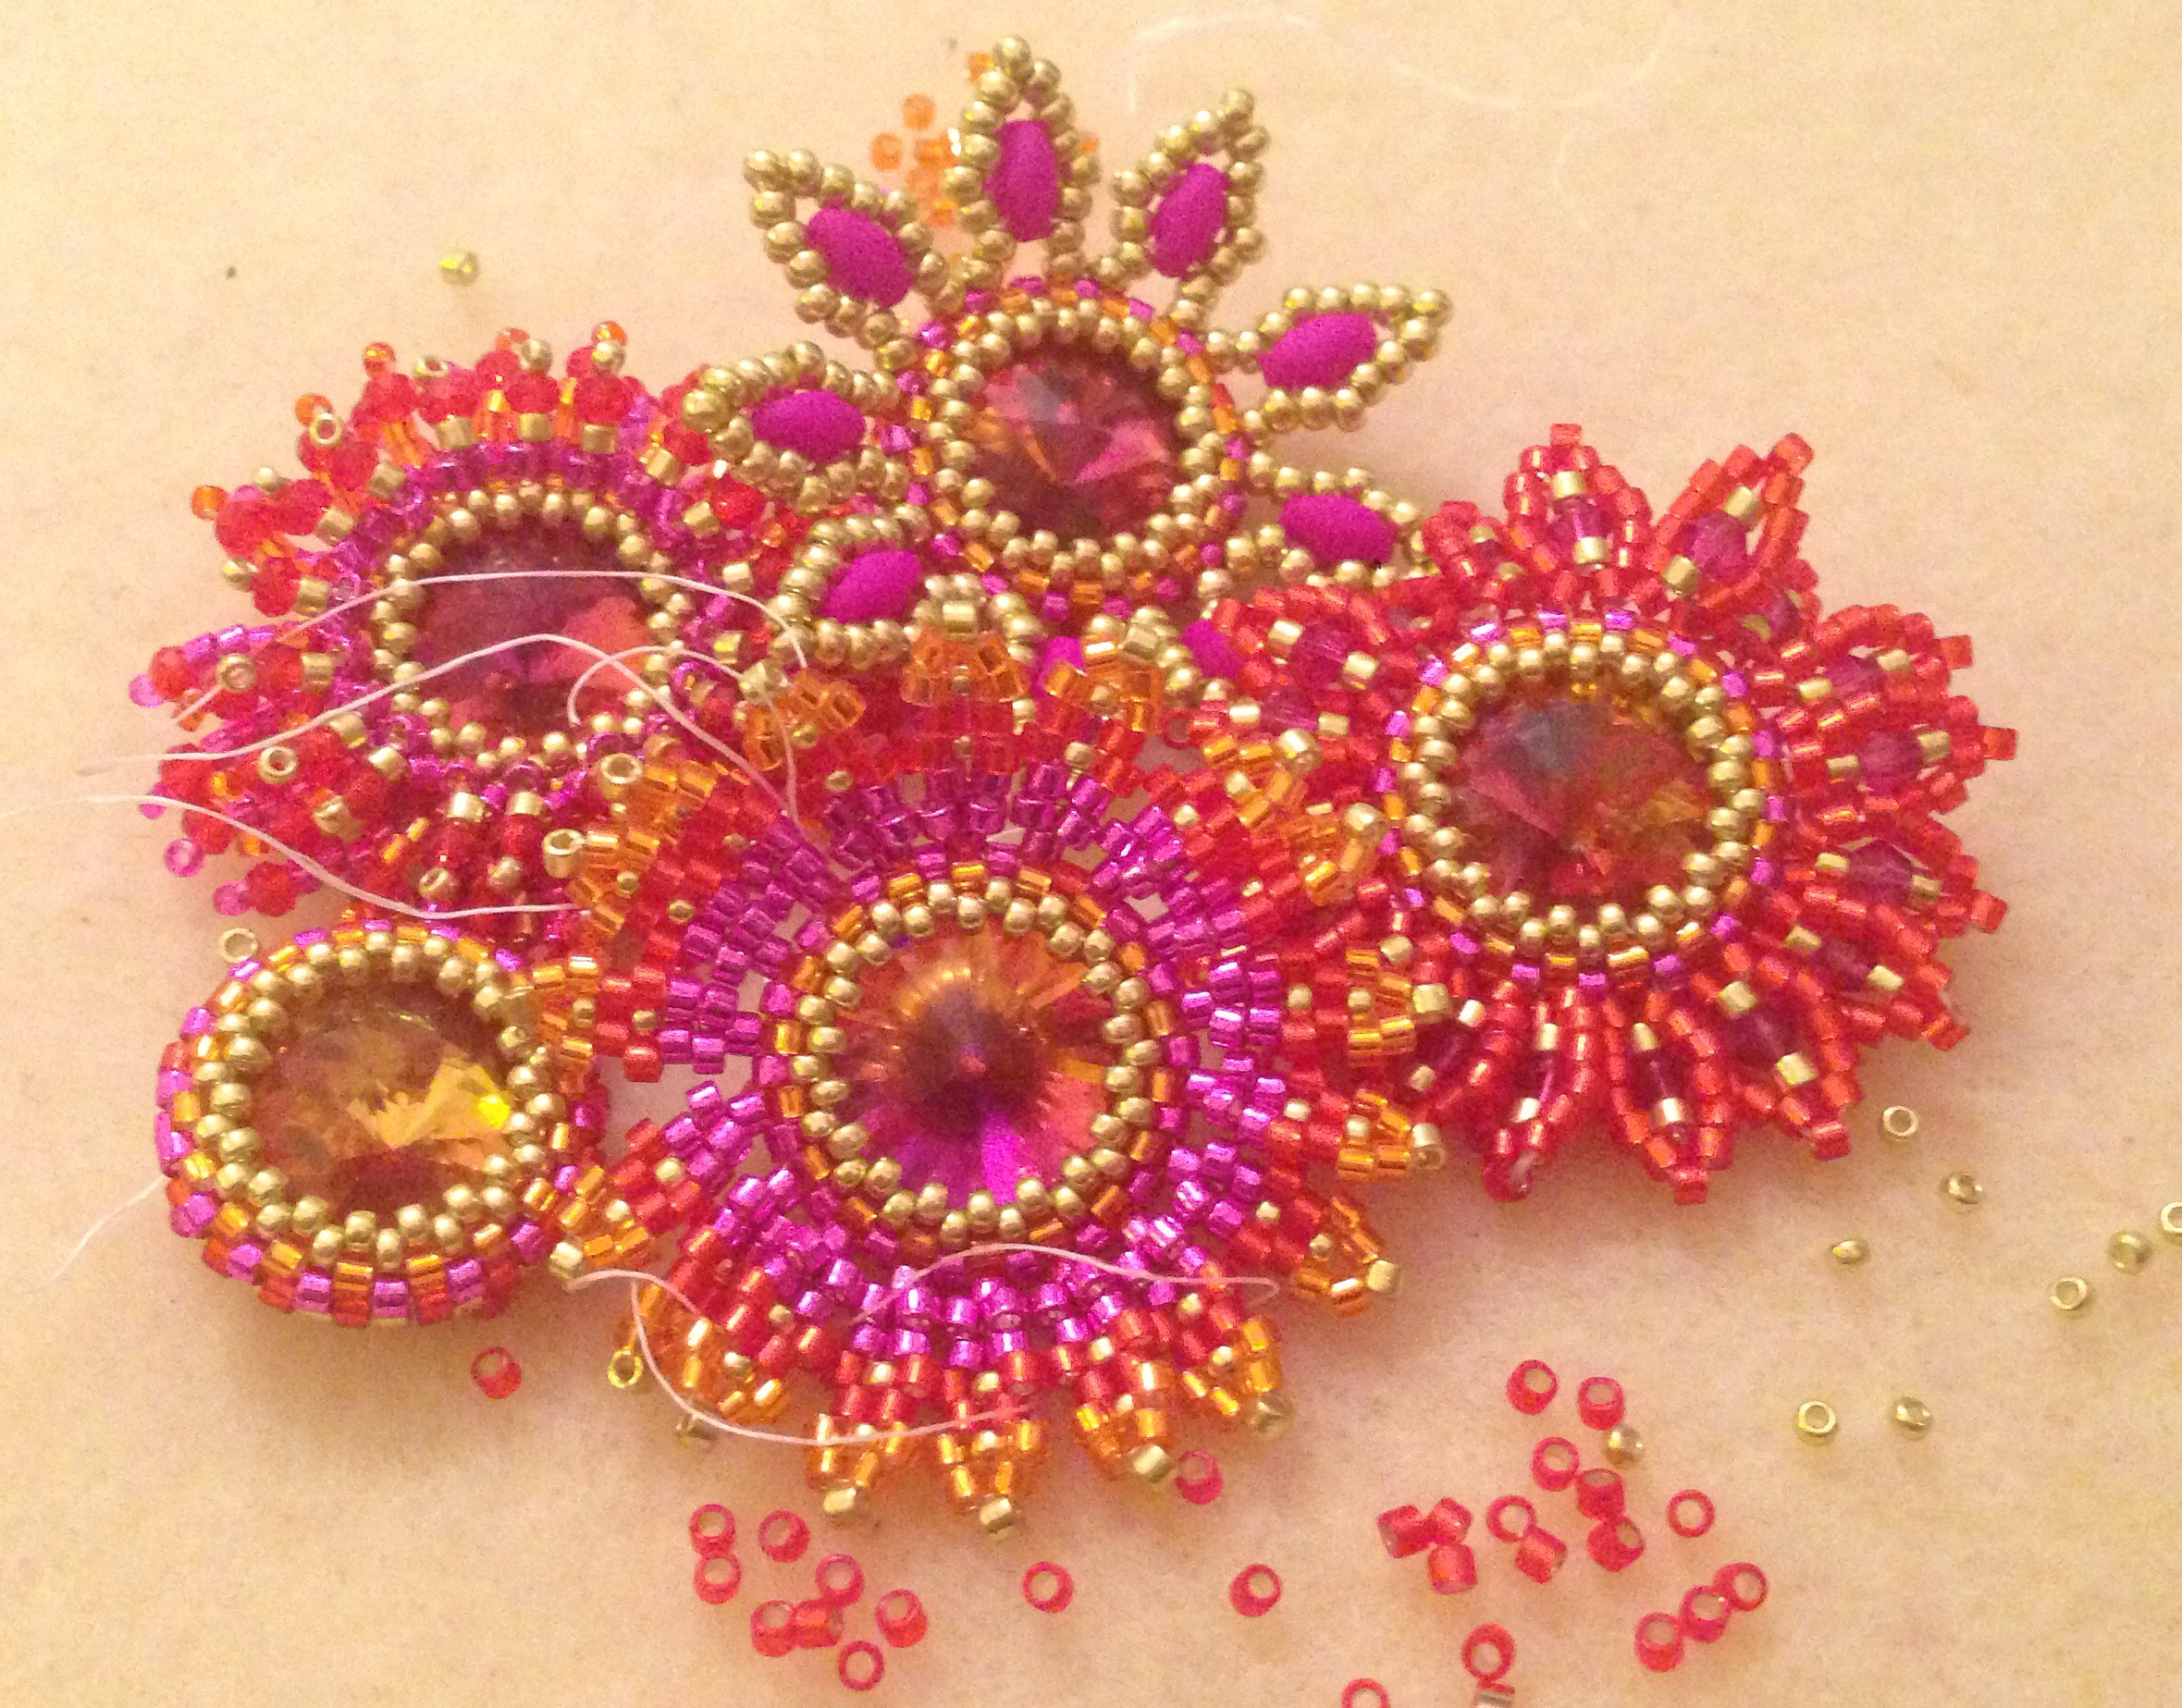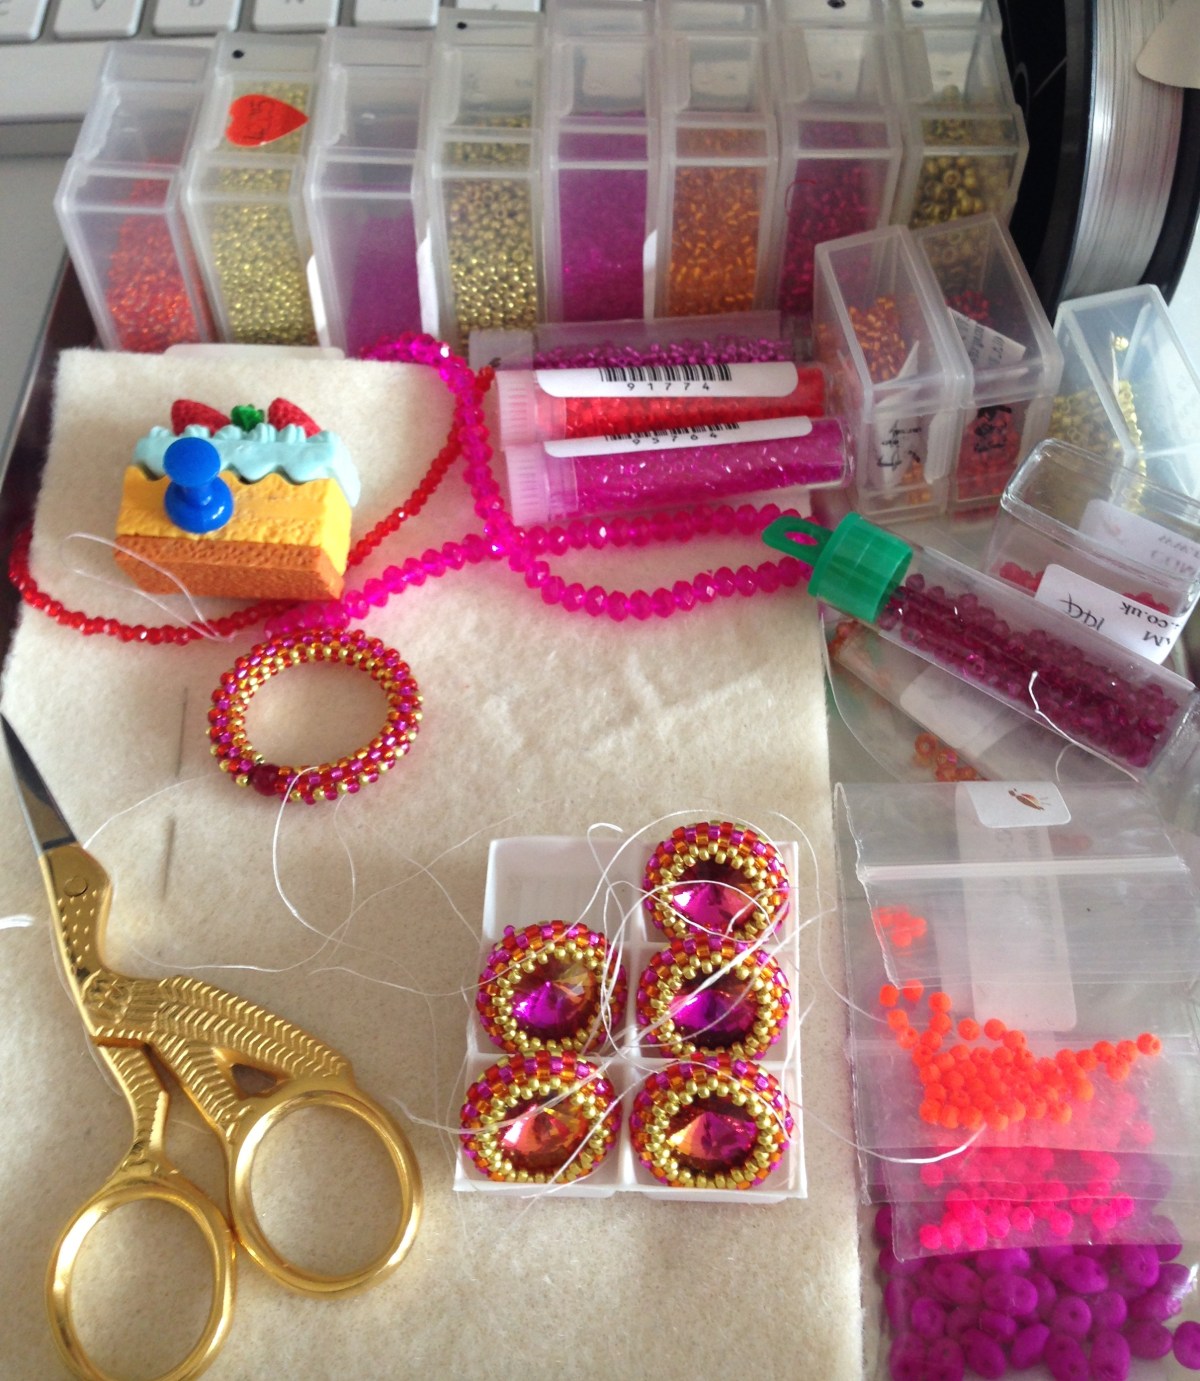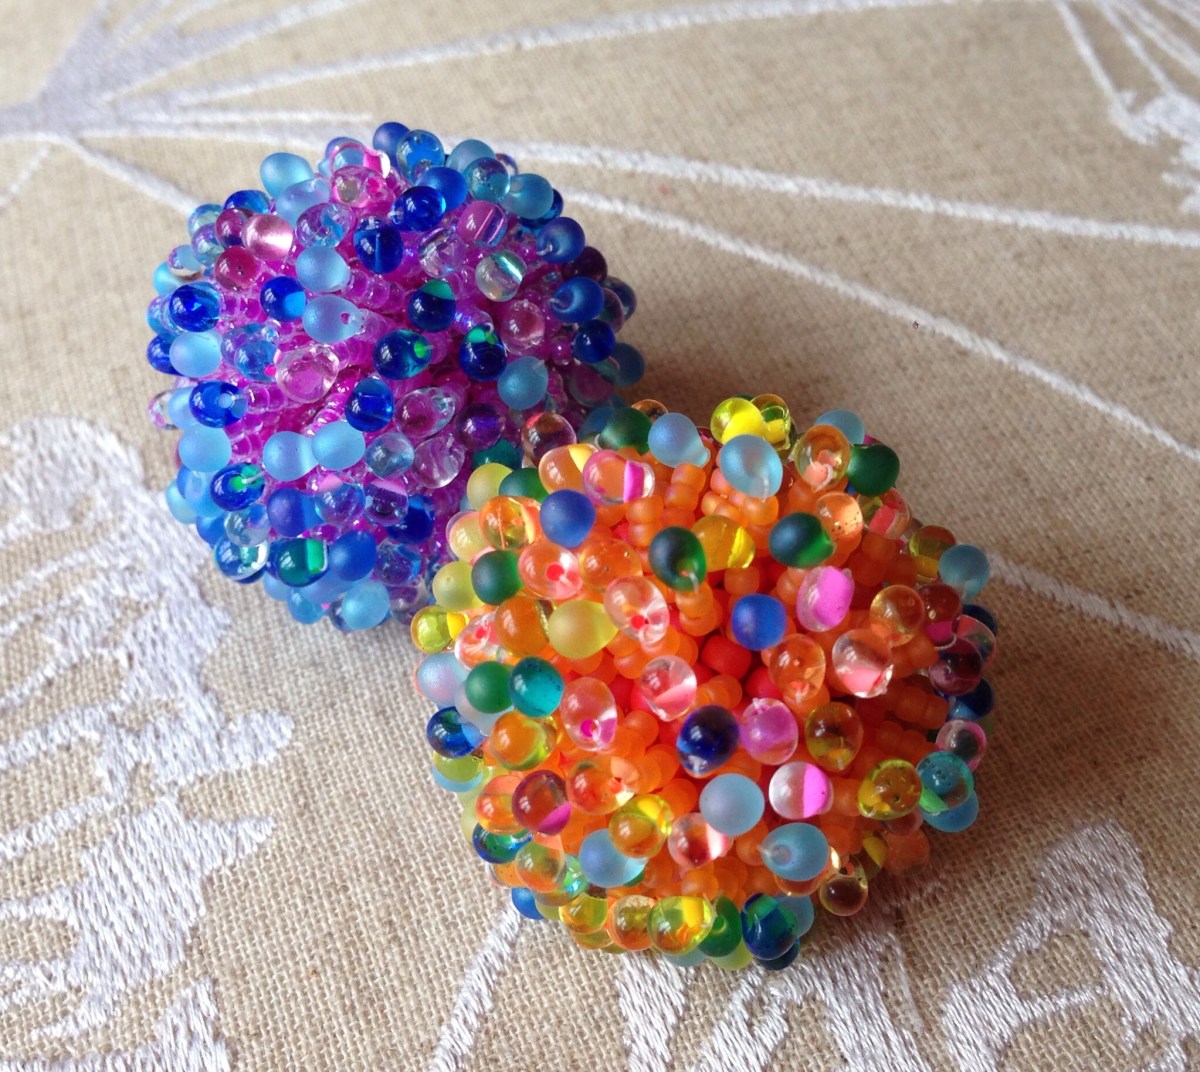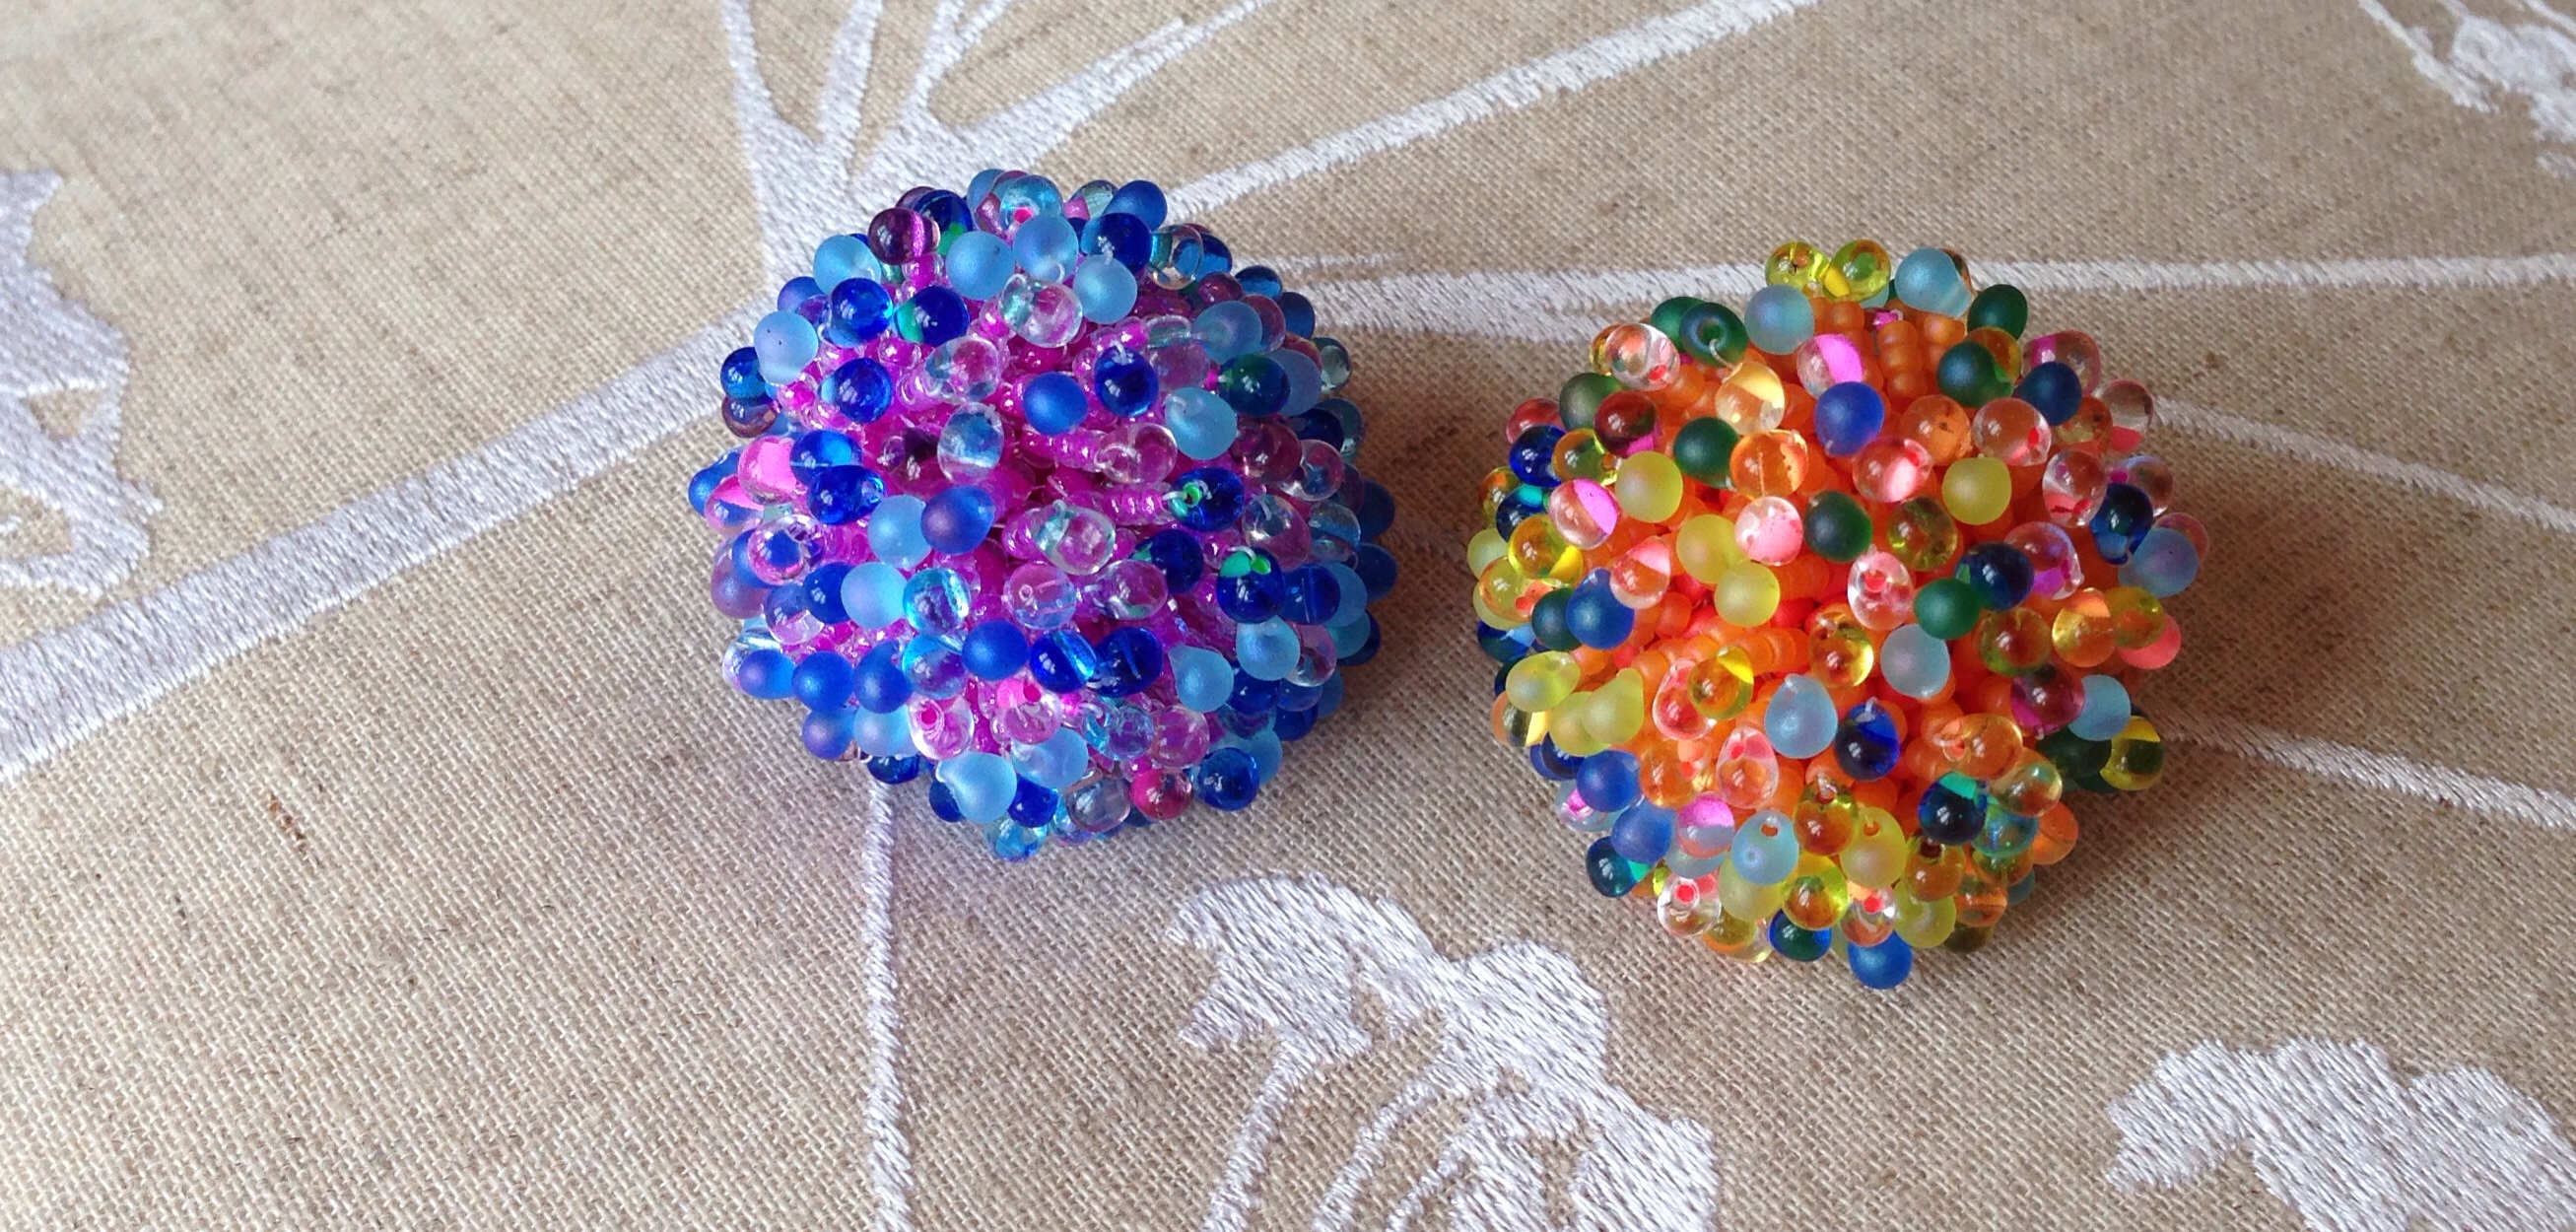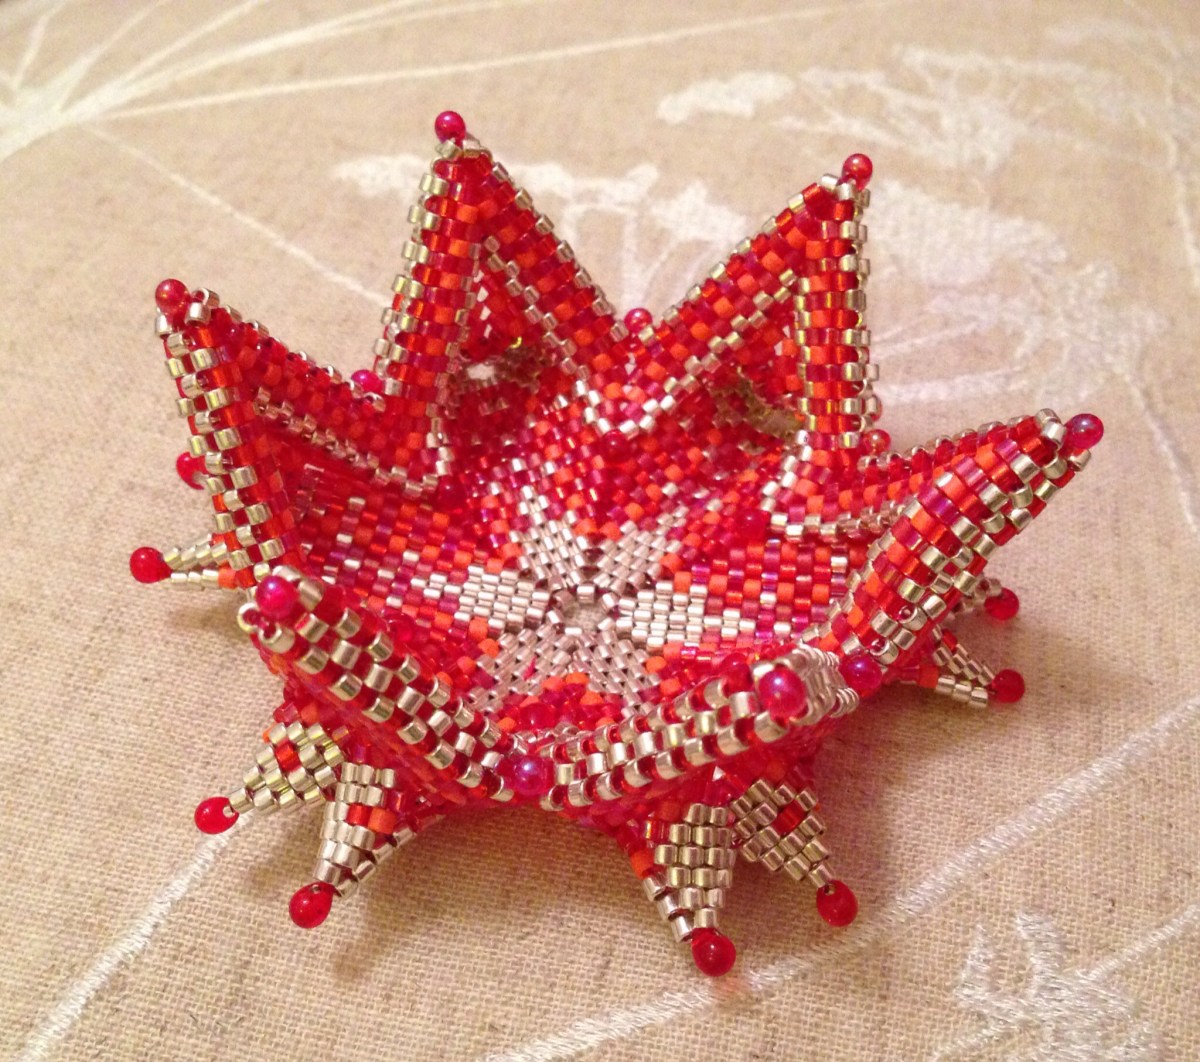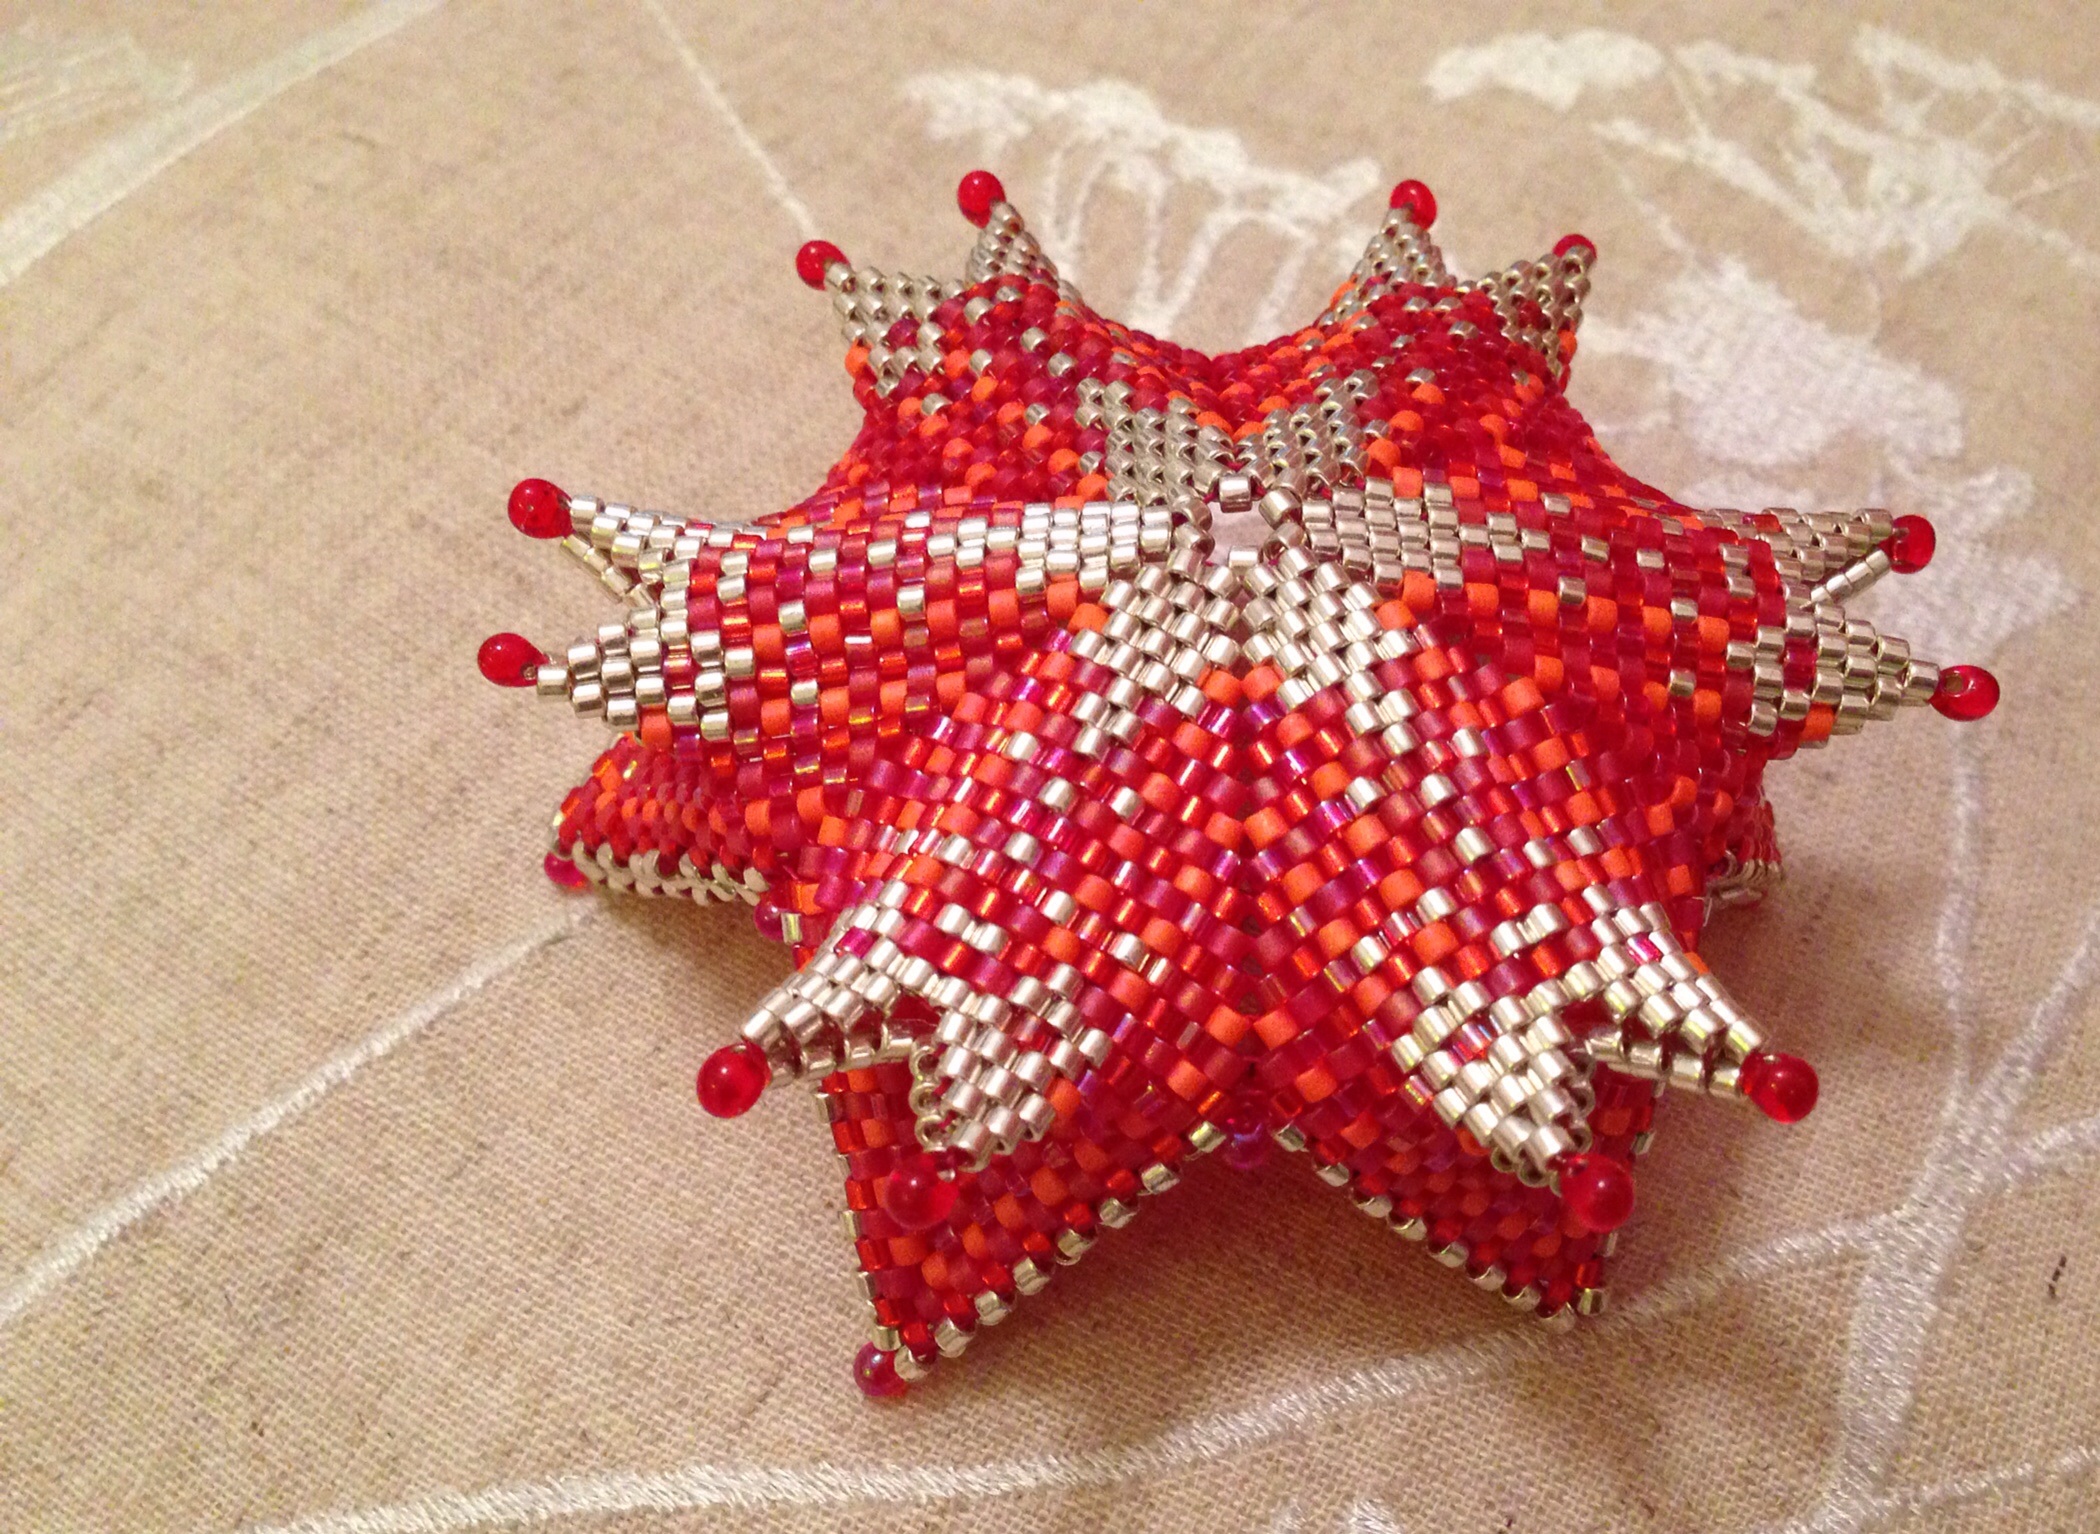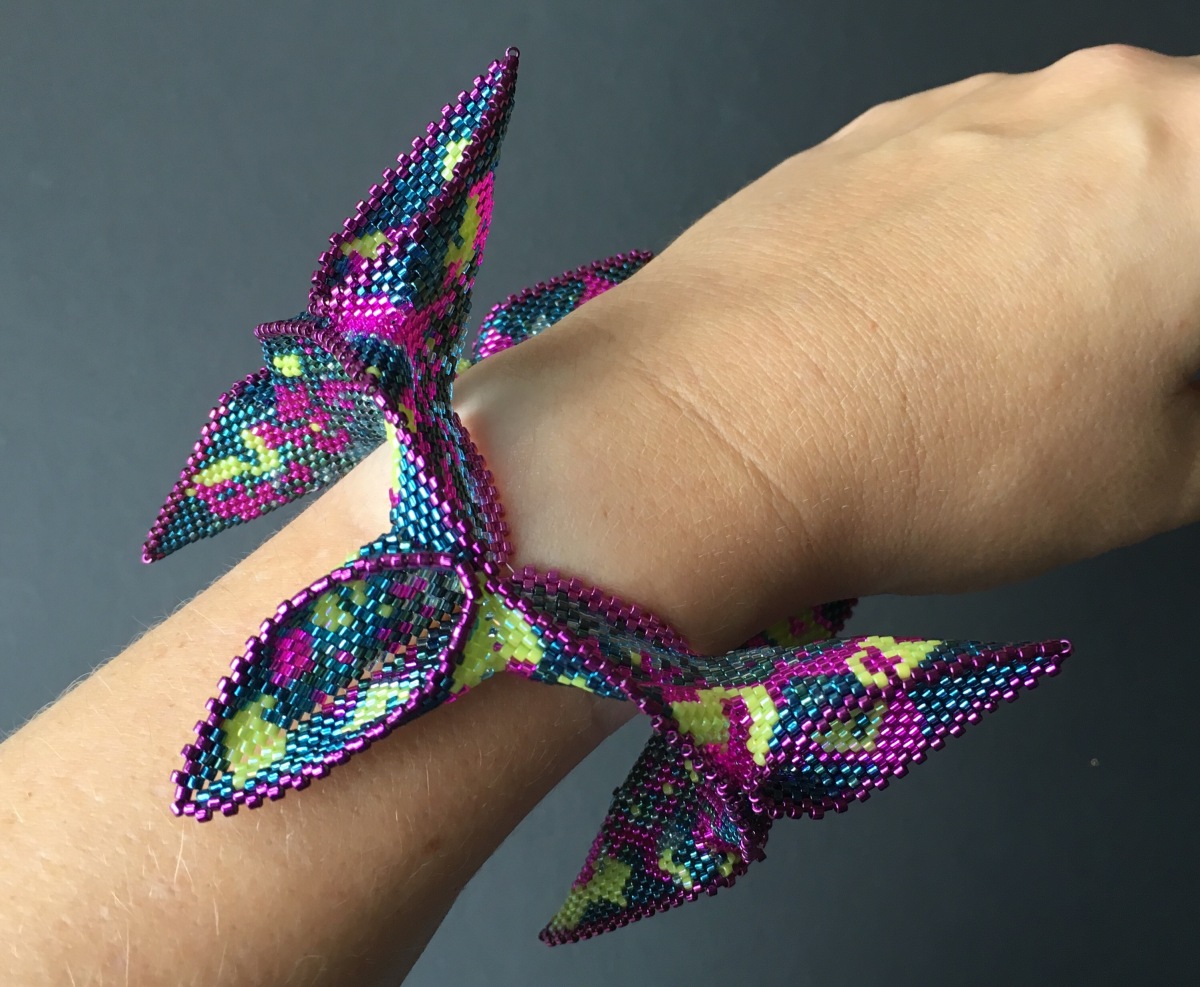
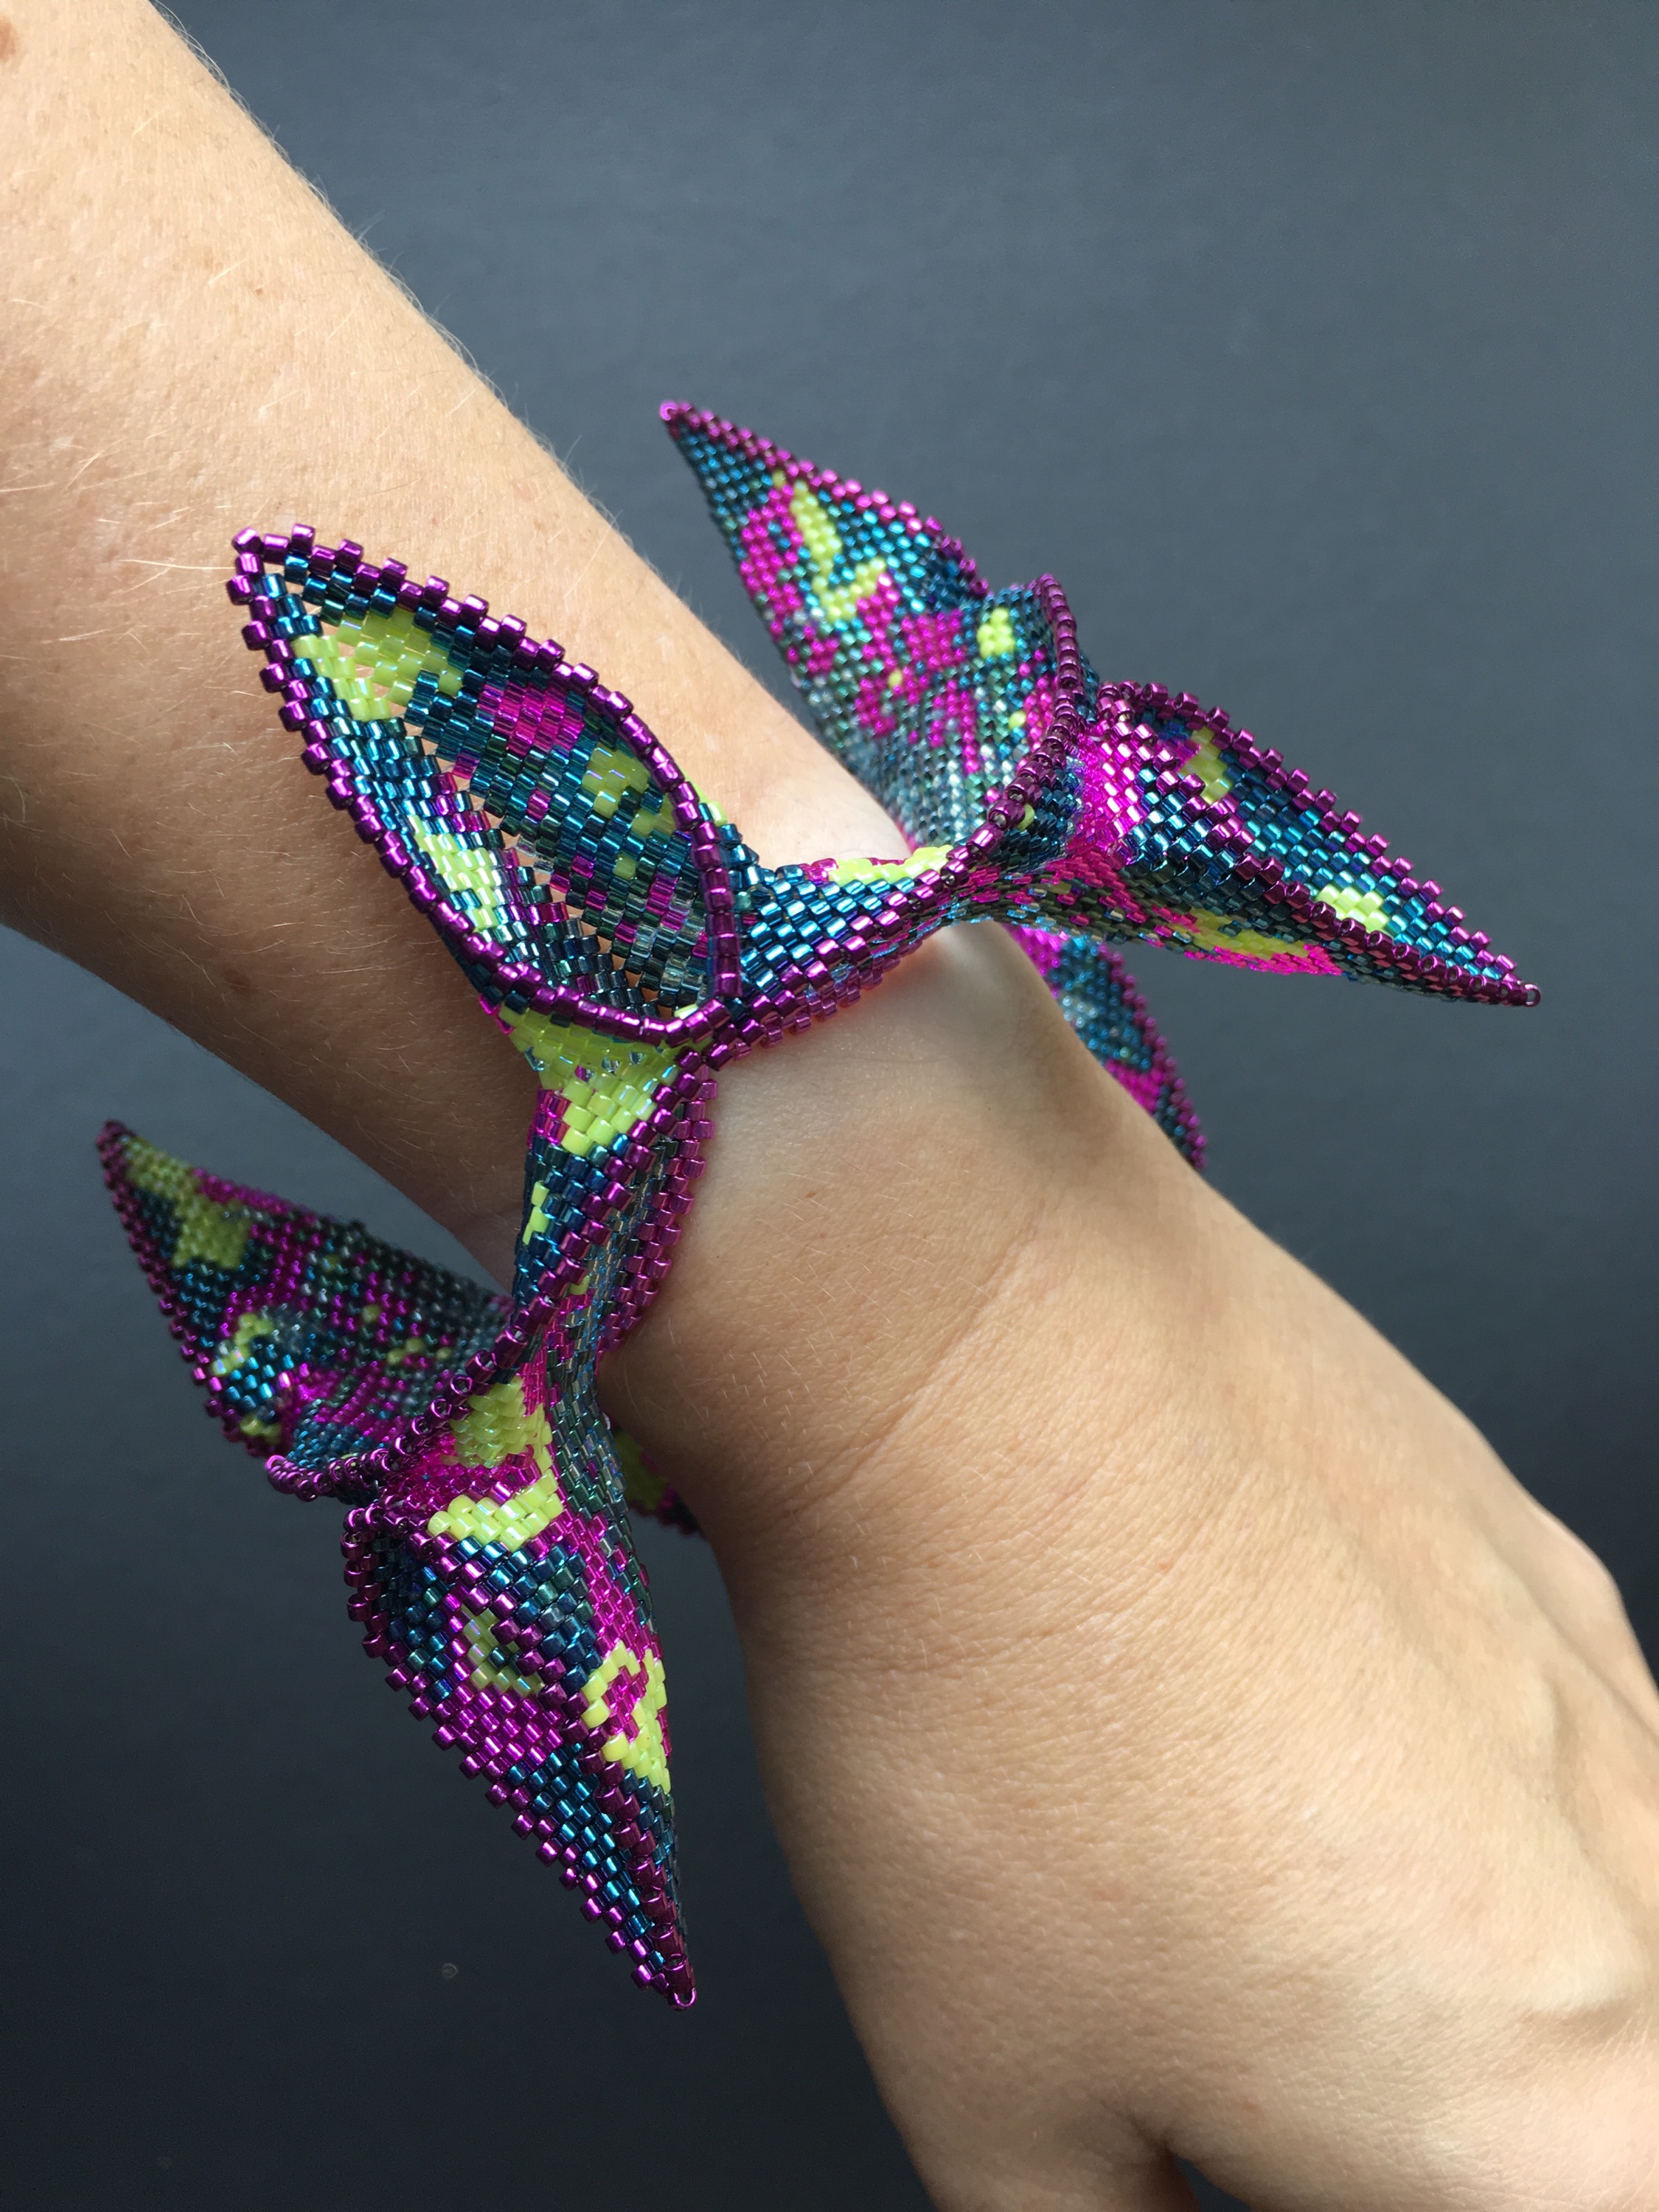
I’ve finished my latest Contemporary Geometric Beadwork influenced piece – a large pointy bangle. The idea with this piece was to work with the ideas from CGB, but for the first time to ignore their finished pieces and patterns and see where I ended up. I also wanted to work with a tube of sweepings from Stitch & Craft, to free myself up from the hours I tend to spend selecting colours!

I started with a MRAW band which I thought would be roughly the right size for a bangle (I was wrong – it was huge), then added some increases and decreases to form a zig zag. I beaded that for a while, then added some increases halfway along each side to start to form peaks which I thought I could join together to start to shrink the piece down and make it human (rather than elephant sized)! I planned to add some crystals to join the peaks together, but when I tried it they didn’t work, and left the piece a bit too wobbly. After some unpicking I decided to stick to delicas, joined the peaks and beaded across either side of the join to make continuous lines and curves, surrounding the whole piece with a dark magenta metallic outline.
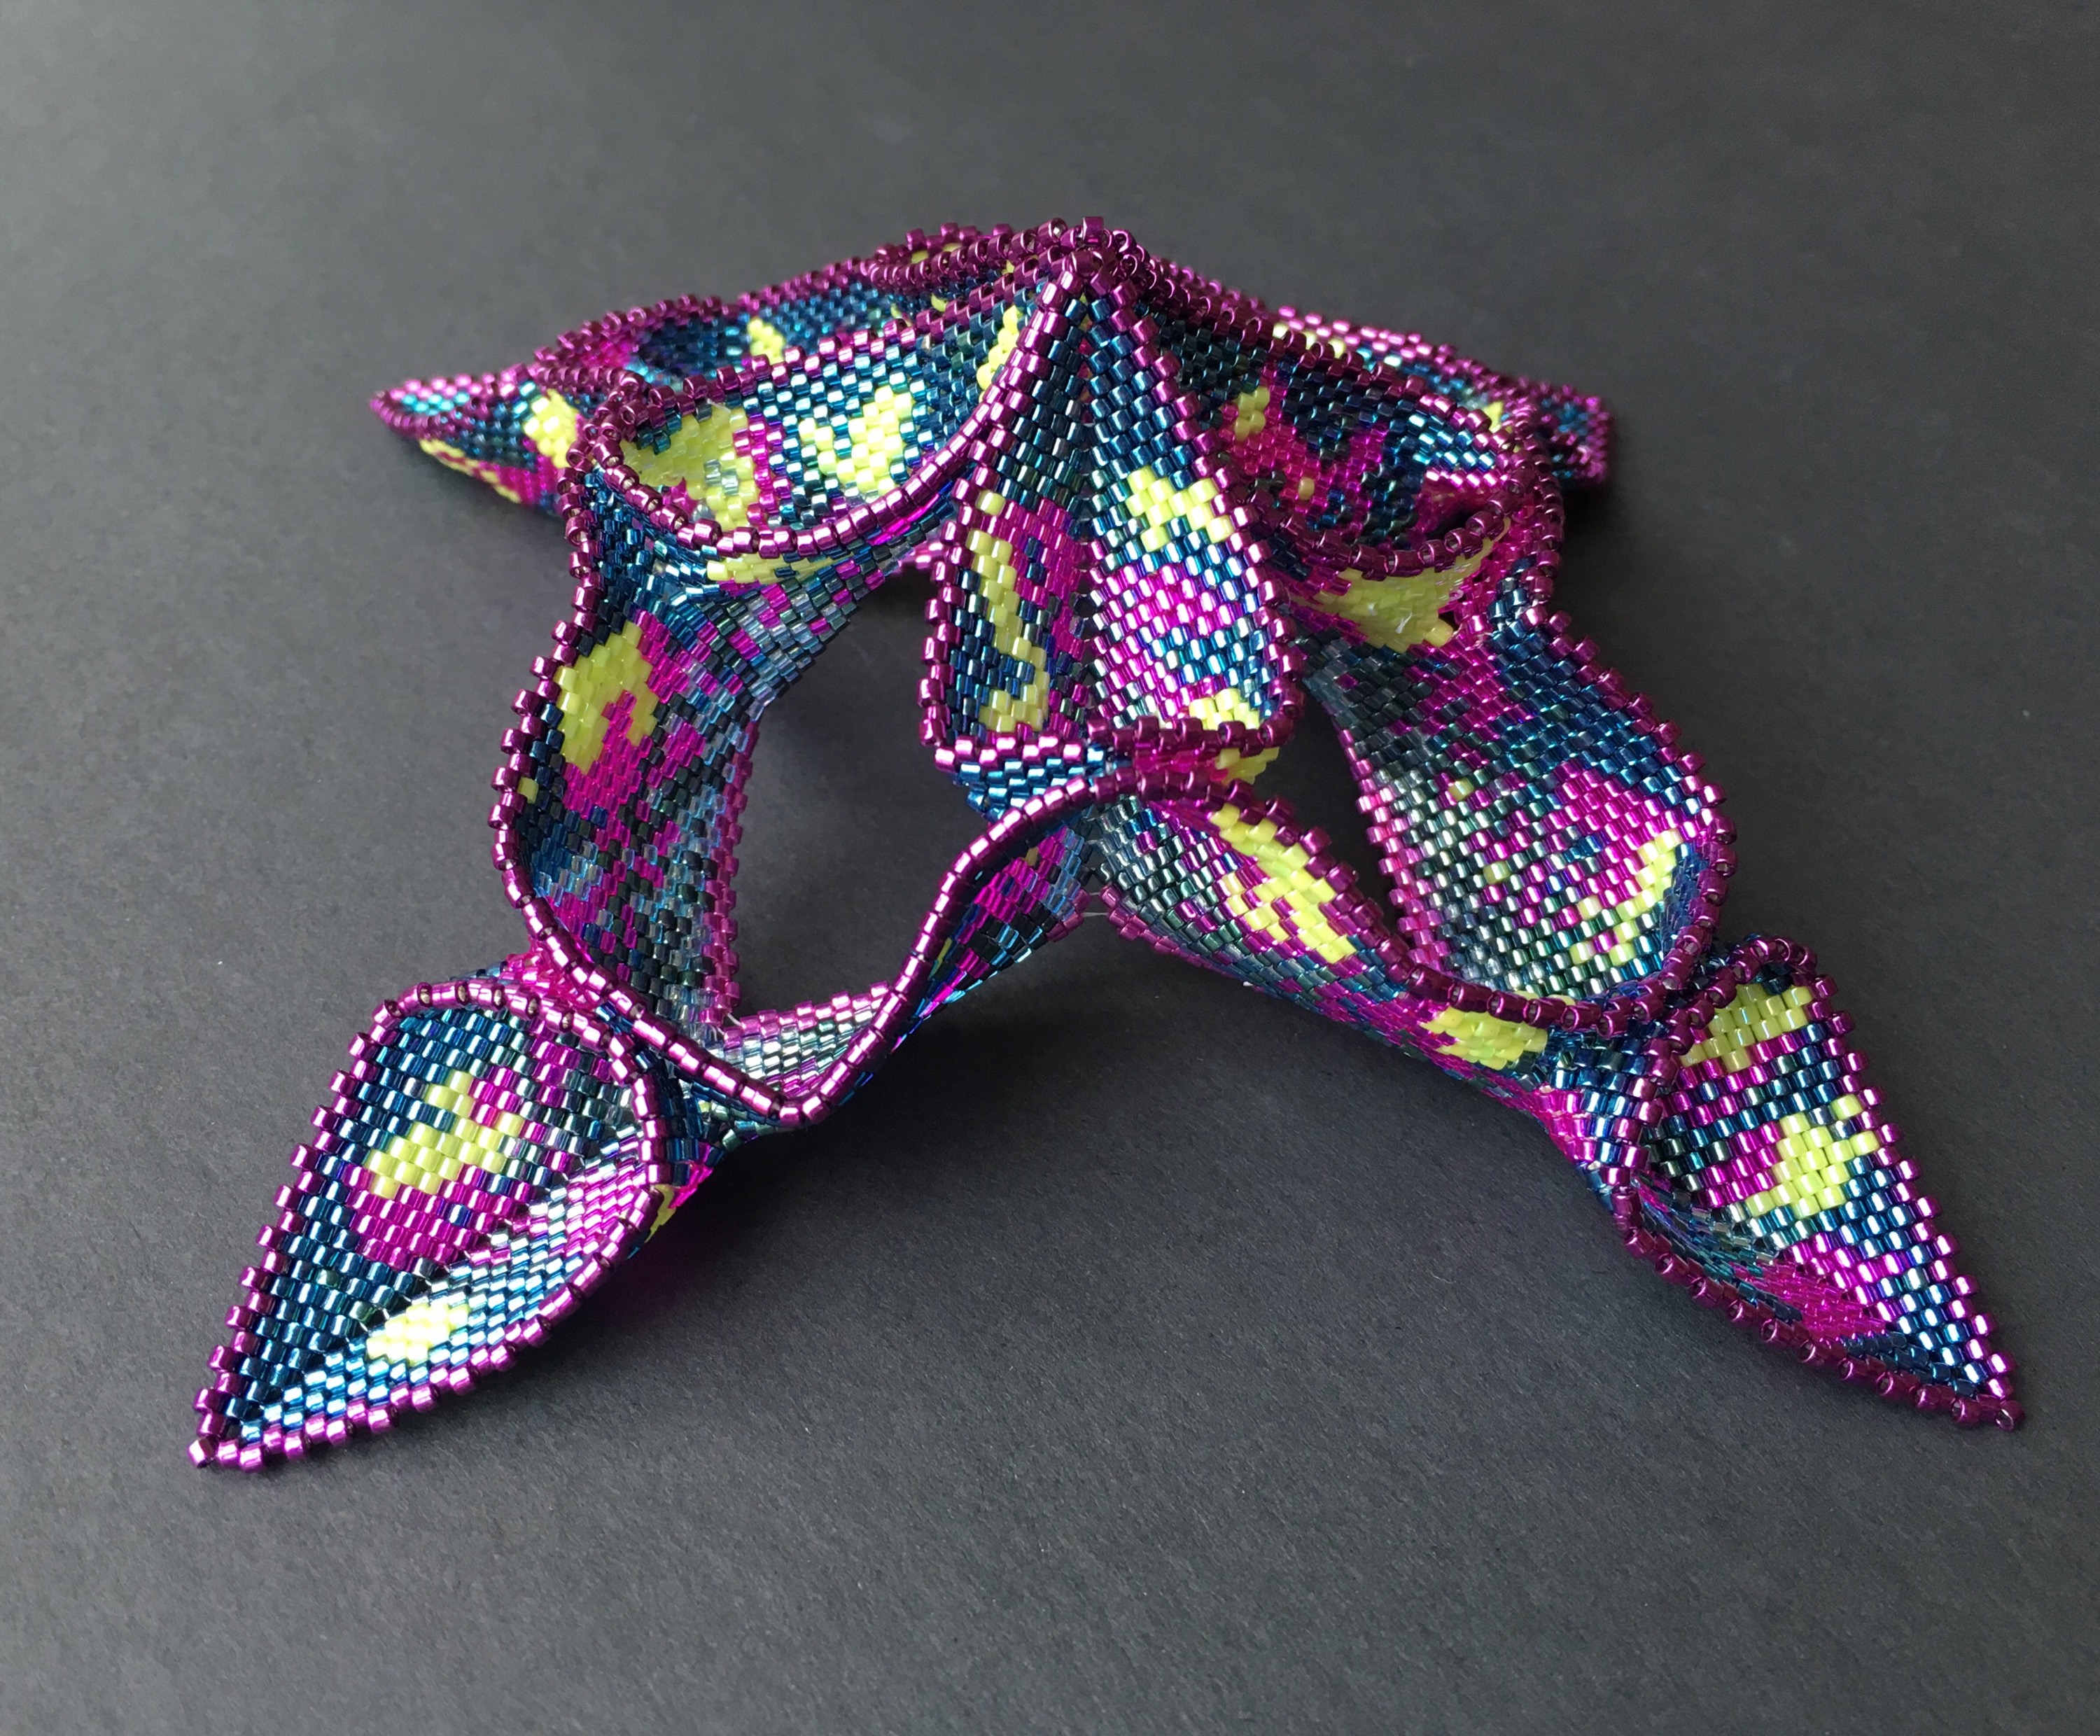
At that point I decided the original MRAW band wasn’t sitting correctly – the alternating zigs and zags meant that it needed to point in different directions so I couldn’t turn it into a CGB skirt to firm up the shape and make it smaller. So that got unpicked from the inside out, and I added a couple of rows of peyote in fuchsia metallics, and the decreases sorted the sizing out.
So it’s all done, and available in my Etsy shop. It’s also my entry for the Etsy Beadweavers Team October Challenge – ‘Abstract Painting’. If you’ve got a moment pop over to our blog and have a look at the other entries (or search ‘EBWC’ on Etsy). And if you could take a few seconds to vote for your favourite we’d really appreciate it.