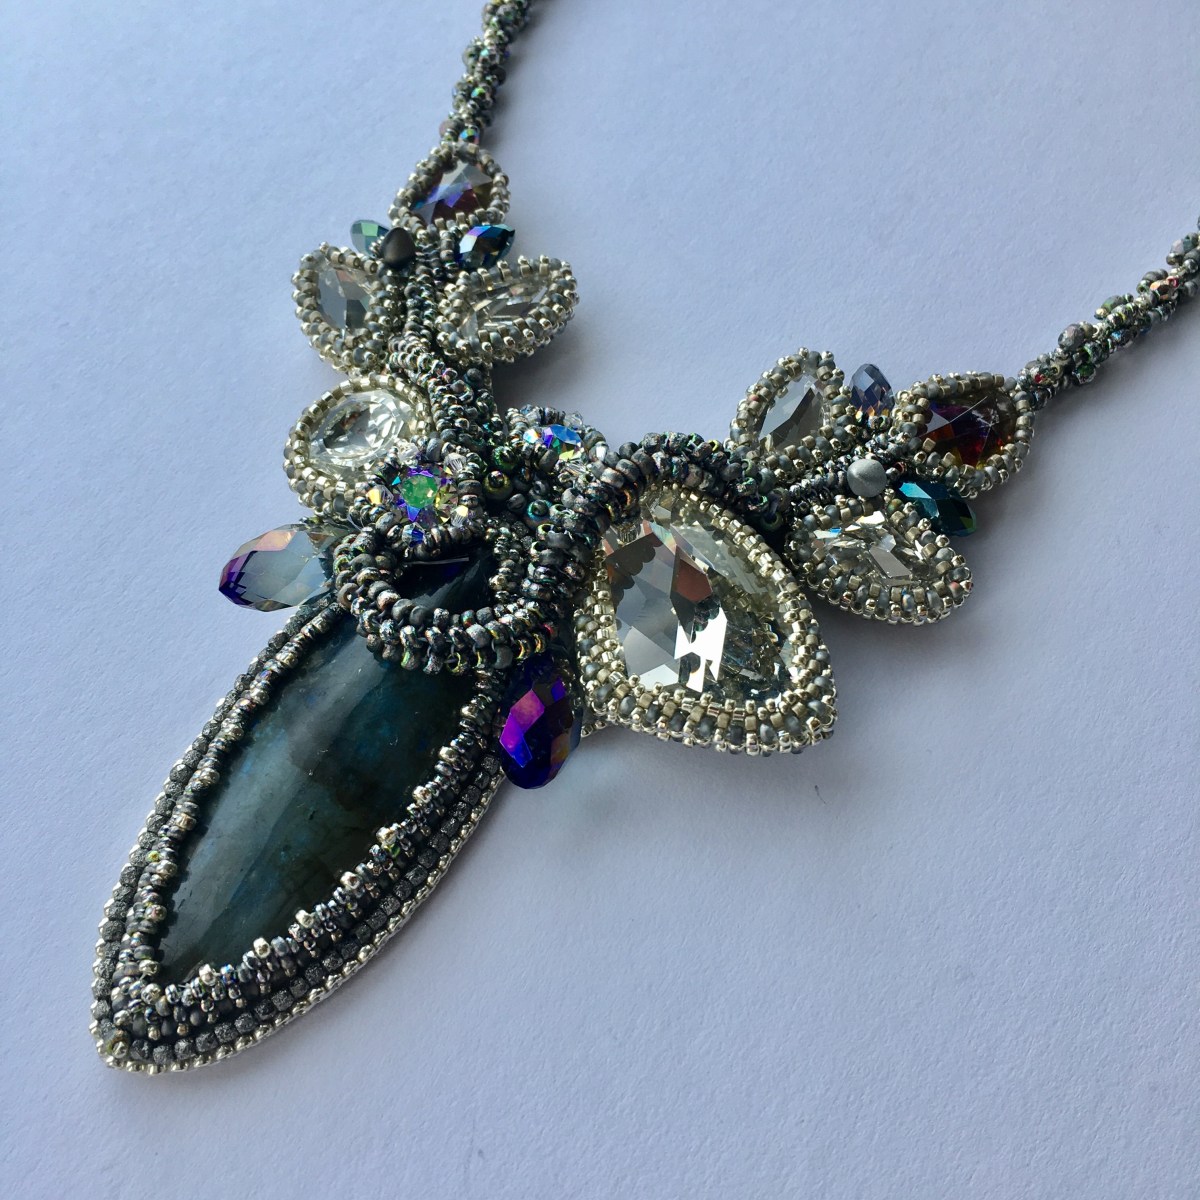
Apologies (yet again) for the quietness here and in my shops. I’m working on two separate competition pieces at the moment, which means I can’t really post about them, but in between doing and re-doing them, I’ve finished another piece which this post is all about. It’s a necklace I made for a concert – as a soloist I had an opportunity to make something with all of the enormous crystals I’ve been hoarding and dress up the plain black velvet dress the piece (Faure’s beautiful Requiem) required. The concert went really well, and the necklace gave me an extra confidence boost. Sadly I forgot to take pictures on the night but I have been taking them as I made it, so I thought it would be interesting to describe that process.
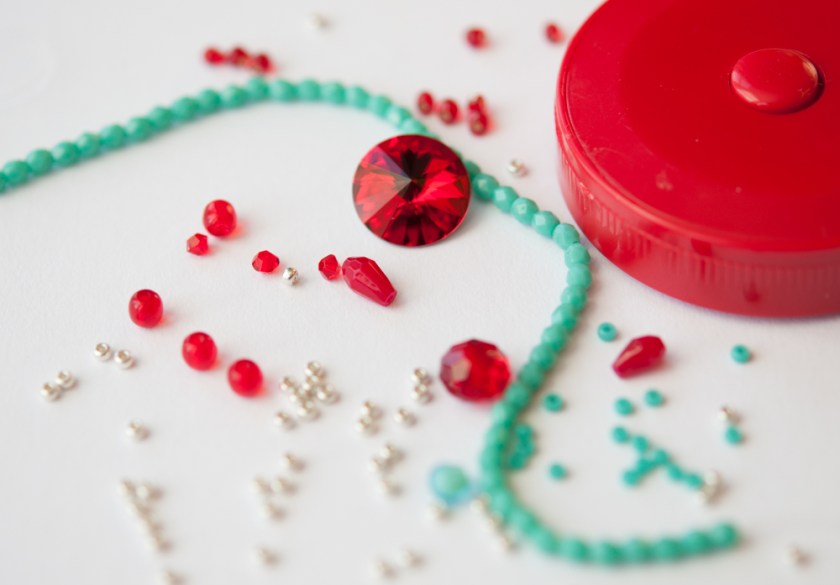
So – how did it come about? I’d bezelled several modern and vintage crystals from my stash already using my usual MRAW into Peyote bezel, as I’d intended to use them for another piece, but it didn’t work out so they were sat in my workbag. When the solo came up it seemed like the perfect chance to use them, so they were my starting point and set the initial colour scheme of silver, light matte pewter and etched vitrail with plain crystals.
Grouped together the bezelled crystals didn’t seem big enough to occupy the very deep V shaped neckline of the wrap style dress, so I had a root around and found a huge labradorite cabochon. I mounted that on some grey Nicole’s Bead Backing, and cut a rough shape, adding wings at the top to join to the crystals. I bezelled using back stitch and then peyote, alternating bead and no bead on the final row for textural interest. A back stitched row of tiny 2mm etched granite fire polished beads finished that part.

Next I had to decide how to put the piece together. Because I was making for one very specific occasion, and one dress I wanted to use the shape of the dress to really enhance the piece. So amid much laughter from my long suffering husband I cut a section out of a piece of A4 paper to leave room for my neck, then stuffed it into the front of the dress and drew the outline of the dress’s neckline onto the paper. I also added a rough sketch of what I though the ideal shape would be – following the lines of the dress but giving a gap so that the piece would be nicely fitted and framed – giving me a probable outline and an idea of the space I would be working with in case that outline had to evolve.

Then on that paper I tried lots of different layouts, placing the bezelled stones in different combinations and positions until I settled on one.
Next I needed to form a base – I’m not really used to bead embroidery, and had bezelled all of the crystals with a peyote band off an MRAW starter – only the labradorite cabochon was mounted on backing, and the backing was very small (poor planning on my part – I should have just worked on the full sheet and cut down later). I had intended originally to link the stones with beads, but I had a change of heart and decided to back them instead, so I tacked an additional bit of backing onto the cab piece. I kept it quite narrow (about a third of the finished width, rather than the full width) as I wanted the bezelled crystals to sit independently of any base, and to avoid the breastplate look so beloved of some bead embroiderers, as it’s just not to my taste. This was almost certainly extra work compared to bezelling straight onto a backing, but it did allow me to avoid issues around the crystals not being flat backed, and I think the end result looks good. So anyway, eventually the bezelled crystals were stitched in place onto the backing.

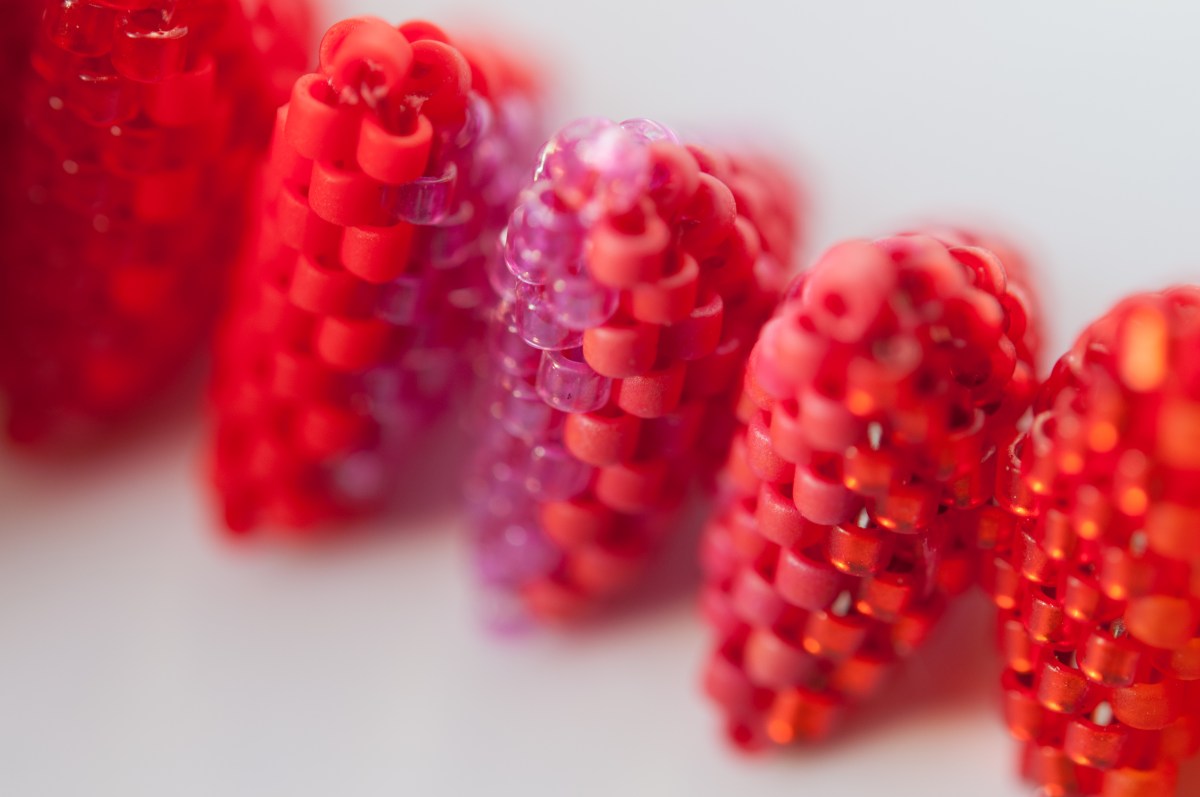
Next I covered some of the backing and added some edge interest by stitching on some faceted drops – I had bought these a while back and they seemed to pick out the blues and purples in the labradorite. Then things seemed to be getting a bit too flat, so I wanted to add some height – I beaded some herringbone rope which I nestled between the asymetric crystals (they were starting to look a bit like leaves) and then twisted and twined above the central stones – again using etched vitrail, with 8s in the central section and 11s either end to nestle into the gaps. A couple of matte vitrail etched spikes filled in some more gaps and gave more textural interest, and a gorgeous waterlilly chaton with a rather risky minimal bezel broke up the rope a bit.
I used stacking (one large bead caught down and through with a smaller bead – in this case a mix of 8s and 6s caught with 11s) to fill in the remaining backing – again in the etched vitrail which looks absolutely amazing on the large 6 seeds, and then I was ready to think about a strap.

I had originally intended to use silver chain because I had expected it to be covered by the dress, but a quick check showed this wasn’t going to be the case, so I felt something which continued the textures round, but was still quite delicate would be a good idea. Another herringbone rope seemed called for, but I don’t have much luck with preserving a perfectly even tension on these, and with the etched beads this would be even more challenging. So I went through my bead books and found a lovely delicate spiral rope in a Marcia DeCoster necklace – a bit of substituting gave me a central core of silver 11s, with an outer spiral of etched 11s surrounding either an etched 3mm or an etched 8. I haven’t used spiral rope for years, but I actually really enjoyed it (after all the experimentation and fiddly bezelling earlier it was quite a relief to have something straightforward and repetitive).
While this was going on I backed the main piece – I wanted to secure the ropes to both the bezelled crystals and the backing first, and then I decided to order some grey rather than using the black ultrasuede I already had – I think it was worth the wait. That then allowed me to edge – I had planned an extravagent fancy edge, but once I’d put the first brick stitch edge in place that felt like enough for now.

One last quick try on set the length for the rope, and I then followed Marcia’s example and used a simple loop and a rivoli I’d bezelled earlier to form a catch.
Rope complete, it was finally time to mount my favourite crystal – an unbacked vintage stone, which I’d given the barest of netted bezels, and wanted to use free of backing to display the capturing beads and the transparency. I had hoped to link sides and base with crystals, but wasn’t happy with the visible threads, so I came back to the fire polished etched beads, and then off to seeds. Then I tried the necklace on and found that the unbacked crystal was digging into the base of my throat slightly, which would have been a real distraction when singing, so I snipped the whole thing off again.

That would be why you’re always told to start new threads to do attachments – makes it much easier to simply change your mind! That left me with a rather boring top edge to the central area, so another bezelled chaton attached at an angle broke that up nicely, and hey presto ‘Diva’ (what else could you call a necklace for a soprano) was complete.

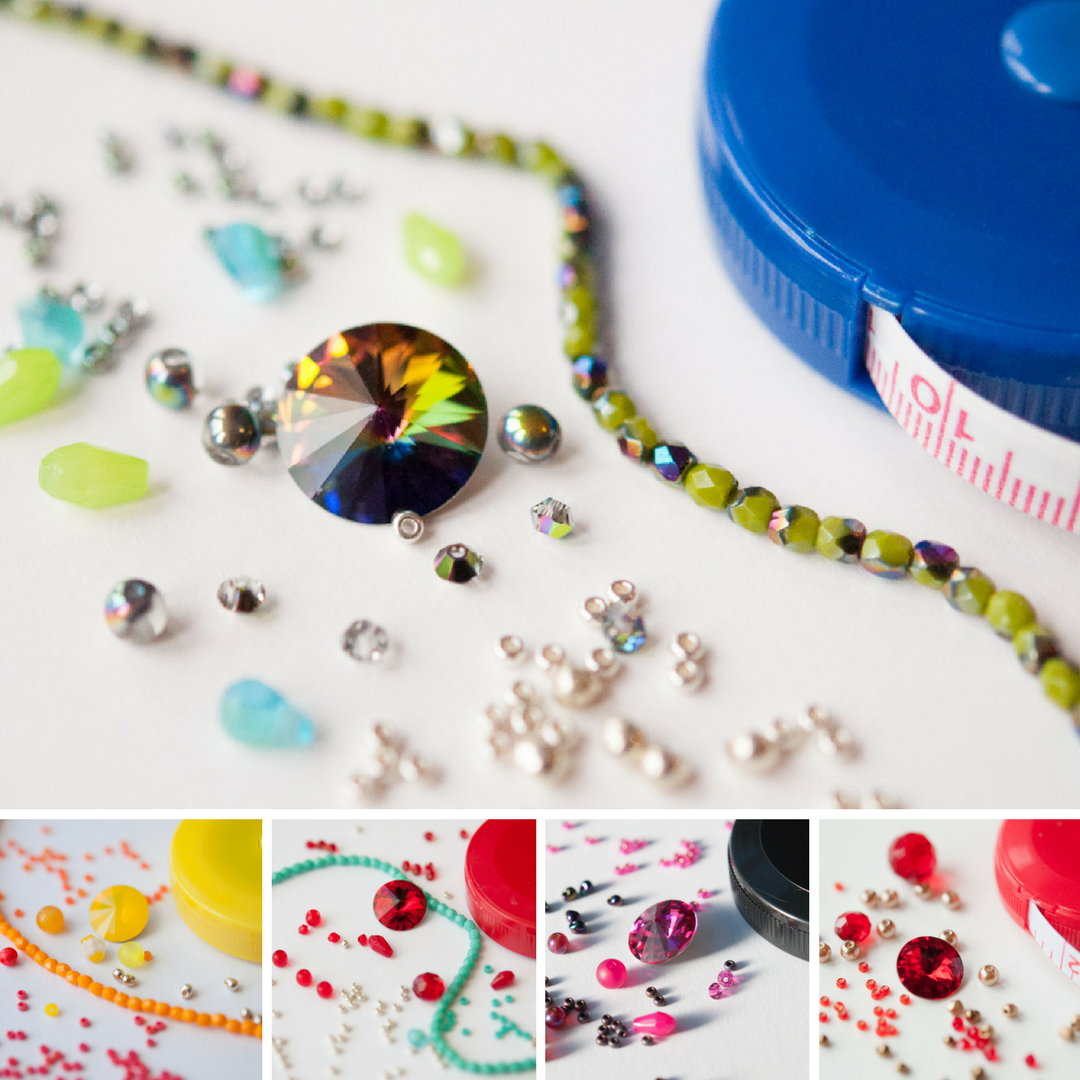
In case you’re wondering about materials, this was made almost entirely from my stash so I’m a bit vague, but here’s what I know:
- 2mm fire polished etched- Spoilt Rotten Beads
- 3 & 4mm fire polished, all sizes of seed in etched vitrail – Bead Stampede
- Miyuki seeds and delicas – Stitch N Craft
- Vintage crystals (coloured leaves, round) – Old Bicycle Shop
- Labradorite cabochon – Mark Varah Fossils
- Nicole’s bead backing & Ultrasuede – Jencel
- Crystal drops – My Vintage Charms & Creative Beadcraft
- Asymmetric crystals – small – Swarovski shop in London many years ago – I didn’t have the skill to bezel such awkward shapes then so they’ve sat in my stash
- Large asymmetric crystal – cheap local bead shop which has since closed!
It’s a good long list – I do seem to get around a bit!
Happy Beading!!


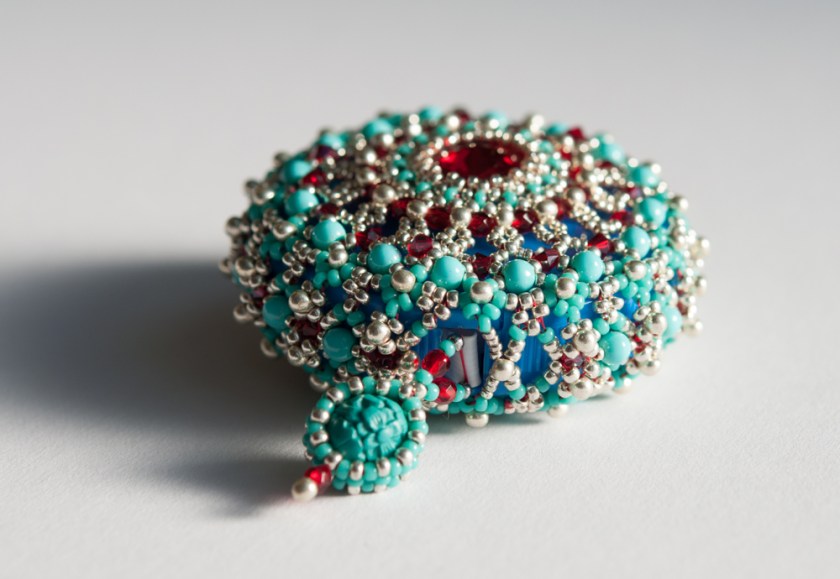
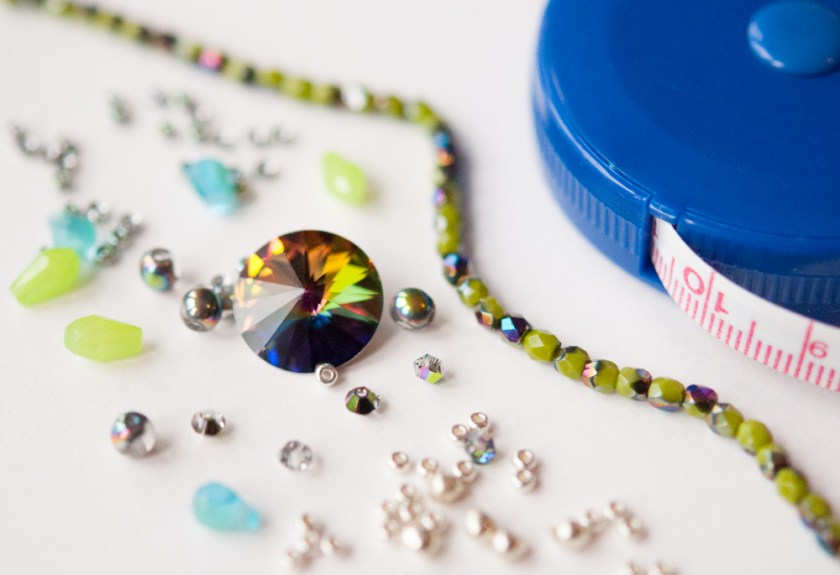 Vitrail, Lime & Silver – Medium Vitrail rivolis and shiny rounds, with a silver base and lime and turquoise highlights to pick out some of the colours in the rivoli. I really love the opaque lime fire-polisheds with a half Vitrail coating in this.


 Fire Dragon Wrap
 Tchacka Boom Bangles
 Wanna be a Butterfly
 Tweed
Tweed  Turbulence
  Boomerang Bling
  Squaricals & Penticals
 Teardrop Bubble Beaded Bead
  Supercoiled Beaded Rope
  Star Flowers
  Interlocking Crystals