Secret Beadalong – Day 4

Domestic commitments yesterday mean I am no longer working a day ahead!  So here is day 4, just in time.  This one was quite fiddly and took a while to complete, but I like the results.   As a set they are looking rather splendid.

  
I have also done half of day 5, which went together more quickly, but want to check placement of the second half, so will wait for Jean to post her picture tomorrow……….and it is way past my bedtime anyway!

National Beading Week

Here in the UK the Beadworker’s Guild’s National Beading Week will begin tomorrow (25th July).  There are lots of activities all over the country, at Bead Groups and in shops, but as I am a bit constrained by work and it bring the school holidays, I’m joining the beading community remotely in a few different ways.  Firstly, I’m taking part in Jean Power’s Secret Bead Along – I’ve completed my prep work which you can see at the top of this post with my beads all ready, and a bit of day 1 (a bit early but I couldn’t wait, photos tomorrow).  As you can see I have chosen very subtle colours.

Anyway, you can read all about it on Jean’s site or read my blog post containing the details here.  I’ll be popping a quick blog post out every day to show progress, and you can follow lots of other beader’s work on the Secret Beadalong Facebook group which Jean has set up.  Over 4000 beaders worldwide have signed up for this, which is absolutely amazing – Jean has done an amazing thing and it’s really very exciting and inspiring taking part.  For me the lovely thing is knowing that so many other beaders will be working on the same piece at the same time.  That includes that my little sister Susie Hoad, who I taught to beadweave a few years ago and got hooked on Jean’s work.  She is now a designer and teacher in her own right, and we plan to finish the last day’s beading together next Saturday, which will be just lovely.  Being Susie she is doing two colourways  (but she is a teacher so I guess she has nothing to do now school has broken up – or could it be that indecisiveness runs in the family?).

Secondly I’m going to kick off a project for this blog to celebrate the awesome range of beadweaving going on around the world – ‘Beading Beaded Beads’.  I’m going to be coming back to one of my original reasons for blogging – to show, review & comment on tutorials and patterns by other designers (as well as writing about my own original work).  I’ve put together a range of beaded beads, some from books & tutorials I already own, some from free tutorials, and some of my own designs, and the idea is that over the coming months I will focus on beading them.  I’ll be working from my stash, so I’m going with two colourways (as even my stash won’t accommodate the range of beads required to complete the various designs in one colour scheme) – bright fuchsia, lime, scarlet and orange, and fuchsia (again), indigo, cobalt and a bit of silver and gunmetal.  Hopefully I will end up with two very spectacular necklaces.  You can see the initial cut of designs on a Pinterest Board here, if you have any suggestions (or designs you’d like me to road test) then comment here or on Facebook and I’ll give them a try too.

I started beading earlier this week, and was hoping to have the first beaded bead to show off for the start of National Beading Week, but sadly the first beaded bead did not go well.  Out of fairness to the designer I’m going to have another go before I post about it………….probably just me being tired and being a bit of a tight beader.

Secret Bead Along

The utterly fabulous Jean Power is holding a Secret Bead Along for National Beading Week.  It’s £5 to participate, or if you either subscribe to her newsletter (recommended – always interesting, you hear first about new designs and usually get a discount code for patterns) or are a member of the Beadworker’s Guild its’ FREE.   I have my instructions for the pre-work, and am currently faffing about what colours to use (normal for me I know, but worsened by not knowing what I’m actually working towards)!  Hopefully my sister Susie Hoad will also be participating – we are off on holiday together towards the end of that week and it would be great fun to finish off together.  I don’t get to bead with other beaders in person very often, so I love the idea that so many of us will all be beading together around the country (or perhaps the world), and even if we’re not in the same room it will be supercool to see what everyone produces.

Above is a picture of one of Jean’s designs (beaded my me) so you can see just how exciting her work is!

May the 4th be with you……

Ok, so it probably won’t still be May 4th by the time I post this, and to be honest I’m not really a big Star Wars fan.   I mean why does Yoda keep saying ‘you are wise young Jedi’ to Anekin – he’s clearly not even slightly wise, since he got his girlfriend pregnant and changed the fate of the universe – use contraception you twit?  That said, DH is a fan, I do like the concept of Star Wars day, and I have this awesome Icos pendant by Jean Power to tell you about which reminds me of the Death Star.

As usual it was a lovely design to work, there’s one tricky bit at the corners of the outer puffs, but once you’ve cracked that it goes together very nicely.  I would really really love to do one with crystals – it will look fab and be even quicker, but for now I’m really pleased with this one.  I don’t have anything to mount it from yet – I’m undecided as to whether to bead a loop.  Jean uses a wire loop on what I assume is a headpin, but since I didn’t plan ahead and put it in before I zipped up the final seam I will need to either come up with an alternative or unpick a bit.  I’m going to wear it with a purple tunic I live in at work during the winter, so I have a while to decide, now the weather has improved at last.

Recipe

Jean Power’s Icos pendant tutorial

10g of Miyuki delicas:

1005 Metallic Purple Gold Iridescent (C1 & C2)

463 Galvanised Dark Magenta (rows 1-3 of C3)

422 Galvanised Fuchsia (rows 4&5 of C3)

Tips

If I had been more organised I would have used a cheaper finish delica for the inner rows of the base triangle (Jean does point out that these rows won’t be visible and labels them C1, but I was away and only had the three colours with me).

What’s next

My next version might be in 15s – using 11s makes a nice bold pendant, with a finished diameter of 35mm, but using 15s will make something quite exquisite.  I will save that for some daylight beading though as teeny beads hurt my eyes – so perhaps first I will do a crystal version.  Jean still has some crystal sets, and Perles and Co have stock in a few colours (Swarovski seem to have discontinued this shape).  Alternatively I’m feeling quite bold at the moment and have some new yellow sandals, so perhaps I’ll get Jean’s yellow plastic stones and work up a vintage colourway…………

Adapting

I’ve been making another Fortuneteller, but this time with size 10 delicas.  I used my previous one as a template, measuring the various distances as I beaded along and at first it went well.  However, as it grew it became clear that the bigger beads meant that the thickness of the MRAW band made the inner layer significantly smaller than the original, and finishing the joins between the small horns was definitely going to make it unwearable by me at least.  So rather than hoping for a tiny handed customer, or giving it to one of the boys (boy 2 is very keen on bangles) I’ve made it into a rather splendid bowl and I like it.  Which is just as well…………

image


Recipe

  • Size 10 delicas in three shades of red, one orange and silver, 26g in total.
  • Size 3.4 drop beads.

Tips

  • Unless you actually want to make a bowl, I’d suggest a starter MRAW band which contains six repeated ‘Vs’ with 9 units on each side of the V (not the 8 units I used).
  • To get the colour effect I used, start the MRAW band with the silver, using one of the reds as the fill bead.  Add a drop bead as one of the inner beads on any increases or decreases (you may want to miss them on the decreases – I chose to leave them in as I like the look of the drop nestling in the V.  Then change red/orange every row.  As you approach the horns, start adding the odd silver in, then more each row until you are just using silver.  I chose a random pattern, mirrored on each pair of horns, but kept it identical for each round so that the graduation was even across all the horns.  Then gently fade the reds back in, and finally as you approach the final tips work the silver back in again.
  • Size 10 delicas are still quite hard to get hold of in the UK.  Stitch n Craft are expanding their range gradually, and as usual offer probably the most competitive pricing (assuming you spend enough to qualify for free postage, which I never fail to do), although their colour range is still quite limited.  Charisma have a good range of colours, as do Fine Lines.
  • Finally, with this kind of work, especially with larger beads, you really can’t make any mistakes as they will be very obvious on the finished piece.  I made quite a few as I was very tired, and the lovely push pin and eraser combo I was sent by the lovely Jean Power with my copy of Geometric Beadwork 1 was worked quite hard.  I can’t remember having to break out this many beads for ages.

image

Other than my general incompetence it worked really well with the size 10s, and in many ways it’s the best use of these for geometric beadwork that I’ve tried before.  I will have a go at an actual bangle once I’ve got all the other things on my beading list moving along.

Faux cro rocks!

For several years I have been eying up the photos on Jean Power’s website of her ‘faux bead crochet’ bangles. Now I love the appearance of bead crochet, but I’ve had several goes at doing it which have always ended in tangles, uneven work and tears. I’m sure it’s lovely and quick once you are expert, but for me it is incredibly slow, and combined with the absolute tedium of threading all the beads on before you even start I feel it’s not for me. However it does make the most beautiful beaded ropes, so a fake version using beadweaving techniques I’m familiar with seemed worth a try. Staring at Jean’s photos repeatedly over many years sadly did not reveal her secret, and though Jean has been teaching it as a workshop I’ve never been able to go. So when her recent newsletter announced she’d released a tutorial I grabbed one straight away (the joys of instant downloads). Reading through revealed I had been a numpty, as her solution is elegantly simple, but there is much in the tutorial that I would never have worked out even after years of playing, particularly the joins, so it was well worth the money to skip the experimentation and go straight to a very refined solution. All I need now Jean is to work out how to split the rope into two or three so I can do branches please?

Anyway I’ve made so many bangles lately that I thought I would instead make something more like a lariat, but I ran out of beads (poor planning) so I’ve made a short rope with increases at either end to form frilly cones (a la CGB 1 although using Jean’s stitch with increases, not their technique as it didn’t really work for me).  I then threaded a wire through the middle so the piece can be sculpted into a choker, bracelet, whatever. The simplicity of the design and technique made it a very relaxing, stress busting kind of piece to make, so I think I will be using this technique again soon.

image

Recipe

  • 20g of red striped frosted crystal size 8 seed beads – mine were from Beadworks
  • 1g of opaque scarlet miyuki size 8 seed beads – 407 from the Bead Merchant
  • Red miyuki KO thread
  • 65cm 1mm silver plated wire

Tips

  • Read the instructions all the way through. Jean explains the theory as well as giving step by step instructions so you will be better equipped to improvise and add your own touches, as well as to complete the projects she details.
  • If you are not used to the basic stitch Jean uses, do a flat square sample first so you can get your technique (particularly tension) sorted.
  • Use big beads. There are some extremely beautiful bead crochet works out there using teeny weeny beads, and this technique will undoubtedly work extremely well for those, but you need to practise first. I would definitely heed Jean’s advice and start with 8s.
  • Make sure you have enough beads as this lovely speedy technique will munch them up quite quickly – 20g made a 5 around rope (probably the thinnest you can do with size 8s) 70com long.  So I’d reckon at just under 30g for a 1m rope which would make a versatile long necklace or lariat, and you should get a bangle out of the standard 6g tube of 8s.   You can always do a sample of say 10cm and then weigh it to estimate.
  • The slightly more organic appearance of crochet or faux crochet with 8s means this is a really good way to use up those beautiful but sadly wonky and uneven seed beads you bought all those years ago before you discovered the easy uniformity of Japanese beads. And you can also use the beads you bought for kumihimo but couldn’t use because the holes were too small for the bigger working thread (although you can use thicker threads for this technique and make a feature of them if you want, just like bead crochet).
  • Wiring the piece allows me to sculpt it each time I wear it – it would look very nice with the wire poking out and drops or rizos dangling from jump rings attached to a loop at the end

image

What’s next?
In theory you can use this technique for any bead crochet type piece – there are some amazing patterned ropes out there and I can’t wait to try.   Have a look at my Faux Cro Pinterest board for some ideas if you’re interested.

I’d also like to try working round a core of cord or tubing so that I can tie on and bead over some feature beads, and I will have to find some quiet time and work out how to split the rope so I can do branching designs.

Telling fortunes

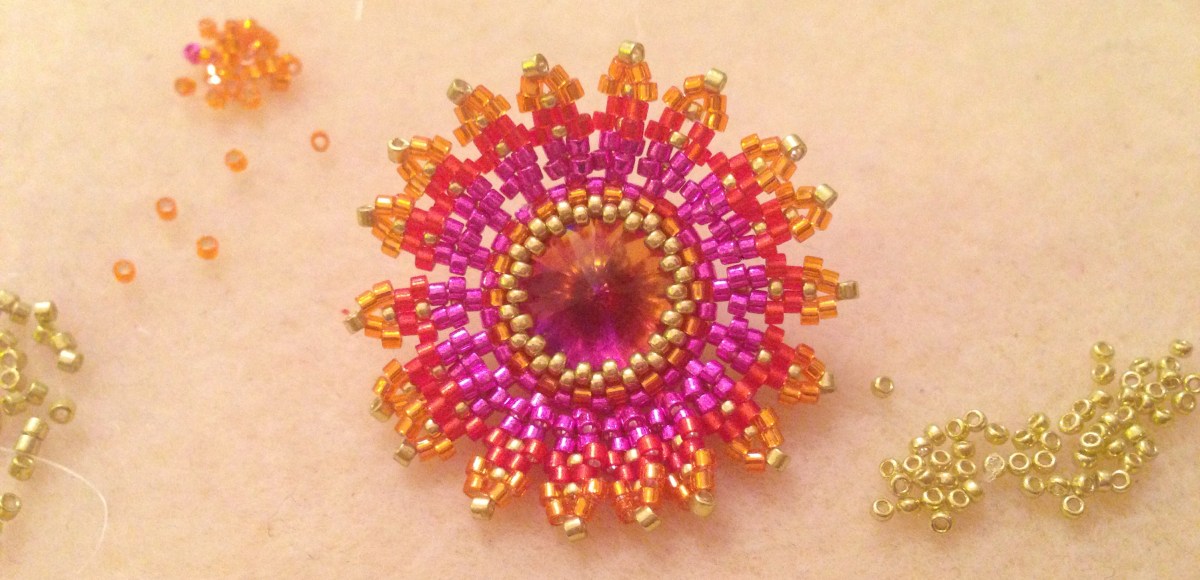
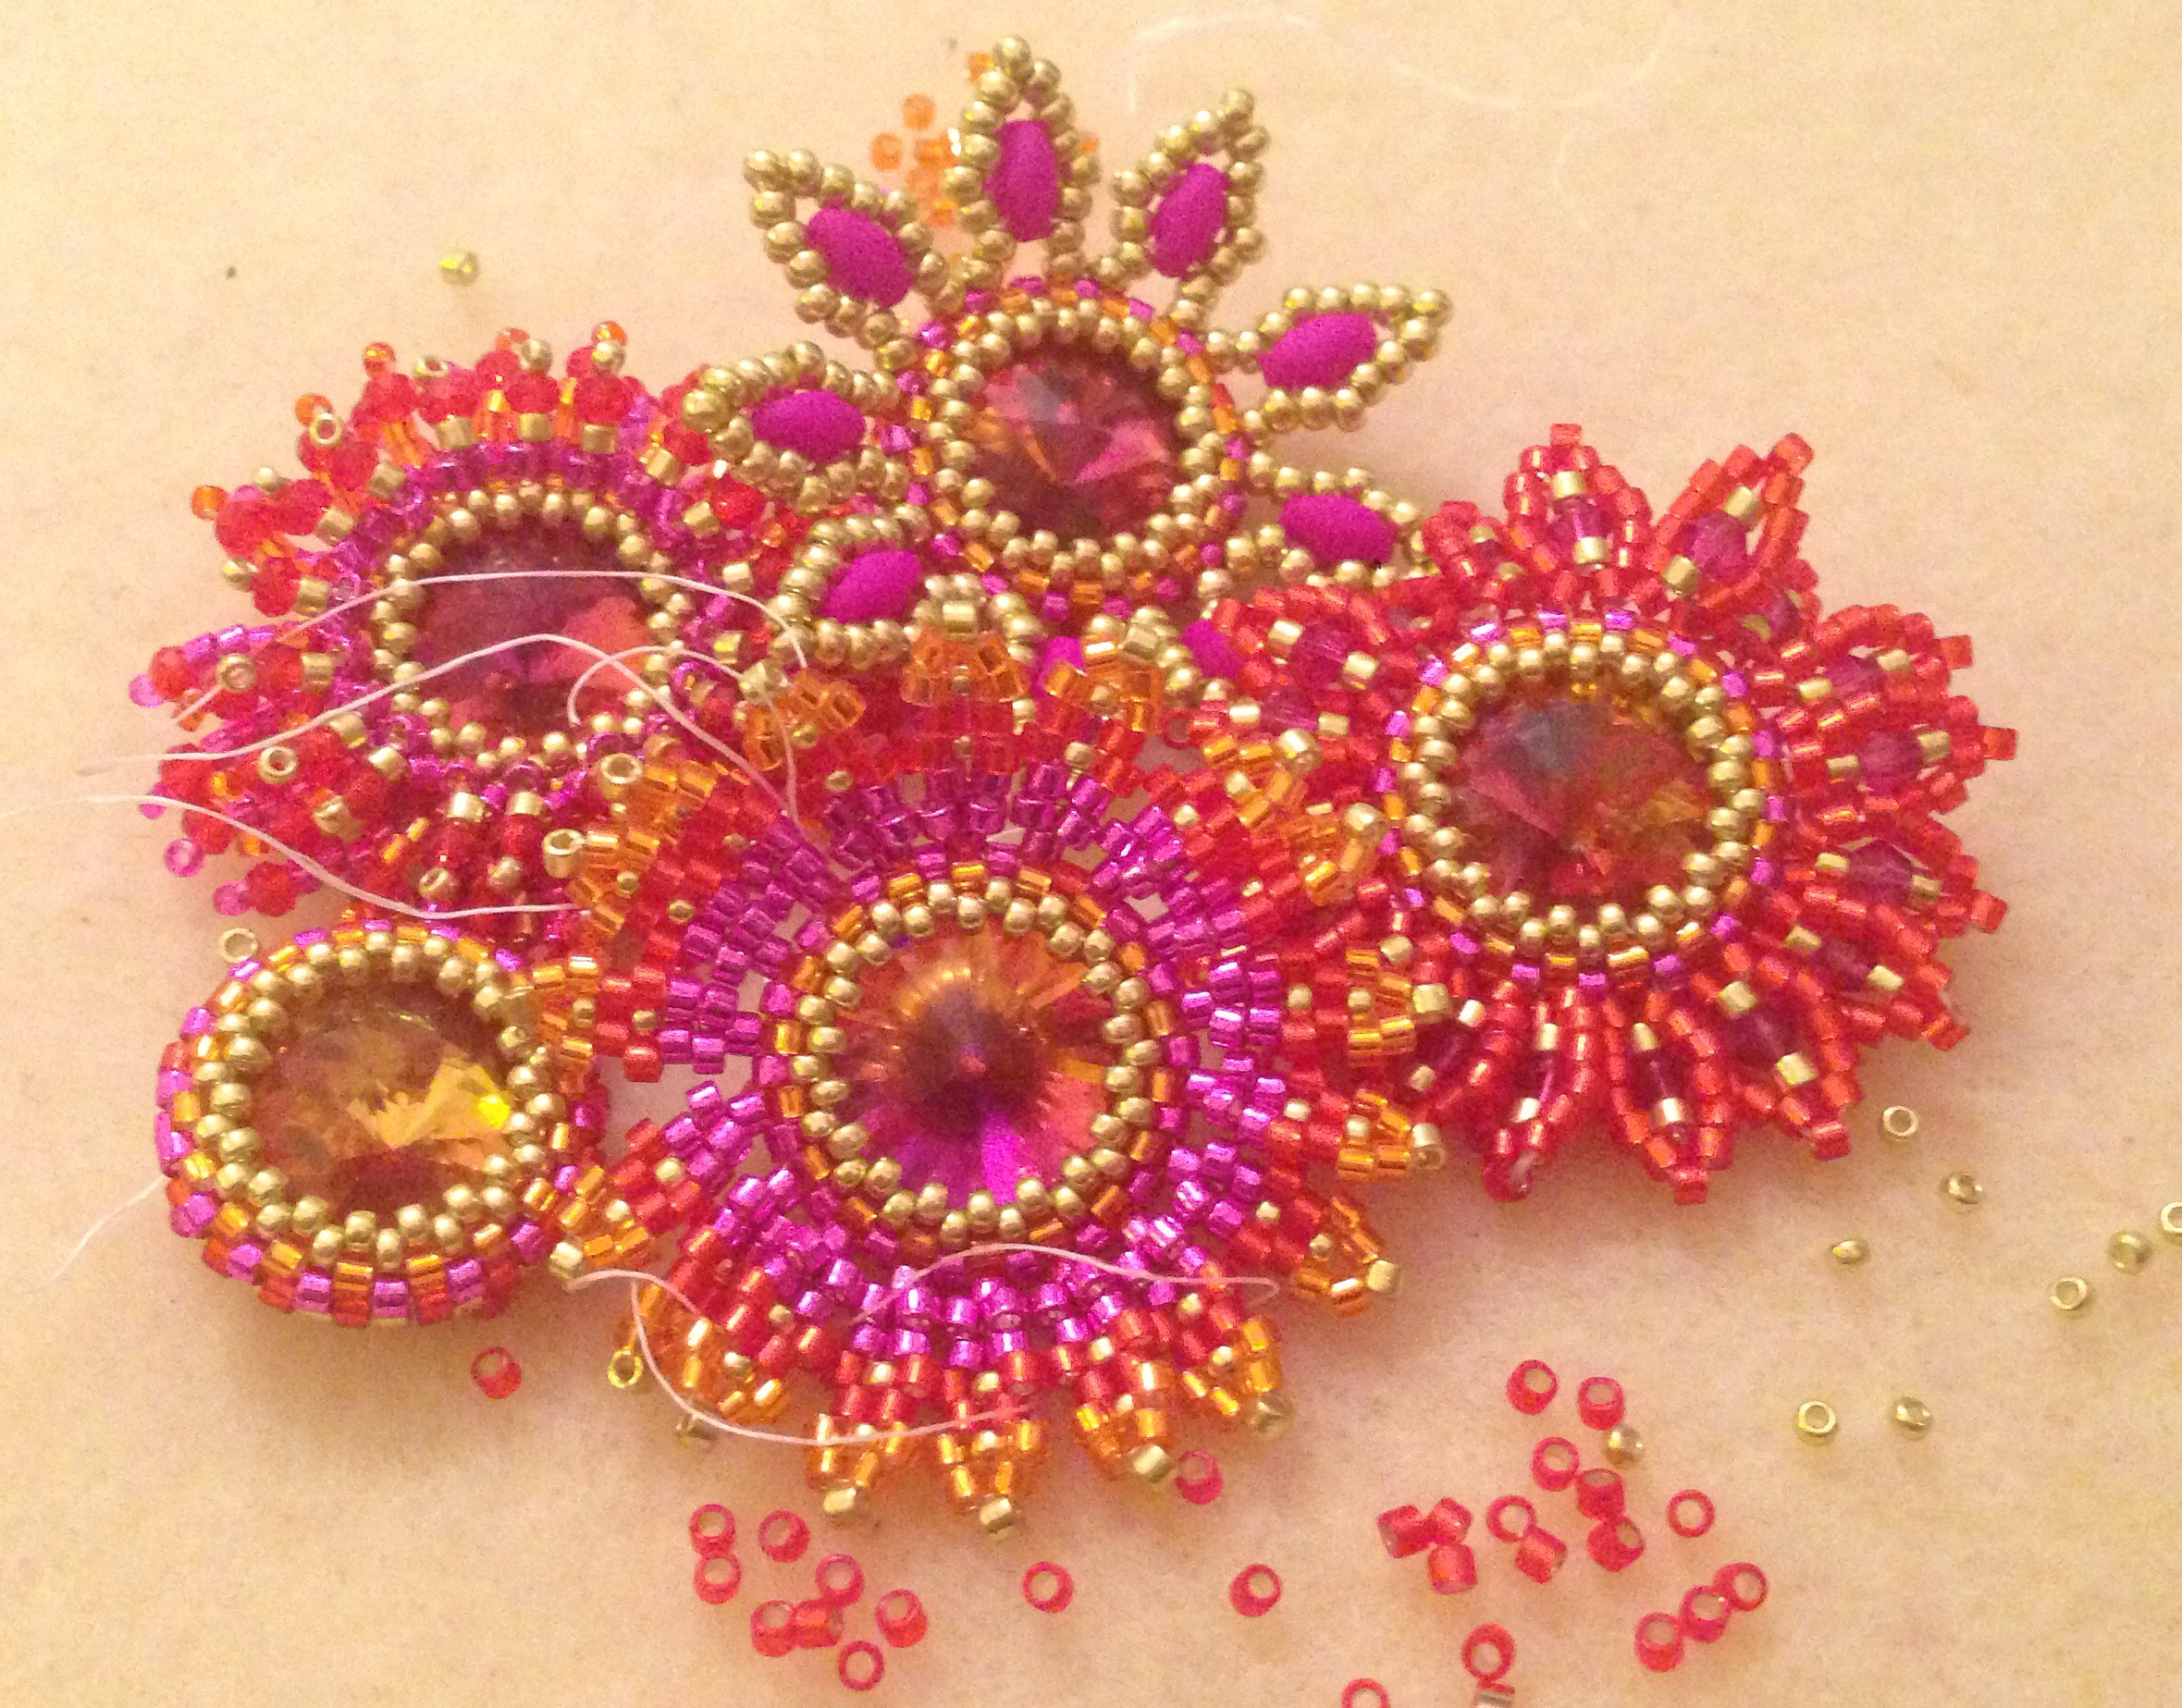
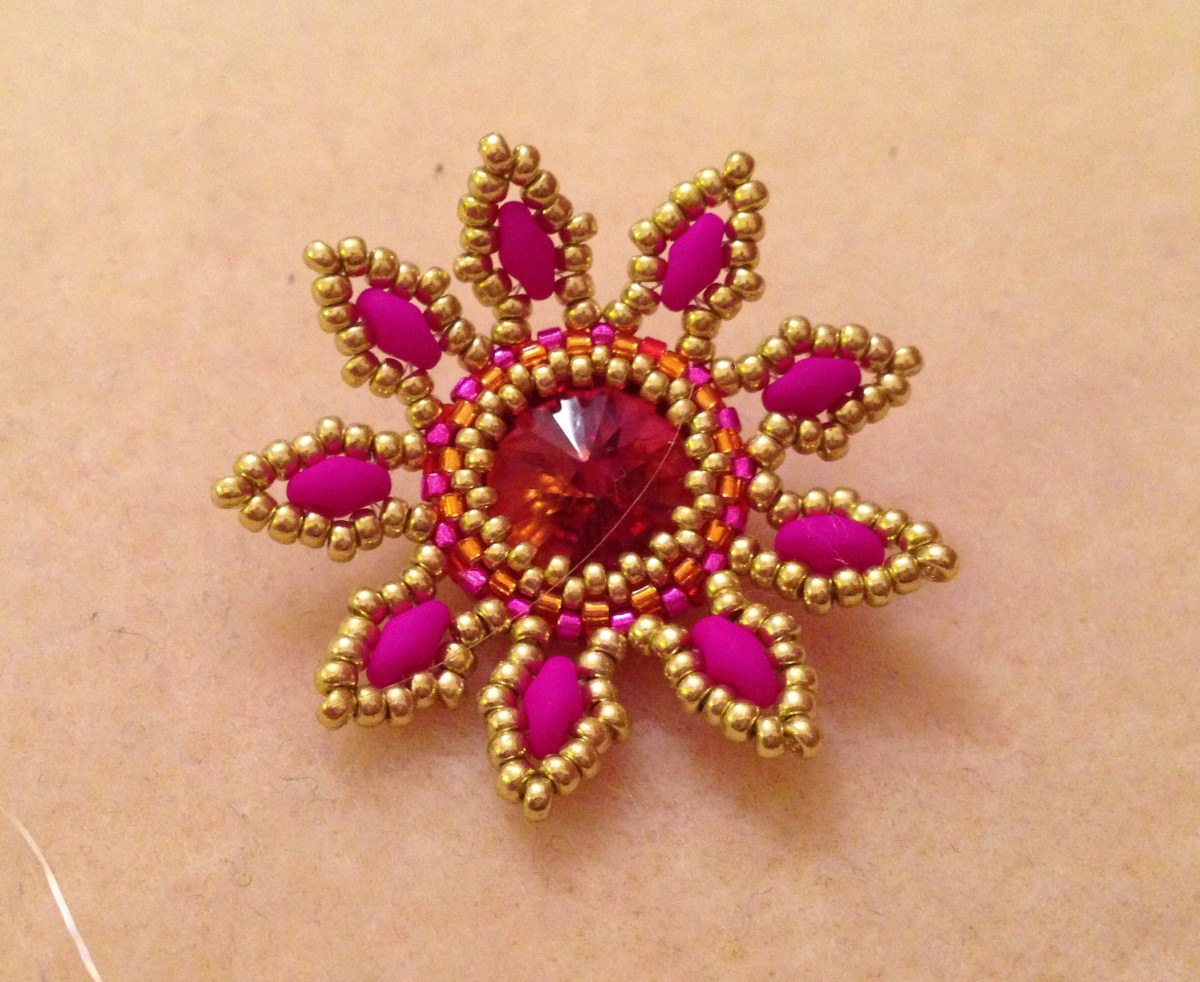
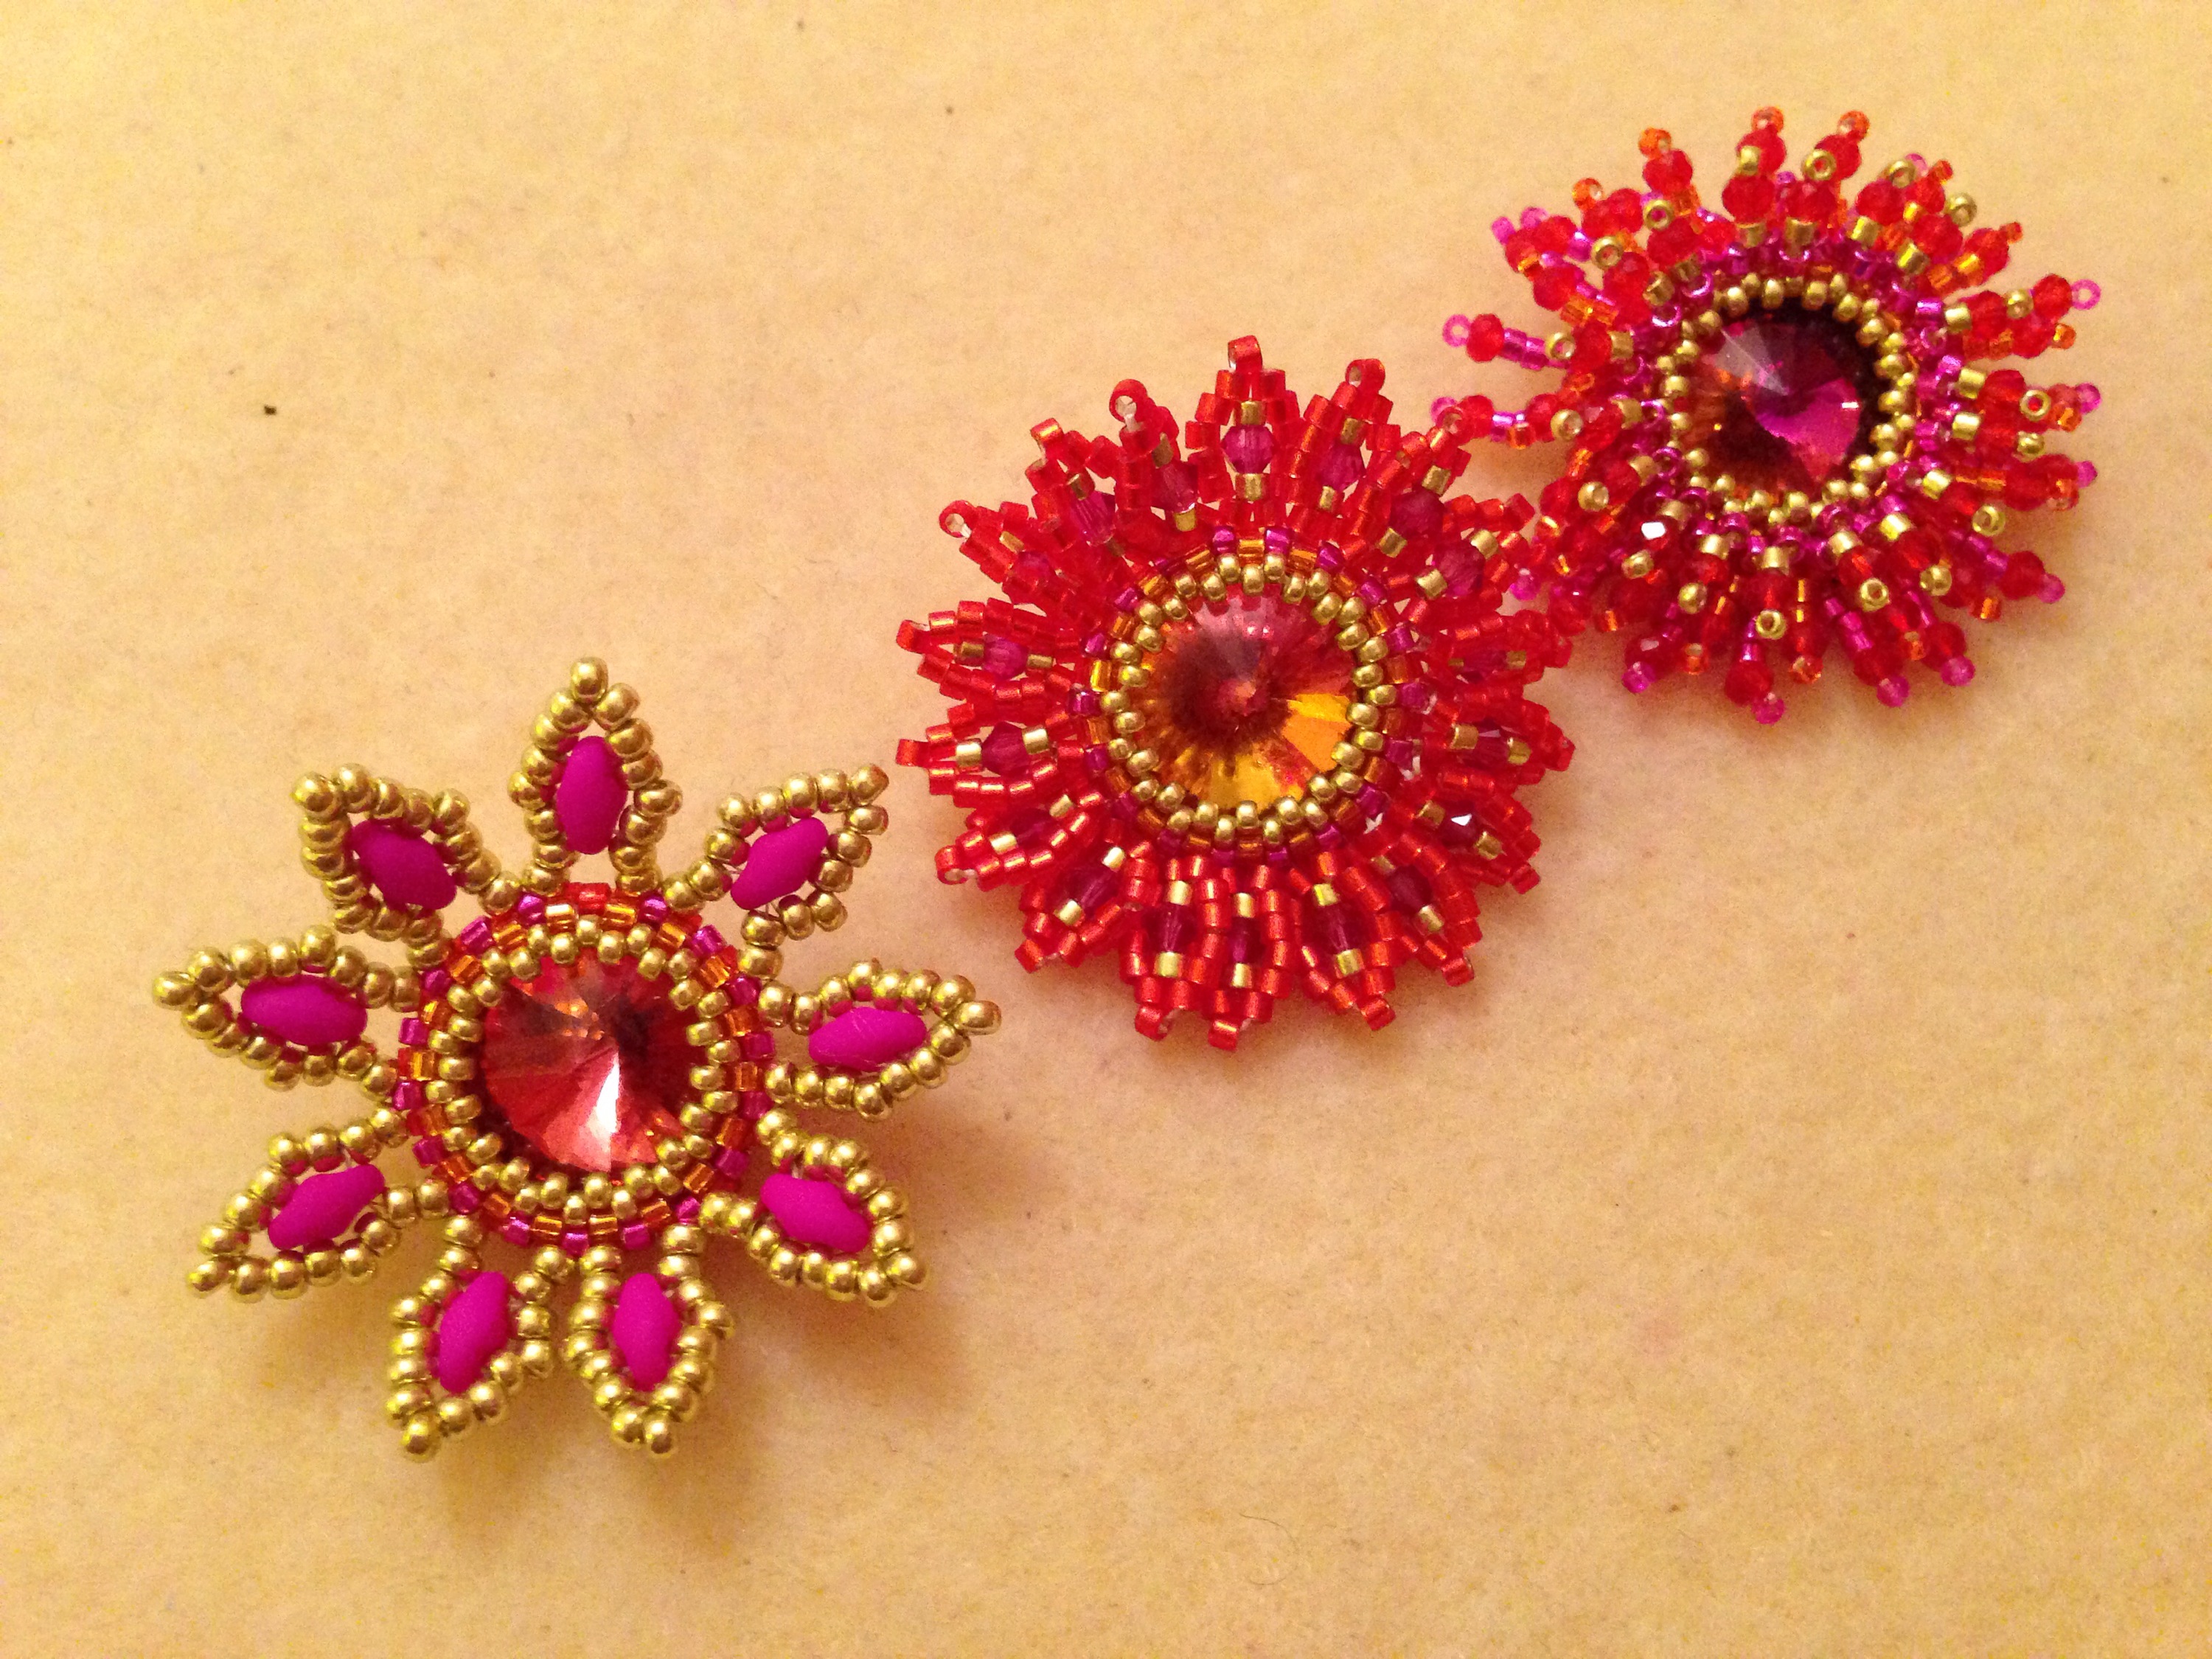
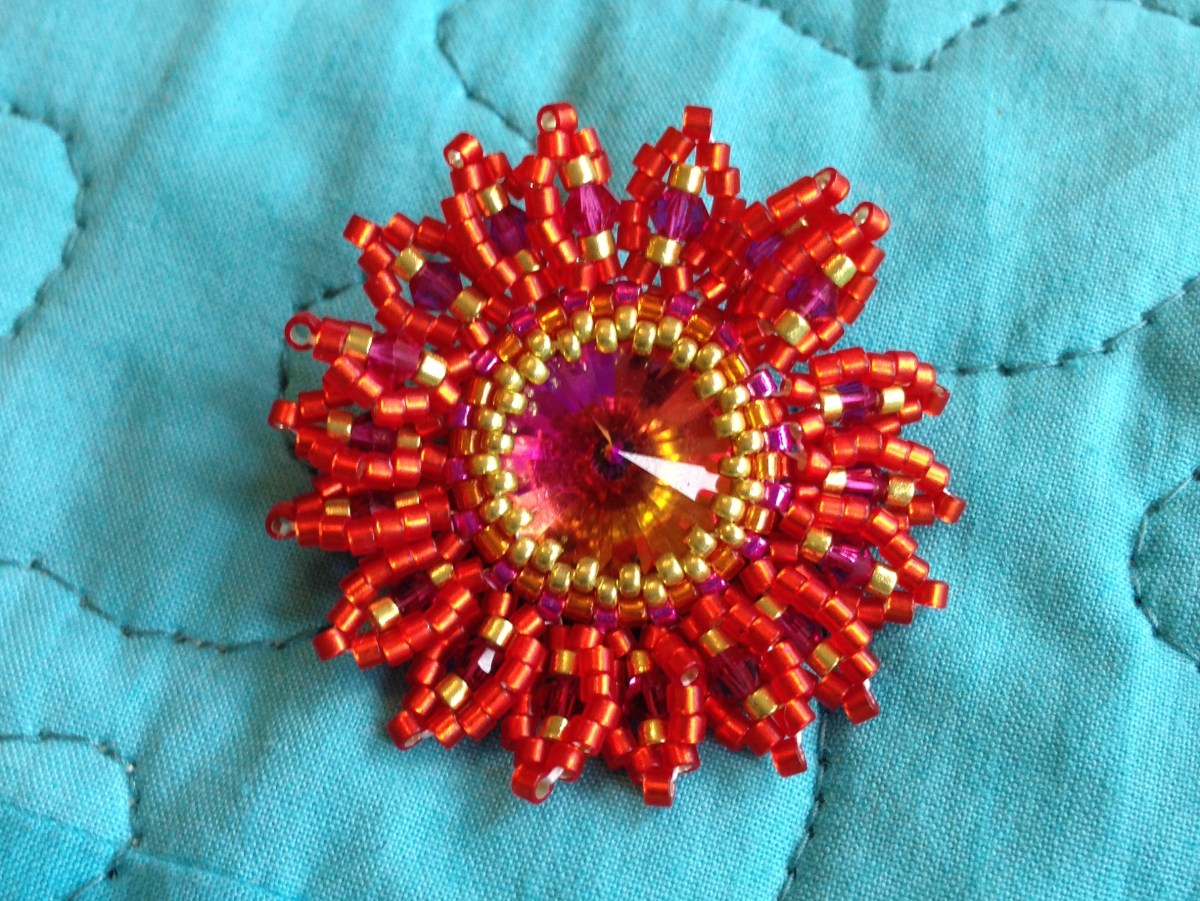
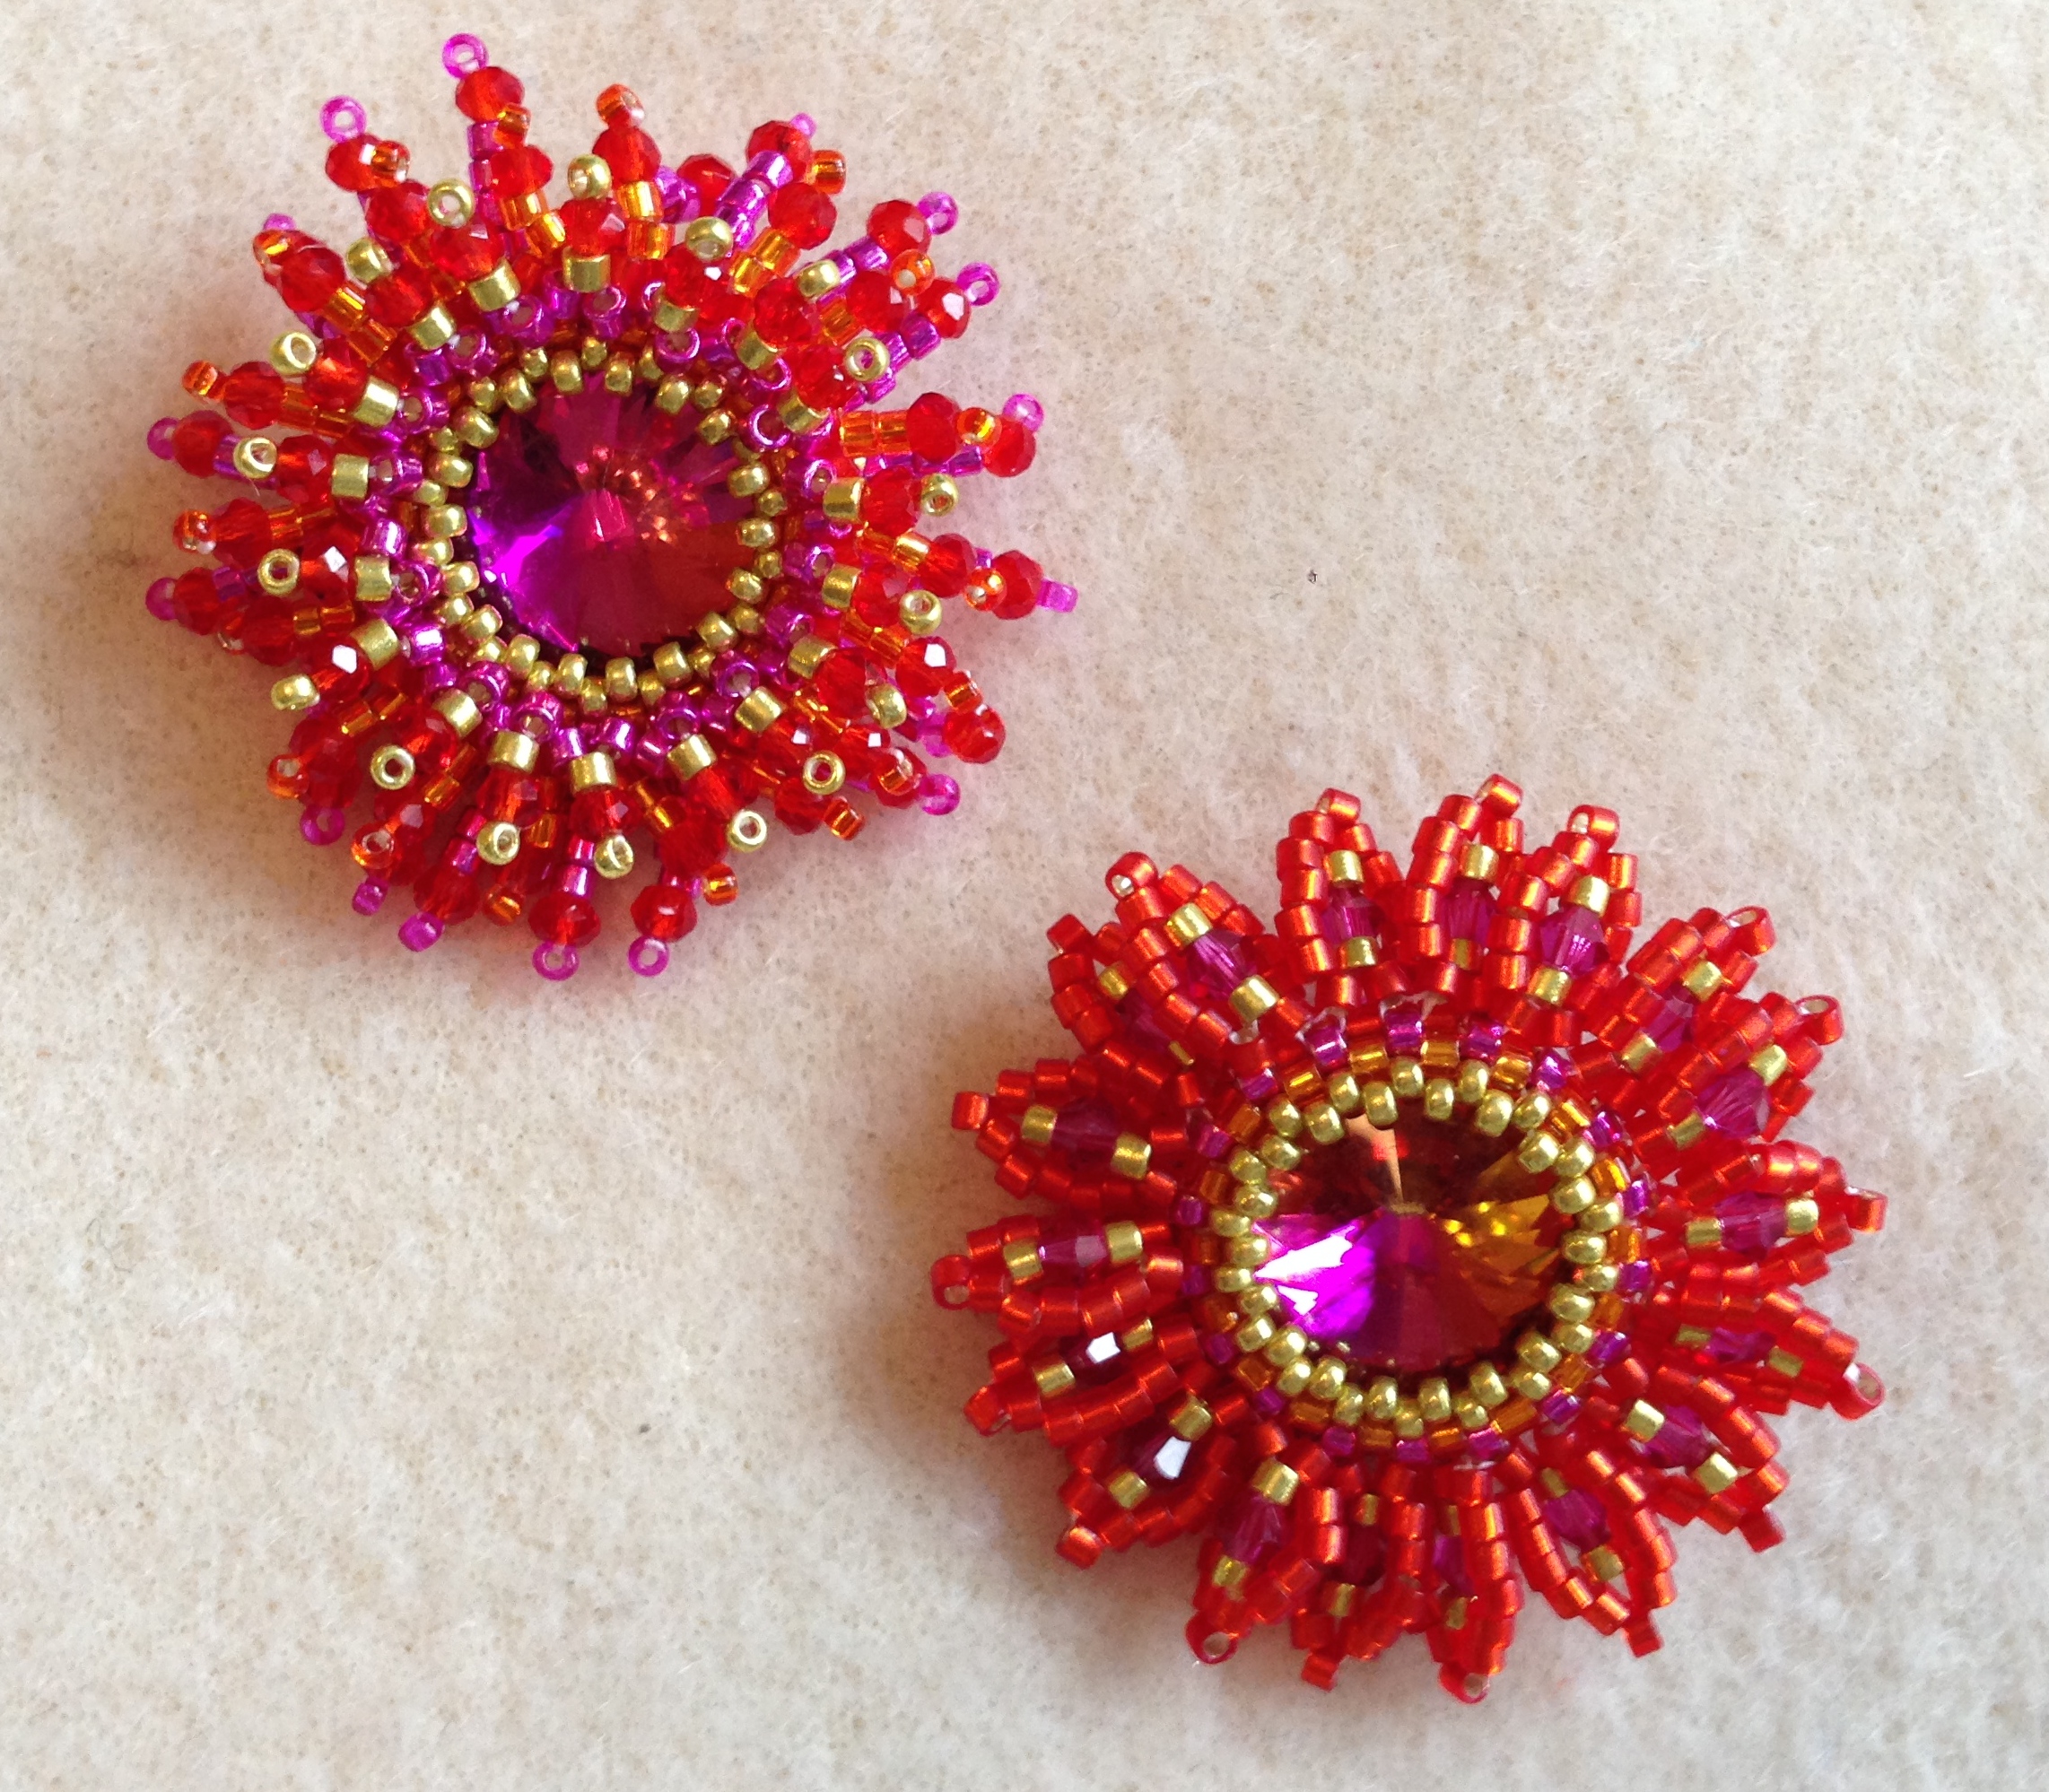
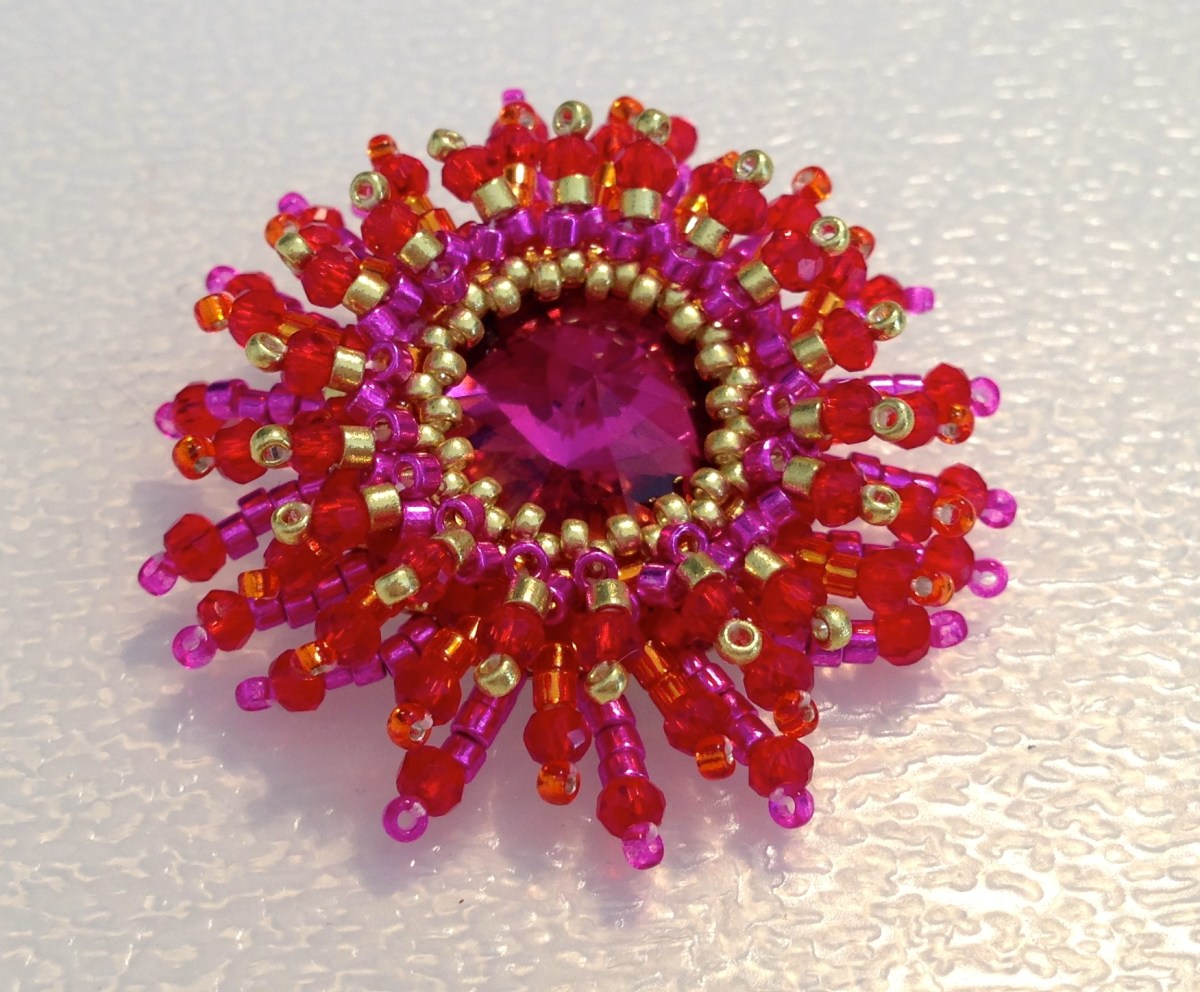
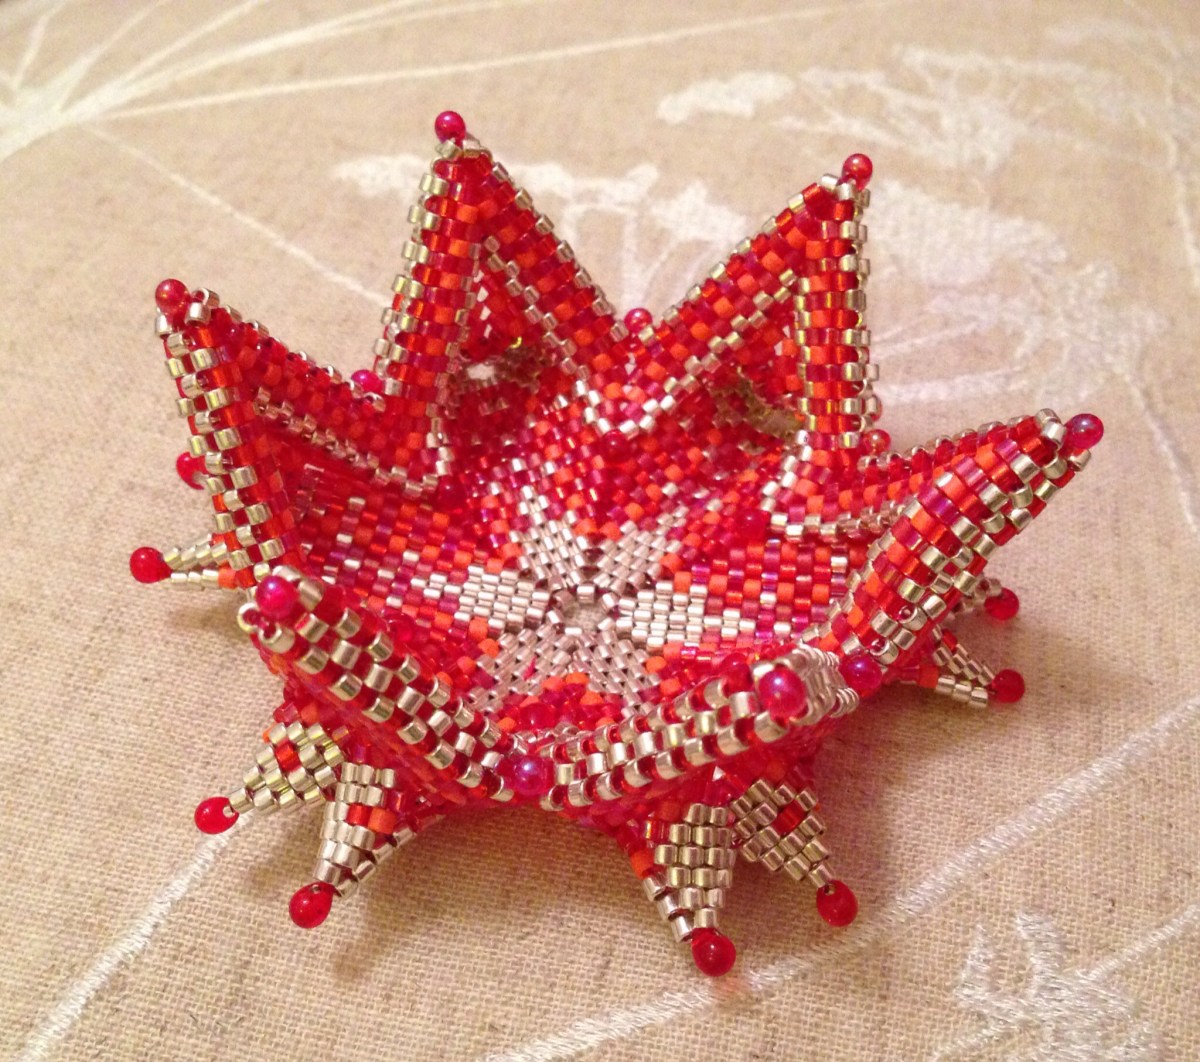
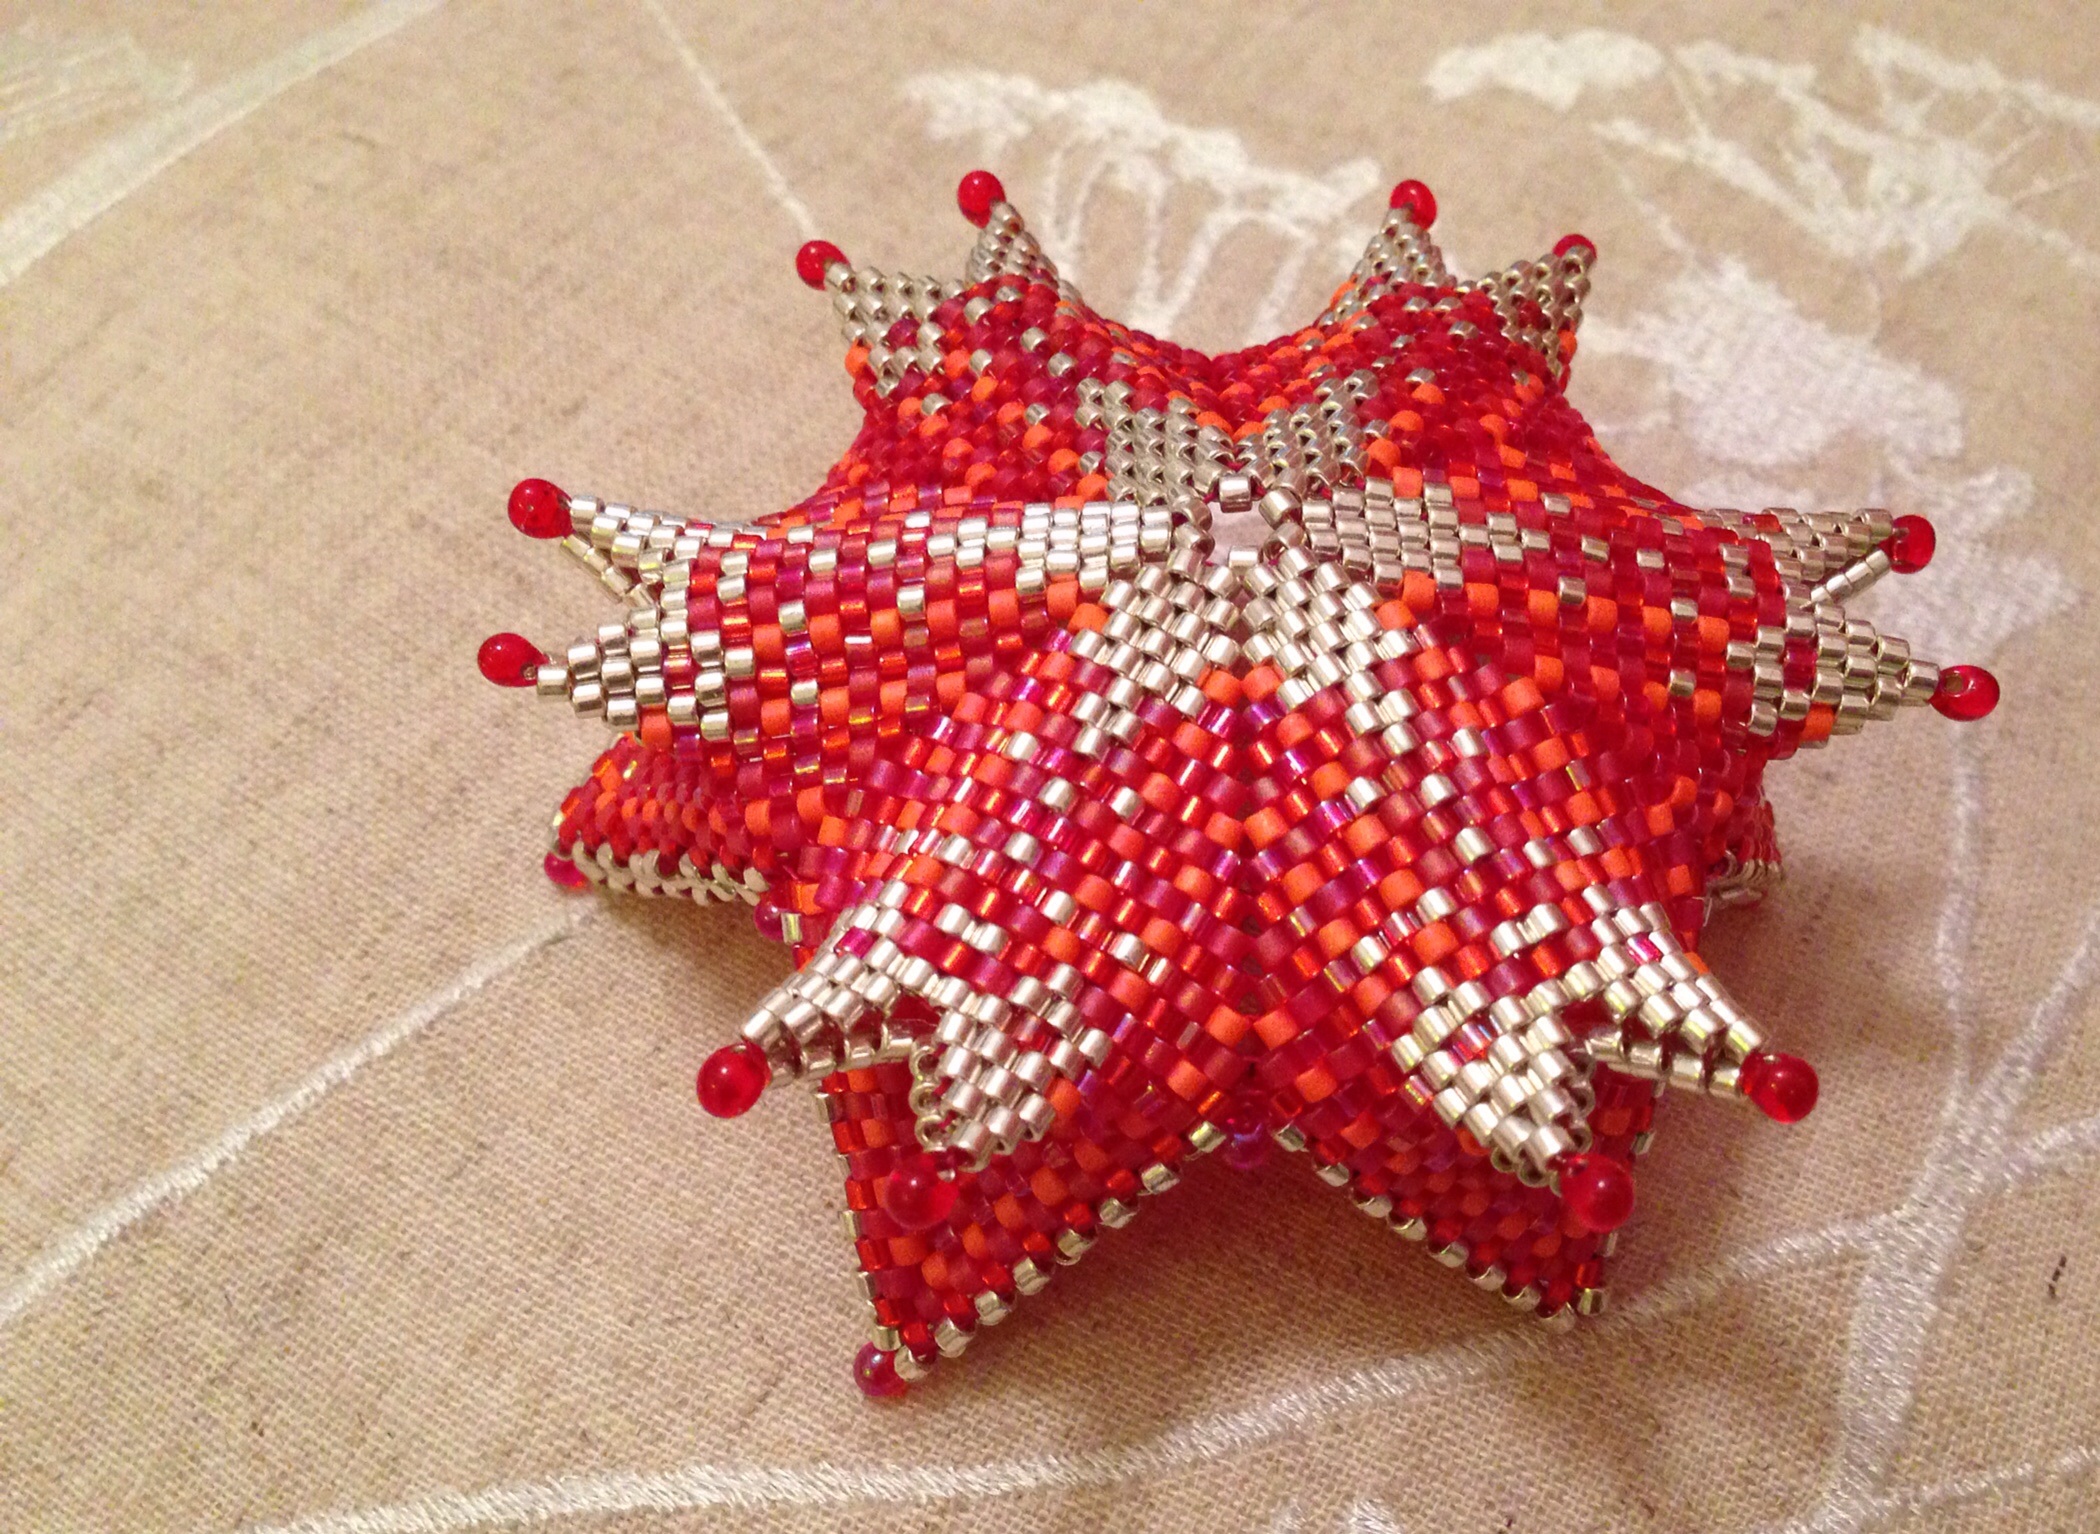
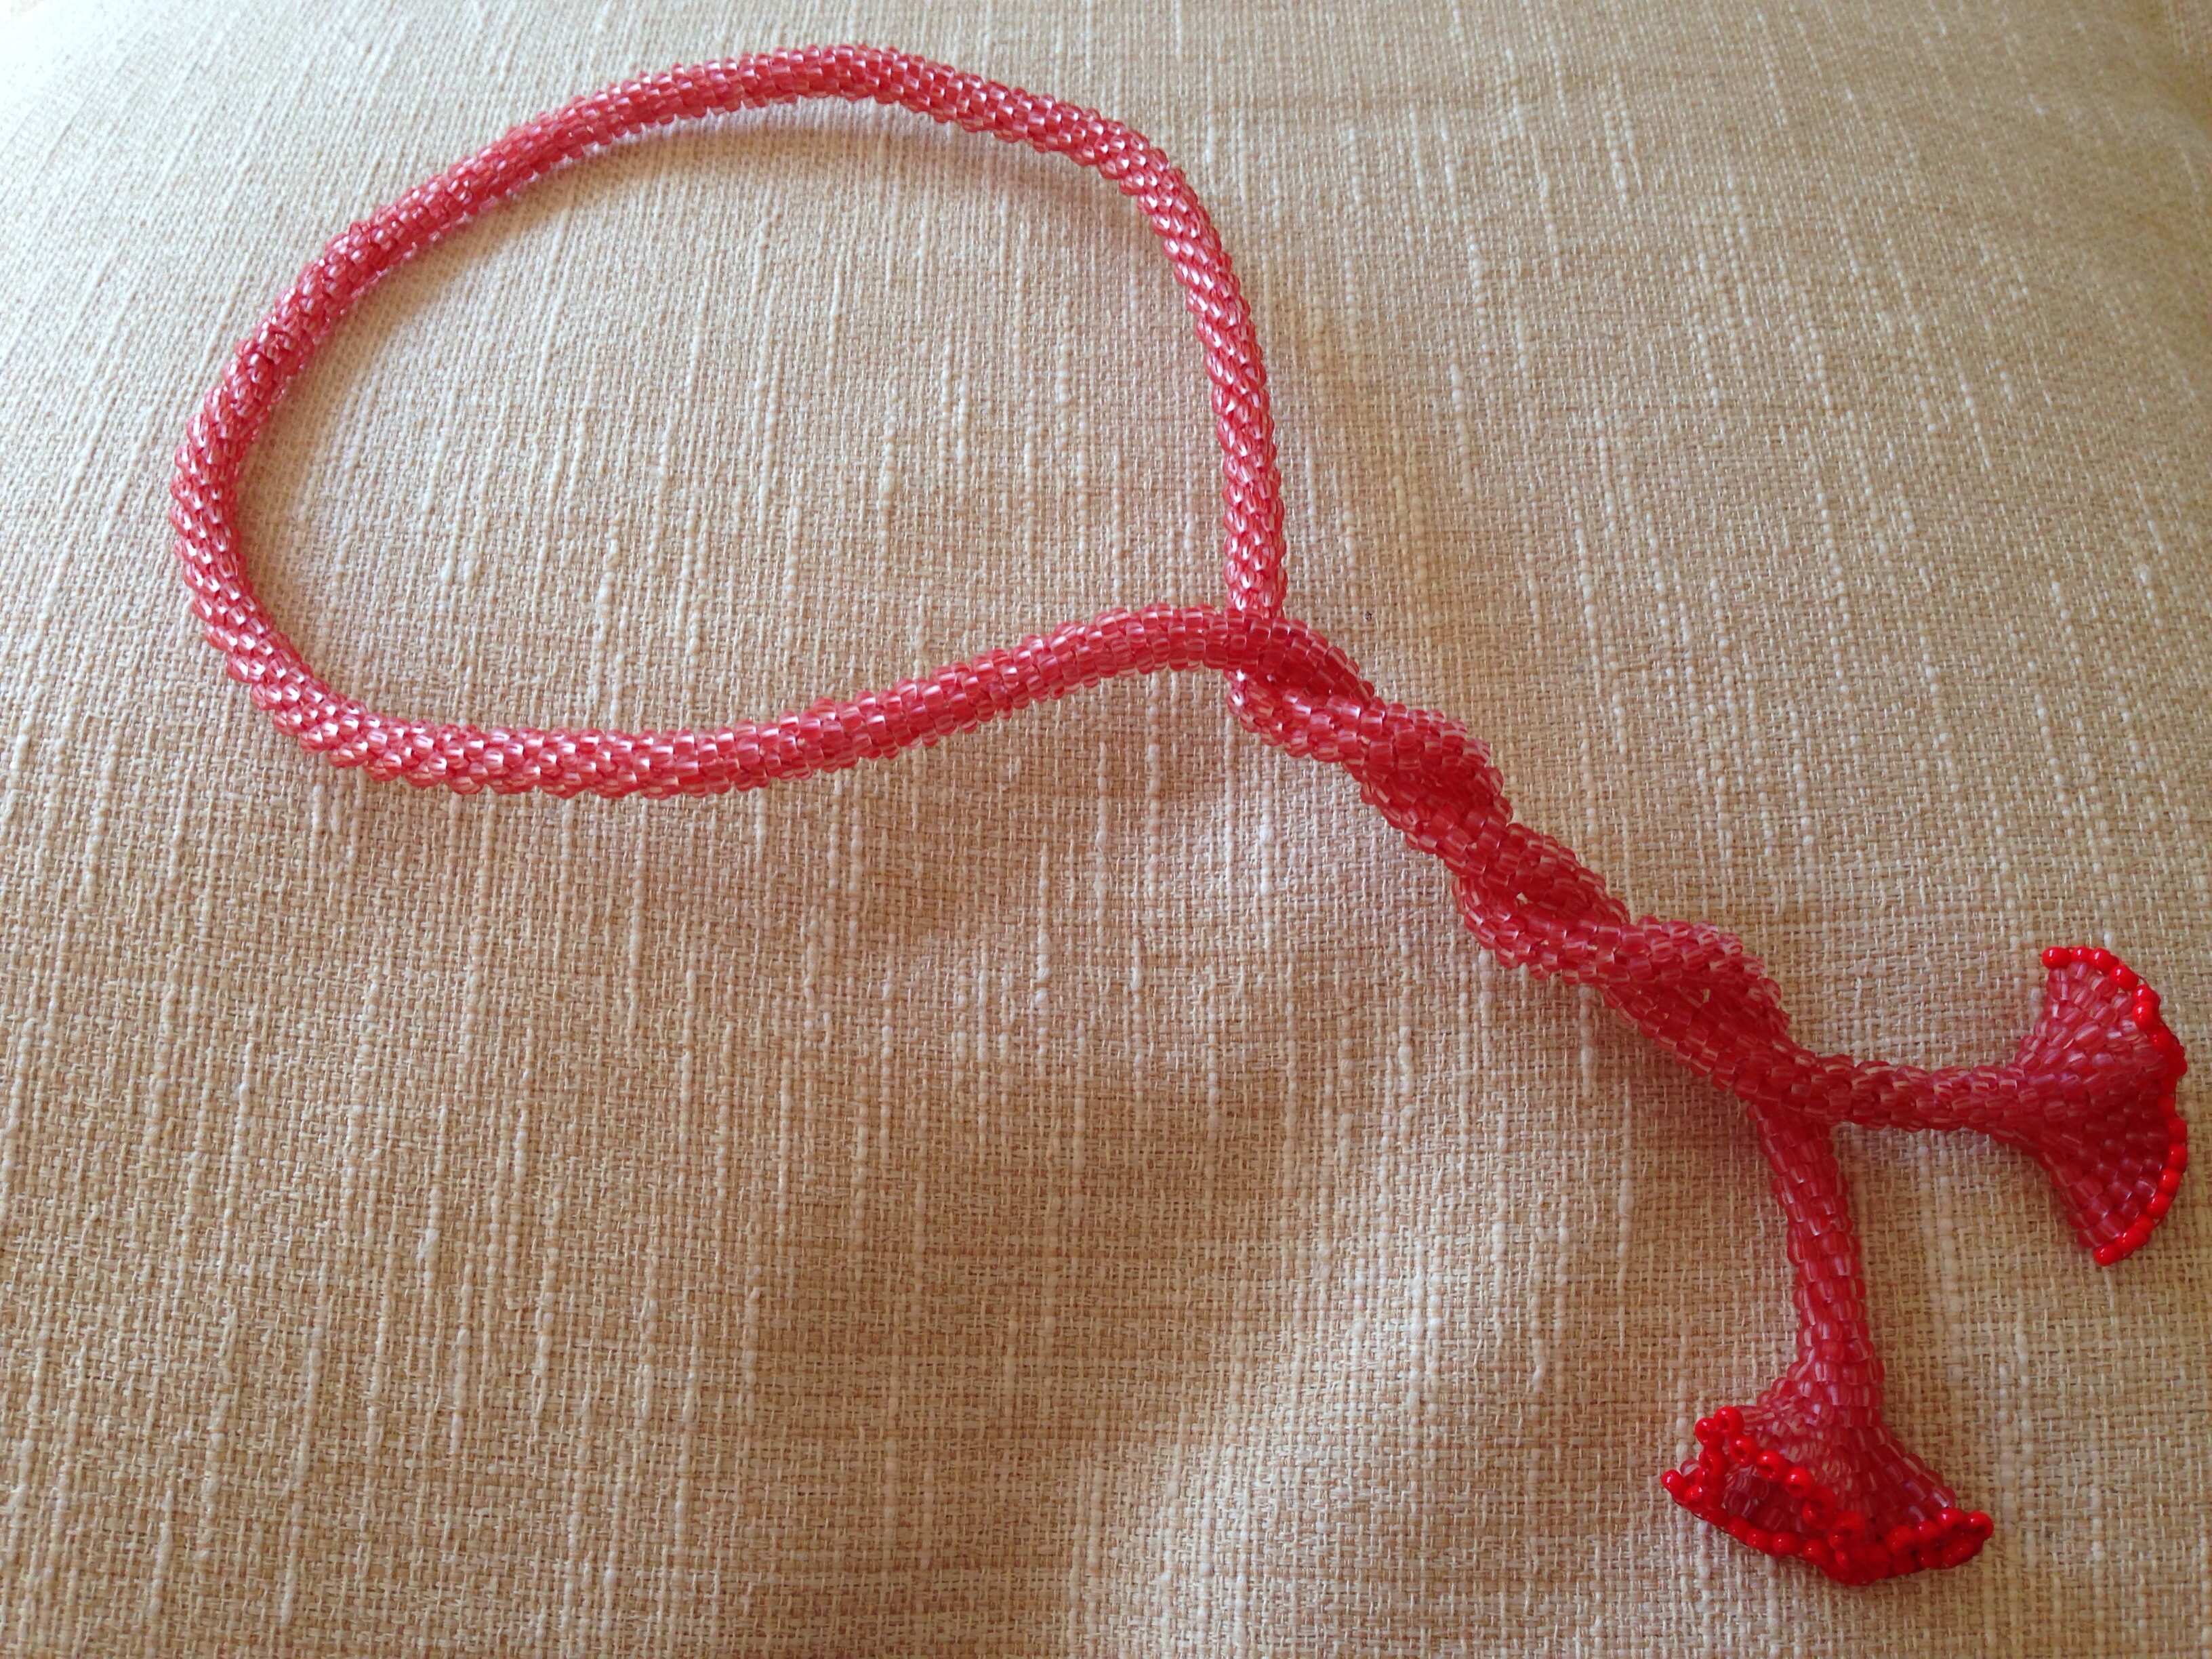
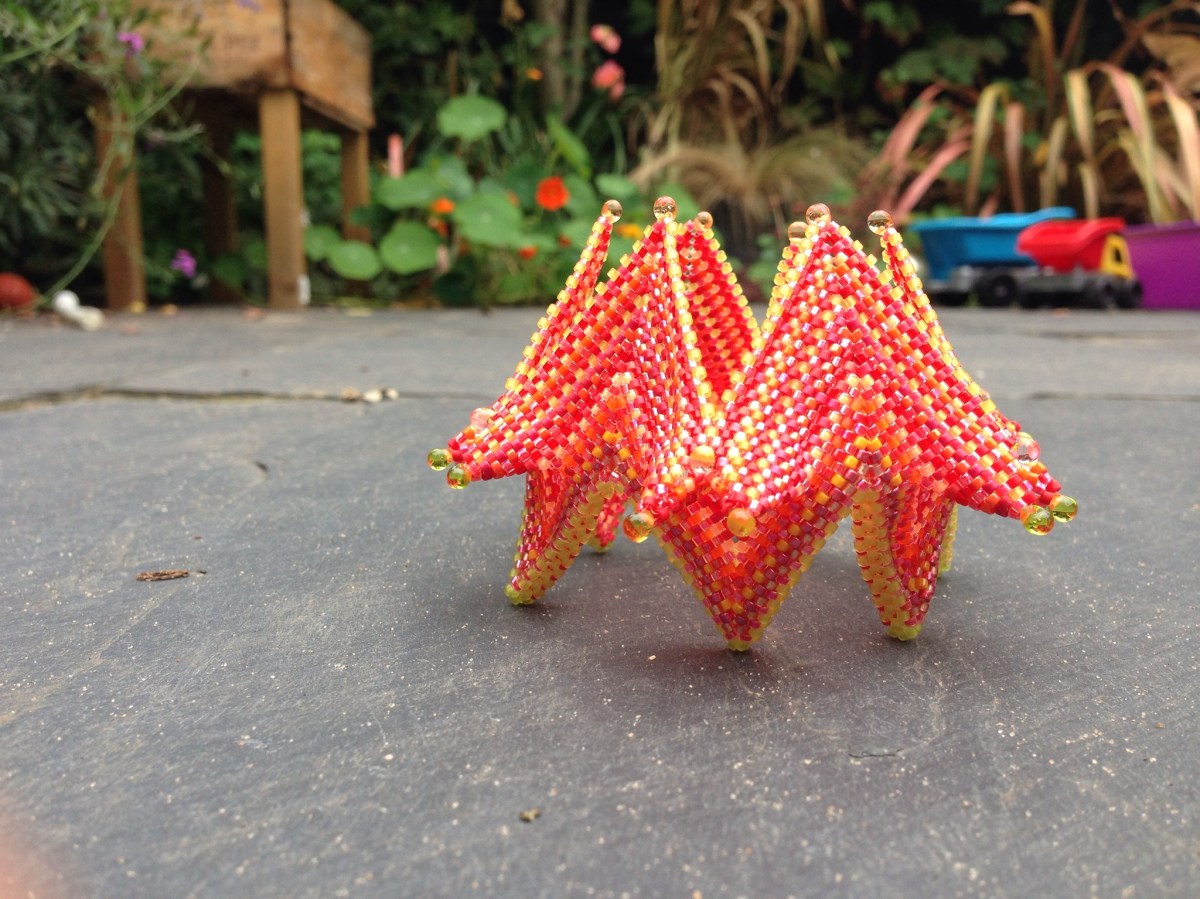
I’ve had my electronic copy of Contemporary Geometric Beadwork 2 for a few weeks now, and with the bigger boy at school  at last I felt I had the time and energy to have a go at another piece. One of the loveliest pieces in book 1 was the Fortuneteller, and with lots of lovely examples in book 2 I felt inspired. It’s gone together very nicely (they really are deceptively simple designs in the end) and I’m really rather pleased with it.

image

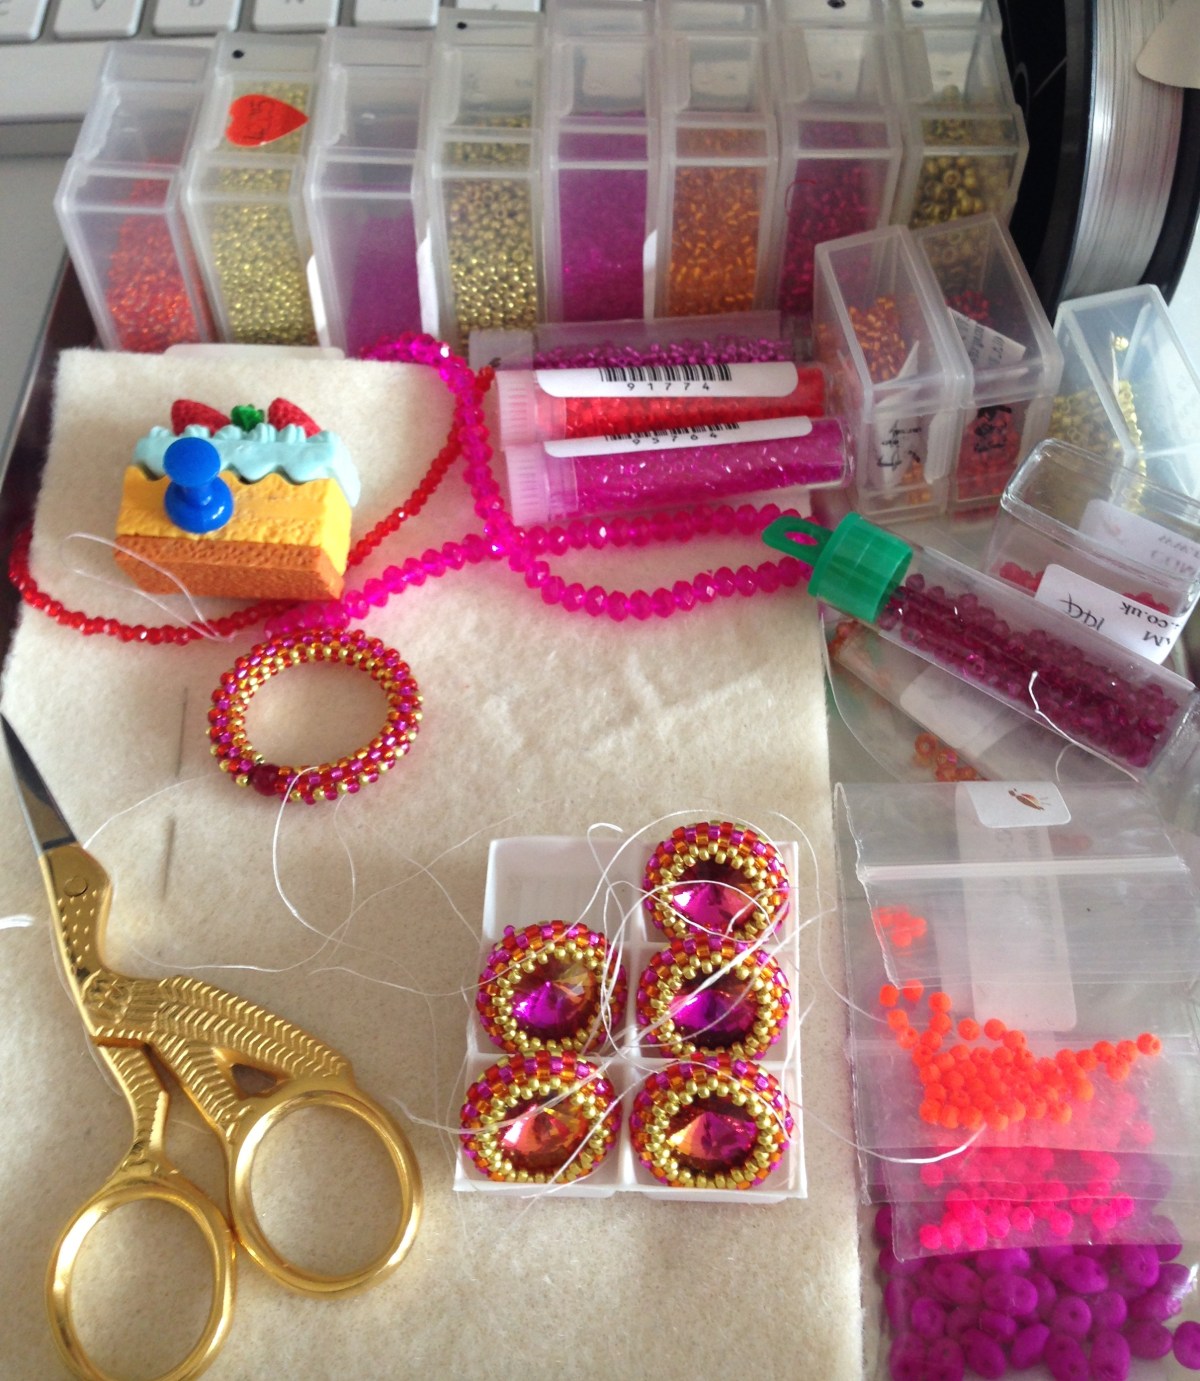
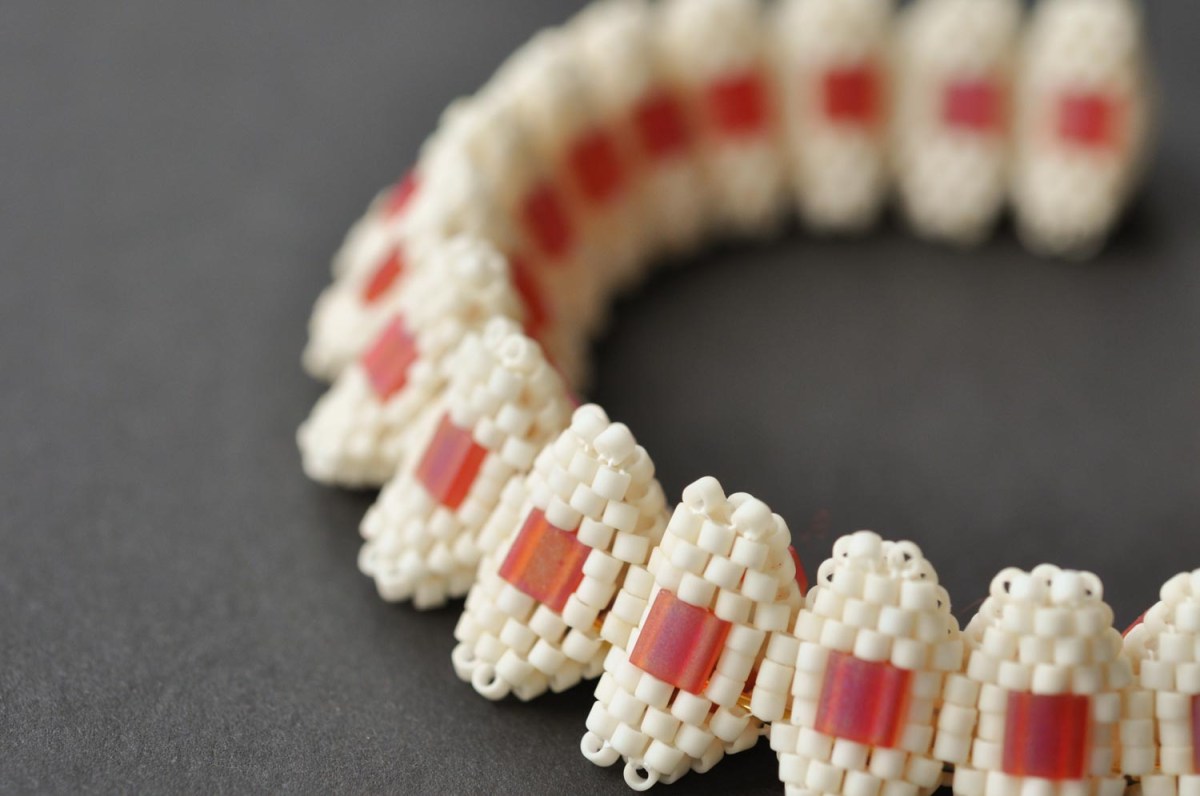
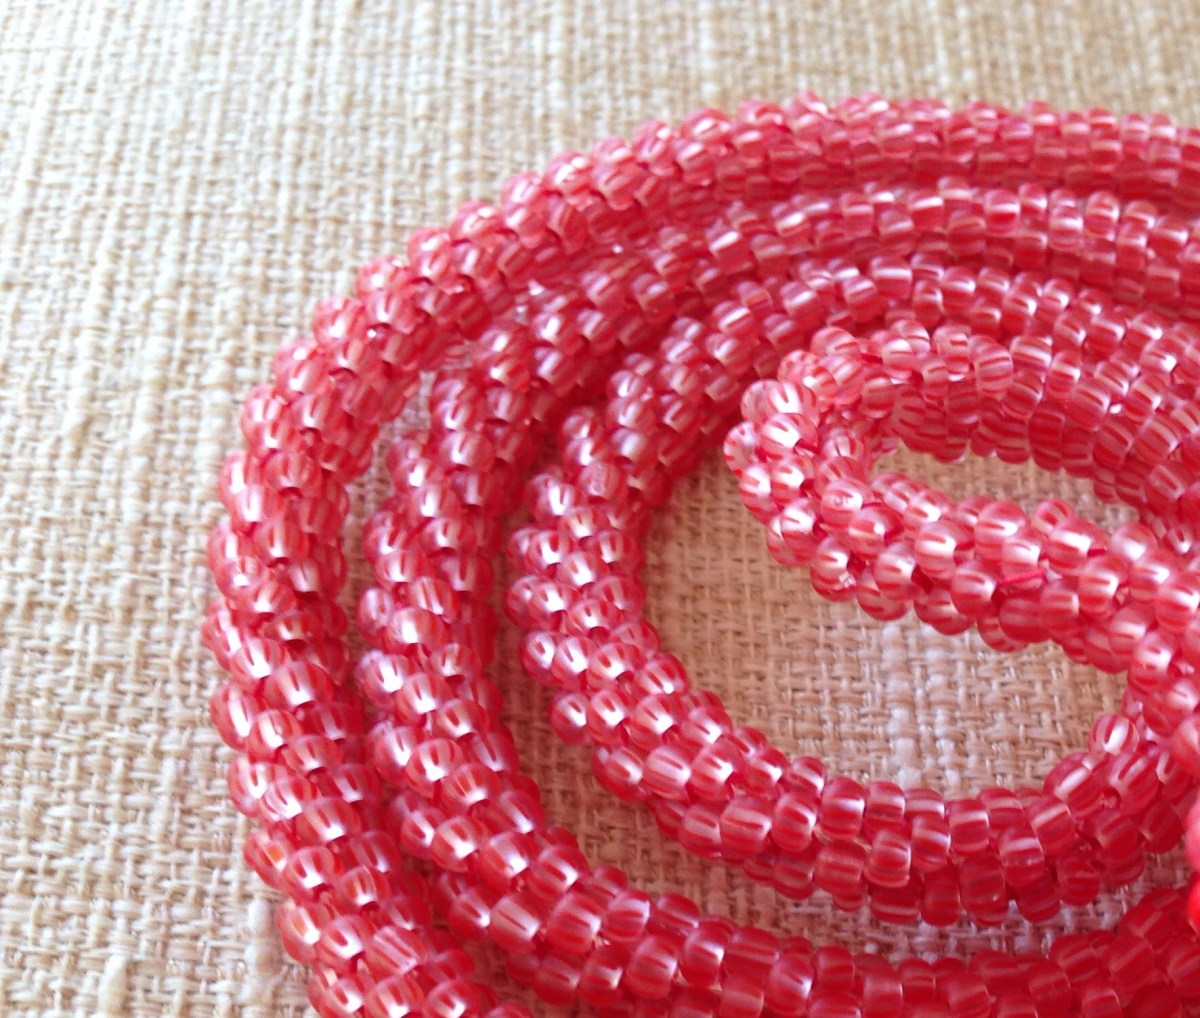
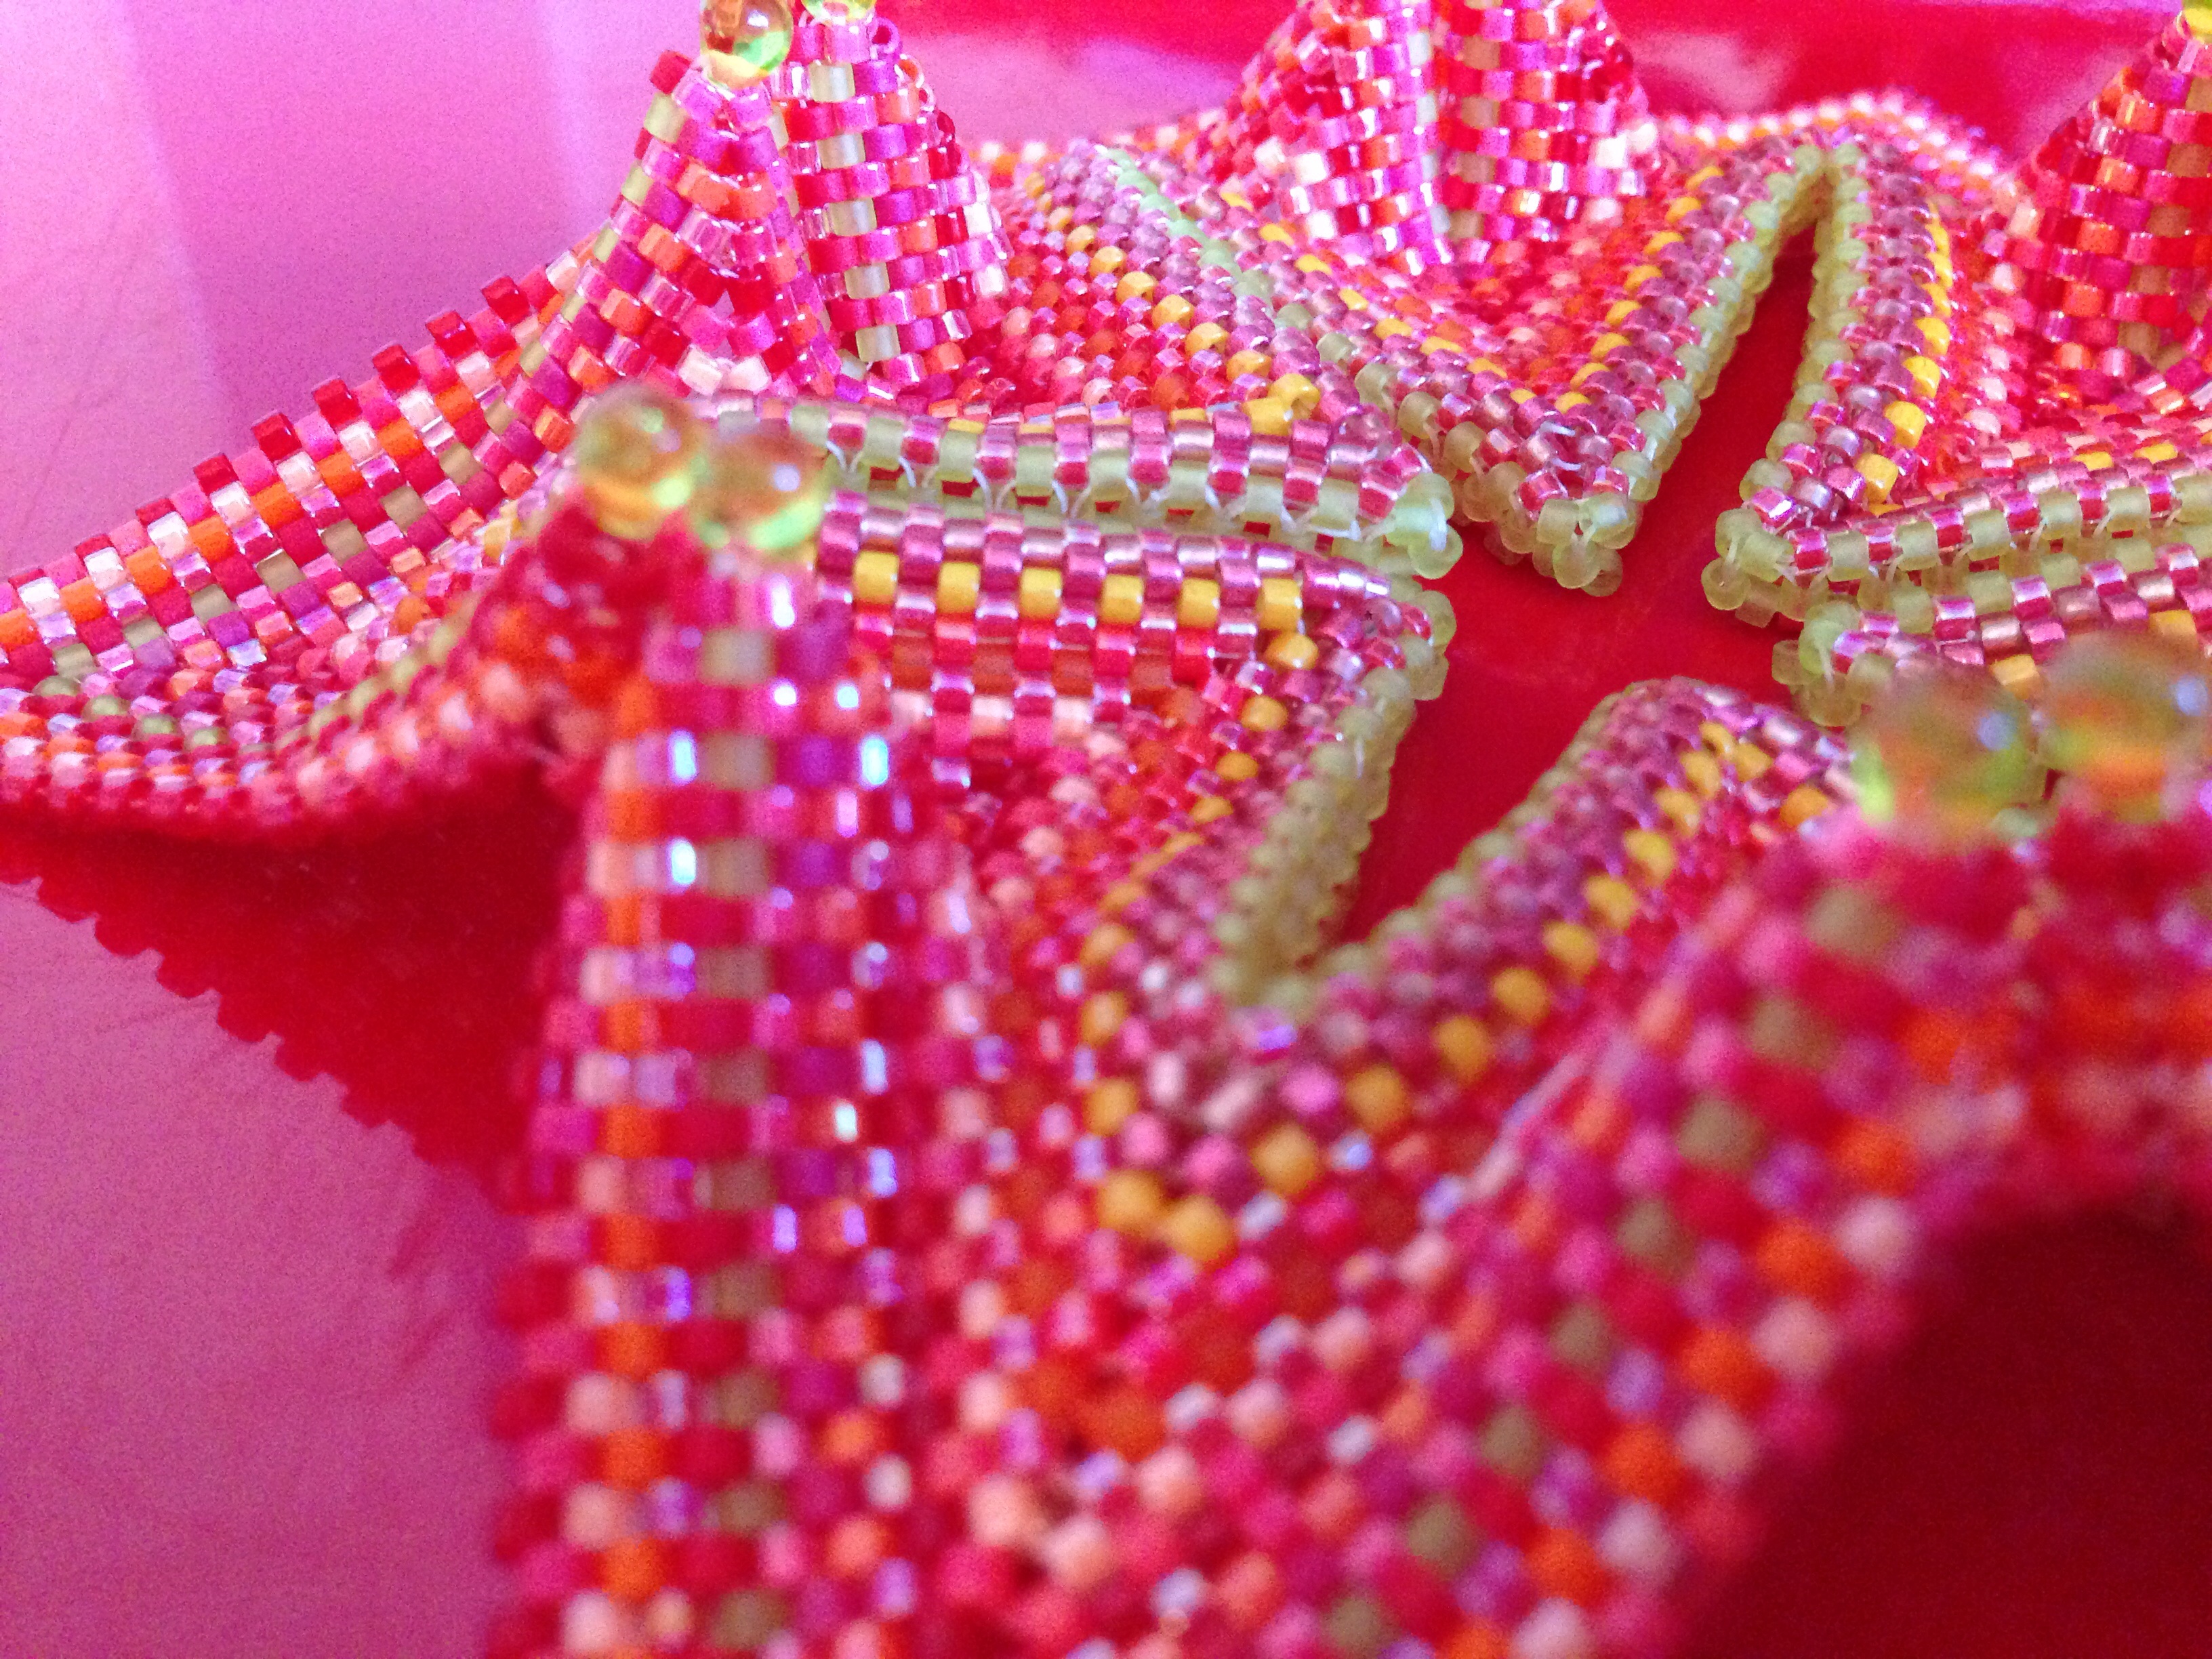
I used a variety of shades of red, orange, salmon and peach delicas, including two of the newish luminous colours. In natural light the finished piece is very bright, but the yellow tones of artificial light do quieten it a bit.  Apologies for the failure to take photos in progress, but I don’t get much chance to get at my beads in daylight……

Babies and beading don't mix
Recipe
29g of delicas in around 15 different shades of salmon, red, orange, peach, yellow and pink, including luminous, mattes, metallics and transparents.  24 Miyuki drops (various colours, taken from a mix).

image

Tips & variations
I made their ‘small’ which is only just large enough. However I do expect it to stretch a bit in wear so I’d say this should be perfect. Their small is six repeats of the zigged band with 10 units on each side of the zig. My knuckles measure 21cm round.
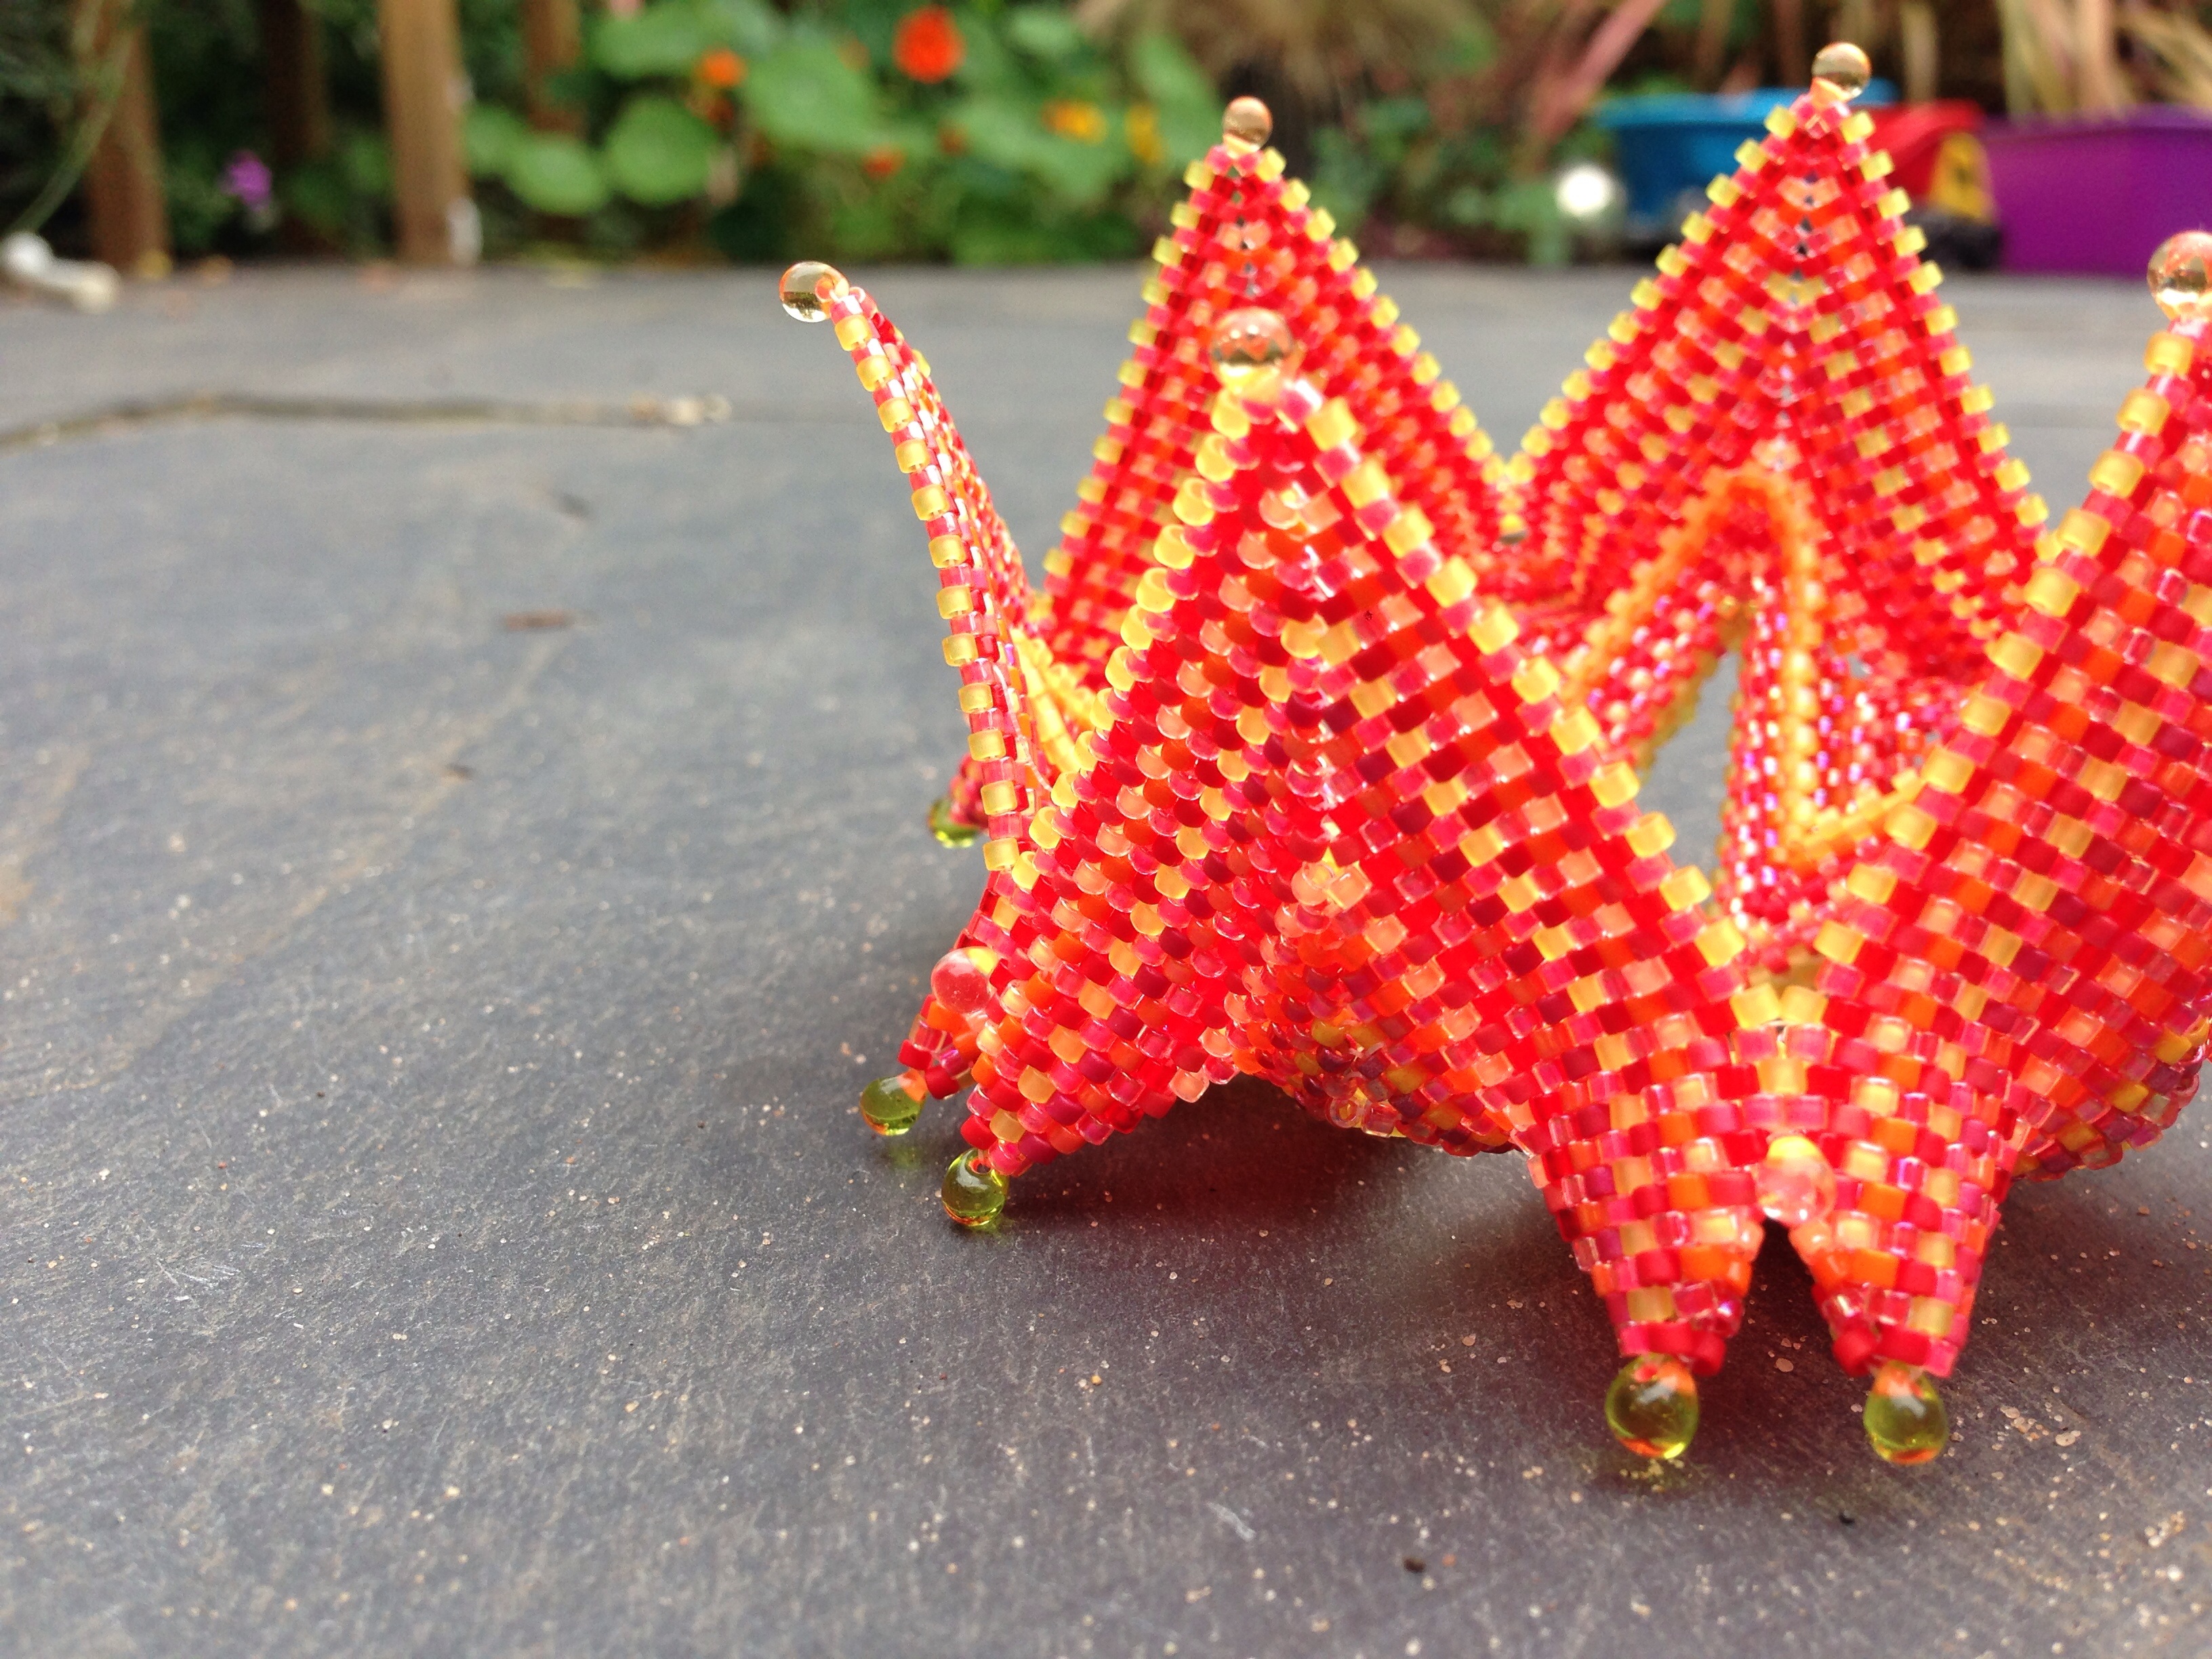
I had a little trouble following the instructions towards the end so I ended up simply adding a drop to what I felt was roughly the right place, and zipping 3 beads only Jean Power style,  which gave about the same look, avoided making it any smaller and seems fine to me.
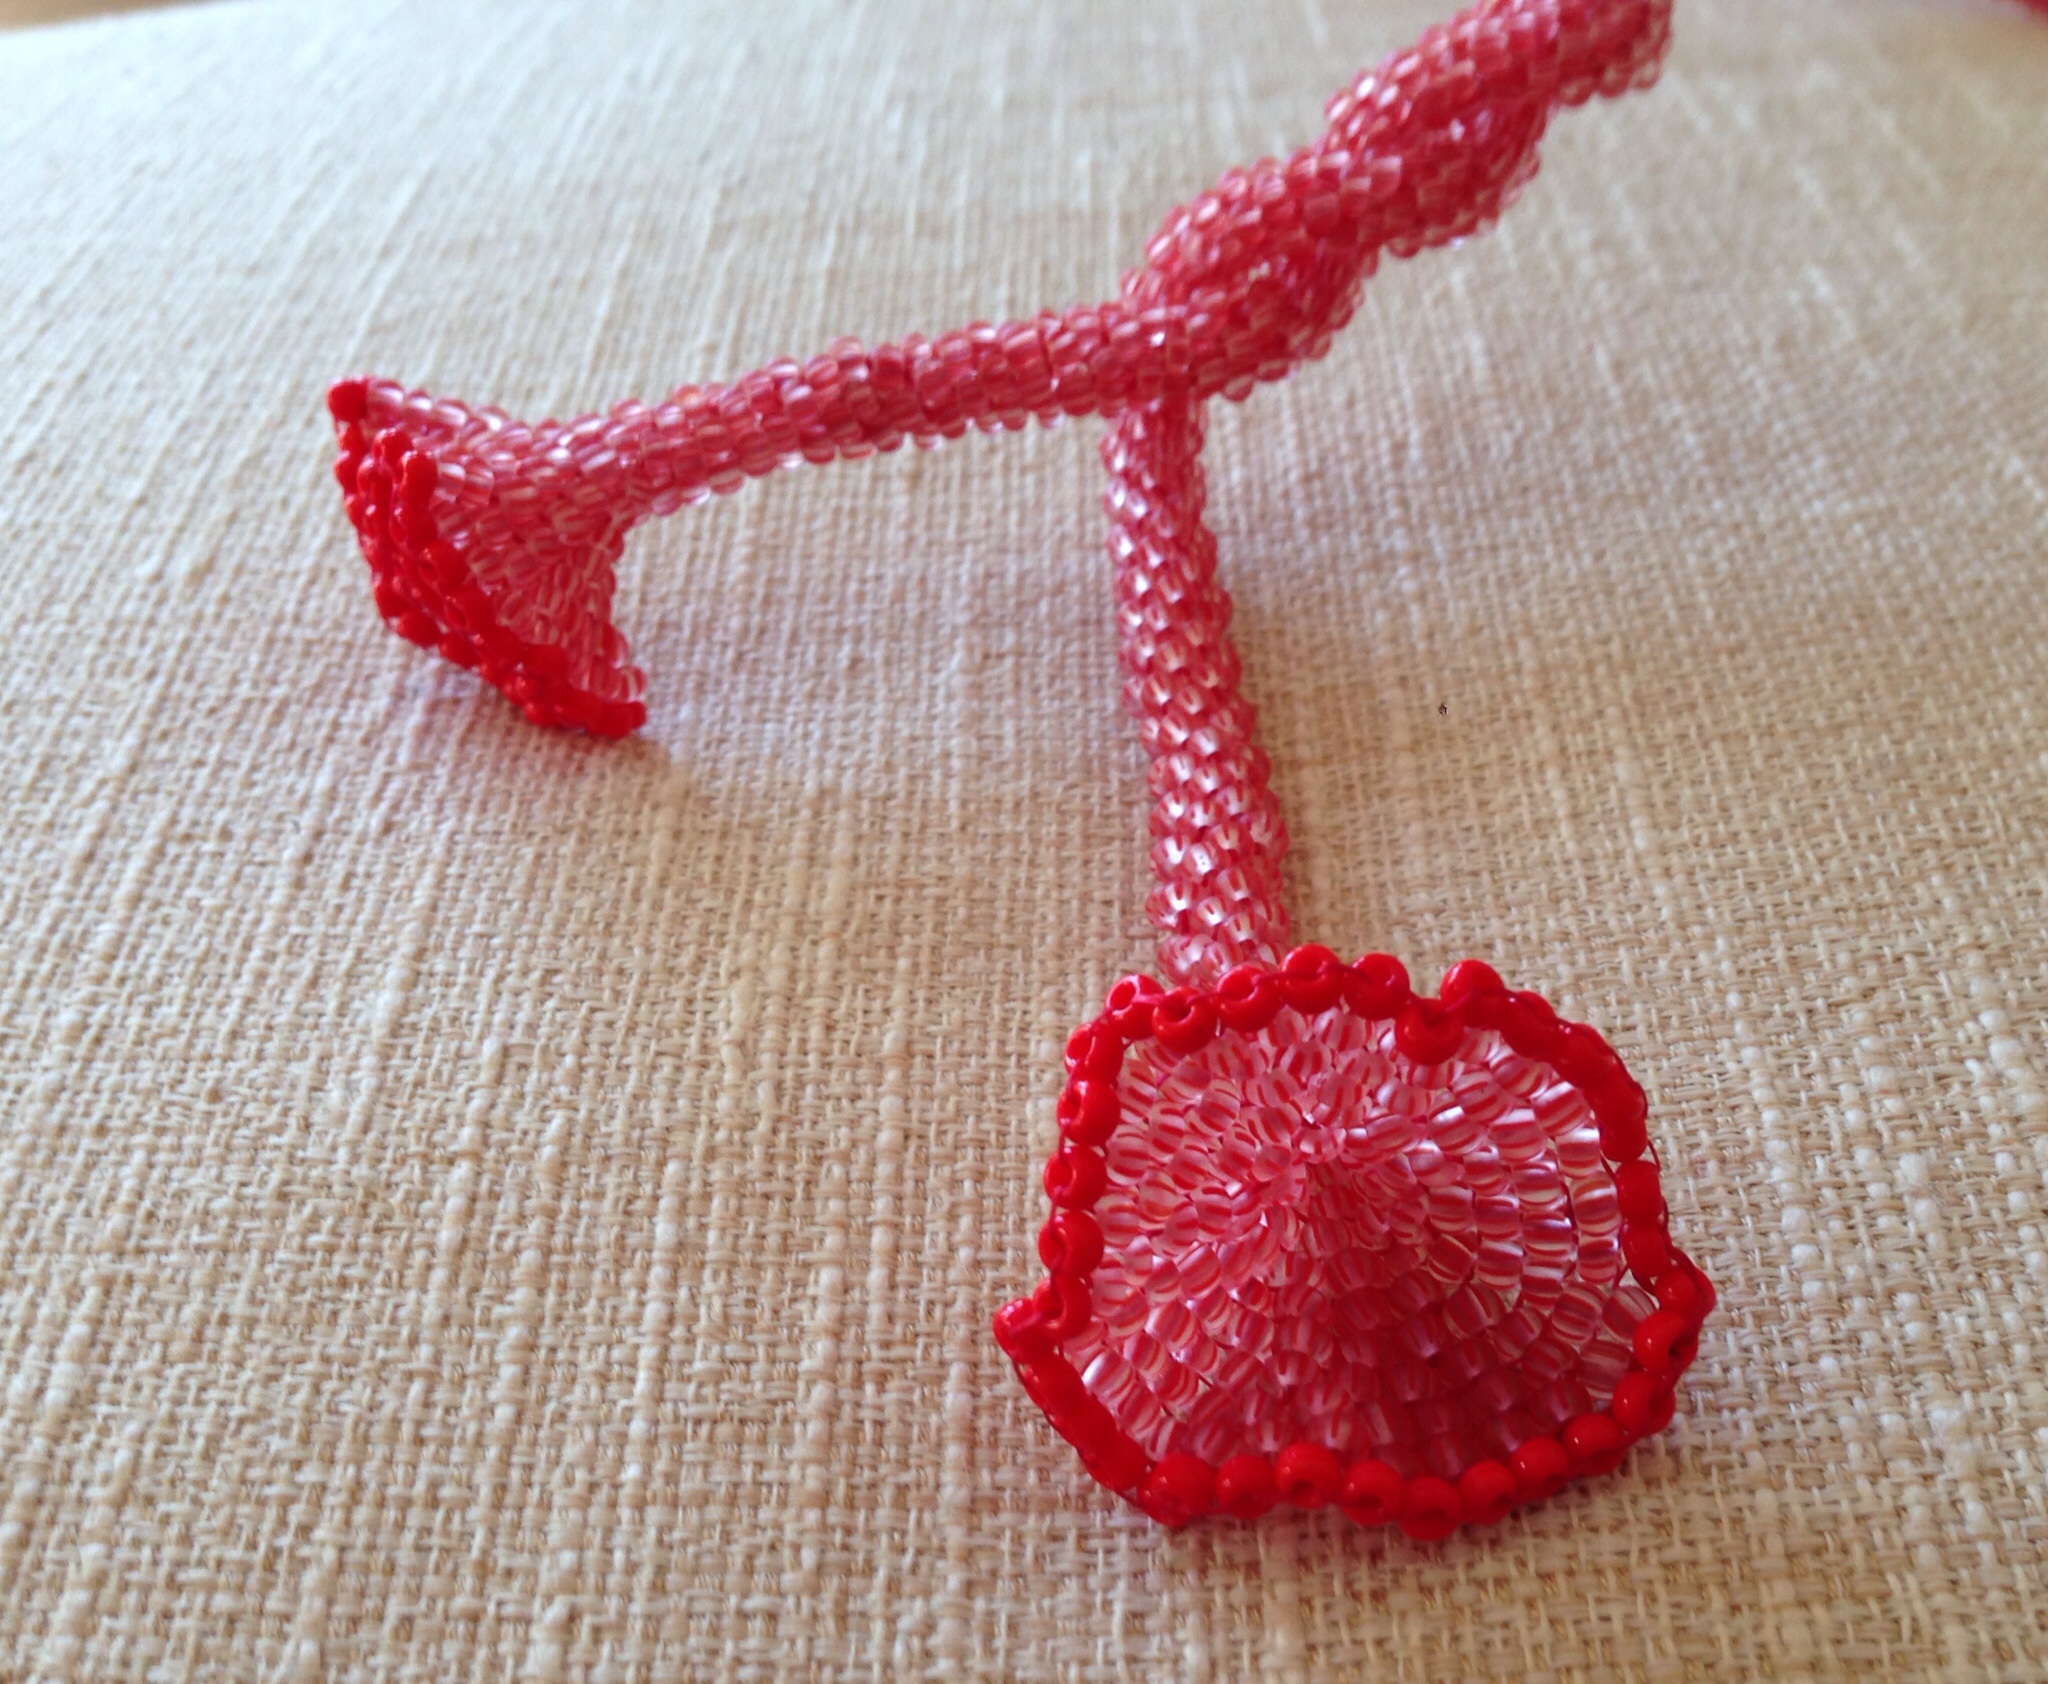
Next time I will vary slightly and add drops to the modified raw band (at the decreases) to match the other points.
I didn’t add drops in the final round (after zipping) as I felt the three already there were sufficient.
I used some transparent frosted lime beads for the raw band and edges. If I was making again I think an opaque bead would work better here (although I would still use transparent beads for some rows in the main fabric), or even a metallic. Alternatively I might use two colours in the RAW – one for the horizontal, one for the vertical beads, as that would more closely mirror my colour use in the rest of the piece and allow the band to blend more.

image

What next?

Another one I think, in more subtle colours (probably soft grey metallics and blues).  I am also wondering what this would look like in seed beads?

image