Craft not chaos

The lovely people over at Folksy are running an alternative take on the Black Friday/Cyber Monday phenomenon called ‘Craft not Chaos’, with lots of gorgeous shops offering discounts today or over the weekend. So if you’re looking for gorgeous hand made gifts, toys, clothes, jewellery, furniture or just things that are generally lovely why not pop over and have a look here?

Jean Power Bangle

And I’m taking part by offering 10% off finished beadwork until Monday 30th, using the discount code BLACKFRIDAY. Because Folksy can only discount my whole shop, I’ve had to hide my tutorials and materials packs while the discount is in place, but beaders don’t panic, you can still buy them via my Etsy and PayHip shops, and they’ll be back on Folksy on Tuesday.

Kissing Piggies - Sarah Cryer Beadwork
Kissing Piggies – Sarah Cryer Beadwork

How not to succeed in beading……

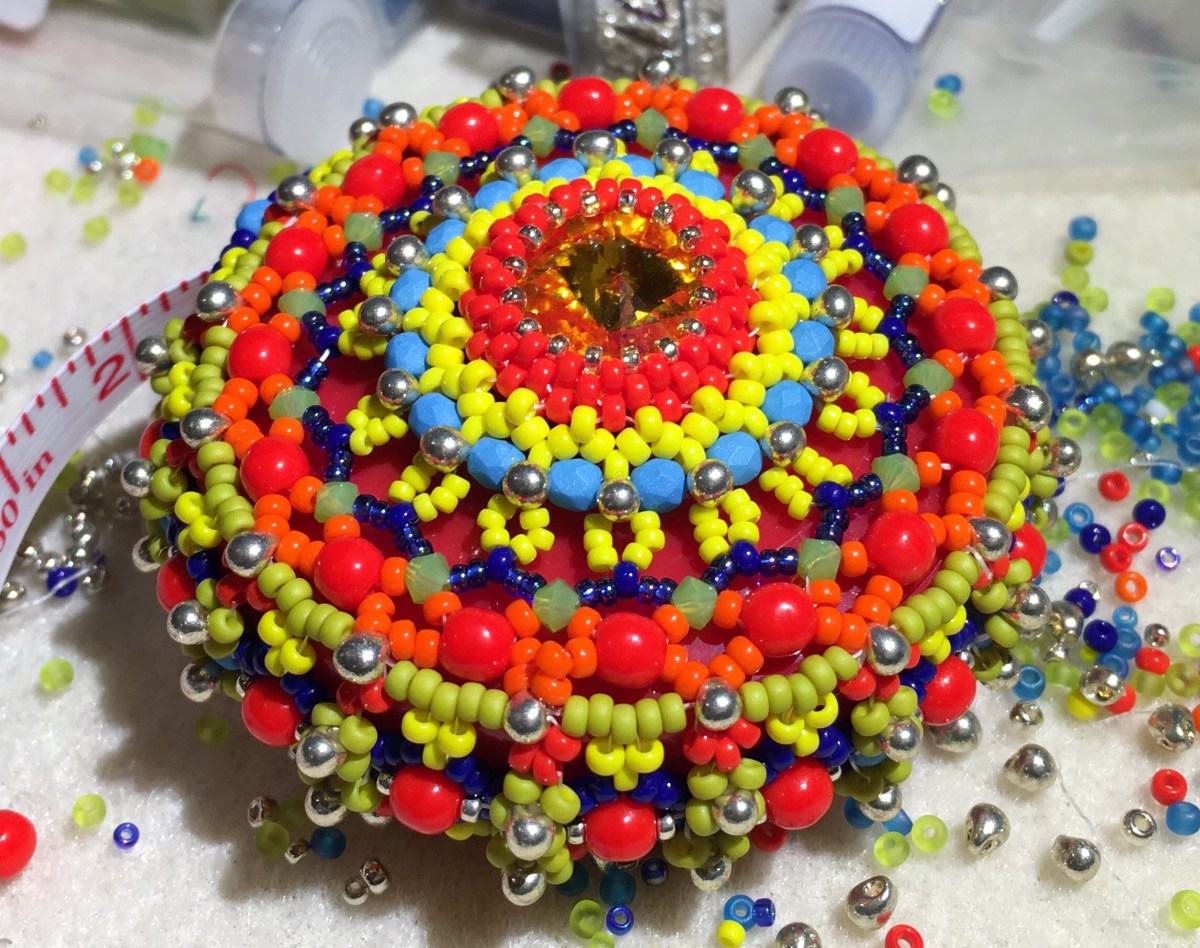
All this talk of tape measures reminded me that I haven’t actually made one of my Baroque Tape measures since I released the pattern. So rather than finishing some more materials packs so other people could make them, I had a go myself. I’ve been wanting to do a more multicoloured version for ages, something a bit huicholly.  So I pulled some beads, got the pattern up on the iPad, and started beading.  It did not go well.
Changing colours this often just doesn’t work with this design – you loose the shapes formed between beads and by the beads themselves.
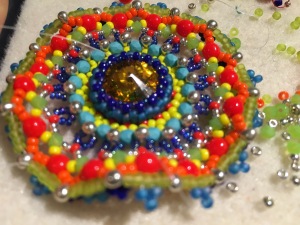
IMG_3711

And even worse, I started the netting out of the wrong row of the peyote bezel, meaning the rivoli sticks out way too far, so all in all not good.  Below you can see the ‘wrong’ version next to my later correct version – the rivoli bezel now forms part of the netted surround, rather than the surround looking like it’s been tacked on.
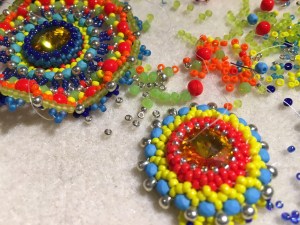
image


So that version was abandoned, I took an evening  off to make those Materials Packs, and then I tried again.  This time I paid more attention to my own instructions, thus avoiding the bezel error, and I changed seed bead colours only every two or three steps, rather than every step as before.  And hopefully you will agree that this looks much better.
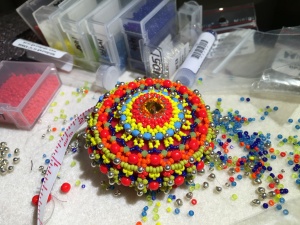
image

There were still a few things I’d forgotten since I’d done the original design:

Firstly, back then I didn’t use Fireline.  Now I do, and it does noticeably alter my tension (to the extent that I’m actually thinking of stopping using it).  This was worsened when I lost the reel I’d been using (small people move stuff), and grabbed another reel which turned out to be one of the faulty ones from a while back.  So lesson learned – netting suits a thread with a bit of give, like the lovely Miyuki threads, and in addition, using  a poor quality thread will slow you down and make a good finish all the more difficult.  So use the best you can, all of the time.  Throw the rest away so you won’t use it by mistake.

Secondly, I should have used a coloured thread that matched the tape measure – that way you can relax your tension without worrying about gaps between the beads exposing the thread, and the pattern will still work fine but be much more pleasurable to bead.  Honestly, it’s all basic stuff………………

Thirdly, I ignored my own instructions to stop adding the firepolished beads when you get to the tape hole – I worked around it (just as I did in the early prototypes, before I worked out how to cope with the hole properly), but I’m annoyed with myself as it’s just not as good.  Read the instructions woman!

Finally, I had a go at working with a messier bead tray – all my beads muddled up together instead of carefully kept in separate piles.  This was partly because I’ve read a few articles recently discussing how different headers like to work, so I thought I’d try the mixed up way, and partly because unpicking the failed first side left me with muddled up beads anyway.  This was not a good move – it drive me completely crazy, I hated not being able to just pick up the bead I needed, and as I had multiple sizes of the same colour out it led to mistakes.  I am quite confident that it would have been quicker to re-sort the beads into piles first, as it really slowed me down.  Never again.
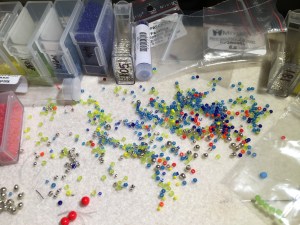
image

I still need to add a beaded bead of some sort for the pull tab, so I’ll have a delve around my stash of previous work and interesting beads (I’m sure I have a red tea pot somewhere – not very Mexican but fun anyway).  But it has been a very useful learning experience going back to it, and I have another one planned as a Christmas gift now (which will hopefully be a bit better).
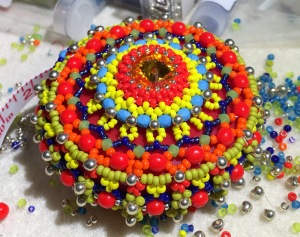
image


Yet more materials packs 

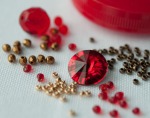
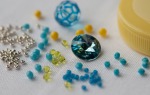
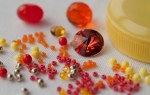
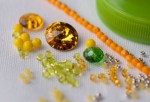
Do you know I have now put together 28 different colourways, many of which can be seen here.….?  Anyway, another set are available now, including some using a new, transparent tape measure.

U.K. Buyers can order from my Folksy or Etsy shops.


I’m often asked by overseas buyers if I can send to them, so in case you are one of them,so I thought it would be useful to stick one of the replies I sent to a lovely US customer here where you can all see:

I don’t normally ship overseas as postage outside the UK is so ridiculously expensive even for small packages, that it doesn’t really make the packs very good value for customers.  Postage to the US would be £10 (just over $15), so whilst I’m happy to do it, you may be better off selecting the beads yourself locally/from your stash and spending that postage money on even more beads! However, everything I include in the packs should be readily available internationally  –  below are some tips on tape measure & bead selection, and an exact list of the pattern’s requirements with quantities to help you decide.

Tape measure – they are pretty widely available from craft shops and online (for example http://m.ebay.co.uk/itm/150CM-RETRACTABLE-TAPE-MEASURE-60-SEWING-RETRACTABLE-TAPE-MEASURE-UK-SELLER-/321086910860?nav=SEARCH or http://m.ebay.co.uk/itm/Retractable-Metro-Coloured-Round-Pull-Out-Tape-Measure-Metric-Imperial-150cm-/160975946906?nav=SEARCH.  I have found the ‘metro’ brand are better quality, but pretty much all of the others available are fine size wise.  

The beads themselves are all standard stuff – you can substitute rounds for fire polisheds and vice versa, and even change colour more often in the seeds.  The only ones to watch out for are the drops, which are 2.8mm rather than 3.4mm (they have a very slender stem compared to the 3.4, so you can’t swap).
In terms of colourways, there are infinite options, but there are pictures here of some of the ones I’ve sold in the past (scroll down to get to the right tutorial):  https://theindecisivebeader.com/materials-packs-shop/.
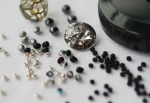
The exact requirements are:

2qty 14mm Round Rivoli

3g Size 15 Seed Bead Colour A

10g Size 11 Seed Bead Colour A

3g Size 11 Seed Bead Colour B

47 qty 3mm Fire Polished Beads

46 qty 4mm Round Beads

98 qty 2.8mm Drop Beads

B 32 qty 3mm Bicone Crystals

Tape Measure, 50mm diameter, 10mm thick.

Beadweaving needles, thread of your choice, scissors.

So I hope this helps you understand why I keep to the UK only with the packs – do contact me though if you have any problems sourcing the items.

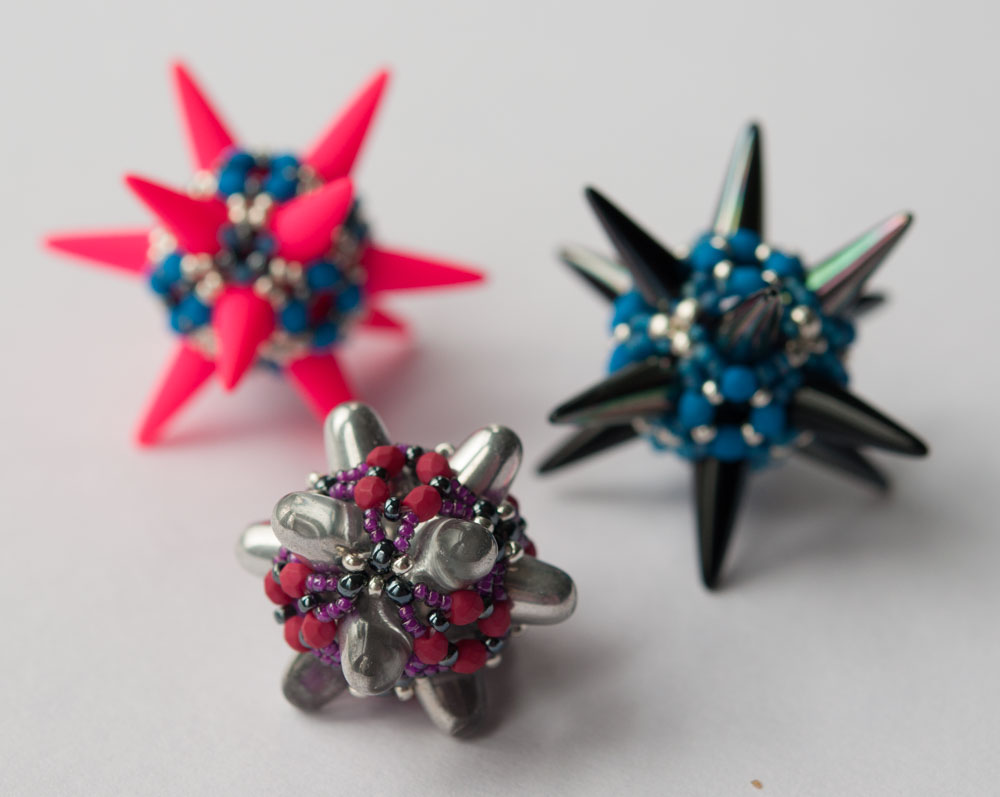
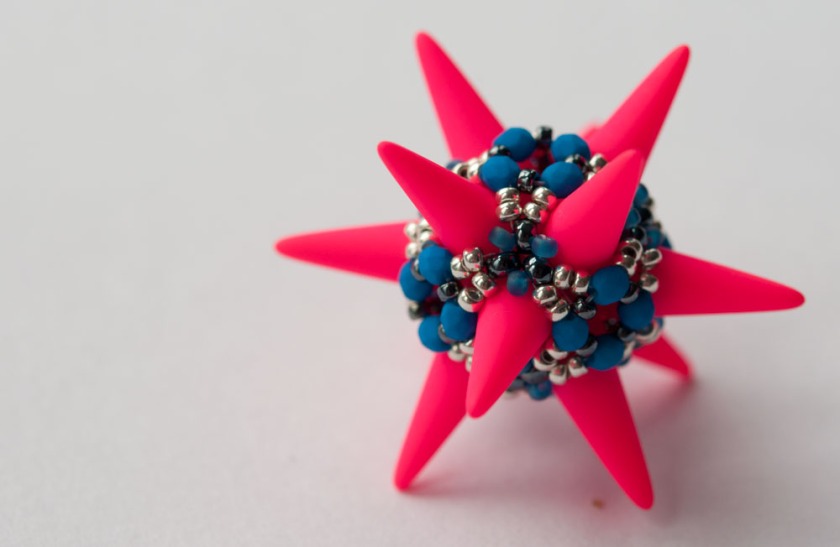
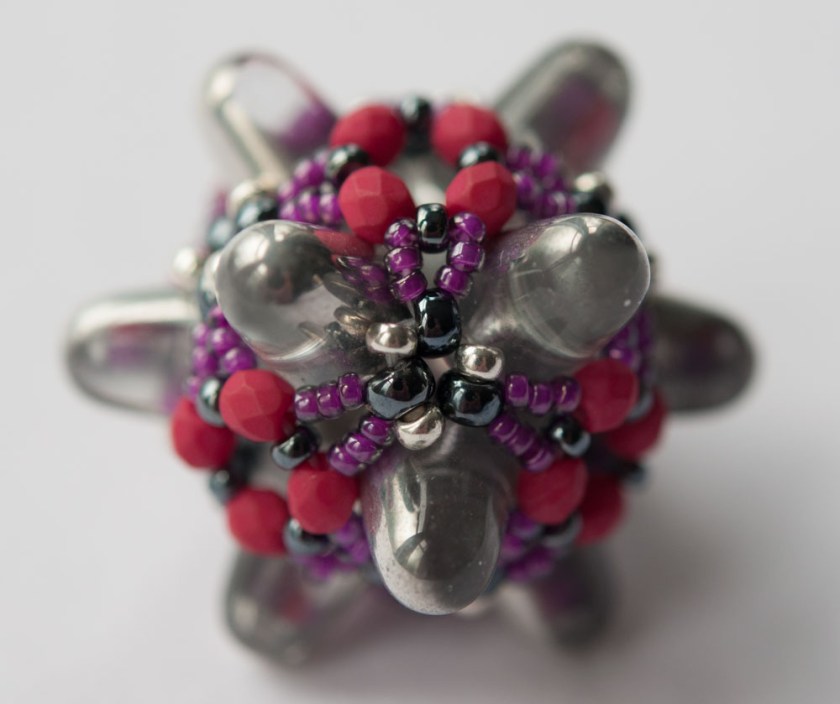
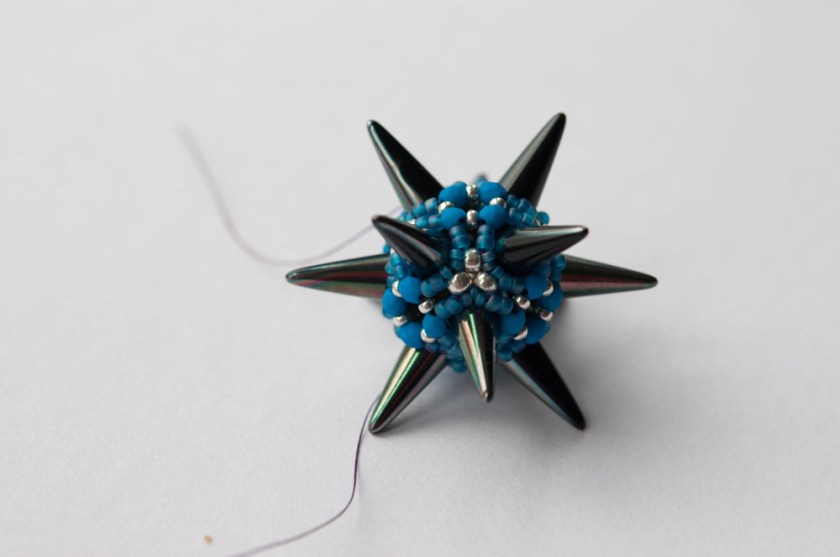
Great balls of spikes

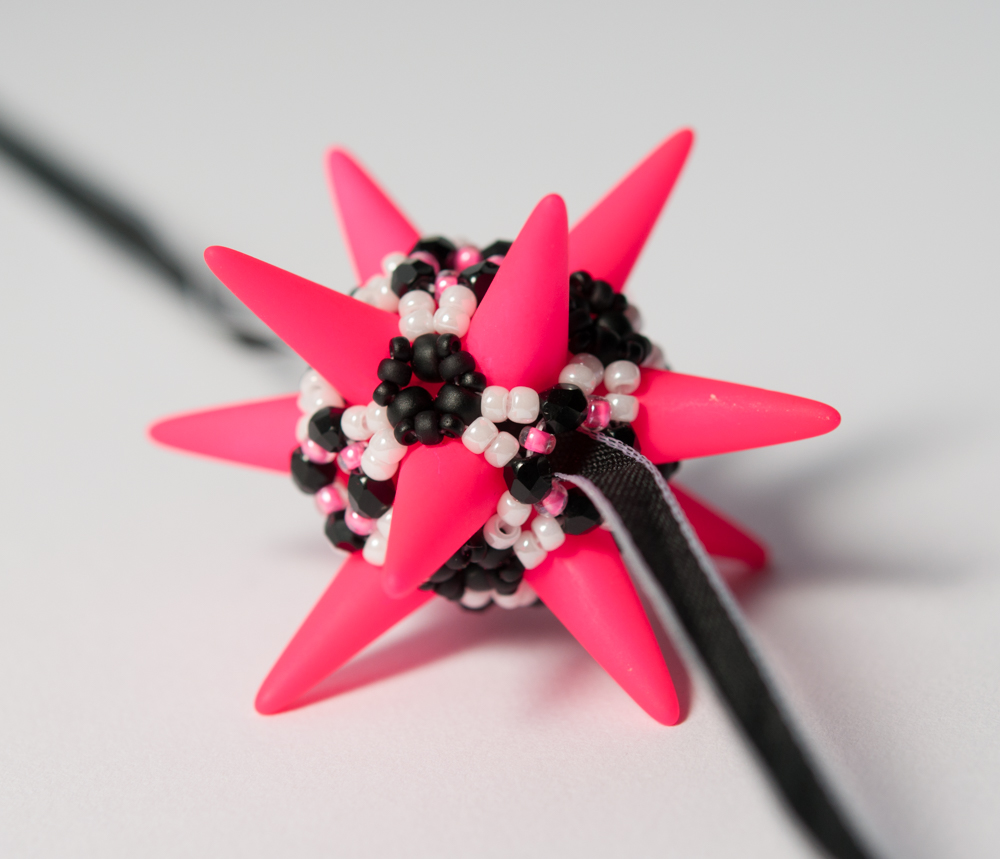
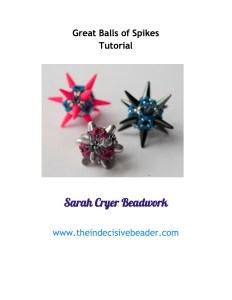
Also known as Beaded Bead 6, Great Balls of Spikes is now available as a tutorial, with materials packs coming soon hopefully. Great Balls of Spikes Beading Tutorial - Google Docs

It’s available in all of the usual places:

PayHip

Etsy

And Folksy

When I have time I will be putting together some materials packs, so let me know if you have any colour requests.  It would be helpful if I could break out of my current neon pink and violet obsession……….

Wings……

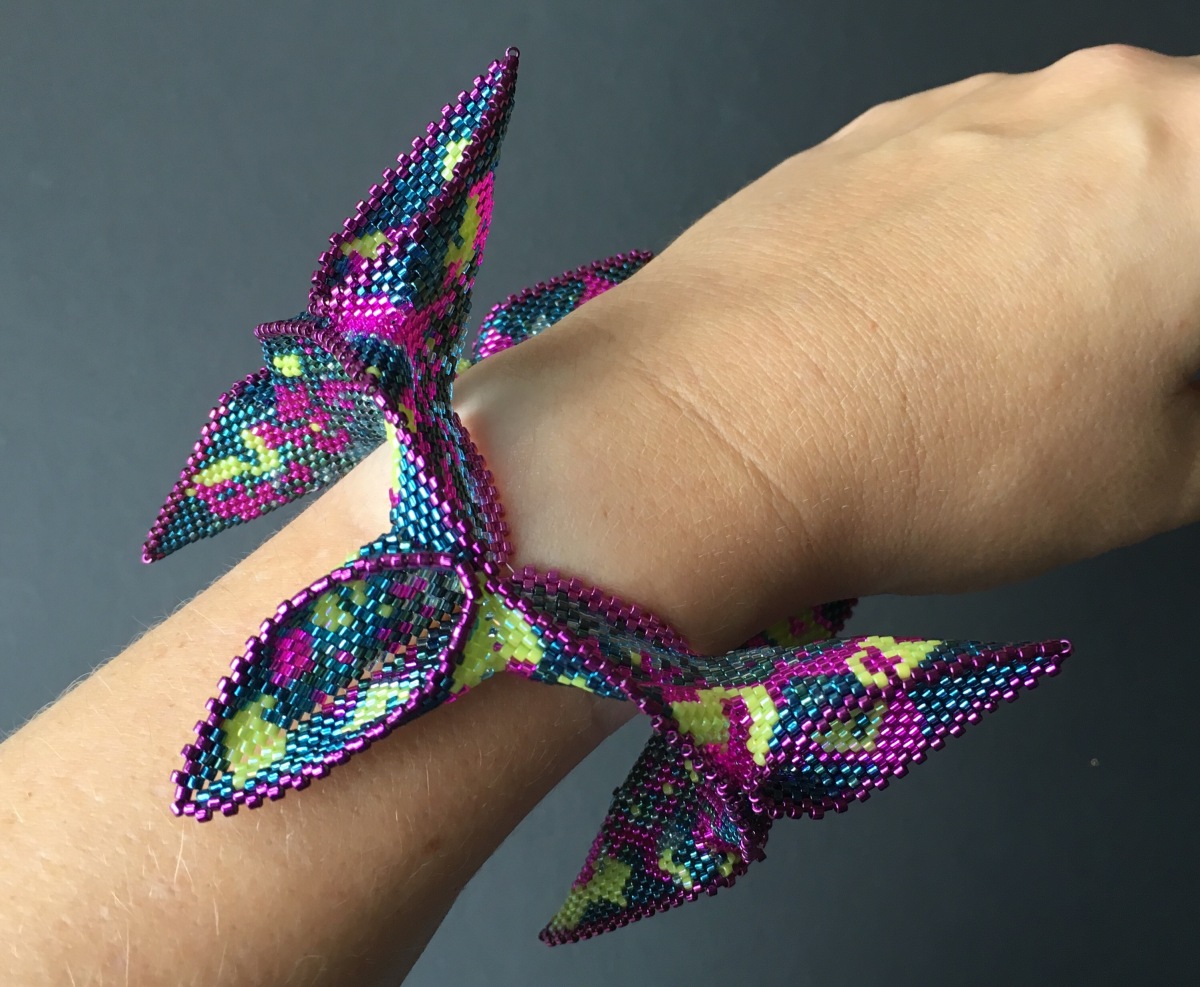
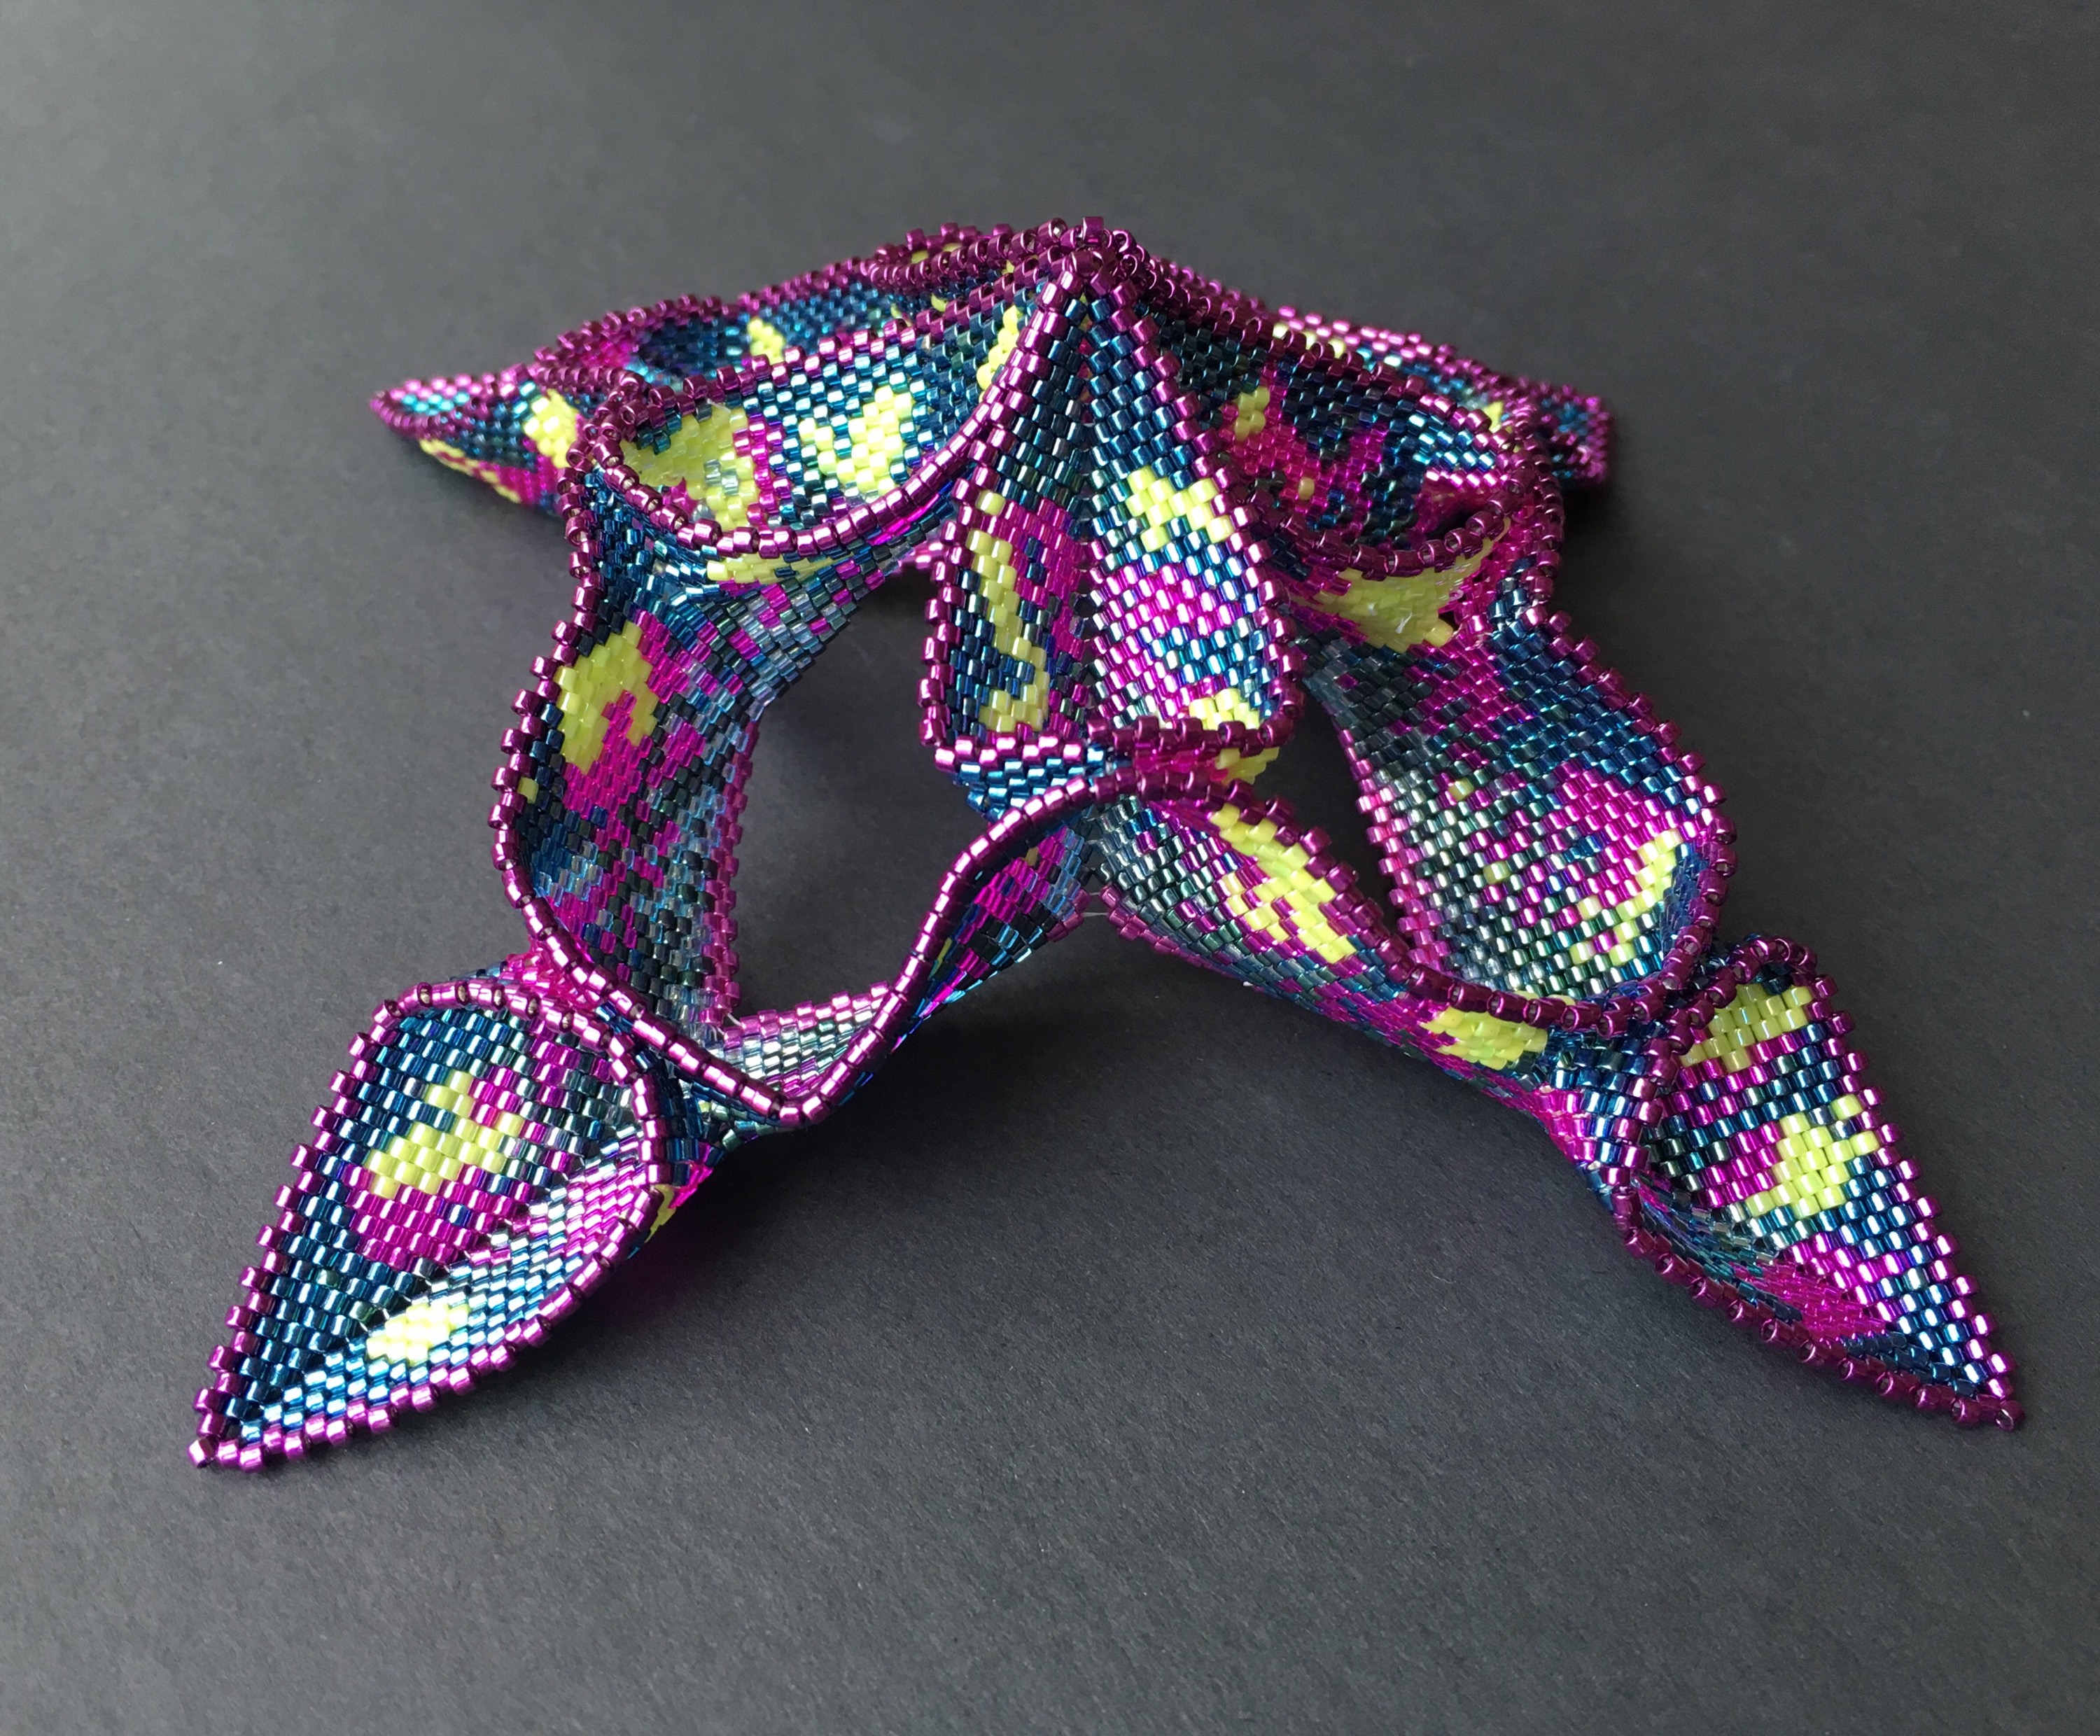
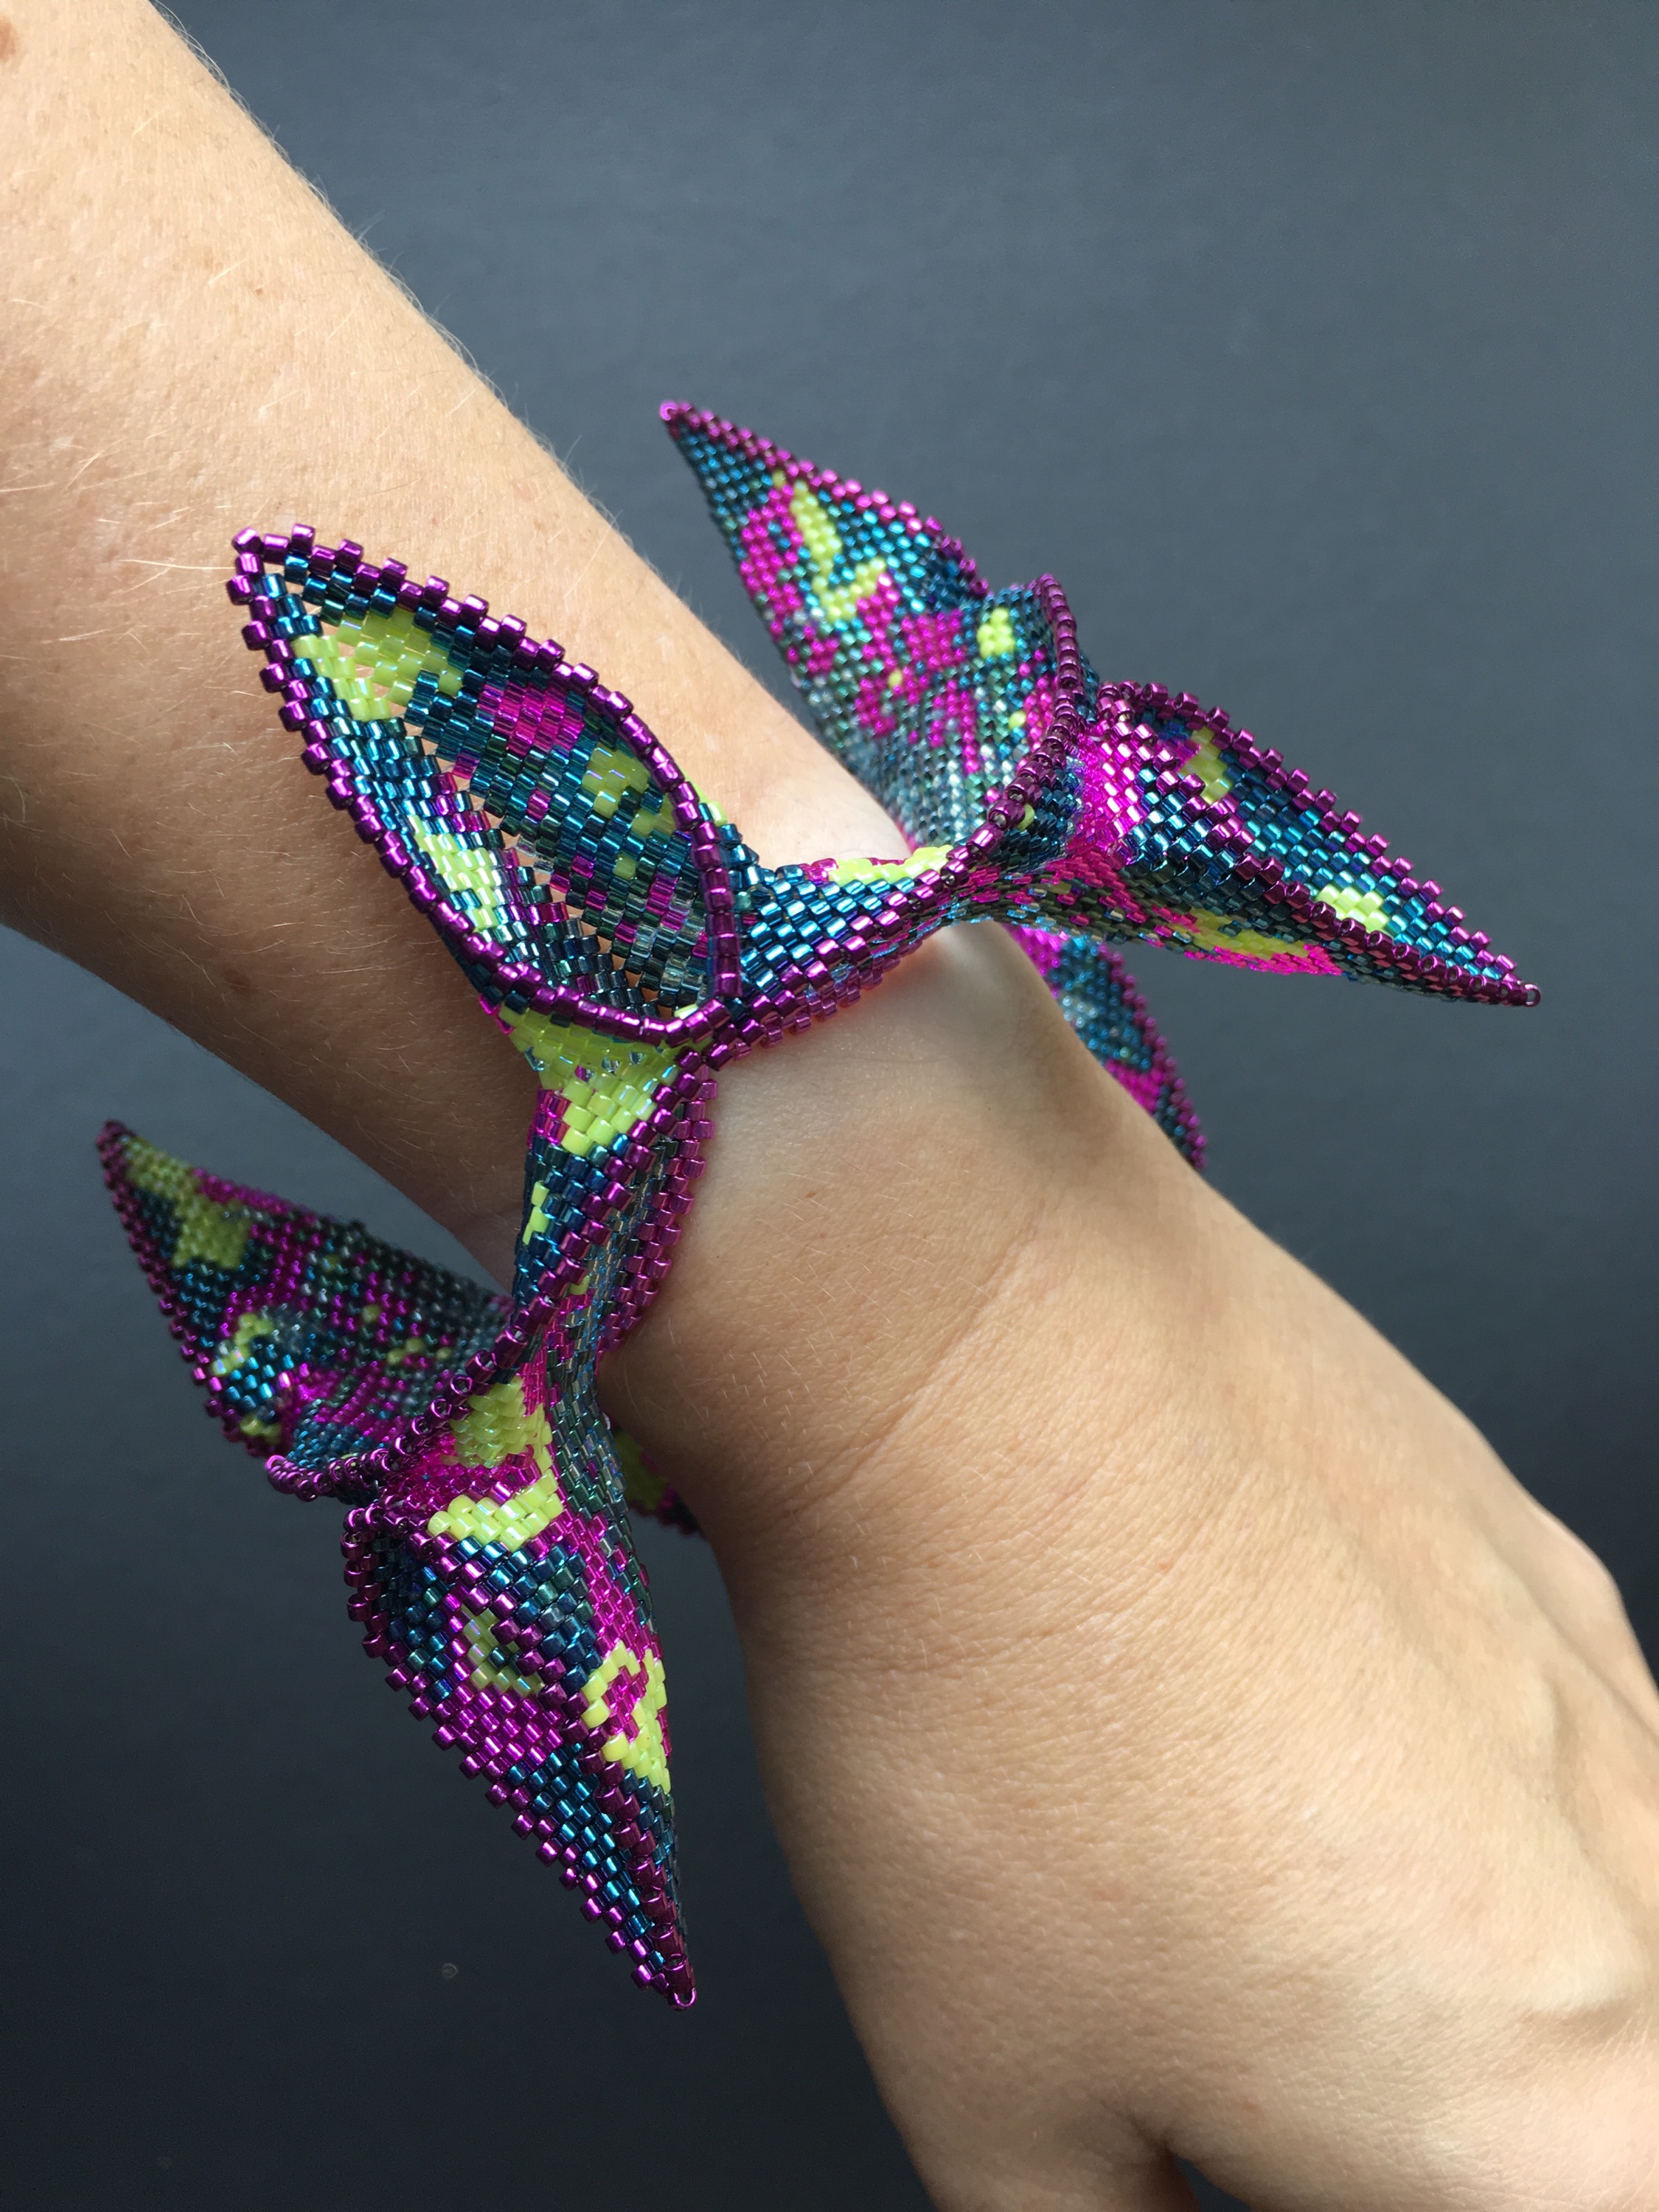
I’ve finished my latest Contemporary Geometric Beadwork influenced piece – a large pointy bangle.  The idea with this piece was to work with the ideas from CGB, but for the first time to ignore their finished pieces and patterns and see where I ended up.   I also wanted to work with a tube of sweepings from Stitch & Craft, to free myself up from the hours I tend to spend selecting colours!

  
I started with a MRAW band which I thought would be roughly the right size for a bangle (I was wrong – it was huge), then added some increases and decreases to form a zig zag.  I beaded that for a while, then added some increases halfway along each side to start to form peaks which I thought I could join together to start to shrink the piece down and make it human (rather than elephant sized)!  I planned to add some crystals to join the peaks together, but when I tried it they didn’t work, and left the piece a bit too wobbly.  After some unpicking I decided to stick to delicas, joined the peaks and beaded across either side of the join to make continuous lines and curves, surrounding the whole piece with a dark magenta metallic outline.

  
At that point I decided the original MRAW band wasn’t sitting correctly – the alternating zigs and zags meant that it needed to point in different directions so I couldn’t turn it into a CGB skirt to firm up the shape and make it smaller.  So that got unpicked from the inside out, and I added a couple of rows of peyote in fuchsia metallics, and the decreases sorted the sizing out.

  
So it’s all done, and available in my Etsy shop.  It’s also my entry for the Etsy Beadweavers Team October Challenge – ‘Abstract Painting’.  If you’ve got a moment pop over to our blog and have a look at the other entries (or search ‘EBWC’ on Etsy).  And if you could take a few seconds to vote for your favourite we’d really appreciate it.

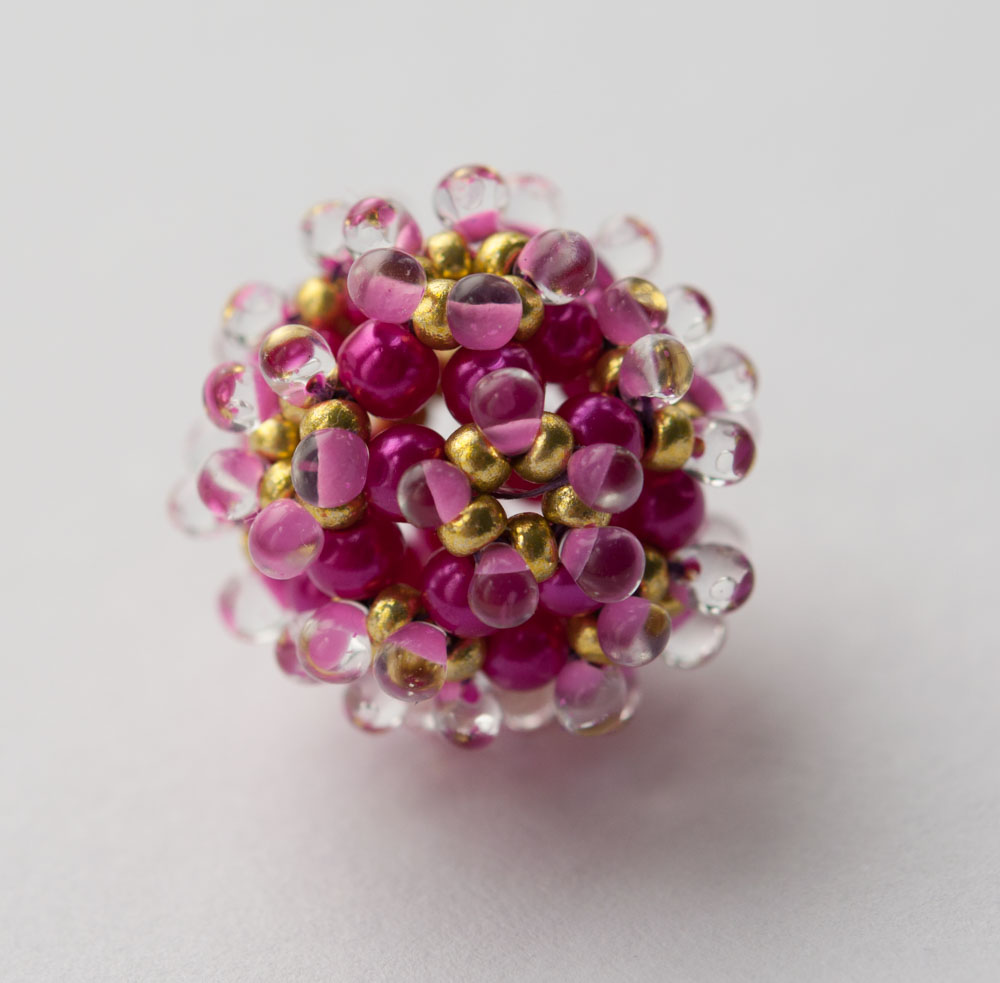
Beaded Bead 7

Wow, seven already.  This is a variant on Bead 2, using smaller 4mm pearls, size 8 seeds and colour lined crystal 3.4mm drops which look very silly and lovely.  I was actually intending to use lentils rather than the drops, which is why I deviated from my usual colour scheme but  they simply didn’t work.

Recipe

4mm cerise glass pearls (picked up randomly on my beady travels)

Miyuki 3.4mm drops Hot Pink Lined Crystal (colour 23)

Galvanised Zest duracoat Miyuki 4205 size 8 seeds


Beaded Bead 4

And so to my stash of patterns.  I sat down just after I started this project and looked through my various beading books, bookmarking all of the beaded beads I thought would fit in.  And my, there are a lot.  And then I turned to my digital library of beading magazines, and remembered that Beadwork had done a series of Beaded Beads a couple of years back.  I tried some of them at the time, but didn’t have quite the right beads in my stash, and have had more success this time.  I’m not going to do the whole set of 5 (as this is a stash only project and I don’t think I’ve got all of the larger beads needed for some of them), but here’s the first one anyway.

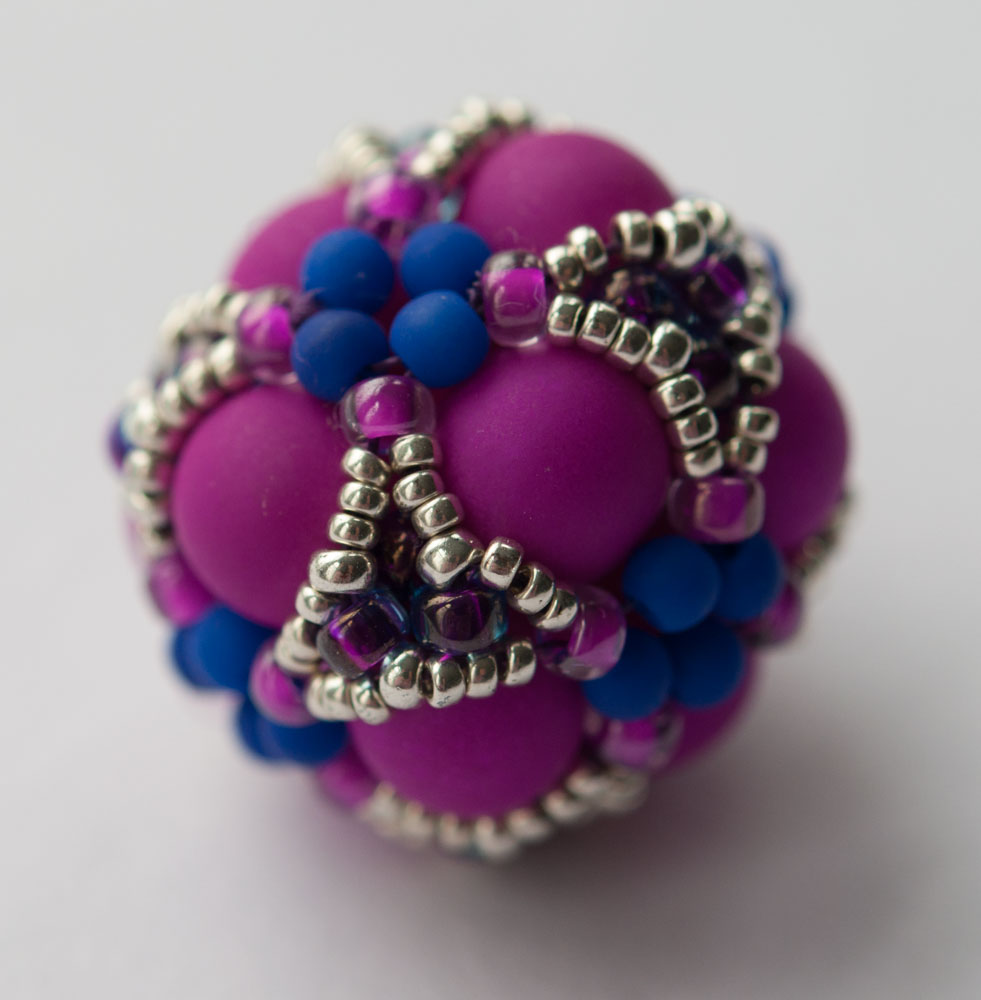
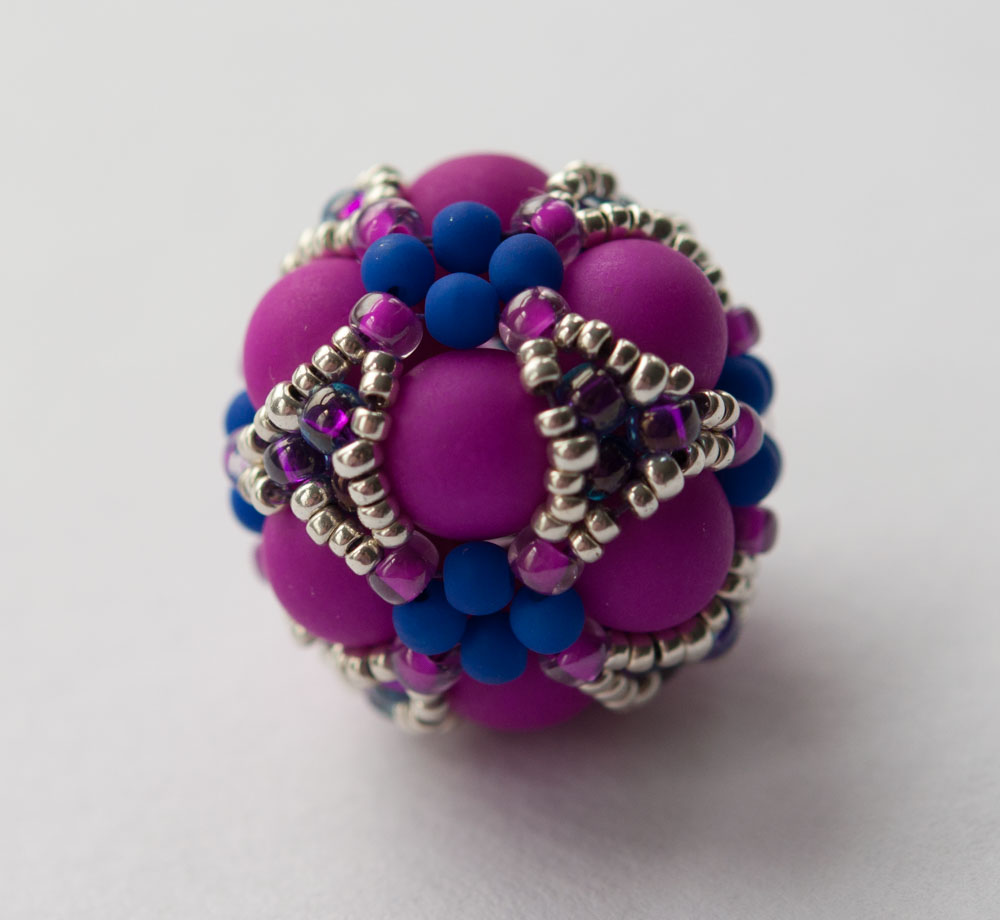
Cluster Beaded Bead - Gwen Fisher - Beaded by Sarah Cryer Beadwork
Cluster Beaded Bead – Gwen Fisher – Beaded by Sarah Cryer Beadwork

It’s from the April/May 2012 Beadwork Magazine, and is by Gwen Fisher – Cluster Beaded Bead.  It’s a super one, goes together really nicely and quickly.  I don’t tend to have many 8mm rounds knocking around though, so I will need to order some more if I want to repeat this one.

Recipe

8mm rounds – Neon Purple (BeadsofBohemia)

3mm Fire polished – I substituted 3mm rounds, Neon Ocean Blue Matt (Robin’s Beads)

15 & 11 seeds – Miyuki 1051 Galvanised Silver

8 seeds – Miyuki 356 Purple lined Amethyst AB

Tips

None really, nice pattern, clear instructions.  I mainly worked off the illustrations rather than the written out steps, which is normal for me, but the steps seem clear if you’re more comfortable with those.

This has inspired and helped me with Beaded Bead 6, although I see now looking at the diagrams again that I used a significantly different thread path and set of steps for Bead 6, even though I thought I was doing something similar………..

Beaded Bead 6

The eagle eyed among you will have noticed that this isn’t exactly running in order – that’s because some of the beaded beads are easier to blog about than others.  For example beads 4&5 are photographed, but I need to pull out the references and links needed to give the designers proper credit.  Bead 6 is one of mine so less digging needed.

Bead 6 is actually a set of samples which will hopefully evolve into a new tutorial – not quite there yet, as in samples 1 & 2 there’s a size 11 placement which annoys me, and the spikes in sample 3 are rather wobbly.  But I will persevere.

DSC_0439
Sample 1 was born of beading lots of different beaded beads, and getting one of the possible structures so stuck into my brain that I had to try it in spikes.  It uses 12 spikes, woven into a kind of a cube with trios at the corners.  At least I think it is – looking at the finished ones I’m no longer sure (best take some step by step photos of sample 4).

DSC_0433
Sample 2 uses gumdrops (they are often interchangeable with standard size spikes as they have the same size base – 7mm).  It switches to 11s from 15s in some places, but as you can see above still has 11s in the trios and they don’t sit right.

DSC_0425
And sample 3 is back to spikes to try and iron out some flaws in 1&2 by just using 15s.  Still not right though, the spikes are more wobbly than 1.  One more combination left to try I think……..

Anyway, no recipe yet or tips since you can’t try this one at home, but bear with me and it will emerge eventually as a tutorial.

Beaded Bead 3

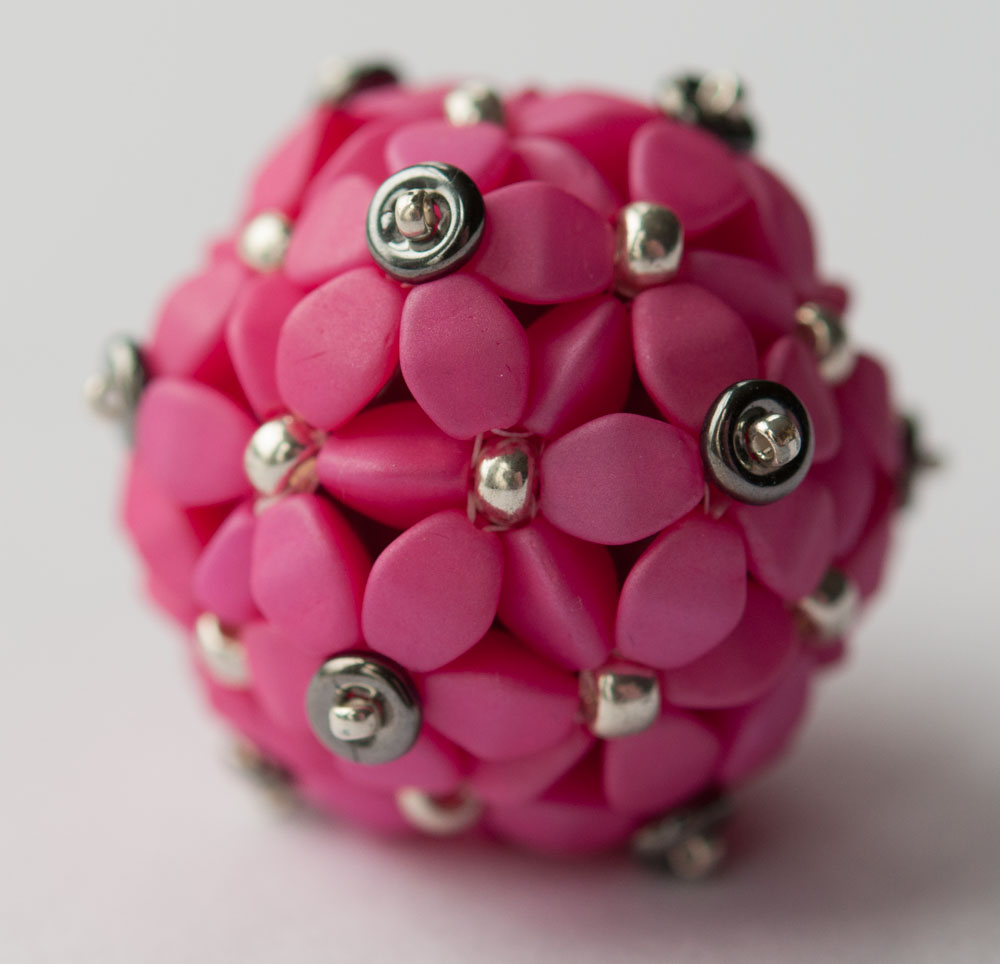
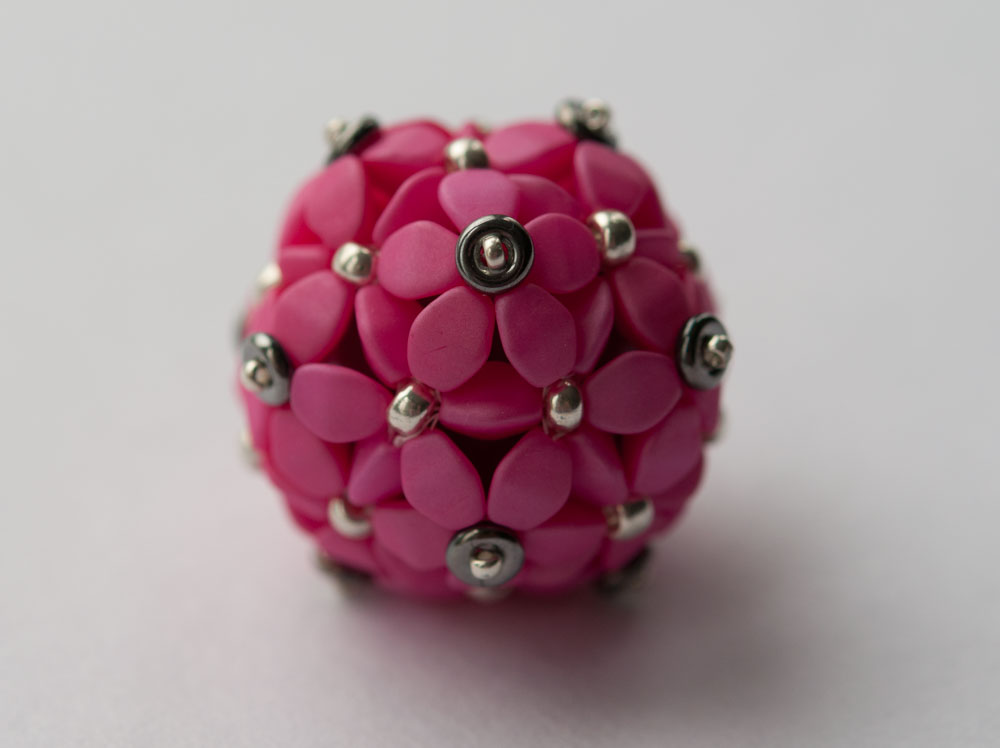
I think this is actually my favourite so far – simple, striking and a great way to understand the geometry of beaded beads.  I used a free tutorial from Spirala Beading called Zuzana, and will be making more just as soon as I can get my grubby hands on some more pinch beads.

Recipe

90 pinch beads – Matte Watermelon (from Spoilt Rotten Beads)

1g size 8 seeds – 1052 Galvanized Silver (Stitch N Craft)

12 size 15 seeds – 1052 Galvanized Silver (Stitch N Craft)

12 O beads – Haematite (Robins Beads)

A wooden core bead, I’d guess at 20mm but unfortunately didn’t measure it……sorry.

Zuzana by Spirala Beading - beaded by Sarah Cryer Beadwork
Zuzana by Spirala Beading – beaded by Sarah Cryer Beadwork

Tips

  • If you have two colours, use them.  If you don’t have two colours, wait until you do.  Whilst it is possible to do this in one colour (I did), it is infinitely simpler if you can see the five beads which surround each 5 pointed star clearly.  By all means switch to a single colour once you’ve had some practice – these are nice & quick to do so it won’t take you long to progress.
  • Hold your nerve – it’s a bit of a floppy mess even with the core bead in, but the simple embellishment suggested pulled everything together perfectly.
  • You may need to try a couple of different sizes of core bead.
  • Once you’re done beading, roll the bead around between your hands a few times.  This will make the trios of pinch beads which need to sit with a flat side against the core bead turn and lock into place, and is much easier than trying to force them round with a needle!

Now I just need an excuse to order some more pinch beads – and guess what, Ivona, who runs Spirala Beading also has a lovely Etsy shop selling lots of fantastic beads, including a huge range of pinch beads – Beads of Bohemia.  What luck!

Baroque Tape Measure – new Materials Packs at last…..

So at last I have had time to photograph and list the Baroque Tape Measure Materials Packs which I worked so hard to put together a few weeks back.  There are six new colourways, and I’ve re-shot the two I already had in stock as well.  Altogether I have now made over twenty different colourways for the packs, and another five have been beaded into the original and my working samples.  Perhaps not what I expected when I made the original piece for my Chatelaine two years ago.

Baroque Tape Measure Surround

These are my last few tape measures, so I will probably not be listing any more for a while (although if they sell well I may change my mind!), and I’ve been a bit bolder with some of the bead choices because of that.  There are two sets – bright fun colours, including one which uses one of my favourite Miyuki colours – red opaque AB (which gives a fab weird salmon pink), and some really dark metallics, including matte black with the new Swarovski Patina rivolis.  As usual they are available on Etsy and Folksy – links below:

Folksy links

Ruby & Old Gold
Ruby & Old Gold
Aluminium & Scarlet
Aluminium & Scarlet
Dark Metals
Dark Metals
Deep Purple
Deep Purple
Caribbean Sea
Caribbean Sea
Tequila Sunrise
Tequila Sunrise
Lemon & Lime
Lemon & Lime
Dark Plum Iris
Dark Plum Iris

Etsy Links

Metals
Metals
Brights
Brights