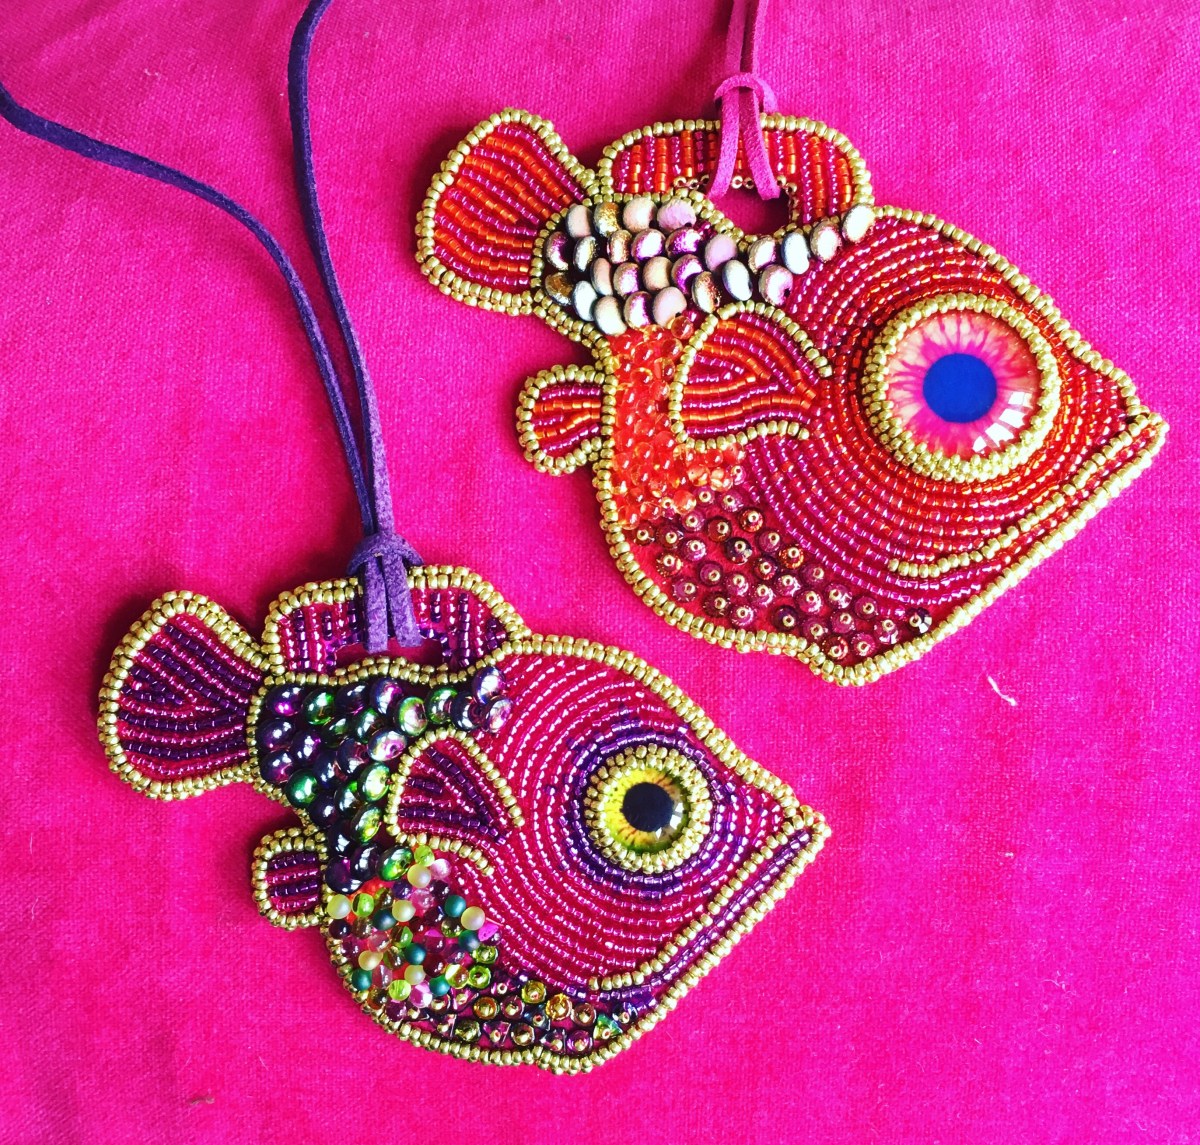
Crimson Frog Fish

Having been reminded of her gorgeous work in the recent Stitch and Craft  brochure, I googled Kinga Nichols to see if she offers kits or tutorials for those of us unable to get to classes.  She does, but her Etsy shop is a bit empty as she’s just been away – this is probably just as well given that I have far too many beads already, the pound is low, and postage from the States is horribly expensive.  However, further googling turned up her new video tutorial for Interweave.  I’ve used free video tutorials in the past to help with things like knitting and sewing, but never for beading, and to be honest, never paid for.  But it’s something I’d maybe like to try doing myself one day, and I’d just bought a fantastic eye cabochon from WingSmith and some red bead foundation from Jencel at the Big Bead Show, so it felt like the beady universe was saying ‘go on go on’,  so I splashed out the rather steep $19.99 and had a go.

We made a fish.  She is rather lovely, and ugly at the same time, and I really enjoyed making her.  I have learnt about glues, fabrics etc, drawn and cut out my base (the tutorial claims to be focussed on working with pre-cut foundation, but to be fair other than the fact that we are using one, it’s not about that, it’s really about making a lovely beaded fish).  I’ve at last sorted out my back stitch (which I’d never got to like previously), and I’ve added a bezel to the glued on eye, seeded on some Swarovski lochrosen (glass sequins), drops and best of all added some lentils to cover a huge space in no time at all!

The video is well structured, with good, clear explanations of the key stitches and techniques.  There is possibly a little too much of watching Kinga do back stitch, but one can always fast forward.  It’s certainly possible to watch and bead, and then just pause when you need to catch up, which works well so long as you have a device/PC next to your beading area (in my case this consists of an iPad on the arm of the sofa).  It’s certainly been the best bead embroidery technically that I’ve done, and I think Kinga deserves full credit for that.  The next test will be to see whether I can appy this to some designs of my own.

I enjoyed making the pink and red one so much that I’ve made a second fish in pink, green and purple – this time the correct size (I scaled the first up as the eye I had was huge), and I see more of these plus some other Kinga style bead embroidery in my future…….

Hints & Tips

  • Interweave sell this as either a single video ‘download’ (there is a second project available as well) or as a pair of projects on DVD.  The downloads are $19.99 each (so $39.98 the pair), the DVD pair $34.99.  I don’t know who does their accounting, but that feels like a rip off.  The downloads should cost significantly less to sell, and yet are more because you can’t buy the pair.  With the pound low this works out as at least twice what I would normally pay for a tutorial, and more than the price of a book for a single project.  If you are based in the US and can buy the DVD set then that will be a reasonable deal – otherwise for UK based beaders I’m not sure I can recommend based on price.  As I write it is reduced to $15.99, so if you live somewhere with a favourable dollar exchange rate, it may be worth a buy!
  • If you are using an iPad or iPhone, they are not even downloads – you are effectively buying access to stream the video, not to save it on your device.  Yes, I will when I have time download it onto my PC, but I’ll want to watch it on my iPad or iPhone so will have to get dear husband to transfer it on.  This is governed by the way that Apple run downloads onto iPads and iPhones, and is not something Interweave alone can change, but a more substantial warning before purchase would have been appreciated.
  • There’s a PDF included with a template of the fish to trace, which is great, but no materials list.  You have to work out as you go along what beads you will need, and for me, that was quite annoying – I like to pull together the right beads (or roughly the right beads) before I start, so that I know I can bead all of the way through without having to go hunt out or even buy additional beads.  A written tutorial or magazine project would always contain a list, so why not a digital download.  Even just talking through the materials required at the beginning of the film would have helped………hopefully though my list in the Recipe below will be of some use!
  • Coloured bead foundation is a must here – going back to the lack of materials list you’re going to be pretty disappointed as you can’t start without it.  Coincidentally I’d bought some red and pink Nicole’s Bead Backing from Jencel at the Big Bead Show, so was kitted up ready to go.  It’s the first time I’ve worked with it, rather than using white Lacey’s Stiff Stuff or Beadsmith Bead Backing and it was really, really liberating.  Using a backing that compliments or even contrasts with your beads, which you’re happy to show through makes everything easier, and means you can use larger beads with ease without having to fuss filling in the tiny gaps with seeds, spoiling the effect and multiplying the work! I’ve invested in some more colours now, and I feel that having a good backing colour will make me more confident and bold with my beads.
  • I didn’t really want to make a big, heavy cuff, and didn’t have the right materials to do that anyway – instead I had a look at the other fish pieces Kinga has done and spotted that sometimes she puts a hole in the upper fin and uses that to thread a cord through, making a pendant.  This was relatively easy to do, although I’m slightly worried about the strength of the loop – will it distort in use?  Another time I’m going to cut a piece of plastic (from some washed veg packaging or similar) to sit between the foundation and backing to provide additional strength.  I may even consider doing this for the whole piece as with so many heavy beads on it does feel like it could do with some extra stiffening.
  • I didn’t have the petals Kinga used for the scales – instead I used some lentils I’ve been sitting on for a while, and I think they also work really well.  As they are smaller than the petals I decided not to add seed bead stalks, as the holes are reasonably inconspicuous.  That meant I had to work from the tail inwards to get the layering of the scales right (Kinga is able to work the other way as her petals sit further off the foundation with their beaded stalks, so can be pushed aside).
  • Big eyes are better – the second fish I made has an eye closer to the outline provided (15mm), and I don’t think she is as fun as the first one, which has a much larger eye (25mm) in proportion to the rest of the piece.  If you’re working using the template, I would use a 20mm eye.
  • Dragon eyes (with a vertical slit for a pupil) don’t look as nice as ‘normal’ eyes.  Don’t know why, they just don’t look as friendly.
  • They’re pretty big and daring, even for me to wear.  They may take a turn on the Christmas tree this year………..
img_5509

Recipe

Creative Bead Embroidery 1 with Kinga Nichols: Working with Precut Foundations Video Download

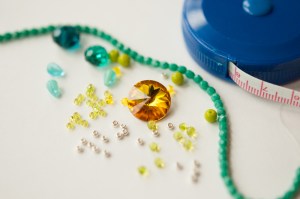
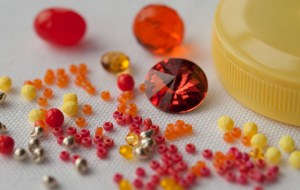
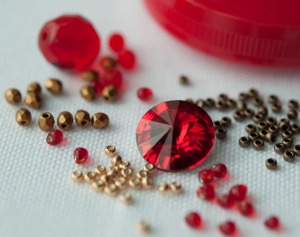
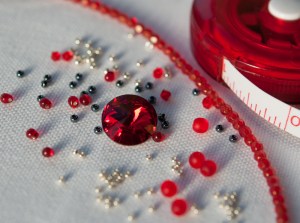
Coloured beading foundation to tone with your main colours.  I used Nicole’s Bead Backing in red (red & pink fish) and fuchsia (pink & purple fish).

Backing – tone, contrast, compliment, whatever – I used Ultrasuede in fuchsia as it’s easy to work with and I had some, although Kinga suggests leather instead as it is more durable.

Glass eye cabochon – I used a 25mm from Wingsmith for the red/pink, and a 15mm from Kookeli for the purple/pink.  Next time I’ll use a 20mm (see Hints & Tips).

Seed Beads:
  • Size 11 in at least three colours (an outline colour, a main colour for the backstitched circles and one of the fin stripes, and a third colour to give some contrast round the eyes – you could work with more than two colours in this area).  I used Duracoat Zest 4205 as the outline and Silver Lined Fuchsia 1436 as the main for both, with Silver Lined Vermillion 1010 for the red/pink fish and Silver Lined Purple 1446 for the purple/pink.  All Miyuki of course.
  • Size 15s – just a few to close the eye bezel and for attaching the lochrosen – Duracoat Zest 4205 for both fish.
  • Size 11 delicas in a contrast to form the stripes on the fins.  I used Silver Lined Frosted Orange 682 for the red/pink fish, and Galvanised Dark Magenta 463 for the purple/pink.
Feature Beads:
  • For the belly, Swarovski Lochrosen in 4mm (Fuchsia & Light Siam) for the pink/red fish, and O-beads and Tri-beads in Magic Orchid for the pink/purple.  Kinga uses the Swarovski in two sizes, which would be lovely, but I don’t have them and they seem to be very difficult to get hold of at the moment.  Probably a Strictly Come Dancing induced shortage.  The O and Tri beads worked very well though, and are more economical.  If you’re using a ‘magic’ coating, make sure the coated side sits at the back, so that the transparent side sticks up giving you the sparkle.
  • Next along the belly, some 3.4mm Miyuki drops – ideally transparent, with optional colour lining rather than a frosted or opaque – they’ll look like glossy bubbles.  I used red lined topaz for the pink/red and a pink/green mix for the purple/pink.
  • And finally, some larger, flattish beads for the scales – Kinga uses Petals, but I didn’t have any so I tried Lentils and they worked well – Etched Crystal Full Marea for the red/pink, and Magic Orchid for the purple/pink.  Again make sure you use the beads the right way up to get the best from the coating.

All in all not the best value, but well explained and demonstrated, and a fantastic, enjoyable project which I plan to repeat. A lot.
Fantasy Workshop shopping

Last week the Stitch and Craft workshop schedule for next year came out, and it got me really salivating.  Utter lushness, in the lovely Dorset countryside.  Bookings open on Thursday, and some workshops will go incredibly quickly because they are incredible designs from internationally renowned beaders.  Plus they are at the SnC Studio which in itself is a beader’s paradise, and frankly worth coming up with any excuse to visit (including ‘but I really need to learn how to make this so I have to go there’).  I don’t think I’ll be able to make it to any classes, family and work being what they are, but I’ve indulged myself with a little fantasy workshop selecting – perhaps one of you could go instead?

So, first to some of my beady friends, starting with the fabulous Jean Power.  I think I’d go for her ‘Iskra Box’, or possibly the ‘Tetra Star’, as I’ve seen elements of these in development and thought they were amazing.  Jean’s a great teacher, and really fun to bead with – we’d have a ball.

My new beady friend, Shona Bevan is teaching a few pieces – I loved her ‘CRAW Donut’ when I saw her wearing it a couple of months ago – it’s put together with such confidence and elegance, and yet it’s so daringly simple in terms of colour.  Then again, she was wearing one of her ‘Borgia Pendants’ last week and that was completely lovely.  Plus she is a scream in person so again we’d have a fab day.

When I met Sian Nolan for the first time on the Stitch and Craft stand at the Big Bead Show, she was I think wearing her ‘Flowers in the Snow’ – I couldn’t stop staring at it so I’d love to learn how to make one.  The use of I’m guessing lentils round the edges is inspired, and I have just the ones in my stash already…….

As many of you know, I’m a big fan of Sabine Lippert – from her I’d go for either ‘Night and Day’ or ‘Charming’.  Laura McCabe is coming over, and although she’s not teaching her more avant garde pieces, I think her ‘Modern Medieval Bracelet’ would give a good insight into some of her techniques.

I’ve made a few of Heather Kingsley Heath’s designs, and really enjoyed them – her ‘Samarkand’ includes fabric which really intrigues me, but then again her ‘Bumble Bee’ is adorable.  And ‘Serpentine’ looks lovely……

I’ve been trying to up skill my bead embroidery lately, and luckily my newest obsession (kicked off by the arrival of this very brochure) is the bead embroidery of Kinga Nichols.  I’ve just splashed out on her Interweave video featuring a fantastic fish (and started beading it), so I wouldn’t pick that class even though it really appeals – instead I think I’d love to learn how she achieves such lovely textures and shapes in her abstract pieces, so would go for the ‘Bees Knees’ pendant – very wearable as well.

Looking at some of the other classes, ‘Nuts & Bolts’ by Heather Collin (taught by Lynn Firth) caught my eye.  It looks like an intriguing construction with an opportunity to play with colour, which is obviously a plus for me, and very wearable.  Then the lovely Lynn is also teaching some of her own pieces as well…….  There’s a bead crochet class with Gillian Lamb which might be a good idea (I really cannot get the hang of it on my own), and then there are classes from the incredibly elegant Maggie Meister, and exploration class using Hubble Stitch with Melanie de Miguel, and oh the list goes on, so it’s just as well I don’t have to choose.  If you can though, do, and you will definitely have a lovely time.

Some more Materials Packs

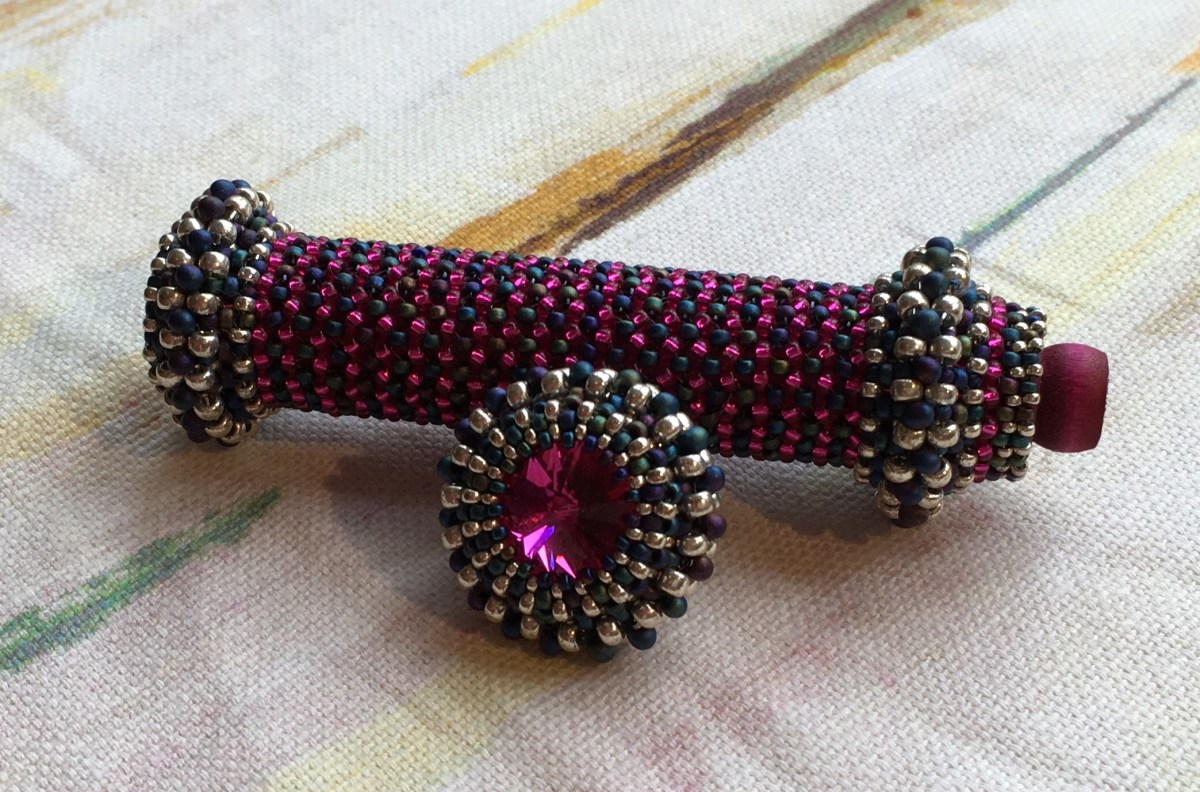
As well as the new spiky packs I’ve managed to create some new colour-ways for my Baroque Tape Measure, and resurrect some previous ones.

The new ones are:

Medium Vitrail
Medium Vitrail
Bruised
Bruised
Ruby & Gold
Ruby & Gold
Caribbean Sunshine
Caribbean Sunshine

And the resurrections are:

Tequila Sunrise
Tequila Sunrise
Ruby & Old Gold
Ruby & Old Gold
Scarlet, Silver & Gunmetal

As usual they are available in my Folksy shop (click on the pictures) or my Etsy shop (here for the new colours, here for my completely favourite Tequila Sunrise, or here for the Scarlet or Ruby).  And finally, the tutorial itself is available for instant download via Etsy here (VAT will be added if you are in the EU), via PayHip here (no VAT), or if you don’t mind waiting for me to e-mail via Folksy here (no VAT).

Materials Packs for Great Balls of Spikes

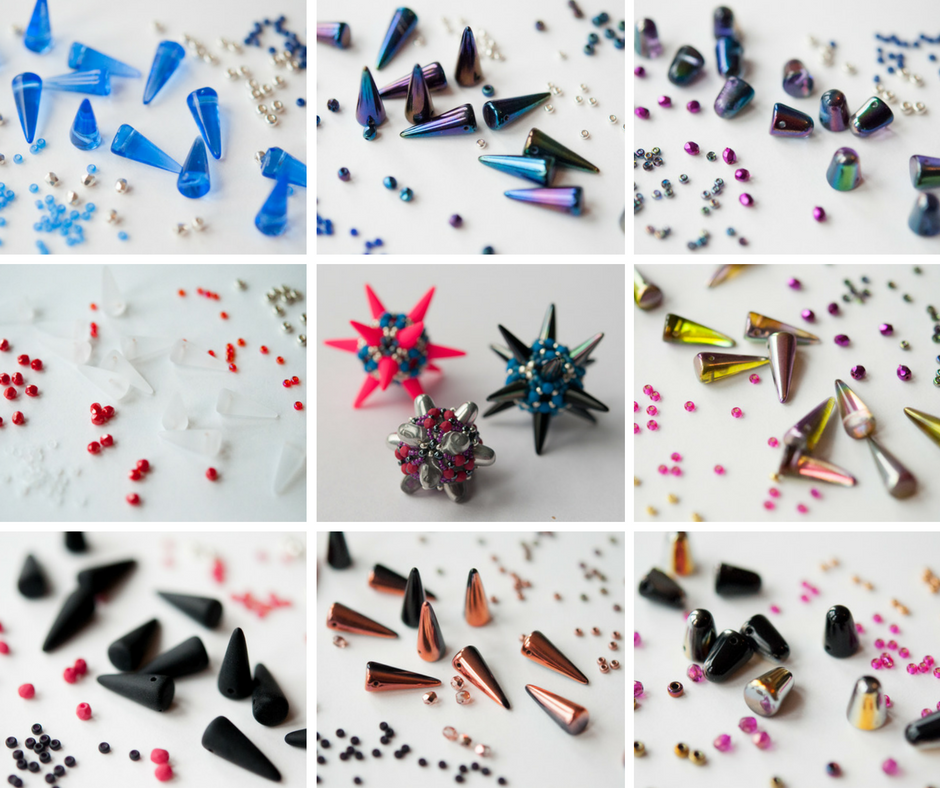
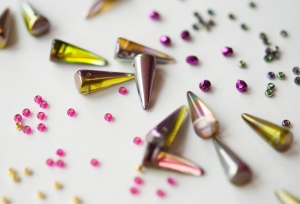
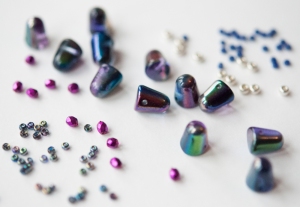
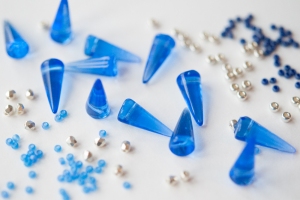
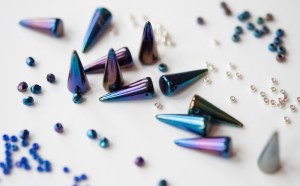
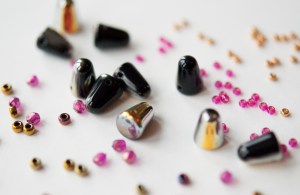
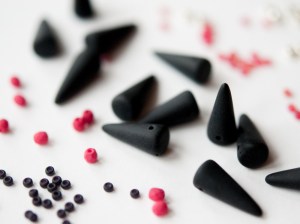
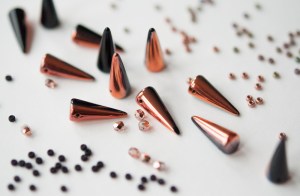
I’ve been meaning to put together some Materials Packs for my Great Balls of Spikes Tutorial for ages, and on Saturday I had the time (well I had the energy to stay up late to make the time).  So here they are – I hadn’t realised quite how many Spikes & Gumdrops I’ve managed to collect whilst ‘meaning to do this’, so there is a nice variety of colours and finishes to suit all tastes.  I’ve really dug around in my stash to find some interesting finishes for the seeds and fire-polished beads, and am parting with some really nice ones which I’ve been hoarding.  My favourite is the Magic Orchid Spike colourway, because the spikes are gorgeous and really sing with the Zest, Fuchsia and Magic Orchid seeds and Magenta Metallic fire-polisheds, and quite frankly if someone doesn’t buy it soon it may mysteriously disappear.

Anyway, here they all are – if you click on each photo it should take you through to the correct listing in my Folksy shop.  If you’d rather use Etsy, then the brights (Magic Orchid, Cornflower, Frosted Crystal) are here, the darks (Matte Black, Jet Copper, Blue Iris) here, and the Gumdrops (Magic Blueberry, Jet Slipperit) here.

Magic Orchid Spikes
Magic Orchid Spikes
Magic Blueberry Gumdrops
Cornflower Spikes
Cornflower Spikes
Dark Blue Iris Spikes
Jet Slipperit Gumdrops
Matte Black & Crimson Spikes
Jet & Copper Spikes
Jet & Copper Spikes
Matte Crystal, Scarlet & Silver Spikes

And finally, the tutorial itself is available for instant download via Etsy here (VAT will be added if you are in the EU), via PayHip here (no VAT), or if you don’t mind waiting for me to e-mail via Folksy here (no VAT).

More UFOs

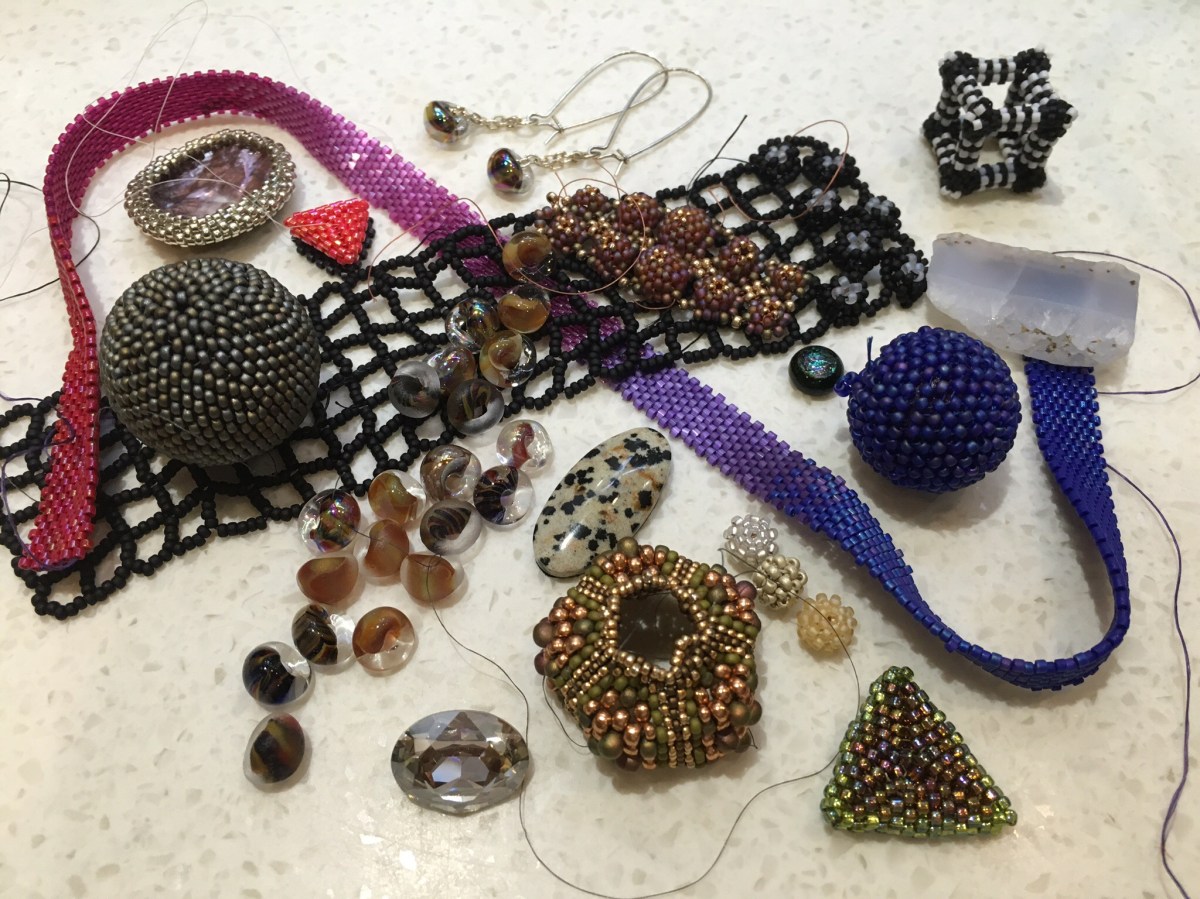
Last week I was hunting for my wire box (which should have been labelled, but the small people like to take the labels off, presumably to make life more fun), when I happened upon the UFO box. This should really be called the failure box, since this is where I put things I’ve given up on (genuine UFOs which I intend to finish live in a different box in a different room, and I’ve already blogged about them and done nothing to them since).

Amongst a tangle of hopeless failures and technical disaster zones I found several viable pieces, which I think got thrown in there in a hurry when I was clearing my stuff out of the spare room before we had the smallest boy.  As he is nearly two and a half you can see it’s been a while since I looked in there, so it was a pleasant surprise to find so much usable work! There were also some lovely beads and a finished pair of earrings……..

In no particular order we have:

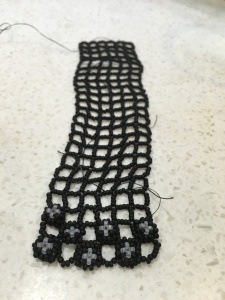
  • The black net base for a Racel Nelson Smith Ootheca cuff.

image

  • Part of another Rachel Nelson Smith piece in lovely earth colours.
  • A finished black and white hollow cube – a sample with more zip beads on the corners than I now do, so an early point in the evolution of this series, but I now think rather fun.
  • Some lovely mushroom beads, and a pair of earrings made from them.
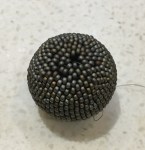
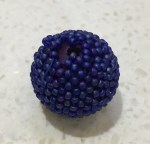
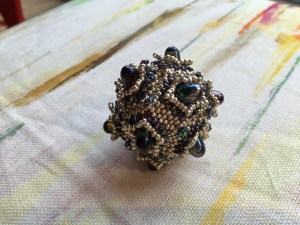
  • A couple of salvageable beaded beads – the giant pewter ones has issues at either end, but can be embellished to hide them, and the blue one was an attempt at using RAW which didn’t go well, but will be fine as an Anenome base.

imageimageimage


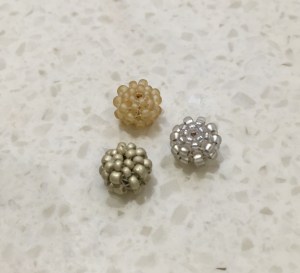
  • The teeny ones were going to be part of a big piece, but bored me.  They will now be a nice little pendant, hung as a trio.

image

  • A khaki and copper attempt at a sea urchin design, which failed as an urchin but could make a rather nice hollow beaded bead.
  • A long piece of peyote with graduated delicas that simply needs zipping round a wire core to make a necklace.
  • Assorted beads, stones and bits and bobs.

I did find the wire in the end, but got distracted and haven’t used it yet. Tomorrow…….
 

Multi-tasking

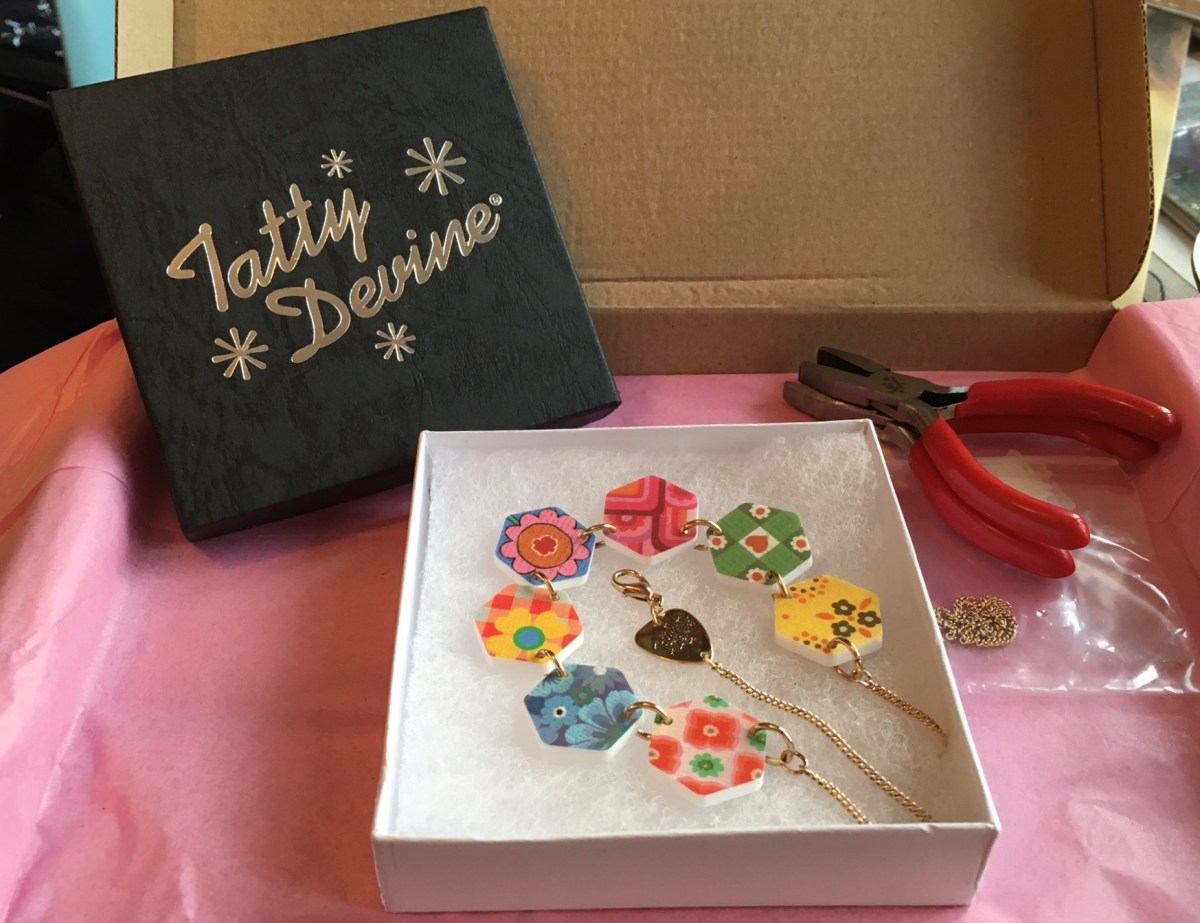
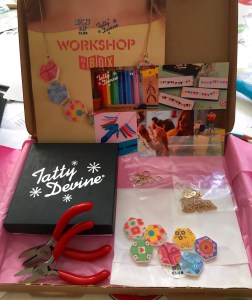
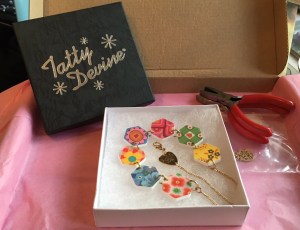
Yesterday the boys were ‘painting’ and I thought maybe this was an opportunity to make the Tatty Devine kit I bought through Lucky Dip Club last year.   Tatty Devine make fantastic and funny acrylic based jewellery – I lust regularly after their extraordinary dinosaur necklace, gin bottles, and double decker buses.

I’ve previously worked with shrink plastic and am planning to get into that again, and although this used acrylic components they’re pretty much the same at the assembly stage, so I felt that this would be a useful test of whether I enjoy this kind of assembly.  Plus I’ve had it for ages and it will go with loads.

image

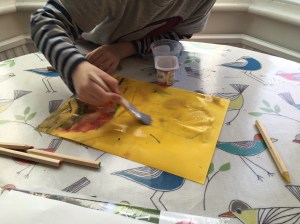
It went well to start off with – it’s not a taxing kit as you simply have to open and close a few jump rings. The boys and I created together for a while quite happily – watercolour pencils aren’t too high on the messy play scale or so I thought.

image

And then just as I thought ‘wow this is great, one day I might even be able to bead while they draw’ this happened……..

image
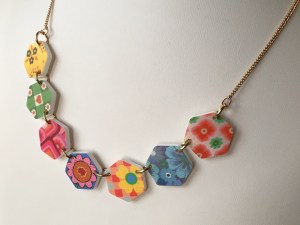
Anyway, once that had been dealt with, I got the necklace finished.

image

It’s pretty, was simple to make and looks like a ‘real’ Tatty Devine piece, so on the whole I’m pleased.

image

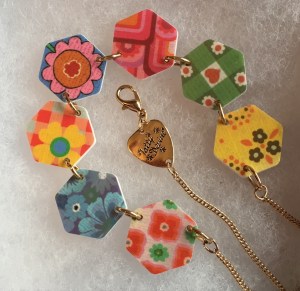
The only step that gave me trouble was getting the smaller jump rings into the cut end of the chain – I’d have to say that this was a bit of a squeeze, and although the instructions warned me, and they probably work with this combination in their main product lines every day, I felt for a beginner kit a different chain would have been better.

image

The kit wasn’t cheap at £40. However I’ve ended up with a gift boxed Tatty Devine necklace, and some pliers, and given that their ready made pieces run from slightly less to much, much more, all in all it was a fair price and an enjoyably simple and quick make.  I probably would have preferred something a little less floral, but it’s still nice and it’s sparked some ideas.

Sadly there are no more available, but if you’re in London you can make some similar pieces with them at one of their workshops.

The Sting

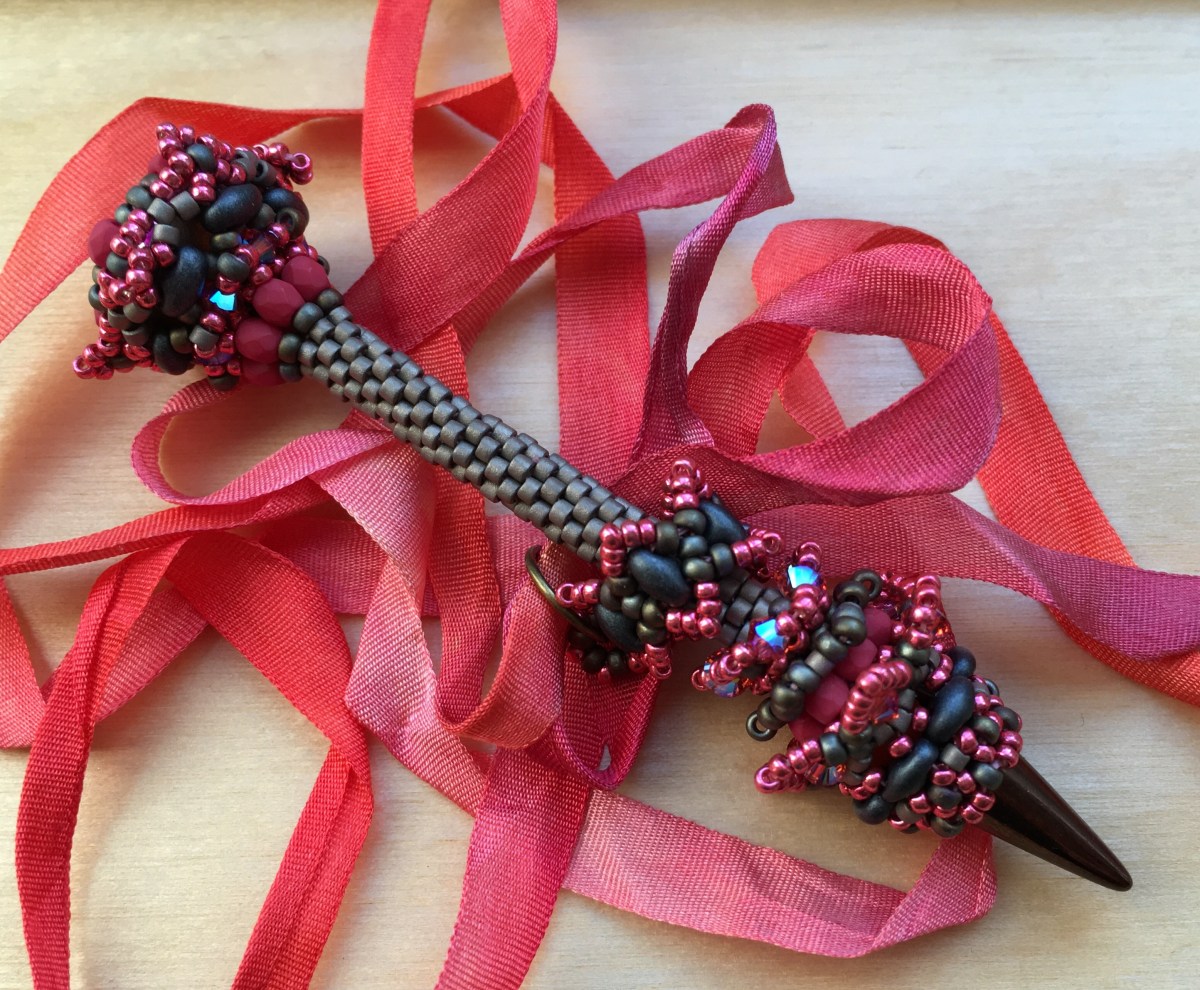
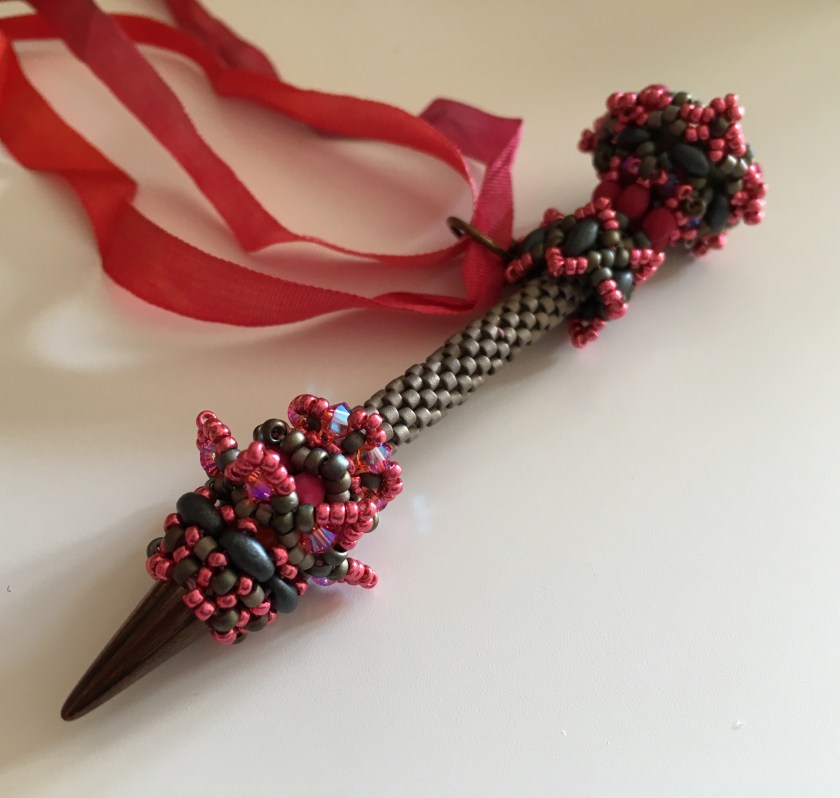
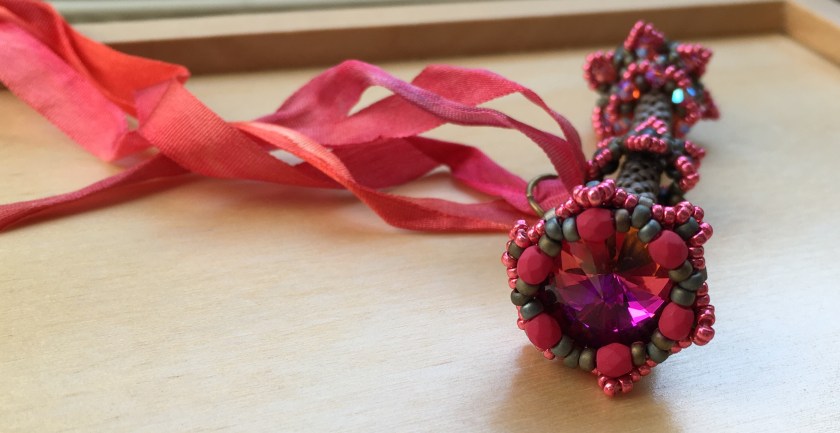
I’ve been working really hard on a competition piece recently, and after a month’s solid discipline I fell of the wagon last week and wandered off into other beading.  I’m sure the break will be good for me, but none of the other beading really worked and that made me rather antsy.  When this happens, there are two options – have a night off beading, or do something which can’t fail.  I didn’t want a night off, so I turned to my stash of digital patterns to find something by a designer who never lets me down – Sabine Lippert.  Just before Christmas she had a pattern sale, so I had a little splurge on a few patterns, including her pendant ‘Sting’.  This looked like something which would be achievable in an evening or two, so I pulled some beads and got going.

image

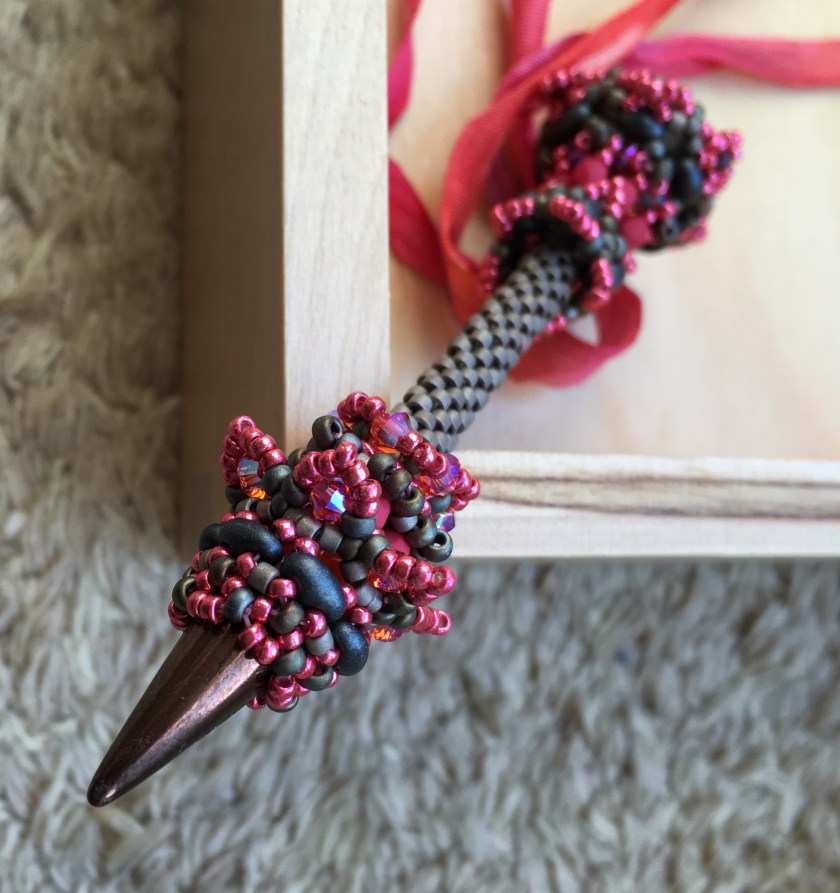
It was a good decision – as always with Sabine’s designs this piece went together very nicely.  It took around 3.5 hours – I’m used to Sabine’s designs so can usually work them up quite quickly, and I found this one pretty easy, with everything just slotting together perfectly for a contented evening’s beading.  It’s given me my beading mojo back, and with some child free time off the day job coming up, I feel refreshed and ready to get some of those long awaited tutorials finished and launched soon.

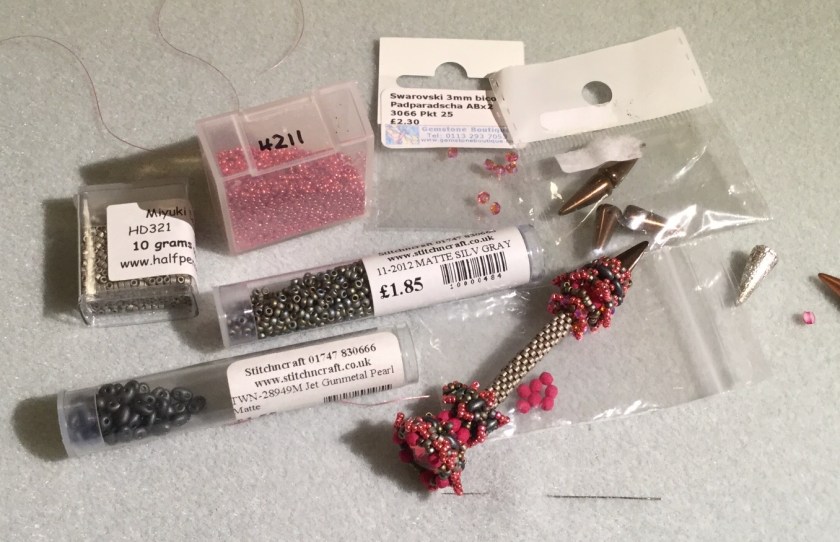
Recipe

image

  • 15 seed – Miyuki Duracoat Cranberry 4211
  • 11 seed – Miyuki Matte Silver Grey 2012
  • SuperDuo – Jet Gunmetal Pearl
  • Delica – Miyuki Matte Pewter 321
  • 3mm Crystals – Swarovski Paparadscha AB2 (slightly hard to find colour in 3mm – I got mine at a show from Gemstone Boutique)
  • Spikes – Dark Bronze.  I have no idea where they came from!
  • 3mm Round – I didn’t have any in the right colour, so I used some Saturated Fuchsia firepolisheds from Robin’s Beads, which worked well.
  • 6mm Round – I used an orange FP, this can’t really be seen so you just need something that tones in.
  • 14mm Rivoli – Chinese (not as fine a finish as Swarovski or Preciosa, so they don’t work with a tighter bezel, but a fantastic colour which neither of them offer and worked for this project – from the Southampton Bead Shop)

image

The ribbon (I know it needs a press, it’s been lurking in my stash for ages) was hand dyed by Stef Francis, a fantastic space dyer who I came across in my sewing days.

Tips

I usually find my tension too tight for Sabine’s pieces, because of the 3D embellishments and layering.  So I relaxed things a bit, but unfortunately I shouldn’t have done as this is one which requires stiff tension to create a solid rod of peyote, so it came out a bit floppy.  However, I have stuck a head pin down the middle and it’s fine!

Sabine does warn you about this in the blurb on her site, but not in the pattern.  Because I’d bought the pattern a while ago, I’d forgotten what the blurb said, but to be honest a beader of my experience should know that if you want to make a peyote tube rigid you’ve got to do some pretty solid stitching, and use a suitable thread – Sabine recommends Fireline explicitly in the materials list (which should have been another clue) but I’ve gone off it a bit, so I used KO which is clearly not going to give the same rigidity.  So entirely my fault, but a useful learning experience (just when you think you have things sussed…..), and it still looks fine.  If I make this design again, which I probably will, I might perhaps stick a cocktail stick down the middle for extra stiffness anyway (the head pin I used is after all flexible).

Sting - Sabine Lippert - beaded by Sarah Cryer

Colours

One of my resolutions this year is to include more neutral colours in my beadwork – I have a tendency to chuck colour at things, which sometimes gives me an amazing looking piece which is completely unwearable.  I try to avoid beading with black as it’s hard work, and anyway I wear a lot of navy blue rather than black, so I’ve been using a lot of 401FR and similar to give me a navy base.  I’m also getting really into pewter, and other matte, mid greys, as they work well with the etched beads I’m currently obsessed with, so for this piece I chose a selection of those tones for the base beads, and variations on a dark salmon pink for the main colour.  I toyed with a few different spikes (which you can see in the materials picture), but in the end the dark metallic chocolate worked best. This was going against my instincts, which were to pick out the fuschia and orange of the stone, and maybe chuck in some zest, but I think it’s worked well and given me a striking but wearable piece, proving that this is a good resolution!

Conclusion

A lovely piece, well worth buying and trying.  Rock hard tension and the correct thread would have helped keep the main shaft rigid, so always read the instructions.  I’m going to get back to my own work for now, but next time I need a break I’ve got Sabine’s Toggle Ring tutorial to try.


Playing with forms

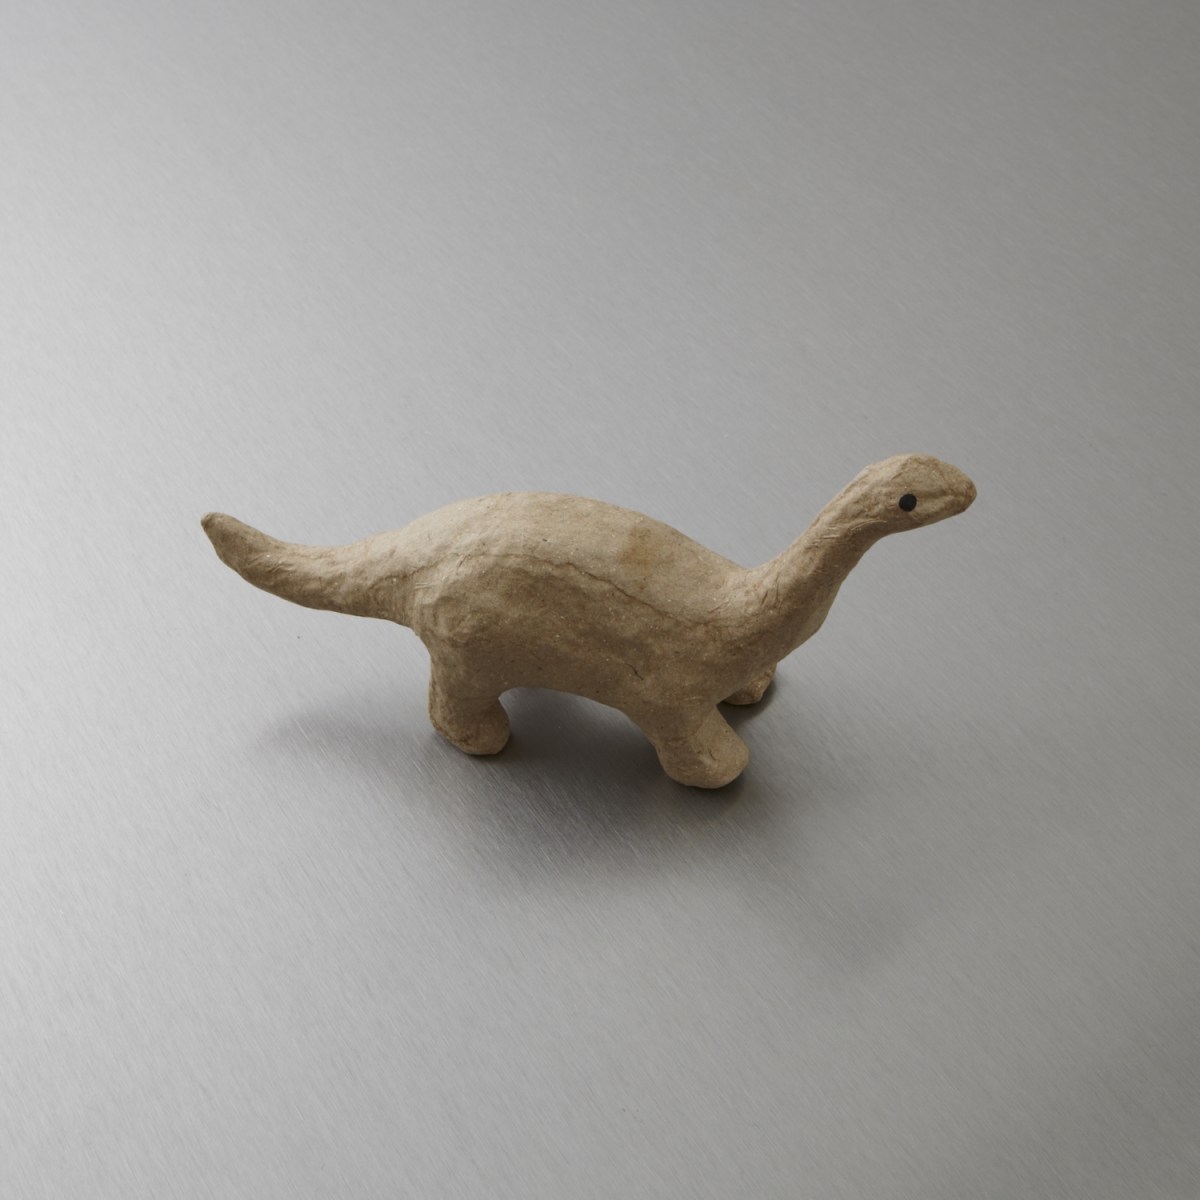
For years now I’ve been eyeing up my children’s tiny plastic toy animals – surely I could bead around one and make something really funky?  But I’ve been put off by two things- firstly they are really small and it would be fiddly (I know this is ironic coming from a beadweaver) and the ‘spare’ ones here are all creepy crawlies and I really don’t like them. We do have a giant octopus just crying out to be beaded but he is much too big.

So when I was in the local art shop (gorgeous Cass Arts) the other day and saw some small Decopatch creatures I thought ‘aha – they look fun’.  So I now own a lovely Brontosaurus – she’s small enough to be achievable, but big enough to allow me to work out some techniques in sensibly sized beads.  She’ll be an ornament rather than something to wear, but if she works I can try a smaller form next time – I’m seeing a range of necklaces made of tiny beaded T-Rex’s already…………….


Our Solar System

One of the best bits of winning an Etsy Beadweavers Challenge is that you get to choose a future challenge topic.  The first time I won (with my Nasturtium Ring) I chose ‘Architecture’, which prompted some lovely entries.  My second win, with my Wings Bangle for the ‘Abstract Painting’ challenge was last October and my space mad family chose ‘Our Solar System’ as a theme.  Because we don’t run a challenge in December, and because January is always ‘Rising Star’ (for new members and those who haven’t won a challenge), the team have had plenty of thinking and beading time, and there have been a huge number of really fabulous entries.  I’ve not entered because I did a Planets necklace a while back and was a bit stumped for a new idea – looking at the entries I wouldn’t have stood a chance anyway!

So, the brief I gave them was:

The Solar System

In our house at the moment we are completely obsessed with our Solar System. My husband has a new telescope which we’ve been using to look at the moon and planets, so he’s constantly coming up with new activities (last week we all watched the International Space Station whizz over us). Recently we saw a wonderful harvest moon, followed the same night by the lunar eclipse (so much better than last year’s cloud covered solar eclipse), and last week I opened my newspaper to see some extraordinary new images of Jupiter’s storms from the Hubble Space Telescope, so when it came to choosing a theme it seemed like the whole universe was shouting at me!

Anyway, our Solar System seems like wonderful inspiration for beaders – how about beaded beads making a necklace of  planets, a scatter of rough natural crystals captured in freeform beadwork forming the Asteroid belt, or some bead embroidery inspired by the twisting stripes of Jupiter’s storms? And if you get stuck you can always watch our favourite song for inspiration, or if you are feeling more sensible have a look at the Hubble website’s gallery (don’t get distracted by the far off nebulae though, please stick to our own Solar System).

I gave them a link to Thomas (5) & Oscar’s (2) favourite song:

And to the Hubble Gallery.

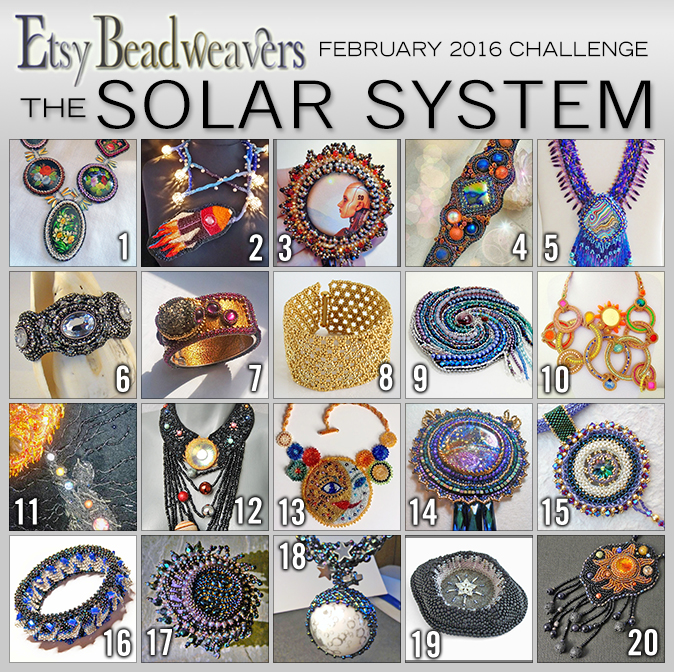
And this is what they produced – extraordinary!

Etsy Beadweavers Feb 16 Solar System entries

Here are links to the Etsy listings:

Thomas (5) is completely in love with Kris’ Rocket (no.2) – who wouldn’t be, and dear husband loves the other Chris’ spiral galaxy (no.9).  Apparently the fact that our solar system is shown in red is astronomically significant and that (as well as its’ loveliness) pleases his pedantic heart.  Oscar (2) is far too young to choose a favourite (he just says ‘beads’), and I can’t really say because it would be a bit inappropriate (although I think those of you who know me could probably narrow it down to three based on past beady fawning).  I’ll tell you all when the voting is over…………….

Anyway please, please do have a proper look through and then swing by the team blog before February 16th and cast your vote for your favourite – it only takes a second, and there is something for everyone.   Follow us on Facebook or via the blog to keep up to date with all of our shops and to be inspired by the challenges (next month’s is ‘Masquerade’), and if you really love one of these fantastic pieces, why not buy it and have it forever?

2016 beady to do list part 2 – tutorials

So here we are again – next on the list some pieces which I’ve started the tutorials for:

Oscar’s Bauble

This is a variant on Oscar’s Rattle, which was my winter piece for the 2014 Stitch N Craft Challenge, and I think I’d started work on the instructions in late 2014 but abandoned them as it got too close to Christmas, thinking I’d get them done ready to launch in Sept 2015.  I didn’t, so it would be nice to get this done in time for Christmas 2016.

Oscar's Bauble - Sarah Cryer Beadwork


Art Deco Needle Case

From my 2013 Stitch n Craft Challenge Chatelaine.  I think I even started buying supplies for the materials packs for this one!  This is the one I’m going to publish next, and the aim is to do it by the end of Feb.

Art Deco Needle Case - Sarah Cryer Beadwork

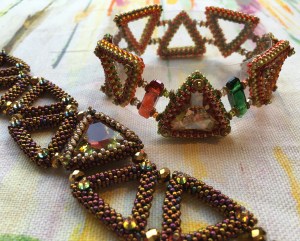
Triangles Bracelet

Not so sure about this one, it has many features that I’m proud of (such as the counter sunk catches in the second version), and I love the rounded spars of the hollow triangles.  I think this one may be changed to become part of a series of hollow geometrics, as I made a whole series of shapes a long while back which I’d like to write up and publish – to be honest the 3D ones maybe more interesting and unusual than this one?

image

And another pieces which I think would work as a tutorial with a bit of tweaking:

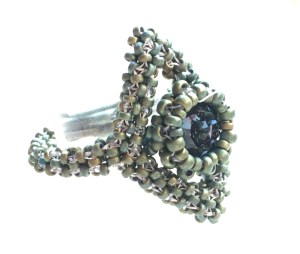
CRAW Ring

This was initially started for an Etsy Beadweavers Challenge with the theme ‘Game of Thrones’, but wasn’t done in time, and although I’m pleased with the design, the execution was flawed (mainly because I used too light a thread) so it wasn’t suitable for sale in this incarnation.  It’s all 15 seeds, so not for the faint hearted but will I think evolve into a tutorial as it’s a nice wearable piece and useful for those looking to improve their CRAW and add some new CRAW shapes.  It includes slightly tricky steps (such as splitting the CRAW), but I think if I work on them a bit more I can come up with some teachable thread paths.  Perhaps I’ll do my working out in 8s rather than 15s though……

CRAW Ring - Sarah Cryer Beadwork