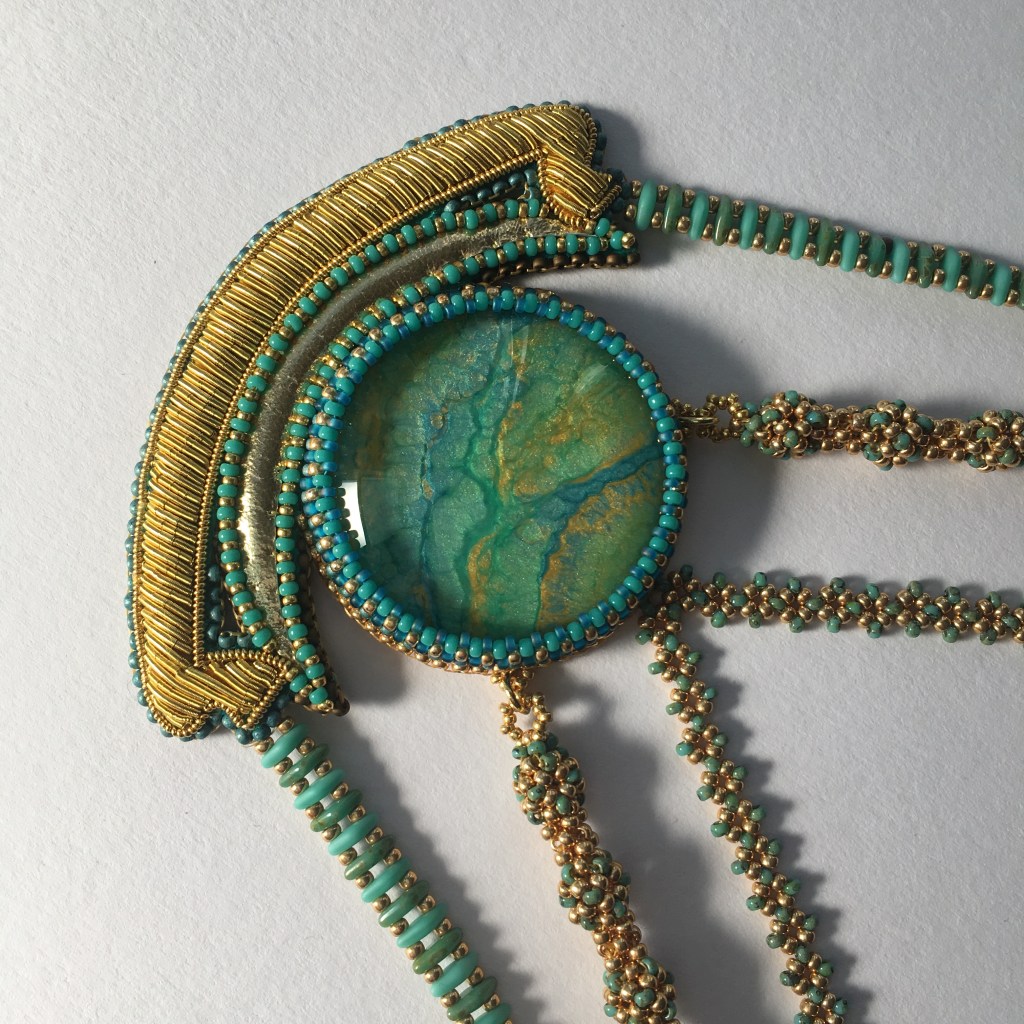
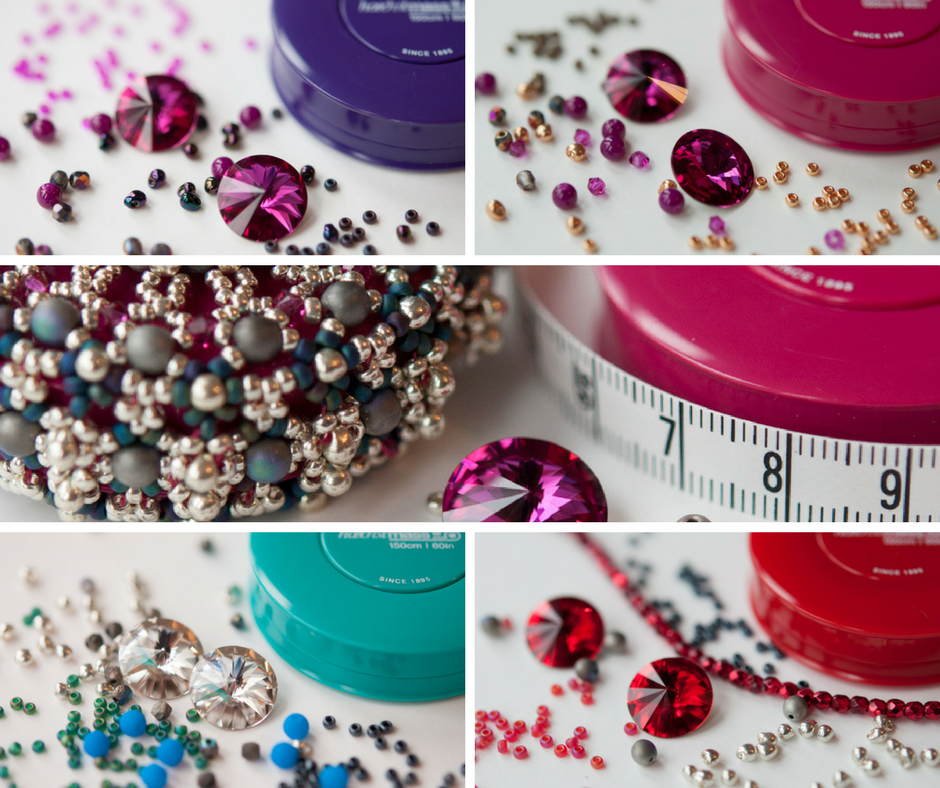
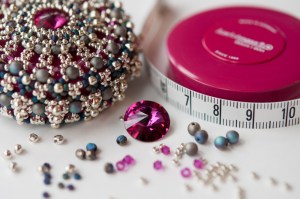
So I finally got my act together and made some Materials Packs using the lovely Hoechtmass Tape Measures that arrived about a month ago. They are very well made, and should last well, and their slightly recessed outer edge means the beads sit really nicely. The colours are absolutely stunning too – I got lots in the fantastic deep fuchsia (obviously) and then two each in some of the other colours. I’ve used the fuchsia in two of the new packs, and the red, jade & purple, but I’ve still got some pink, yellow & orange left to come up with some more combinations. They are available here in my Etsy shop.
I’ve also been able to get hold of some fantastic Czech beads, including matte glittery, neon or ‘happy’ finish rounds, etched glittery, matte slipperit (my complete favourite) or metallic ice fire polisheds.
I should say though at this point that because the Hoechtmass Tape Measures are so very well made, they cost me several times as much as my usual tapes. I’ve tried to absorb some of this, but I do need to charge slightly more for these packs – £22 instead of £20. I do still have packs using standard tape measures too in some lovely colourways here if you prefer. Additionally the Hoechtmass Tapes have a smart metal end, rather than a plastic removable tab, so there is no need/option to add a beaded bead or tassel, so I don’t include additional beads for this.
So at the moment I have in stock the new Baroque Tape Measure Materials Packs ‘Plus’ with Hoechtmass Tape Measures here in:
Silver & Fuchsia – this colourway goes with the Navy & Fuchsia Space Needle Materials Pack (currently out of stock in Long, but in stock in Short). It includes Etched fire polished and Matte Glittery beads plus all the usual Swarovski, Preciosa and Miyuki beads. I’ve made one of these as you can see from the picture to check that the etched beads don’t cause any fit problems, and to check the sizing on the new tape measures and it looks fantastic!
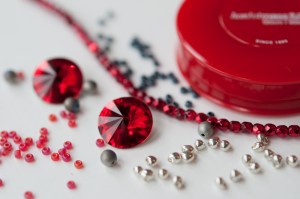
Crimson & Silver – this colourway goes with the Crimson & Silver Space Needle Materials Pack ((currently in stock in Long, and Short). It includes Metallic Ice fire polished and Matte Glittery beads plus all the usual Swarovski, Preciosa and Miyuki beads.
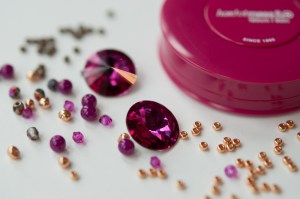
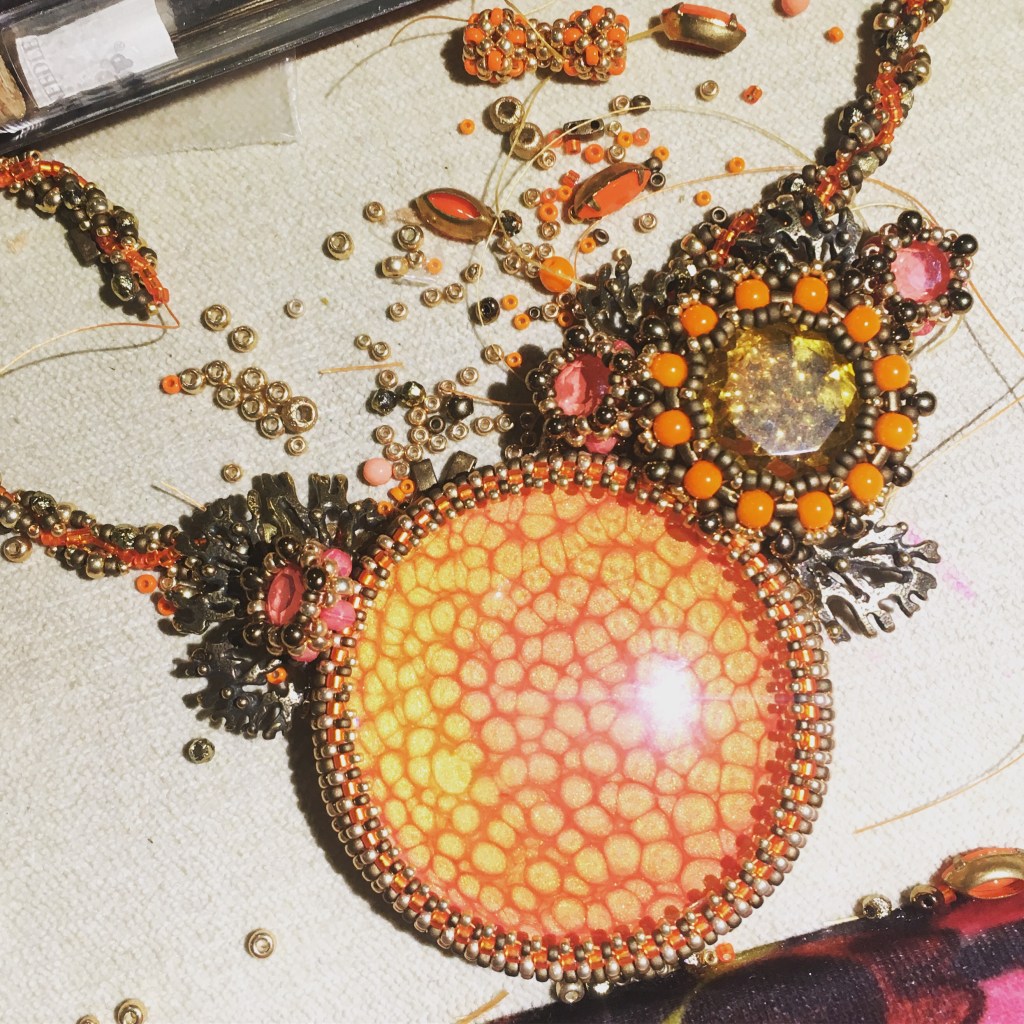
Fuchsia & Dark Golds – this colourway adds gold to my original Fuchsia & Bronze version for added sparkle. It includes my current favourite matte Slipperit fire polished and some completely stunning ‘Happy’ finish round beads. plus all the usual Swarovski, Preciosa and Miyuki beads.
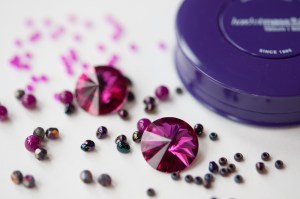
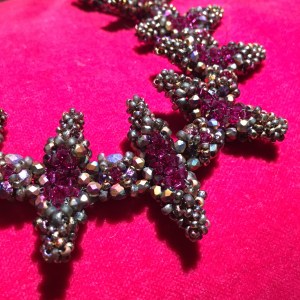
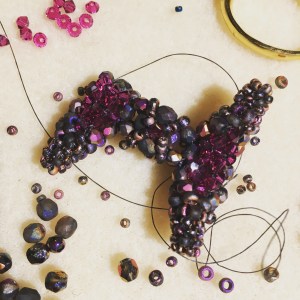
Blackberry – Fuchsia, purple & plum combine for a bruised blackberry treat. Again this uses the matte Slipperit fire polished and ‘Happy’ finish round beads. plus all the usual Swarovski, Preciosa and Miyuki beads.
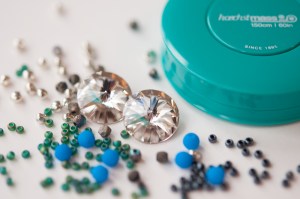
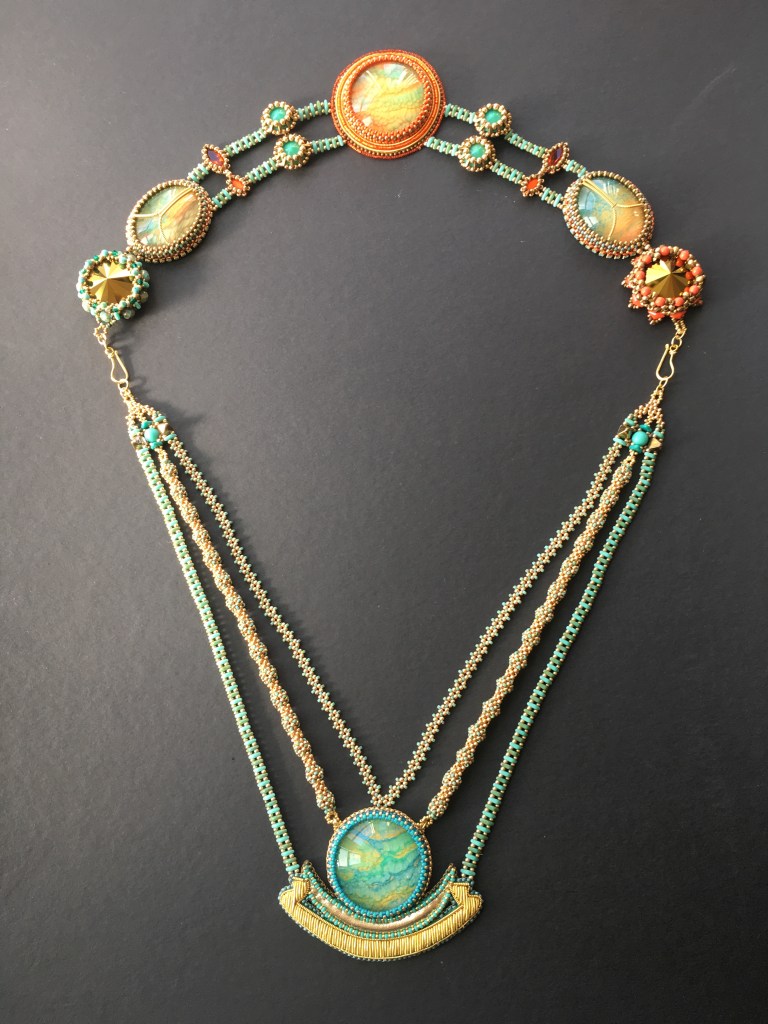
Jade & Silver – Emerald, silver, crystal & vivid blue for an oceanic mermaid like zinger. This one uses blue neon rounds for added ‘glow in the dark’ fun, the etched fire polisheds again and the usual Swarovski, Preciosa and Miyuki beads. And for once, unusually for me, no red or fuchsia…..
And finally, an update on my shops. I’m starting to separate out my Etsy and Folksy shops, to make it easier to manage stocks on the packs and supplies side. As previously my Etsy shop will have a limited range of my finished pieces, plus all of my Materials Packs, Cabochons and Tutorials for download. My Folksy shop will have all of my available finished beadwork pieces, but nothing else, and I’ll continue to offer an alternative source for Tutorials through PayHip via the Tutorials page here on my blog.