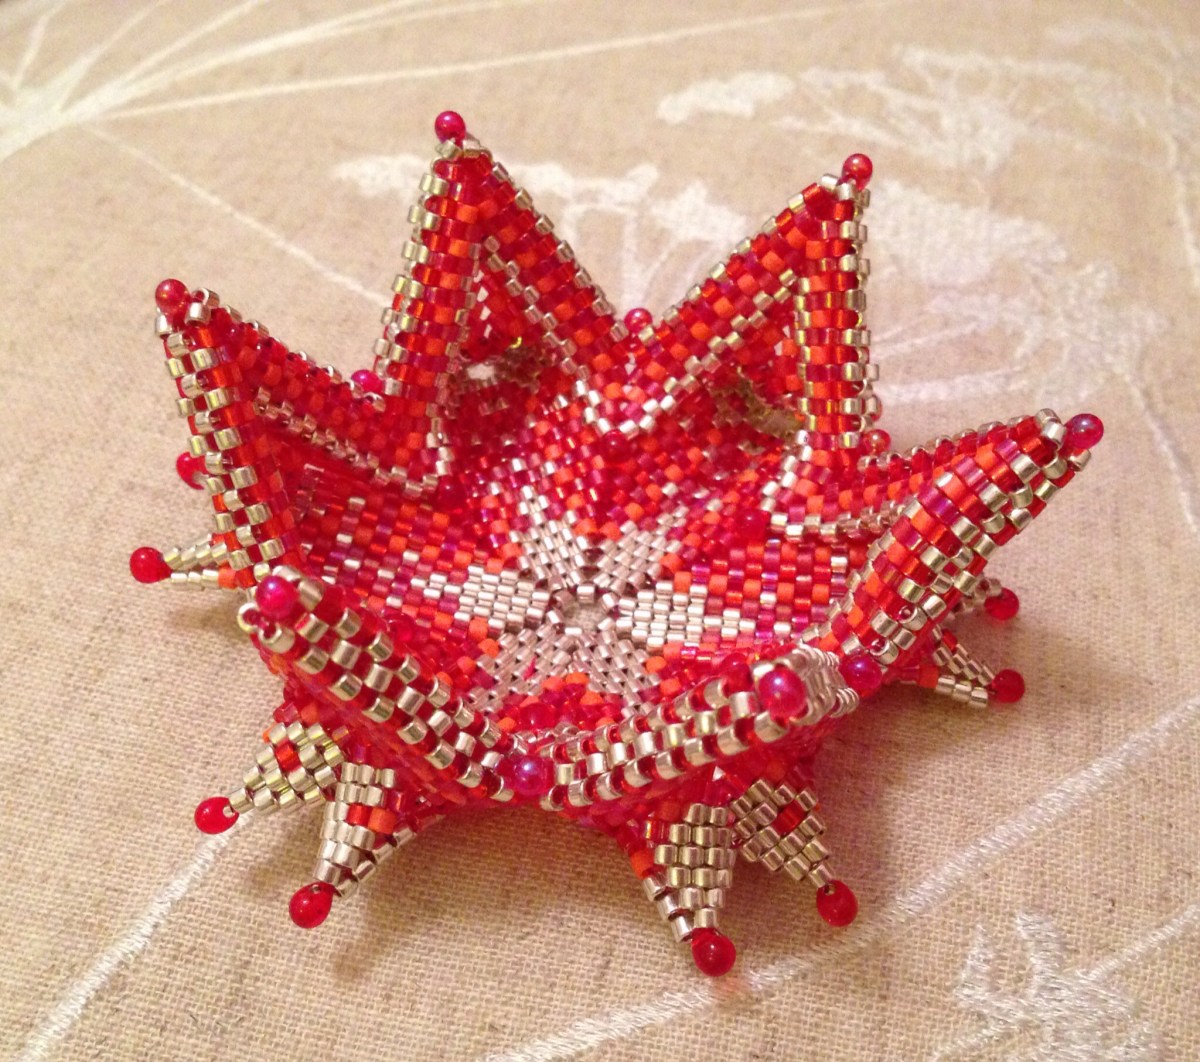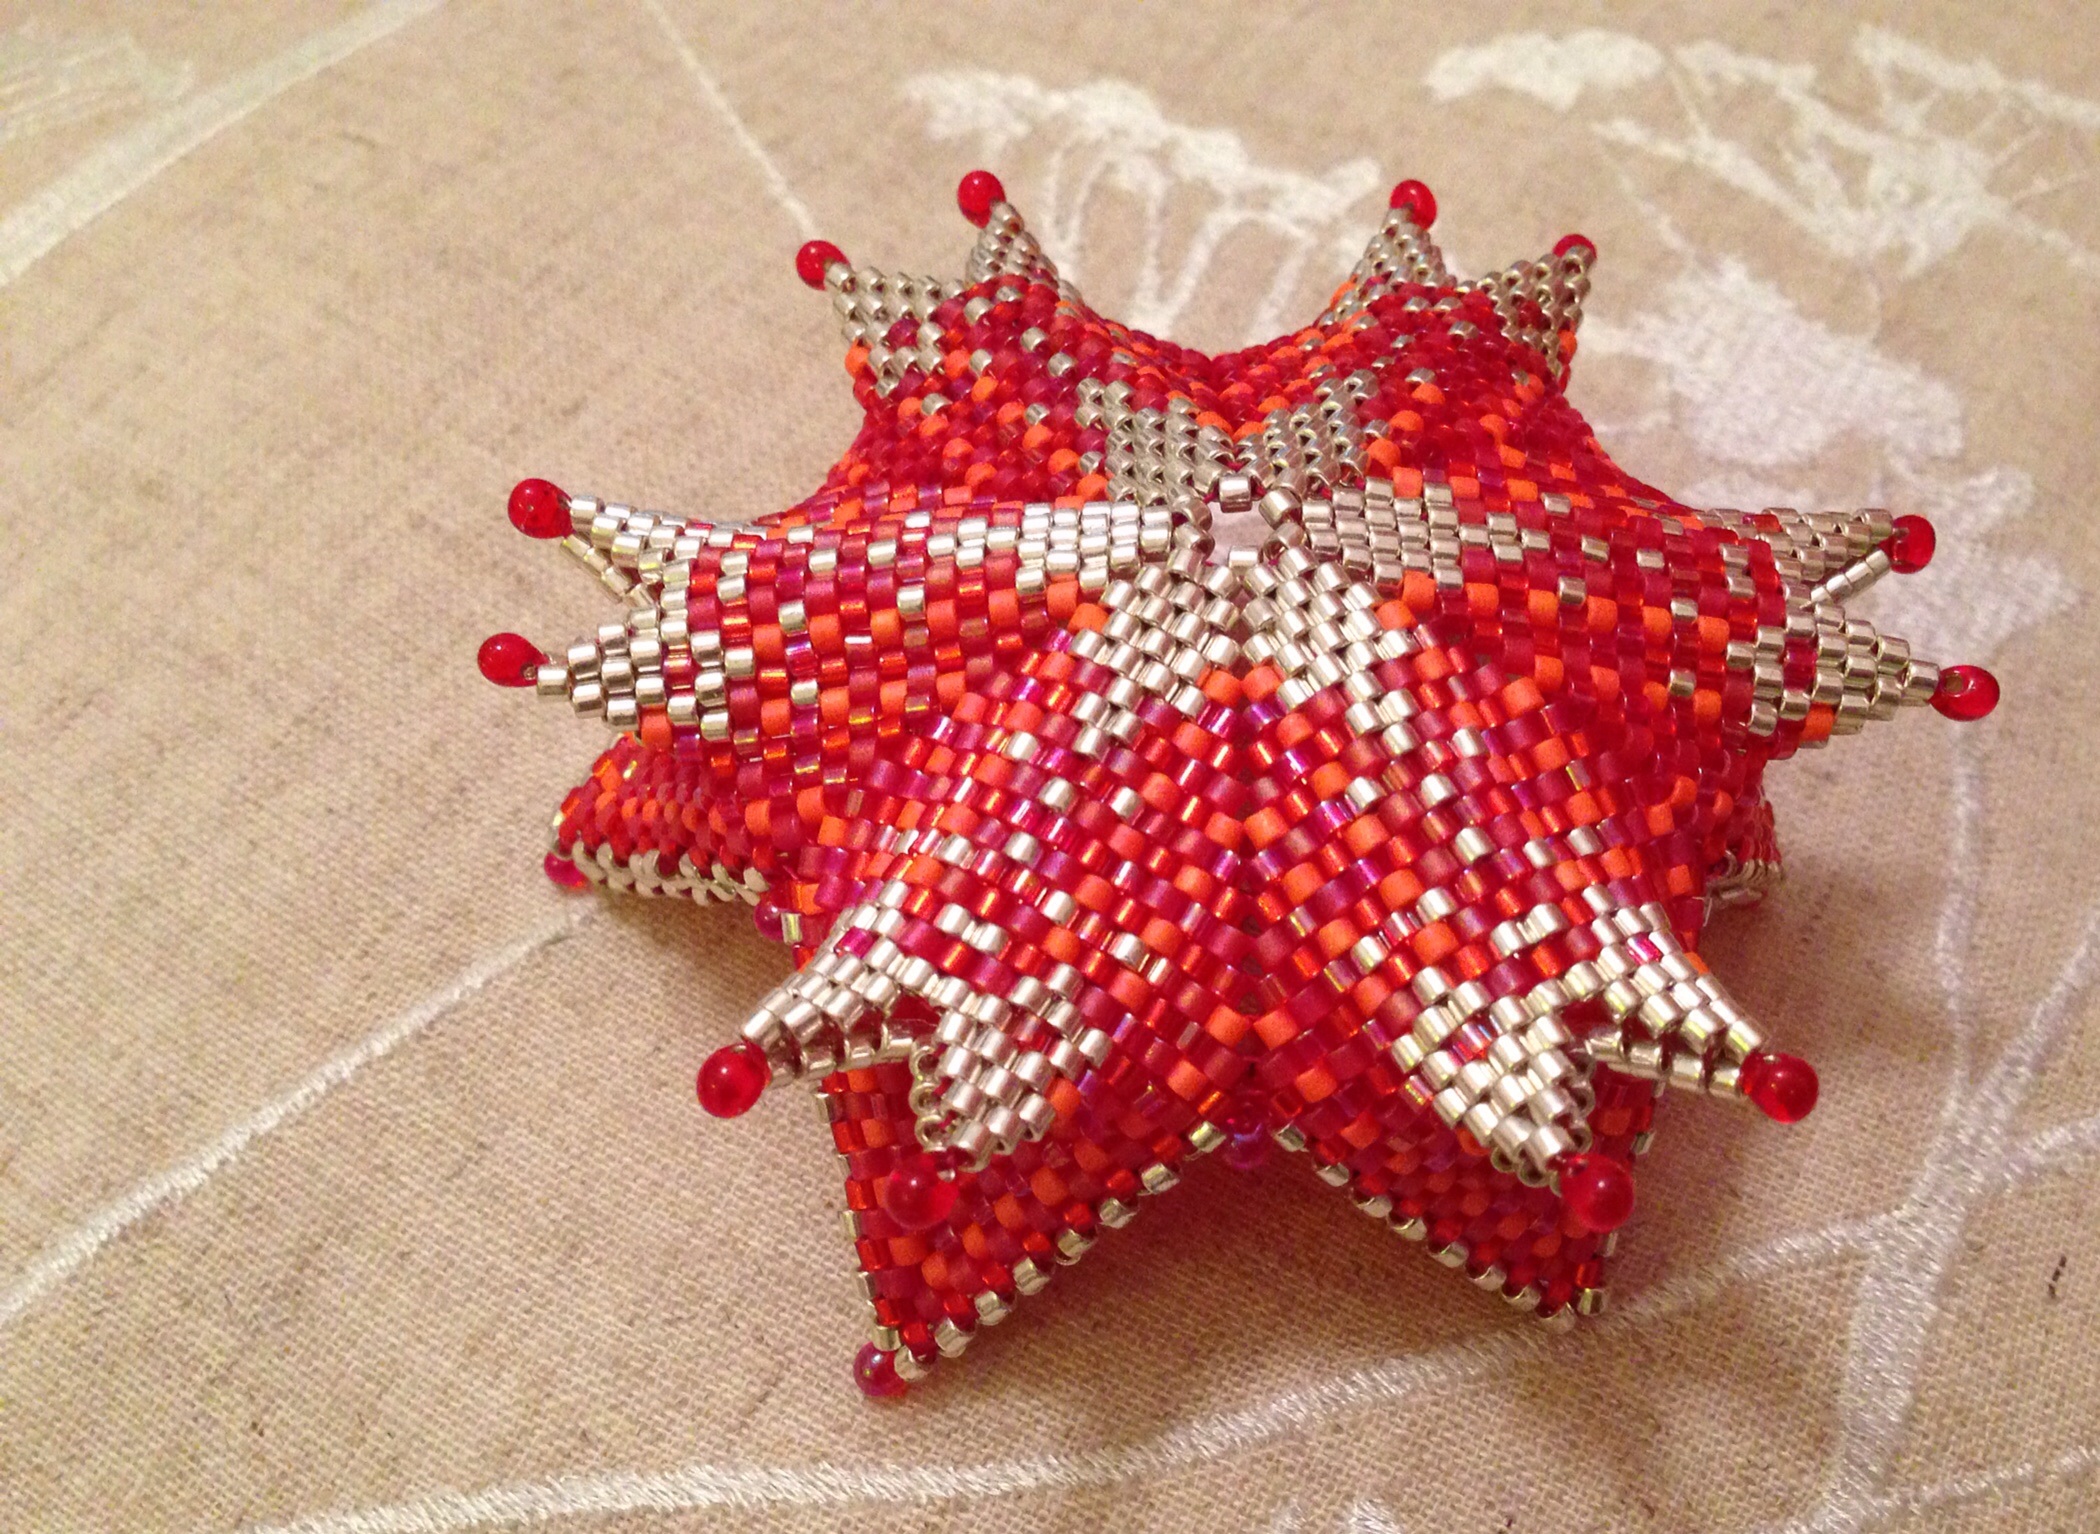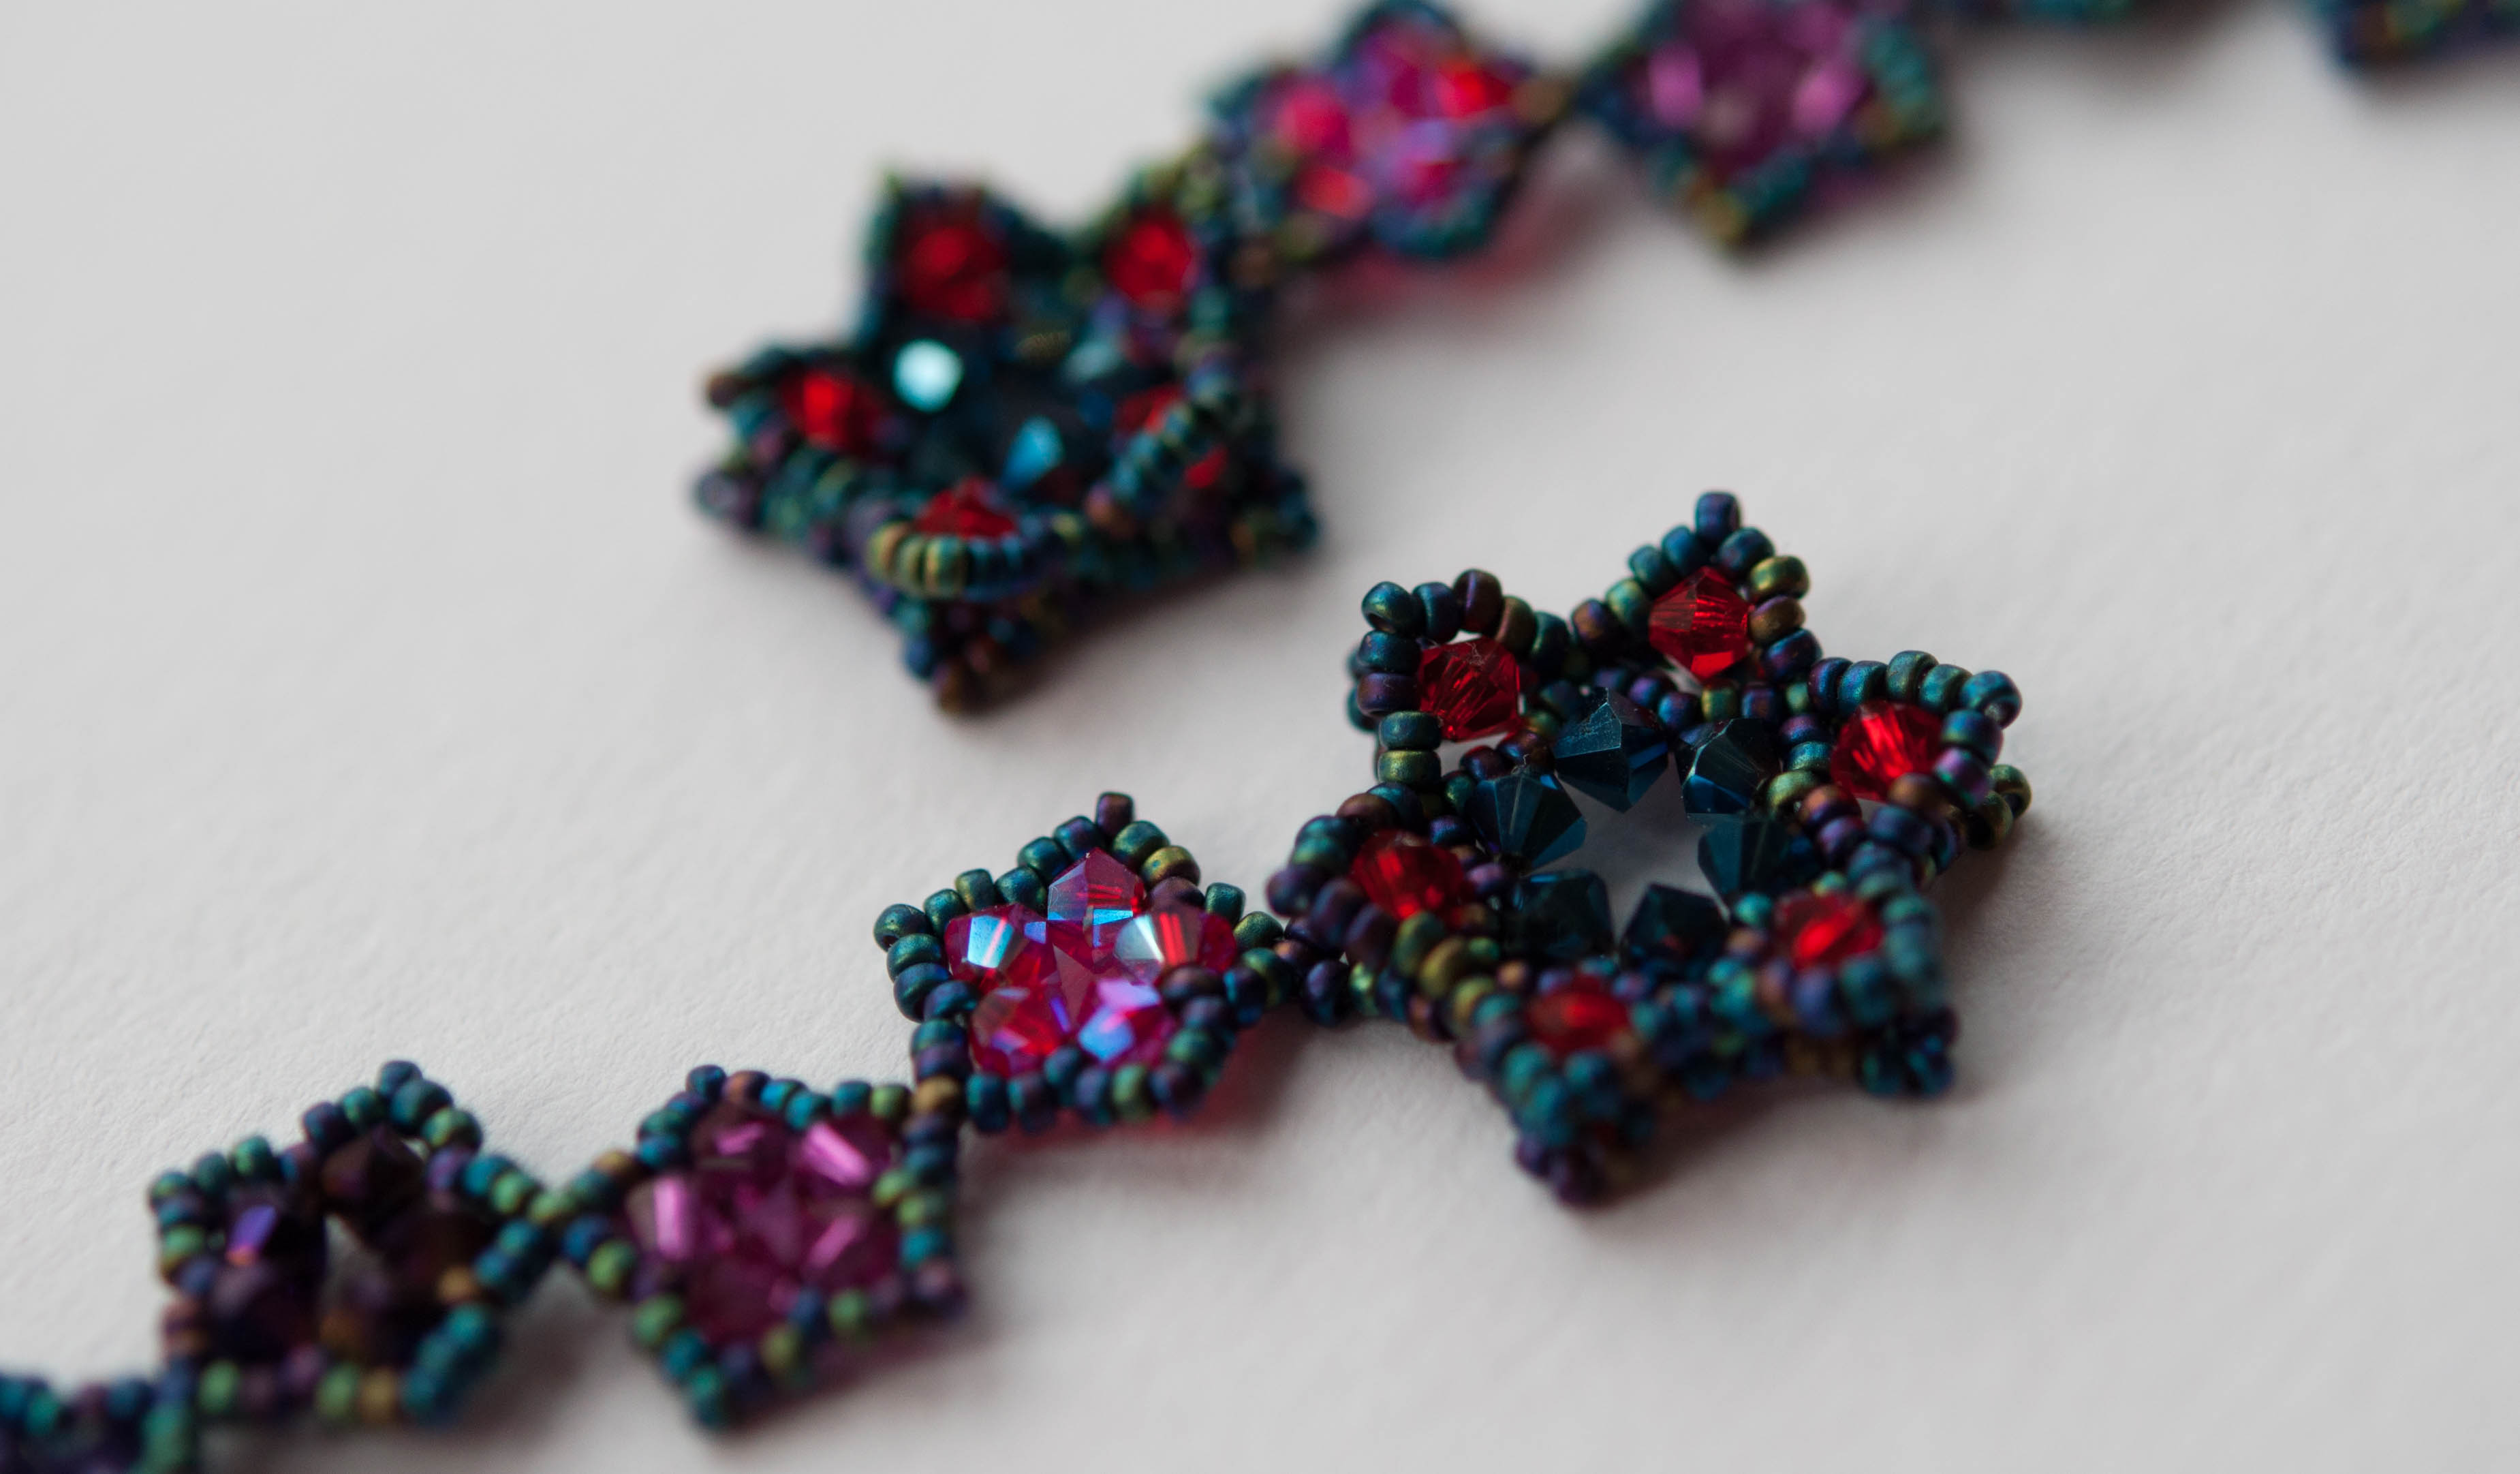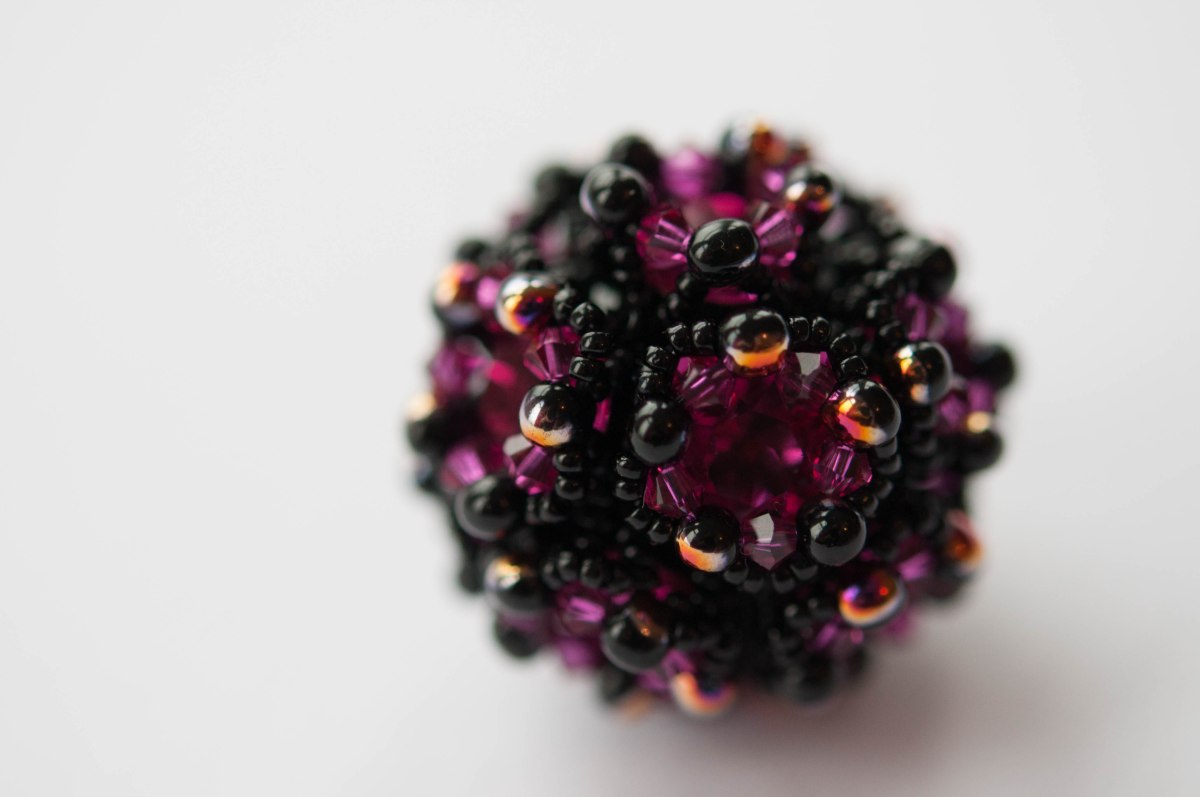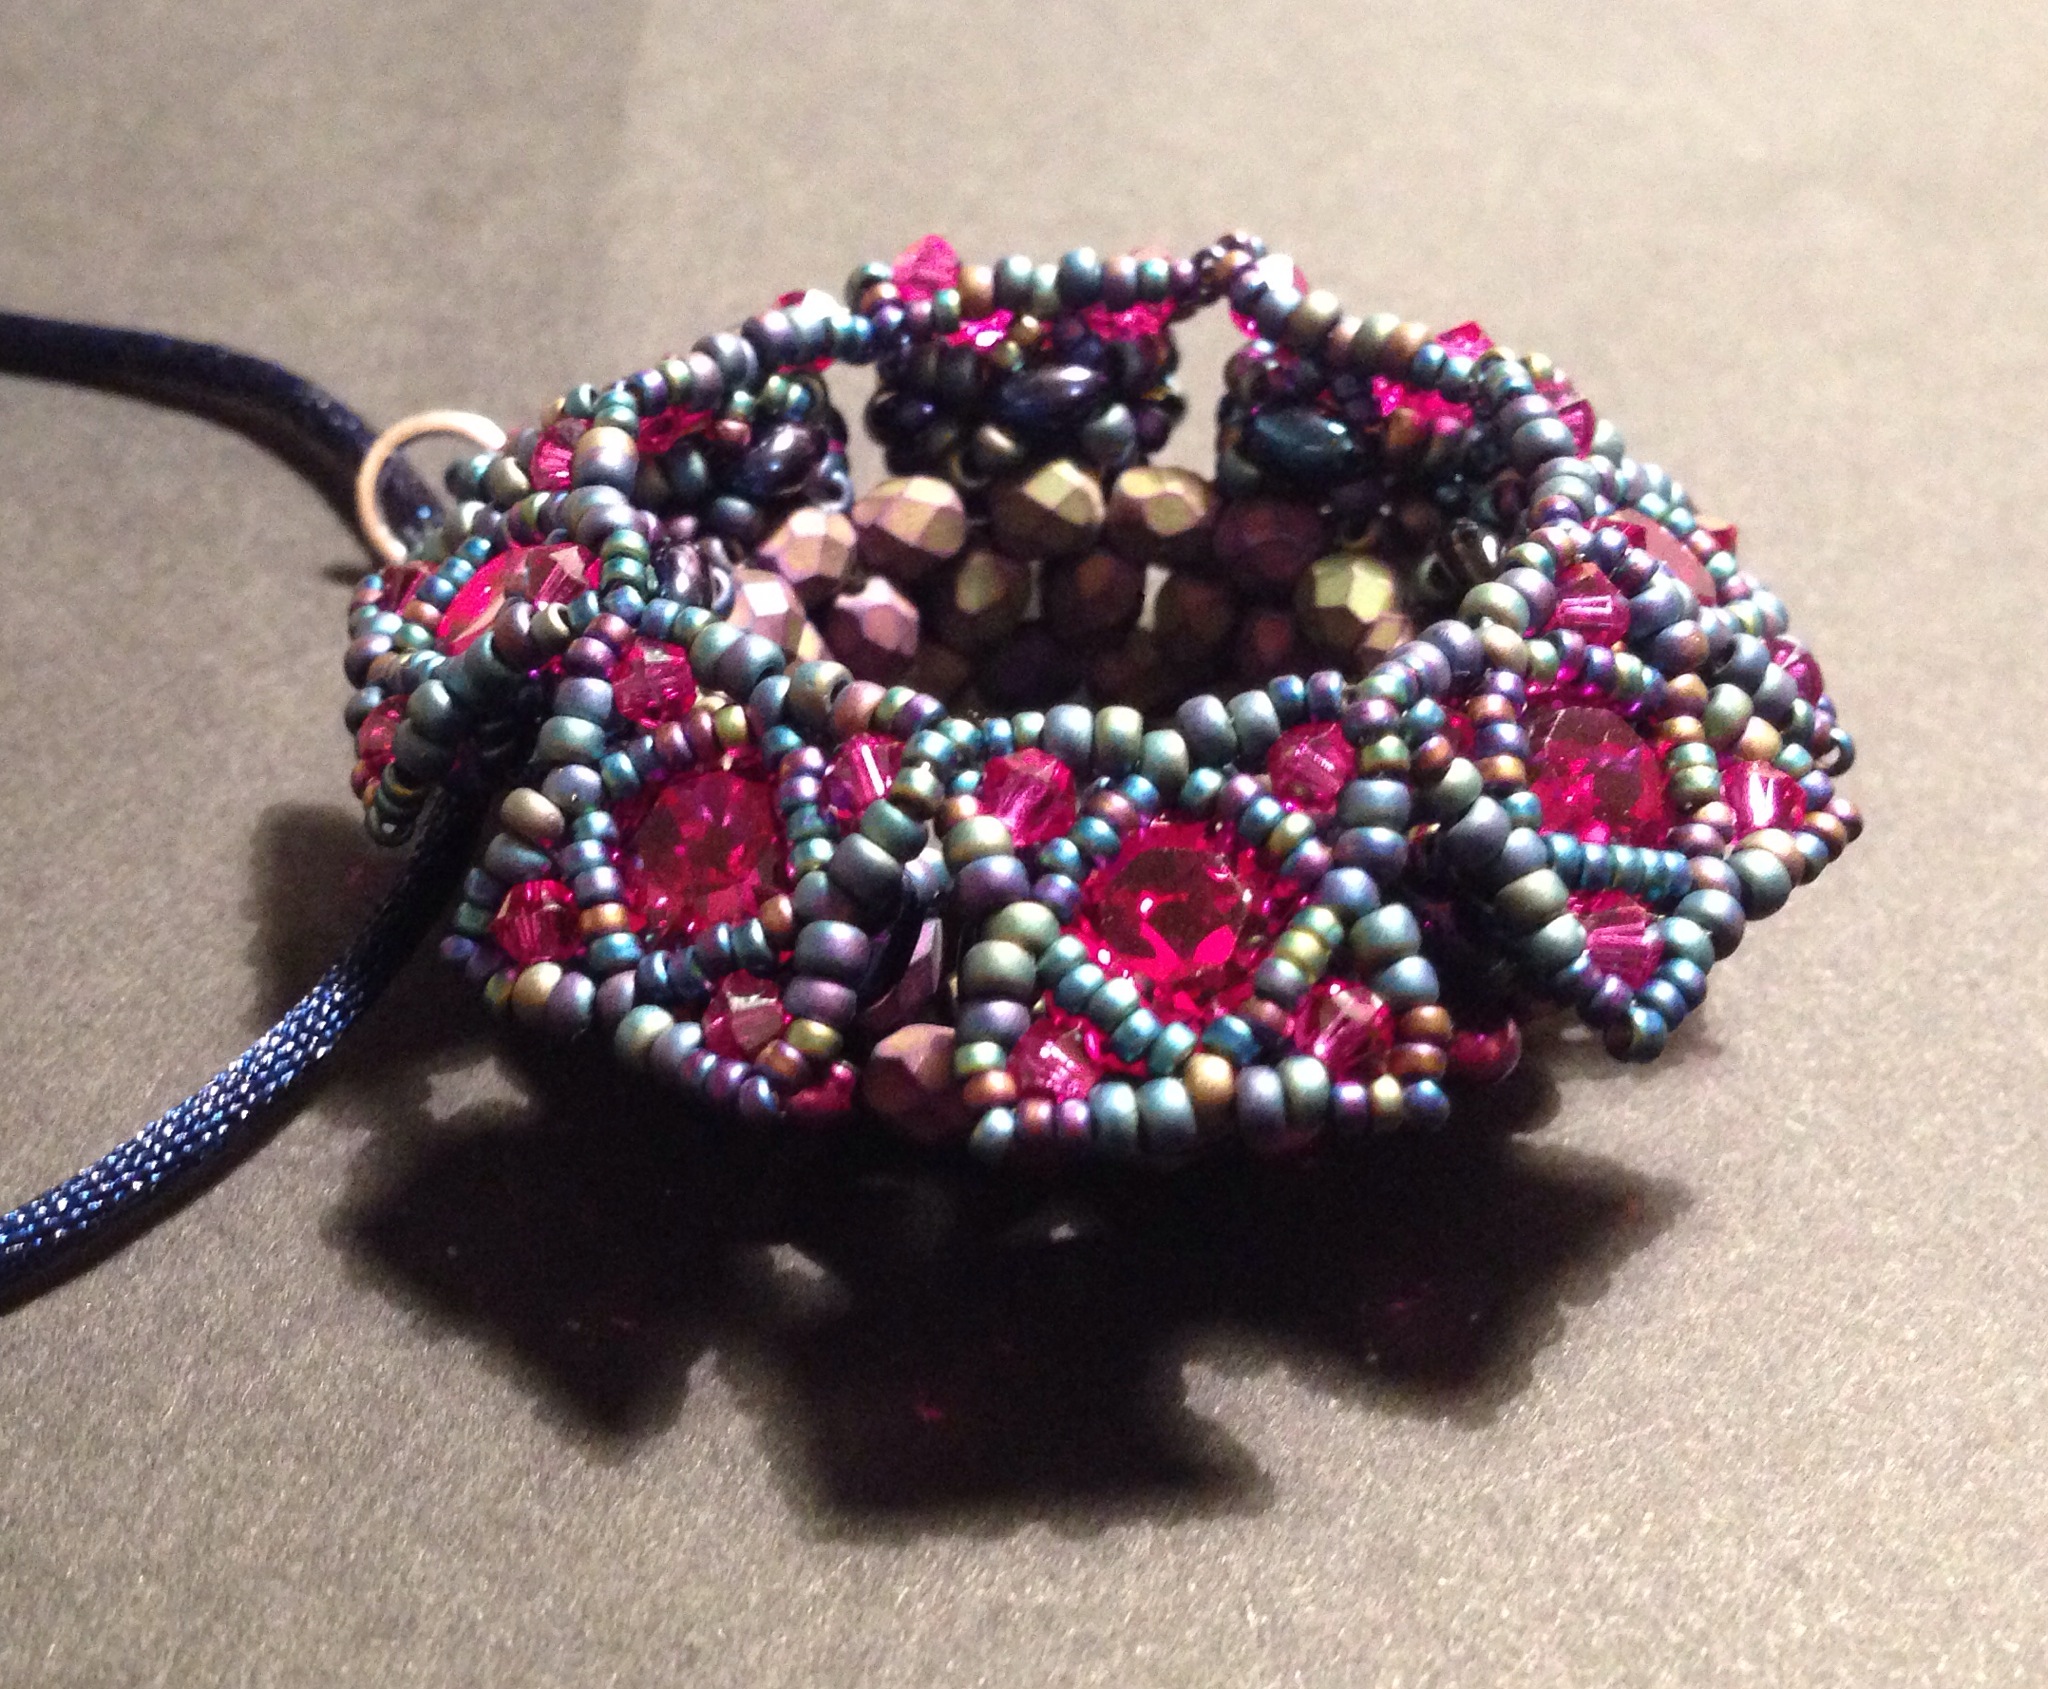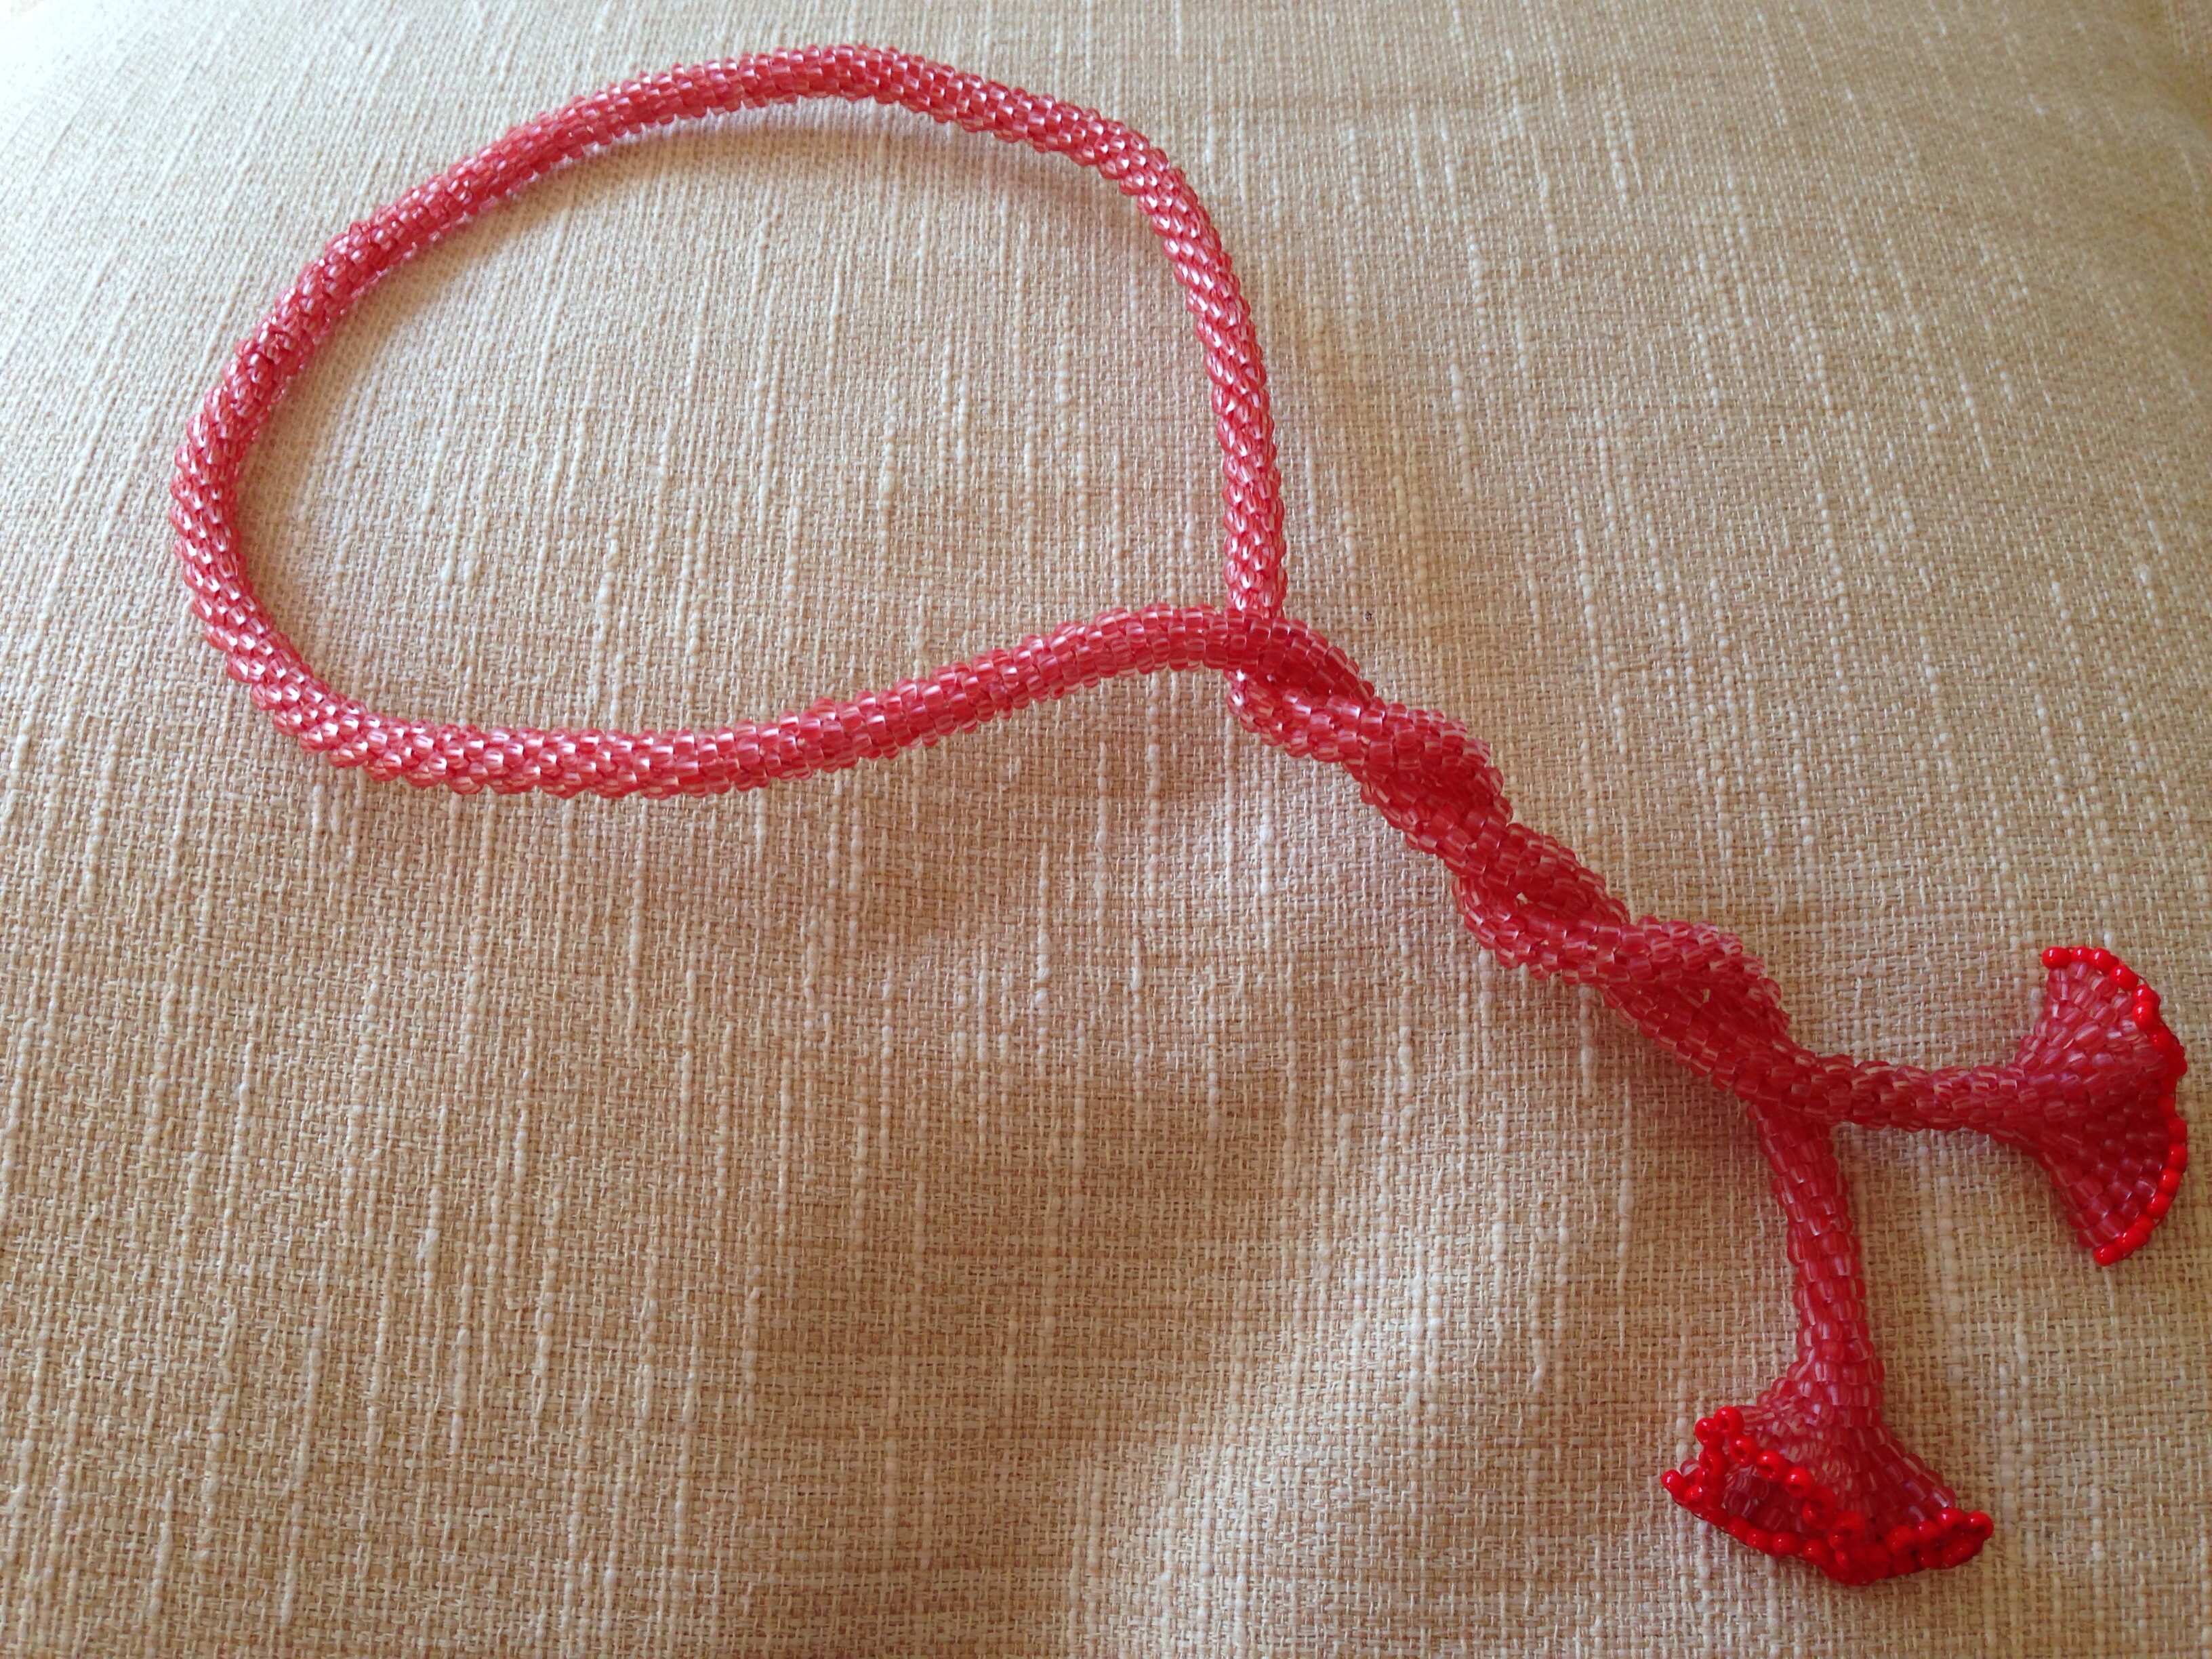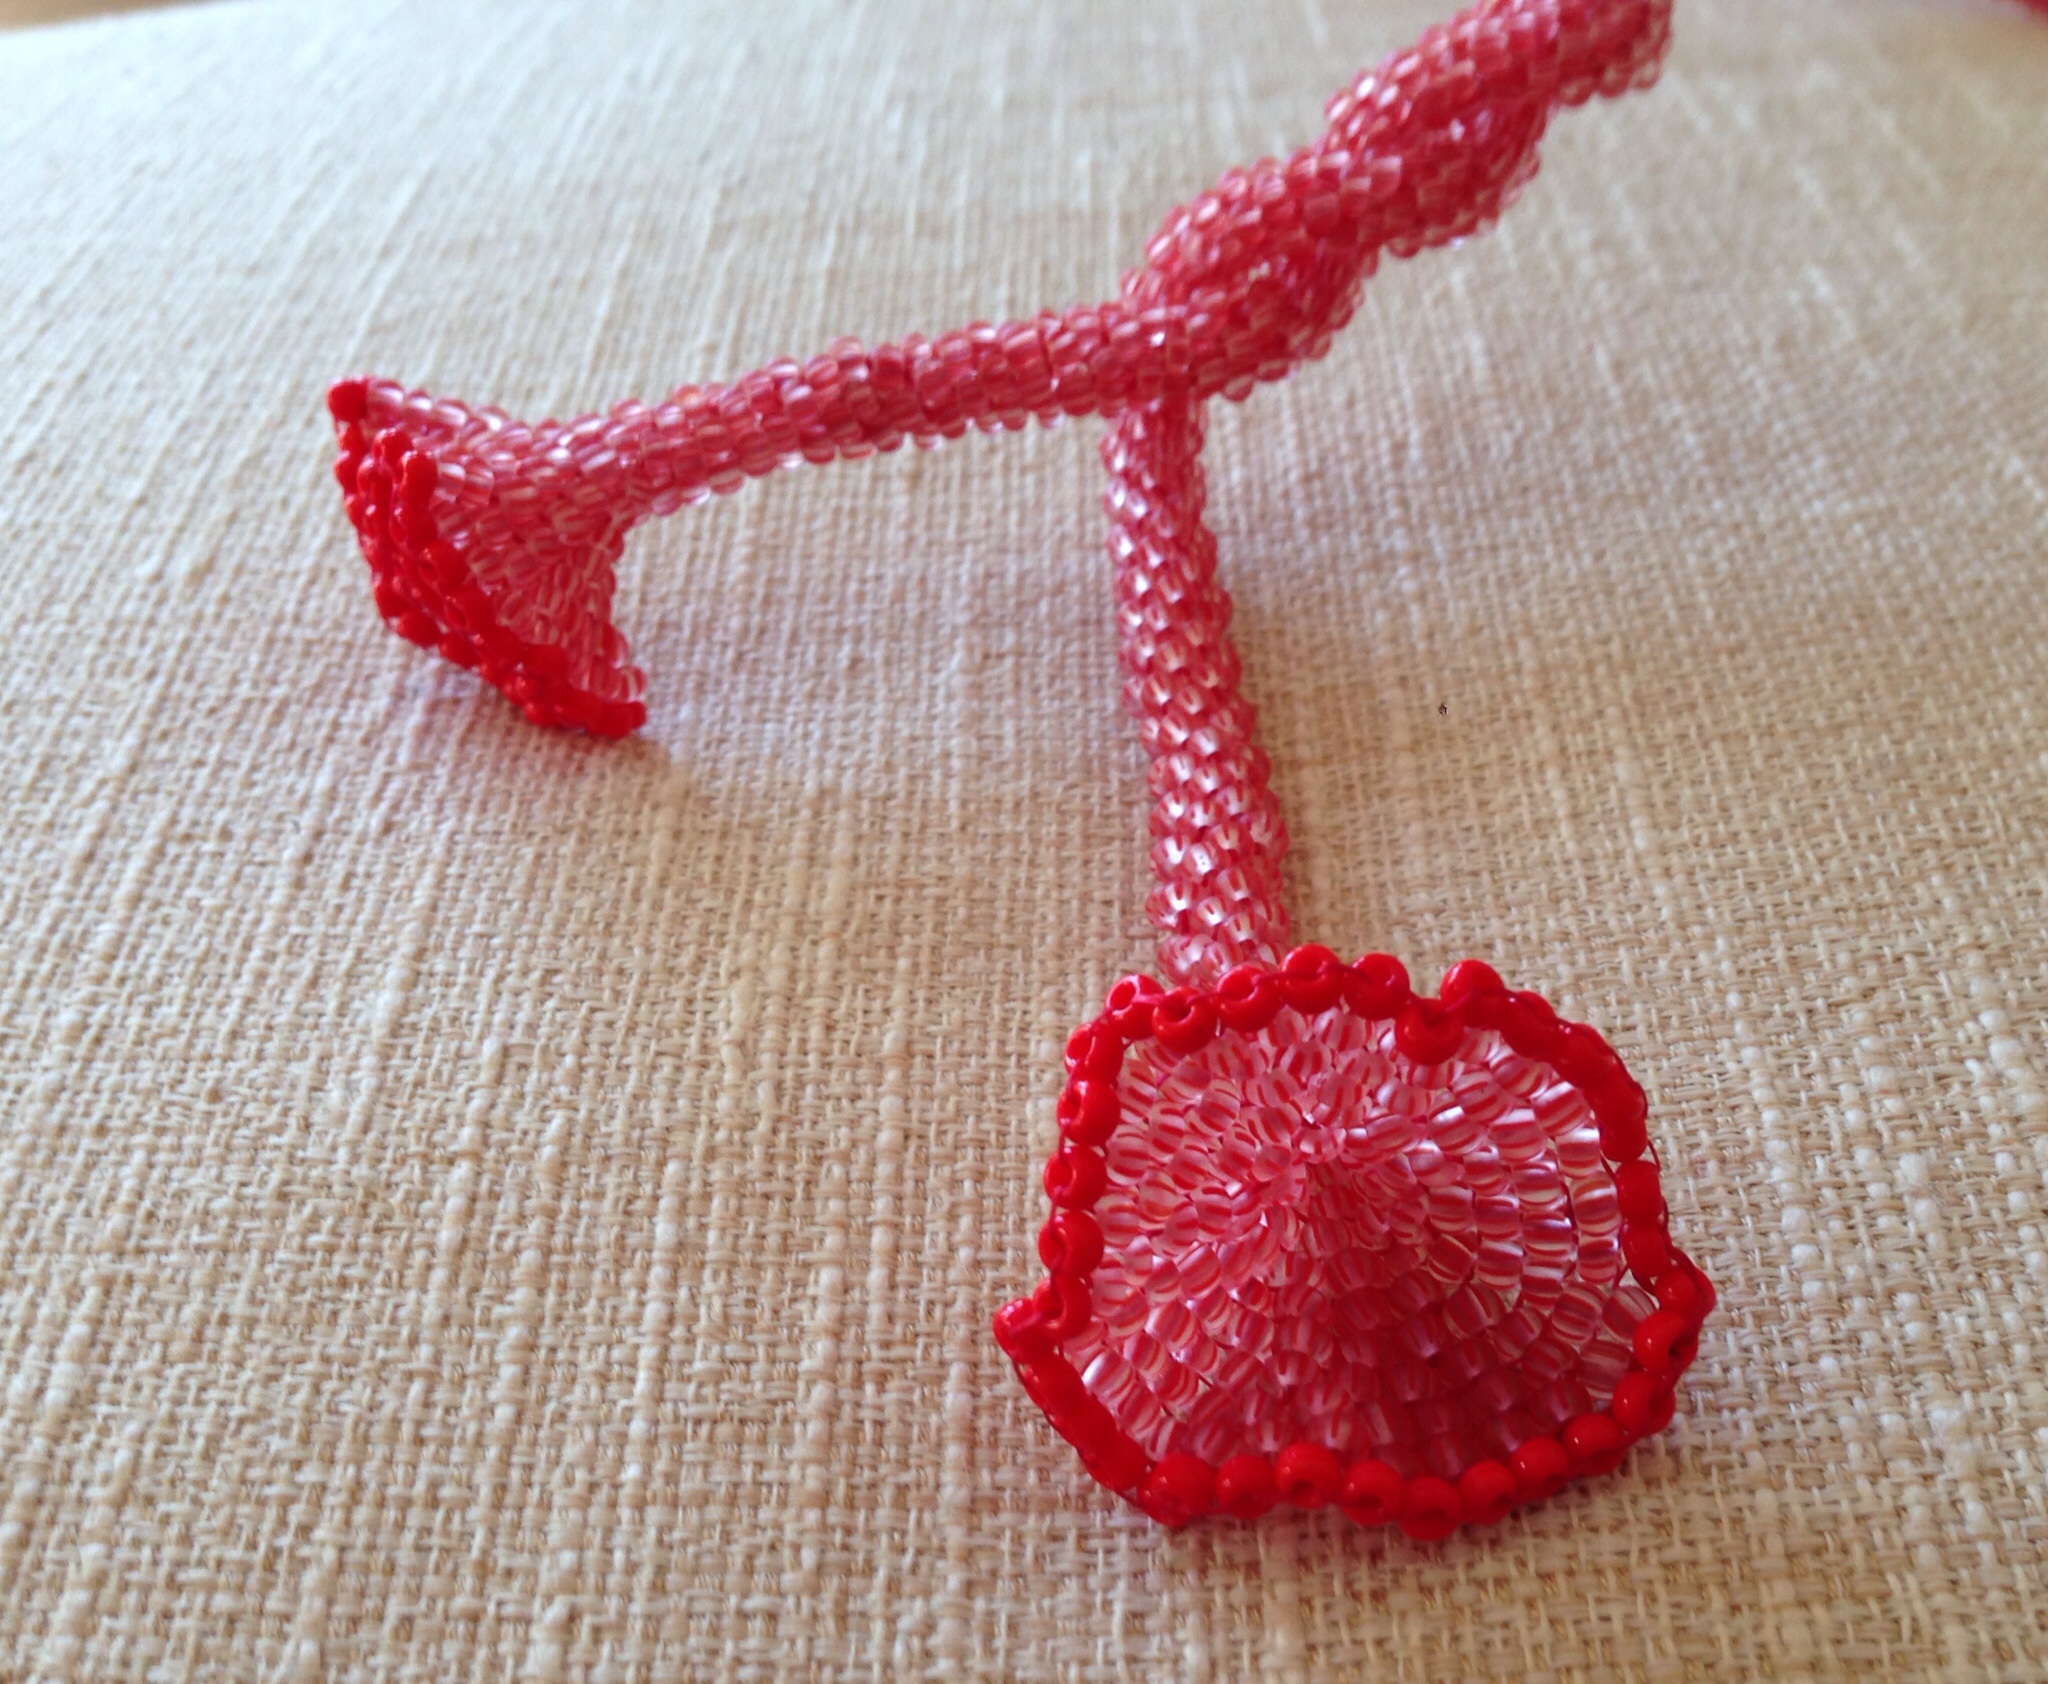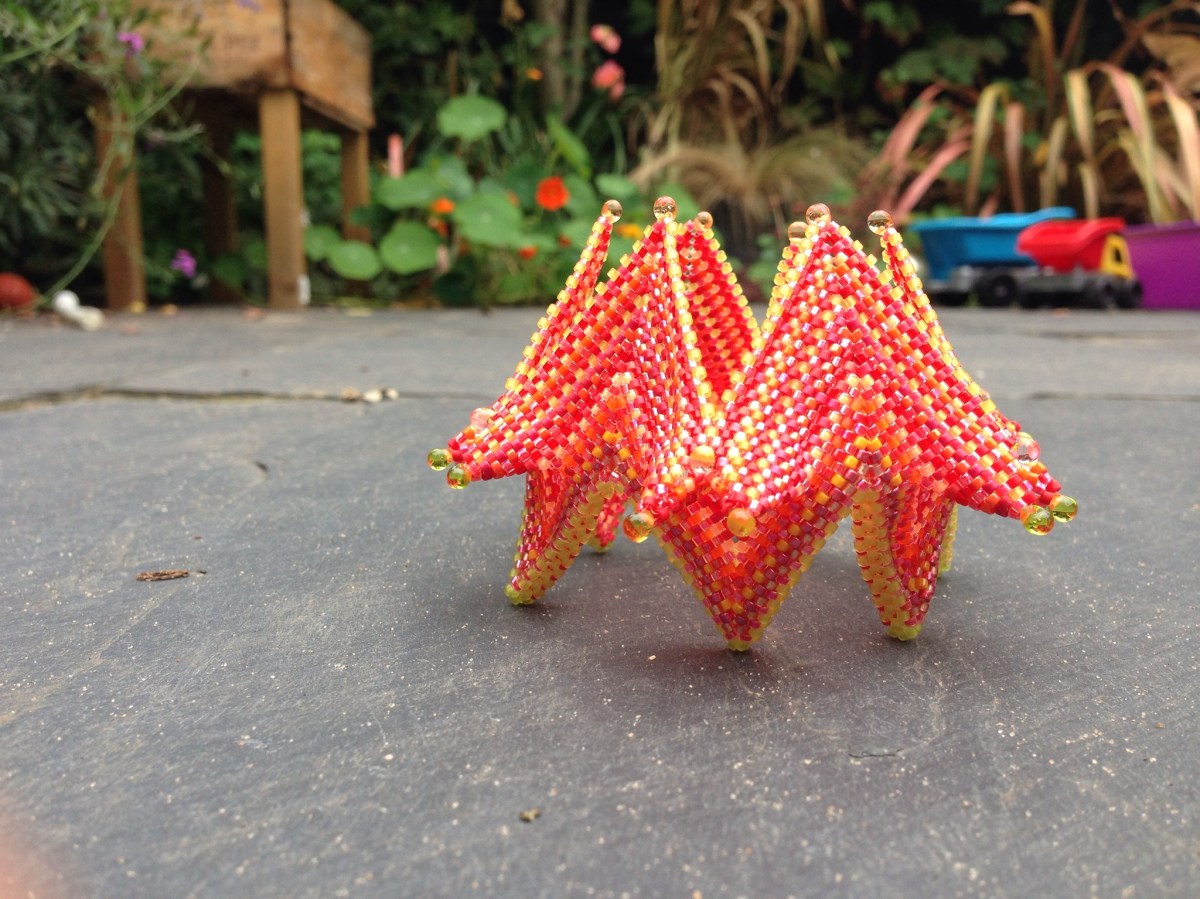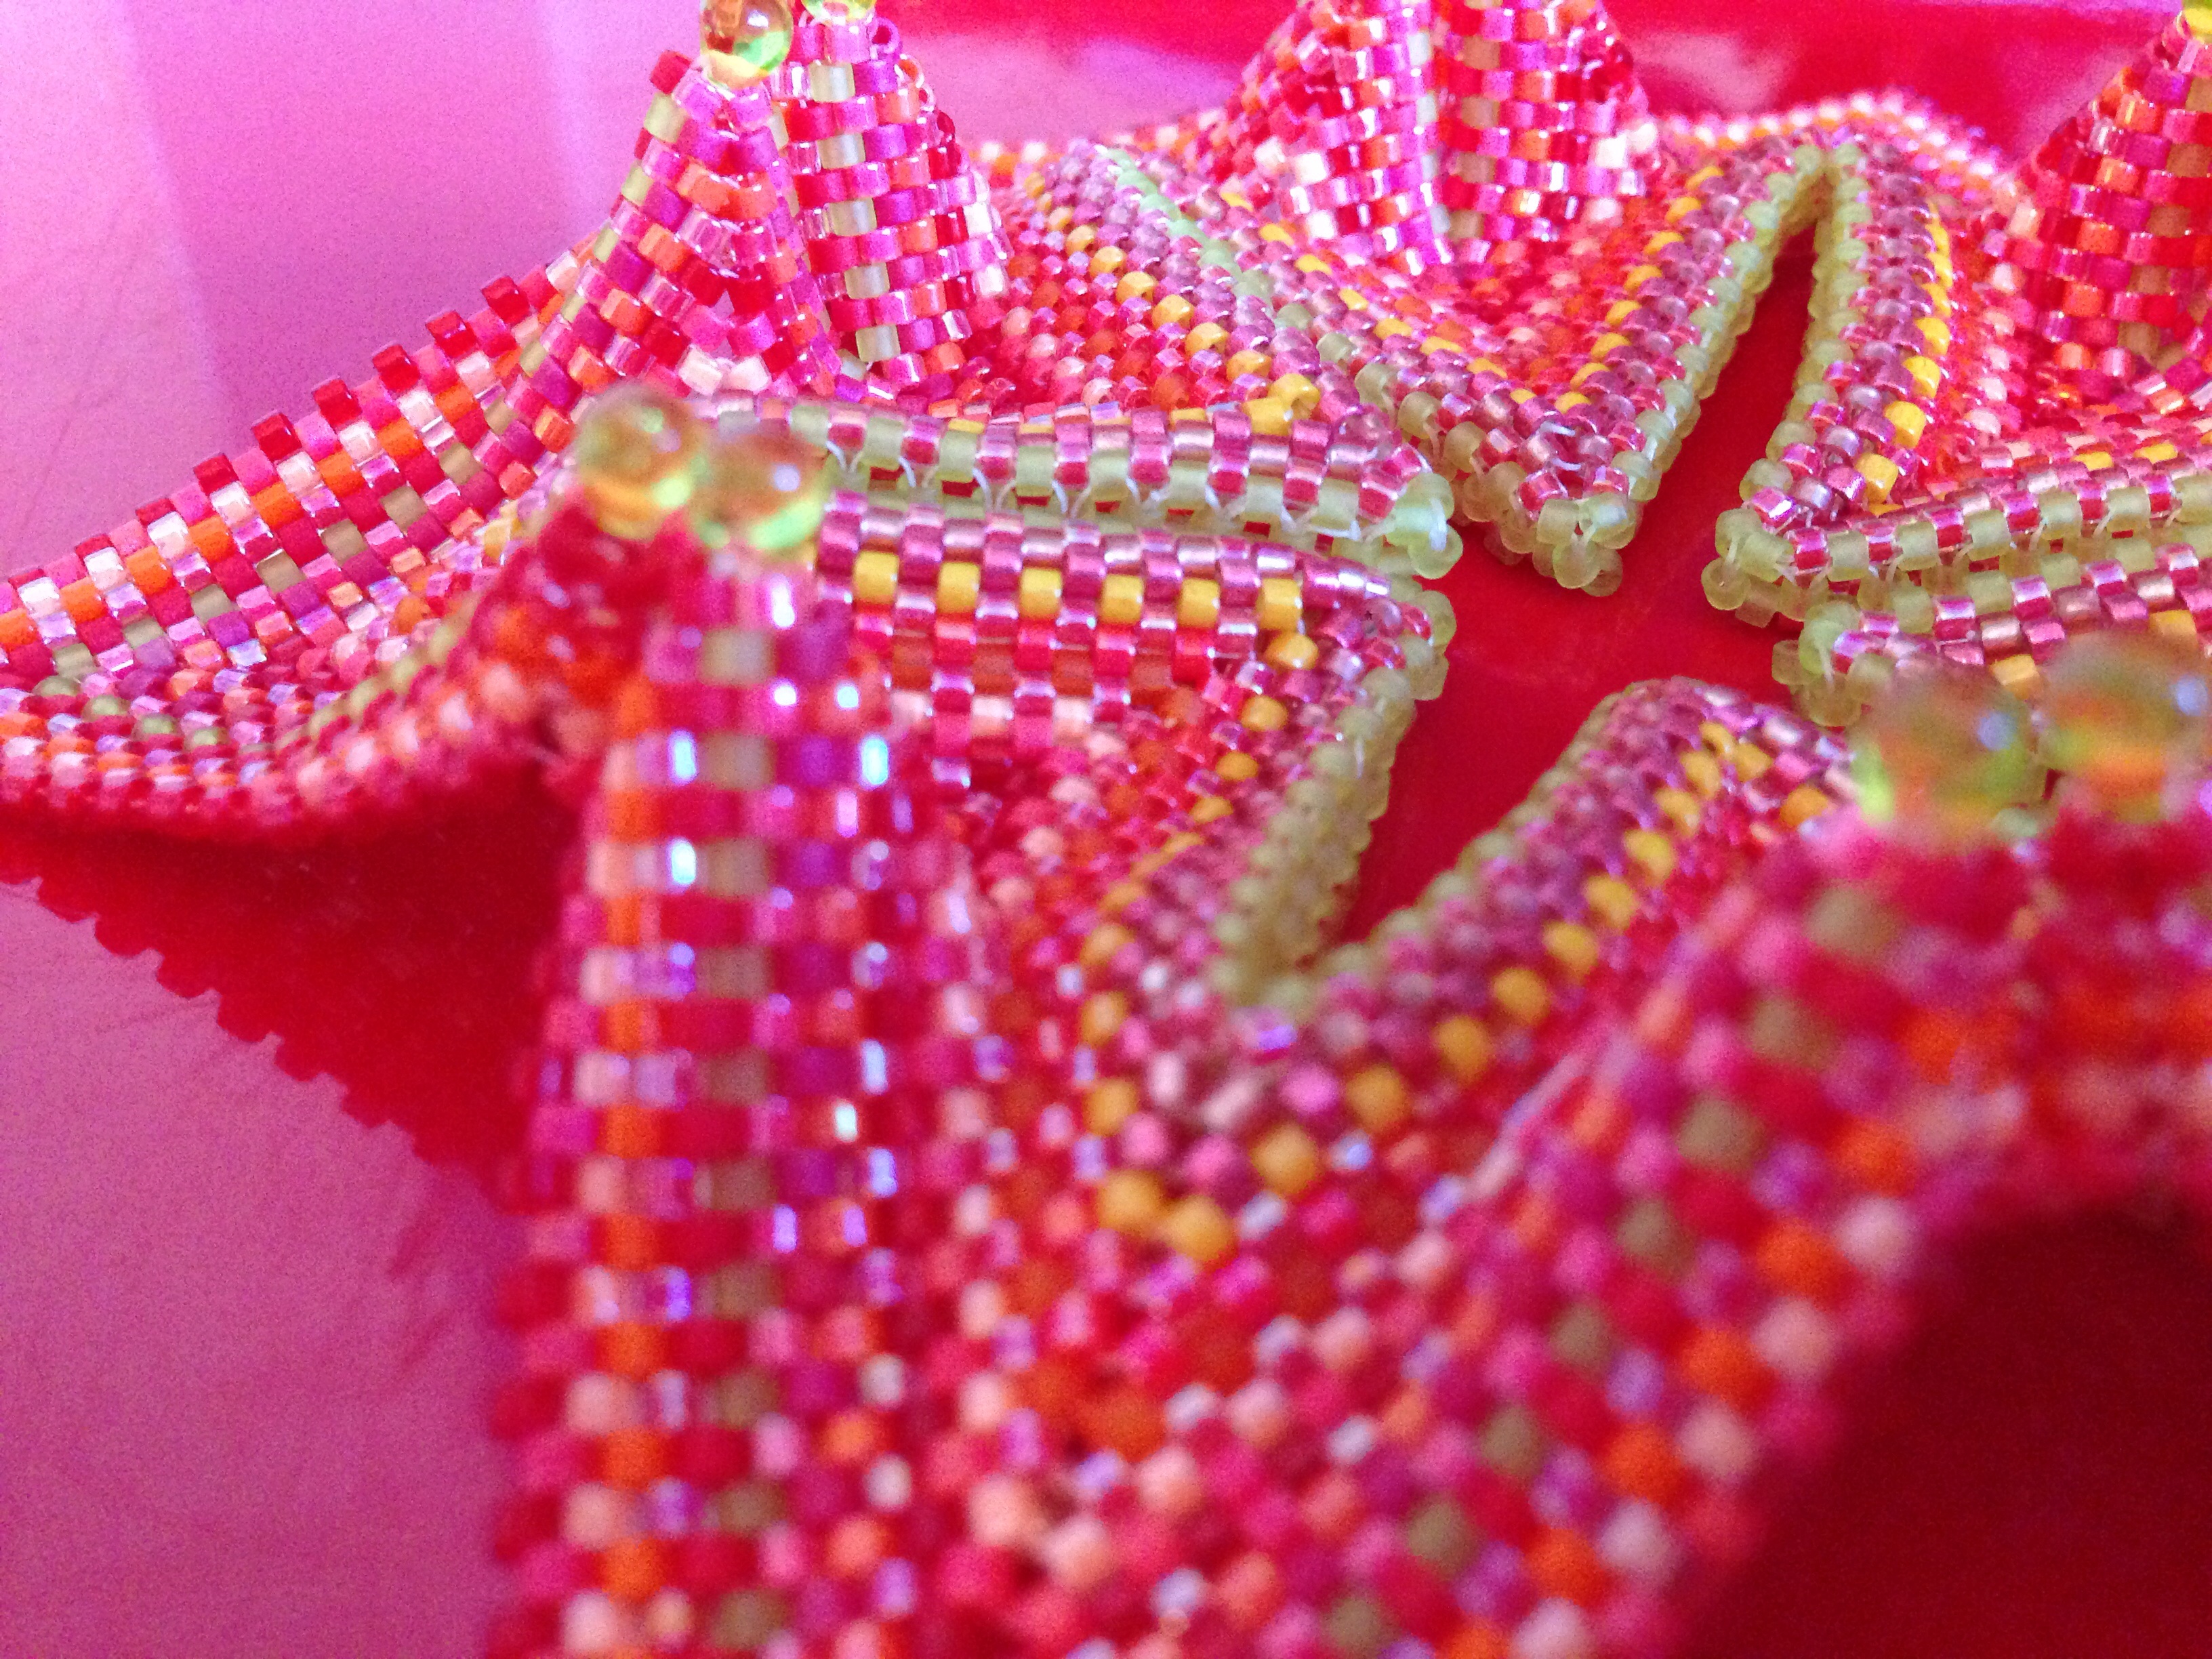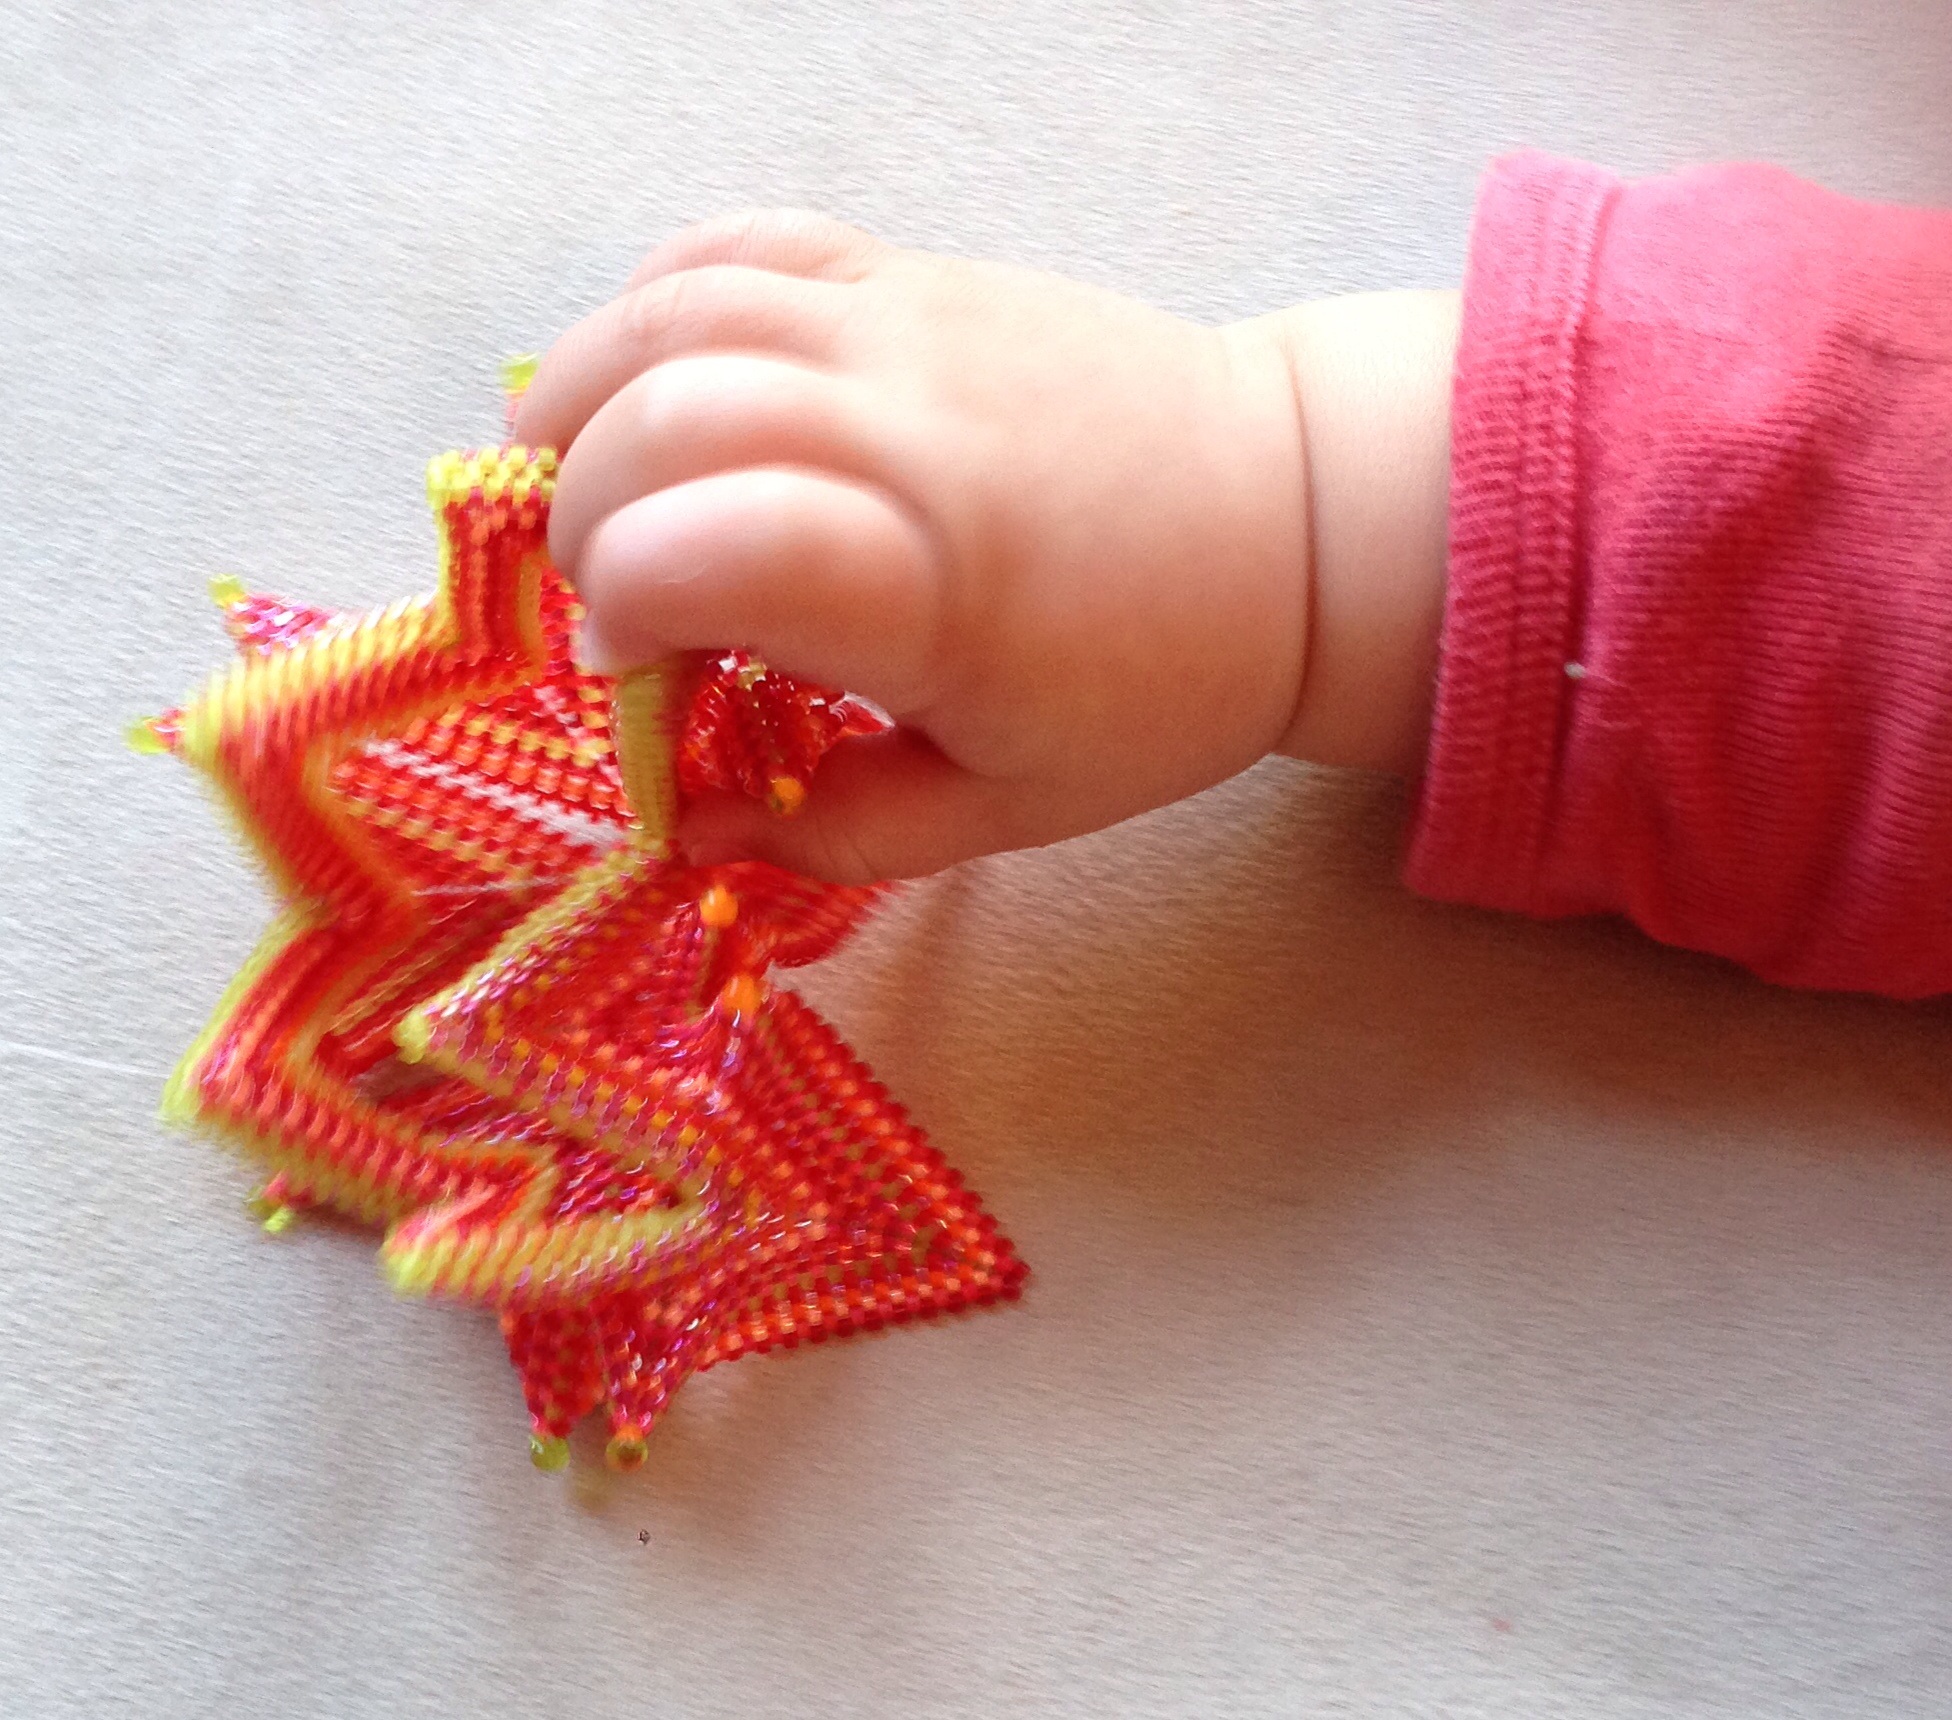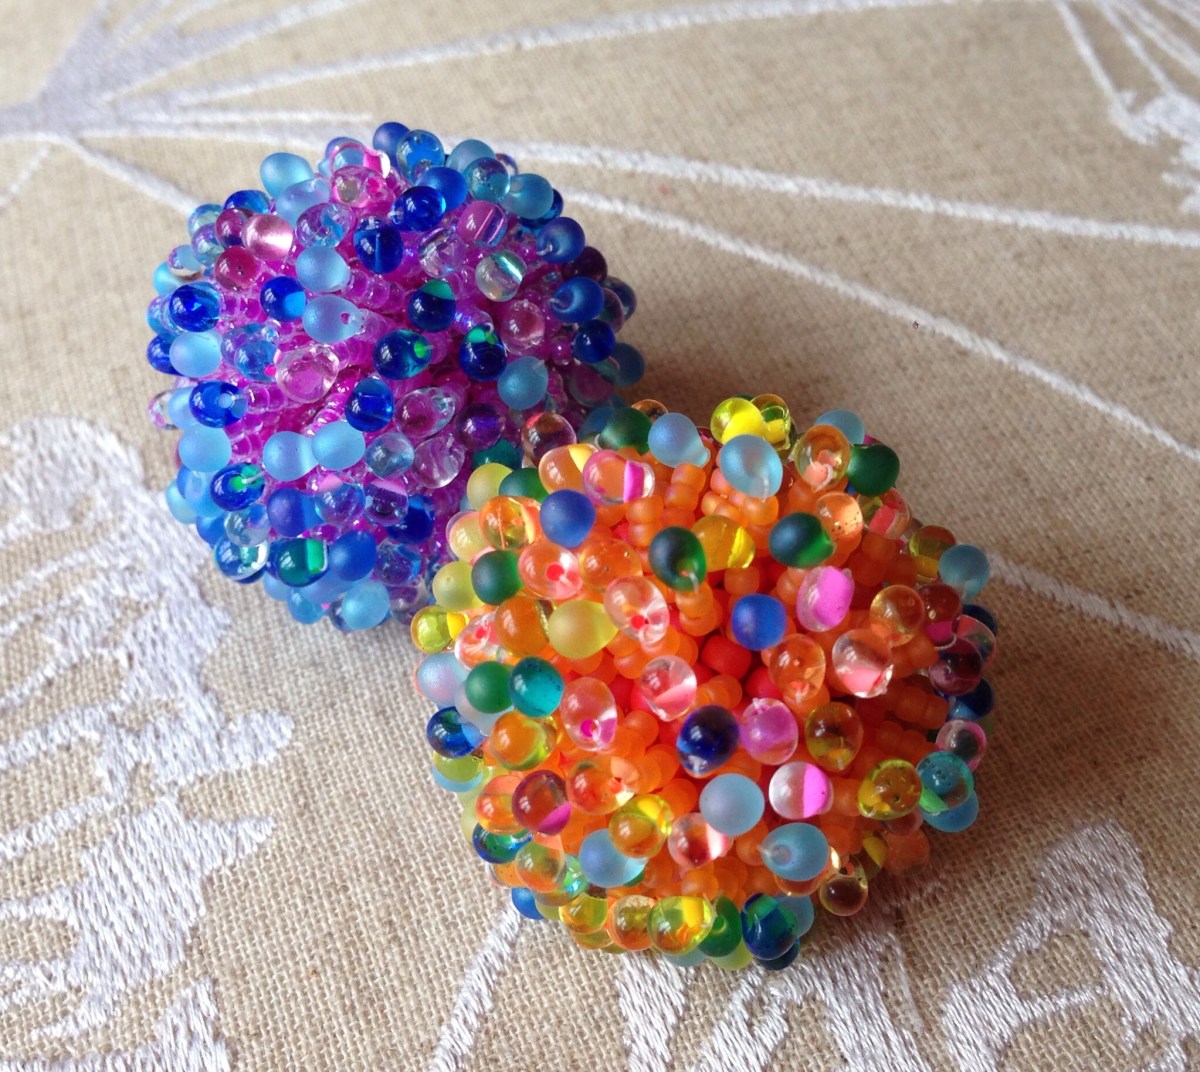
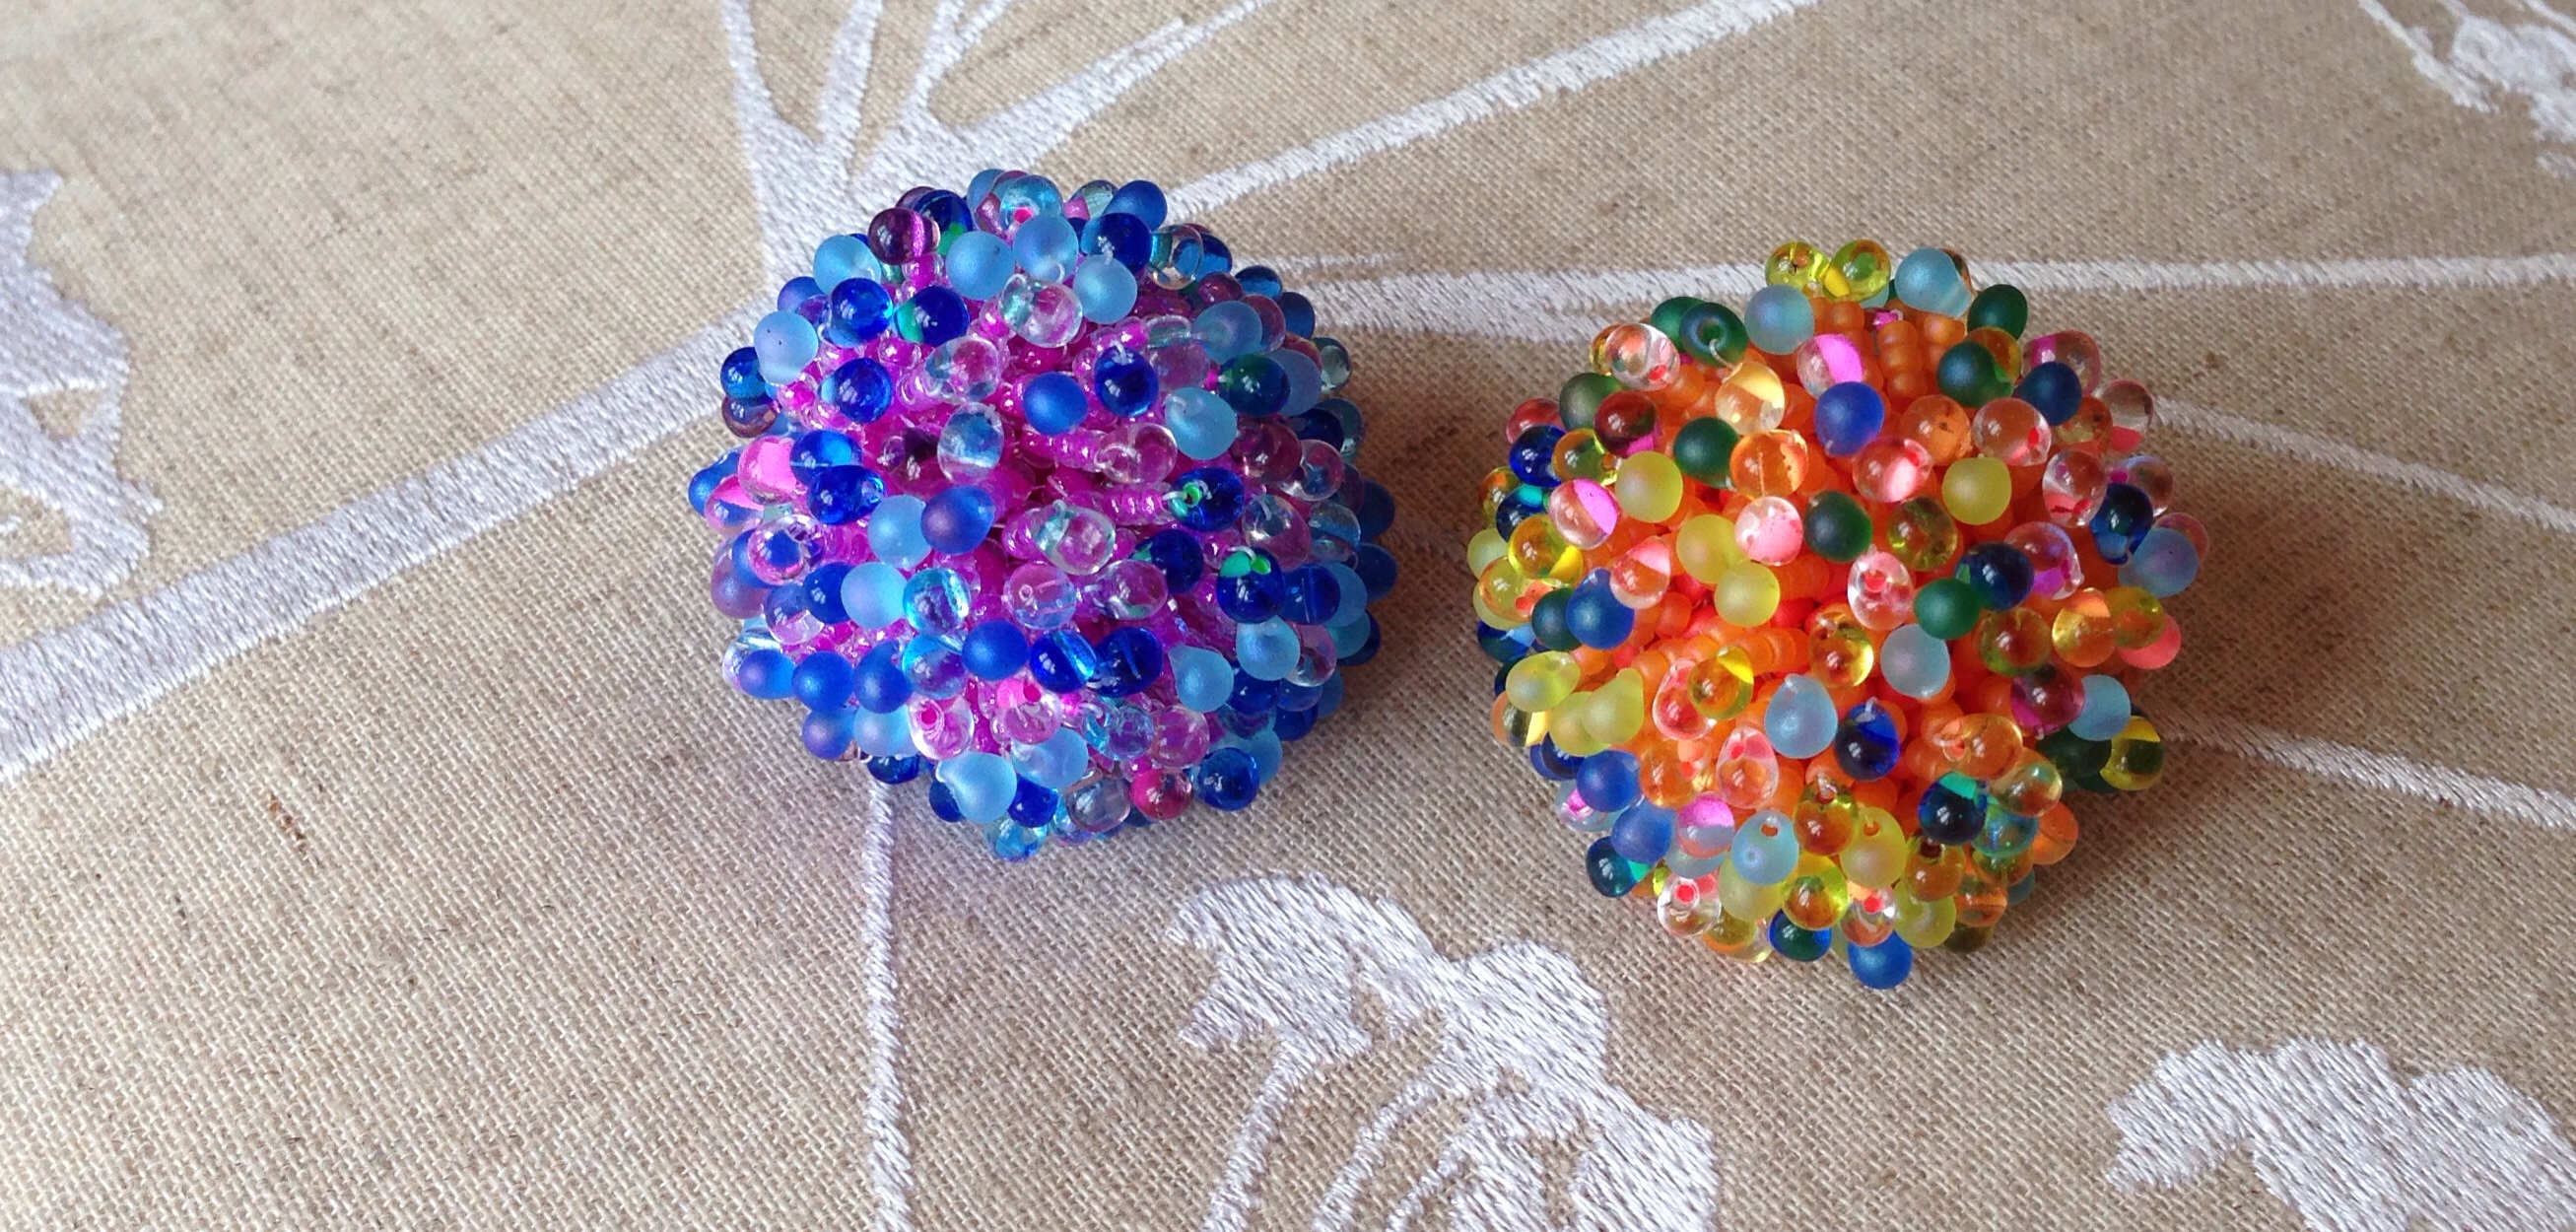
We’ve all been a bit peaky recently, so favourite films have been deployed. I was managing to do a bit of beading, but kept getting stuck, so I thought I’d do some quick beaded beads as they are always useful. We were watching Finding Nemo at the time, and before I knew it I’d fringed over the peyote base to make a lovely anemone for Marlin and Nemo.
However the colour was not deemed suitable for an anemone, so a second one with colours chosen by Boy 1 (who has quite garish taste, even compared to me) is now finished.
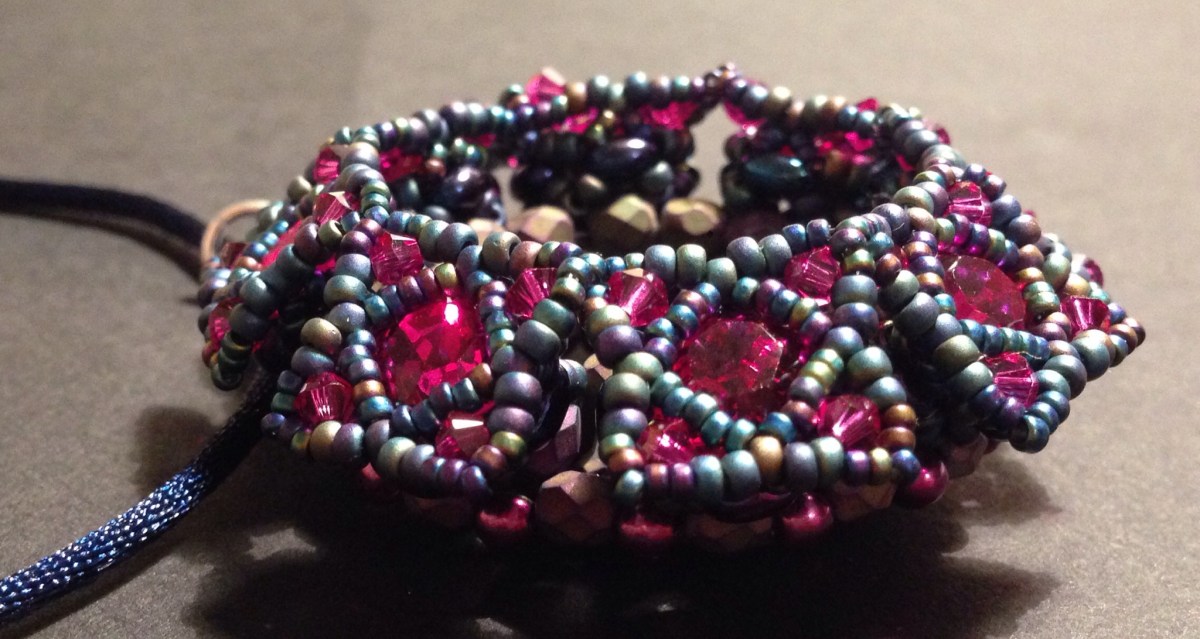
Fun, relatively quick, and if my previous fringed beaded bead is anything to go on, will be much commented on.
Recipe
- Large base bead of your choice – I used a 20mm diameter. The size 8s plus the fringing make it much bigger – the finished size is more like 40mm diameter.
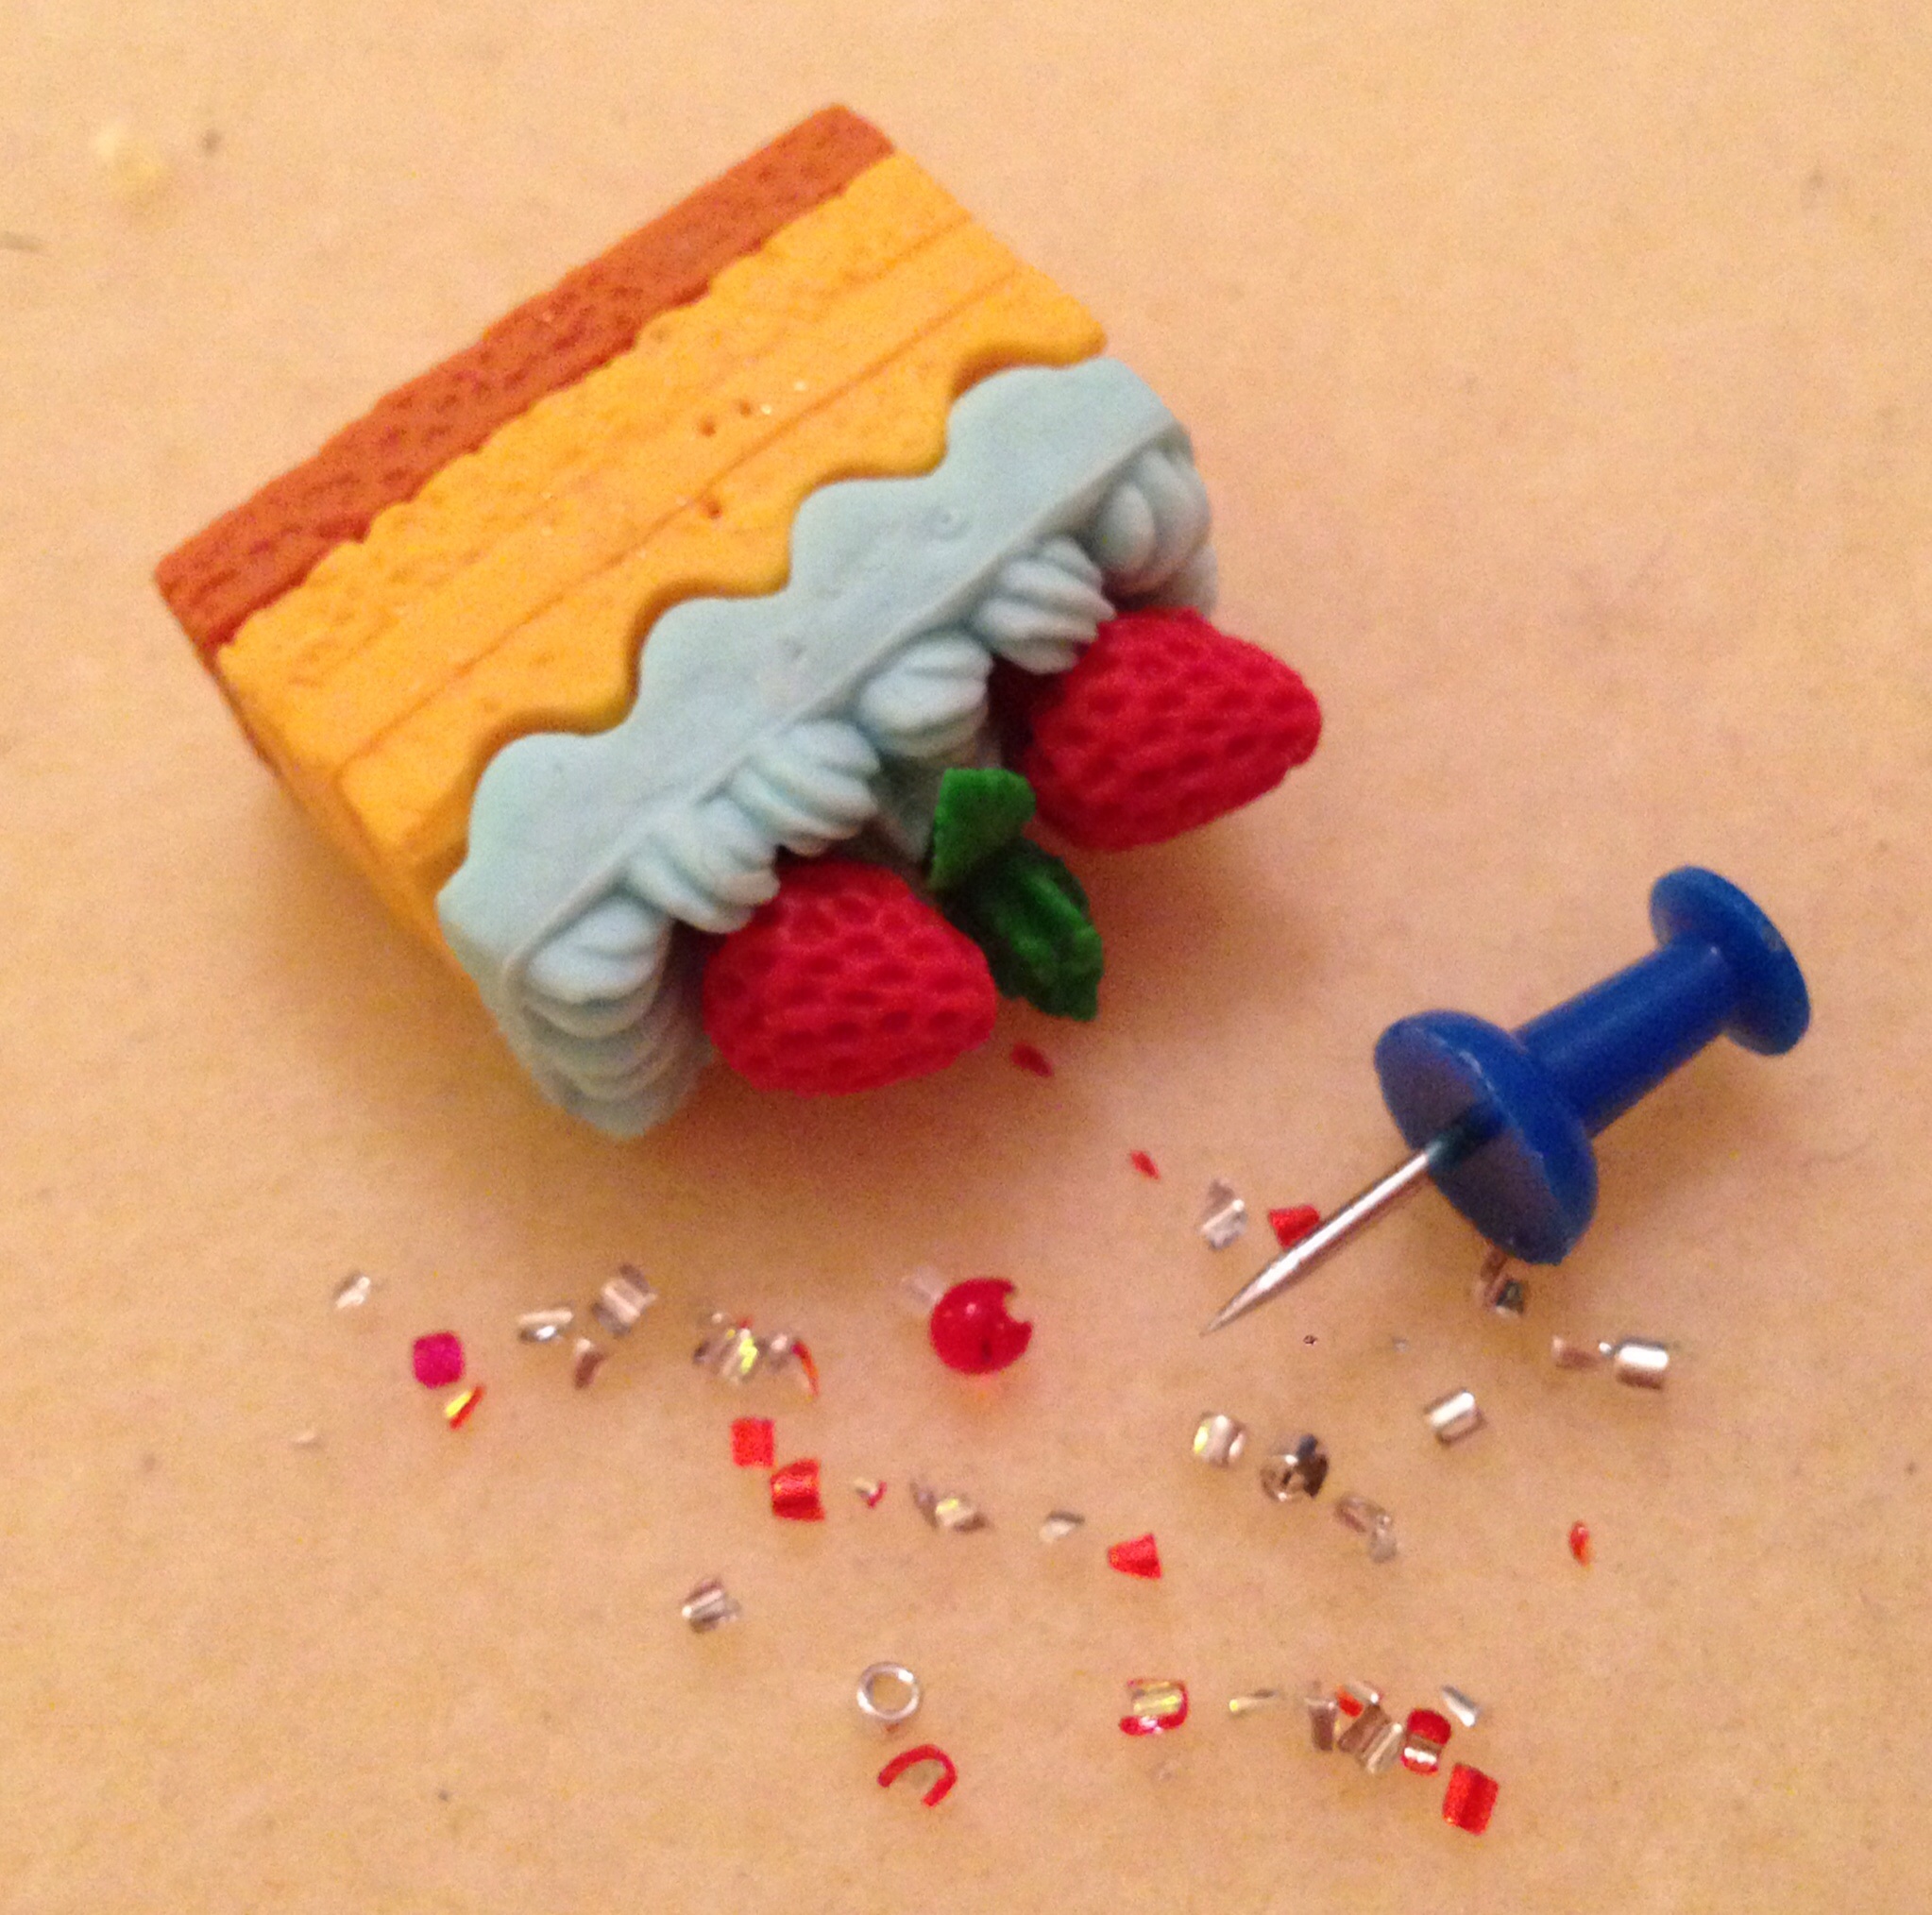
- Enough size 8 seeds to cover the base bead – probably around 1-2 g (apologies, forgot to weigh them).
- At least 4g of size 11 seeds.
- And around 4g of 3.4mm Miyuki drops or similar.
Method
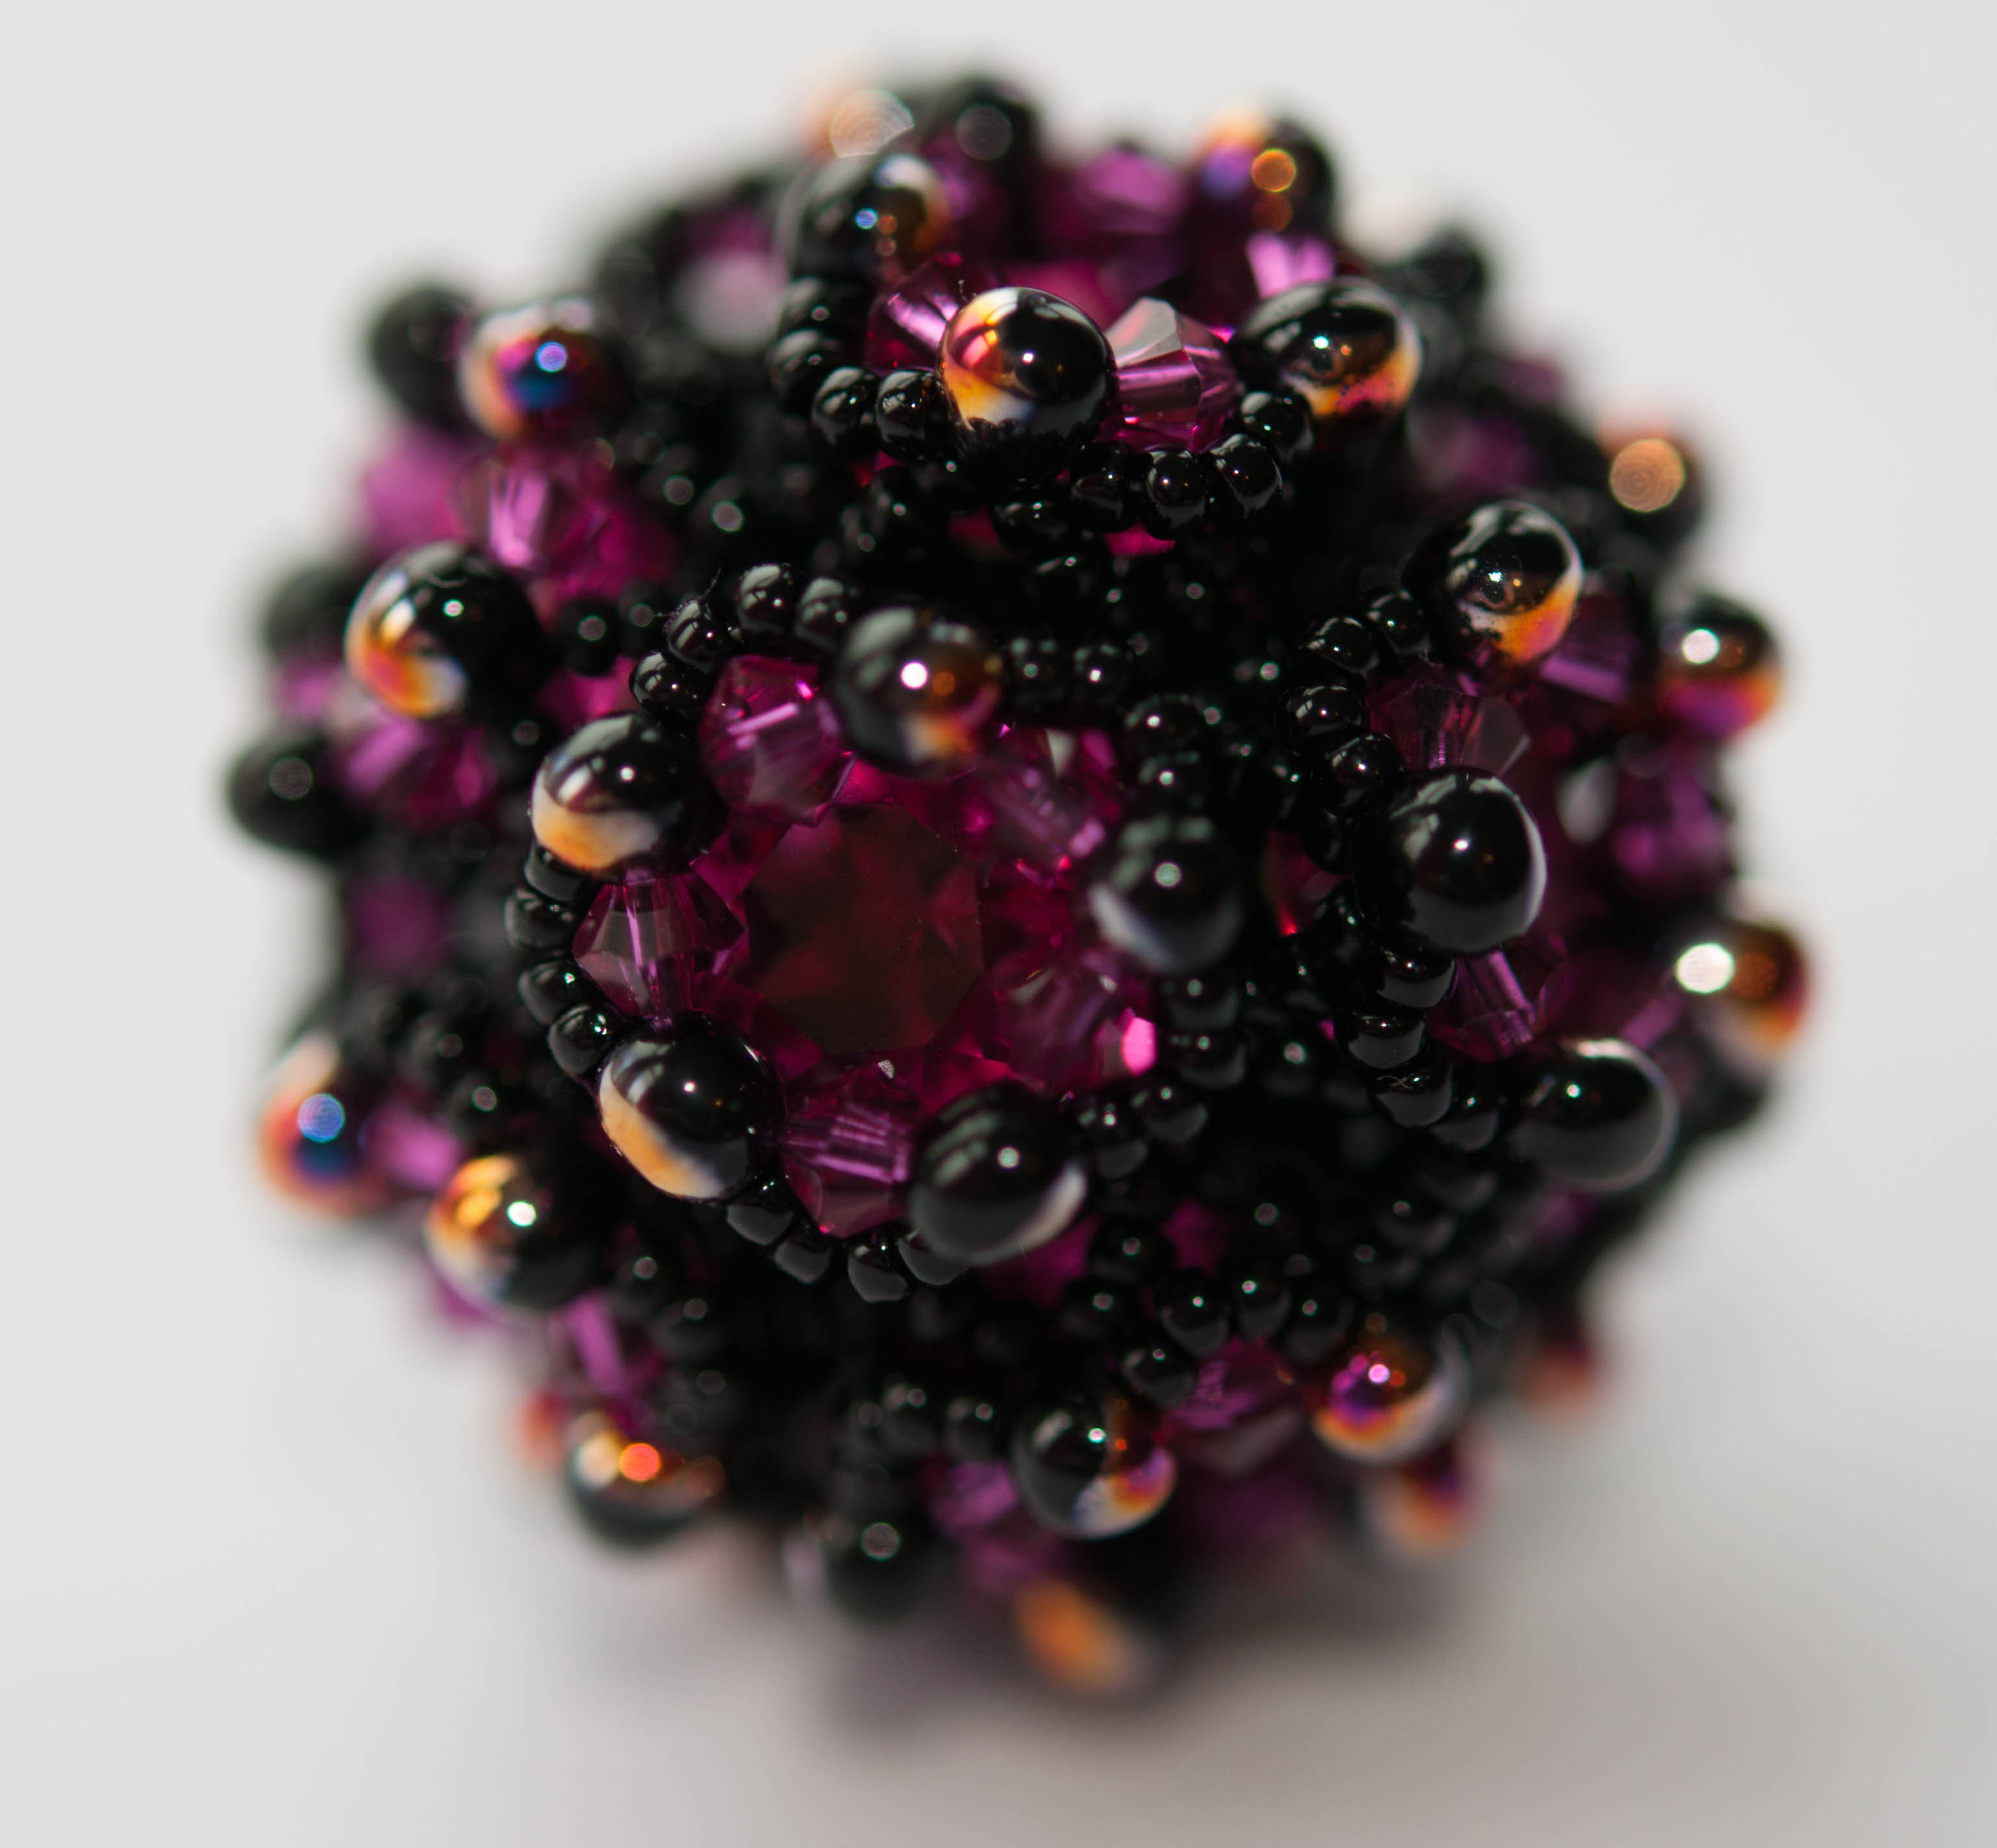
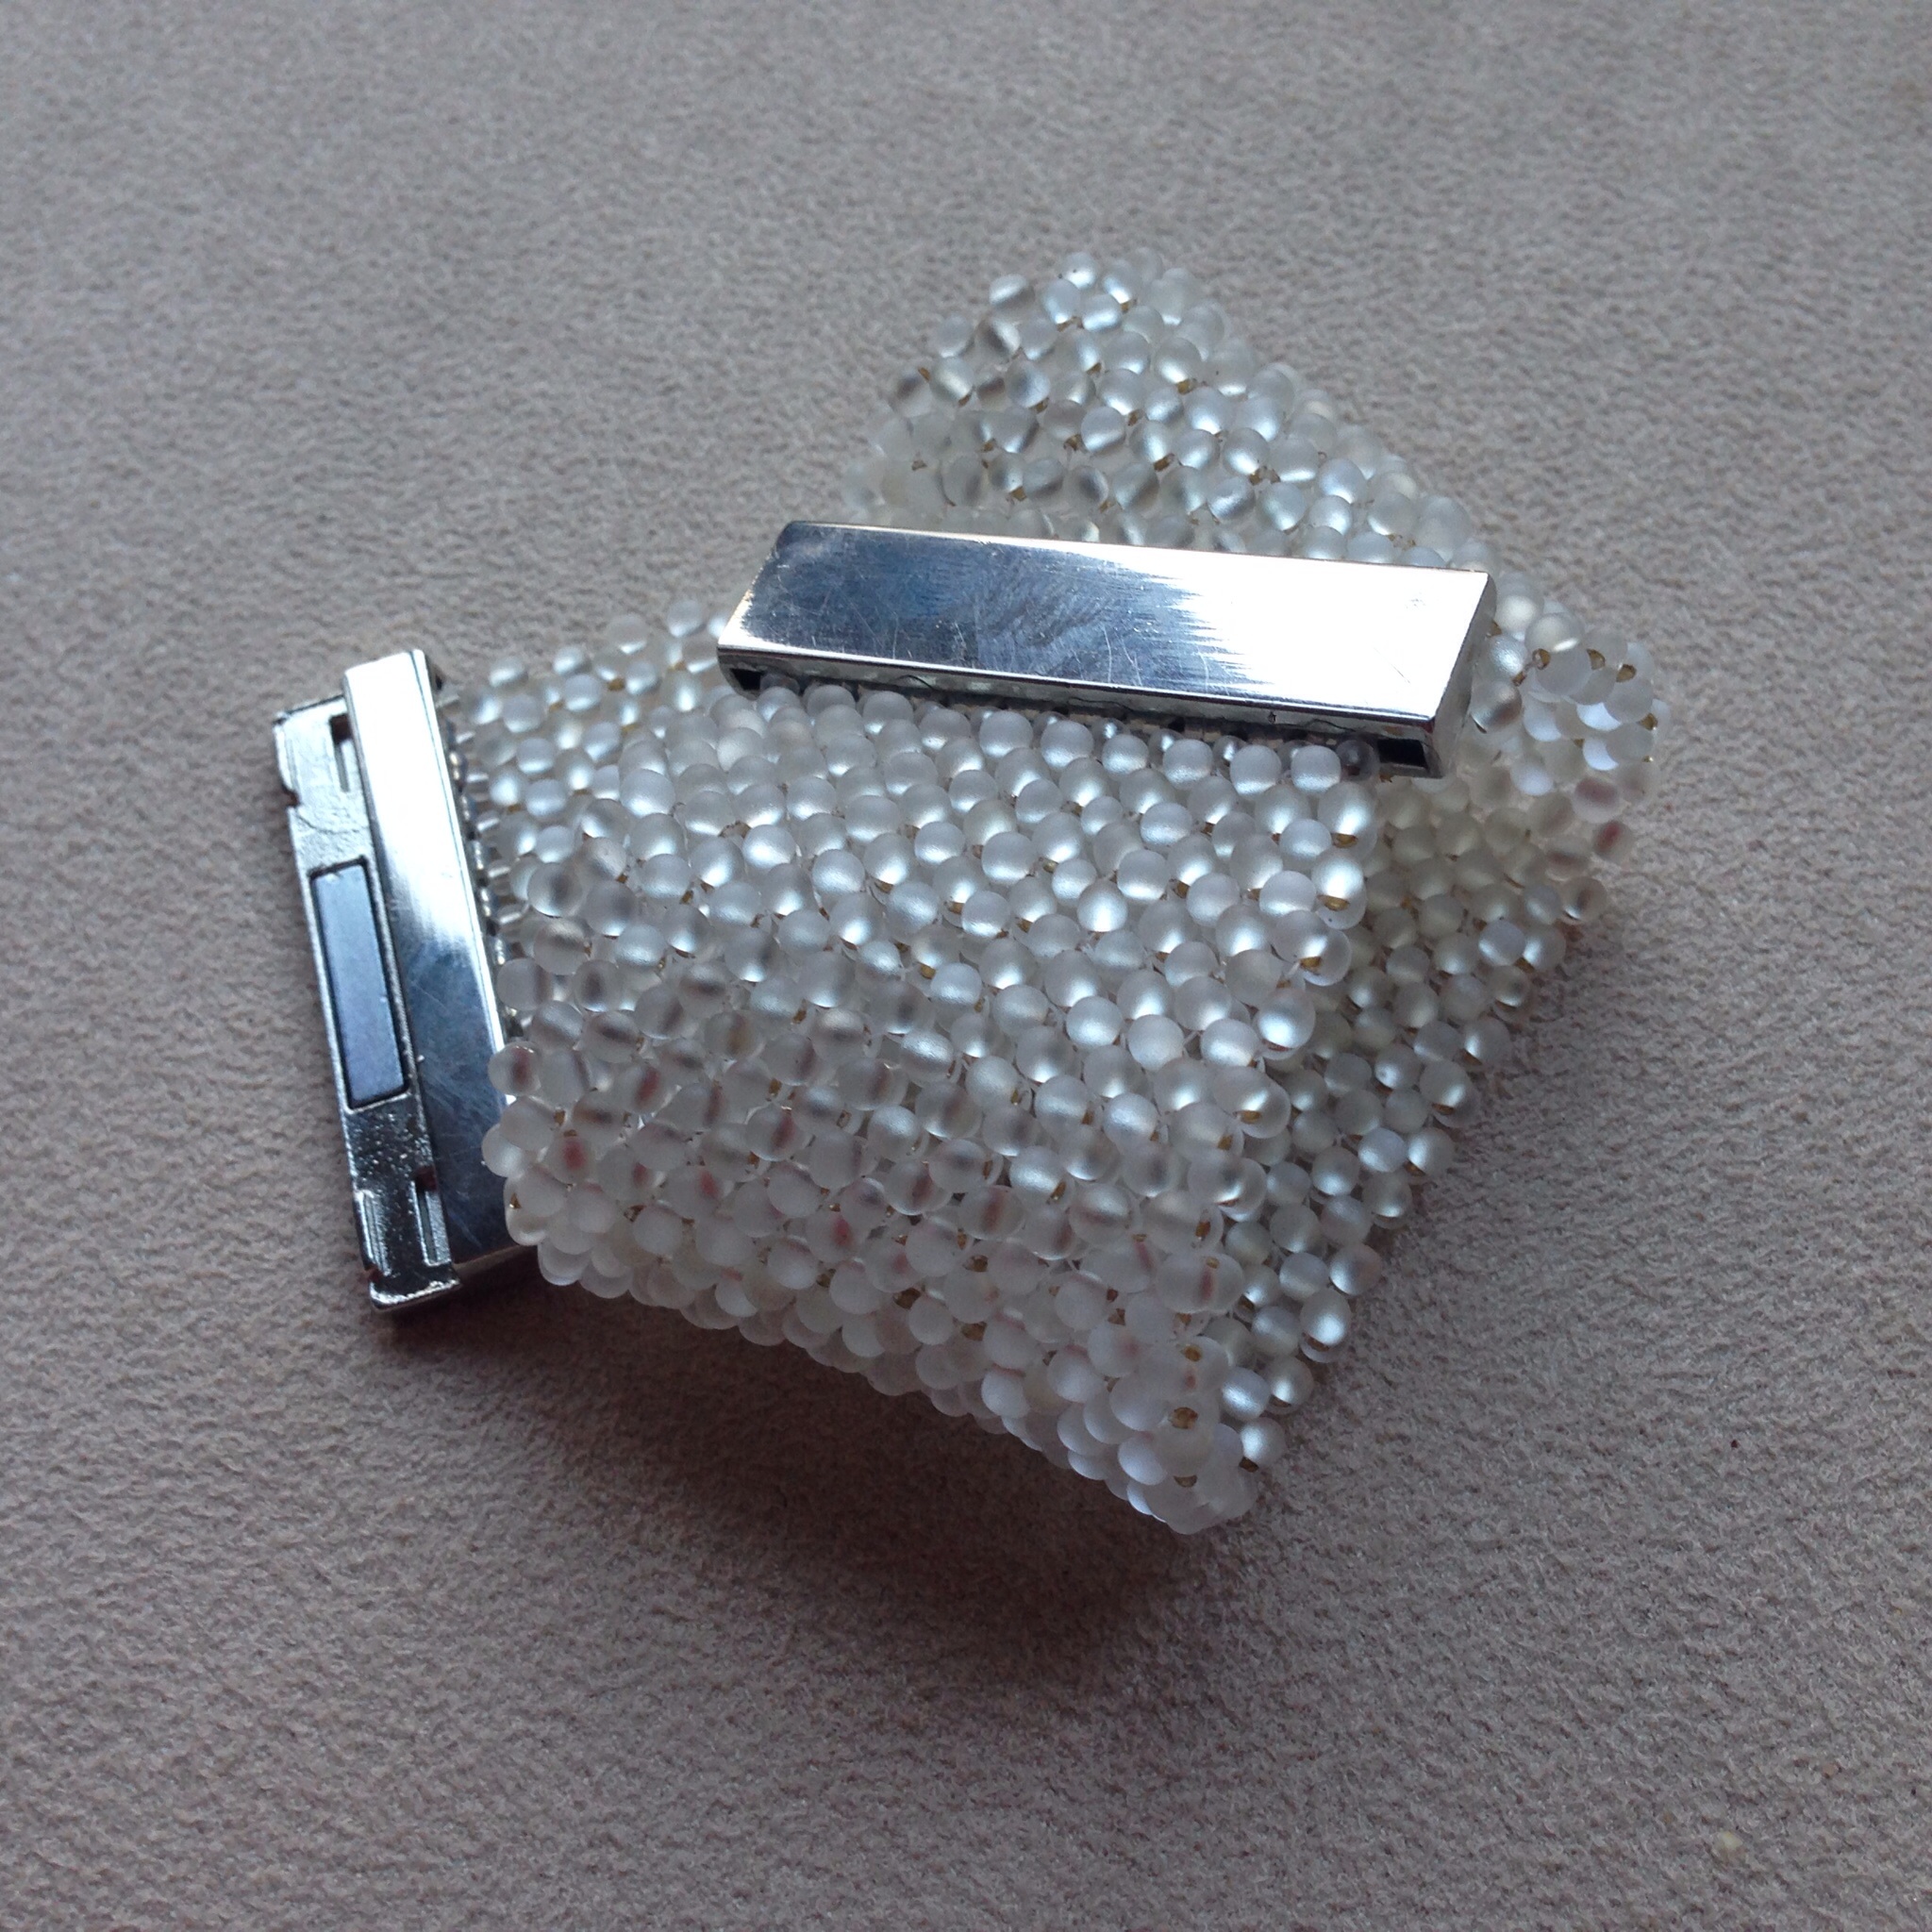
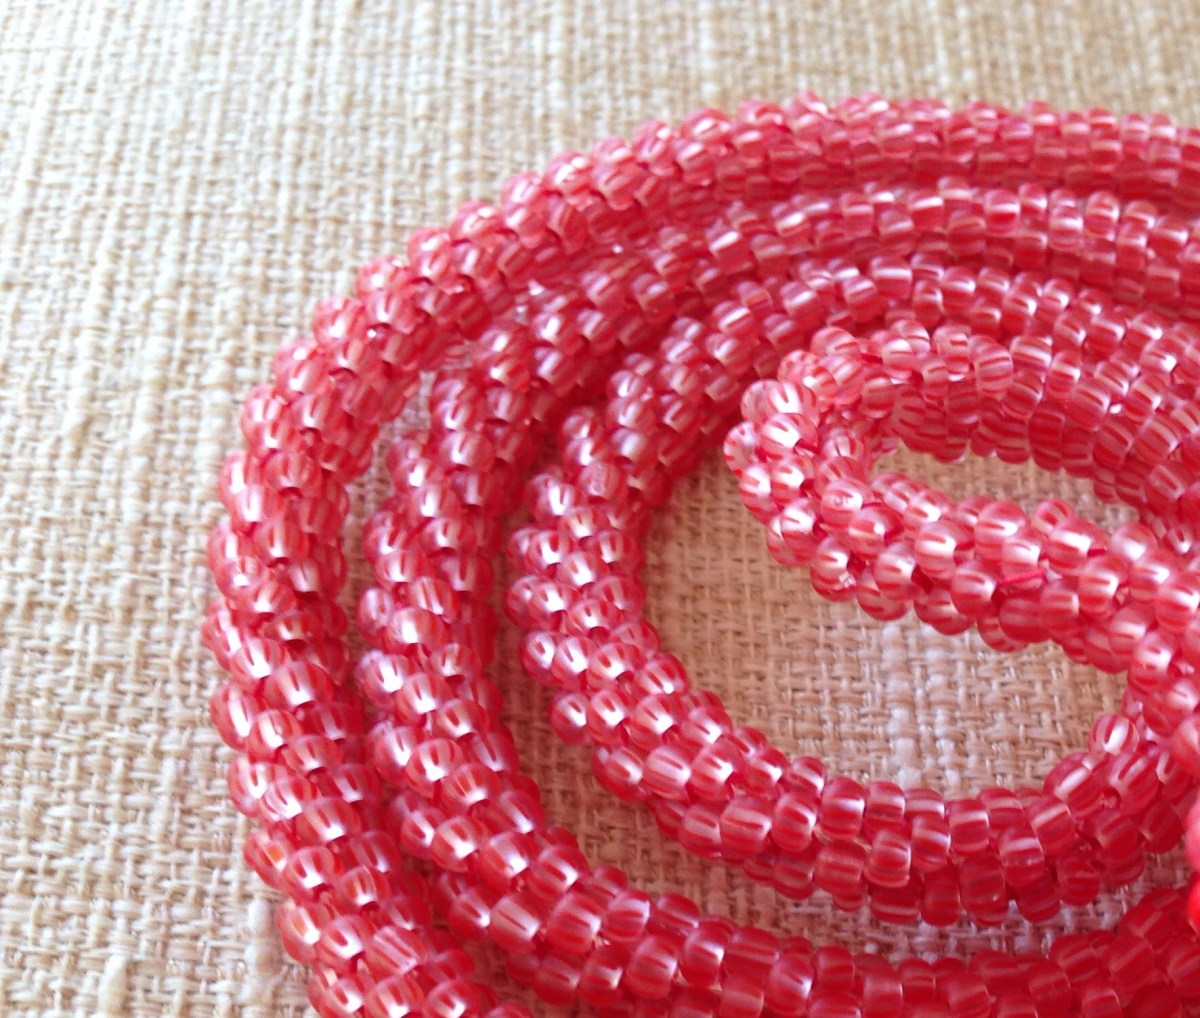
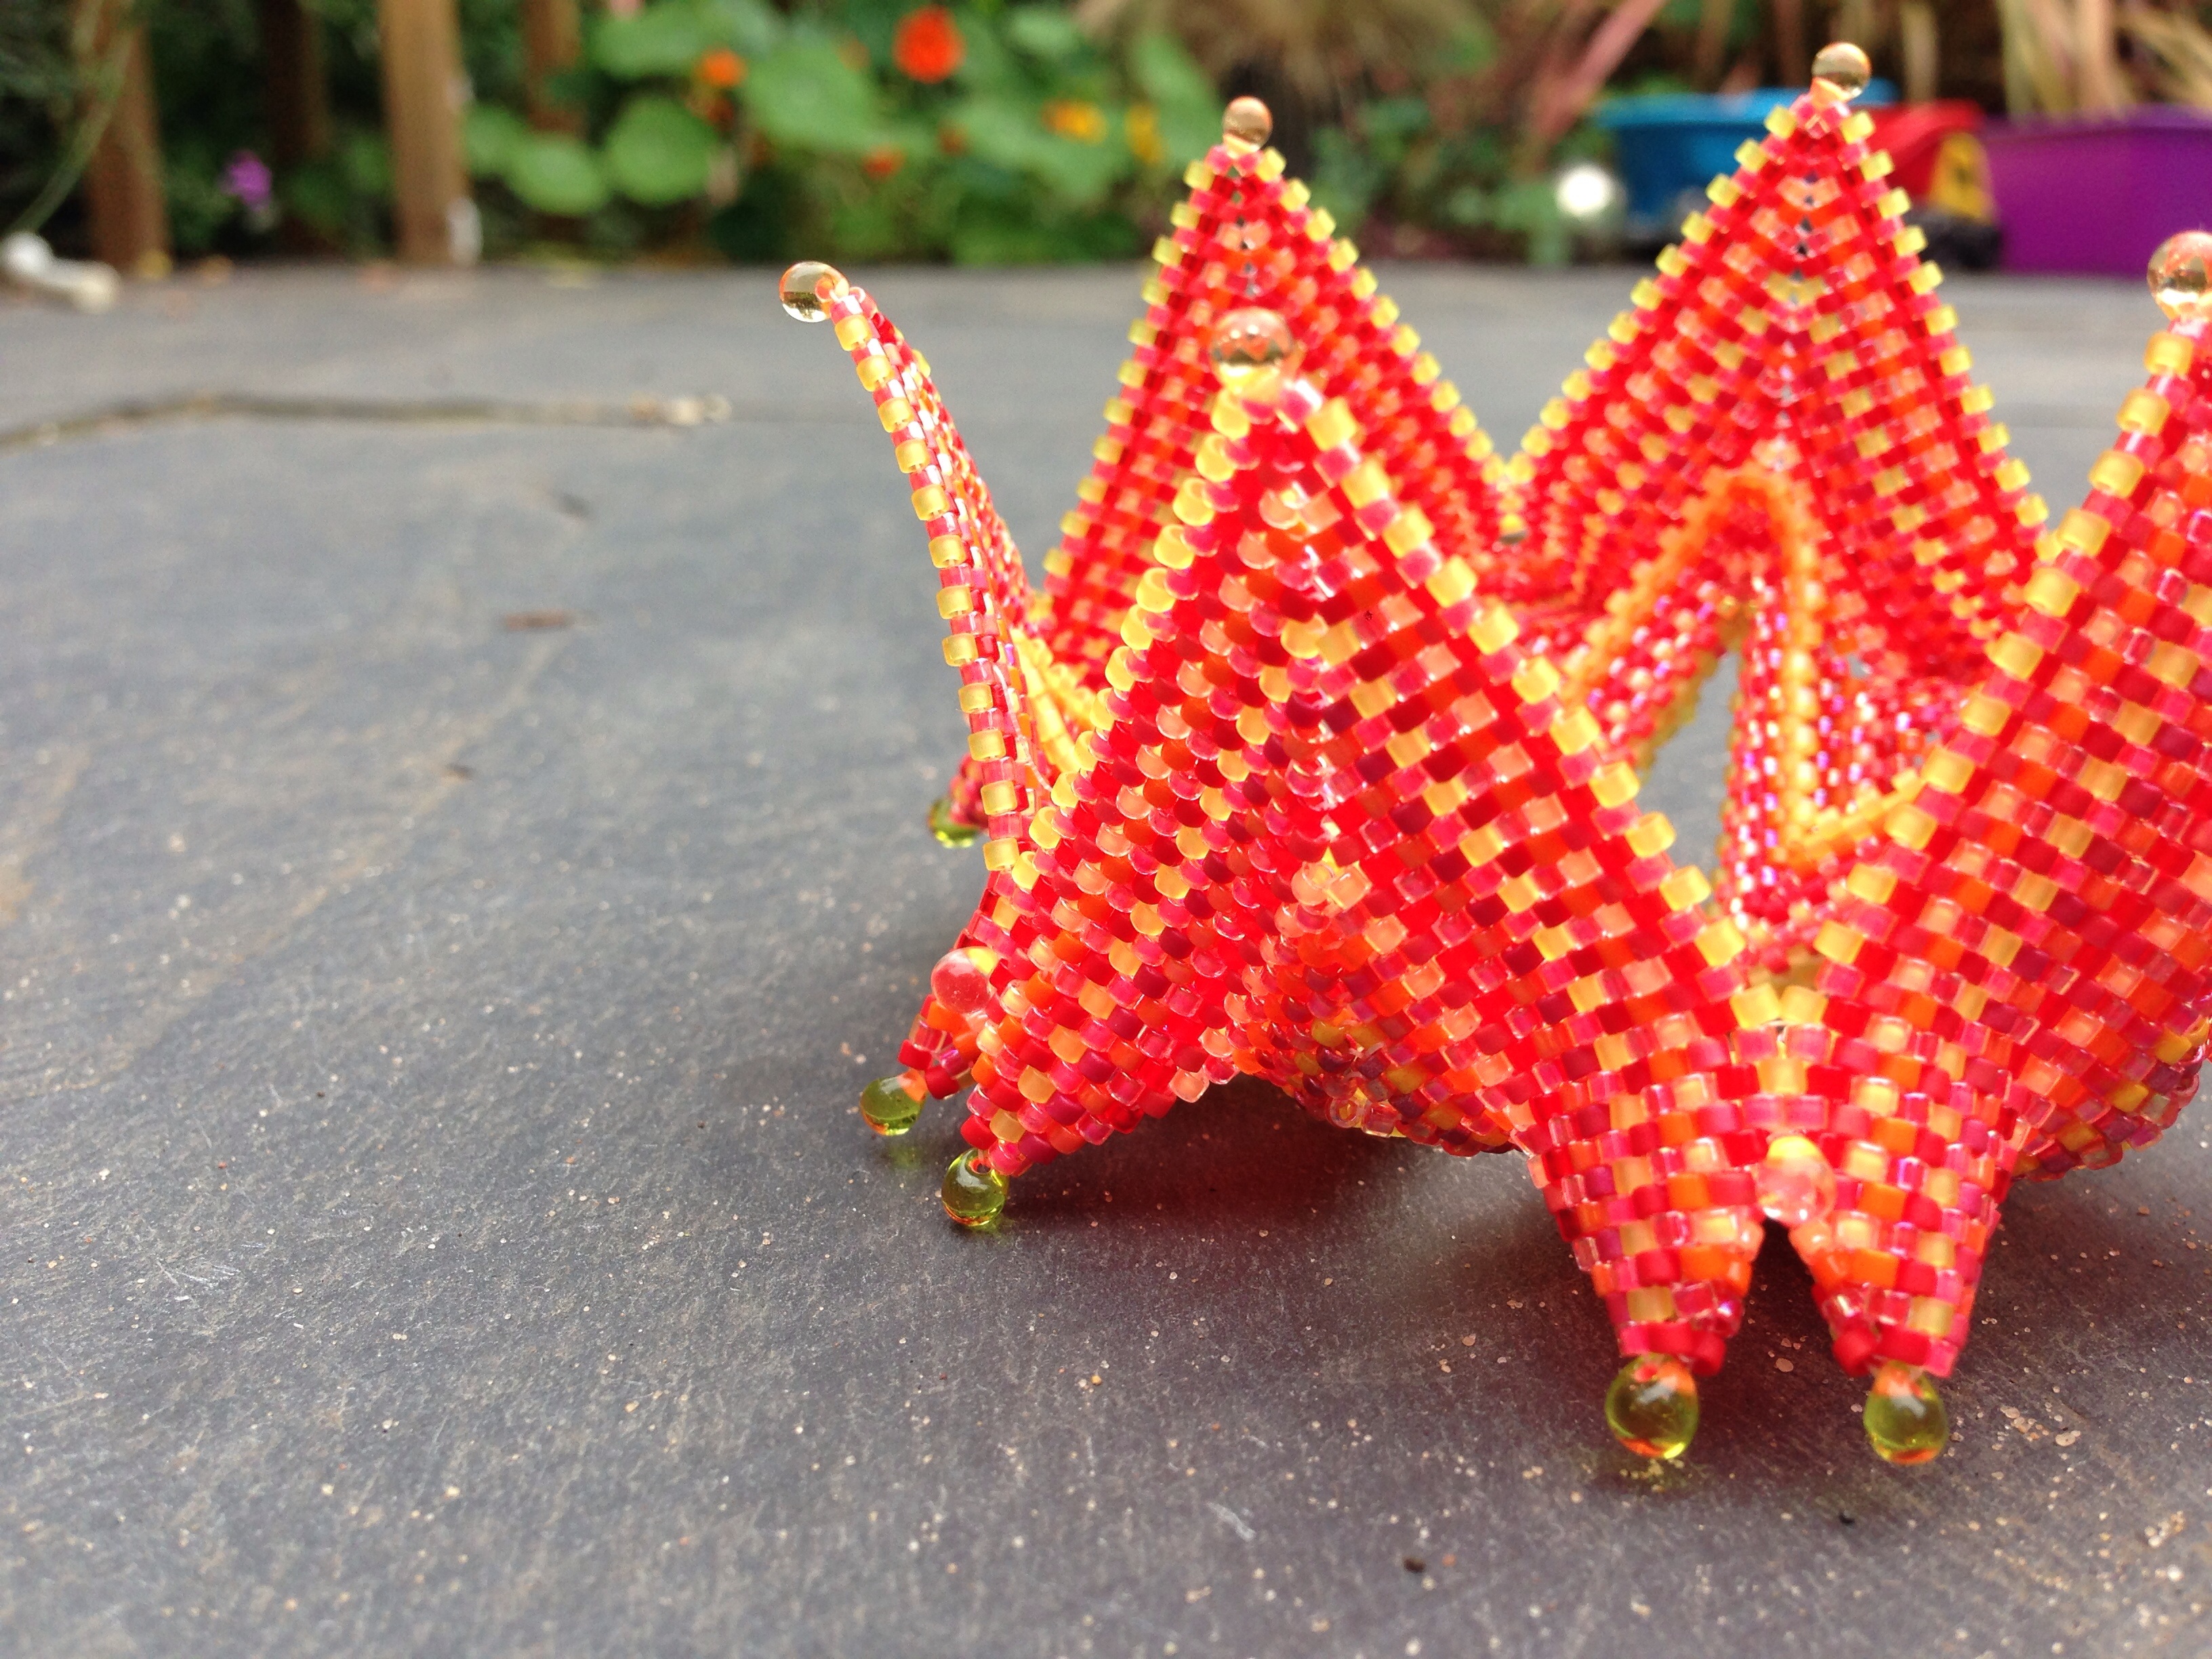
- Using circular peyote (I favour a 5 bead start), cover the base bead with an even, firm peyote layer. This layer will barely be visible, so don’t worry too much about gaps. Leave holes for later threading onto a neckwire or chain.
- Then, working from one of the holes, go through a size 8, pick up 3 11s and one drop. Go back through the 3 11s and then into the ext 8. Repeat ad nauseum until you have a fringe coming from every 8. That’s it really.
Tips
- If you’ve not peyoted onto a base bead before then have a hunt around for a tutorial. Having tried and failed to do them in the past without a tutorial, a while back I invested in a few different sizes from The Crimson Moon, and having made a few of each size am now comfortable enough with the technique to just go for it. Sadly Liz isn’t selling her patterns any more, but have a look around Etsy and similar sites and see what you can find – post some recommendations here if you find a good one. If you can find a tutorial using 8s, even better, as you can use them as a basis for an Anemone beaded – those inevitable gaps and threads in your first few attempts will be hidden by the fringe!
- As with any fringing, you have to watch the working thread like a hawk to ensure it doesn’t get caught. Work methodically around the bead, rather than darting around, as as things fill up you will find it hard to spot the gaps and even harder to fill them in without getting in a tangle.
Enjoy!